Masks are not just a Halloween accessory. A well-crafted mask can add a festive atmosphere to Easter, Day of the Dead, children's birthdays, and many other events. Throughout history, masks have been made from various materials, ranging from stone to wood and gold to plastic. Today, you can create an amazing mask using just a few sheets of colored cardboard, glue, and scissors.
Create a Solid Color Dramatic Mask
Step 1. Cut out a shield-shaped outline from colored cardboard.
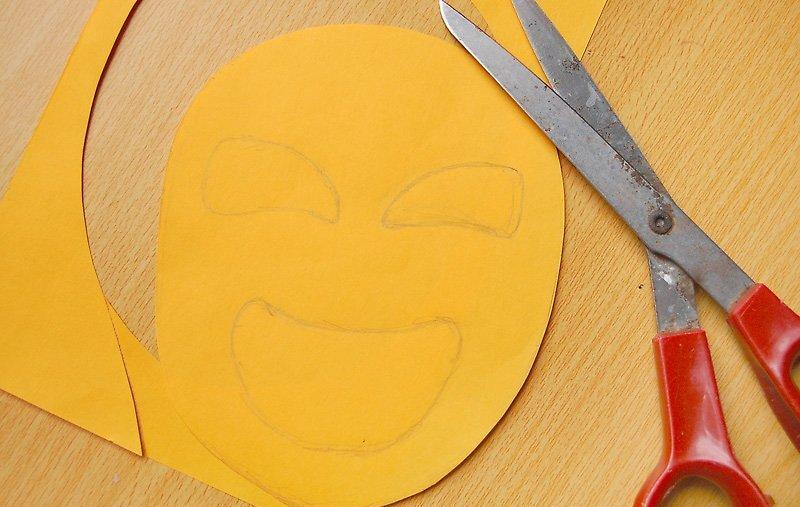
Start by cutting out a shield-shaped outline from the cardboard. This guide will help you create a mask reminiscent of theatrical masks of "comedy" and "tragedy," symbolizing drama. Masks come in various shapes, but the overall form is a rounded shield or helmet. Ensure you use enough cardboard so that the mask fully covers your face.
Step 2. Draw large comma-shaped eye holes.
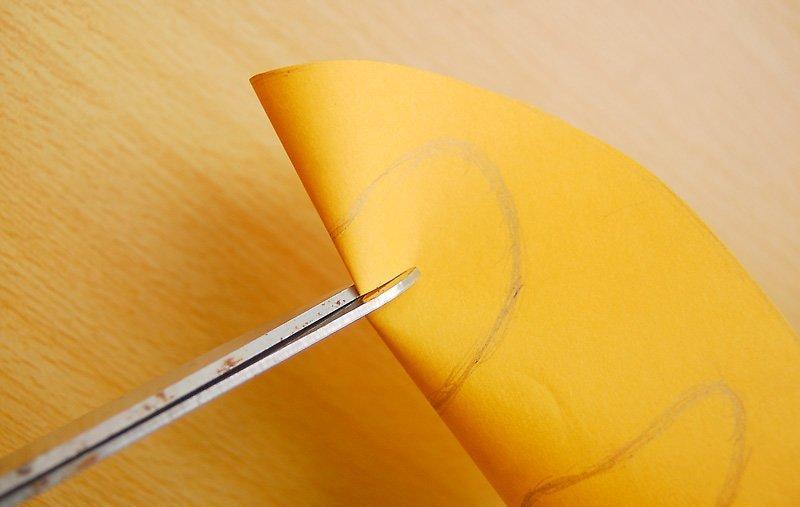
For the eyes, draw large commas. Both comedic and tragic masks use similar eye shapes—a rounded comma or crescent with thick and thin ends. The placement of the eyes will depend on the type of mask. For a comedic mask, position the thick ends of the commas facing outward for a cheerful look. For a tragic mask, the thick ends should face inward to create a sorrowful expression.
- As you cut out the eyes, slightly bend the mask to cut through the center without damaging the edges.
Step 3. For the mouth, draw a jellybean shape.
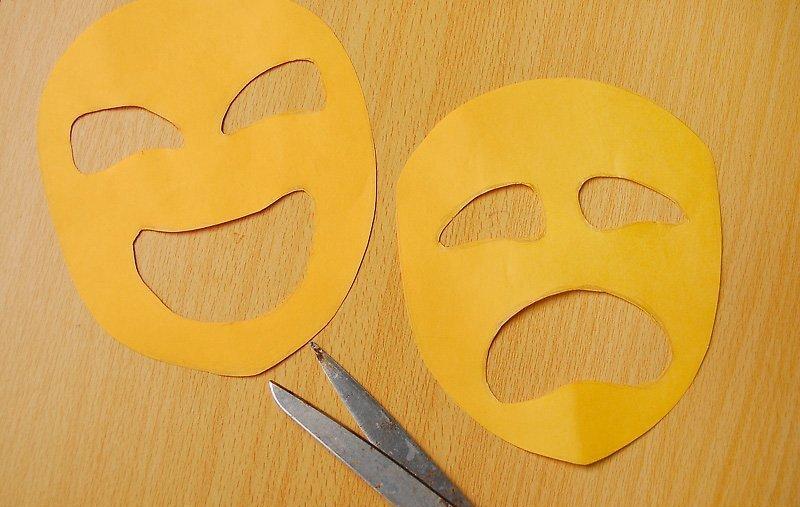
Use a jellybean shape for the mouth. Like the eyes, the mouth shape is the same for both masks, but the orientation will differ. For a comedic mask, draw a smile by cutting an upward-curved jellybean shape, and for a tragic mask, flip it upside down to create a sad expression.
- Slightly bend the cardboard and make a small cut in the center to cut out the mouth without damaging the mask.
Step 4. Glue a popsicle stick to the mask.
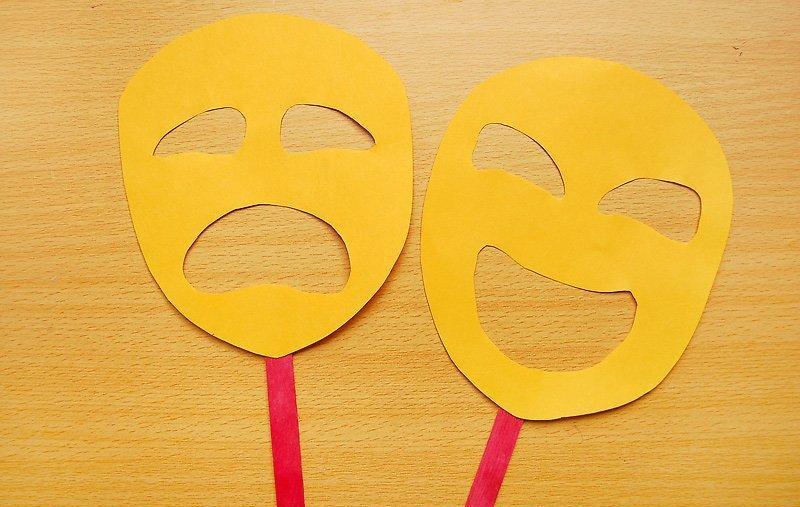
Attach a popsicle stick to the mask. Often, comedic and tragic masks are mounted on sticks so they can be held up to the face. Use a popsicle stick, gluing it to the bottom or side of the mask.
- If you don’t have popsicle sticks, you can find inexpensive ones at craft stores or use a wooden dowel or disposable utensil.
Create a Colorful Mask for Kids
Step 1. Gather three to four colors of cardboard.
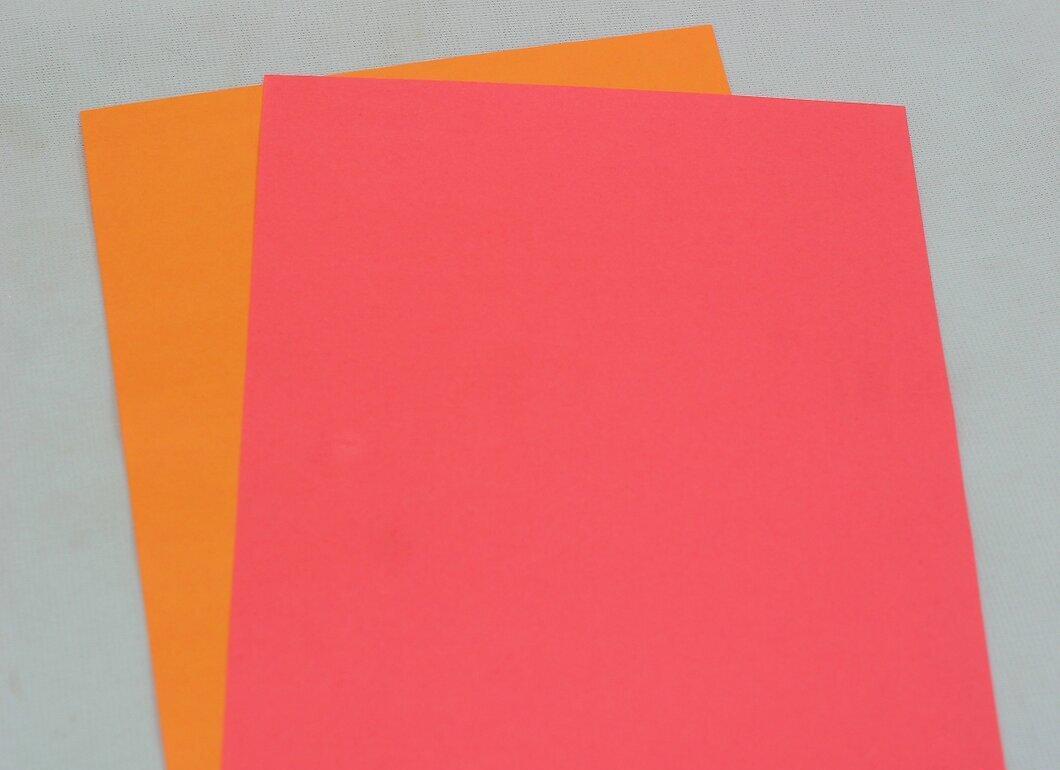
Take three to four different colors of cardboard. Standard sheets of various colors will work well for this fun mask. You will also need a white sheet for the eyes, but the base of the mask should be made from sturdy cardboard.
- You can make a mask from a single color, but using multiple colors makes the process more fun.
Step 2. Fold a sheet of cardboard in half and cut the corners.
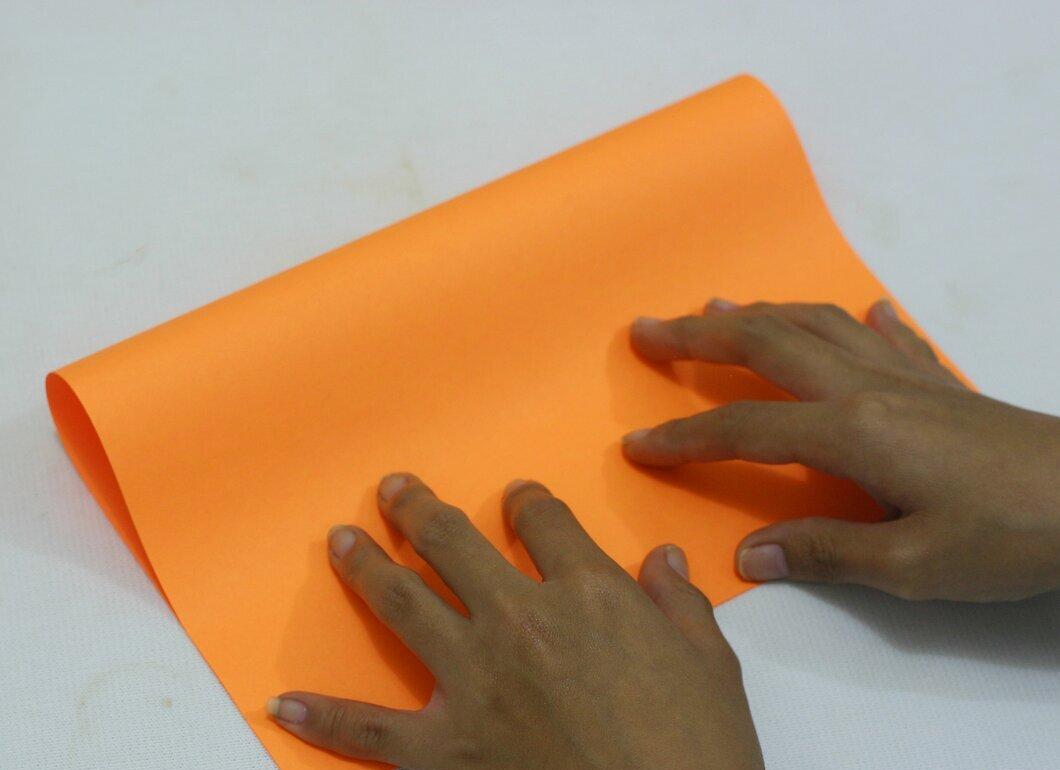
Fold a sheet of cardboard in half and trim the bottom corners. The mask can take various shapes, but we will create an oval resembling a human face. To achieve an oval, fold the cardboard in half and cut the corners to create a rounded outline. When you unfold the mask, you will have a symmetrical oval.
Step 3. Cut two smaller ovals from a different sheet of cardboard.
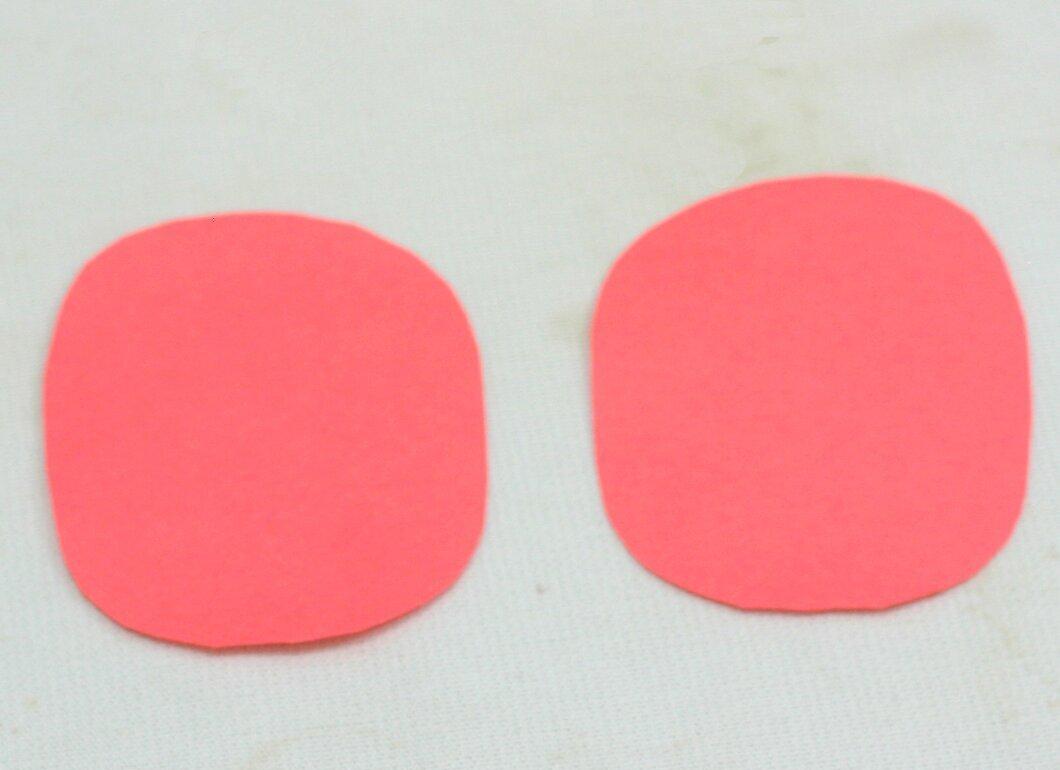
Cut the second sheet of cardboard in half along the fold. From the resulting sheets, cut two small ovals using the method described earlier: fold and trim the corners.
- These ovals won’t be the eyes themselves but rather their outlines, so they should be slightly larger than your actual eyes.
Step 4. Attach the eyes in place.
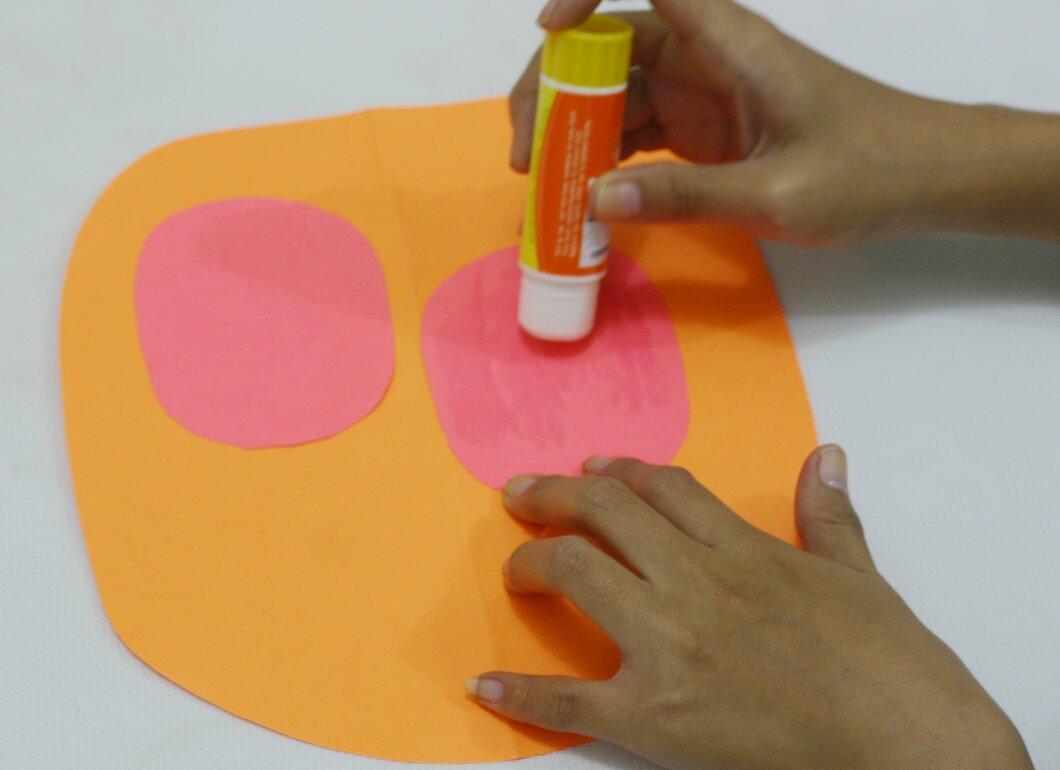
Glue the eyes to the mask using glue, a glue stick, or tape. Make sure the eyes are level unless you want them to be off-set.
Step 5. Cut two ovals from the white sheet and attach them to the mask.
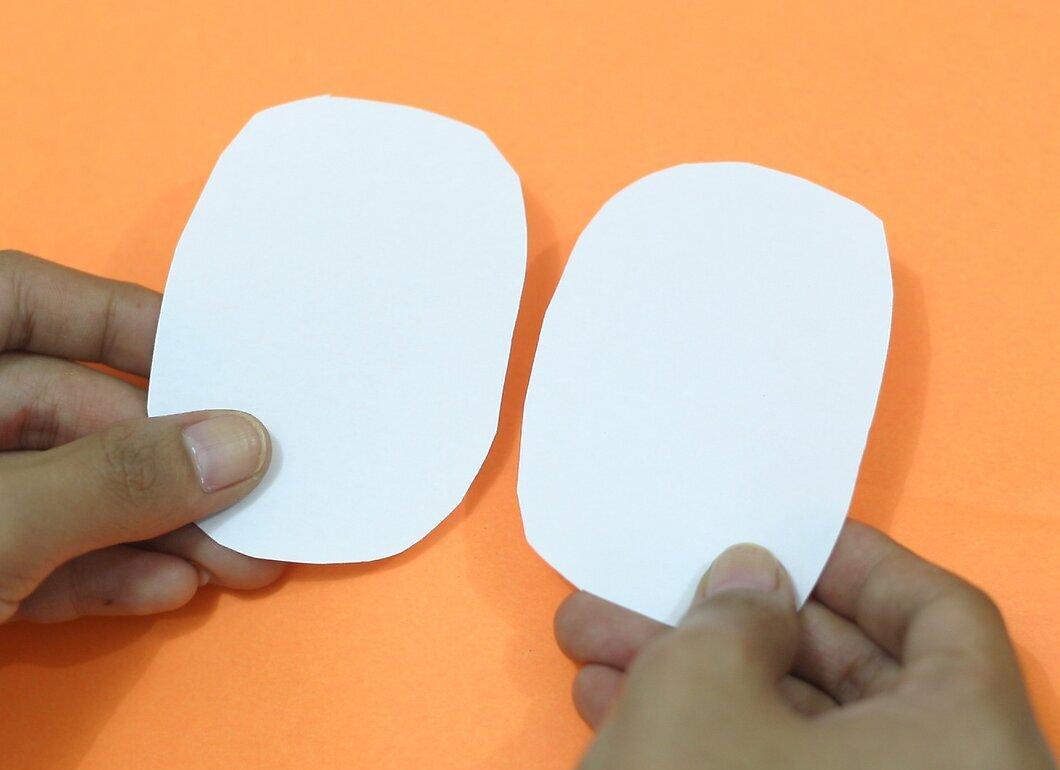
Cut two ovals from the white sheet using the same technique. These will be the actual eyes, so they should be slightly smaller than the outlines you’ve already attached. Glue them in the center of each large oval on the mask.
Step 6. Draw pupils.
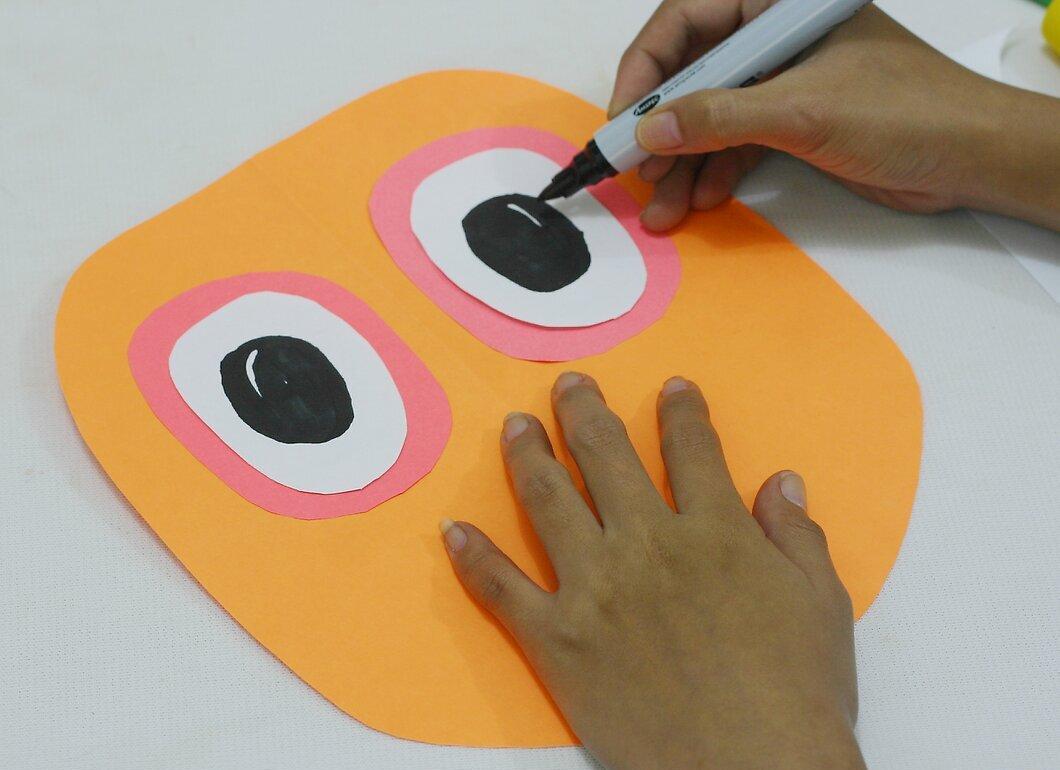
Use a black pen or marker to draw the pupils. This will add realism to the mask and cover the holes you made for visibility.
Step 7. Cut a nose from leftover cardboard.
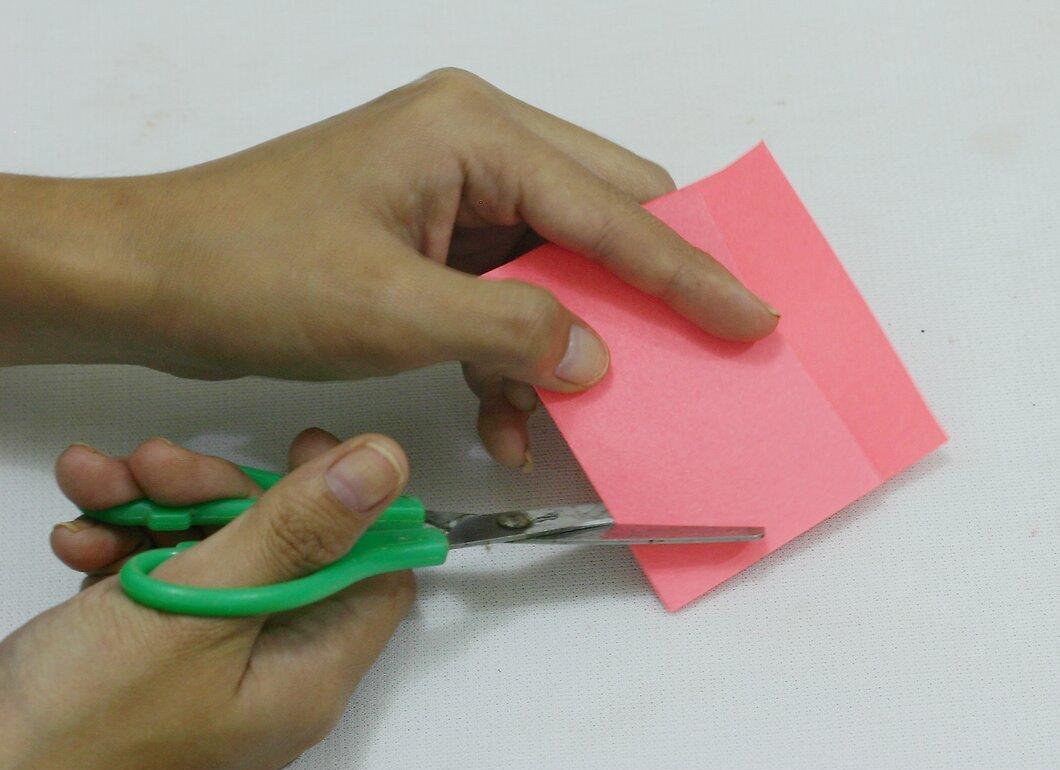
Use the leftover cardboard to cut out a nose. You can make it in an oval shape with nostril cutouts or use a triangle—it's up to you.
- Once the nose is ready, glue it to the center of the mask below the eyes.
Step 8. Make eyebrows from cardboard.
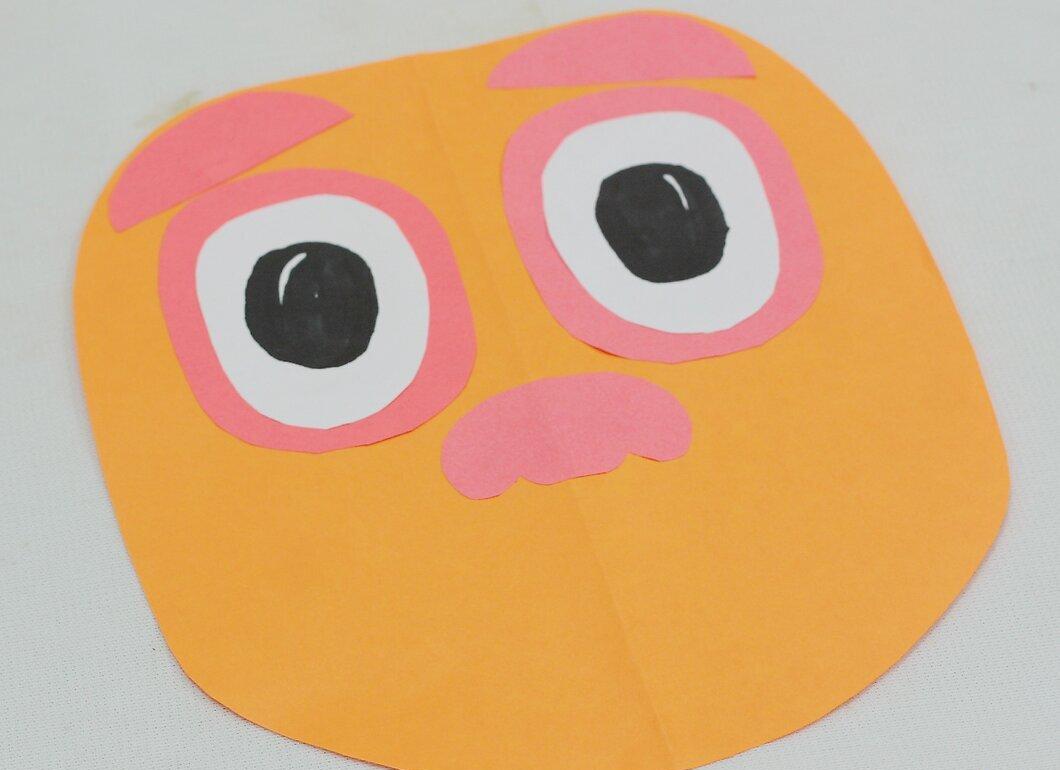
Cut eyebrows from any remaining cardboard pieces. Glue them above the eyes, experimenting with shapes: they can be thin, thick, curved, or zigzagged.
Step 9. Cut a mouth from the third sheet of cardboard.
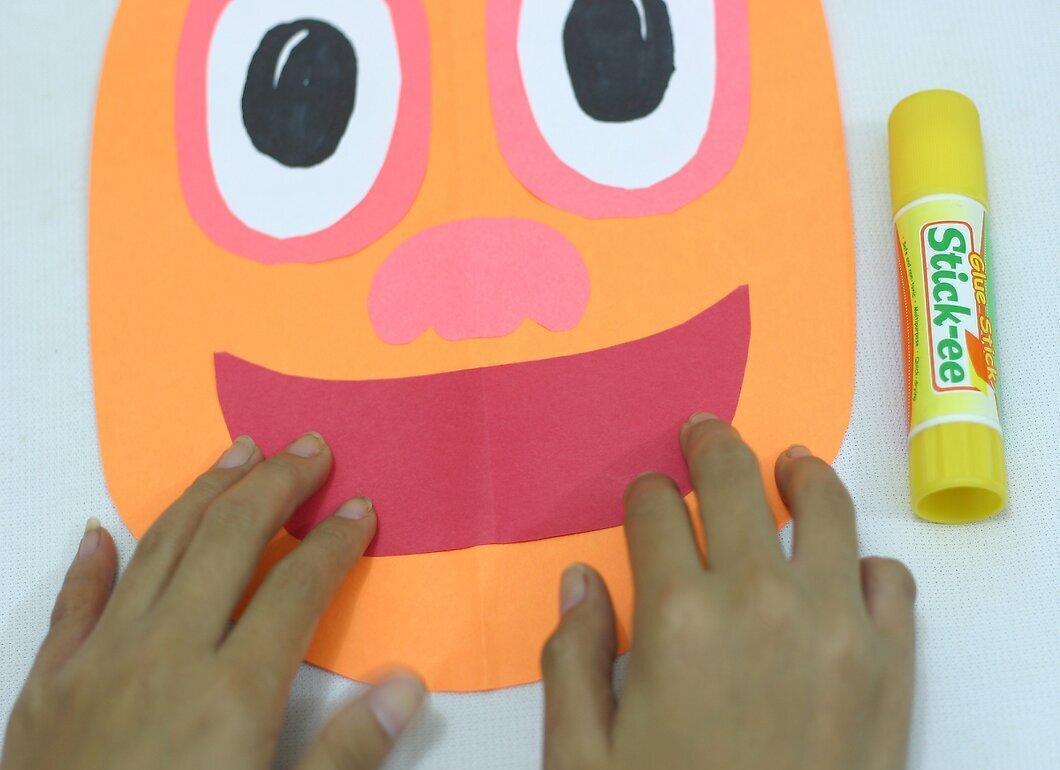
Fold the third sheet of cardboard in half and cut a shape resembling a curved saber or horn. When you unfold it, you’ll have a smiling mouth (or, if you flip it, an angry one). Glue it below the nose.
- If there is leftover white paper, you can cut out small square teeth for the smile.
Step 10. Create hair from strips of paper.
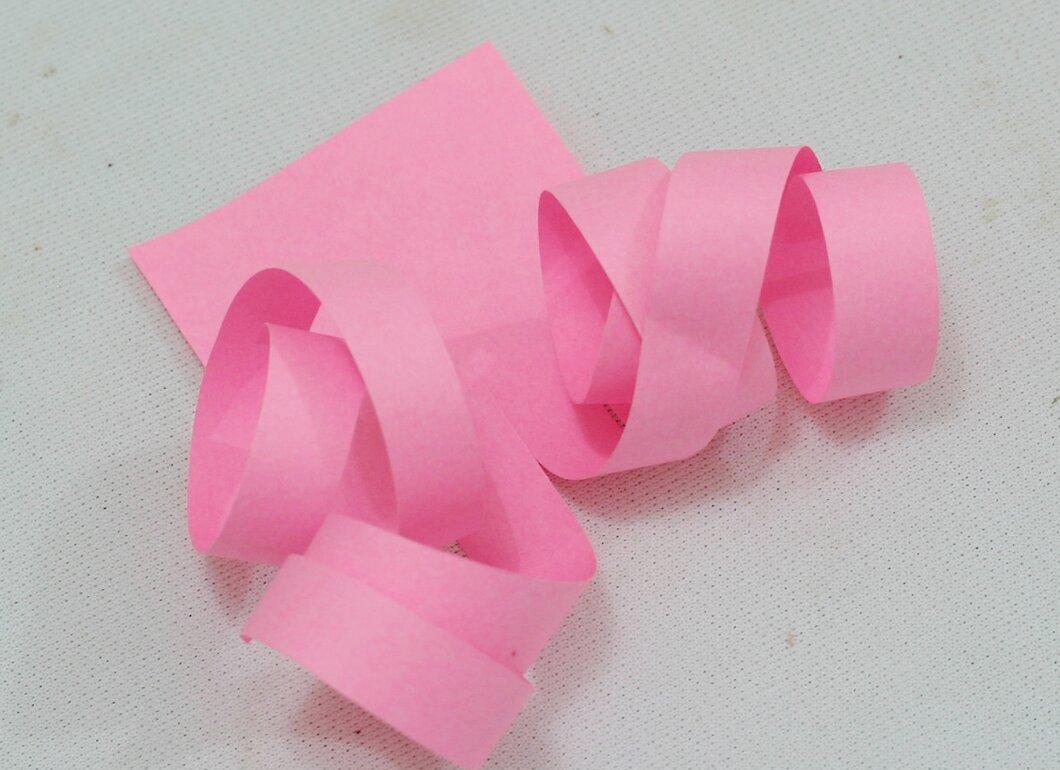
Cut long strips of paper in any color, leaving a small section intact. Then twist the strips as if curling ribbon.
- To speed up the process, you can fold several sheets at once and cut them together.
Step 11. Trim the hair to the desired length.
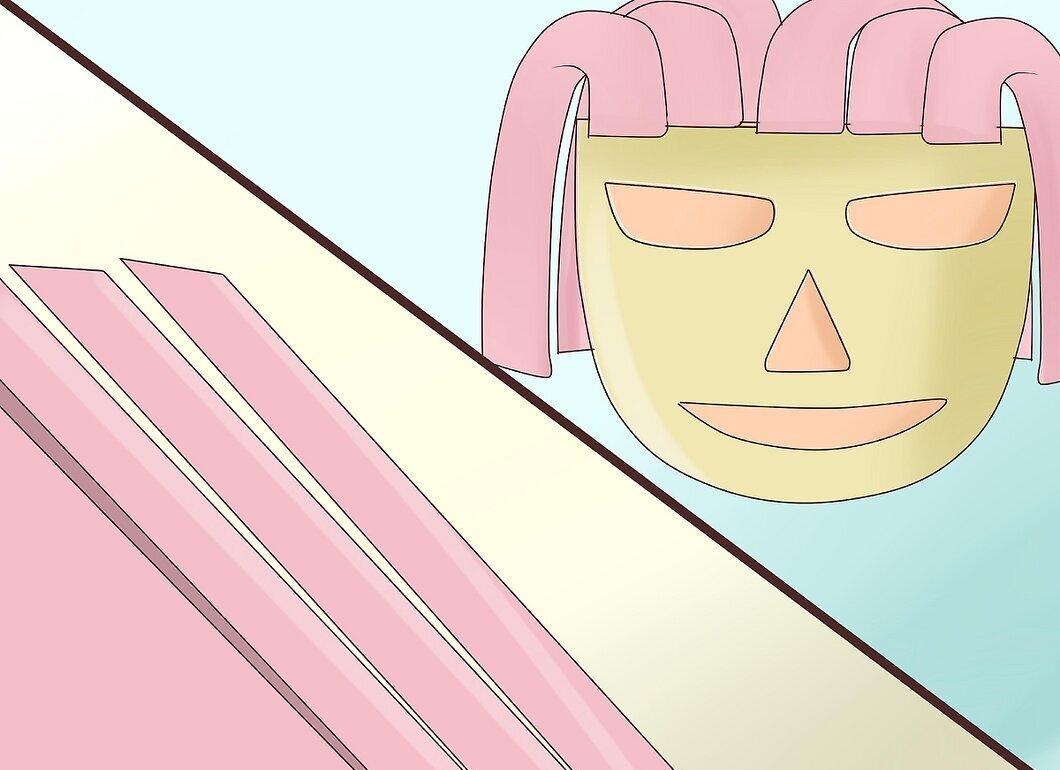
Trim the curly strips to the desired length and glue them to the top of the mask to create curls. If the curls are too curly, you can make sideburns, and if they are too short and straight, create a mustache.
Step 12. Make eye holes.
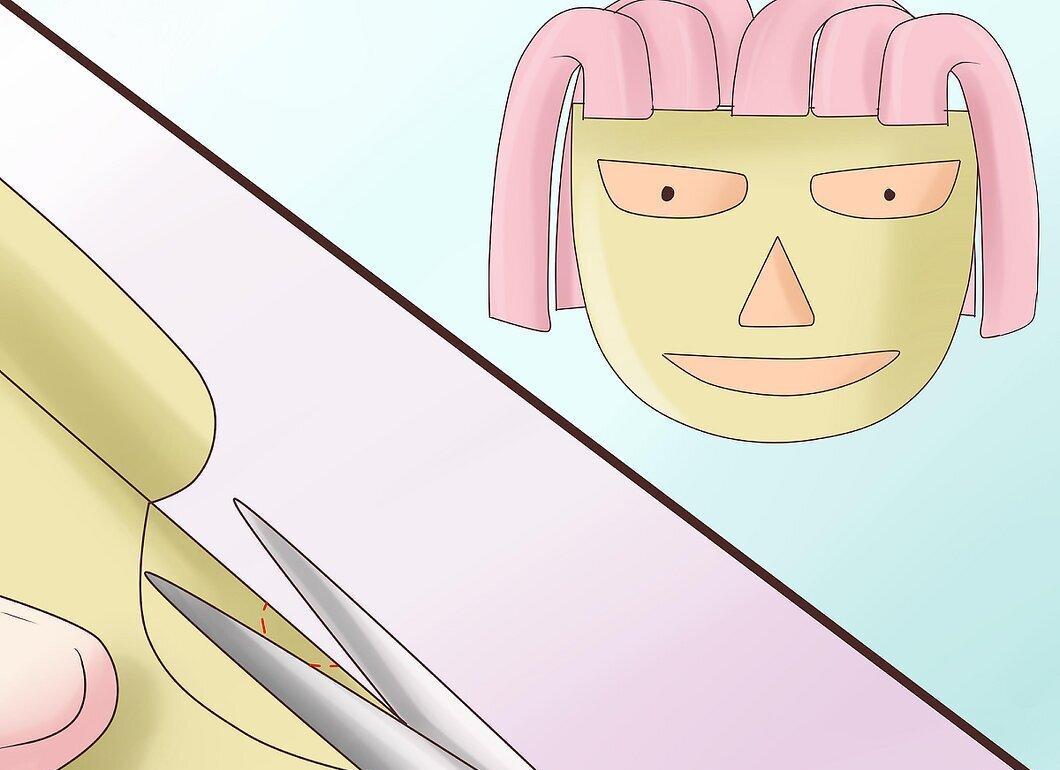
Cut small circles in the center of each eye so you can see. You can fold the mask and cut out half circles or use a hole punch.
Step 13. Attach an elastic band for wearing.

To wear the mask, make small holes at the edges and thread an elastic band through, tying it at the back. This will be your strap for comfortable mask-wearing.
- Alternatively, you can glue a short stick to the bottom of the mask to hold it in front of your face.