Even if you don't have a broody hen, you can hatch eggs using an incubator—a device designed for artificial egg incubation. The incubator tries to recreate the conditions that a fertilized egg experiences under a bird (appropriate temperature, humidity, and airflow around the egg). To successfully hatch eggs, you need to properly set up the incubator and maintain those settings throughout the incubation period.
Preparing to Use the Incubator
Step 1. Find the incubator you will use for hatching eggs.
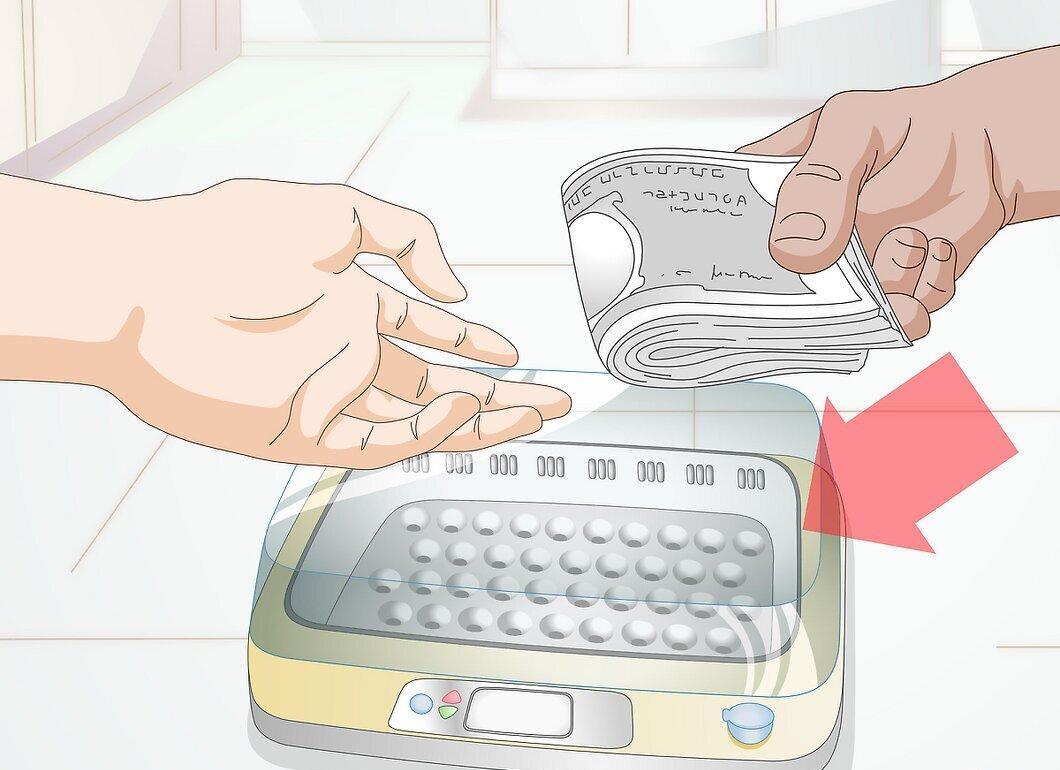
Find the incubator you will use for hatching eggs. You will need the instructions for the specific type and model of incubator you choose. The tips outlined in this article are general in nature.
- Incubators come in various types, so having the appropriate instructions for the device is crucial.[2] X Source
- Be aware that the cheapest incubators may only be operated manually. In other words, you will have to monitor the temperature, turning, and humidity yourself—day after day for many days. More expensive models automate these functions, but you will still need to check important parameters daily (though it won't be as exhausting).
- If no instructions came with the incubator, look for the serial number and the manufacturer's name. Search for the instructions on the manufacturer's website or contact their customer service by phone or email to get guidance on using the incubator since there was no written manual included.
Step 2. Clean the incubator.
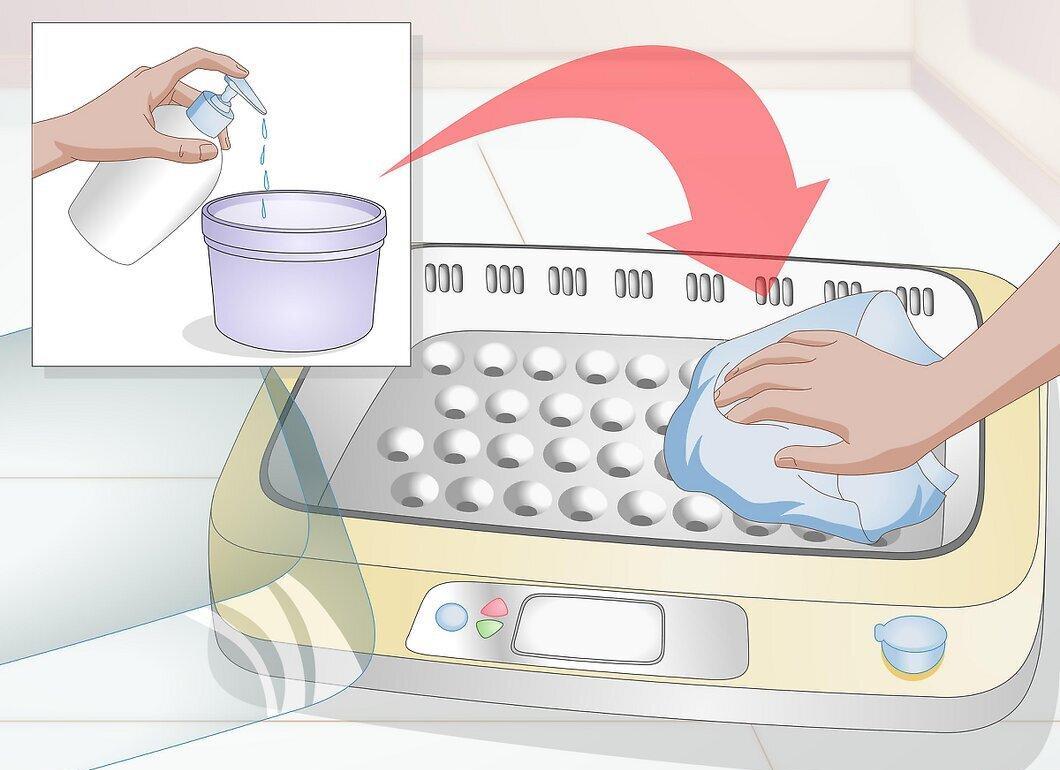
Clean the incubator. Carefully wipe or vacuum any dust and dirt you notice on the surface of the incubator. Then wipe all surfaces with a clean cloth or sponge soaked in a bleach solution (20 drops per liter). Wear gloves to protect your hands from the chlorine, and don’t forget to wring out excess solution from the cloth or sponge before you start cleaning the incubator. Then wait—the incubator should air dry before it can be turned on.
- Cleaning the incubator is especially important if you bought it used or if the device is particularly dirty.
- Maintaining sanitation at this stage is crucial, as diseases can pass through the eggshell and infect the chick!
Step 3. Place the incubator in a location with minimal temperature fluctuations.
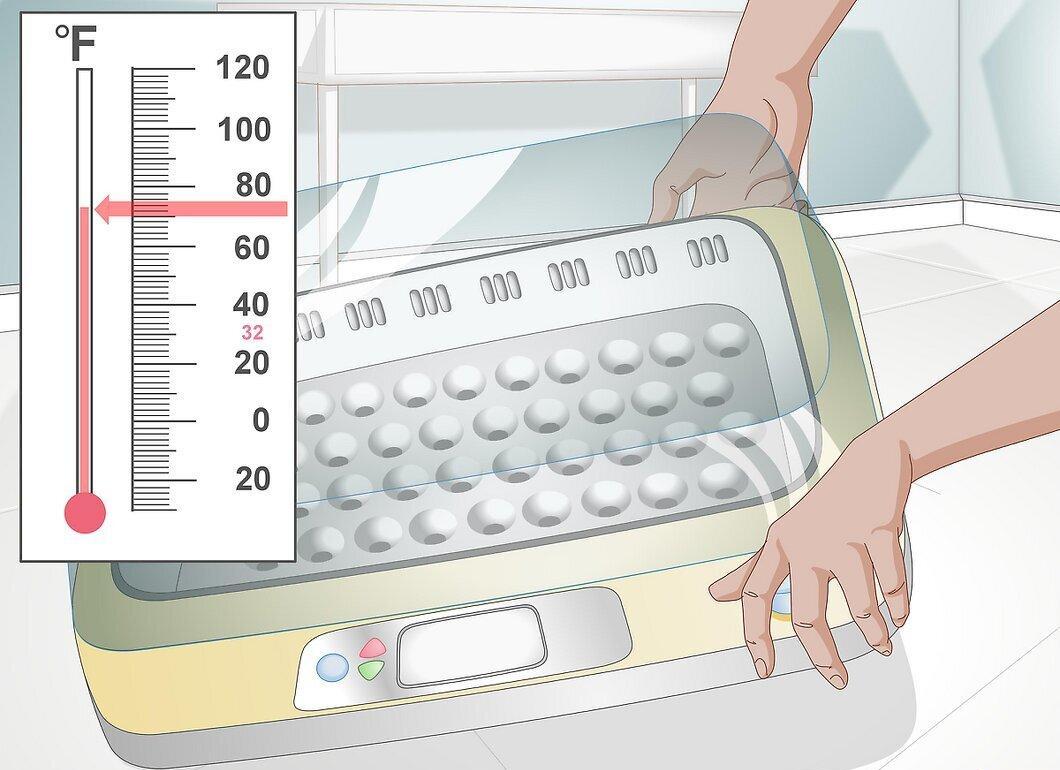
Place the incubator in a location with minimal temperature fluctuations. The ideal temperature is 21-23 degrees Celsius. Do not place the incubator near a window or vent; avoid drafty areas.
Step 4. Plug the incubator into a reliable outlet.
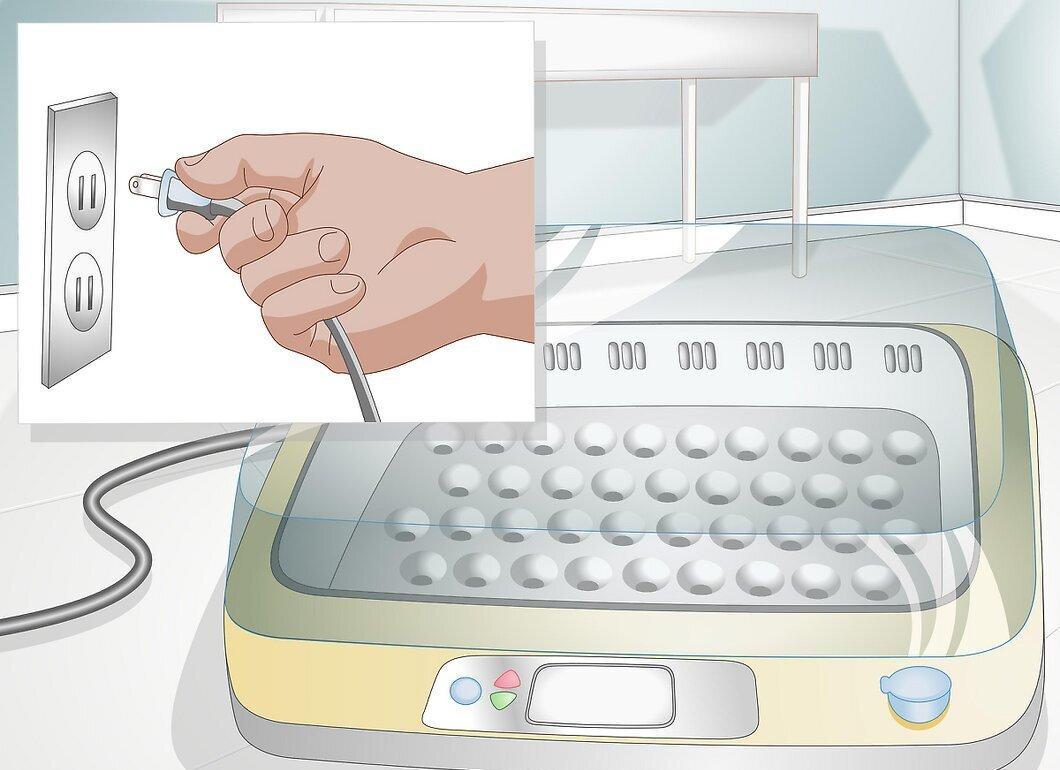
Plug the incubator into a reliable outlet. Ensure that the incubator’s plug sits securely in the outlet and that children cannot disconnect it. It’s also a good idea to check that the outlet is functioning properly.
Step 5. Pour warm water into the incubator's humidifying tray.
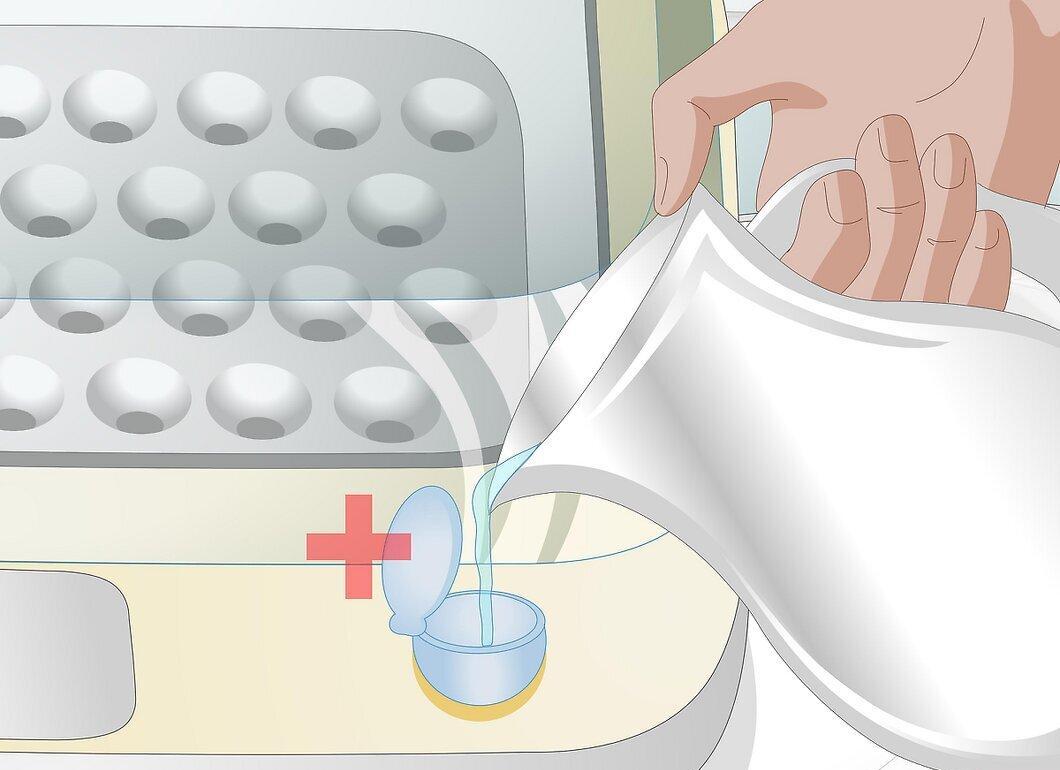
Pour warm water into the incubator's humidifying tray. Consult the incubator’s instructions regarding how much water to pour in.
Step 6. Set the incubator to the correct temperature.
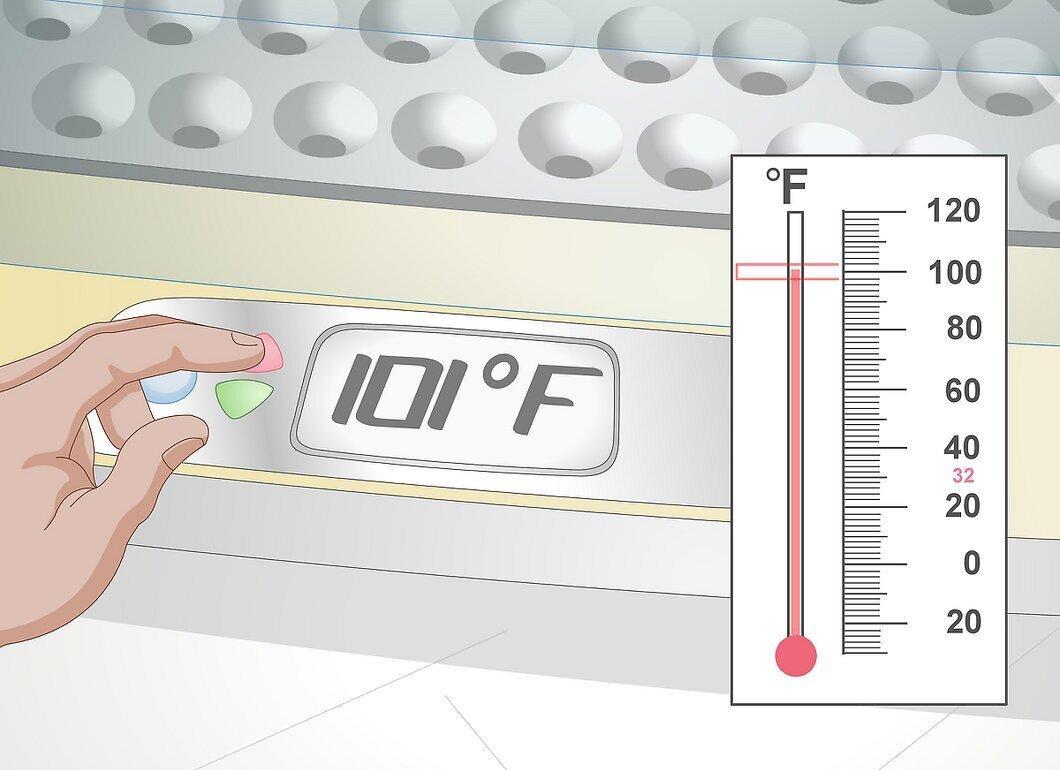
Set the incubator to the correct temperature. At least 24 hours before placing eggs in the incubator, you should set it to the appropriate temperature and ensure it maintains it correctly and steadily.
- Make sure you place the thermometer in such a way that it measures the temperature where the center of the egg will be.
- Adjust the heat source to ensure the thermometer reads between 37.2 and 38.9 degrees Celsius. The correct incubator temperature is very important, as low temperatures will not allow the embryos to develop, while excessively high temperatures will kill them or cause developmental abnormalities.[7] X Source
Step 7. Wait 24 hours and check the thermometer again.
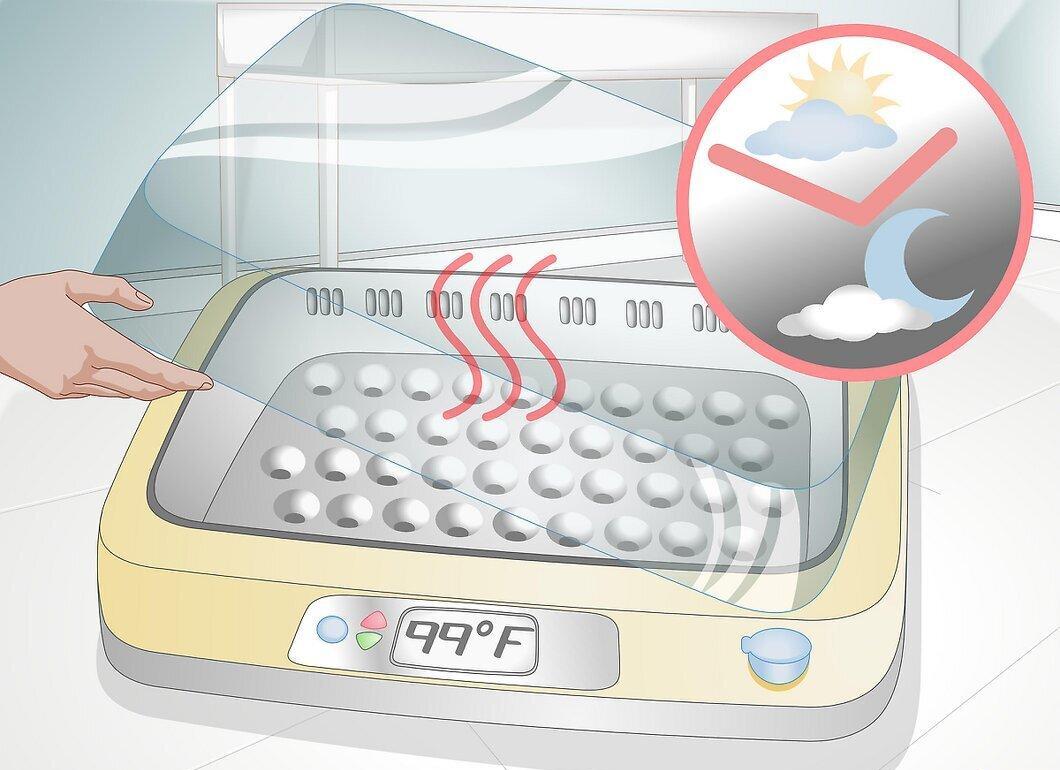
Wait 24 hours and check the thermometer again. The temperature should still be within the desired range. Do not load the incubator with eggs if the temperature fluctuations are outside acceptable limits—under such conditions, the embryos will not develop properly.
Step 8. Obtain fertilized eggs for hatching.
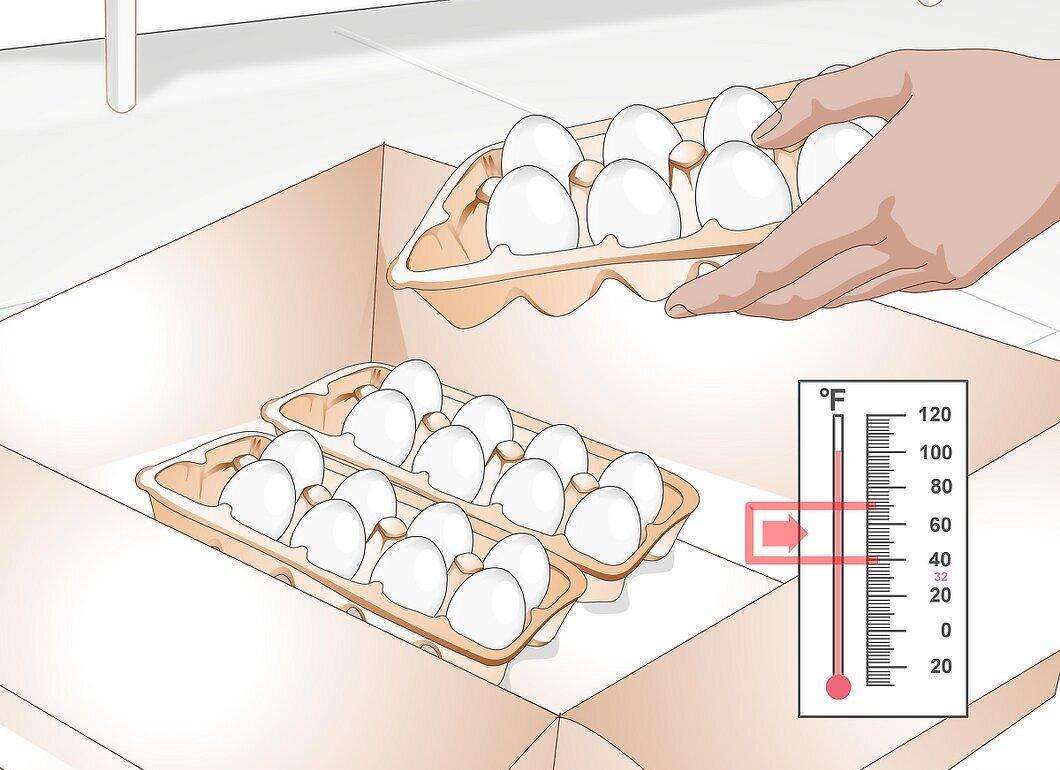
Obtain fertilized eggs for hatching. For incubation, you need eggs that were laid 7-10 days ago. Viability decreases as eggs age. Supermarket eggs won’t work—they haven’t been fertilized, in other words—they are not viable.
- Find an incubator station or farm that sells hatching eggs. You need eggs from hens living with a rooster; otherwise, the eggs will be unfertilized. Reach out to your local farm association if you cannot find a suitable source for eggs. They can recommend local poultry breeders.
- Think about how many eggs you want to hatch in the incubator. Remember that not all eggs will yield chicks; some breeds have higher hatch rates, while others have lower—consider this when deciding which eggs and how many to purchase.[11] X Source
- Store the eggs in cartons at temperatures between 4.5 and 21.1 degrees Celsius. Rotate the eggs daily within the carton or gently turn the carton itself.[12] X Source
Incubation
Step 1. Wash your hands before handling the eggs.
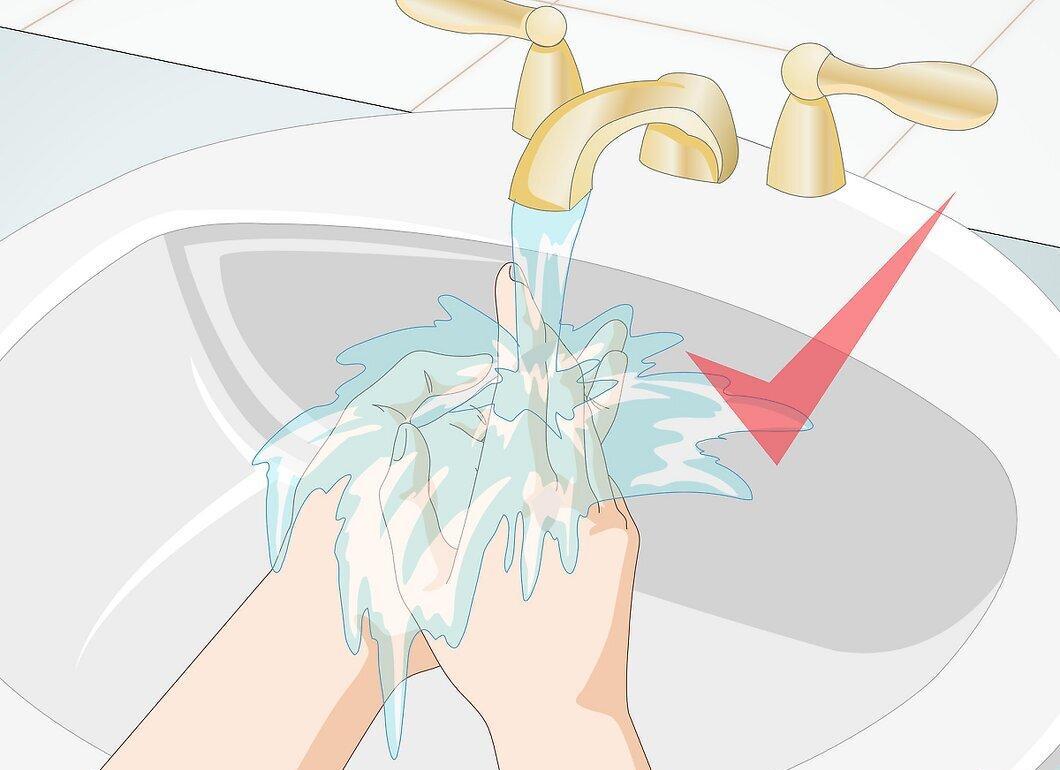
Wash your hands before handling the eggs. Yes, even when it comes to placing them in the incubator. The rule is: wash your hands before working with the eggs or the incubator (especially if the incubator is already clean). This will help prevent bacterial contamination of the eggs or the incubator.
Step 2. Warm the eggs to room temperature.
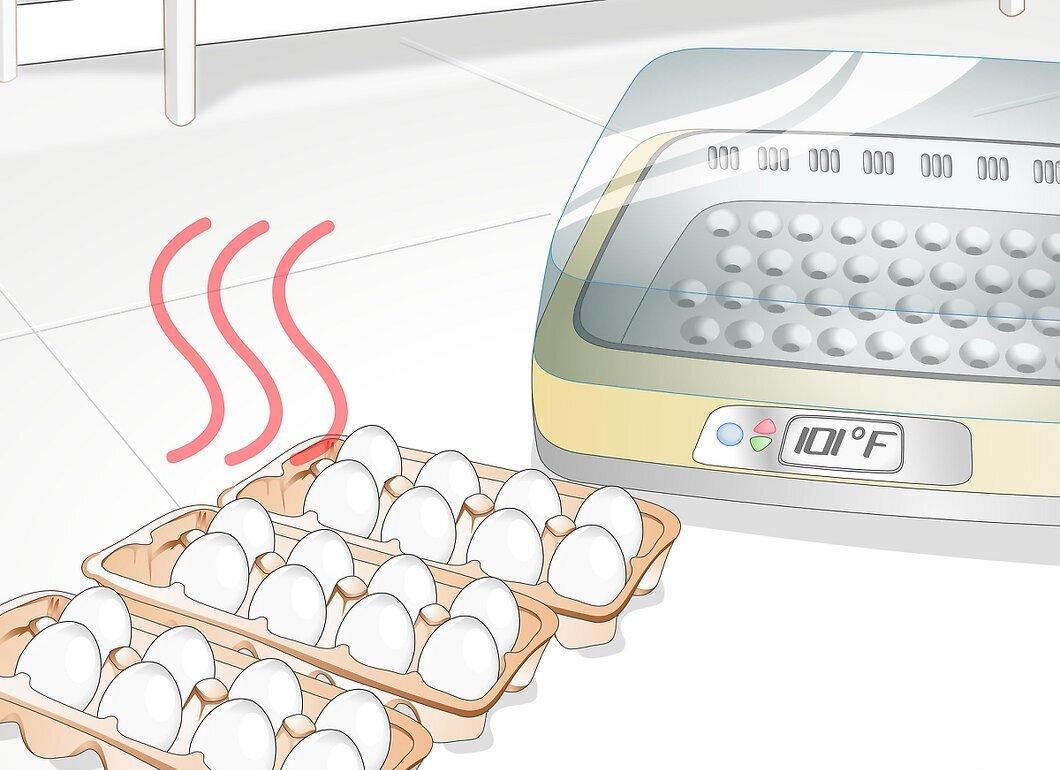
Warm the eggs to room temperature. Allowing the eggs to warm up will reduce the severity and duration of temperature drops in the incubator after you load the eggs.
Step 3. Mark each side of the egg.
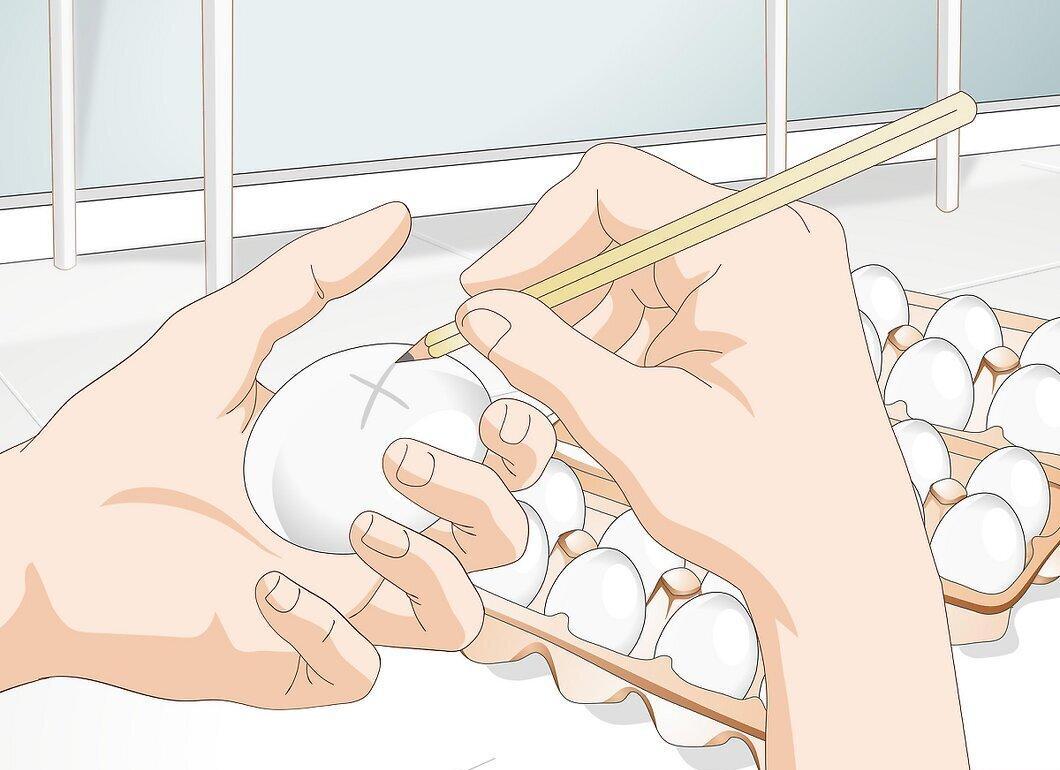
Mark each side of the egg. Take a pencil and gently mark one side of the egg with one symbol and the other side with another. This is to avoid confusion when it comes time to turn the eggs.
- Many people use X and O to mark the sides of the eggs.[14] X Source
Step 4. Carefully place the eggs in the incubator.
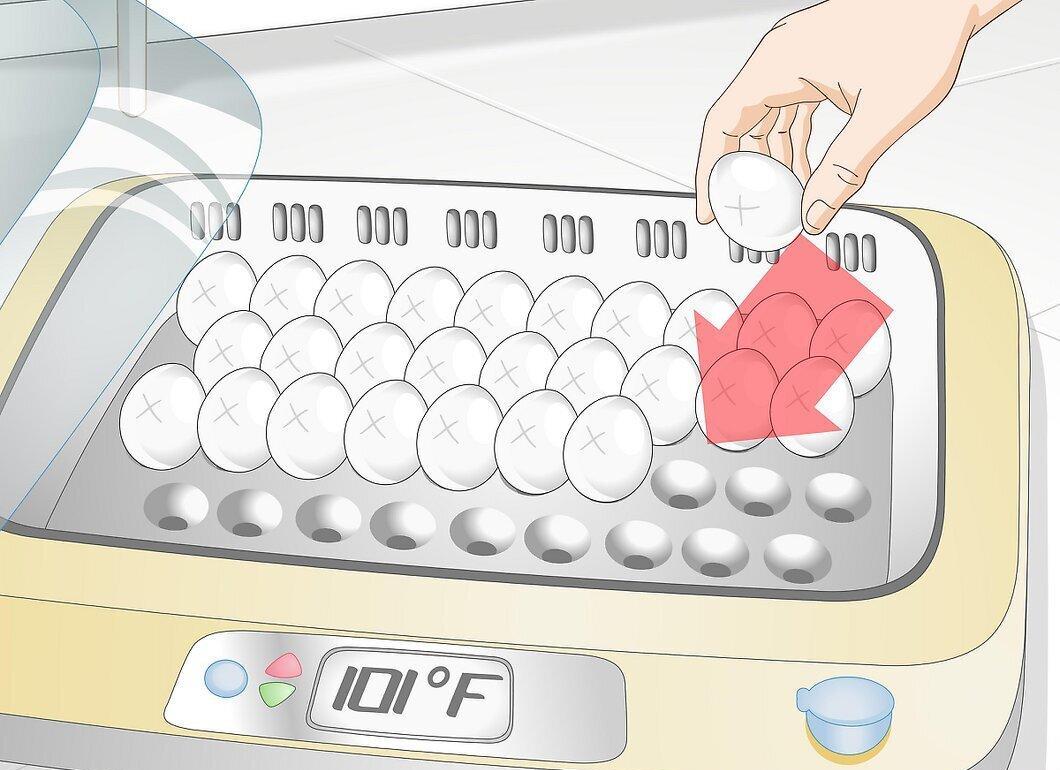
Carefully place the eggs in the incubator. Make sure the eggs are positioned correctly. The blunt end of the egg should be slightly higher than the pointed end. This is important—if the pointed end is higher, the embryo may shift, making it difficult for the chick to break through the shell when it’s time to hatch.
- Ensure that the eggs are spaced evenly apart and not too close to the edges of the incubator or its heating element.
Step 5. Allow the temperature to drop after loading the eggs into the incubator.
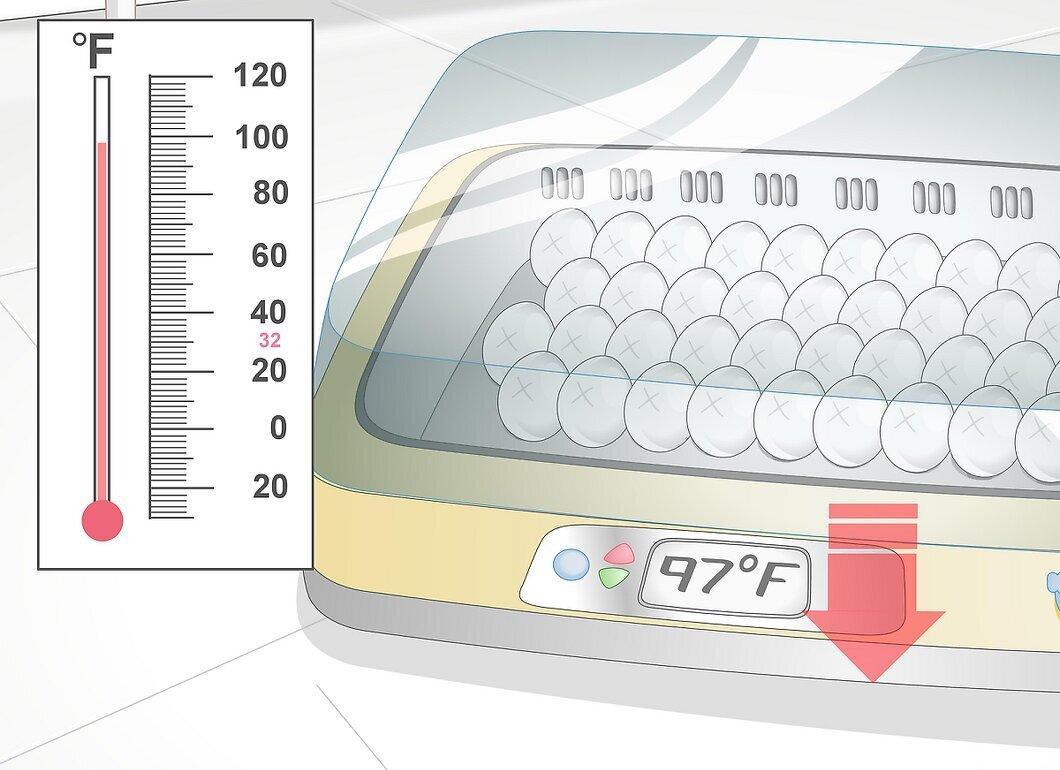
Allow the temperature to drop after loading the eggs into the incubator. Once the eggs are loaded, the temperature will temporarily drop, but if you've set the incubator correctly, it will soon return to normal.
- Do not raise the temperature to compensate for the drop; this could kill the embryos.
Step 6. Record the date and number of eggs loaded into the incubator.
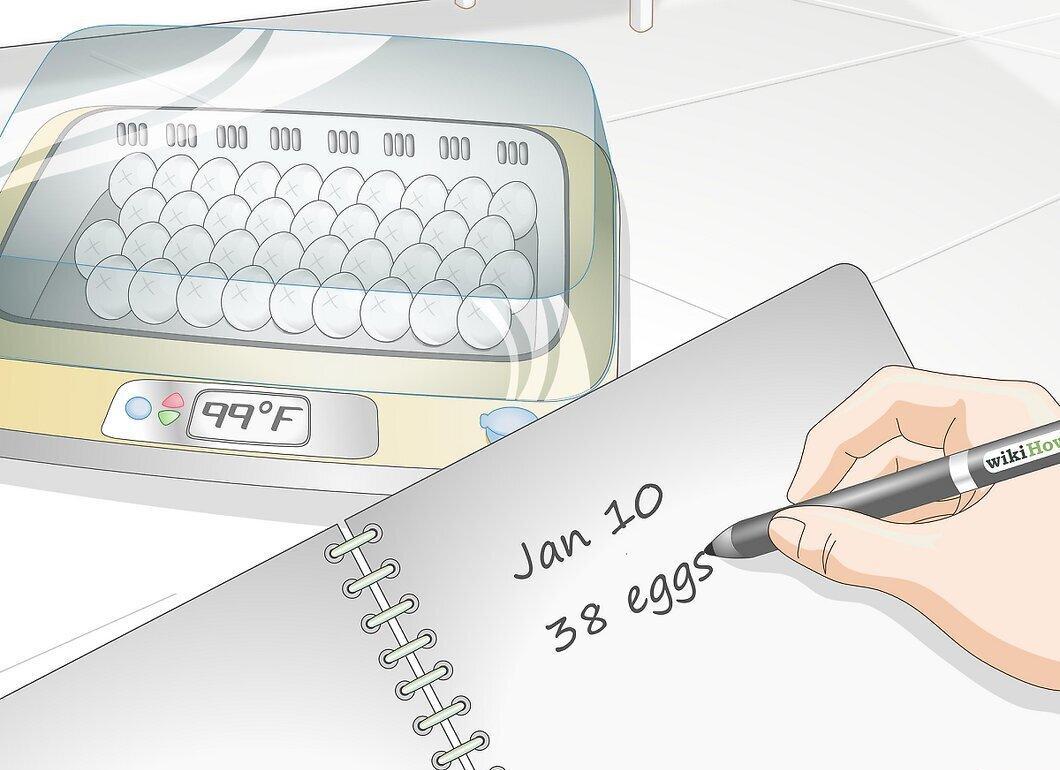
Record the date and number of eggs loaded into the incubator. You should be able to plan the incubation duration approximately based on the average incubation times for the bird species whose eggs you plan to hatch. For example, chicken eggs typically take 21 days to hatch, while duck and peacock eggs take up to 28 days.
Step 7. Turn the eggs at least three times a day.
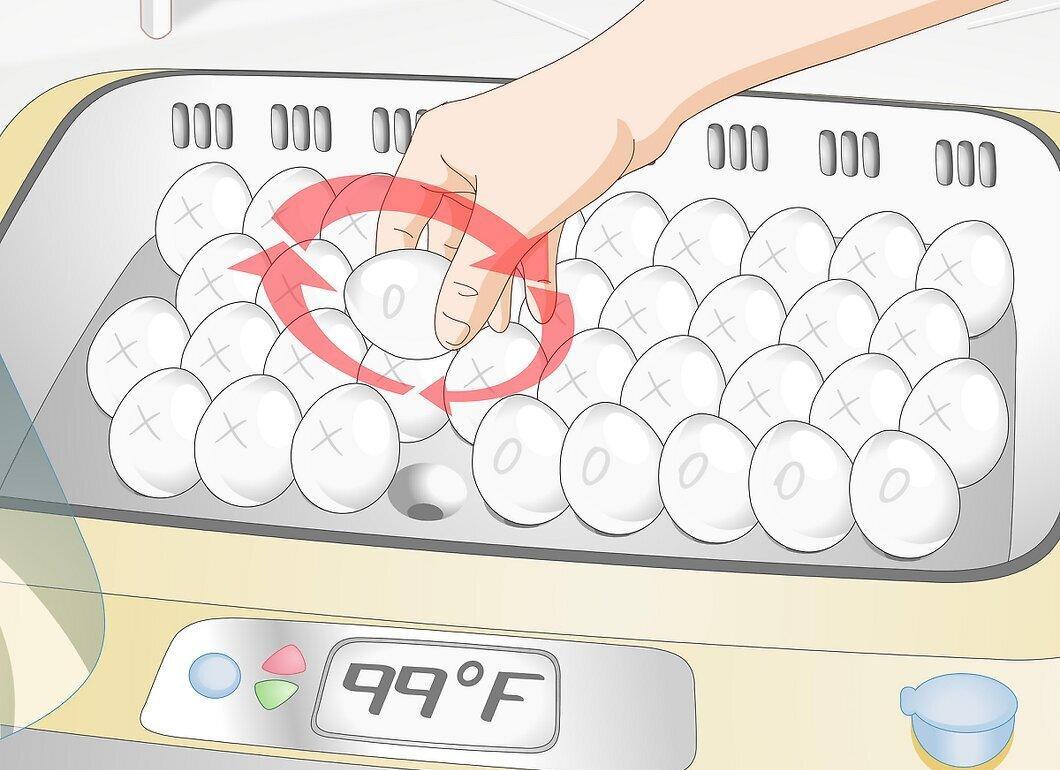
Turn the eggs at least three times a day. Turning the eggs and changing their positions within the incubator mitigates the effects of temperature differences in the incubator and mimics the behavior of a brooding hen.
- Turn the eggs an odd number of times each day. This way, the mark on the egg will change each day (after you turn the egg), making it easier to remember whether you’ve turned that particular egg today or not.
- While turning the eggs, check them for cracks and freshness. Discard rotten eggs or eggs with cracks as soon as possible.
- Move the eggs within the incubator to different locations.
- Stop turning the eggs during the last 3 days of the incubation period. By this time, the embryo will have developed into a chick, which will soon hatch, and turning the egg will no longer be necessary.
Step 8. Monitor the humidity level in the incubator.
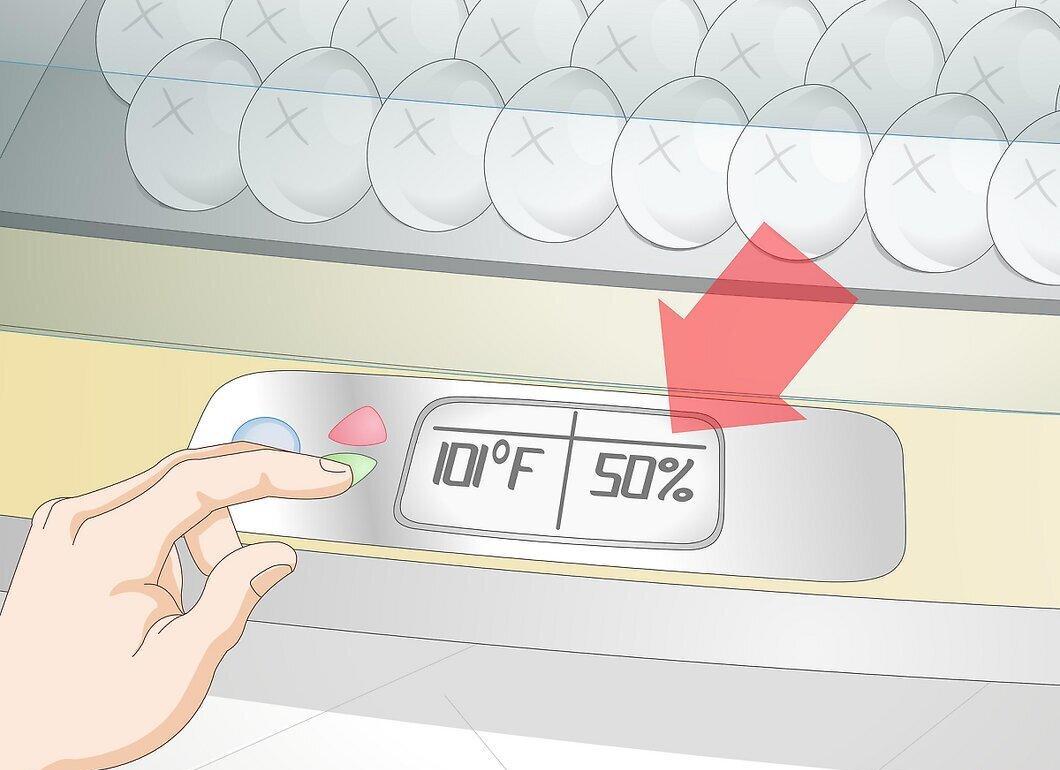
Monitor the humidity level in the incubator. Humidity should be kept between 45-50% throughout the incubation, except for the last 3 days—at this stage, you should raise the humidity to 65%. Depending on the bird species whose eggs you are hatching, you may need to either raise or lower the humidity level. Consult with the farmer from whom you purchased the eggs or refer to relevant literature on hatching your bird species.
- Measure the humidity in the incubator using a wet-bulb thermometer. Take readings from both the wet-bulb and dry-bulb thermometers simultaneously. Consult a psychrometric chart (in a book or online) to determine the relative humidity based on the relationship between the wet-bulb and dry-bulb temperatures.
- Regularly replenish the water in the incubator's humidifying trays; otherwise, the humidity level will drop to unacceptable levels. Always add warm water.[20] X Source
- Only add warm water.[21] X Source
- If you need to raise the humidity, add a sponge to the tray.[22] X Source
Step 9. Ensure adequate ventilation in the incubator.
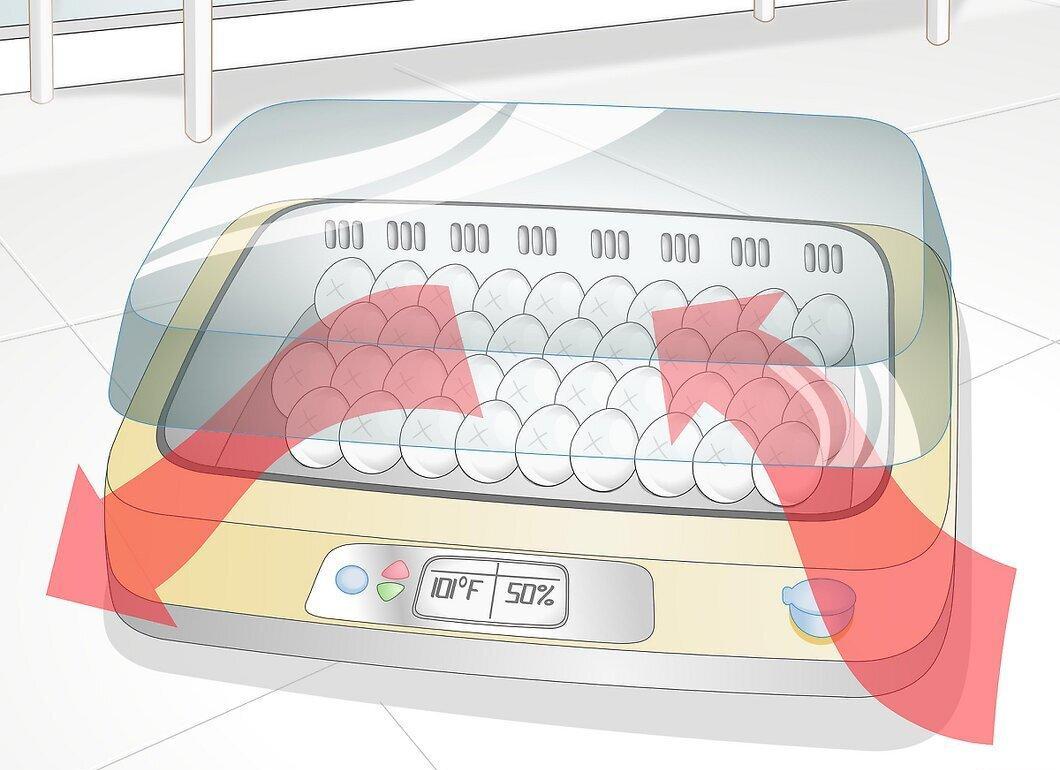
Ensure that the incubator has adequate ventilation. The incubator should have vents on the sides and top to allow for airflow; make sure these vents are at least partially open. When the chicks start to hatch, you will need to increase the airflow.
Candling the Eggs
Step 1. Candle the eggs after 7-10 days.
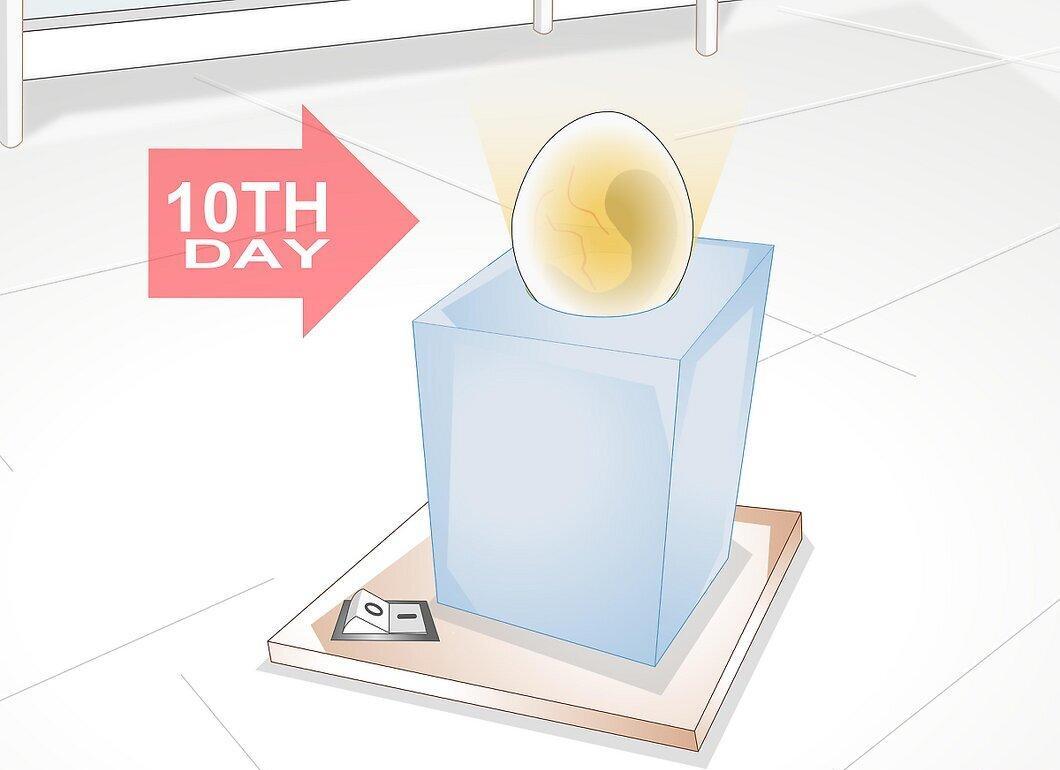
Candle the eggs after 7-10 days. Candling an egg means holding it up to a light source and observing how much space the embryo occupies within the egg. After 7-10 days, you should be able to see the embryo. By candling the eggs, you can remove any that are non-viable.
Step 2. Find a can or box suitable for the lamp.
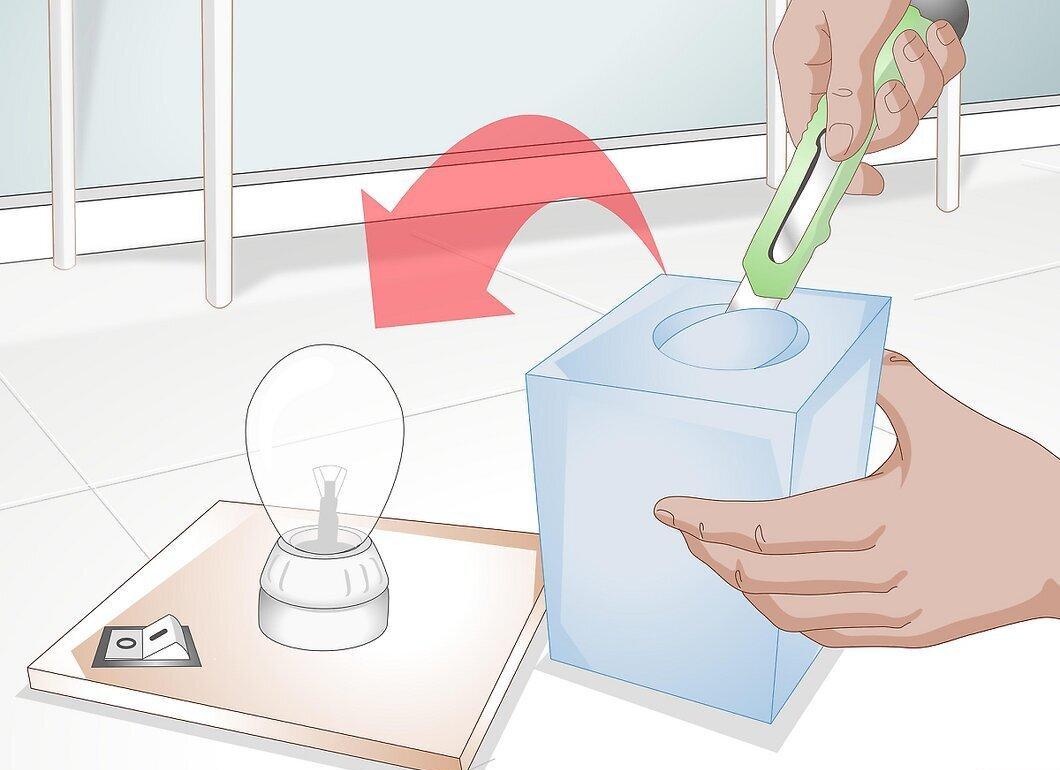
Find a can or box suitable for the lamp. Cut a hole in the can or box that is smaller than the diameter of the egg.
Step 3. Turn on the lamp.
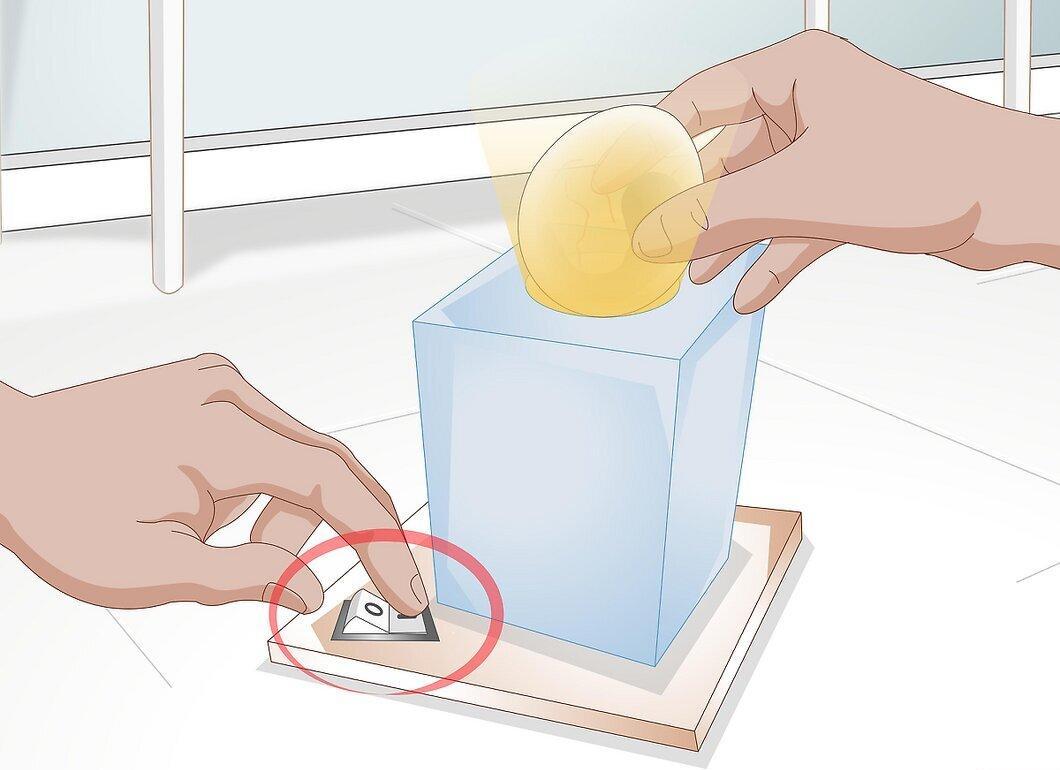
Turn on the lamp. Take one of the eggs from the incubator and hold it up to the hole. If the egg is clear, it means either the embryo hasn’t developed or the egg was never fertilized in the first place. If an embryo is developing, you should see a cloudy mass. The closer to the hatching date, the larger the embryo will be.
- If the egg appears clear, either the embryo has not formed yet or the egg was not fertilized at all.
Step 4. Remove all eggs from the incubator that show no signs of a developing embryo.
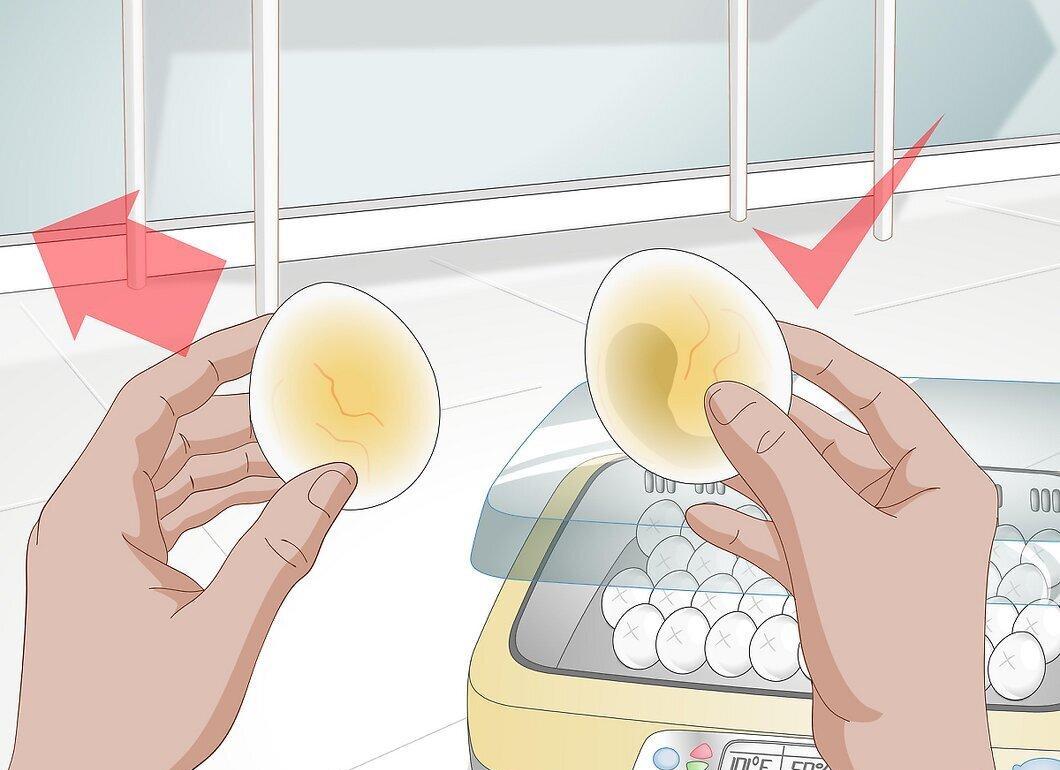
Remove all eggs from the incubator that show no signs of a developing embryo. These eggs are dead; do not expect to hatch chicks from them.
Hatching the Eggs
Step 1. Prepare for hatching.
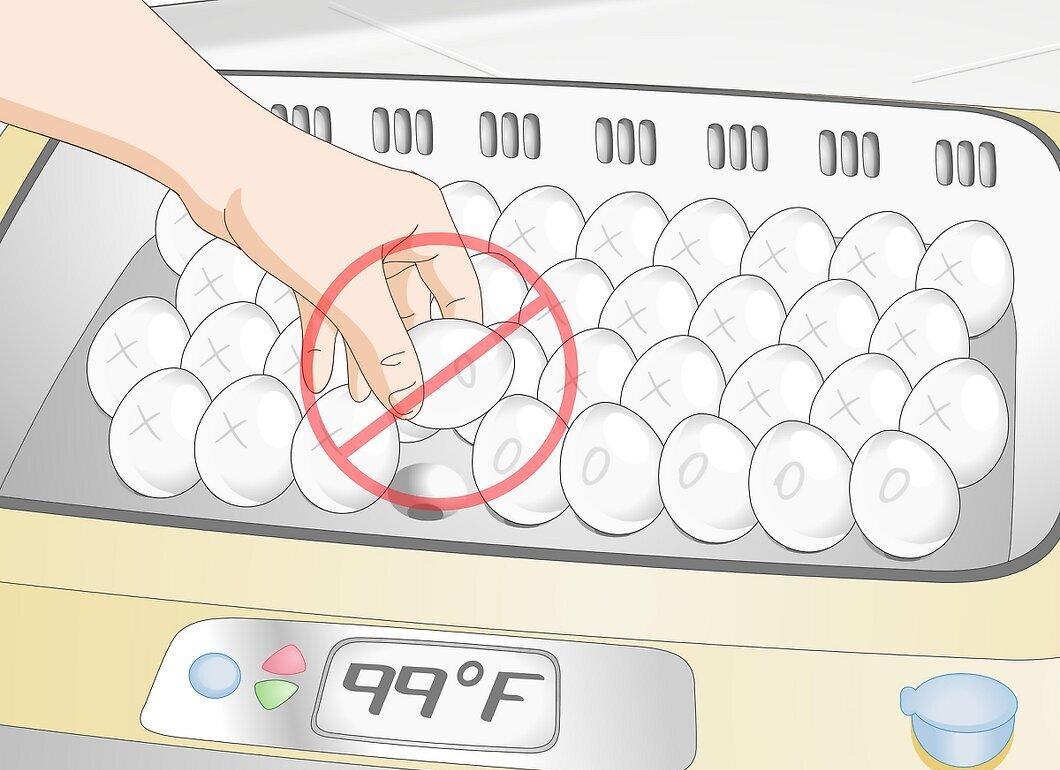
Prepare for hatching. Stop turning and moving the eggs during the last 3 days of the incubation period. The most viable eggs will hatch within 24 hours of the expected time.
Step 2. Before hatching, place gauze under the egg tray.
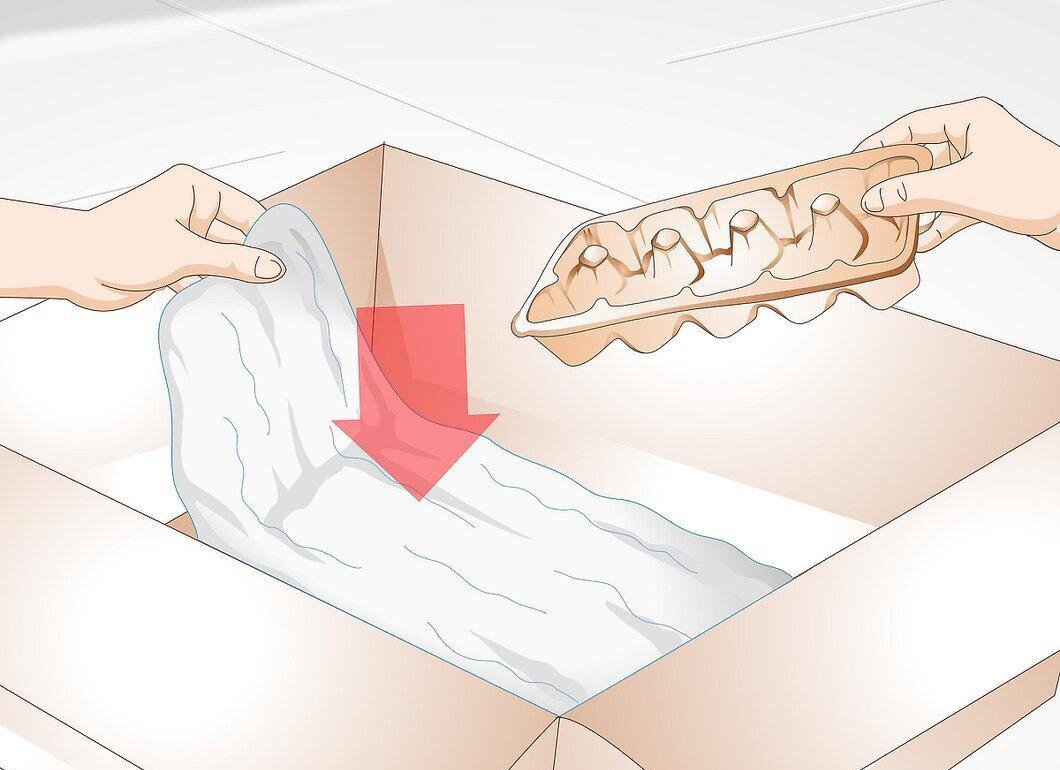
Before hatching, place gauze under the egg tray. The gauze will help catch pieces of shell and other debris during and after the hatching process.
Step 3. Increase the humidity level in the incubator by adding water or a sponge to the tray.
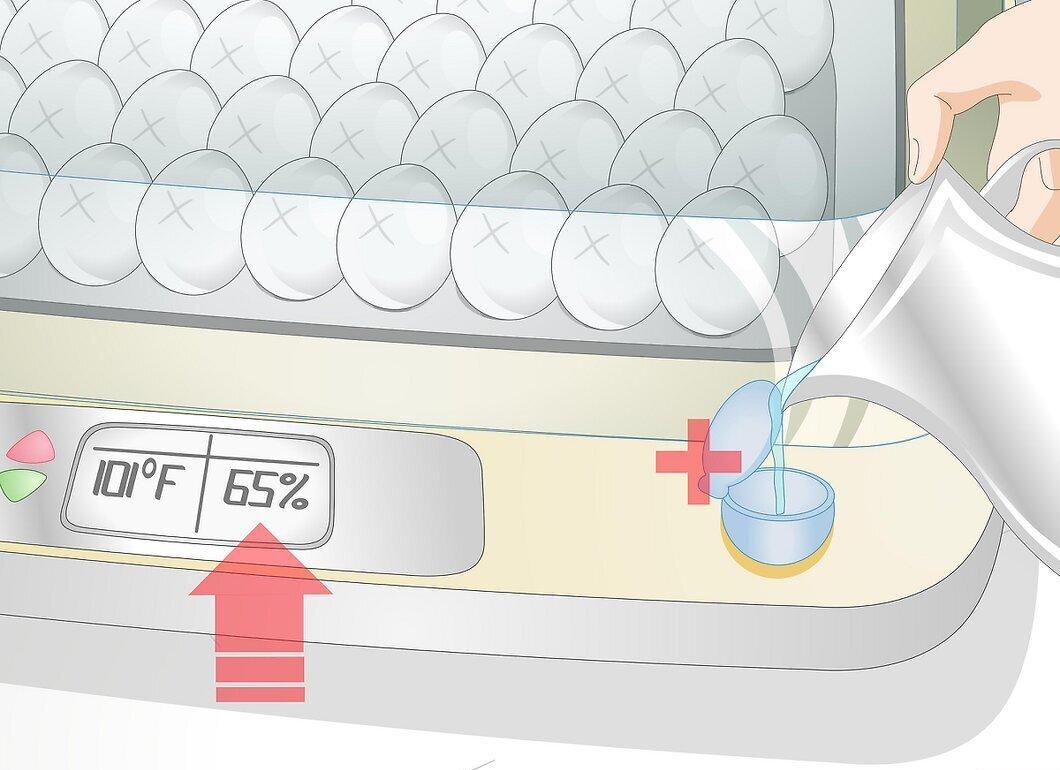
Increase the humidity level in the incubator by adding water or a sponge to the tray. The humidity should reach 65%.
Step 4. Keep the incubator closed while the chicks are hatching.
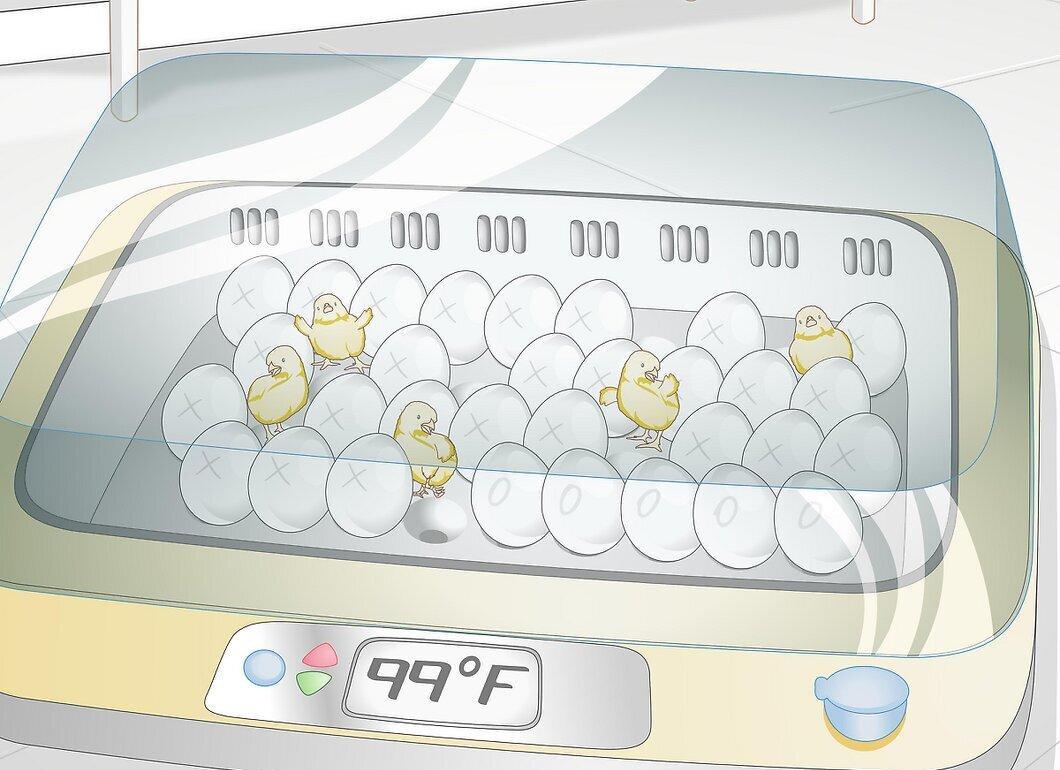
Keep the incubator closed while the chicks are hatching. For three days before the expected hatch date, do not open the incubator.
Step 5. Move the dried chicks to a prepared area.
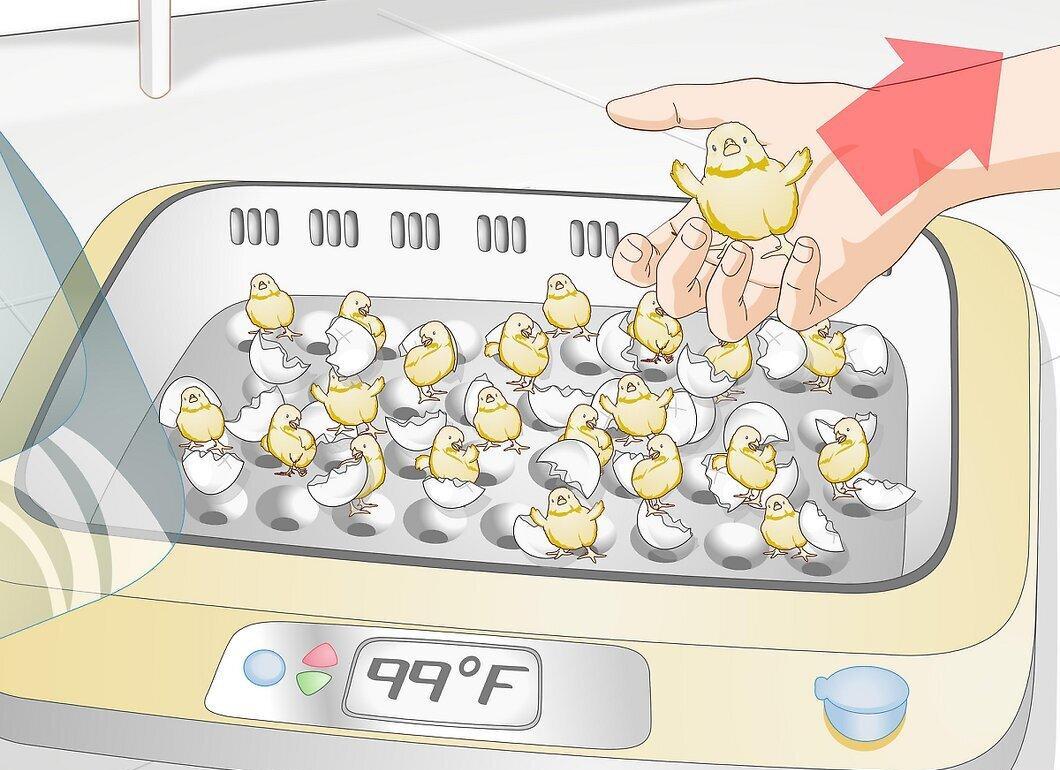
Move the dried chicks to a prepared area. It’s very important to leave the chicks in the incubator until they are completely dry. You may also leave the chicks in the incubator for an additional 1-2 days, but in this case, lower the temperature to 35 degrees Celsius.
Step 6. Remove the eggshells from the incubator and clean it.
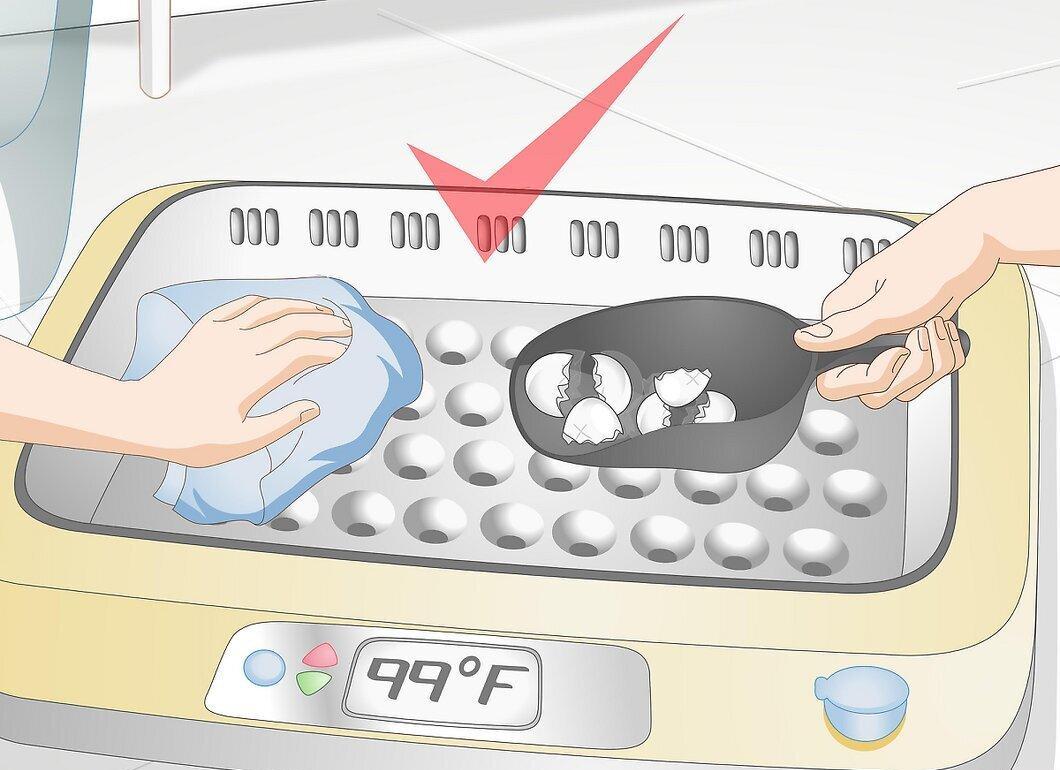
Remove the eggshells from the incubator and clean it. With a clean incubator, you can start all over again!