You don't have to spend a fortune on vampire fangs. With fake nails, dental wax, or just a straw, you can kickstart your carnival, Halloween, or simply a Tuesday afternoon without breaking the bank. Check out the first step of any method to get started!
Using Fake Nails
Step 1. Buy a Pack of White Fake Nails.
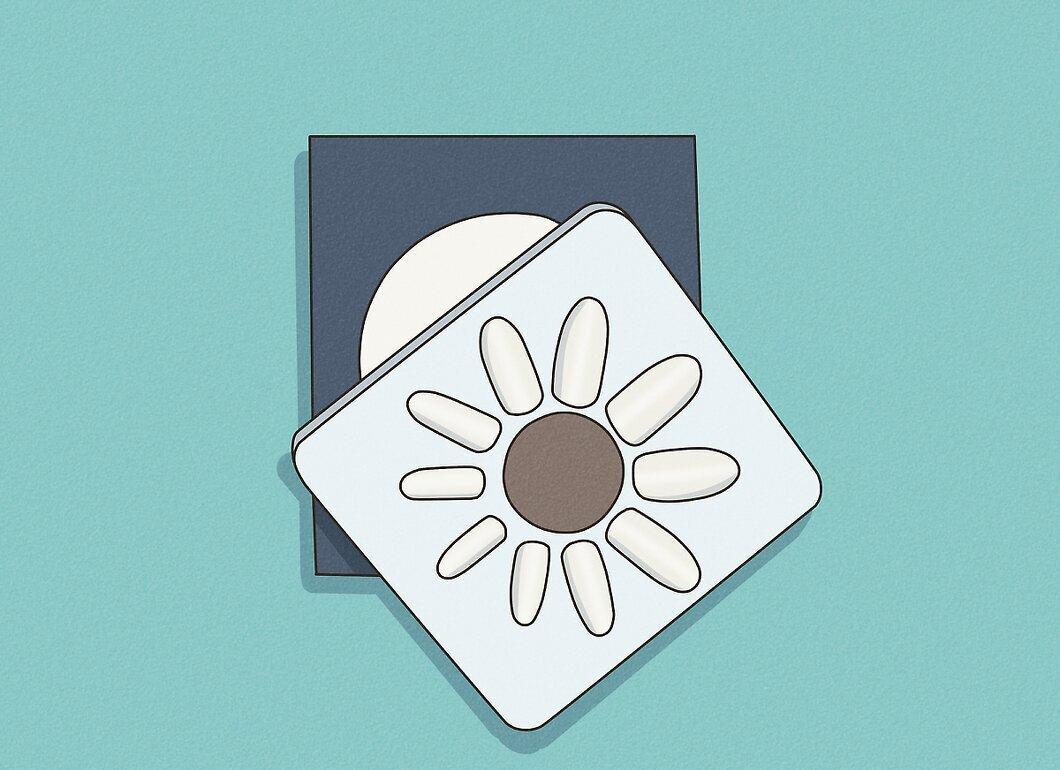
Purchase a pack of white fake nails. The closer they match the natural color of your teeth, the better. You can paint them, but that might not taste great and could wear off with saliva. If you can't find white ones, look for a light beige sample.
- A standard pack from a pharmacy will do – you don't need anything special! In any case, you'll only need two from the pack.
Step 2. Choose Nails That Fit the Size of Your Canines.
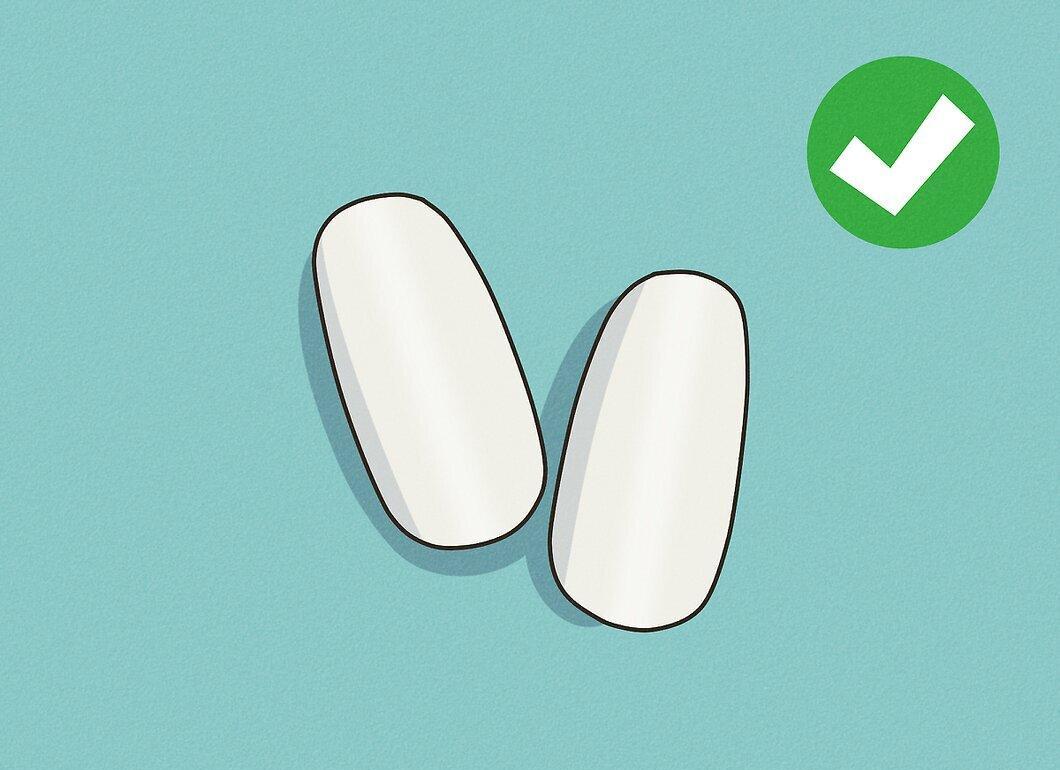
Select nails that match the size of your canine teeth. There will be different sizes in the pack, so choose the ones that are similar in size to your teeth – those that are already somewhat pointed. Some people can even bite with fake nails just like real fangs. Can you attach them without help?
- If you want, you can place them on your lateral incisors (the ones to the right and left of your two front teeth). Some say this makes them more visible and looks better.
Step 3. File Them Down to the Desired Size.
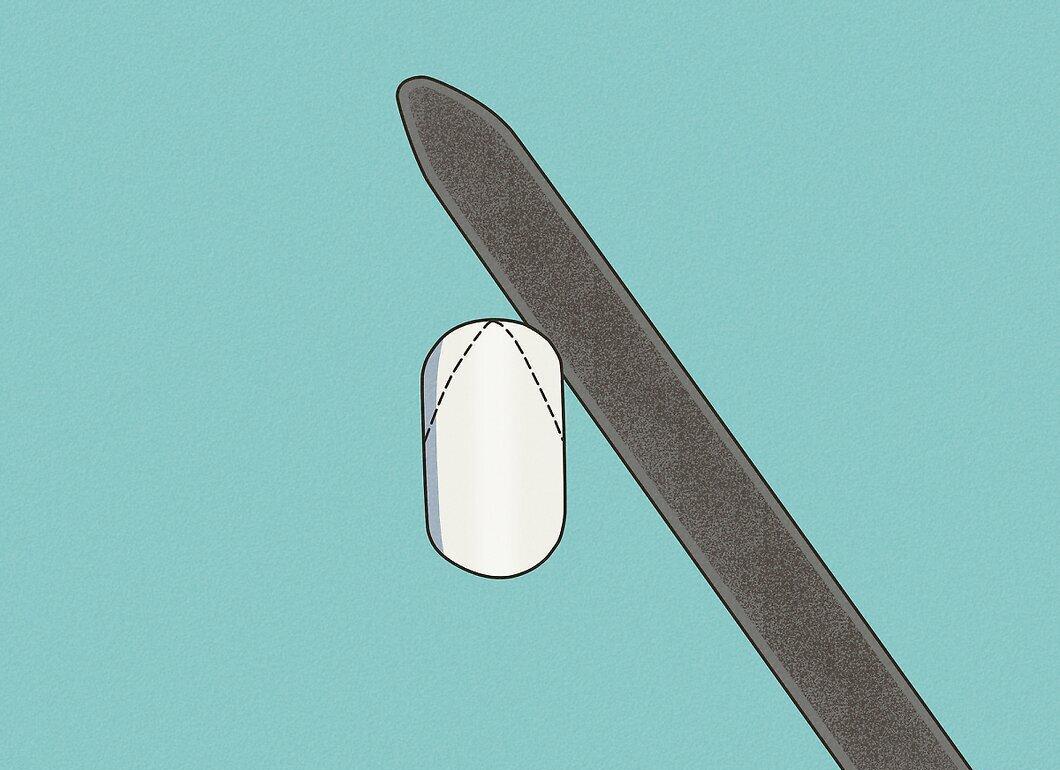
File them down to the desired size. You can use nail scissors if you're short on time or too impatient, but filing is better. You can make them as sharp as you want, as long or as short as you want, just make sure they are both even!
Step 4. Attach Them with Denture Adhesive.
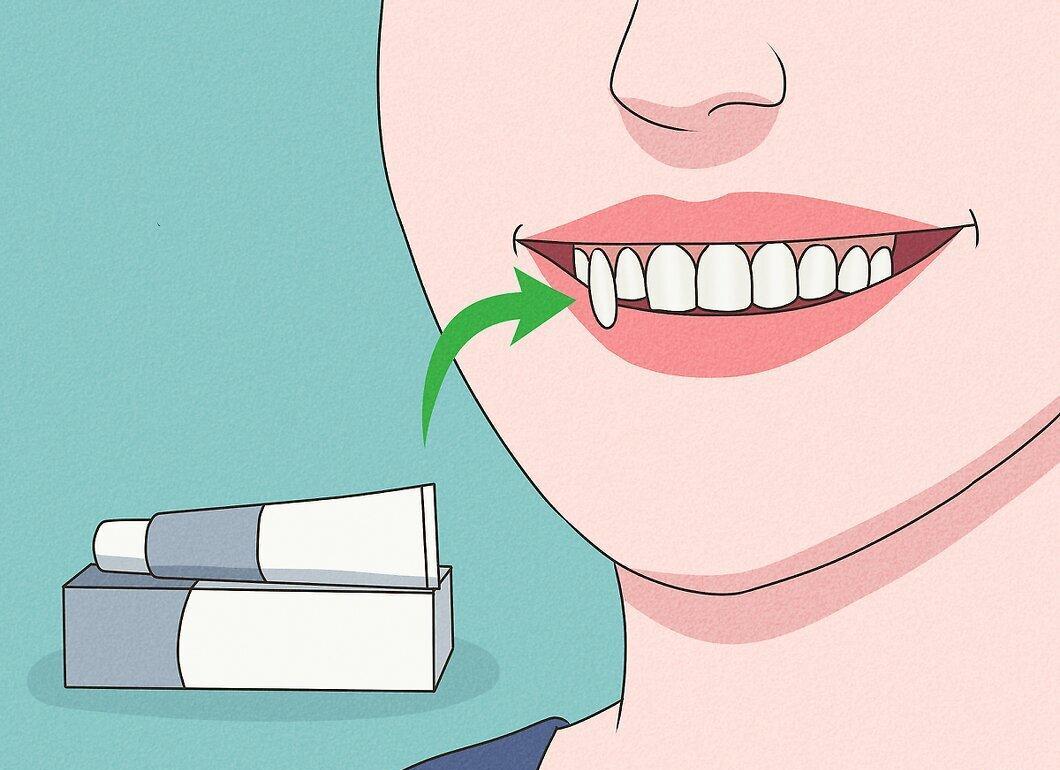
Attach them using denture adhesive. You don't need much – just a drop. Any color will do, but it’s better if you can find white or light-colored adhesive.
- Do not use nail glue. Or super glue. Or any other glue of that nature. Not only is it toxic, but you also won’t be able to remove nails glued to your teeth.
- They hold up well while talking and sipping carefully, but try not to eat much with them. You don’t want to swallow your nails!
Using Dental Wax
Step 1. Take a Small Amount of Dental Wax and Roll It into a Ball.
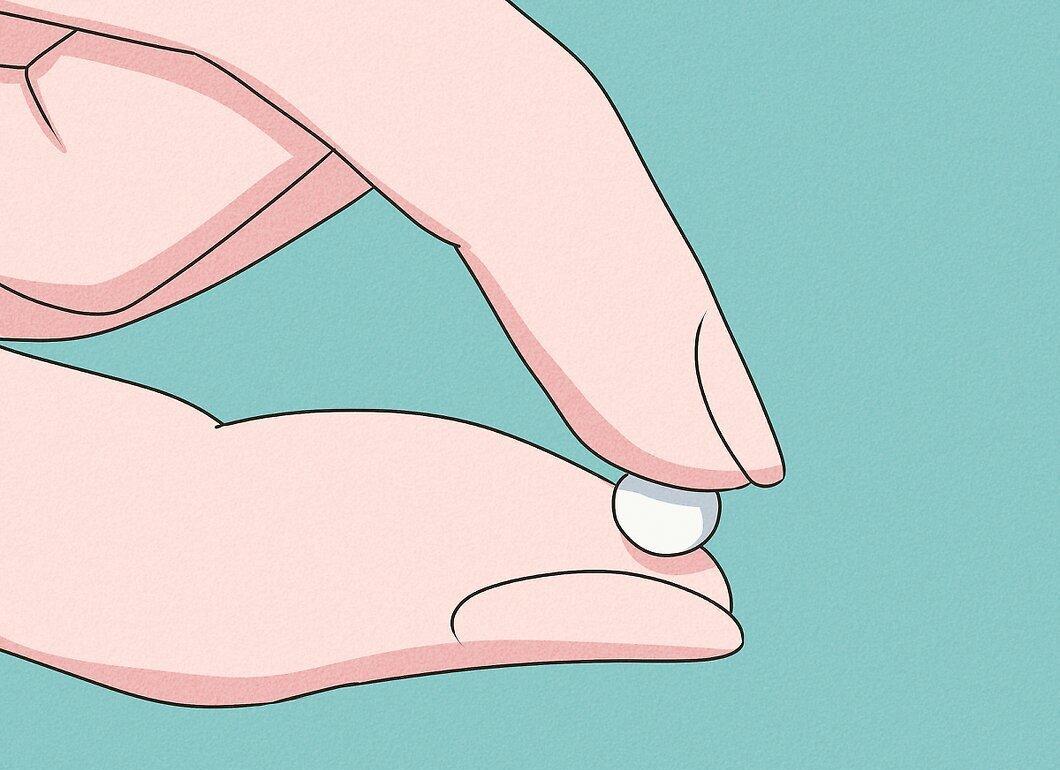
Take a small amount of dental wax and roll it into a ball. About the size of half a pea. Wax can be found not only at dentists! You can buy it at most stores in the dental care aisle, near the toothpaste. Who knew?
Step 2. Apply the Wax to Your Canine Tooth.
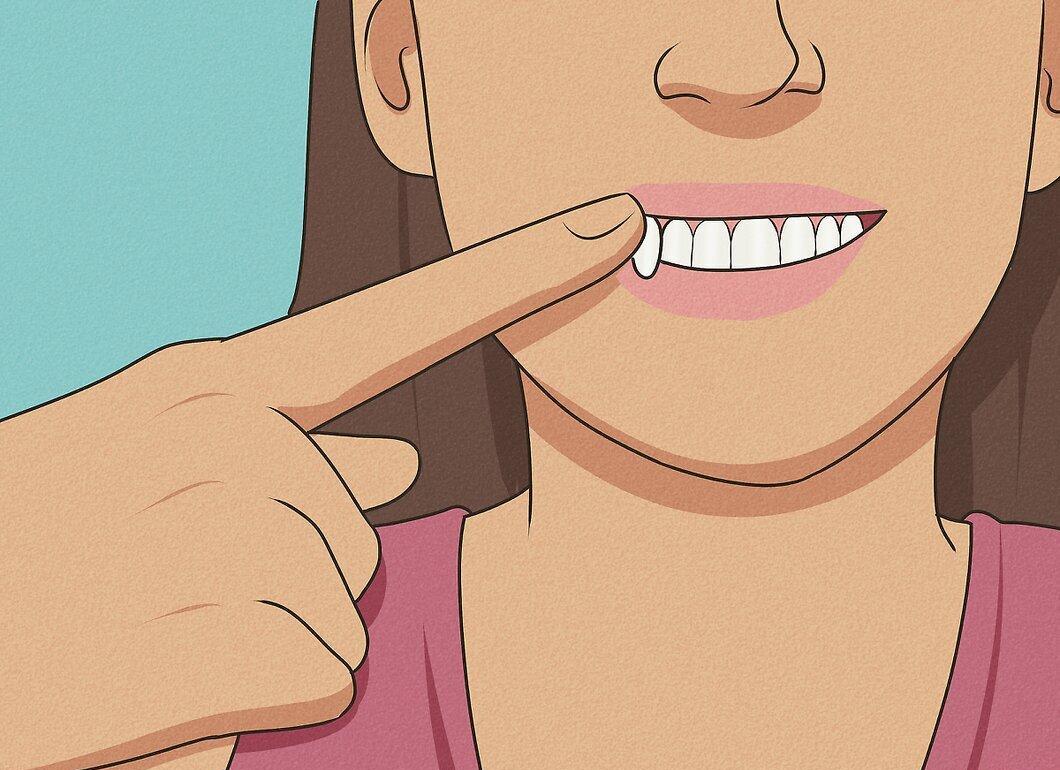
Apply the wax to your canine tooth. Shape it into something resembling a fang. How big and scary do you want it? Just make sure it’s not too big to talk!
Step 3. Bite Down on the Wax to Shape the Tooth at the Back.
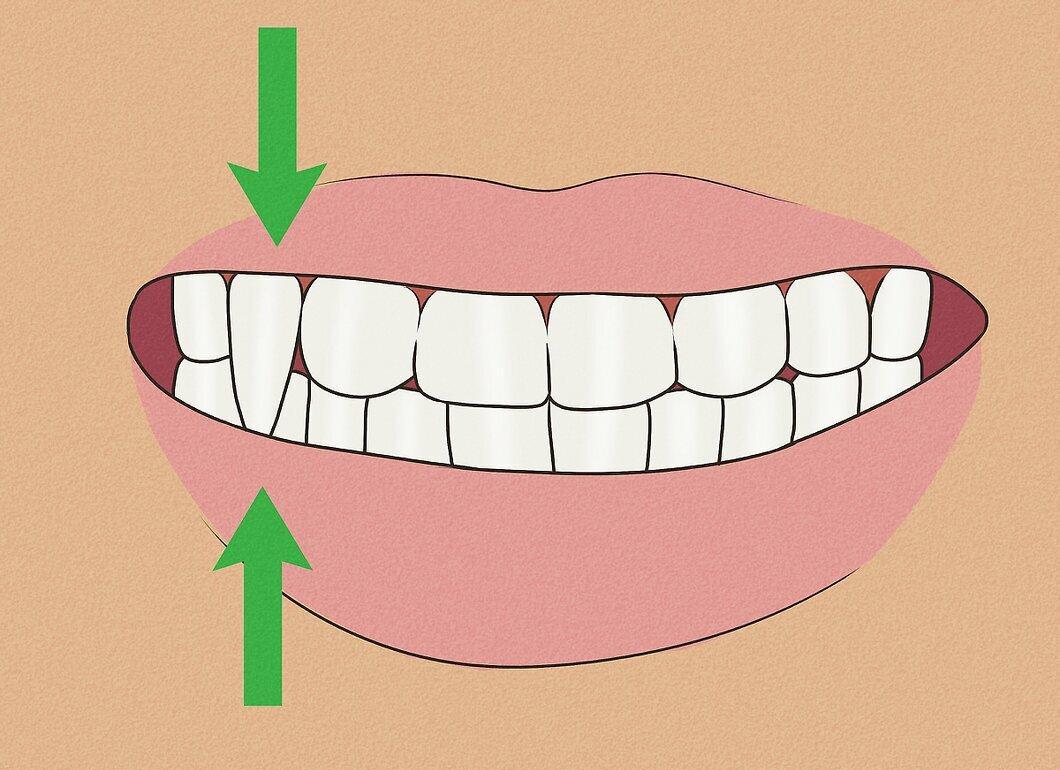
Bite down on the wax to shape the tooth at the back. Make sure it fits correctly in your mouth. If it doesn't, you won't be able to close your mouth without pushing the tooth out. You need to be able to talk!
Step 4. Suck on the Wax Slightly to Create a Vacuum.
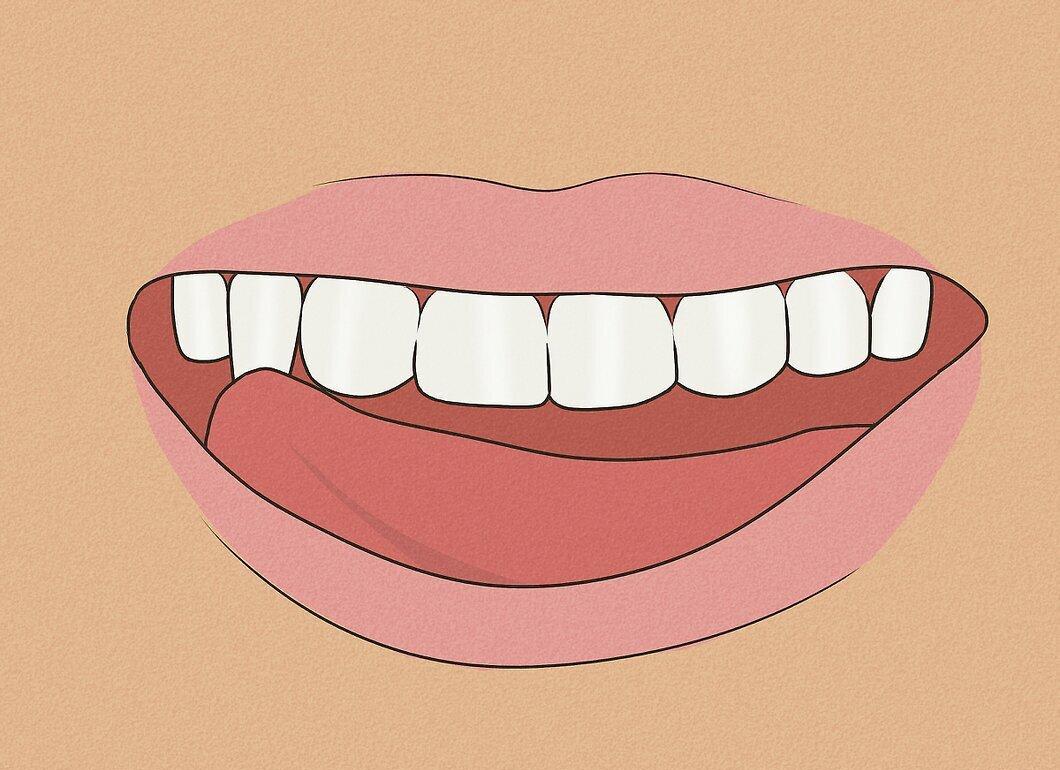
Suck on the wax slightly to try to create a vacuum. This will help the wax stick better in your mouth. The last thing you want is for it to wiggle, fall out, or make you lisp.
- That’s why vampires who talk like that aren’t frightening. You need to be terrifying!
Step 5. Repeat the Same for the Other Side of Your Jaw.
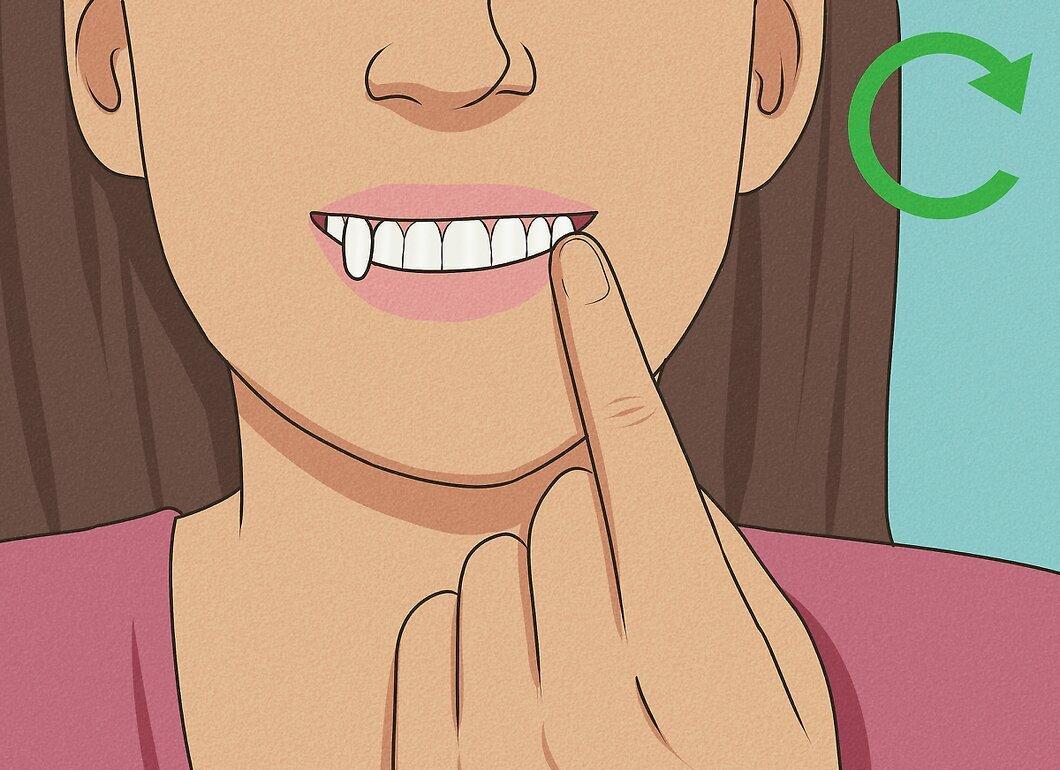
Repeat the same for the other side of your jaw. Then start scaring everyone around, biting their necks, and so on! Just try not to chew with those teeth – the adhesive might break if you start munching popcorn, and your fang-tastic popularity will vanish.
Using a Straw
Step 1. Cut a Small Piece of Straw Near the Bend.
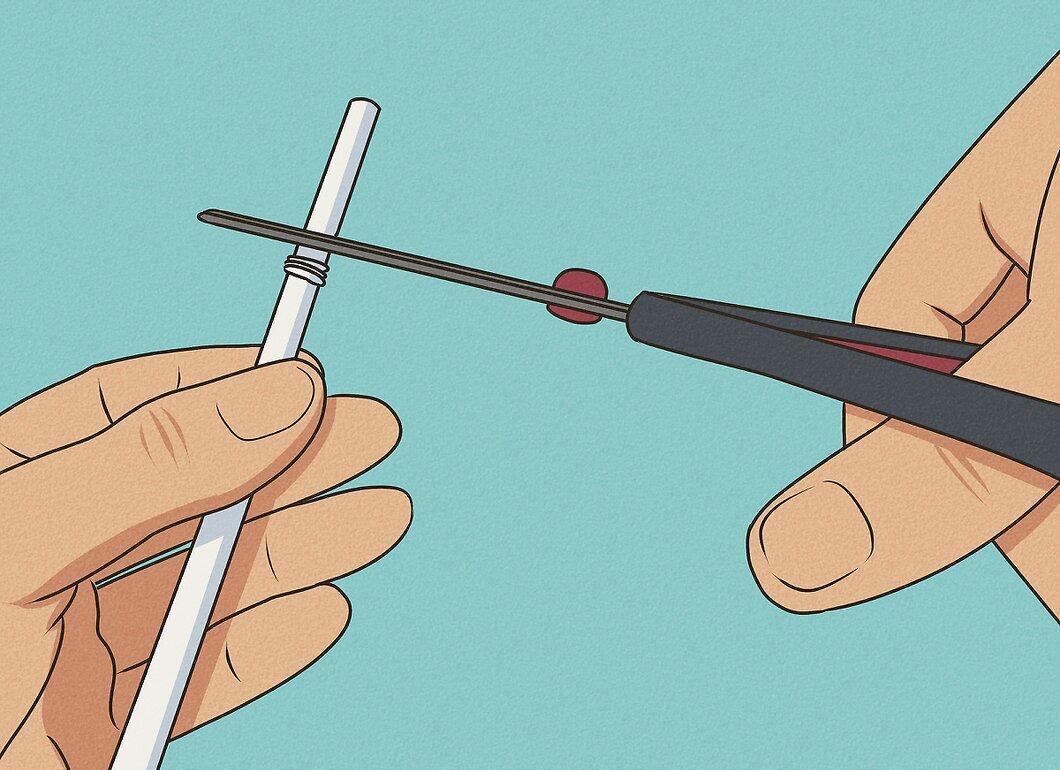
Cut a small piece of straw near the bend. You can use a straight straw, but the main advantage is the correct size. Isn’t there at least one that fits? Cut a piece about 2 inches (5 cm) long.
- Naturally, you’ll need a white straw. Red stripes might look like blood, but only the dullest bulbs can be fooled.
Step 2. Fold It in Half and Cut the Loose Ends to a Point.
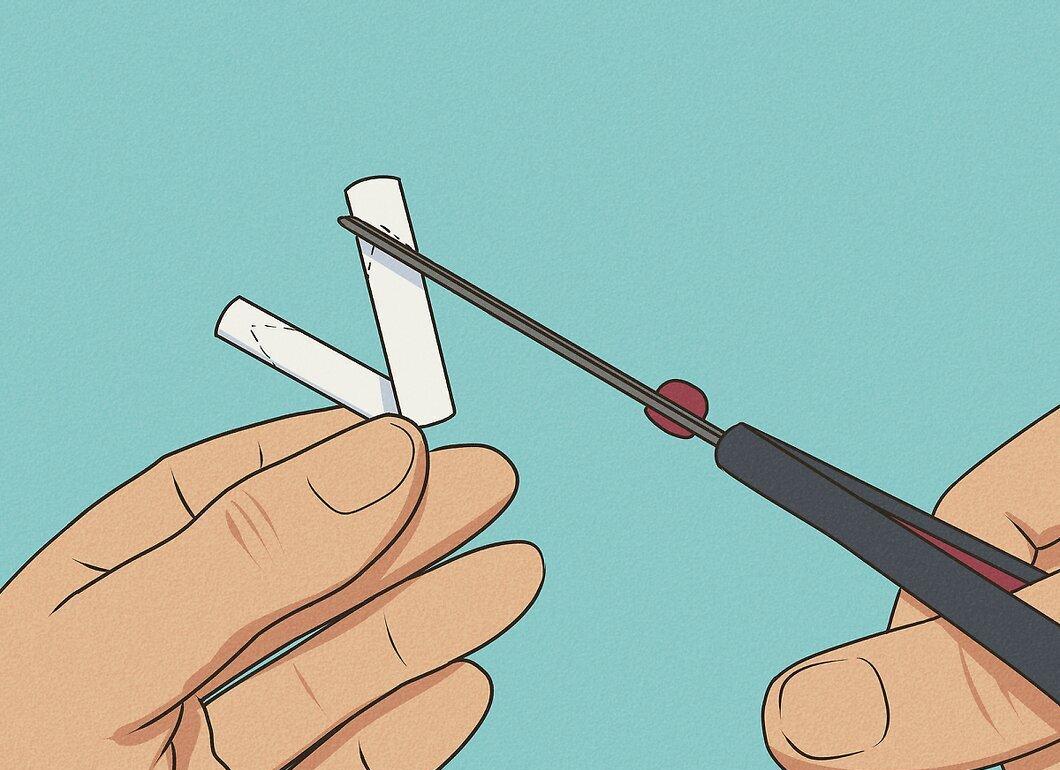
Fold it in half and cut the loose ends to a point. Fold it in half to make a crease, and cut each end into a point. You can make it super sharp and long or very thin. How steep of an angle do you want?
- Do this on both sides of the straw, top and bottom.
Step 3. Split Them and Cut One Side.
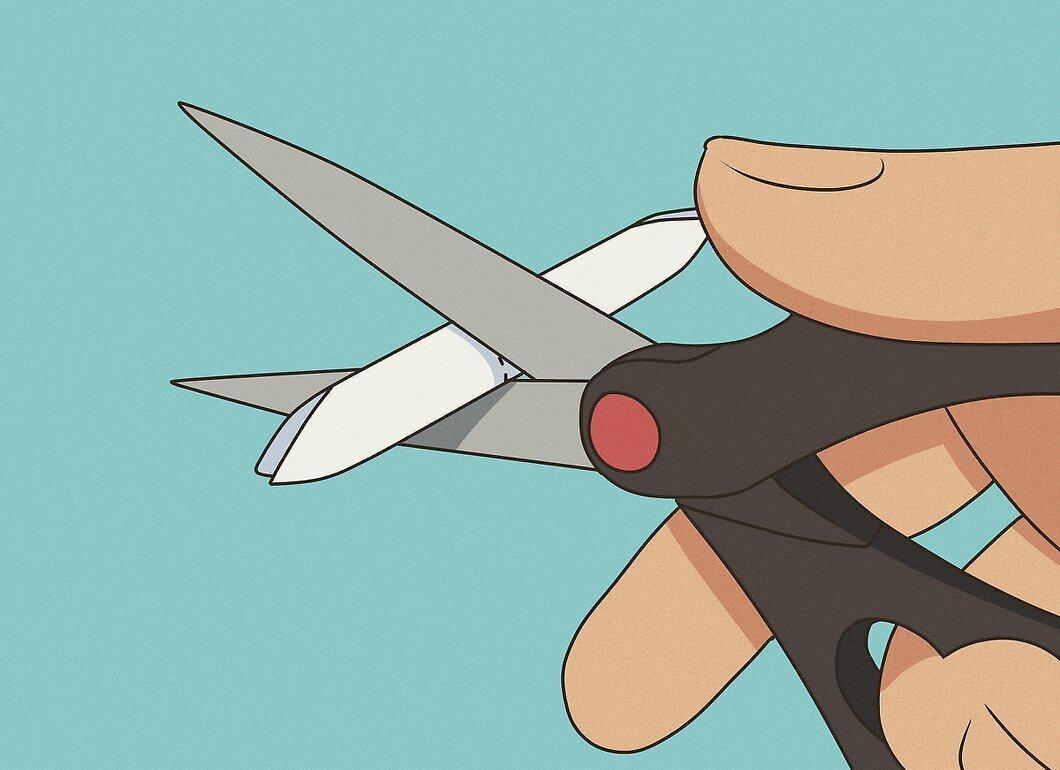
Split them and cut one side. They should be thin enough to break without much force. Now you have two fang-like tips for your teeth. Instead of cutting the back of the straw, leave it as it is; it can wrap around your teeth.
- Leaving both sides allows for different fangs on each tooth. Thus, the tooth will have part of the straw wrapped around it, while the fang will simply stick out in front.
Step 4. Place Them on Your Canines.
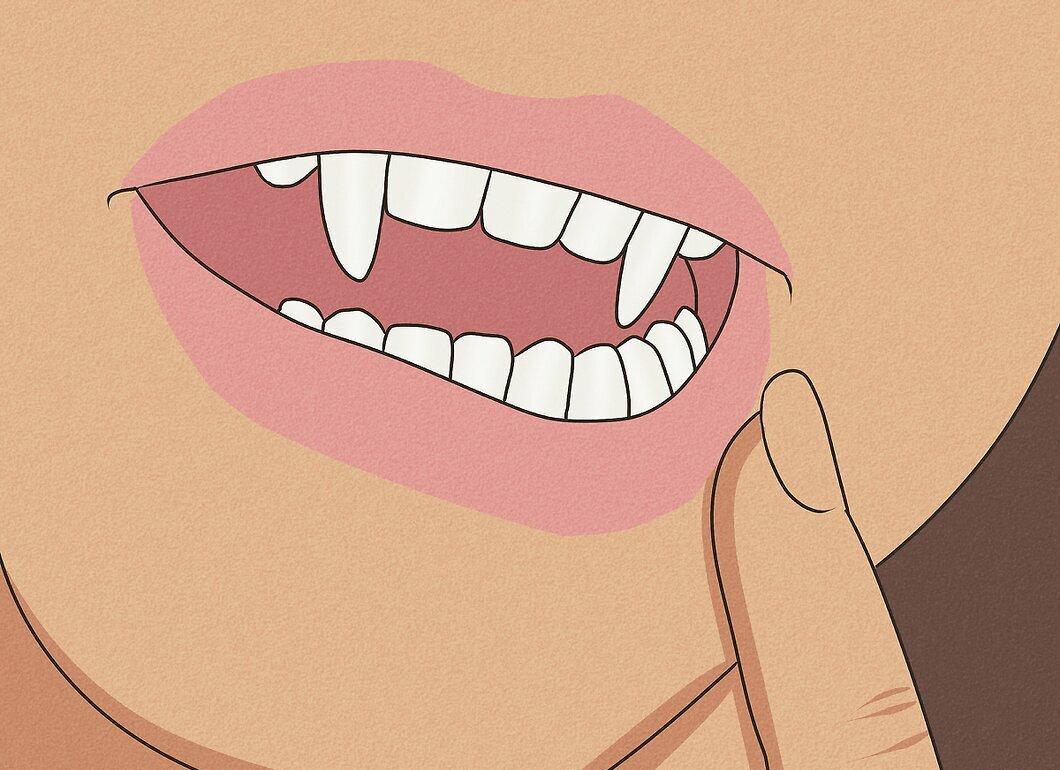
Place them on your canines. Those teeth are naturally somewhat pointy. You can attach them to other teeth if you want, but that won’t look as much like a vampire. They’re not super strong. You’ll be able to talk and drink (perfect with a straw), and if you’re going to eat, try to do it with the back of your jaw. The trick is that they’re very easy to take off and put back on!