You can easily craft an elegant lampshade or lamp cover using only plastic spoons and a container. When joined together, the spoons create a delightful piece of art that could cost a pretty penny if you were to buy it in a store. This project requires a bit of patience and time, but the result will certainly be worth your effort.
Part 1
Step 1. Choose Your Plastic Spoons.
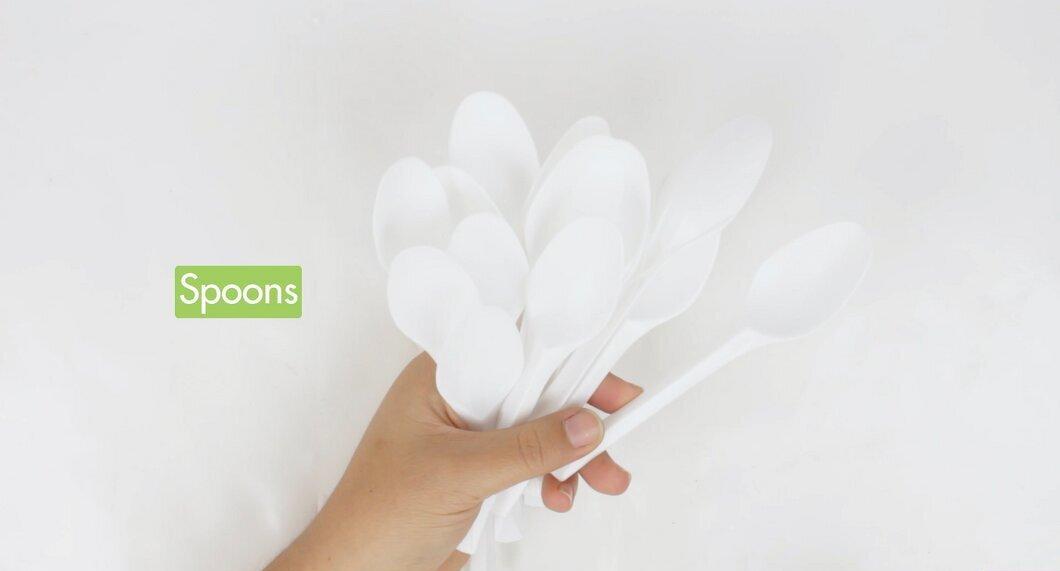
Find suitable plastic spoons. If you already have a stash in your drawer, great! If not, you can easily purchase them at discount stores, supermarkets, or street markets. For your first project, simple white spoons are best, as they blend seamlessly into any decor. If you have a favorite color, make sure all the spoons are in the same shade.
- Choose spoons of the same size, but if you know how to work with different sizes, feel free to experiment. If you decide to use various sizes, plan your lampshade design in advance to avoid unexpected surprises.
Step 2. Separate the Spoon Bowls from the Handles.
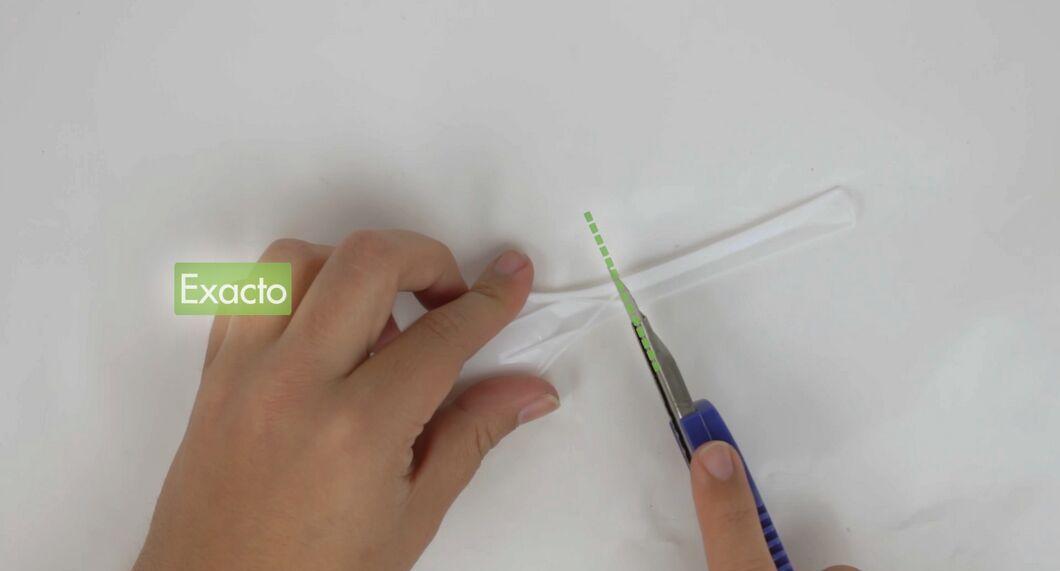
Detach the bowls from the spoons. You will only need the bowl part, without the handle. Place the spoon on a flat surface suitable for cutting (self-healing mats work perfectly). Use an Exacto knife to carefully cut the handle away from the bowl. Gently run the knife along the base of the handle, trying to make a clean cut. Over time, you will get the hang of it; just discard any spoons that turn out uneven.
Step 3. Gather the Spoon Bowls.
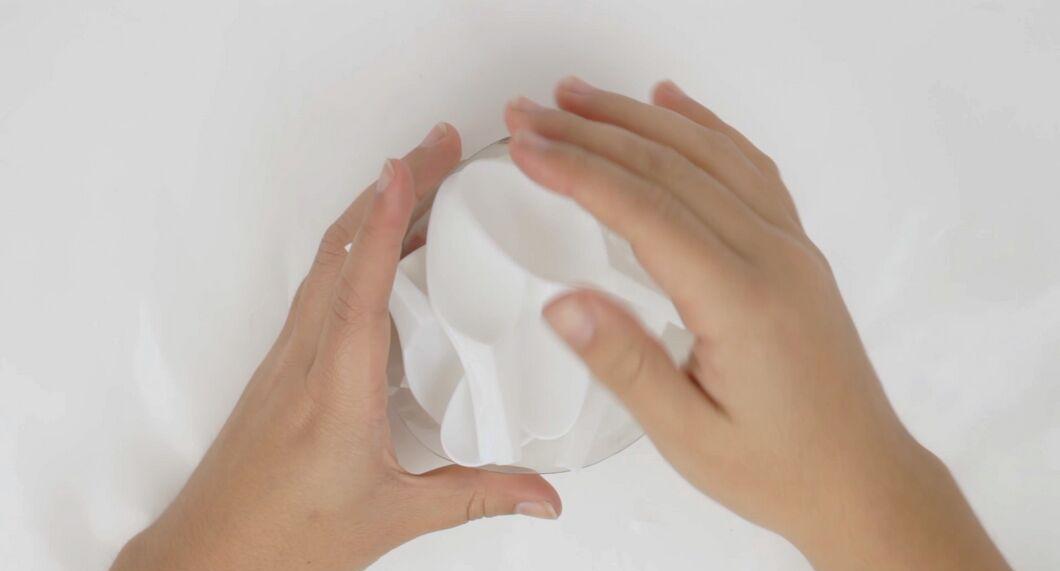
Collect the spoon bowls in a single container or cup. For convenience, you can use a large storage container. Don't rush to throw away the handles—they might come in handy for decorating the lampshade or lamp later.
Step 4. Prepare the Base for the Lampshade or Lamp Cover.
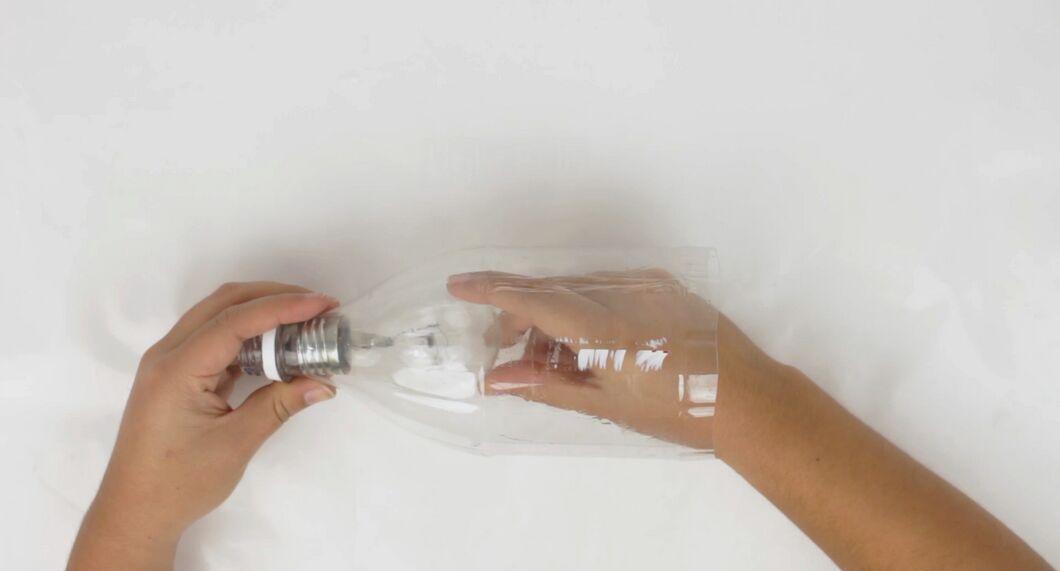
Choose the base you will work with. You have two main options: revamp an existing lampshade or create a new one from a plastic container. If you choose to use a container:
- Clean and dry it thoroughly. Any large plastic vessel will do (just don't remove the lid yet).
- Cut the bottom of the container with an Exacto knife. This will be the part that faces down. Insert a light bulb to ensure it fits without touching the edges; if it doesn’t, try a different container.
- If you are using a pre-made lampshade, make sure it is clean. A clean surface will help the spoons adhere better. Wipe it down with a damp cloth or use a mild soapy solution to remove any grime. Allow the lampshade to dry before you start working.
Step 5. Decide on Your Desired Pattern for the Lampshade.
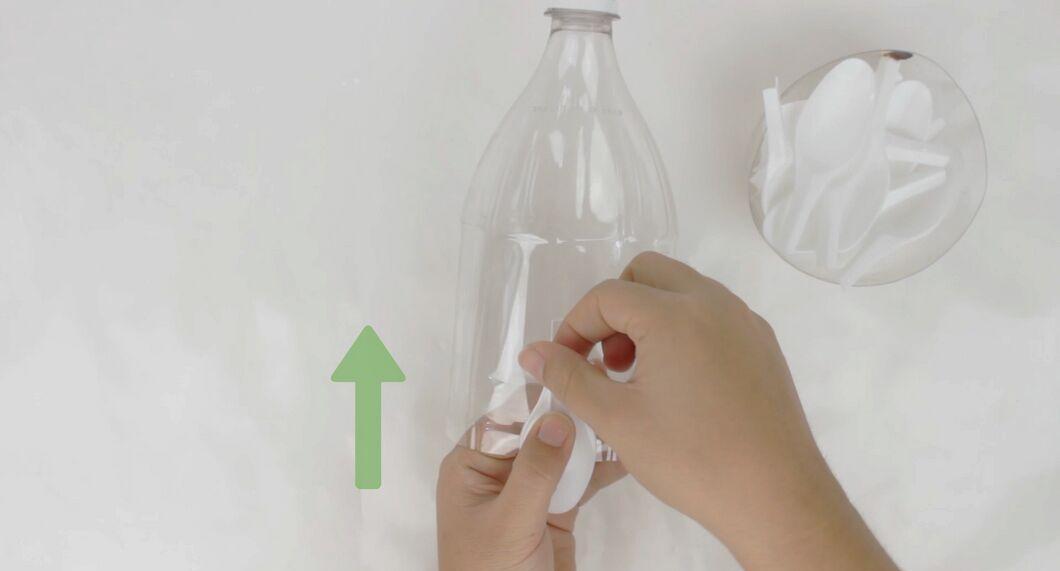
Decide on the pattern you want to create. Using the tops of the spoons, you can make a crisscross pattern, a shell-like style where each spoon slightly overlaps the previous one, or glue them face up. To start, simply lay out the spoons to see if you like the pattern, then temporarily attach them to the lampshade with tape or putty to keep them from moving. Don’t hesitate to experiment with different patterns to create interesting effects—trial runs will help ensure you’re satisfied with the final result.
- Start with the first row of spoons around the base of the container. Then place the next spoon (front end facing out) on top of the first layer.
- Use small pieces of tape or putty to temporarily secure each spoon. Continue attaching the bowls until you achieve your desired pattern.
Step 6. Secure the Spoons to the Lampshade with Hot Glue.
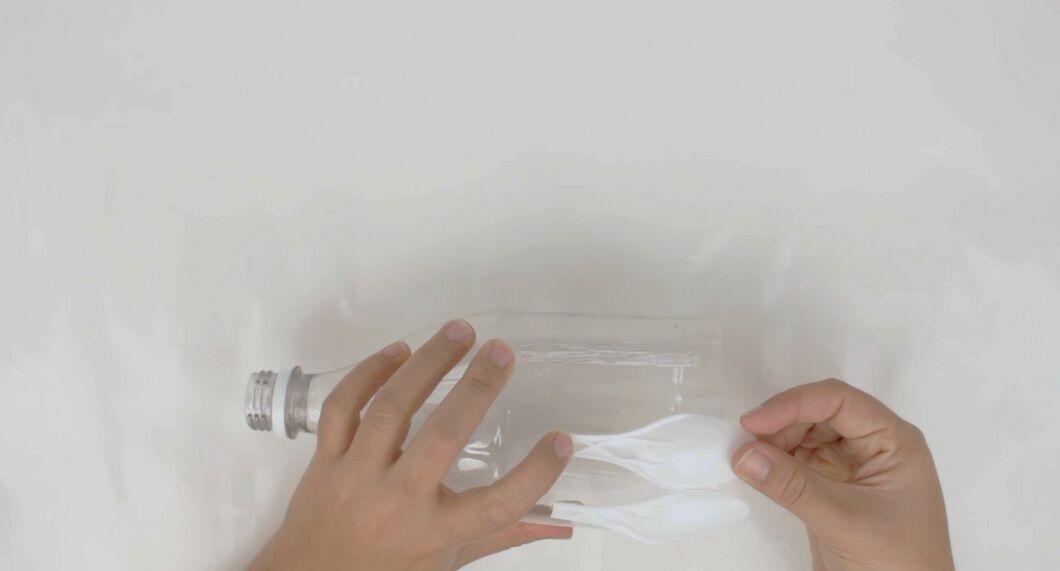
Glue the spoons to the lampshade using hot glue. Once you’re happy with the pattern, heat your hot glue gun. Evenly distribute glue on the surface of the container or existing lampshade:
- Apply glue to the top part of the spoon (closer to the handle) and press it firmly against the lampshade for a few seconds until you’re sure it has adhered. If you’re gluing the spoons face up, add a bit of glue to the back at the point where it meets the vessel.
- Continue gluing the spoons until the entire container is covered. Make sure they are evenly spaced. Adjust as needed while the glue is still wet; otherwise, the spoons will be permanently fixed in place.
- If you want to add some sparkle, you can embellish the lampshade with decorative stones or faux diamonds, carefully placing them on the spoons. But don’t go overboard with the decorations!
Step 7. Create a Ring of Spoons in the Narrow Part of the Vessel.
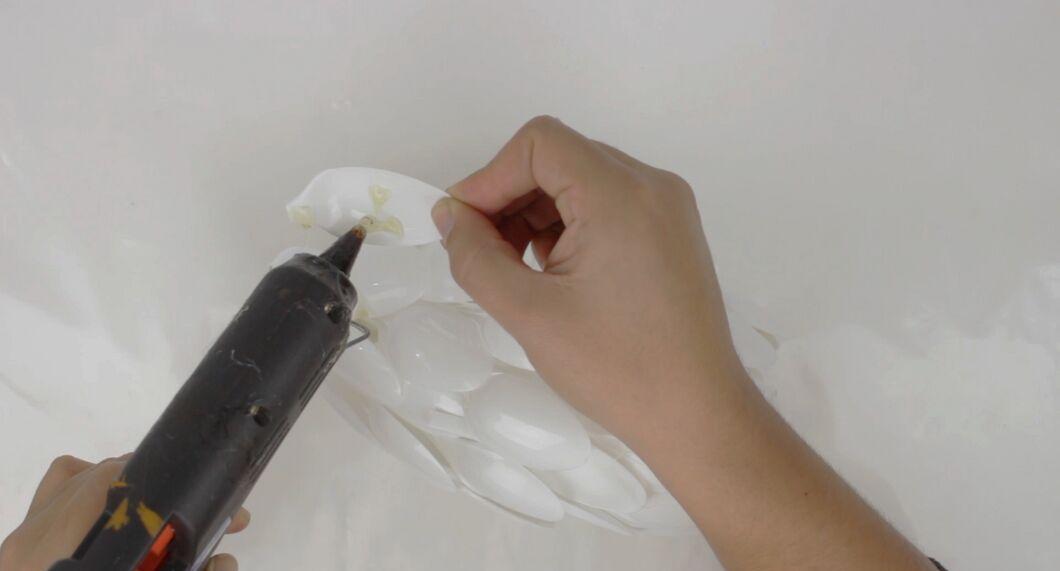
Form a ring of spoons in the narrowing area of the vessel. To conceal the narrow part where the electrical cord will go, attach the spoons to create a ring. Apply glue inside each spoon and connect them until you have a neat ring. It should not be too tight, just enough to cover the narrowing area.
- If you’re using a pre-made lampshade, this ring may not be necessary, depending on its shape.
Step 8. Install the Electrical Components Through the Narrow Part of the Vessel if Necessary.
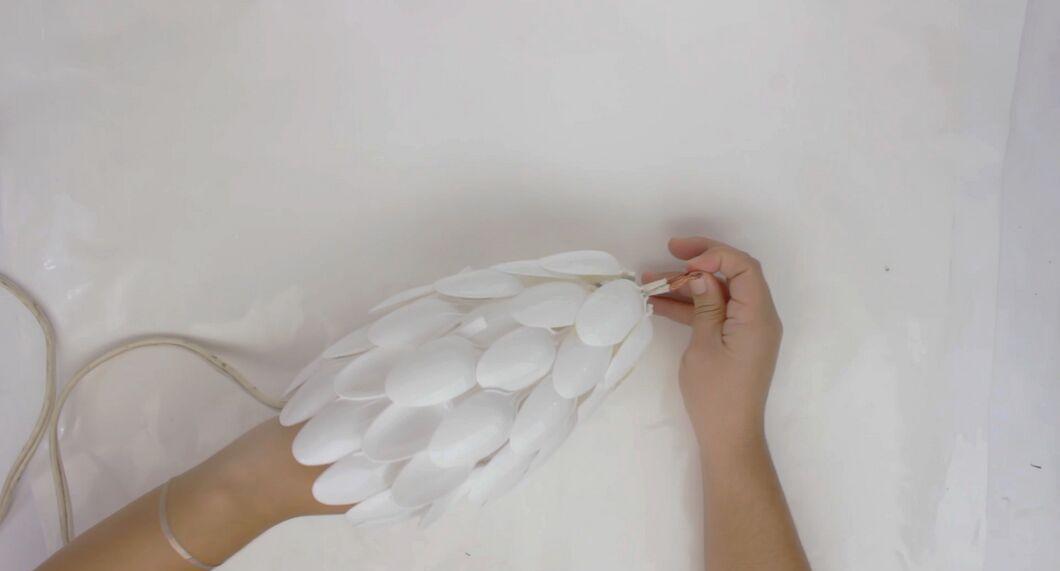
If needed, make a hole in the lid of the container for the electrical cord. This will help secure the cord so it doesn’t move around. This tip depends on the size of the narrow part of the vessel and the length of the cord. Use it according to your specific materials.
Step 9. Hang the Lampshade or Attach it to the Socket.
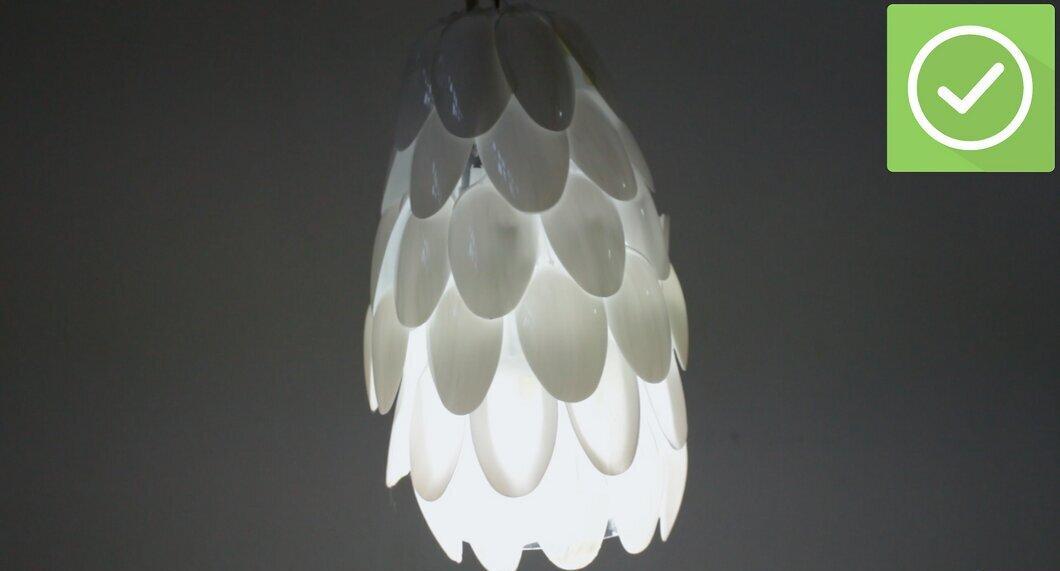
Secure the lampshade or hang it up. Turn on the light and enjoy the ambiance created by the light filtering through the spoons.