A computer mouse is an essential accessory for anyone who regularly works on a computer. Creating a personalized mouse pad can be an interesting and engaging project. In the end, you'll have a unique pad tailored to your specifications and styled to match your taste.
Preparing the Base for Your Mouse Pad
Step 1: Prepare the Cardboard.
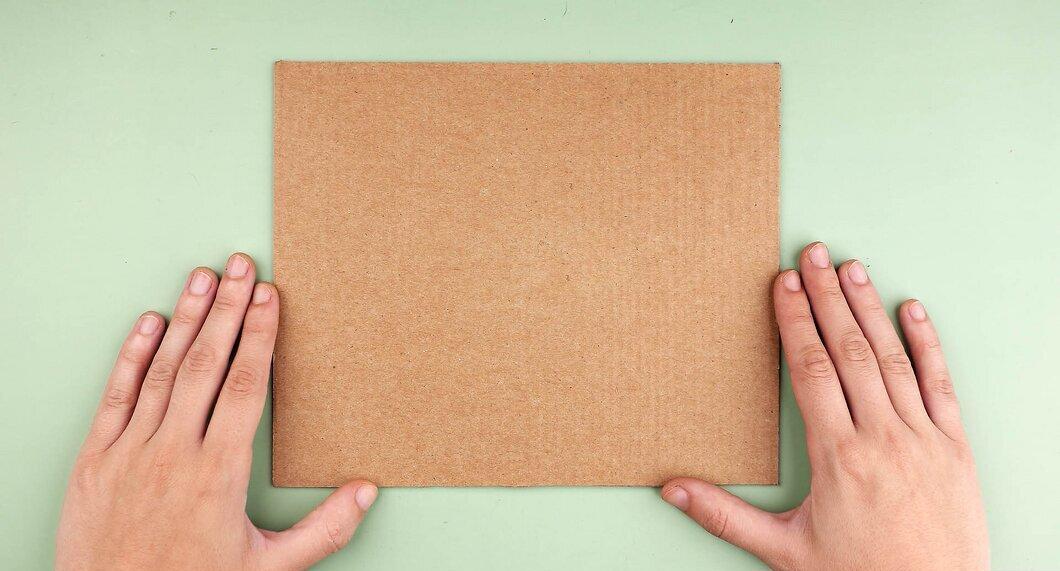
Start by cutting a piece of cardboard to your desired size. The standard size for a mouse pad is about 20 by 25 cm, but you can make it any length and width you prefer.
- It is recommended to use corrugated cardboard, as it provides a soft base for the pad.
- If you have an old box made of corrugated cardboard, you can use one of its sides to cut out the base.
- If your cardboard isn't thick enough, you can glue two layers together for added strength.
- Alternatively, you could use a piece of foam sheet.
Step 2: Check the Stability of the Base.
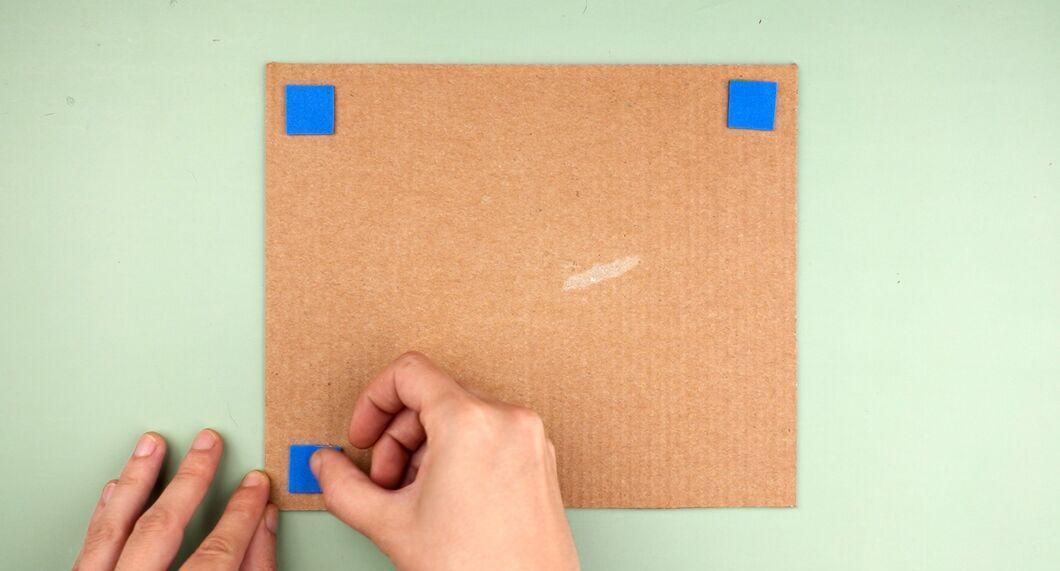
Ensure that your base doesn't slide around. It's frustrating when the mouse pad moves on the desk while you're working.
- For this, you can use a non-slip furniture pad. Cut a piece of it to match the size of your mouse pad. It can be purchased at furniture stores or online.
- If the pad isn't self-adhesive, simply glue it down.
- You can also use a piece of carpet pad as an alternative.
- As a simple solution to prevent slipping, use double-sided tape on the corners of the pad when it’s ready to use.
- Alternatively, you can use poster putty.
Step 3: Cut a Piece of Self-Adhesive Foam Padding.
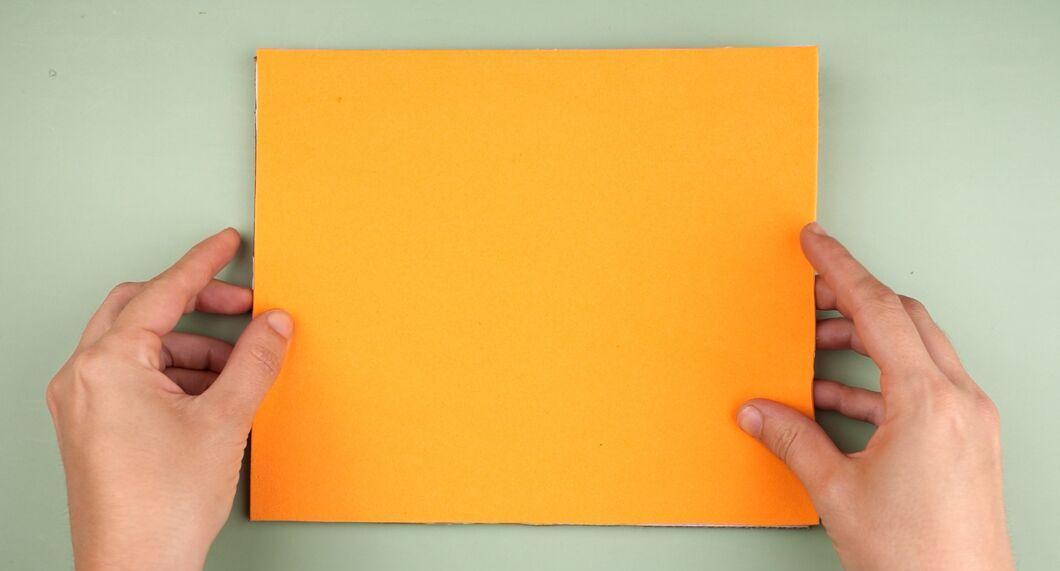
Cut a piece of self-adhesive foam padding that matches the size of your cardboard. This will create a great working surface for your pad.
- Place the foam on top of the cardboard, aligning all edges.
- Once you cut the foam, remove the protective film and stick it to the cardboard. If you don't have self-adhesive foam, use glue.
- Such foam can be found at any craft store.
- If foam isn't available, cardboard can also function as a mouse pad without any additional materials.
- As a substitute for foam padding, you can use a piece of cork, cutting it from an old corkboard.
Creating the Decorative Layer for the Pad
Step 1: Decide on a Design.

Choose a style that you want for your mouse pad. When making your pad, you have the opportunity to design it to match your workspace decor.
- Decide whether it will be a pattern, a solid color, or a photograph.
Step 2: Find a Suitable Material.

Select a material for the decorative layer. Once you decide on a design, choose a suitable material for the finish.
- Ensure that the pad will remain smooth and even, allowing the mouse to move easily.
- If you choose to use a photograph, print it on paper in the desired size.
- When using a photo, make sure it covers the entire pad and not just the center.
- If you want to use a pattern, you can cut a piece of wallpaper or wrapping paper. There are various options available at craft stores.
- Fabric can also be used to create solid or patterned pads; an old t-shirt works well for this.
Step 3: Cut the Material to Size.
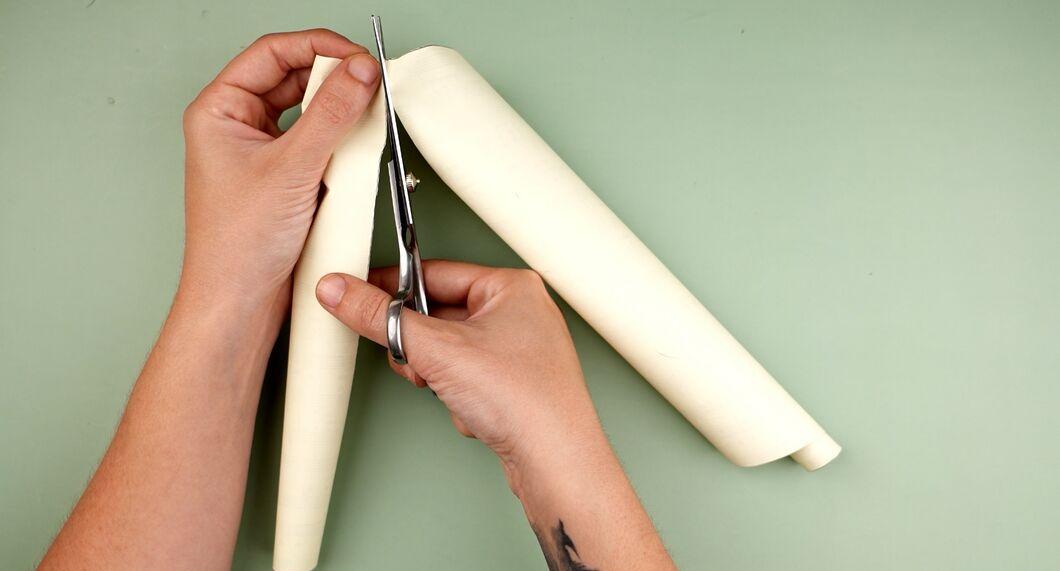
Cut your chosen material to match the size of the base pad.
- Ensure that the material size matches the dimensions of the base and that the edges are neatly trimmed.
Step 4: Adhere the Decorative Layer to the Base.
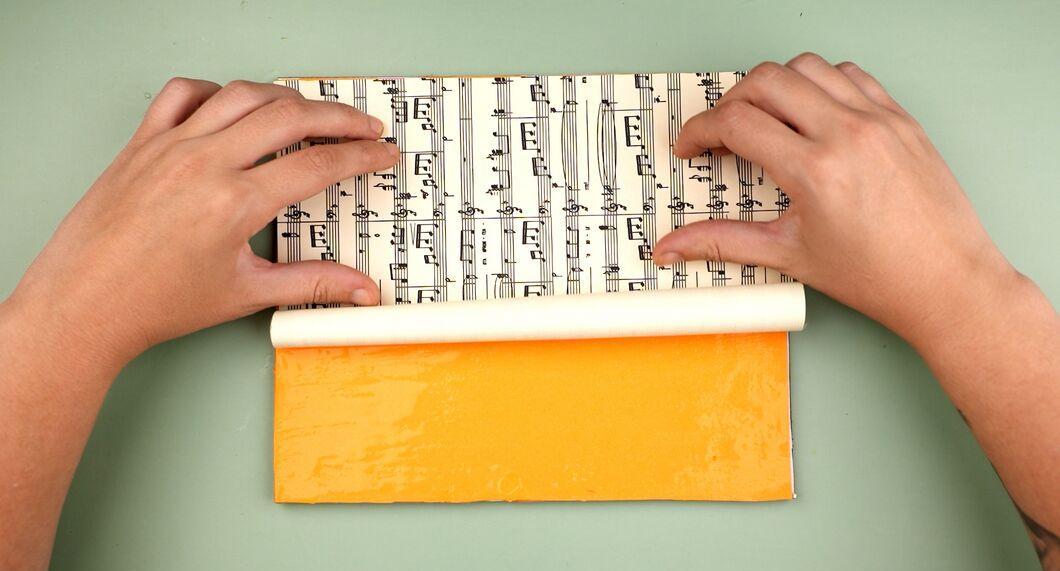
Glue the decorative layer to the top side of your mouse pad. Once the material is cut, carefully attach it to the base.
- For paper, use PVA glue or paste. Apply a thin layer of glue to the base, then place the paper on top and smooth it out.
- For fabric, use textile glue to secure it firmly.
- Avoid using hot glue to prevent uneven surfaces.
Step 5: Protect the Pad with a Film.
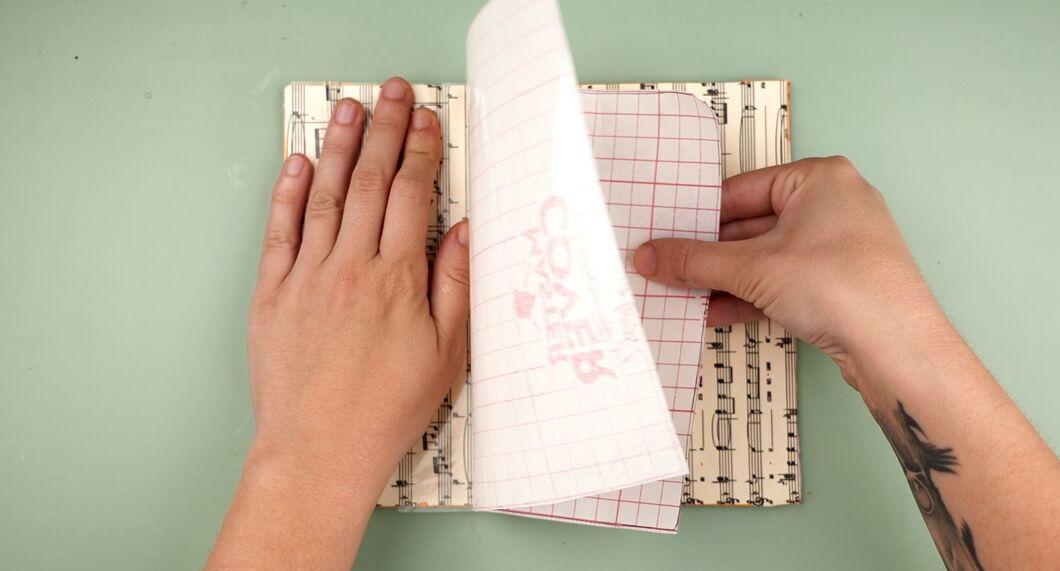
Cover your decorative layer with a clear self-adhesive film. This will protect your design and ensure smooth mouse movement.
- Cut the film to the desired size, then carefully apply it to the pad, smoothing out any air bubbles with a ruler.
- If you decide to skip the decorative paper step, you can use a matte patterned film instead.
Quick Option for Creating a Temporary Mouse Pad
Step 1: Gather Materials.
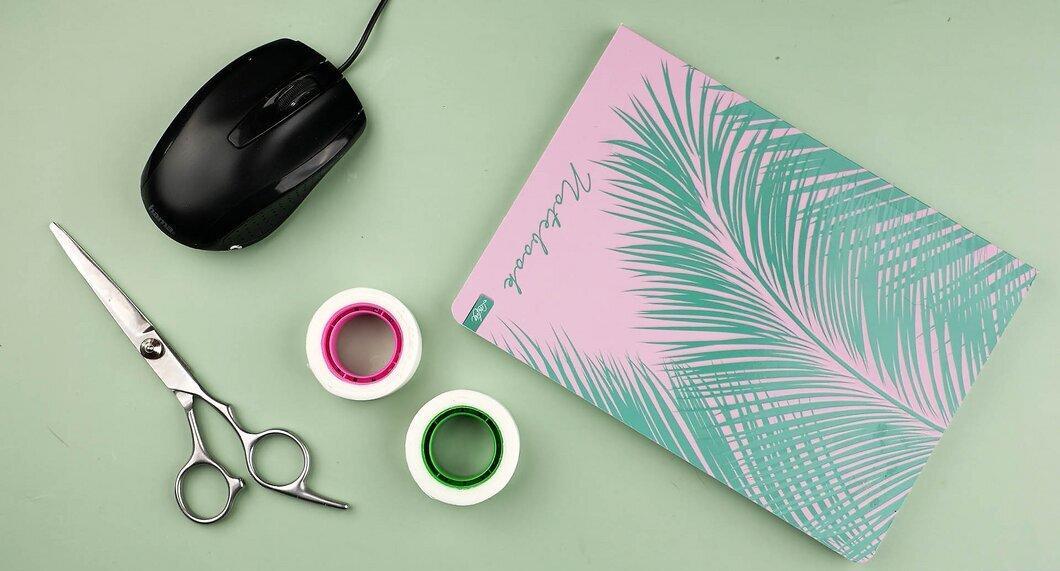
Collect the necessary items. For a simple mouse pad, you will need a thin book or another flat object, a plastic folder, and tape.
- A book in a folder will make a great base for the mouse.
- If you don’t have a folder, a zip folder will work too.
- In emergencies, a thick magazine with a flat cover can be used. Just place it next to your keyboard.
Step 2: Choose the Front Side of the Pad.
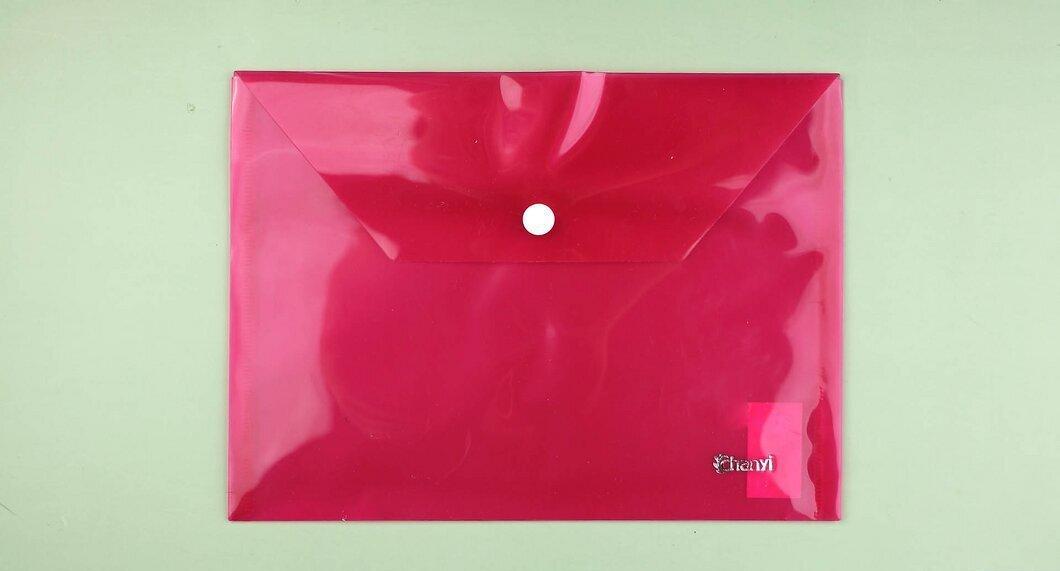
Determine which side will be the top. A plastic folder with a flat surface is perfect for a mouse pad.
Step 3: Cut the Folder in Half.
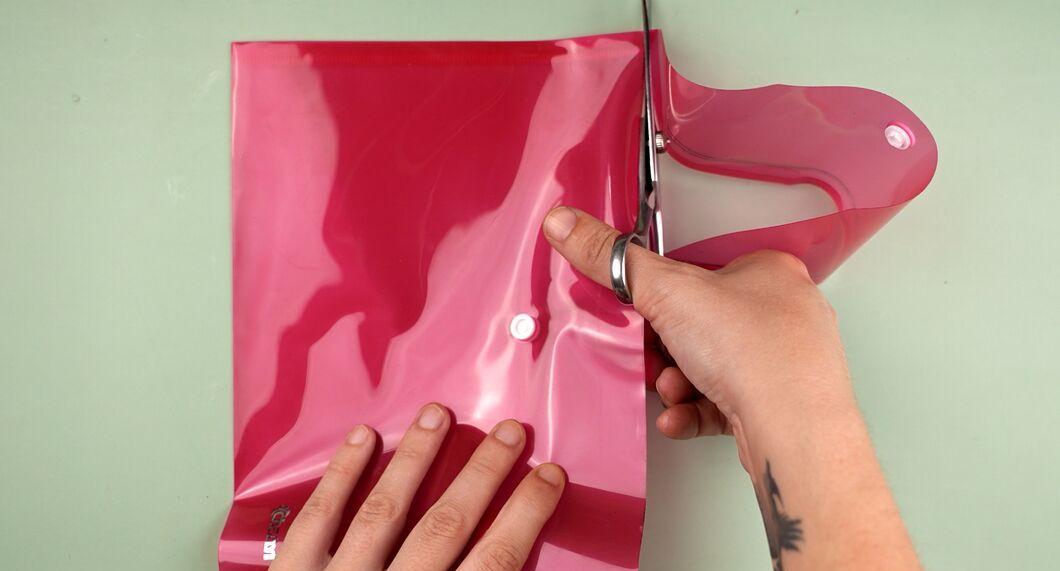
Cut the folder in half to get a suitable size for the pad. If necessary, keep it whole for a larger pad.
Step 4: Prepare the Inner Base.
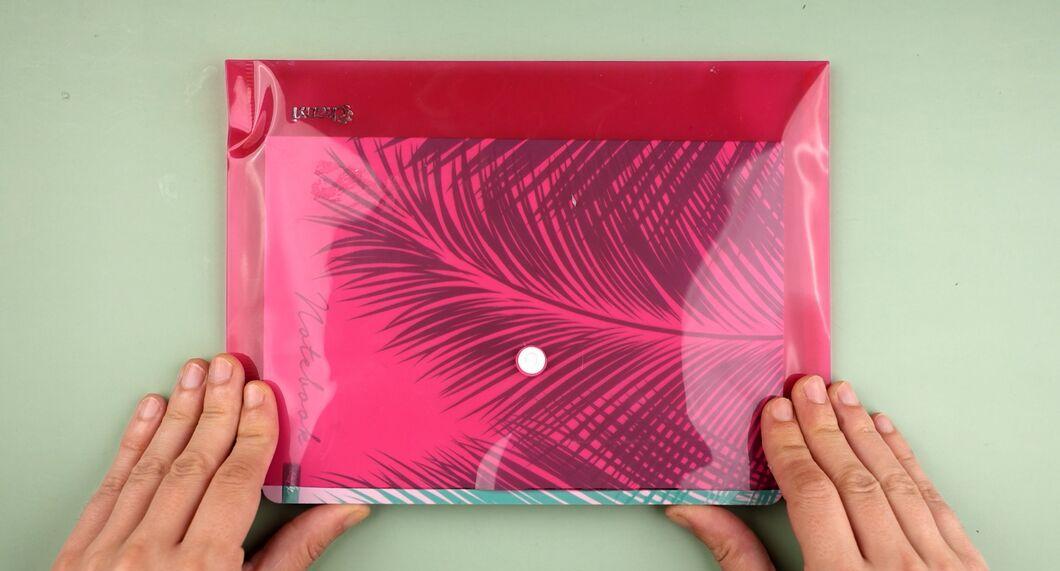
Prepare something sturdy for the inner base of the pad to ensure comfort during use.
- The base should be slightly smaller than half of the folder.
- A thin book or board works well.
Step 5: Place the Base Inside the Folder.
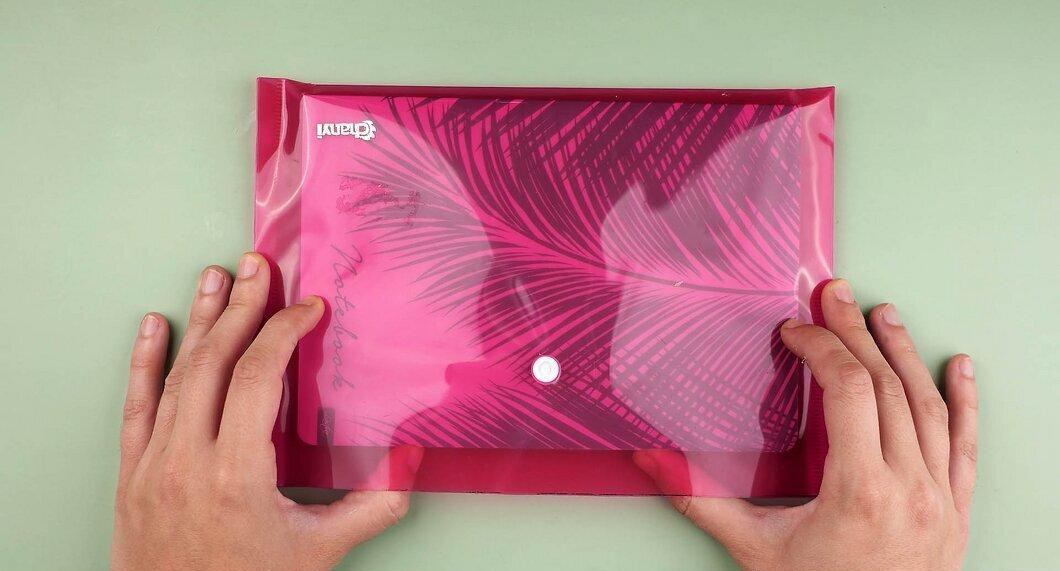
Insert the base into the folder, leaving enough space to seal it.
Step 6: Seal the Folder.
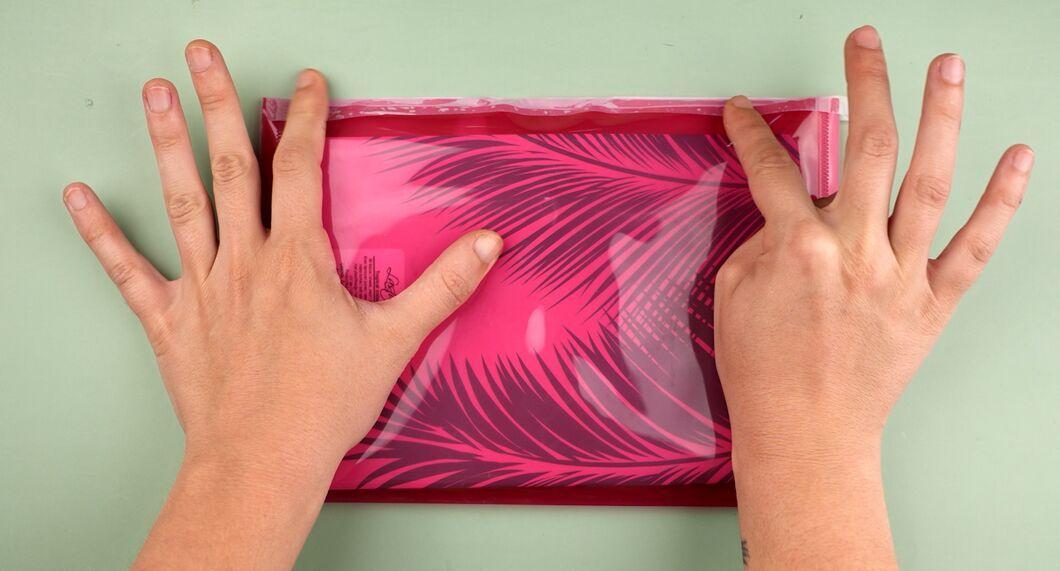
Use painter's tape or clear tape to securely seal the folder, preventing the base from falling out.
Step 7: Add a Non-Slip Layer.
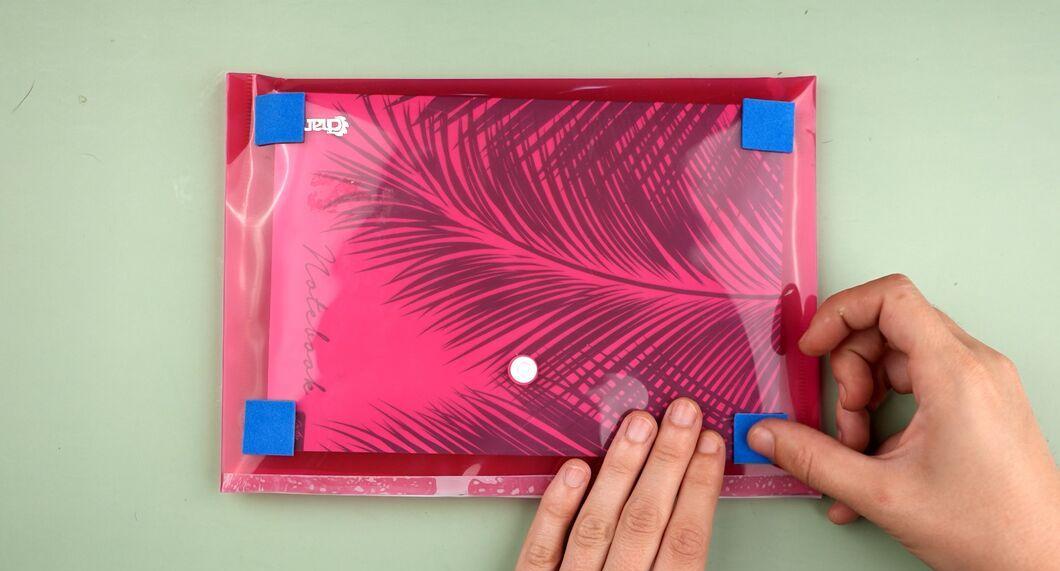
If you need the pad urgently, you can skip this step. But for comfort, it’s better if the pad doesn’t slide across the desk.
- For this, you can use double-sided tape to attach the pad to the desk.
- Regular tape, adhesive putty, or reusable Velcro also works.