Looking to craft your very own Halloween mask? Tired of the same old store-bought options? In this guide, you’ll find all the essential tips!
Part 1
Step 1: Gather Your Materials:
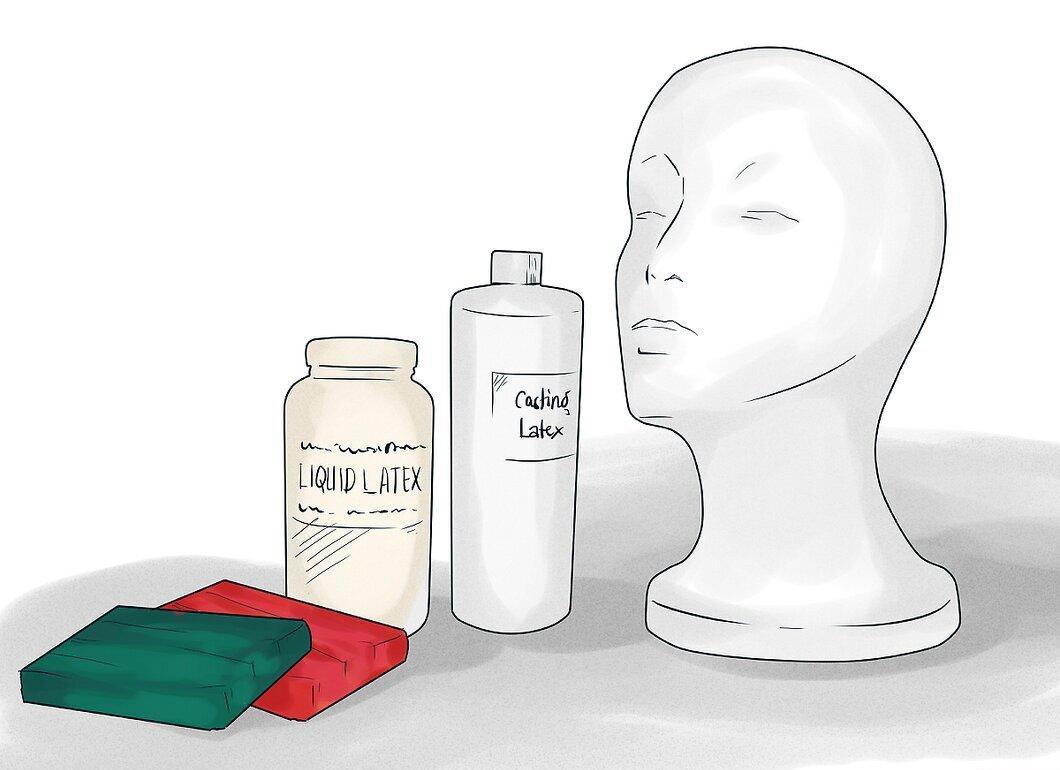
First and foremost, you'll need to gather your materials. Choose a high-quality liquid latex specifically designed for mask-making. You will also need a form — for example, a styrofoam head mannequin that will serve as the base for your clay mask.
Step 2: Sculpting the Mask:
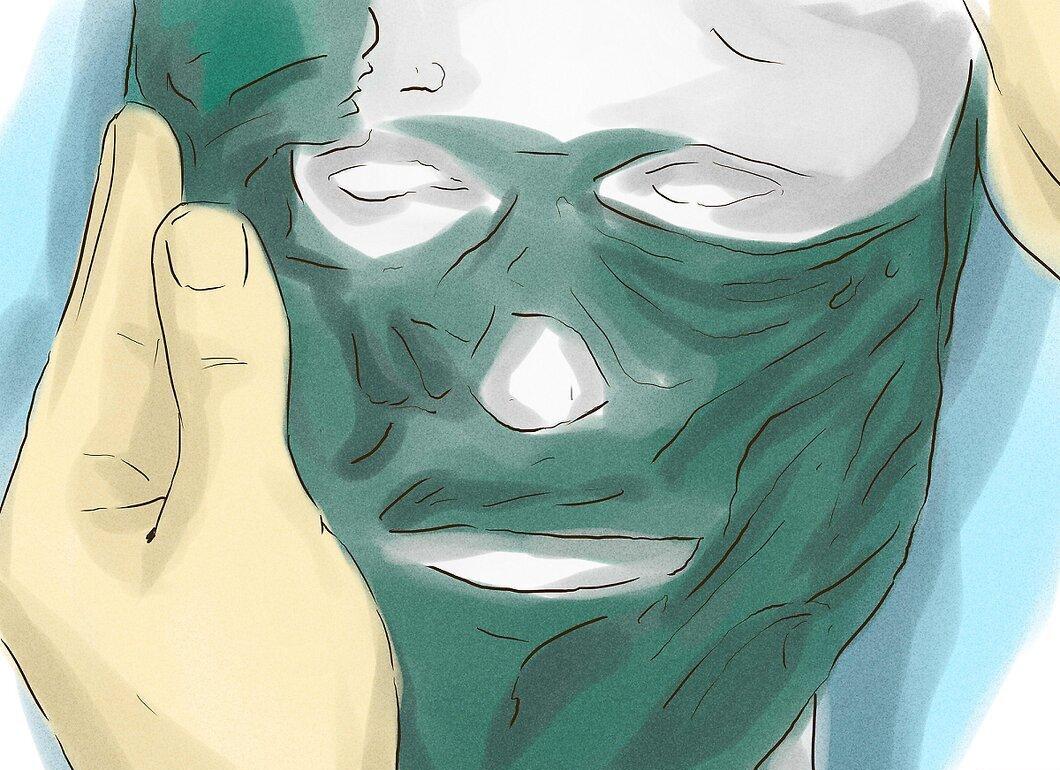
In the second step, it's time to start sculpting. Warm several blocks of clay in the oven at a low temperature (60-90 degrees Celsius) for 15-20 minutes. The clay should become soft and warm but not hot. Make sure it doesn’t melt. Secure the mannequin to a wooden base, such as a 30x30 cm piece of plywood, and tape it down. Mold the clay around the mannequin, paying attention to the details — skin texture and facial features. Use a small brush and some liquid to smooth out the surface of the clay. Once you're satisfied with the result, move on to the next step.
Step 3: Creating the Mold:
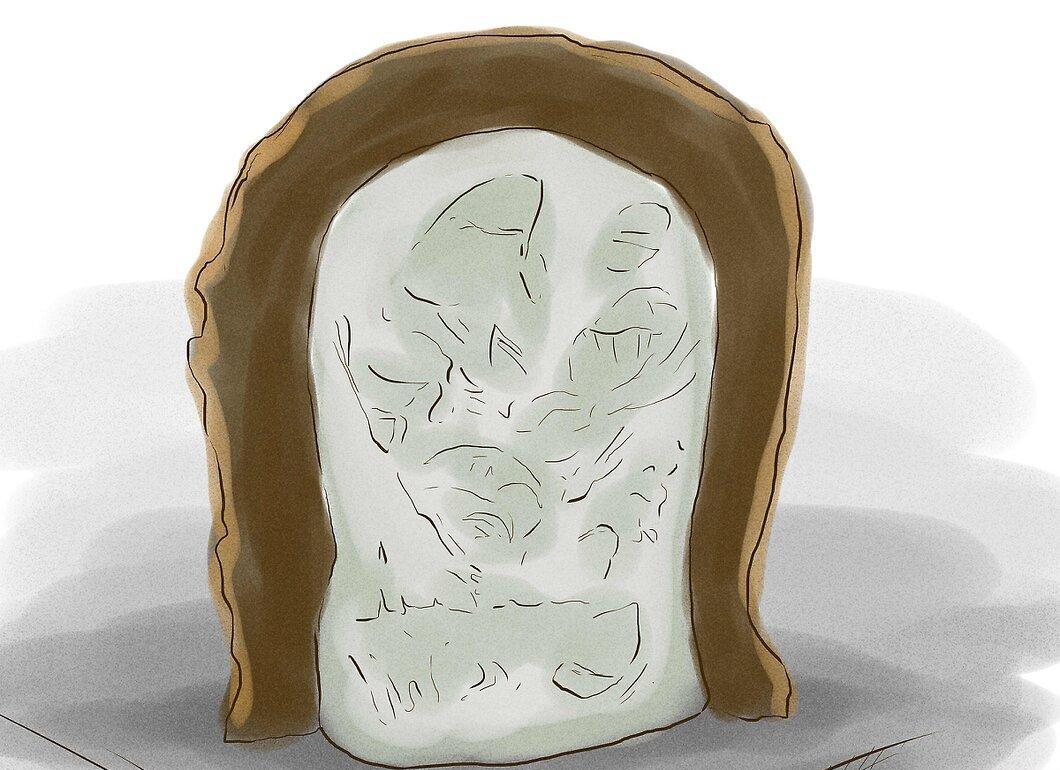
Now it's time to create the mold. You will need plaster to form the mask. We recommend using Ultracal 30. Cut a 2.5 cm square piece from burlap and set it aside. Create a barrier from clay around the sculpture, starting from the bottom of the right ear and rising to the left. This will divide your mold into two sections. Mix the plaster in a plastic bucket and pour it evenly over the mold, ensuring it fills all the crevices. After the first layer, mix a new batch of plaster and add burlap for strength. Remove the barrier after applying the plaster and paint the mold with watercolor or acrylic paint (using bright colors). Wait for the paint to dry.
Step 4: Applying the Latex:
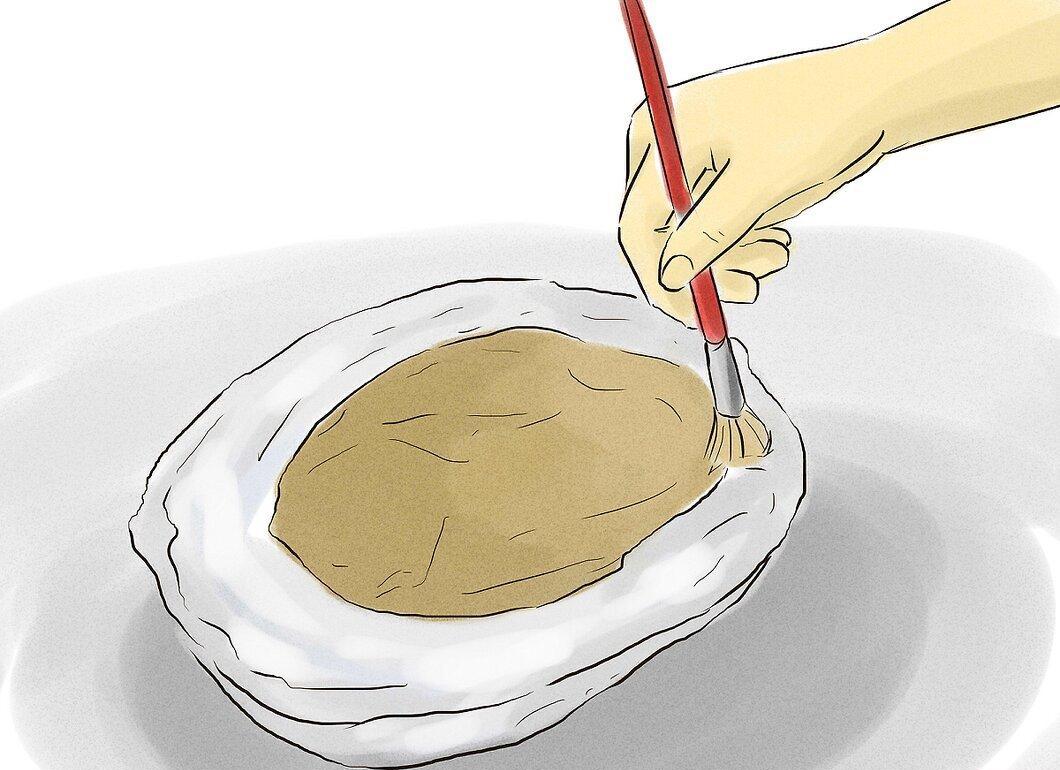
Now you can start applying the latex. Secure the mold with tape so it doesn’t shift. Important: do not use oil or other substances! The plaster will absorb moisture from the latex, speeding up the drying process. Pour the latex into the mold, rotating it to ensure the liquid spreads evenly across the surface. A small brush can help fill in the crevices. After you're done, tilt the mold to let the excess latex drain. Save the extra latex in a clean bucket for additional layers. Every 5 minutes, rotate the mold 90 degrees to ensure the latex distributes evenly and doesn’t pool in one spot.
Step 5: Removing the Mask:
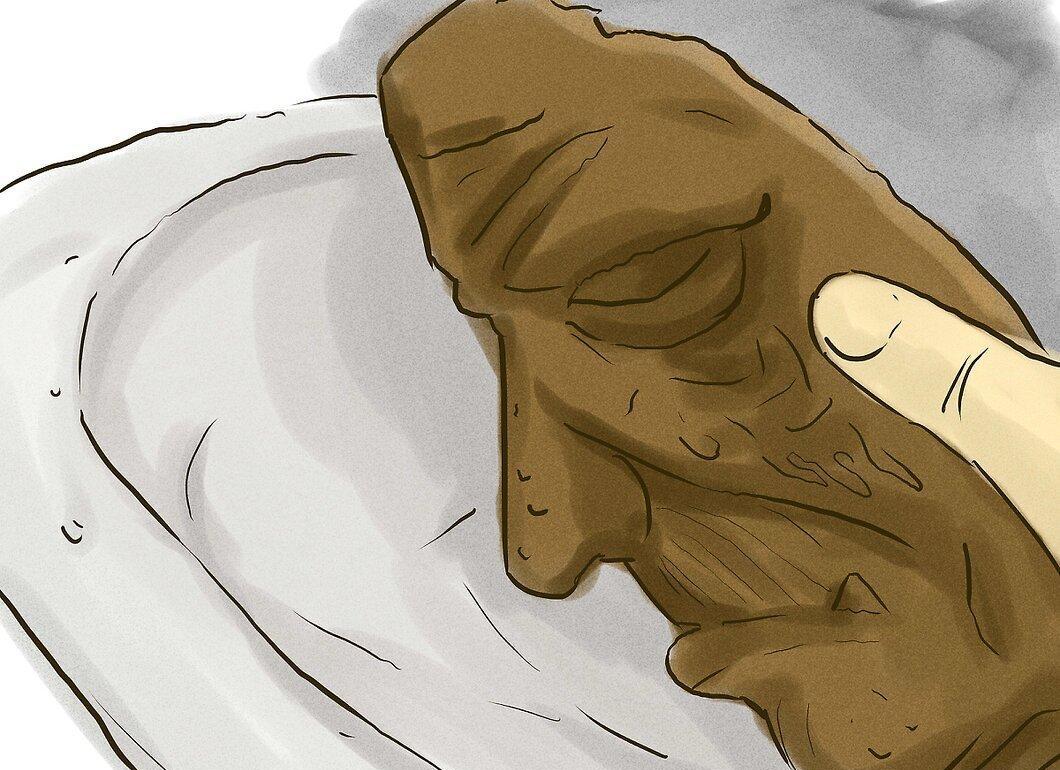
Once the latex has completely dried, dust the inside of the mask with talcum powder. Carefully clean the neck area and add talcum powder to prevent the latex from sticking to the mold. After removing the mask, cut out eye holes and clean the neck area.
Step 6: Final Touches:
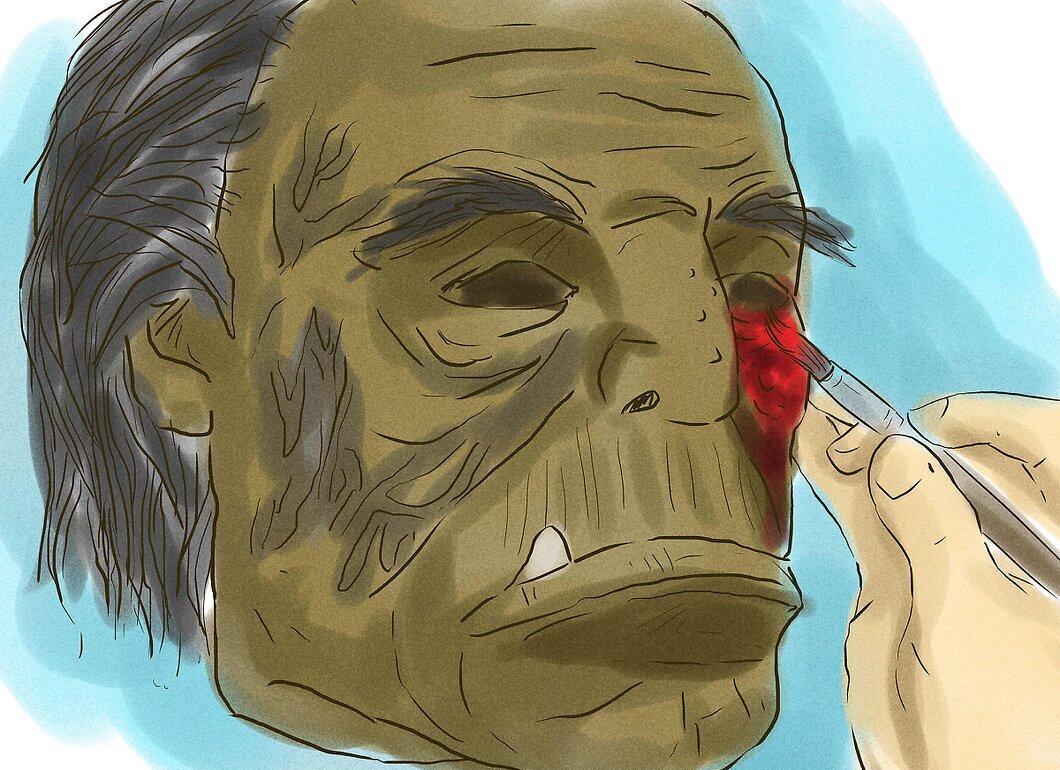
In the final step, focus on painting and detailing. Mix a bit of acrylic paint with latex in a small container (do not reuse this container afterward). The colors will appear brighter once dried; for example, pink will turn into a deep red. Experiment with shades until you achieve the desired color. After painting, attach hair from an old wig to the latex. Get creative and add a touch of humor!