Lengthy and unfocused meetings are frustrating for everyone involved. If you need to create an agenda, make sure to avoid this pitfall. Develop a clear agenda that outlines all discussion topics and allocates time for each. By following this plan, you can conduct a meeting efficiently without wasting your colleagues' valuable time.
Let's Develop a Core Plan
Step 1. Gather Colleagues' Input.

Ask your colleagues to share their thoughts. People are more engaged in the process when they can influence the agenda. Take their suggestions into account and add relevant questions to the document.
- You can send emails in advance or hold one-on-one meetings.
- Start collecting suggestions 6–7 days before the meeting to give colleagues time to voice their ideas. Finalize the agenda 3–4 days before the meeting.
Step 2. Define the Key Objective or Objectives.

Set a primary goal for the meeting. Every meeting should have a clear purpose: to make a decision, share information, develop plans, or present a report. Otherwise, there’s little reason to hold it.
- You can have multiple objectives at once. For instance, you might listen to a progress report and then make important decisions.
Step 3. Focus on Issues Relevant to the Group.

Concentrate on topics that affect more people. If a question can be resolved between two colleagues, it shouldn’t be included in the agenda. Use meeting time to address issues that concern all attendees.
- For example, if you and a colleague need to discuss a new project, it’s better to organize a separate meeting.
- Discussing matters that interest only a couple of people can make others feel their time is being wasted. Additionally, gathering everyone together is always challenging, so use this time wisely.
Step 4. Simplify the List of Topics.

Remove unnecessary questions from the agenda. It’s important to prioritize correctly. Not every topic can be covered, so keep only the most critical ones.
- For instance, if you need to discuss "project deadlines," "progress reports," "new projects," and hold a "group idea discussion," you might postpone the group discussion if time is tight.
- You can also organize smaller meetings for questions that don't make it onto the main agenda.
Step 5. Address Important Topics First.
Start with the most important topics. When preparing, tackle key questions first. This allows all participants to discuss crucial points before their attention starts to wane.
- For example, a decision-making question may be discussed before the progress report (if the decision doesn't depend on the report's results).
- If the meeting needs to end early or some participants must leave before it concludes, all key issues will be addressed in advance.
Step 6. Set Time Limits for Discussions.

Determine how much time will be allotted for each topic. No one knows exactly how long each discussion will take, but it’s important to have at least a rough idea. Consider the total duration of the meeting and the number of topics. More important issues should receive more time.
- For example, allocate 30 minutes for progress reports, 10 minutes for discussion, and 10 minutes for voting on new deadlines.
- Without time limits, you risk not covering all agenda items. Please think ahead about the time plan, as it may turn out that you don't have enough time.
- Consider the number of participants. If there are 15 people in the meeting and 15 minutes for discussion, that gives each person just one minute to speak. This is a tight schedule, even if not everyone wants to talk.
Preparing the Agenda
Step 1. Start with a Title for the Agenda and Meeting.

Begin with a title for the agenda and meeting. It should clearly indicate what the meeting is about and reflect the main theme. Choose an appropriate title and place it at the top of the document. The title should be simple and concise.
- For example, you might use a title like: "July Meeting Agenda: Discussing Ideas for a New Project" or "August 2019 Meeting Agenda: Changes in Project Deadlines".
- Use a simple business font, such as Times New Roman or Calibri.
Step 2. Reserve Time for Greetings.

Set aside time for greetings. At this stage, participants can say hello to each other. It’s also important to kick off the meeting and outline the main questions.
- If there are many unfamiliar faces at the meeting, you could come up with a common topic for discussion.
- If the agenda is for a large gathering (like a conference), this stage may take longer. In an office meeting, greetings usually take a couple of minutes.
- You might also want to include time for any potential changes to the agenda.
Step 3. Phrase Topics as Questions to Engage Participants.

Formulate questions to engage participants. Brief bullet points can confuse attendees. Questions create context and help assess the situation ahead of time.
- For example, instead of just stating "Project Deadlines," it’s better to phrase it as: "Can we adjust the project deadlines considering the increased demand?"
- Each question can also be supplemented with a brief description if necessary.
Step 4. Indicate Approximate Time for Each Question.
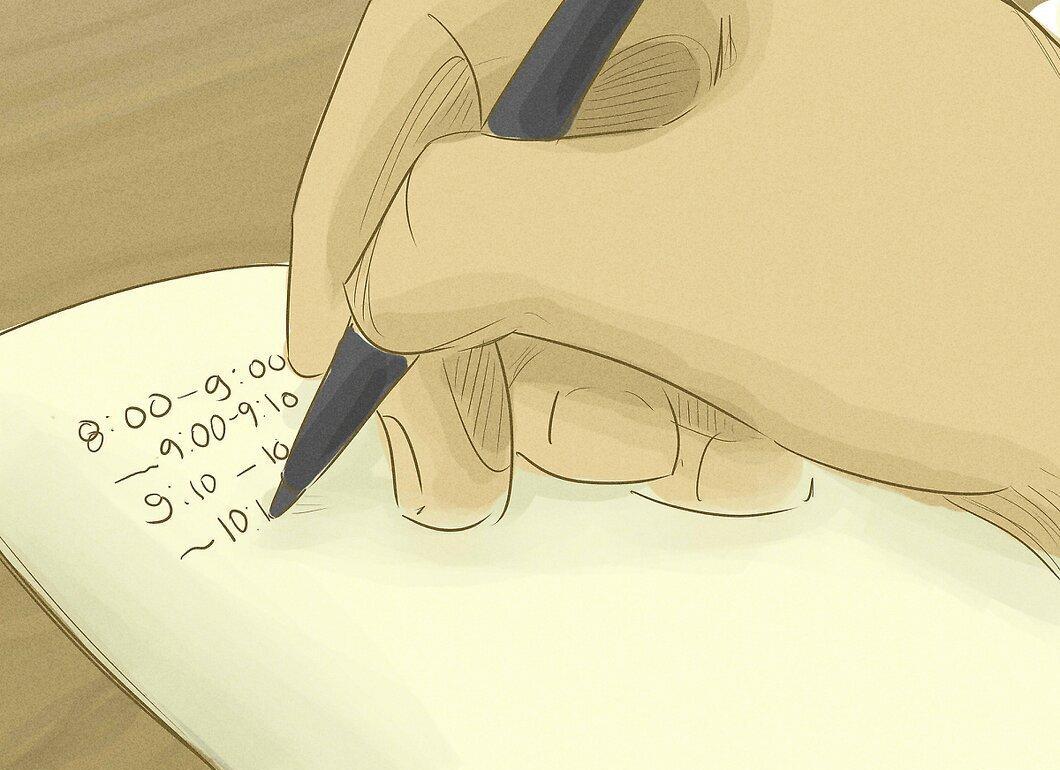
Specify approximate time for discussing each question. This is not mandatory, but doing so helps participants prepare. If necessary, they can request more time.
- Participants will be able to shorten their comments if time is limited.
Step 5. Determine the Order of Questions Discussion.
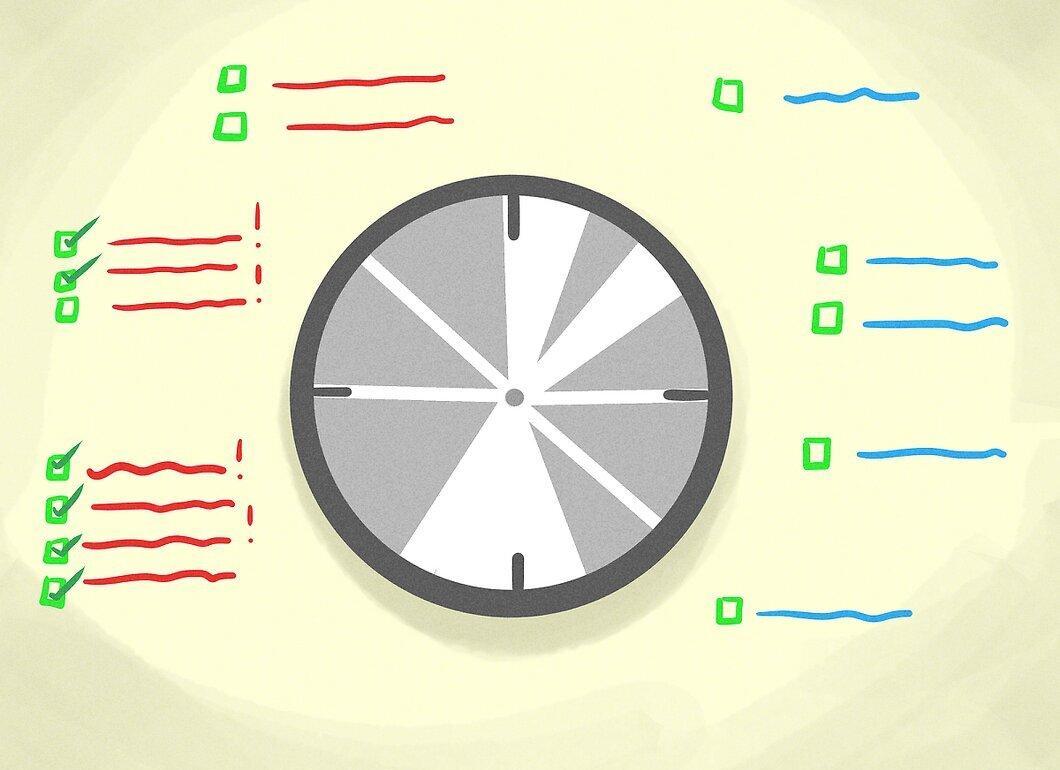
Establish the order of discussion for the items on the list. This will guide your approach to the topics. For example, if you need to discuss shifting project deadlines, everyone should consider the topic from different angles. Communicate the order so everyone knows how the meeting will progress.
- For instance, for the question: "Can we adjust the project deadlines considering the increased demand?" you might set the order as: "10 minutes to discuss the current situation, 15 minutes on the question of speeding up production, 10 minutes to review arguments for and against, and 5 minutes for voting on deadline changes".
Step 6. Assign Responsibility for Each Question.

Designate individuals responsible for each question. Indicate who should present a discussion on a specific topic. For that person, this should not be a surprise. Discuss it in advance and reflect the decision in the agenda.
- If you are leading the meeting, note that at the top of the agenda.
Step 7. Reserve Time for Honorary Guests.
Allocate time for honorary guests. If guests are expected at the meeting who will participate in discussions on important topics, dedicate a separate time for them. Each guest should have a point on the agenda, even if they will be involved in multiple topics. This will simplify grouping questions and time planning.
- It’s best to contact guests in advance to clarify how much time they will need. This will help avoid awkward moments and conflicts.
Step 8. Leave Time for Other Questions.

Plan time for other questions at the end of the agenda. This way, you can find out if there are any other urgent issues to discuss. Additionally, participants will have the opportunity to revisit unresolved questions or clarify details.
- This item will let participants know they have the chance to address topics not included in the agenda.
- You can also plan a Q&A block.
Consider All Details
Step 1. Specify Meeting Details.
Include specific details about the meeting. Don’t forget to state the date, time, and location of the meeting. Also, include the names of all participants so people know in advance who they will be meeting and talking to.
- It’s helpful to inform about those who usually attend such meetings but won’t be able to participate this time. Make it clear that they will be absent.
- Attach a map and directions for those who haven’t been to the meeting location before.
Step 2. Specify Preliminary Actions Required Before the Meeting.
Outline preparatory steps to be taken before the meeting. Colleagues may need to review certain materials or think about proposed solutions. They can also consider a number of questions.
- Place this block at the bottom of the agenda. Highlight the text in bold or underline it so it doesn’t go unnoticed.
Step 3. Proofread for Errors Before Sending.

Before sending, ensure that there are no errors in the agenda. Some participants may rely on the information, and it’s important that everything is correct. This step is not only a courtesy but also a sign of attention to detail and respect for those present.
Step 4. Distribute the Agenda 3–4 Days Before the Meeting.
Send out the agenda 3–4 days before the meeting. This allows colleagues time to prepare. Don’t distribute the document too early, as it may get lost among other emails.
- For large meetings and conferences, the agenda should be published several months in advance.