Working at a desk is a daily reality for many. However, when your workspace is cluttered and full of distractions, focusing on tasks becomes challenging. Once you've tidied up your desk, it's vital to keep it organized for as long as possible. Let's explore how to properly organize your work area.
Tidy Up Your Workspace
Step 1. Clear Everything Off Your Desk.
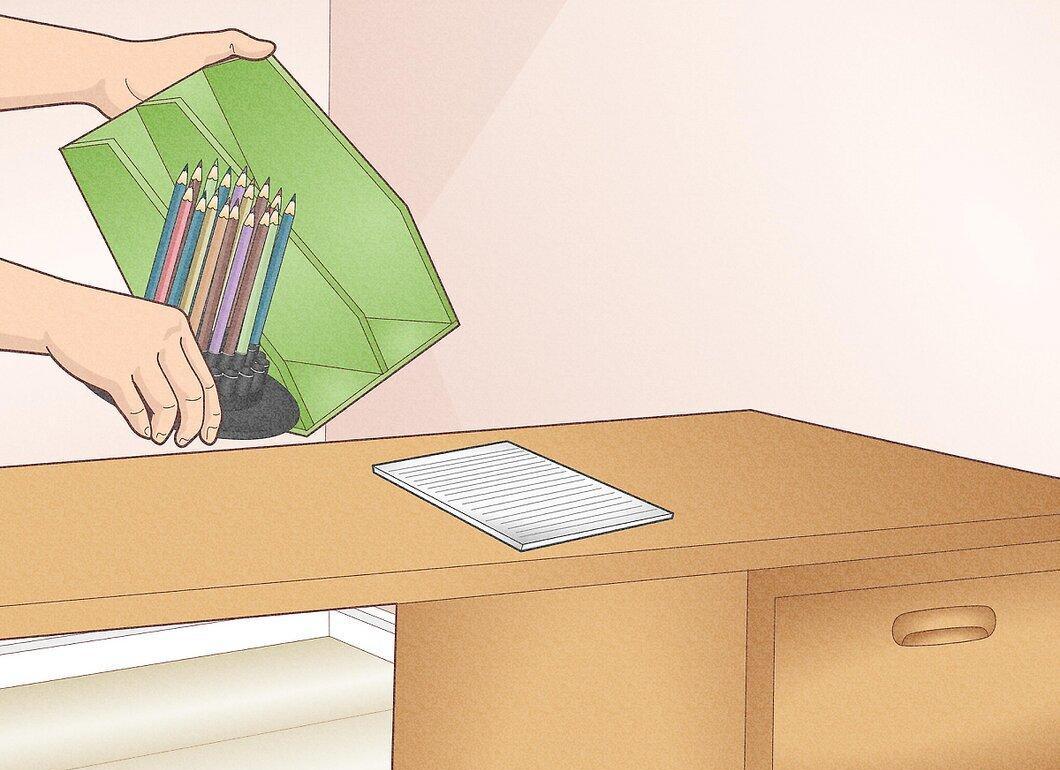
Start by removing all items from your desk. Pile them into one big heap. Now you have the chance to sort them by priority, but don’t rush to organize everything in a minute! Creating free space is the first step.
- Make sure to remove EVERYTHING from the desk, even if you think something should stay put. The pile should include: photos, plants, and your computer.
Step 2. Eliminate Trash.
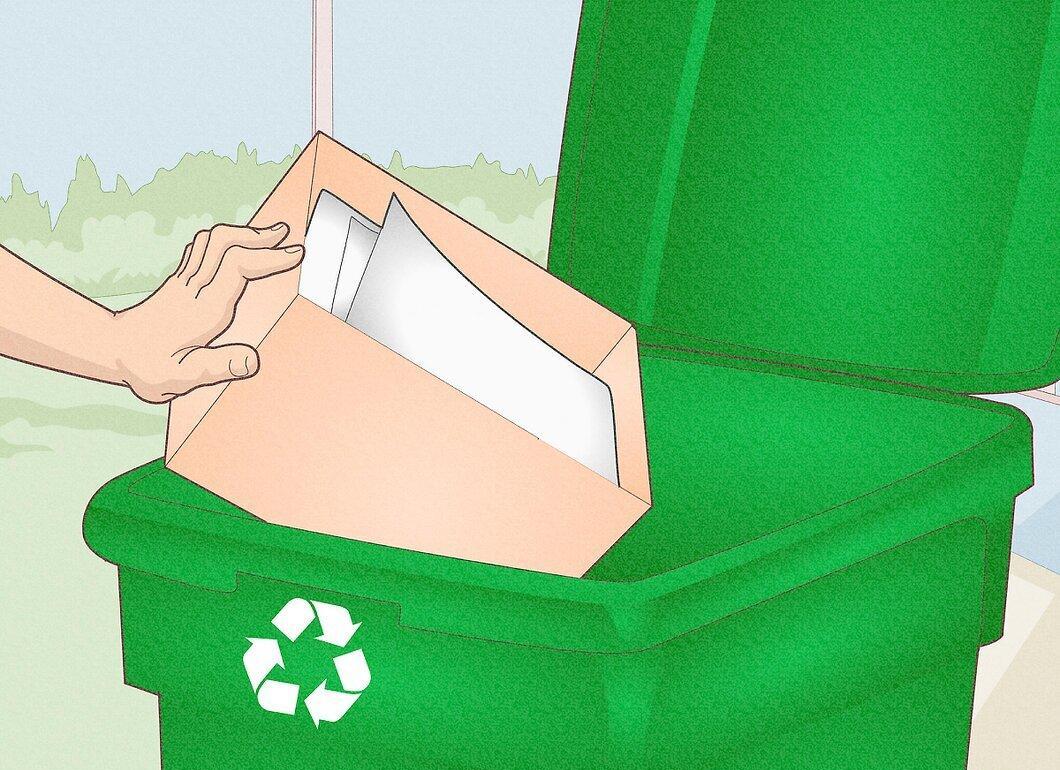
Get rid of the trash. Items you no longer need should be thrown away immediately. You might want to keep some of them, but ensure they are genuinely useful. If in doubt, set those items aside in a designated box.
- Confidential documents should be shredded before disposal.
- Ensure you've disposed of all paper, plastic, and other recyclable materials.
- Clean workspace advocates often say: "When in doubt – throw it out."
Step 3. Wipe Down All Surfaces.
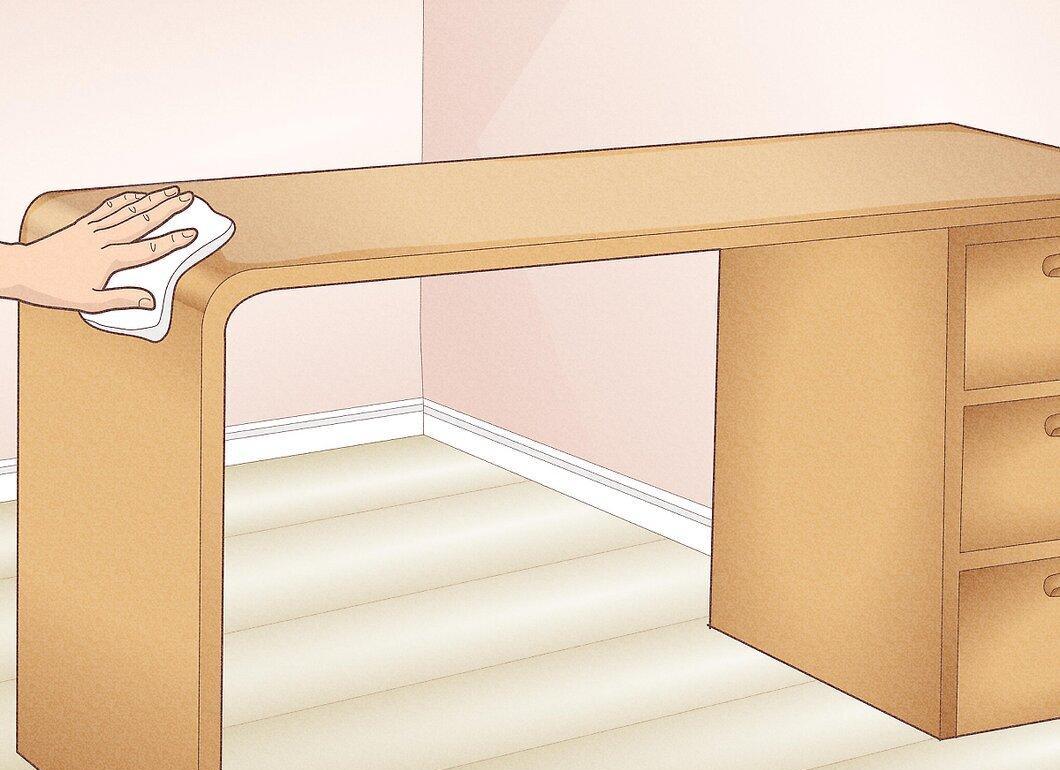
Clean the surface of your desk. Even if it seems clean, a second wipe won't hurt. Dust off your computer screen, wipe down the desk, and clean the drawers.
- Use compressed air for cleaning the keyboard and hard-to-reach areas.
- For wet cleaning, a mixture of water and white vinegar (or a specialized cleaner) can be used.
- Don't forget to wipe down the desk, drawers, shelves, and screens (of computer and TV).
Organize Your Space
Step 1. Utilize Shelves Effectively.
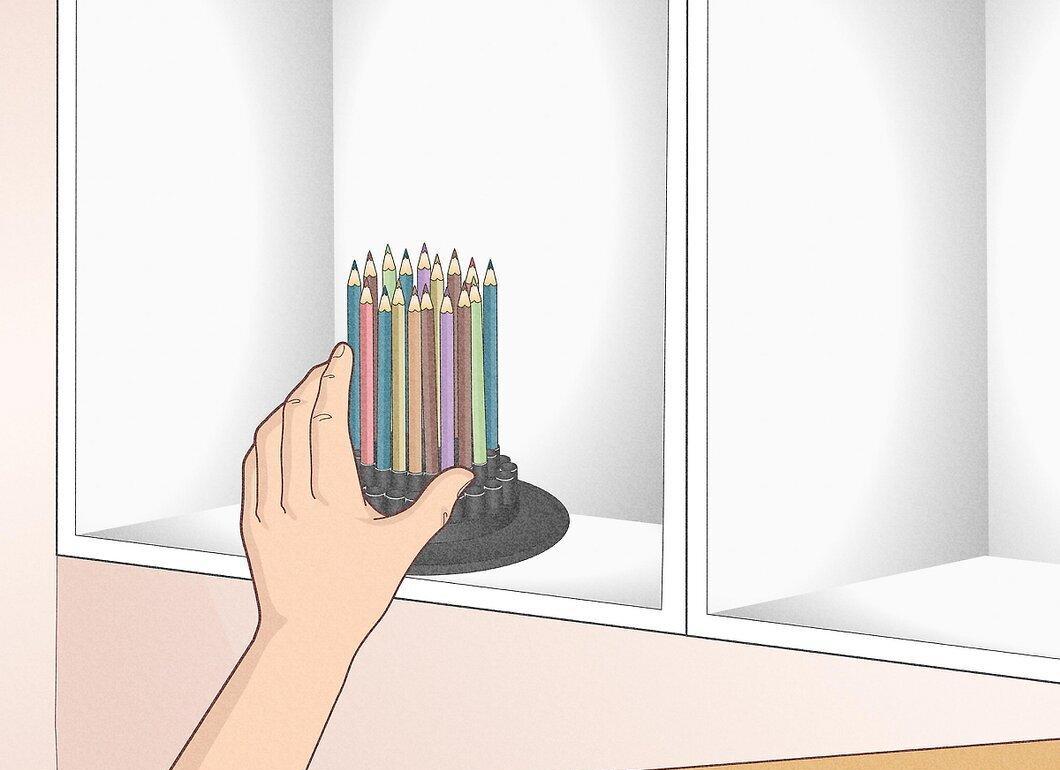
Use shelves for storage. You can install them yourself or buy them from a store. Shelves should ideally be placed directly above the desk or on an adjacent wall, depending on your workspace and the intended use of the shelves.
- For an office workspace, it's better to hang small shelves above the desk.
- If your desk is in a room or bedroom, place the shelves nearby so they don't distract you.
- Before installation, determine what will be stored on the shelves so they are appropriately sized.
Step 2. Label Drawers and Shelves.
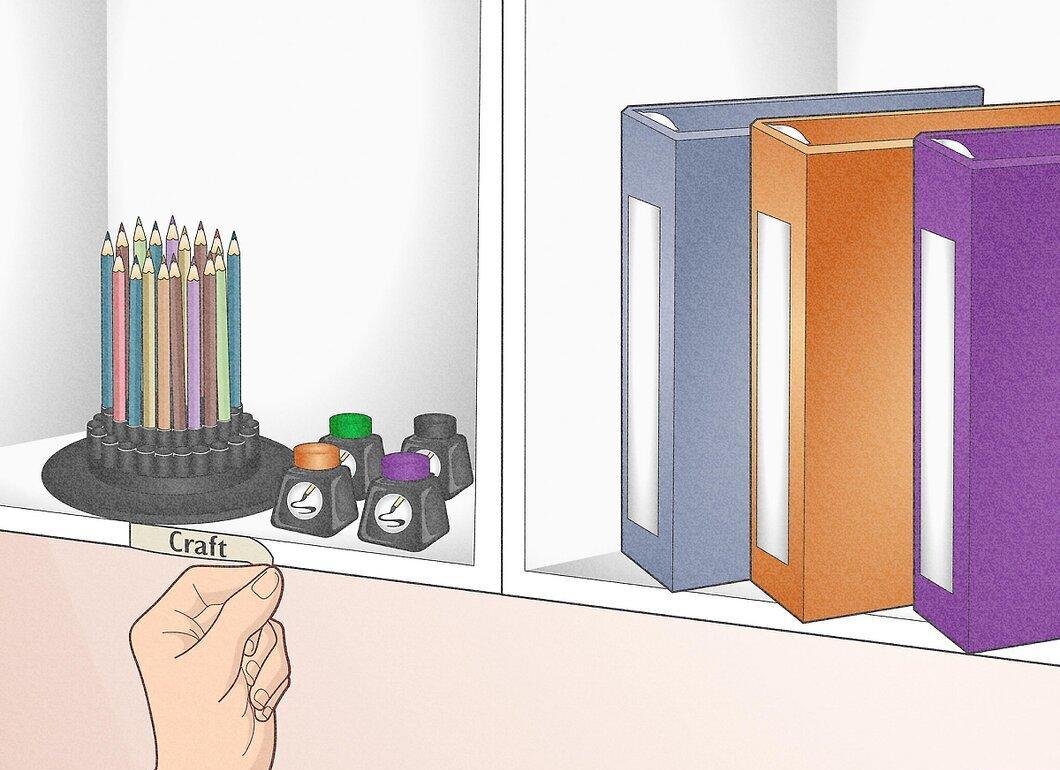
Place labeled stickers on drawers and shelves. This will help you immediately understand what each drawer and shelf is for. This is a key point for organization. You can use tape or stickers, or purchase attractive labels.
- Labels should be clear and specific. This way, your drawer won’t become a "junk drawer."
- Color coding can be used for convenience (instead of labels).
- Be careful with your writing to avoid confusion in item storage.
Step 3. Keep Essentials Within Reach.
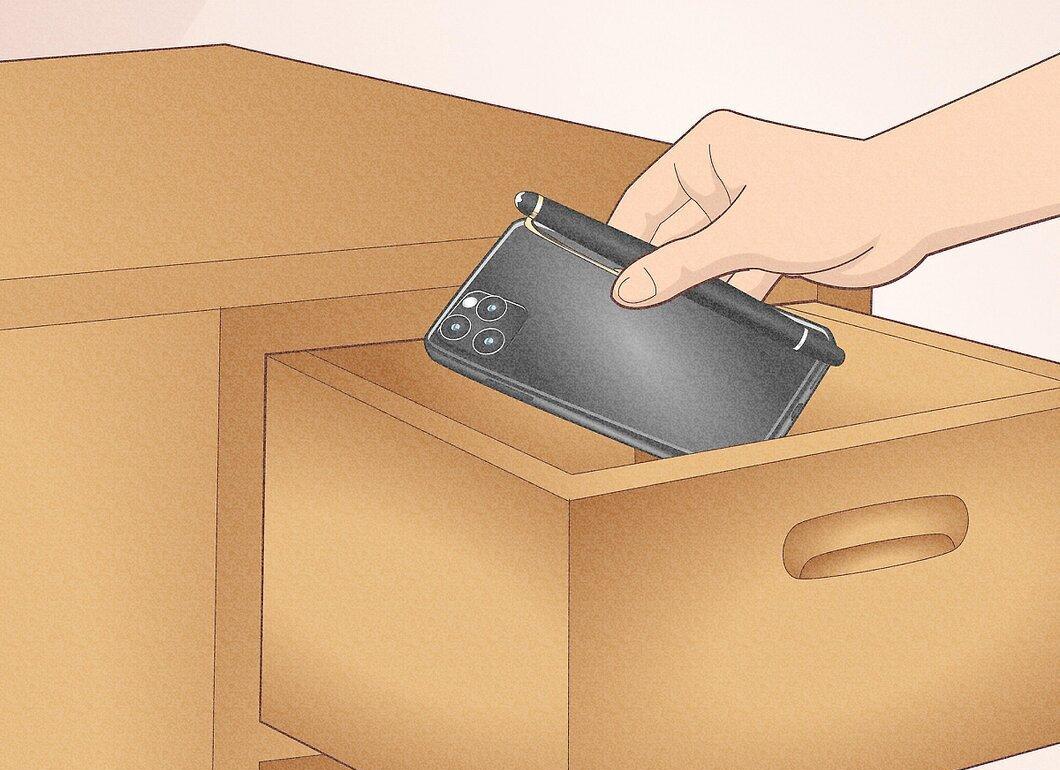
It's essential to have necessary items within reach. You know what you need most frequently, and those items should be visible. For instance, store regularly used items in the top drawer under your desk. Important items can also be placed on shelves for easy access.
- Identify a few must-have items that will stay on your desk, such as a ruler or calculator.
Step 4. Place a Trash Can Next to Your Desk.
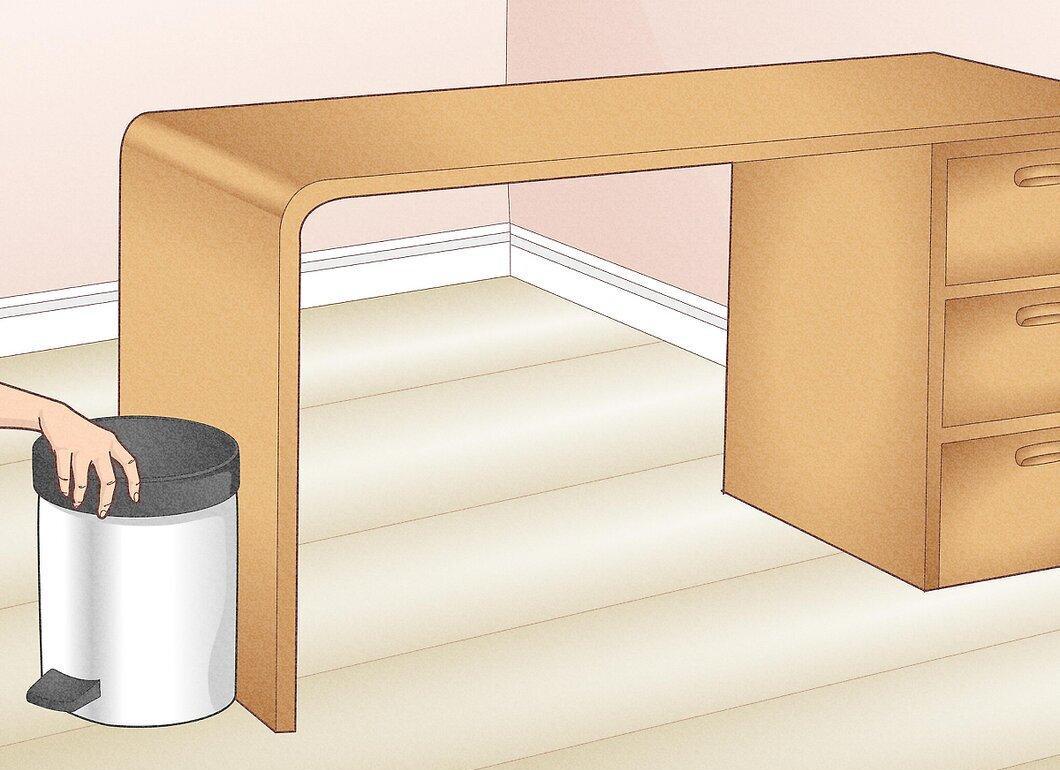
It's crucial to have a trash can next to your desk. This significantly simplifies the process of discarding trash, as you won't need to move far to throw away unwanted items. This way, you can maintain order in your workspace.
Sort Items into Their Places
Step 1. Start Sorting Items from the Pile.
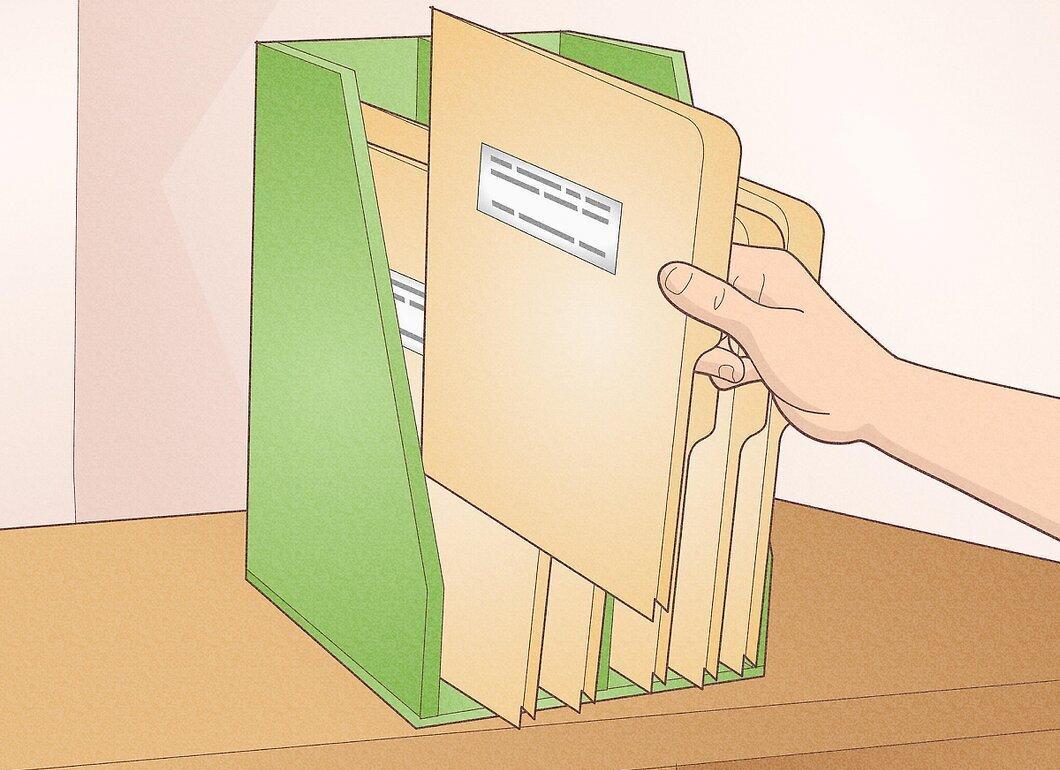
Begin sorting items from the pile into their places. After clearing your desk, you have many items that need attention. The sorting process should be thorough and leave nothing unaddressed. Gradually place items where they belong, discarding trash as you go. Set aside important items for further storage.
- Don’t procrastinate: deal with each item immediately. If you need to shred or destroy a document, do it right away. Don’t wait to throw away unnecessary little things.
- If it takes you more than two minutes to deal with an item, set it aside and write it on your to-do list.
- Create three piles: for items to keep, for trash, and for those you’re still unsure about.
Step 2. Gather Together Items You Don't Know How to Organize.
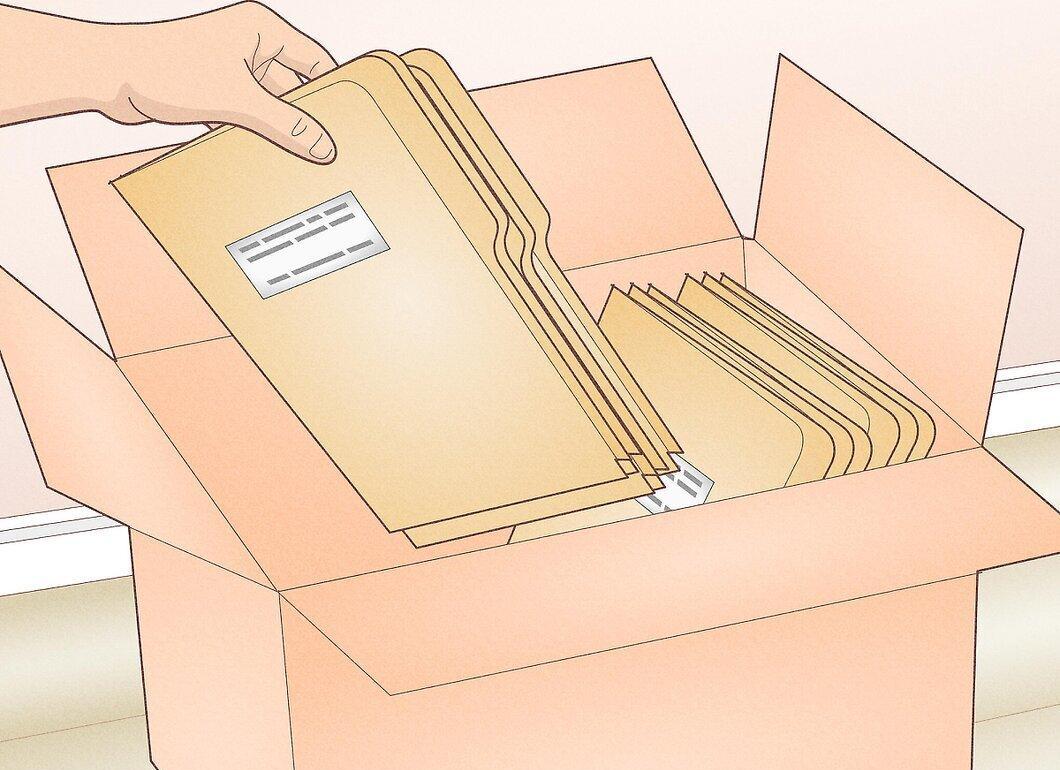
Collect all items you don’t know what to do with. These items shouldn’t be on the desk, but you don’t want to throw them away. Place them in a box and store it in a cabinet or closet.
- Revisit this box in a month or six months. If you haven’t used any of the items during that time, it’s better to throw them away. The likelihood of needing them is extremely low.
Step 3. Arrange Items on Your Desk.
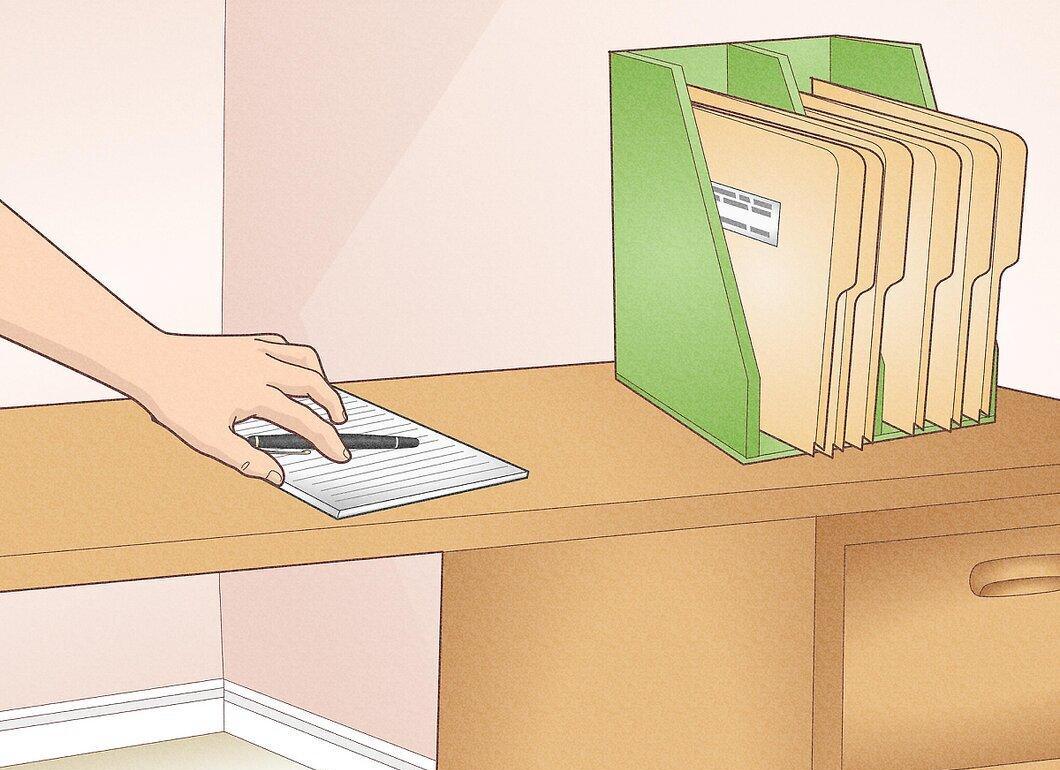
Now, arrange all items on your desk. Take one item from the first pile and place it on your desk, shelf, or in a drawer. Refer to your notes or organizational system.
- Try to avoid excessive distractions on the desk. Minimize decorative items to stay focused on your work.
- Books are better stored separately from the desk. If there’s a free shelf, place them there.
Step 4. Regularly Monitor the Order on Your Desk.
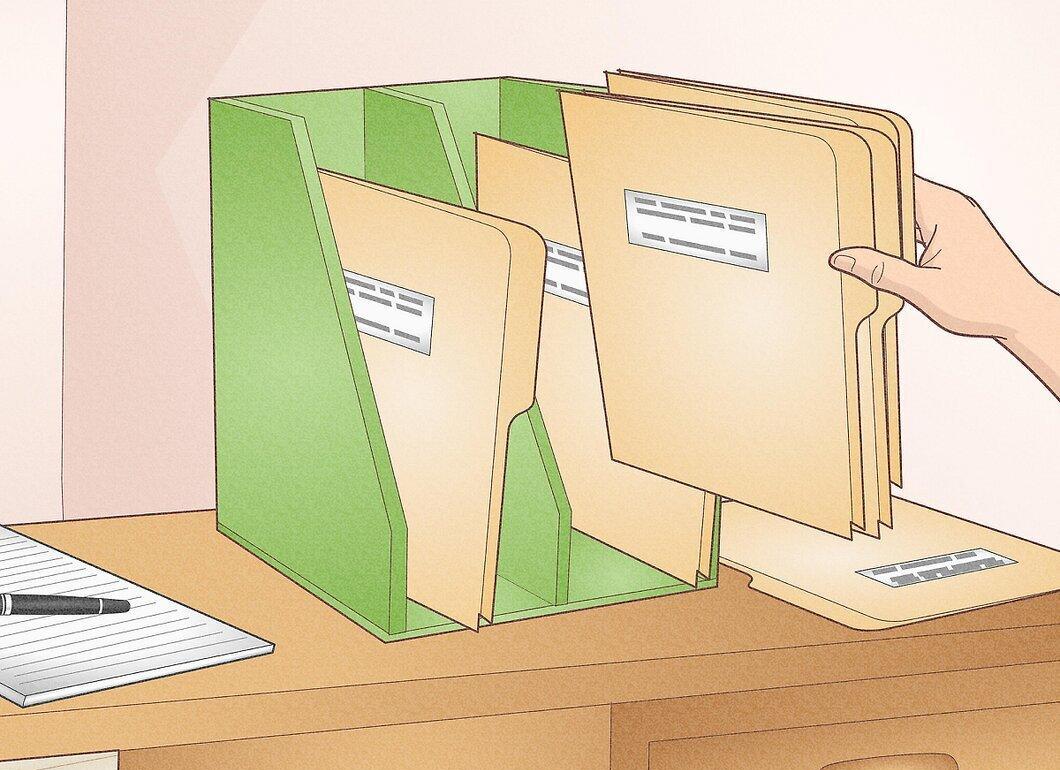
Regular cleaning will help maintain order. The more frequently you clean, the easier it will be to keep it tidy. At the end of the workday, be sure to check the state of your space and remove unnecessary papers and trash.
- If you clean at the end of the day, you’ll return to a clean workspace the next morning.
- Set aside one day a week or month for deeper cleaning, depending on how quickly unnecessary items accumulate.
Choose a Convenient Organizational System
Step 1. Arrange Items According to Your Preference.
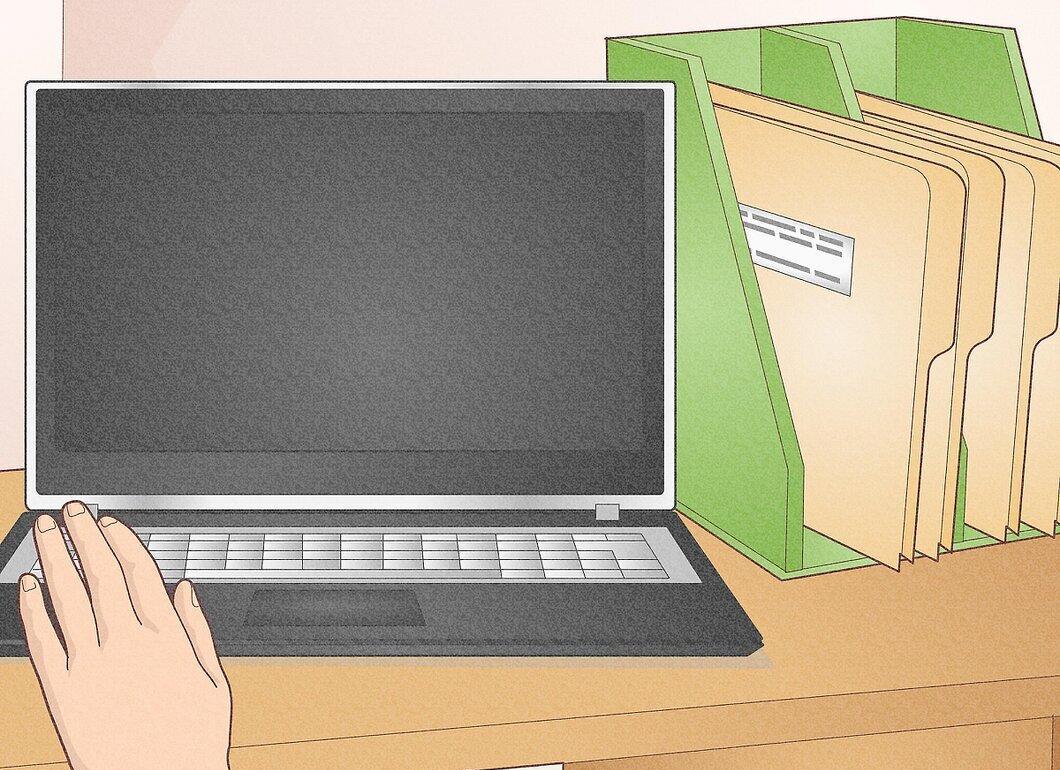
Organize items in a way that suits you. Everyone has their own approach to organizing their workspace depending on their type of activity. But it's essential to eliminate distractions.
- You can purchase containers and boxes for different items.
- You may need a folder for documents or a bulletin board to pin notes.
- For work, items that are best hung on hooks may be necessary.
Step 2. Keep Only Necessary Tools at Hand.
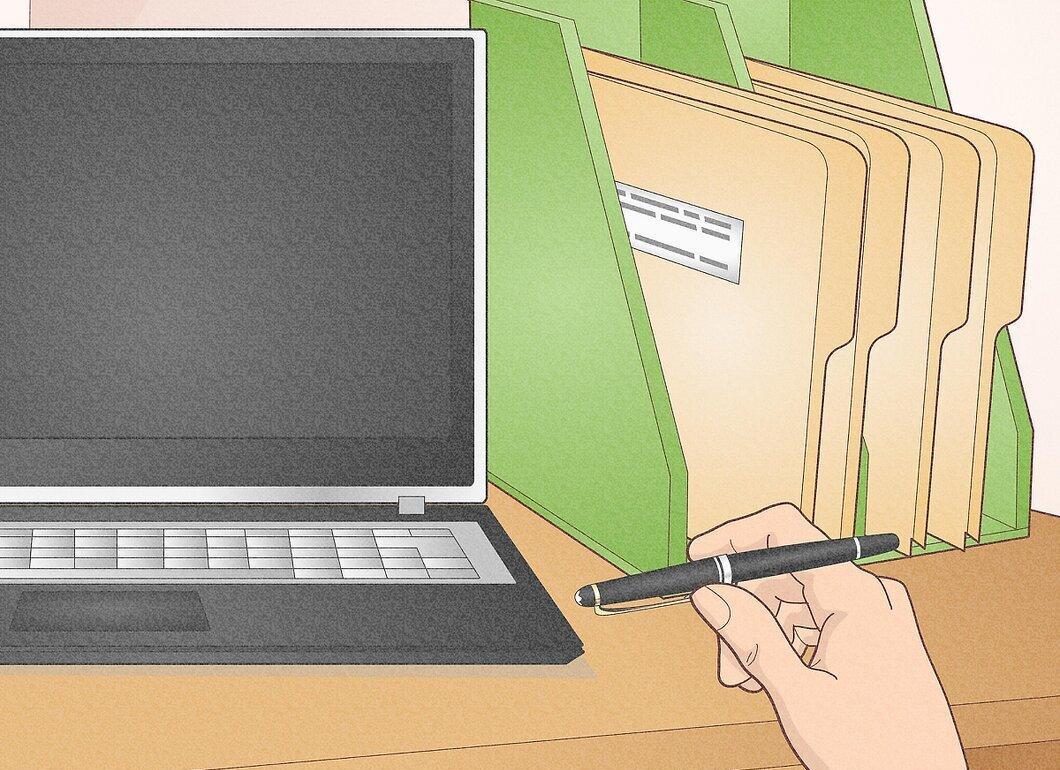
Only essential tools should be on your desk. If you work in an office, avoid placing hobby items on your workspace. It’s better to designate a separate area for that.
- If you notice that you rarely or never use a particular item, remove it from your desk.
- If you frequently use something that isn’t on the desk, make space for it.
Step 3. Try New Approaches.
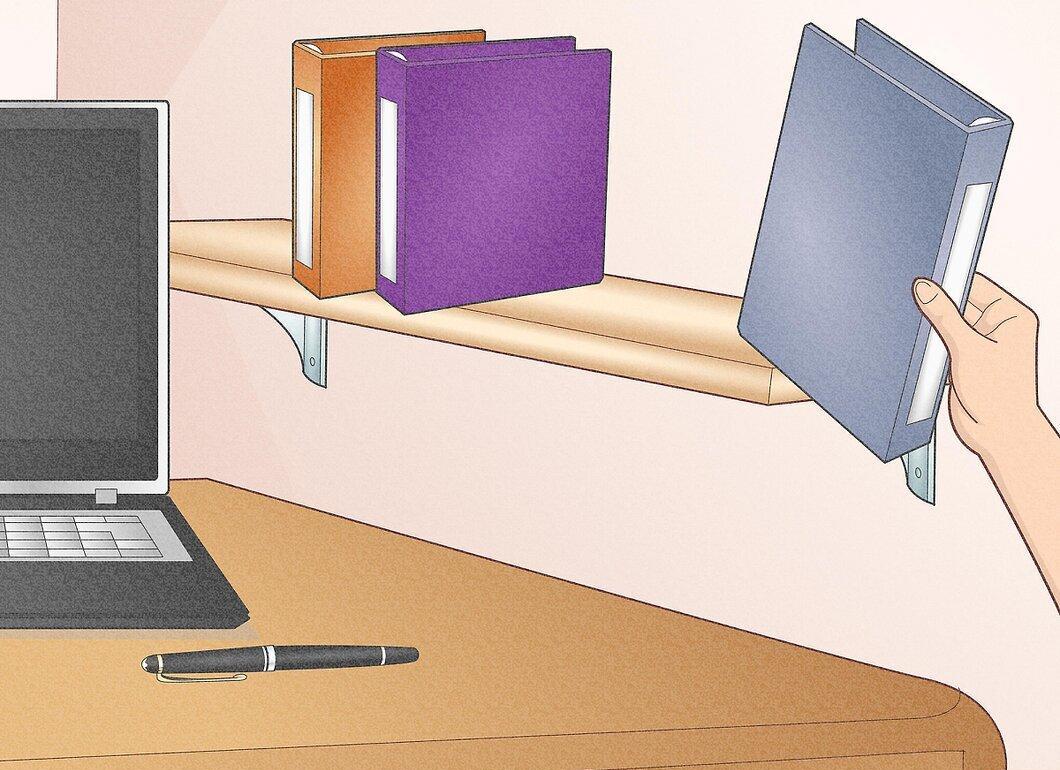
Don’t hesitate to experiment with new organizational methods. If you find it challenging to maintain order, it may indicate that you need to change your approach. You might find it more convenient to place some items on shelves or hang them on hooks instead of storing them in drawers. If you have trouble focusing on the computer screen, consider moving distracting items further away from it.
- Talk to colleagues about how they organize their workspace. Their tips may prove helpful to you.