Many people believe that a messy desk reflects inner chaos. A cozy and well-organized workspace can significantly boost your productivity, focus, and make it easier to locate necessary items. You’ll be amazed at how quickly your work mood improves after you tidy up your desk. Spend some time clearing away the clutter and organizing your materials.
Cleaning
Step 1. Start with a clean slate.
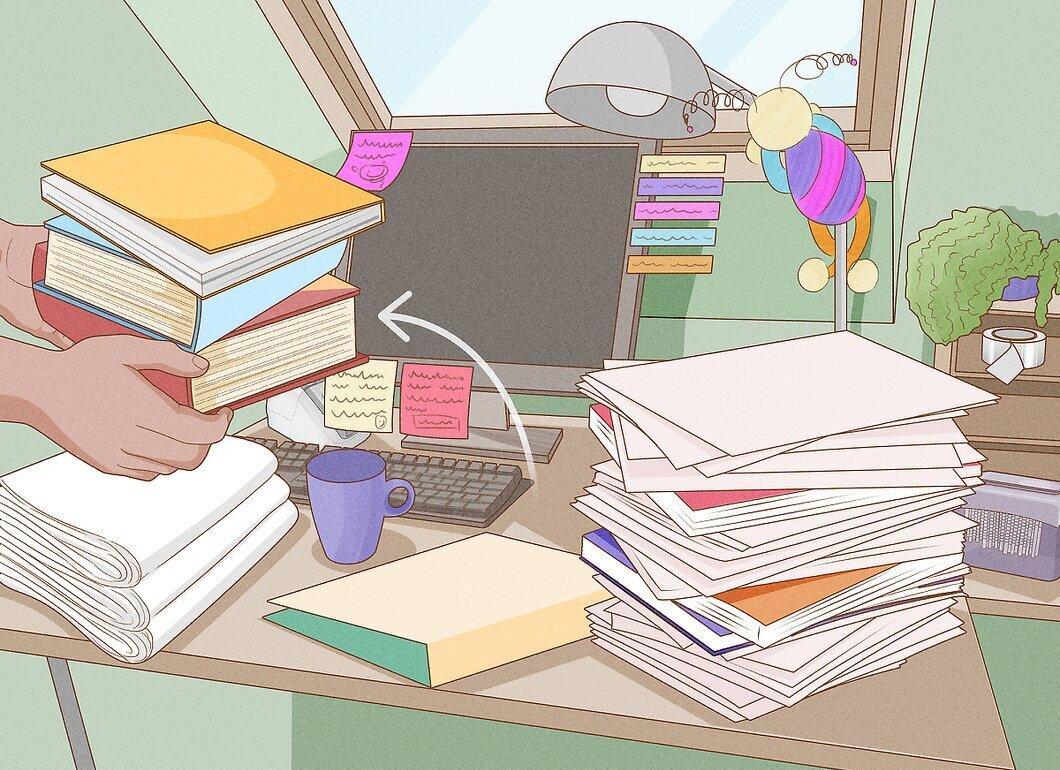
Begin with a clear desk. The process of organizing your workspace will be much easier if you start with an empty surface. Remove all items from your desk and clean out any drawers you may have. Place the items on a separate table or the floor to sort them later. Once you eliminate unnecessary items, it will be easier to visualize how to best organize your space.
- If you go through items one by one, it will take much longer.
Step 2. Clean the desk surface.
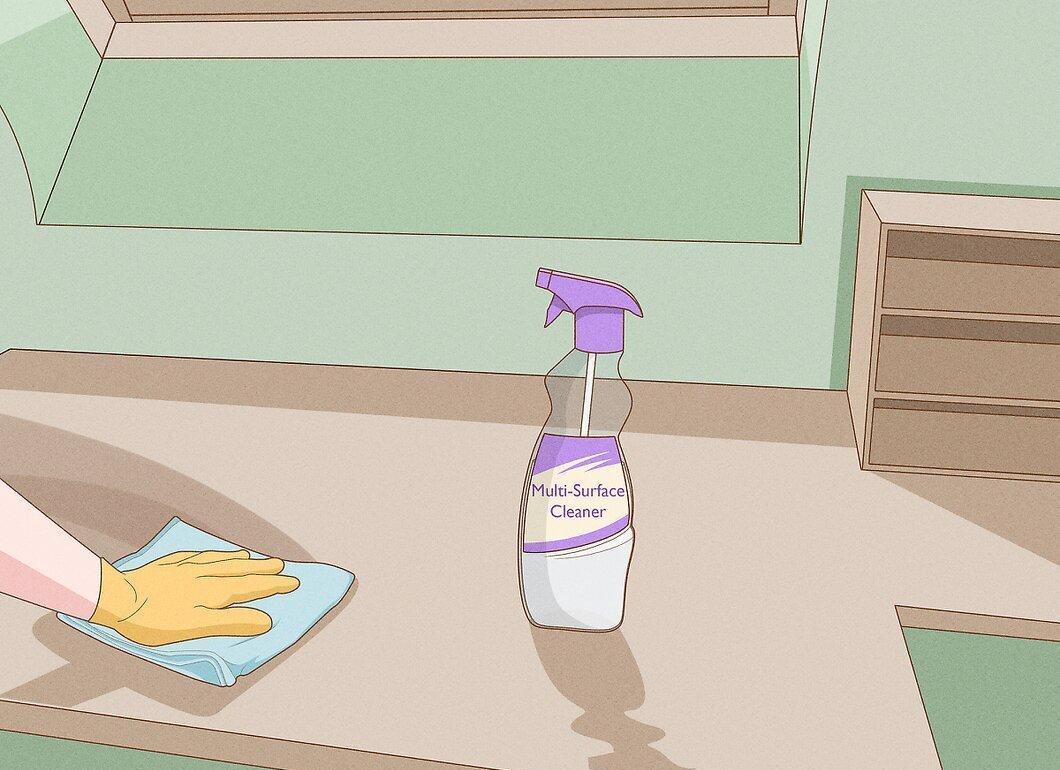
Now that the desk is empty, you can do a thorough cleaning. Dust and wipe down all surfaces with a universal cleaner. Pay special attention to stubborn stains and scratches on the desktop – after cleaning, your desk will shine like new.
- Don’t forget to clear the desk before cleaning; otherwise, you’ll have to wipe down each item individually.
Step 3. Get rid of the unnecessary.
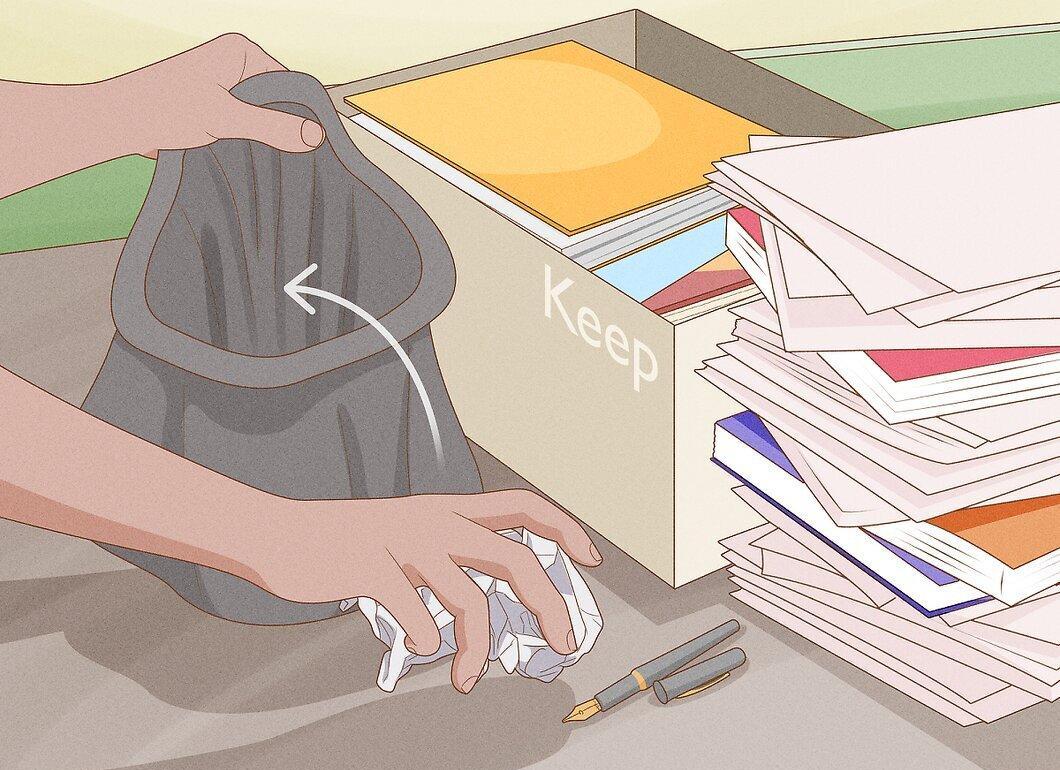
Go through all the items you removed from the desk and divide them into two groups: trash and keep. Be decisive in getting rid of unnecessary items and junk to keep only the essentials. This will greatly simplify the next stage of organization. EXPERT TIP Kristel Ferguson, a professional organizer and owner of Space to Love, suggests:
- People often keep useless items. Letting go of them will bring you much-needed peace of mind.
- Don’t forget to throw away all the trash you find. It can take up a lot of space on your desk.
Step 4. Refresh your desk environment.
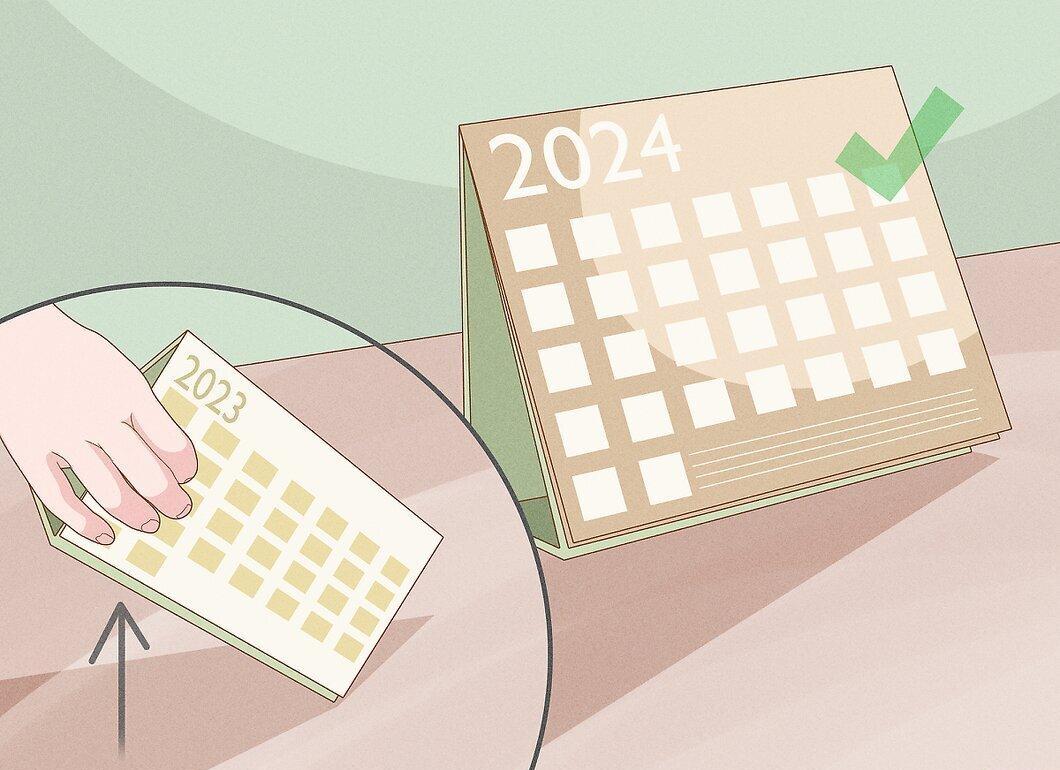
Evaluate everything surrounding your desk. Ensure there are no outdated items, such as old calendars, unanswered letters, and unnecessary photographs. Replace them with new items. All removed items can be discarded or stored away. Only relevant and useful things should be on your desk.
- You can keep some sentimental items, like old photos or gifts, but it’s better to place them elsewhere and keep the desk for work purposes.
Organization
Step 1. Rearrange your items.
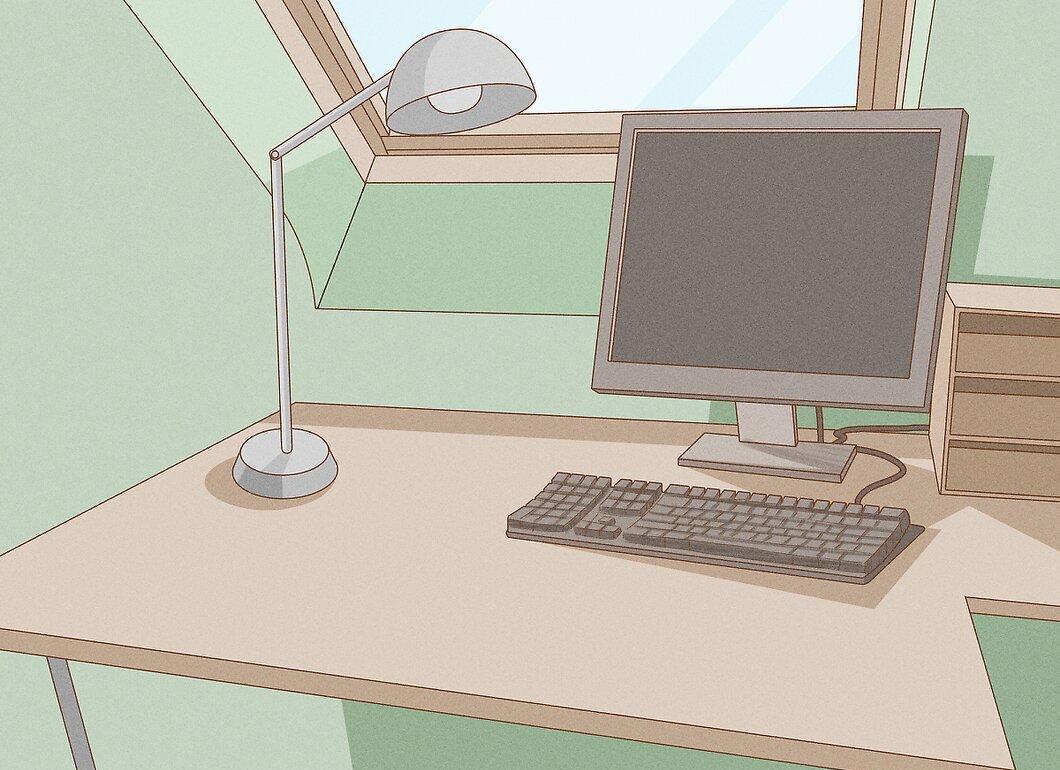
It's time to arrange your desk items in a new way. Don’t put them back in their old places! Think about how to make efficient use of the freed-up space. You can arrange items in a mirrored fashion or choose a new spot for each. Organize the space in a way that inspires you to work productively.
- Rearranging items on your desk is a small trick that can help break monotony and liven up your workspace.
- In China, there is an art of rearranging items known as feng shui. Studies show that such environmental changes can have a positive psychotherapeutic effect.
Step 2. Stock up on necessary supplies.
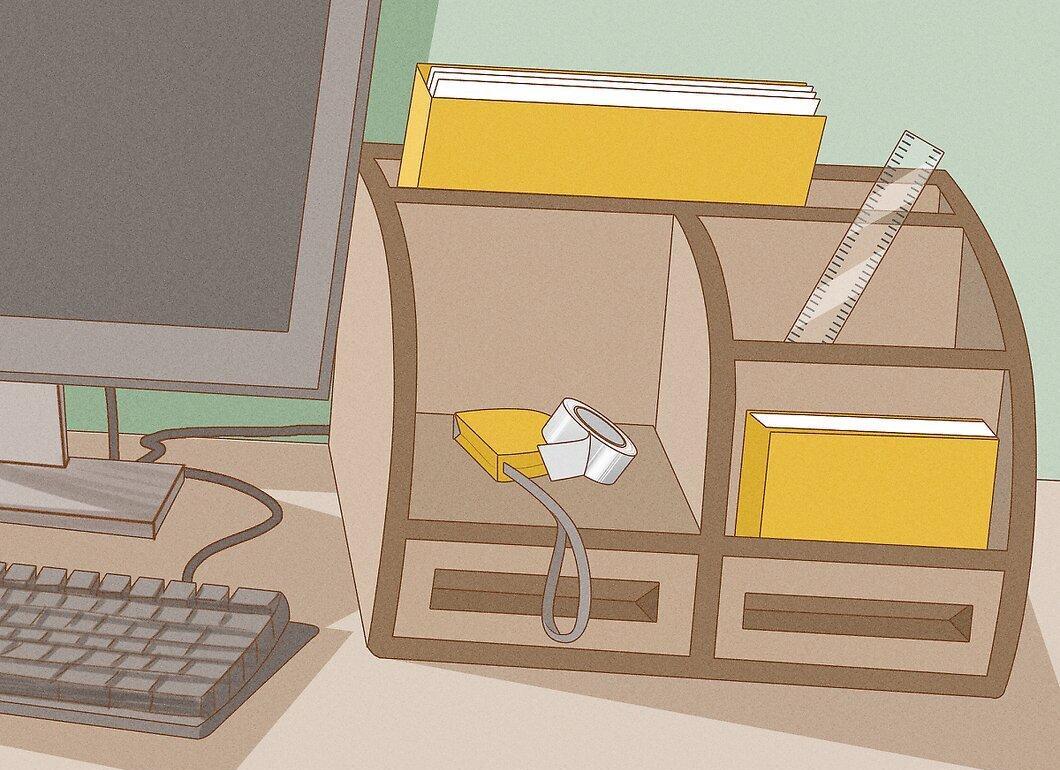
If you’re running low on office supplies like paper, pens, or paper clips, it's time to go shopping. Don’t forget to make a list to ensure you don’t miss anything (this could be a special app on your phone). Pay attention to the supplies you use most frequently. You’ll always have the necessary materials on hand.
- Even if your employer provides you with office supplies, having a few personal items (like your favorite pen) can make your work process more comfortable.
Step 3. Organize items for convenience.
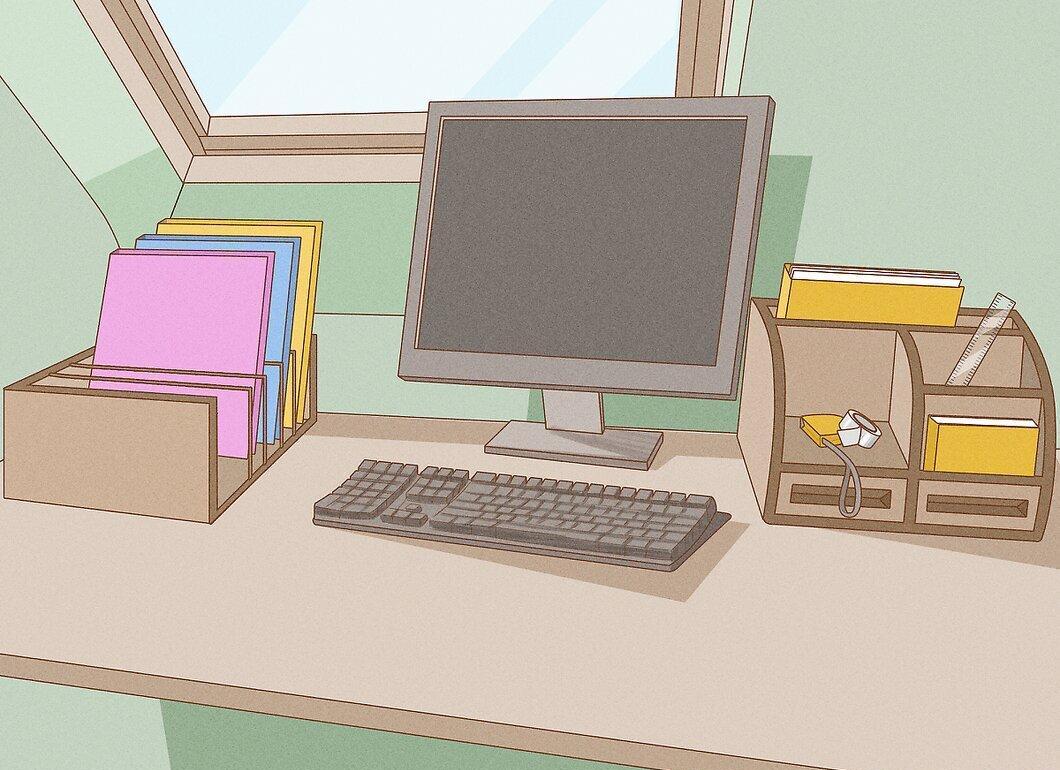
Think about how you want to organize your desk and place items so that everything is easy to access. For example, leave the center of the desk for your computer, and keep all necessary tools and documents within reach. This will save you time spent searching for what you need.
- Your intuition will guide you on where each item should be stored best. If you instinctively reach for something in a specific spot, that’s likely its optimal location.
Step 4. Add a touch of personality.
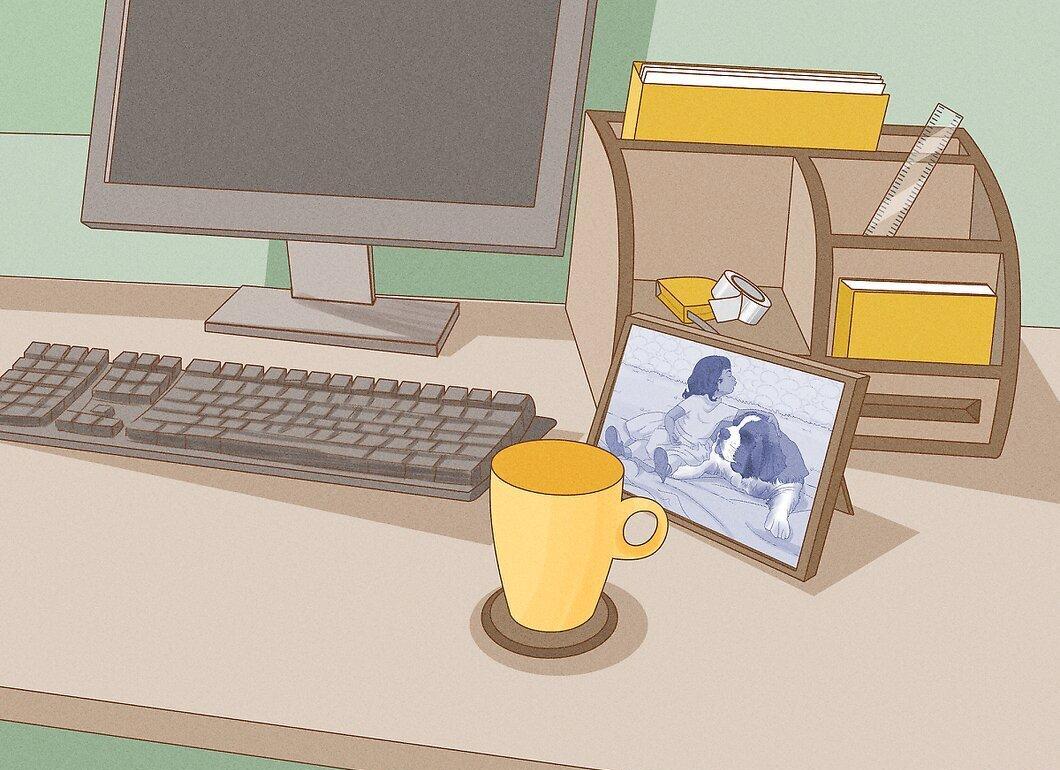
Your workspace should be not only clean and organized but also cozy. Add some decorative items to make the space more personal. A couple of framed photos, a small figurine, or a unique mug can help create a comfortable atmosphere.
- If you work in an open office or a private office, bring a few personal items from home to refresh the workspace.
- Hang inspiring images and quotes to motivate yourself for productive work.
Boosting Efficiency
Step 1. Keep essential items at hand.
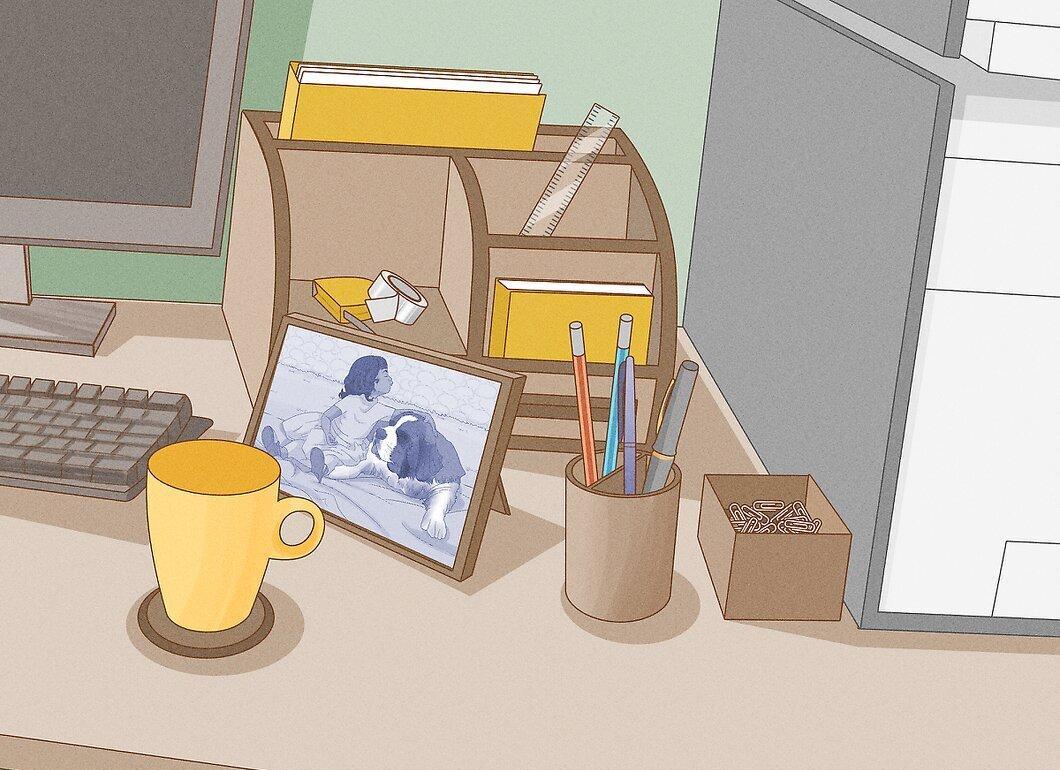
If you frequently use certain items, they should always be within reach. Evaluate how often you reach for each item on your desk and arrange them by importance. This will simplify the process of finding what you need.
- Office supplies, paper, notebooks, and devices can be stored both on the desk and in a convenient nearby spot.
- Keep pens and pencils in a cup or a designated holder so they are always accessible and don’t take up much space.
- Paper clips and staplers are better kept near the printer or in the document workspace.
- An organized workspace can save you up to an hour each day that is usually spent searching for items.
Step 2. Store frequently used items in upper drawers.
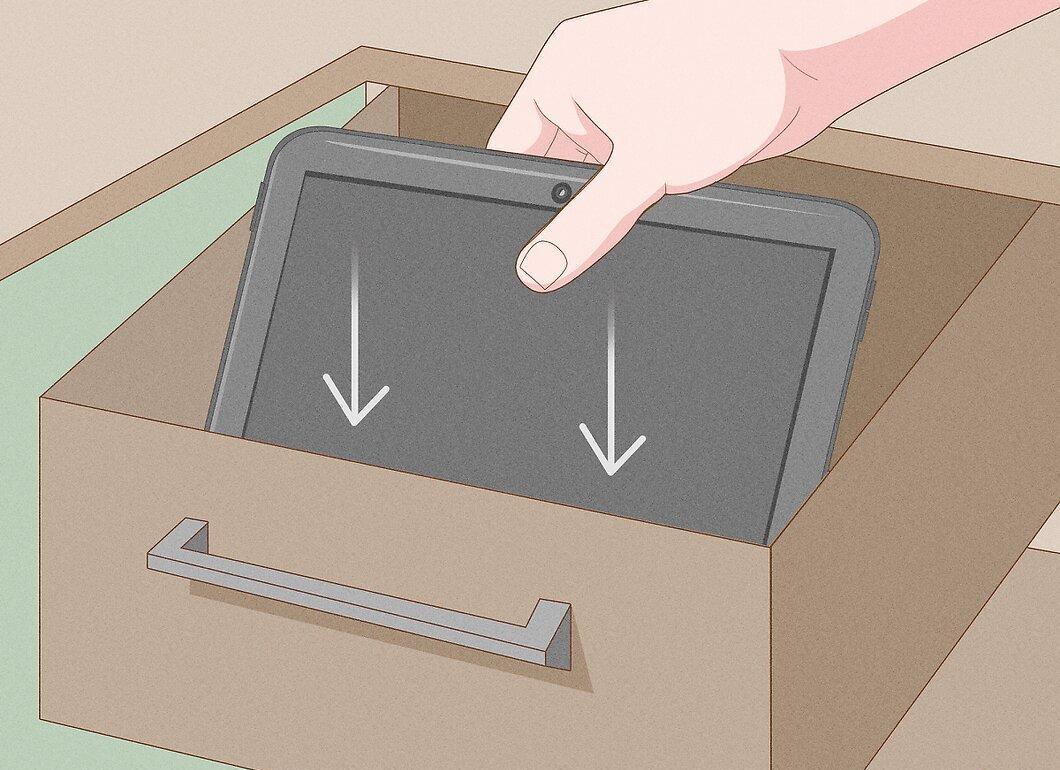
Less important but regularly used items can be kept in drawers to keep them handy. Place frequently used items in the upper drawers that don’t need to be on the desk. EXPERT TIP Kristel Ferguson:
- Your laptop or tablet may be used more often than a pen and paper. In this case, you can store office supplies away and keep the devices on the desk.
- If you often use many small items, buy a special drawer organizer to neatly arrange all supplies.
- Assess the importance of each item: if it’s used often, keep it on the desk; if it’s rarely used, store it in a drawer.
Step 3. Remove unnecessary items.
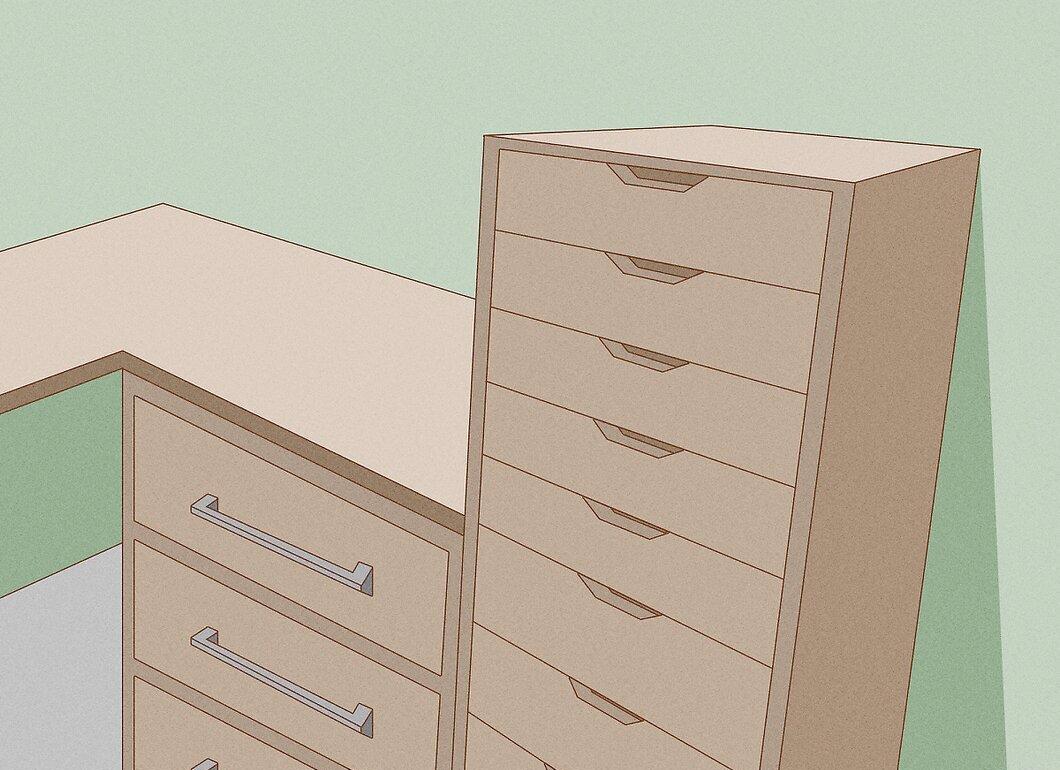
All items you’ve decided to keep but don’t want on display can be stored in a cabinet. This can include personal items, snacks, drinks, or rarely used devices. It's best to file documents in folders and store them in a filing cabinet, while other materials can be placed in a lower drawer or cabinet. Leave only the essentials on the desk, and store the rest in drawers or cabinets.
- Develop the habit of putting things back in their place after use; otherwise, clutter will constantly accumulate on the desk.
Step 4. Use special document trays.
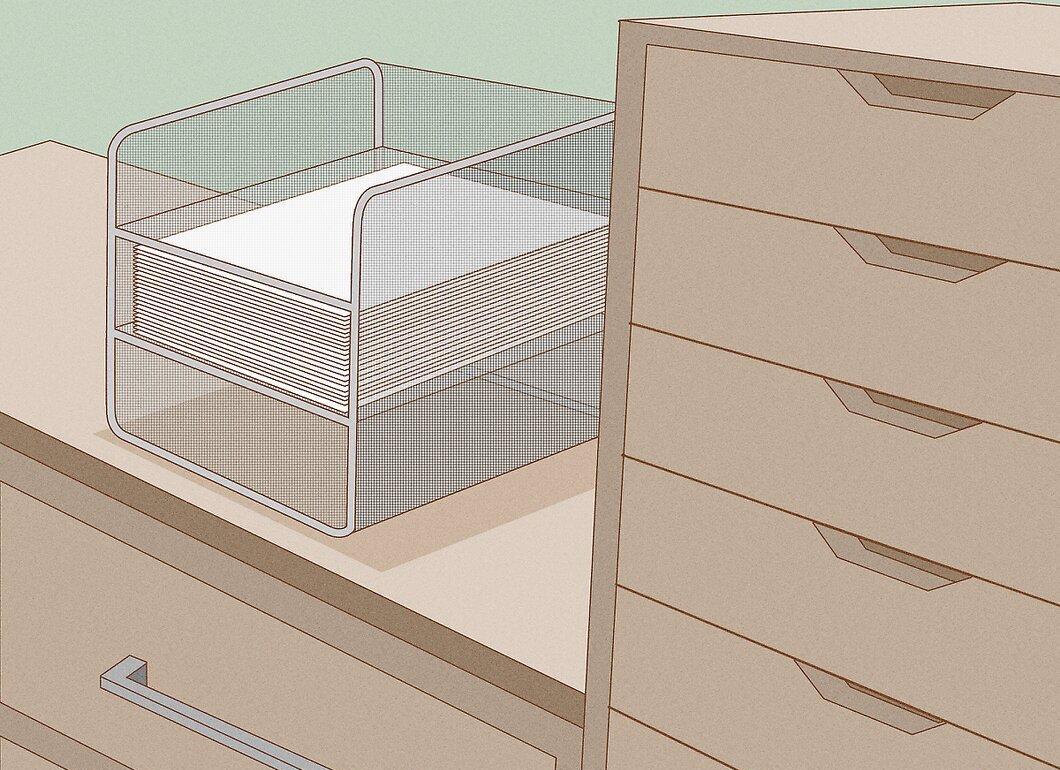
Organize papers and documents in special trays. Such devices simplify the process of sorting documents and help organize incoming and outgoing papers, as well as answered and unanswered letters. Use folders and filing cabinets to prevent paper clutter on your desk.
- Allocate one or more trays for different types of documents to free up space on the desk.
- One tray can be designated for documents in progress, while another can be for incoming and outgoing letters.
Step 5. Maintain order in shared workspaces.
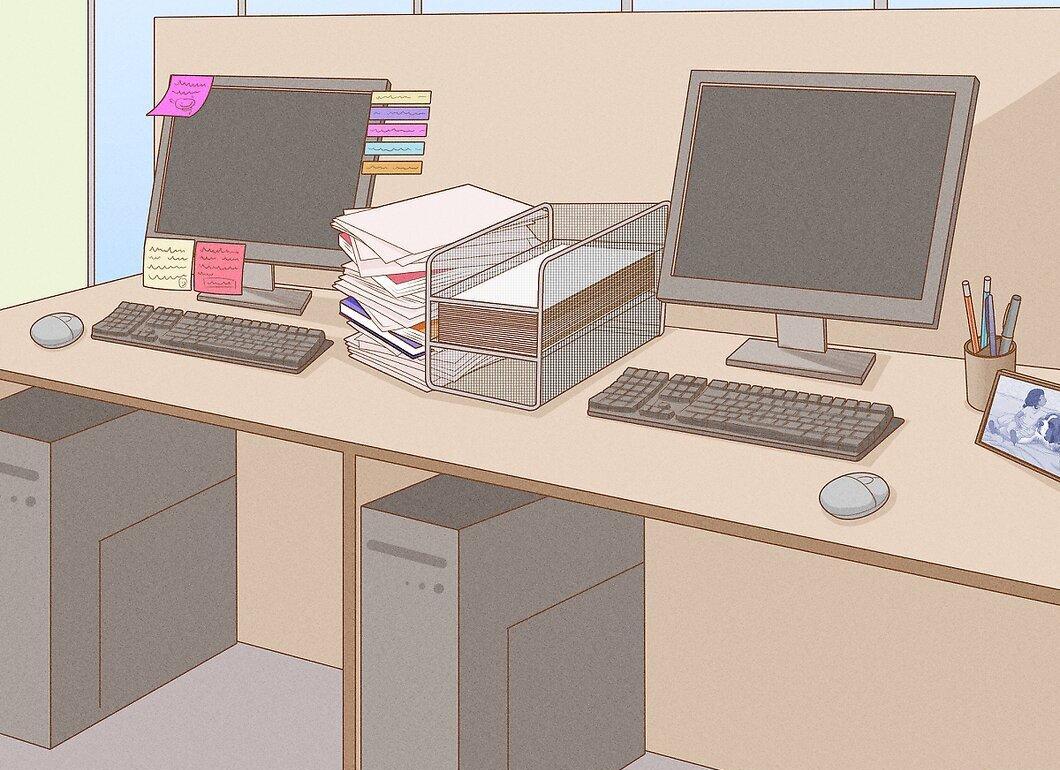
If you share a desk with colleagues or are in an open office, it’s important to maintain order. First, ensure you have clear boundaries for storing your belongings. Then, organize your workspace to enhance productivity.
- Label your personal items to avoid mixing them with shared ones. Ensure your documents are stored separately in folders and drawers.
- Designate a space for shared supplies to prevent them from cluttering your area.
- Regularly clean the shared workspace to avoid mess. The more people working in one space, the more clutter and disorganized papers can accumulate.