Part artist, part scientist, embalmers work in funeral homes providing various services to the deceased, helping them regain their former appearance. This delicate and complex work requires skill and care. Read on to learn more about the world of embalming.
Preparing the Body
Step 1: Ensure the Body is Lying Face Up
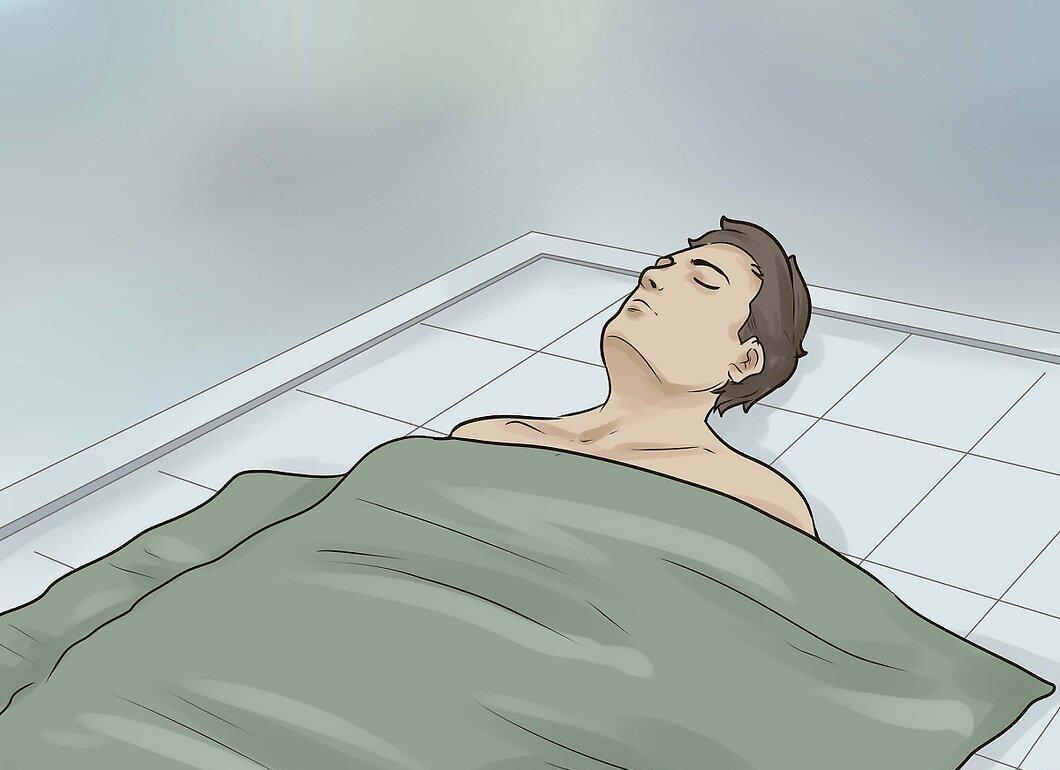
Ensure the body is lying face up. If it is face down, blood may begin to pool, especially in the face. This can cause discoloration and swelling, making it much harder to restore a natural appearance.
Step 2: Remove All Clothing from the Deceased
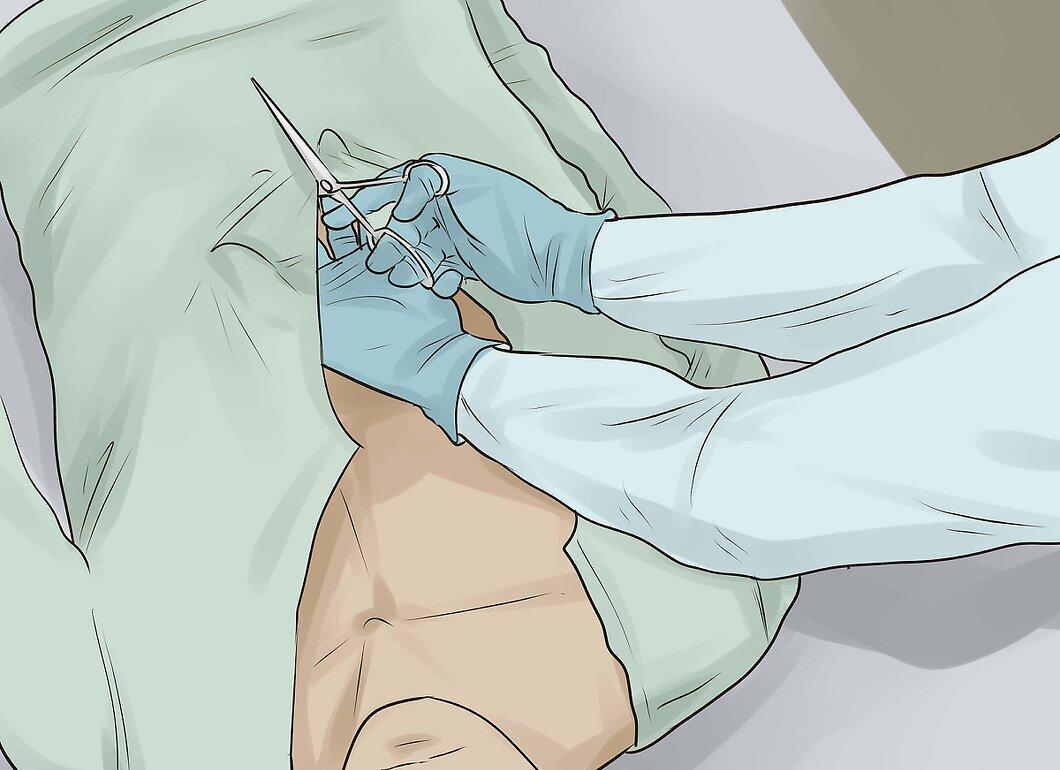
Remove all clothing from the deceased. You will need to monitor the skin closely during the embalming process, so the entire body must be visible throughout the procedure. Also, remove intravenous needles and catheters.
- Typically, all cuts, bruises, and other marks should be documented before beginning the embalming process. This will also be necessary for the documentation of chemicals used. This report may be useful for insurance purposes if the deceased's family decides to sue the funeral home.
- Respect the body of the deceased. Cover the genital areas with a sheet or towel, and do not lay instruments around the body. After all, relatives may arrive at any moment.
Step 3: Disinfect the Mouth, Eyes, Ears, Nose, and Other Openings
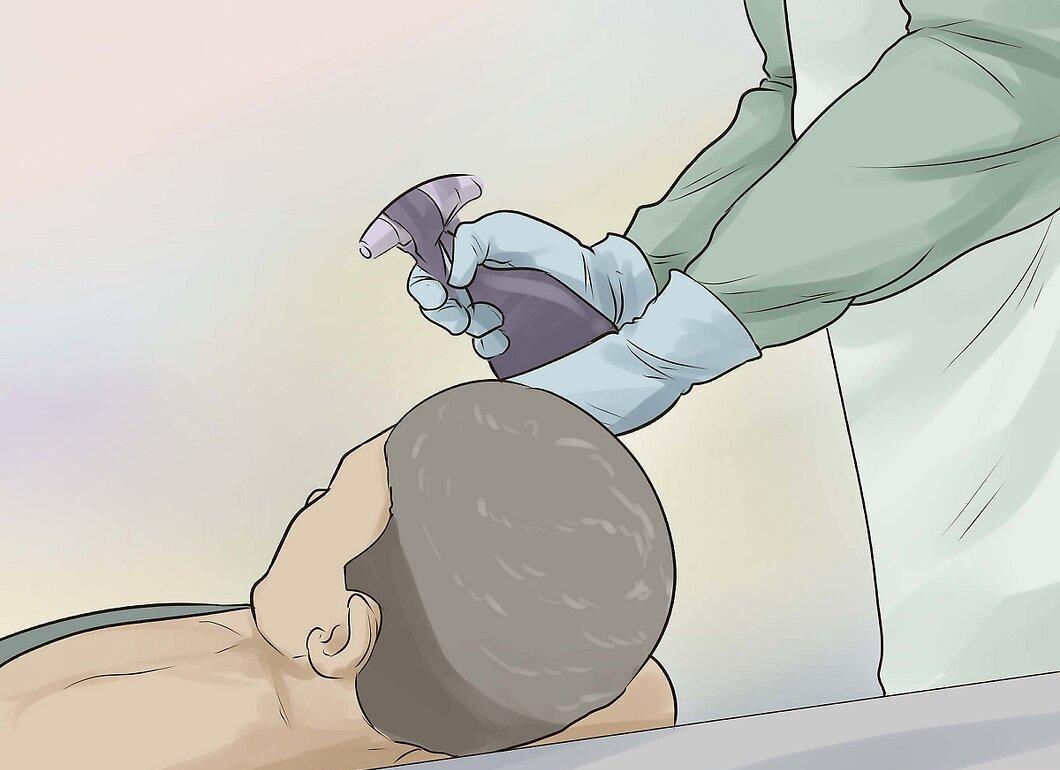
Disinfect the mouth, eyes, ears, nose, and other openings. A strong disinfectant will help clean the body both inside and out.
- Inspect the body to determine what type of fluid will be needed. Some embalmers take this opportunity to mix all the necessary fluids for the procedure. Usually, 16 ounces of fluid and 2 liters of water are sufficient.
Step 4: Shave the Deceased
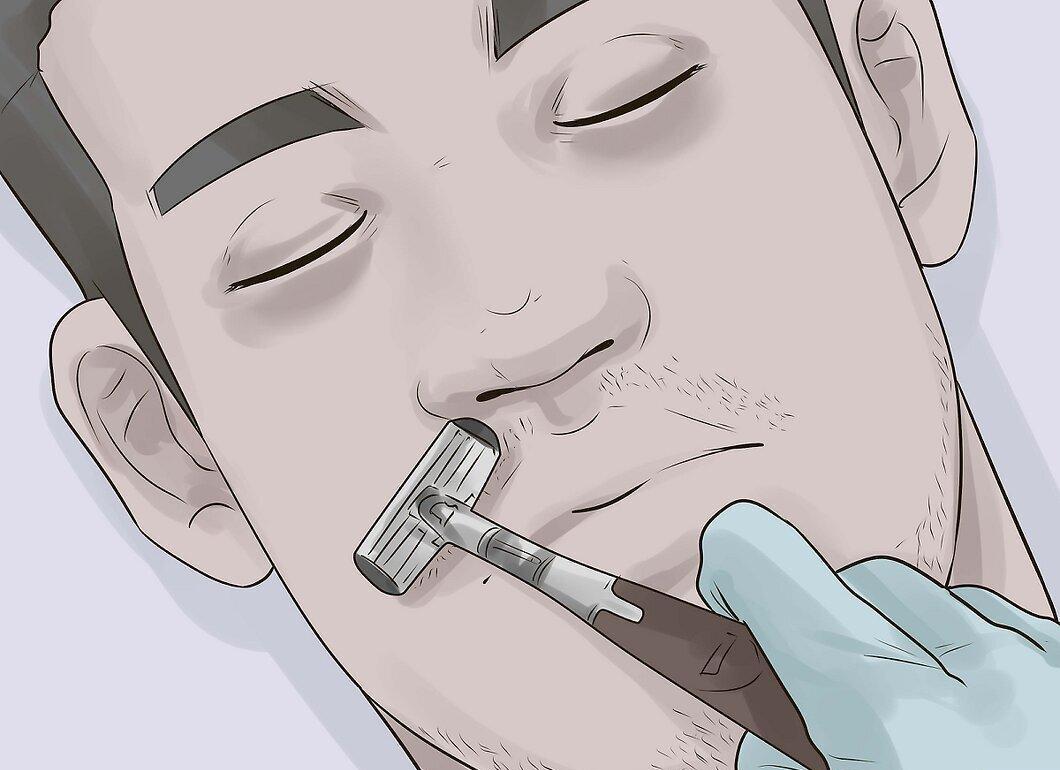
Shave the deceased. Typically, the face is shaved. Men are usually shaved, while women and children are only shaved to remove any fine hair.
Step 5: Massage Away Rigor Mortis
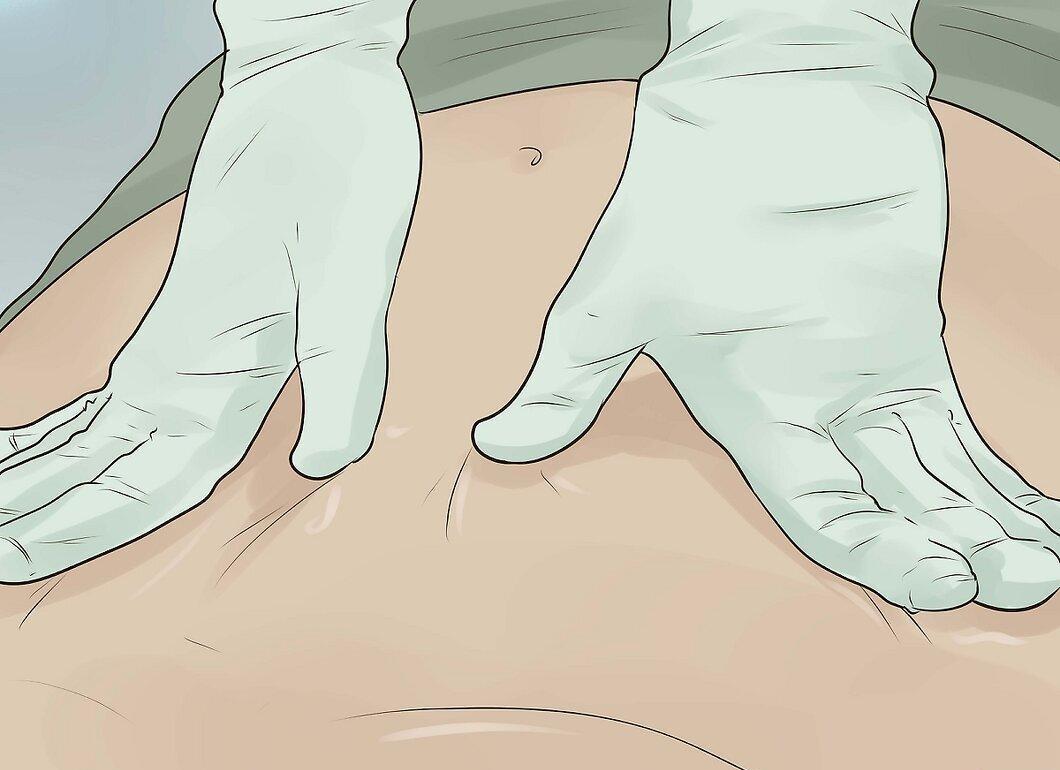
Massage the major muscle groups to relieve stiffness and move the joints to loosen them. If the muscles are tense, it can increase vascular pressure, which will hinder the embalming process.
Main Preparations
Step 1: Close the Deceased's Eyes
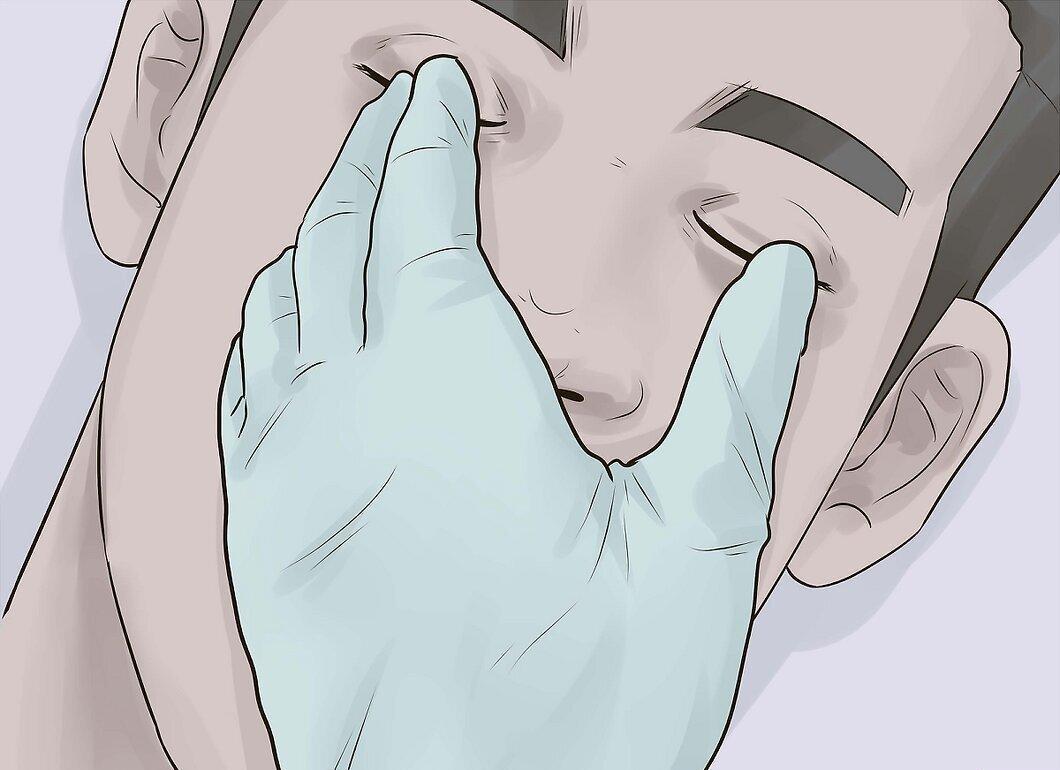
Close the deceased's eyes carefully. Since eyelids often droop and create hollows, it is advisable to place a small piece of cotton between the eyelid and the eye. Sometimes a plastic cap is used for this purpose.
- Eyelids are never sewn shut but can sometimes be glued.
- It is advisable to prepare the body before any fluid is used, as it will cause the body to "set" and make it difficult to adjust anything afterward.
Step 2: Close the Mouth Naturally
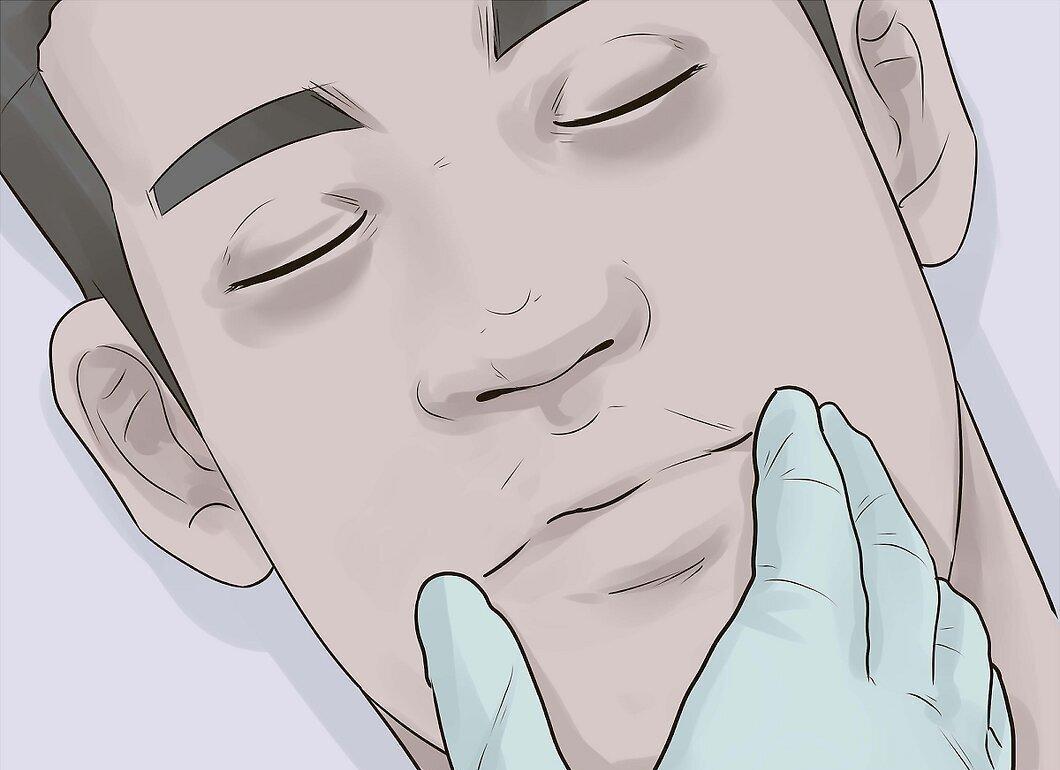
Close the mouth so that it appears natural. There are two ways to do this.
- Sometimes the mouth is sewn shut – a needle is passed through the jaw under the gums through the septum. However, do not pull the stitch too tightly, or the chin will not look natural.
- An injector can also be used to shape the mouth correctly. It acts like dental caps and dentures, compressing the jaw into the proper bite. This method reduces the likelihood of operator error.
Step 3: Moisturize
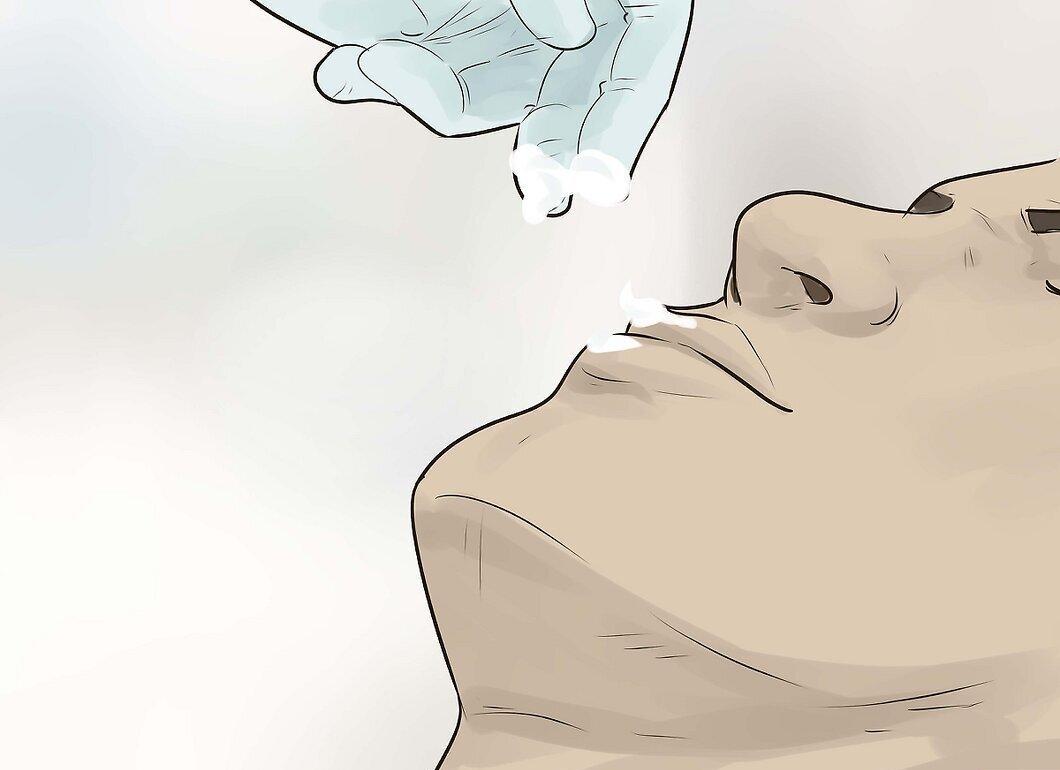
Moisturize. Apply a little cream to the eyelids and lips to protect them from drying out and to enhance their natural appearance.
Arterial Embalming
Step 1: Select the Incision Area
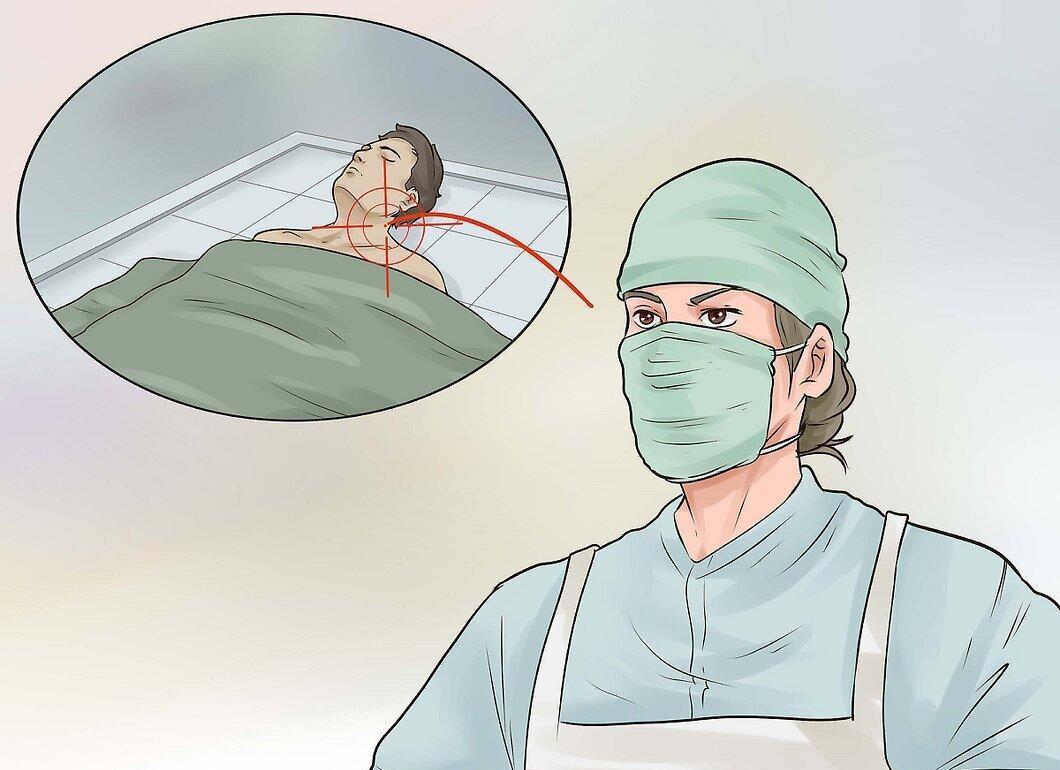
Select the incision area. The embalming solution (a mixture of formaldehyde, other chemicals, and water) should be introduced into the artery after draining blood from a nearby vein or the heart. On average, about two gallons of fluid will be needed.
- For men, the incision is typically made near the pectoral muscle and collarbone. For women and children, it is done in the thigh area.
Step 2: Make the Incision
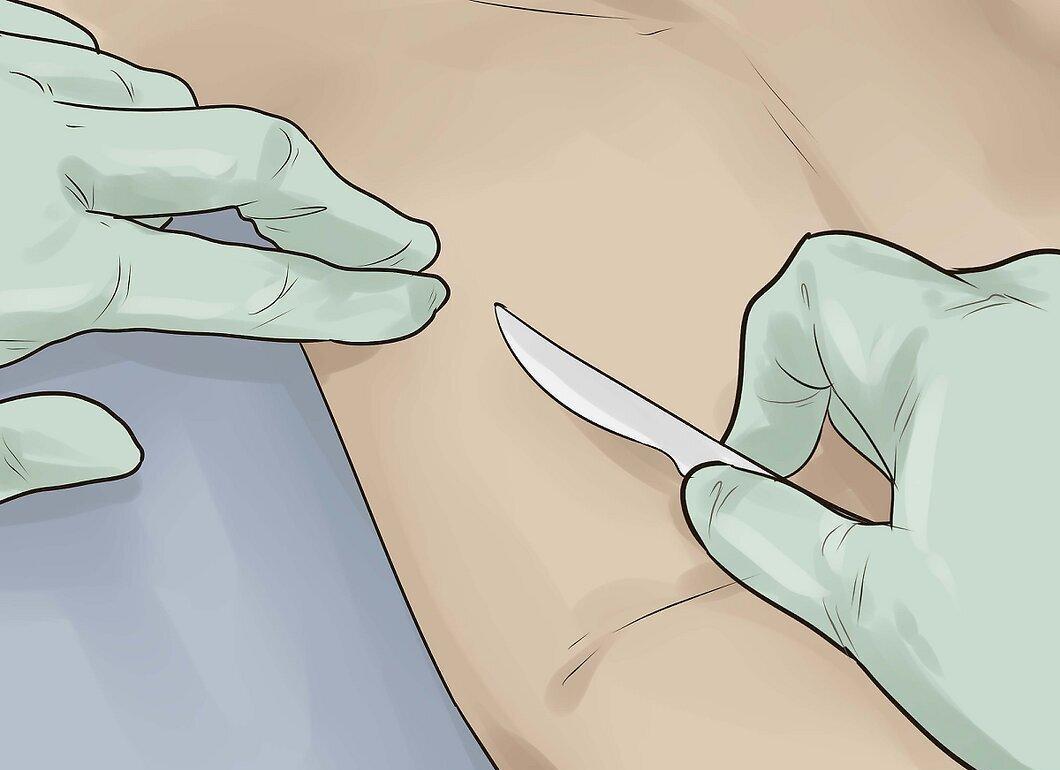
Make the incision. Clean the area where the vein is located, puncture it, and insert the tube towards the heart. Apply a ligature at the bottom of the tube.
- Do the same with the arteries, but do not insert a cannula instead of the tube. Use clamps to block the artery. Use a clamp to stop the arterial blood flow.
Step 3: Turn on the Embalming Machine and Introduce the Fluid
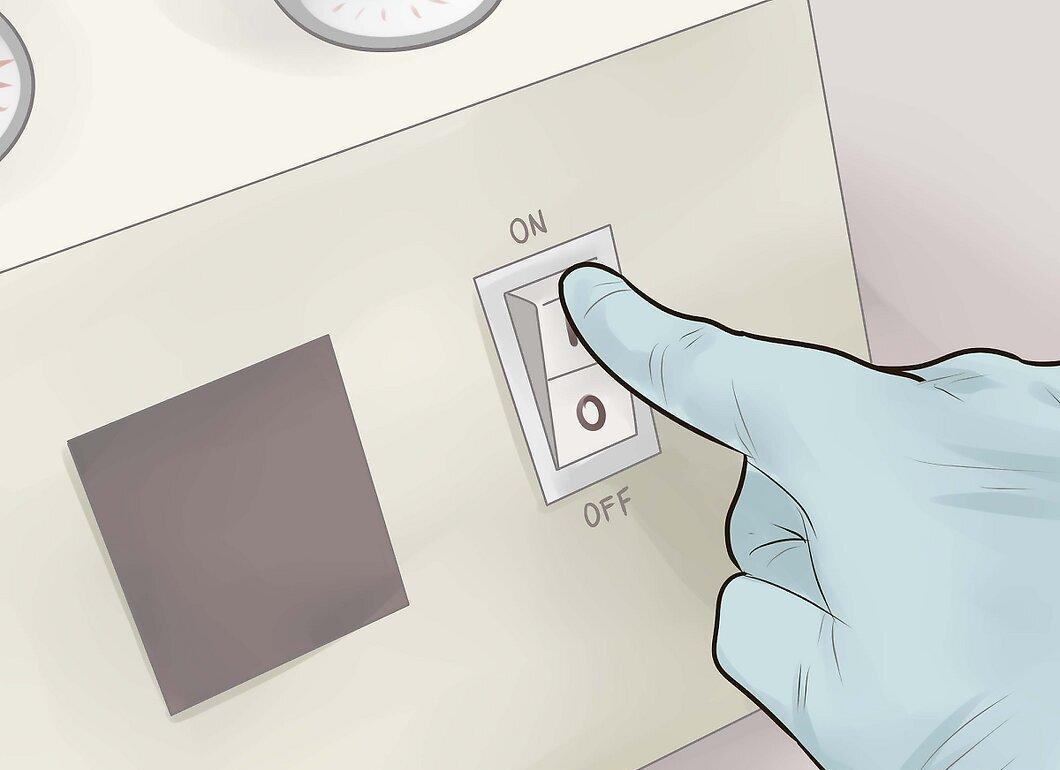
Turn on the embalming machine and introduce the fluid. During this process, wash the body with antibacterial soap while simultaneously massaging the limbs to expel blood and introduce embalming fluid.
- As the fluid enters the arteries, pressure will build in the veins, indicating that the fluid is moving through the body. You will notice this by the bulging veins. Periodically allow the blood flow to exit through the neck tube.
Step 4: Gradually Reduce the Pressure
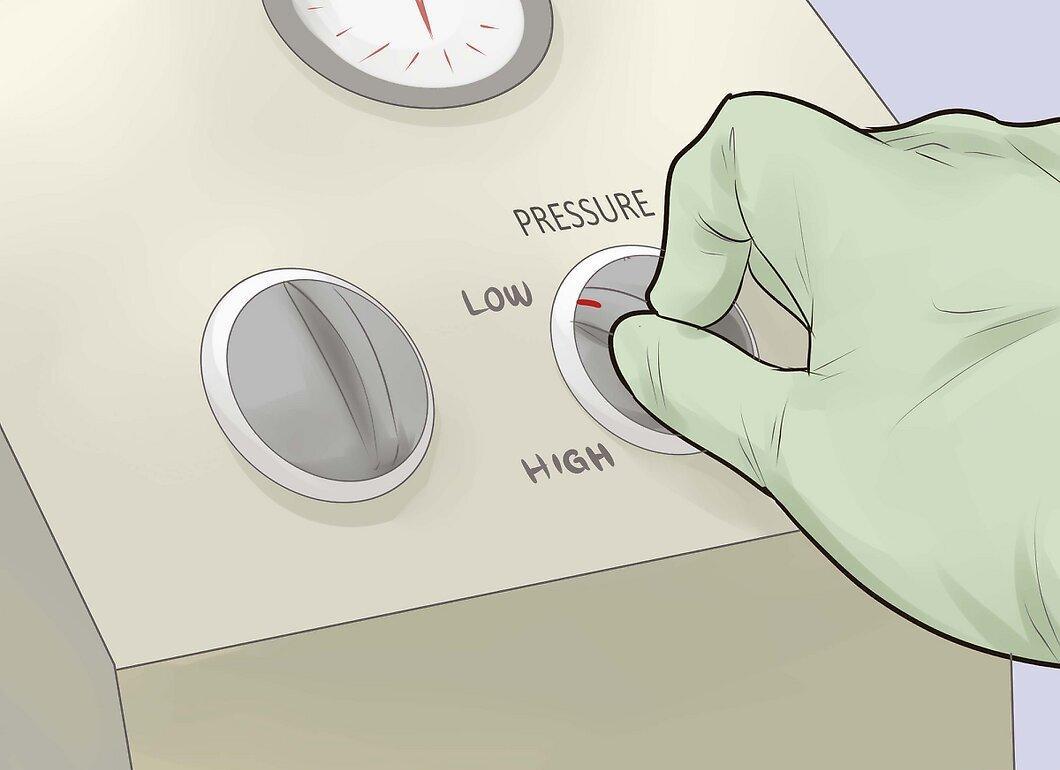
Gradually reduce the pressure. When you have about 20% of the fluid left, move the cannula to another artery. This will allow all veins to be filled with fluid. Be careful and reduce the pressure in time to avoid "splashing everywhere."
- In the case of the thigh, the right leg will be embalmed. If it is the right carotid artery – the right side of the head.
Step 5: Finish Up
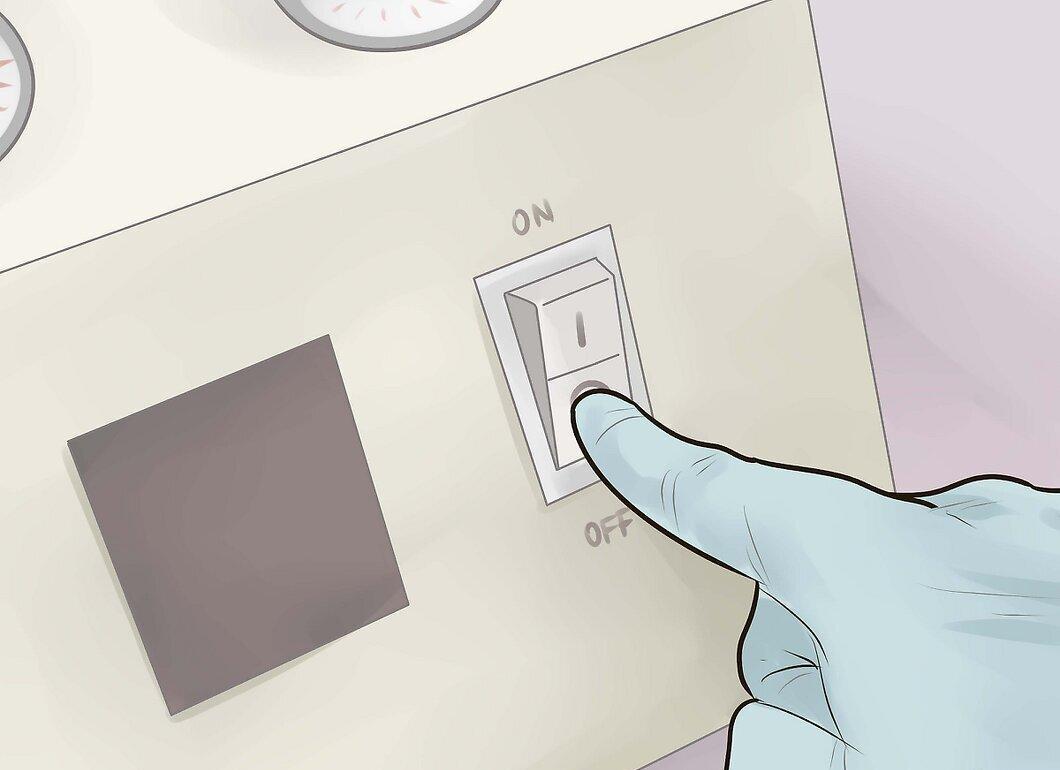
Finish up. When you are done, turn off the machine, remove the cannula, and ligate all veins and arteries that were used. Suture the incisions. To avoid leakage, use powder.
Organ Embalming
Step 1: Use a Trocar to Withdraw Fluid from Organs
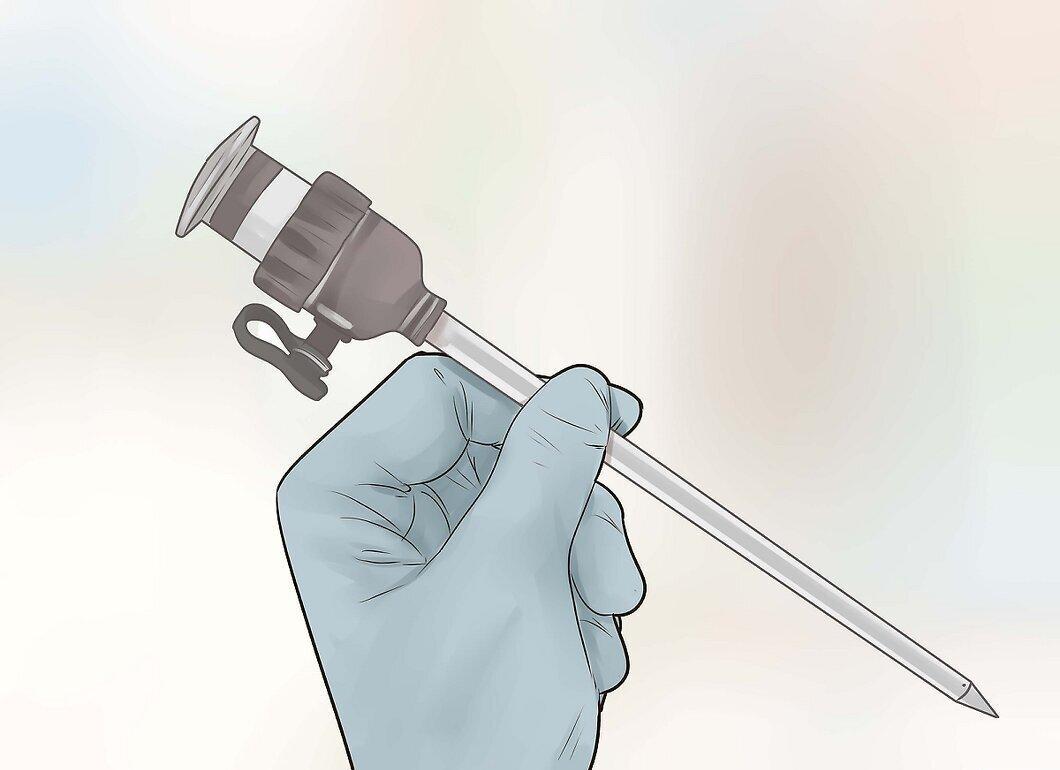
Use a trocar to withdraw fluid from the organs. Now that the arteries are cleared, it is necessary to cleanse the internal organs before bacteria and gases accumulate, as well as clear the nose and mouth of excess fluid.
Step 2: Aspirate Fluid from the Chest Cavity
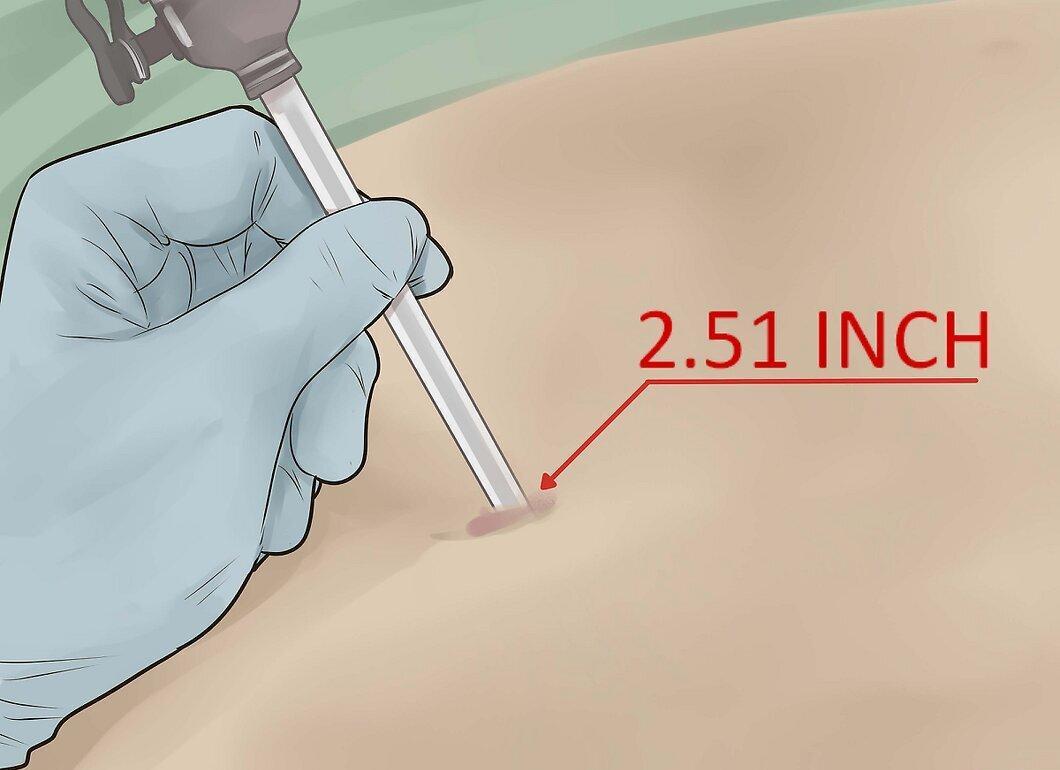
Aspirate fluid from the chest cavity. Insert the trocar 2 inches to the right and 2 inches above the navel. Cleanse the hollow organs: stomach, pancreas, and small intestine.
Step 3: Aspirate the Lower Cavity
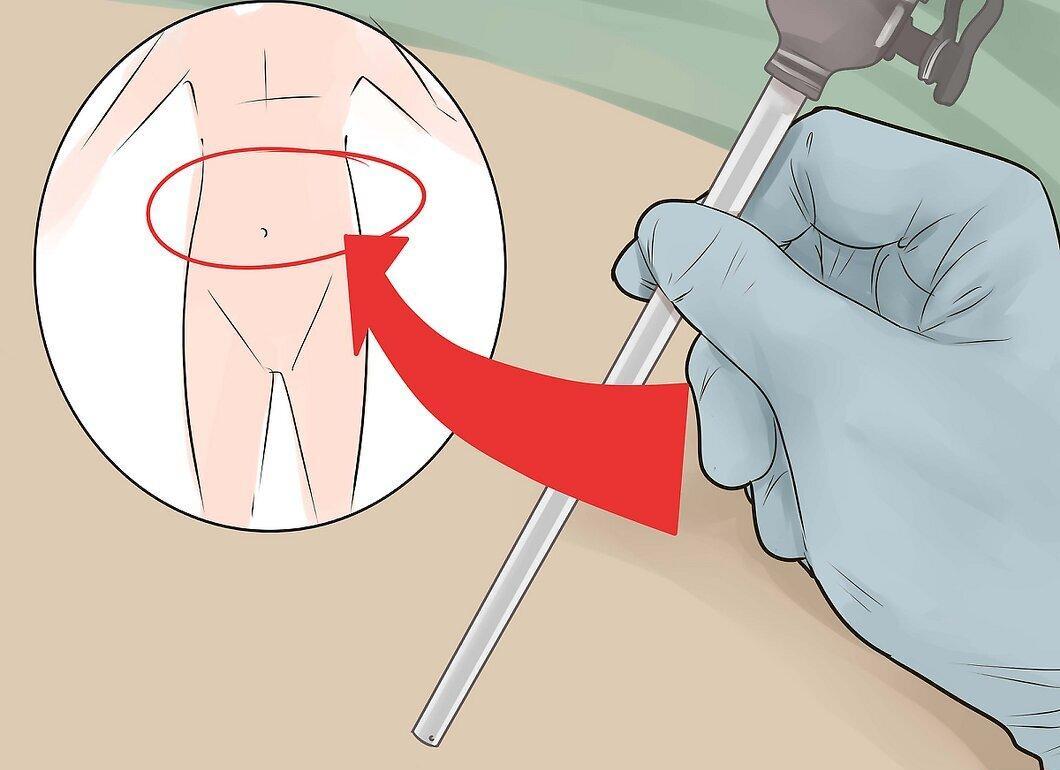
Aspirate the lower cavity. Withdraw the trocar, turn it, and insert it into the lower opening to aspirate the contents of the large intestine, bladder, and uterus in women. To prevent leakage, cotton is sometimes placed in the anus and vagina.
Step 4: Introduce Cavity Fluid into the Body
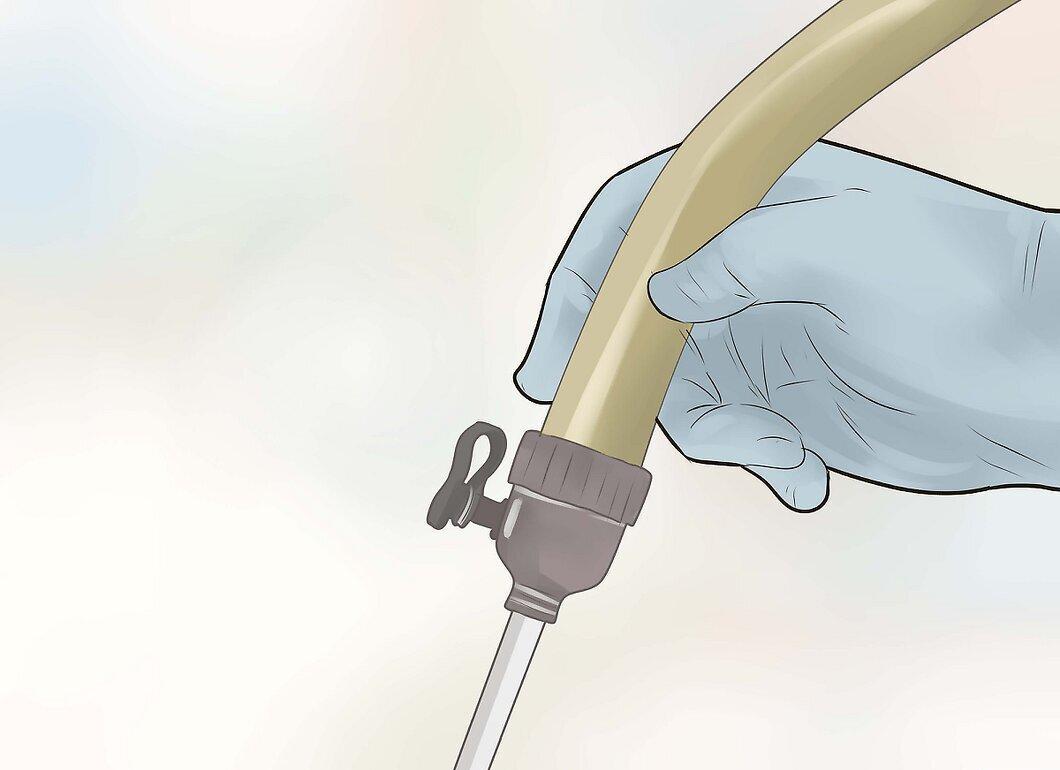
Introduce cavity fluid into the body. Cavity fluid typically consists of 30% formaldehyde. This method is usually used to introduce cavity fluid into hollow organs for protection and disinfection.
- Ensure that you perform this procedure for both the upper and lower organs. This is a key step in the "cleaning" process.
Step 5: Remove the Trocar and Screw the Opening Closed
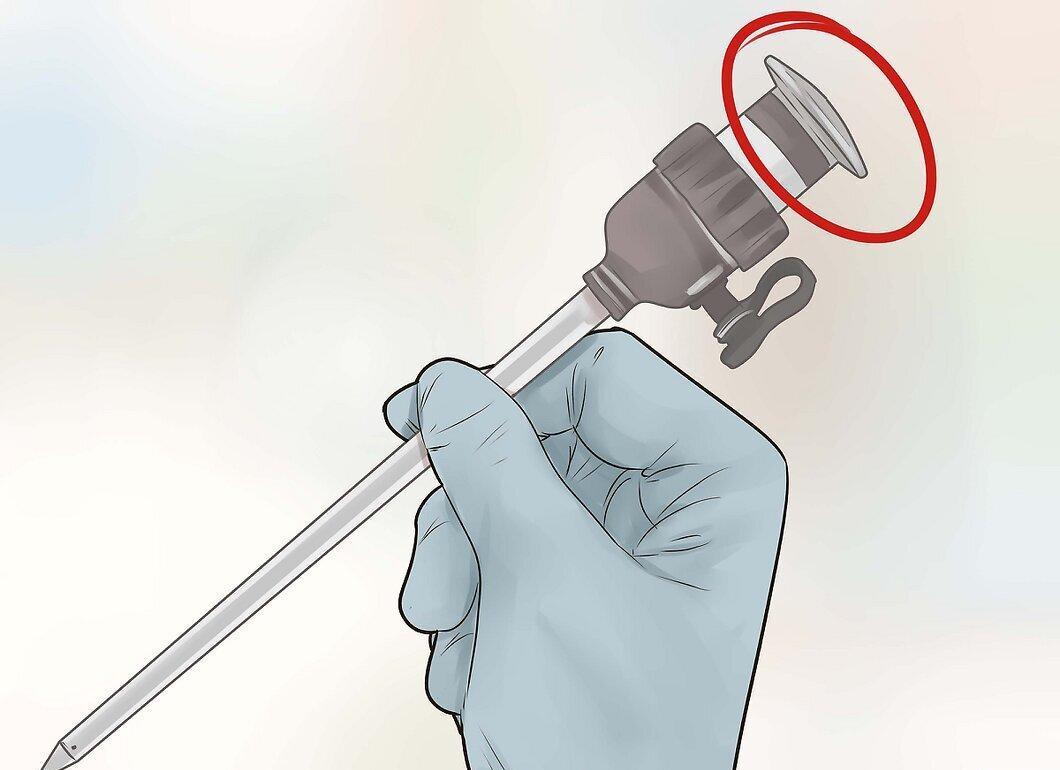
Remove the trocar and screw the opening closed. Clean it and set it aside.
Placing the Body in the Casket
Step 1: Thoroughly Wash the Deceased
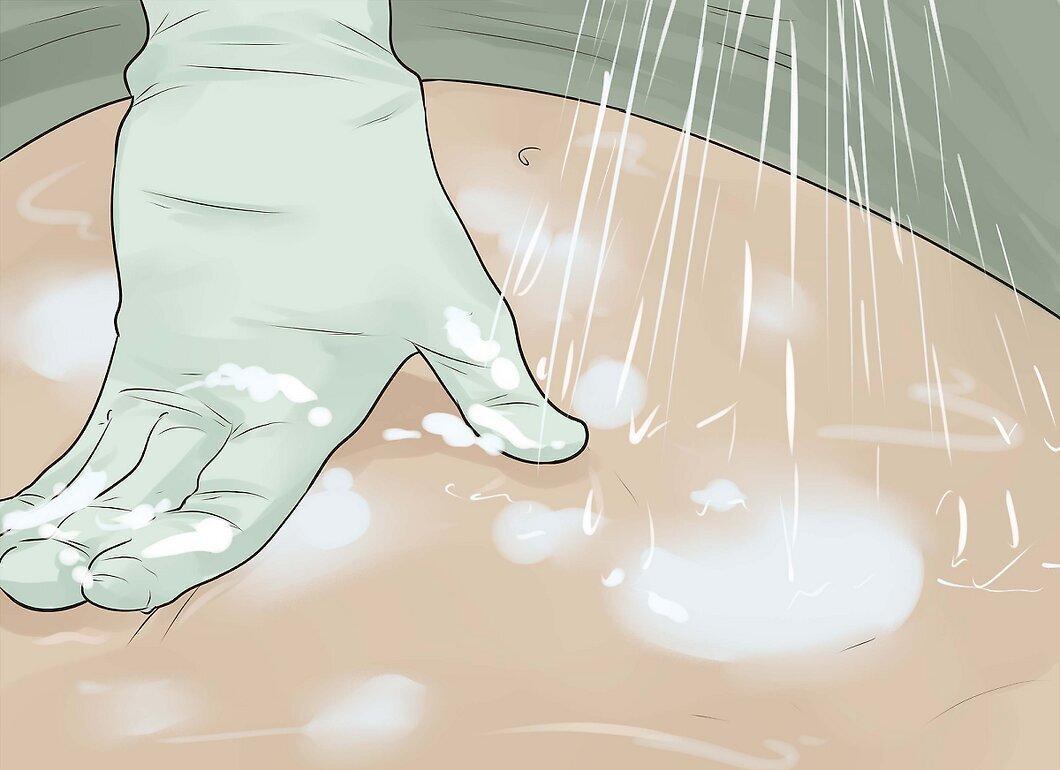
Thoroughly wash the deceased. Rinse away blood and chemicals left over from embalming using the same disinfectant that was used earlier. Do this very gently.
Step 2: Final Touches
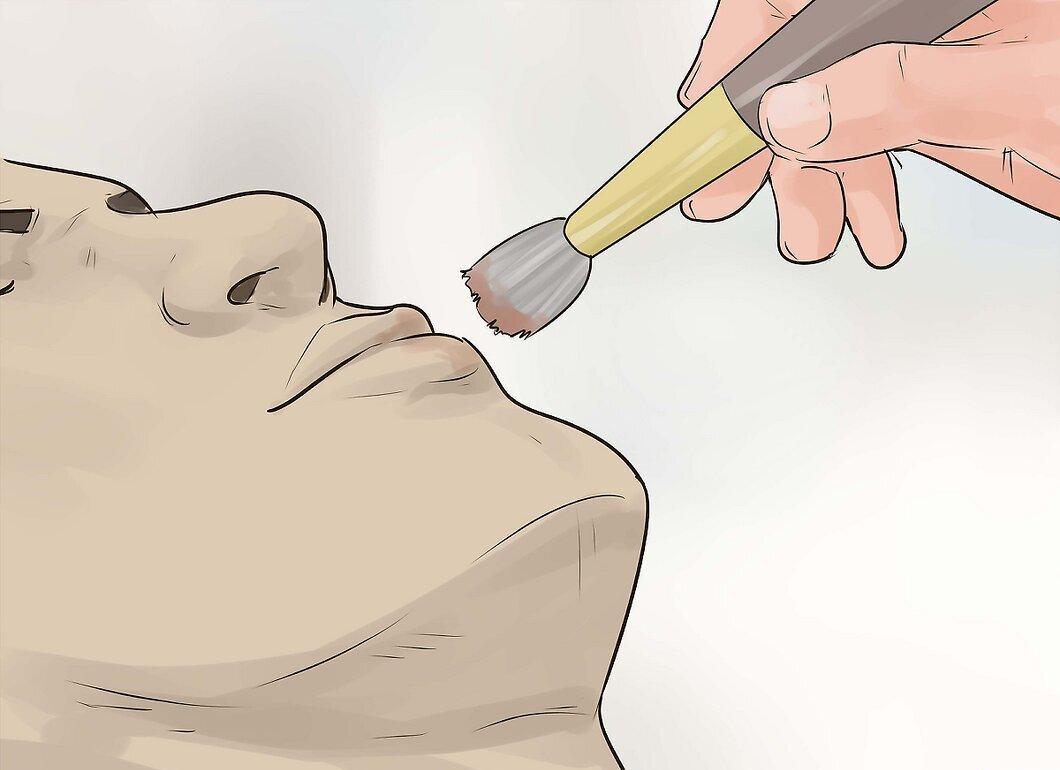
Final touches. Make the face appear natural with cosmetics, trim the nails, and comb the hair.
Step 3: Dress the Body
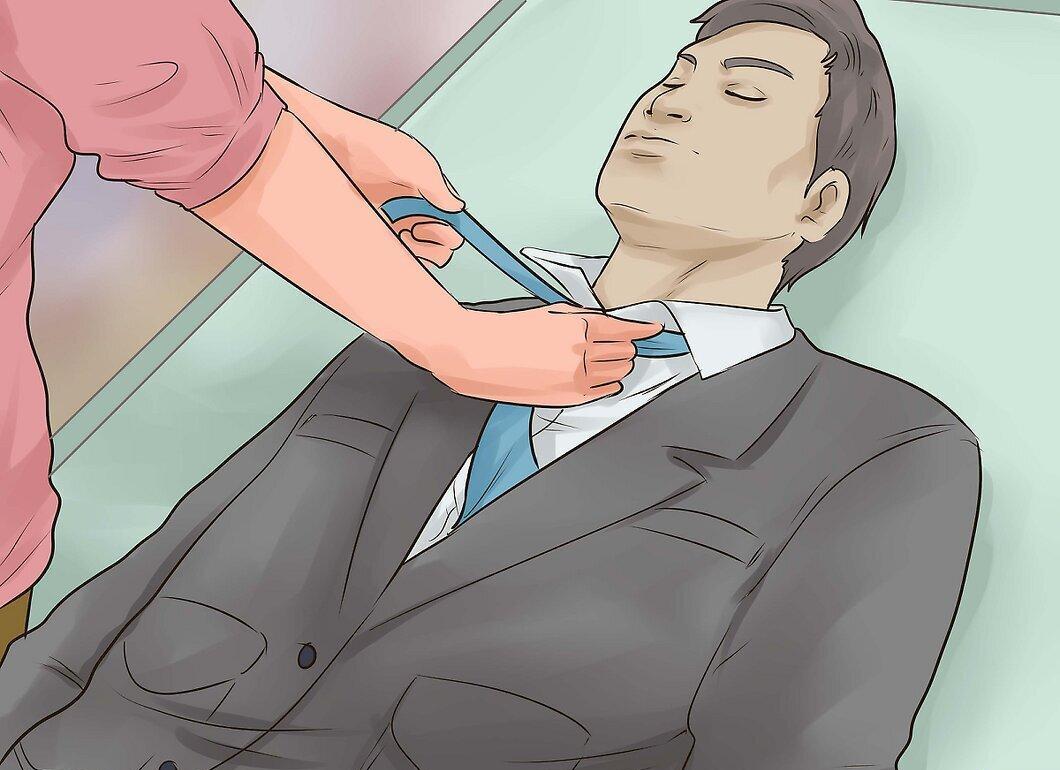
Dress the body. Typically, the family of the deceased chooses what clothing to use for the casket. Dress them carefully.
- Sometimes, plastic undergarments are used to protect against leakage.
Step 4: Place the Body in the Casket
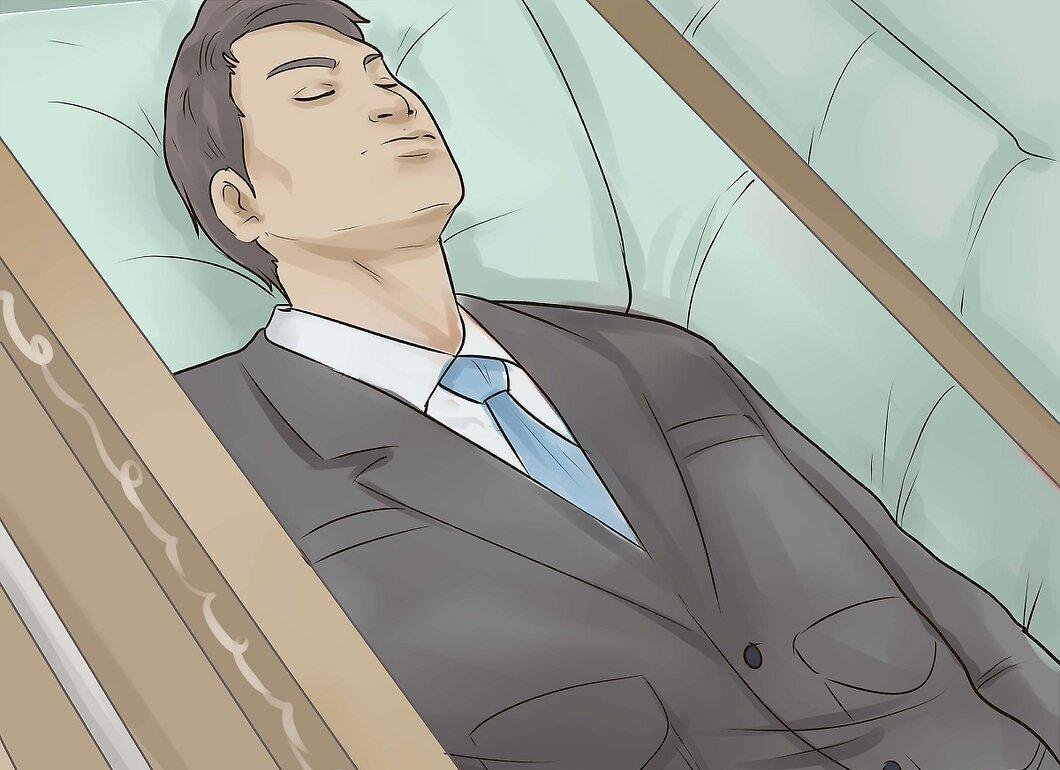
Place the body in the casket. Arrange it calmly. For advice and further instructions, consult the family members of the deceased.