How to Organize Your Documents Like a Pro
Storing or archiving information is a crucial part of managing a business or an office. Any organization, just like an individual, can benefit from developing a stable and coded system for storing information on a computer or in a filing cabinet. By using structured storage methods, you will save time and space on your desk.
Organizing Paper Documents
Step 1. Purchase a Filing Cabinet and Folders.
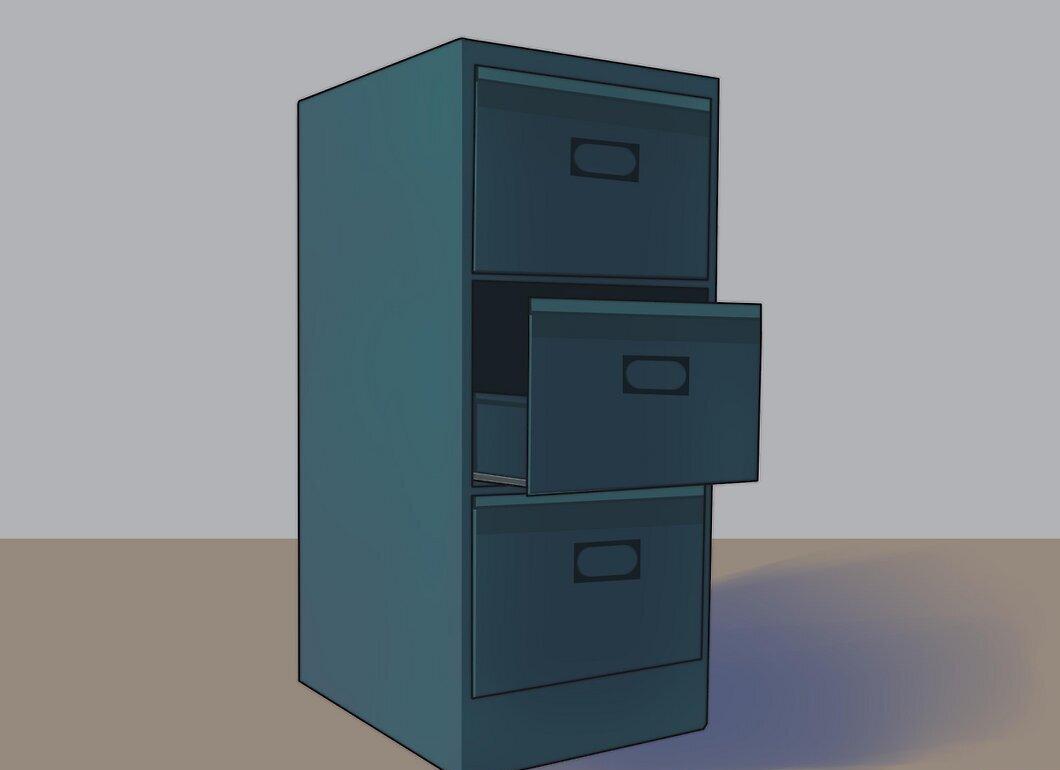
Purchase a filing cabinet and folders. You will need a place to store all necessary documents. If you can’t afford a new modern filing cabinet, consider visiting budget stores or using second-hand furniture.
Step 2. Systematize Your Storage System.

Systematize your storage system. You will need to create a standardized procedure for placing and storing documents that all users will follow. Print out instructions and post them in a visible location so everyone can find the documents they need.
Step 3. Date All Documents You Store.
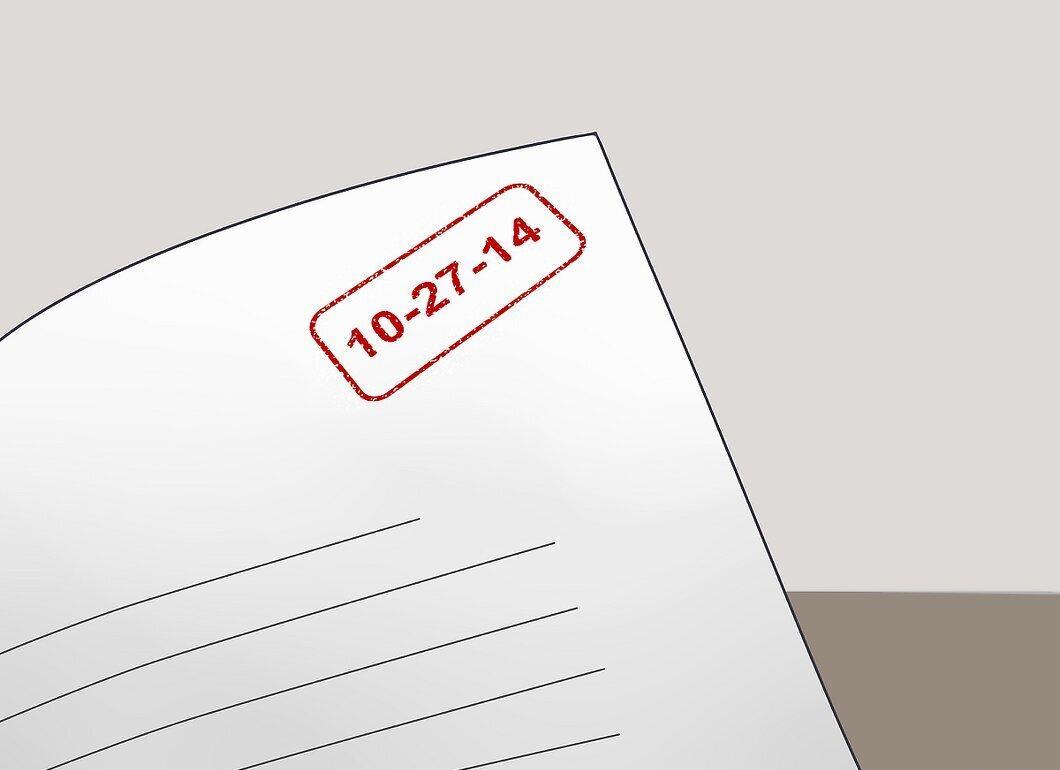
Date all documents you store. Whenever a new document comes in, mark it with a date by hand or with a stamp in the same spot. Take the time to date older documents to bring everything in order.
Step 4. Buy Plenty of Folders.

Buy plenty of folders. Divide your documents into projects or subcategories of projects. Over time, you may need to break down larger projects into smaller volumes of information.
Step 5. Store Current and Completed Projects in Separate Sections.
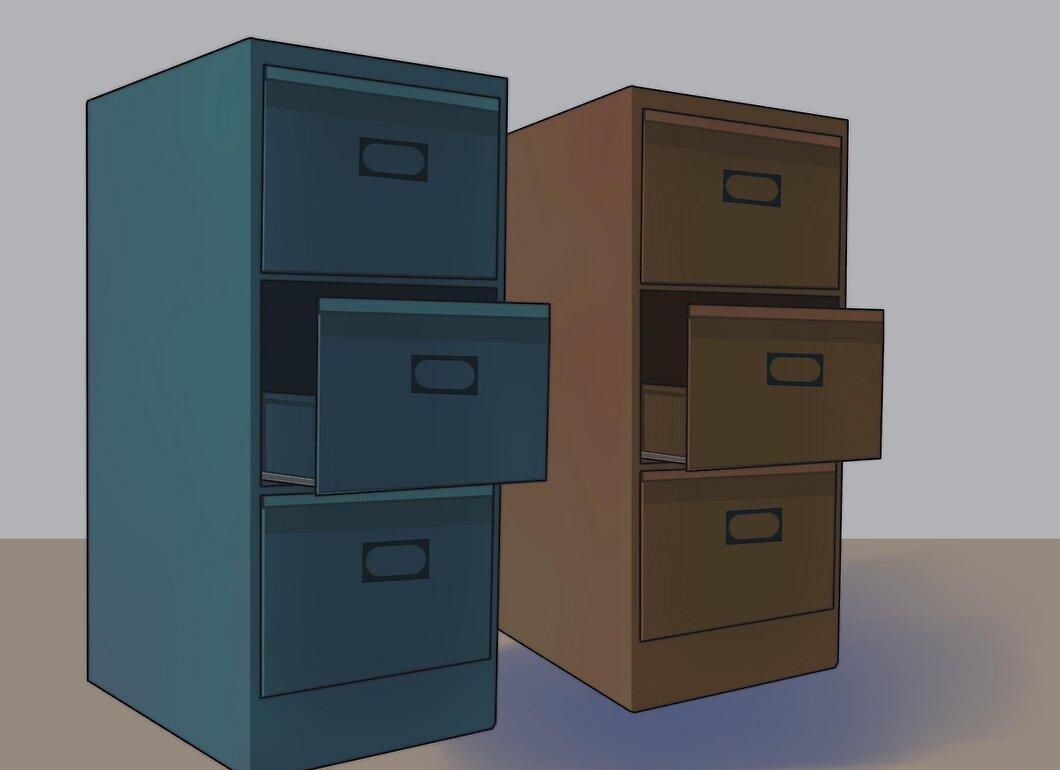
Store current and completed projects in separate sections. If your filing cabinet has multiple levels, use the top for current projects and the bottom for completed ones.
Step 6. Use Color to Classify Files.
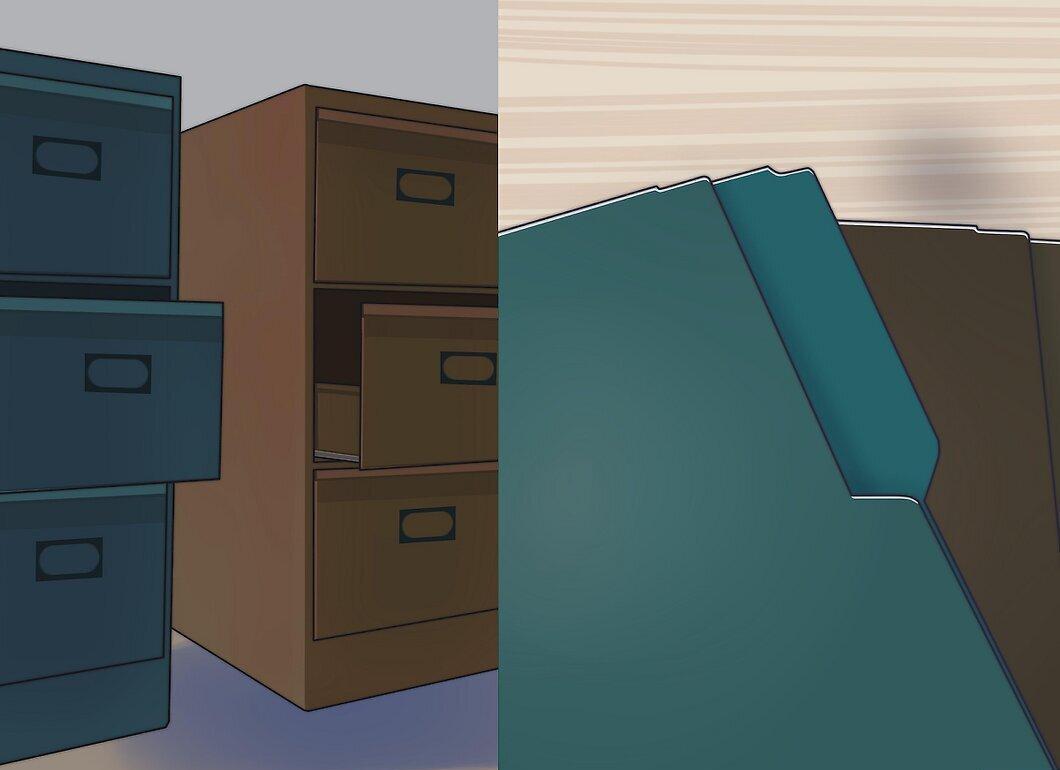
Use color to classify files. Folders come in various colors. Buy a different color folder for each project you are working on. For example, all financial documents could be in a blue folder, while design documents could be in a pink folder.
Step 7. Label Your Folders.
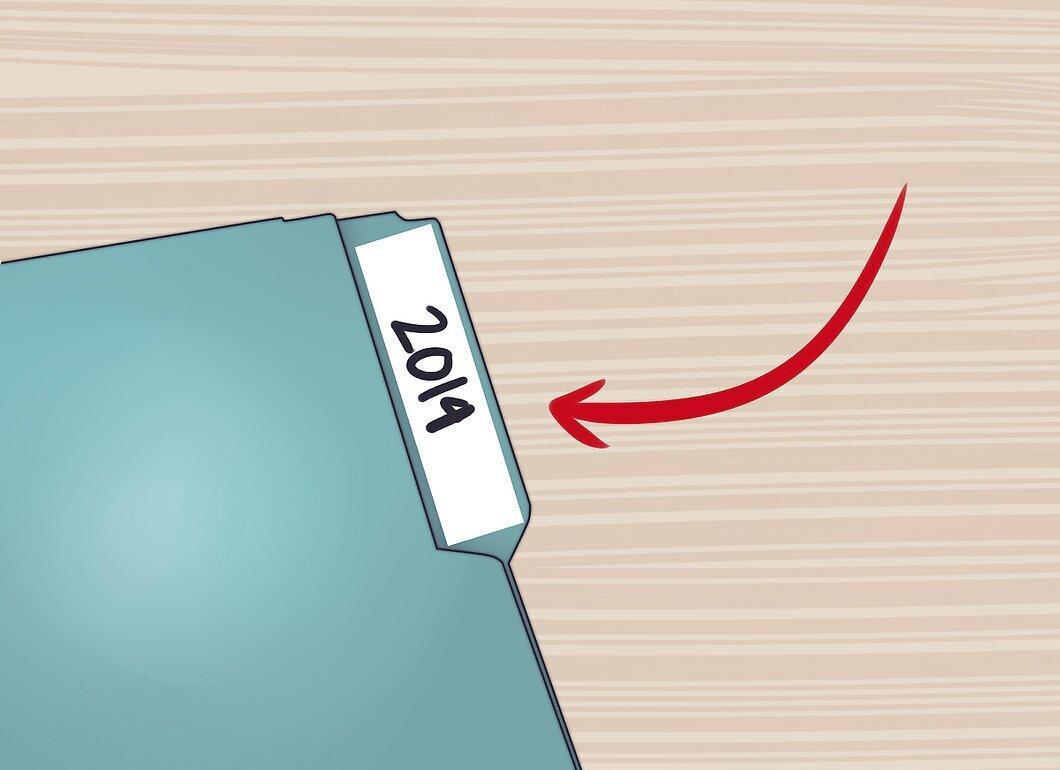
Label your folders. Most office folders have plastic labels and spaces for writing. Use these to quickly find what you need when you open the filing cabinet.
Step 8. Place New Documents on Top.
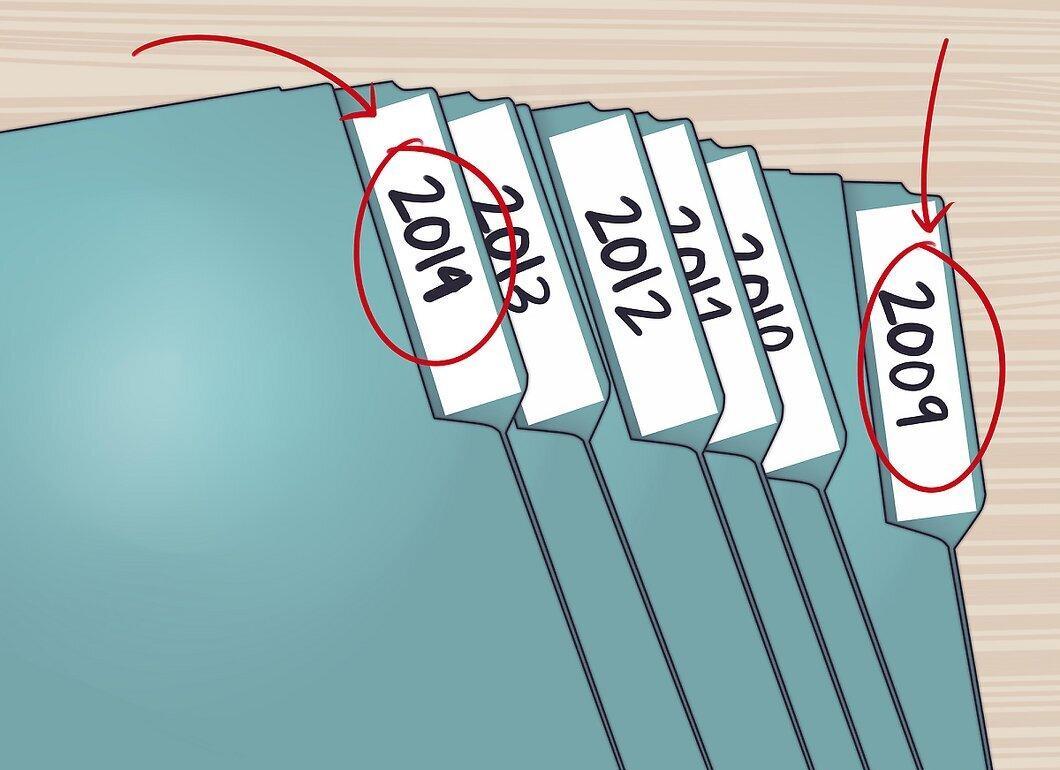
Place new documents on top. Store them chronologically so that older ones are at the back. This will save you time when you need to find a document.
Step 9. Try Organizing Documents by Days of the Week.

Try organizing documents by days of the week. If you have a lot of paper documents, buy at least seven folders that you can use for the days of the week. Place the documents you need throughout the week to highlight what you need for each day.
- Documents you didn’t process today can go in tomorrow’s folder if needed.
Step 10. Don’t Use Your Desk as a Document Storage Space.
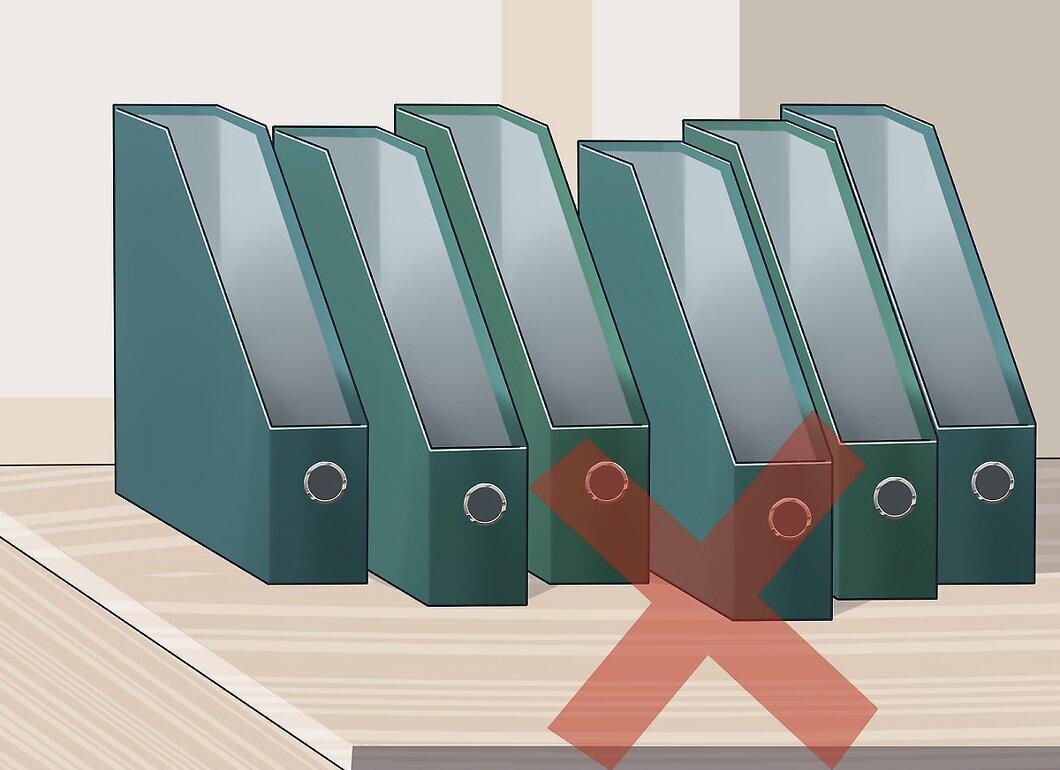
Don’t use your desk as a document storage space. Since you have folders for current projects, you should place important documents in them. You will lose fewer papers if they are in the right place.
Step 11. Dispose of Unnecessary Documents.

Dispose of unnecessary documents. One of the components of a good document storage system is getting rid of or shredding unnecessary documents. This will reduce the volume of stored documentation and make it easier to find other papers.
Step 12. If Your Office Already Uses Codes, Develop a Digital or Coded Document Storage System.
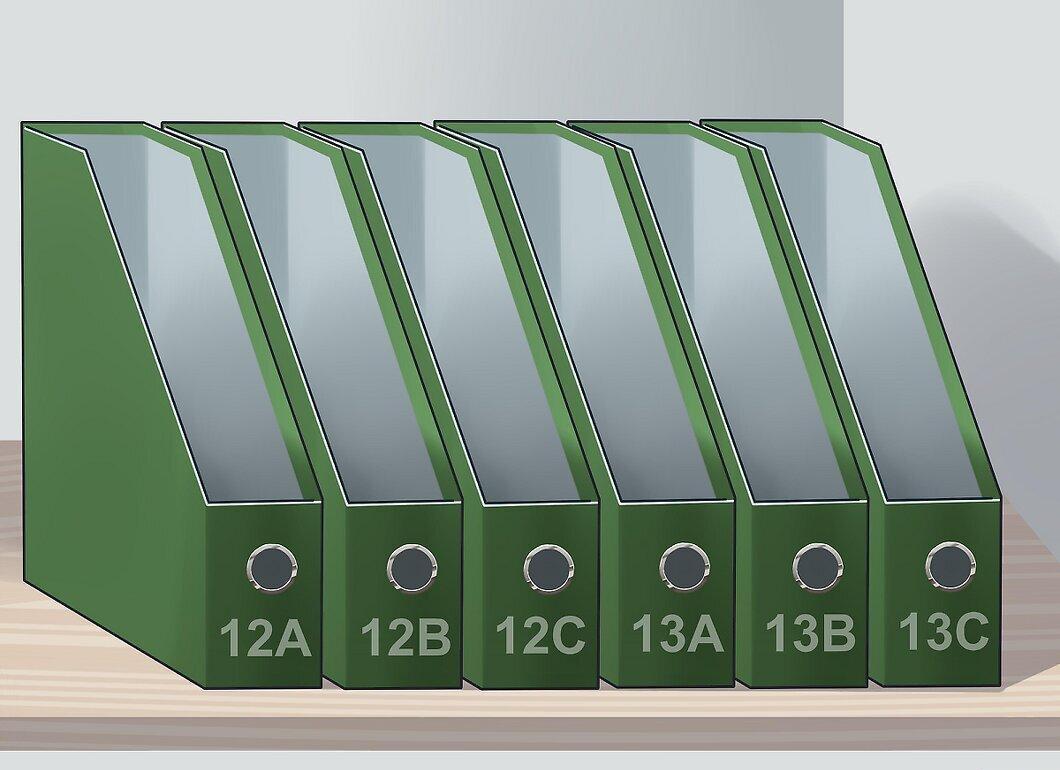
If your office already uses codes, develop a digital or coded document storage system. This can be a great way to utilize specific information for more precise document storage.
Step 13. Consider Switching to an Electronic Storage System if You Have Few Paper Documents but Many in Digital Form.
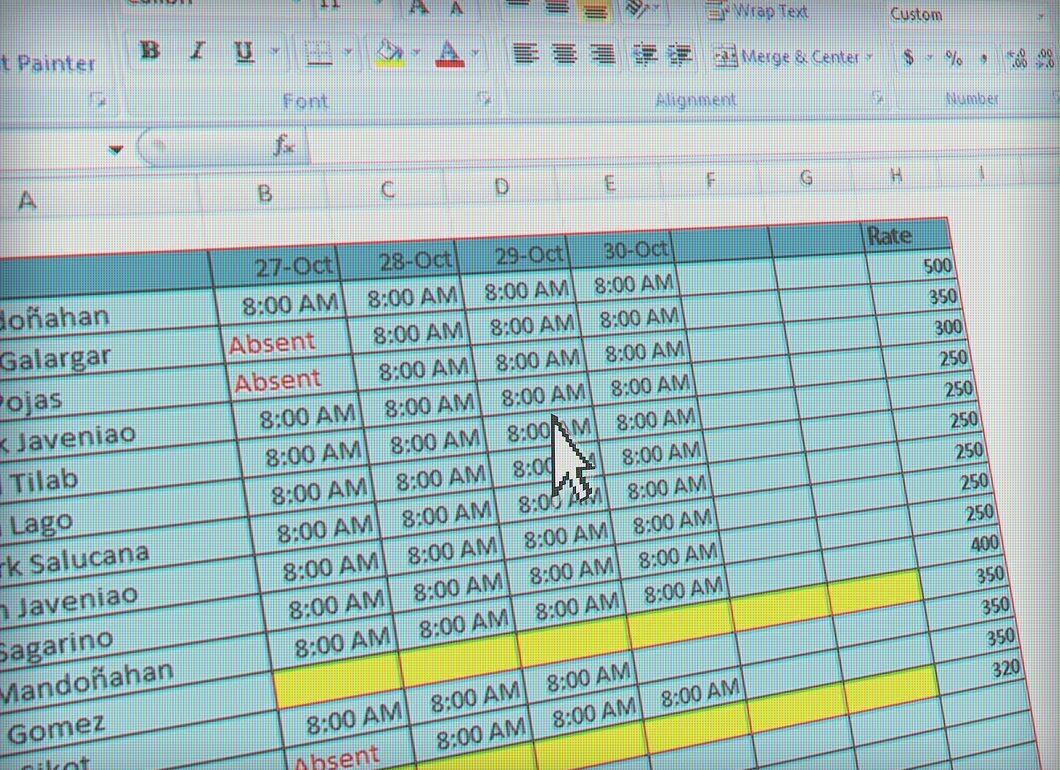
Consider switching to an electronic storage system if you have few paper documents but many in digital form. Some documents, such as receipts, fade over time, so it’s better to store them electronically.
- Move on to the next method to learn how to switch to an electronic storage system.
Step 14. Store All Types of Documents Together.

Store all types of documents together. Instead of allocating separate sections for disks, flash drives, folders, and leaflets, keep all types of documents together if they relate to the same project or subject.
Organizing Electronic Documents
Step 1. Create a Backup Before Establishing Your Main Document Database.
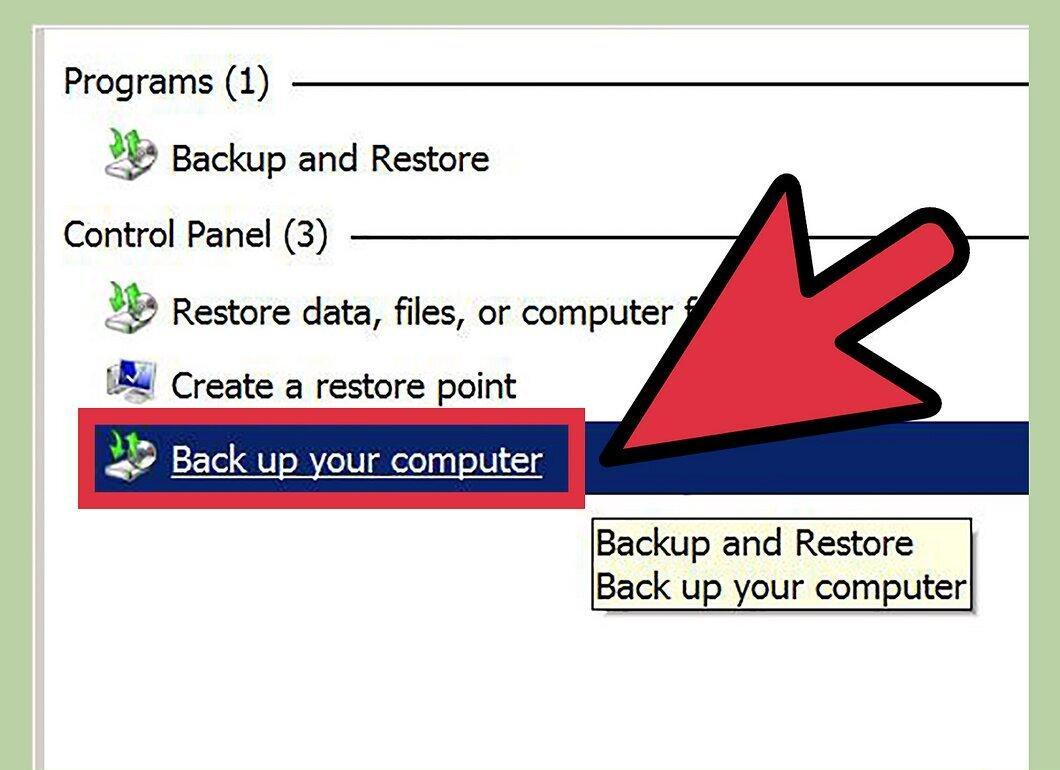
Create a backup before establishing your main document database. The most important thing in storing electronic documents is to save all files in case your hard drive fails, your computer gets stolen, or you lose your password. Purchase an external hard drive or cloud storage system.
- It’s best to create two backup storage systems. If you don’t use paper documents, having both a local and remote backup is advisable in case something happens to your office or computer.
Step 2. Update Your Backup System Daily for Your Entire Computer and/or Website.
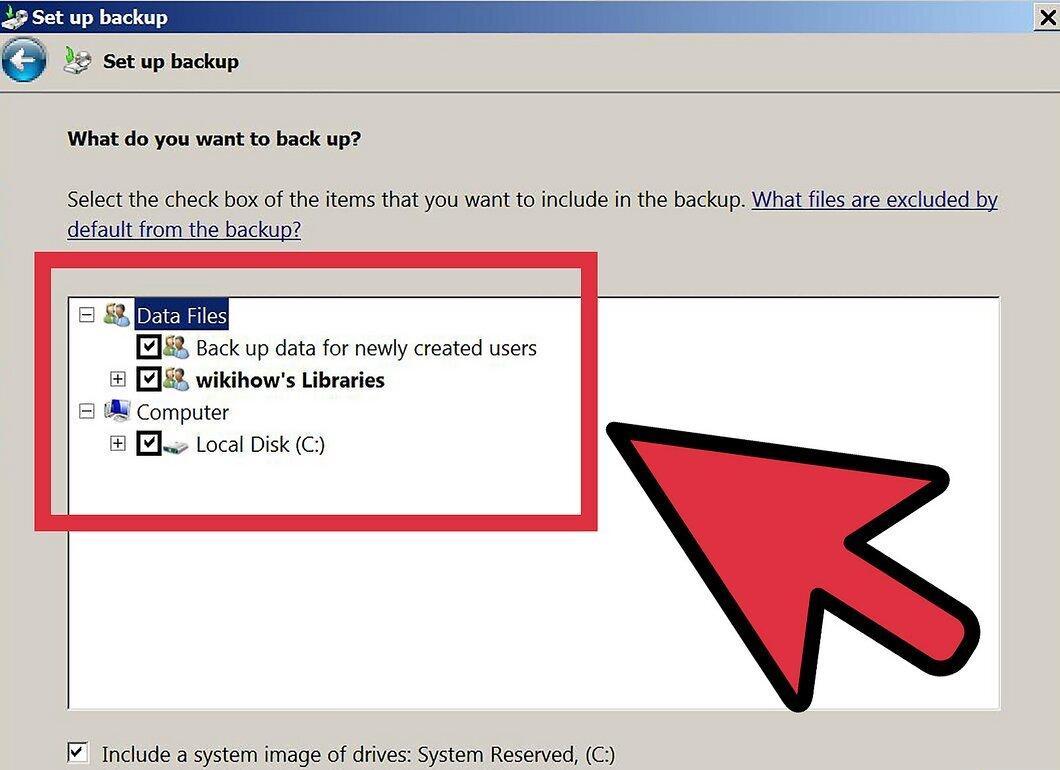
Update your backup system daily for your entire computer and/or website. If you upload a lot of information in one day, you may need to enter data into the backup system every hour.
Step 3. Purchase a Scanner That Connects to Your Computer.
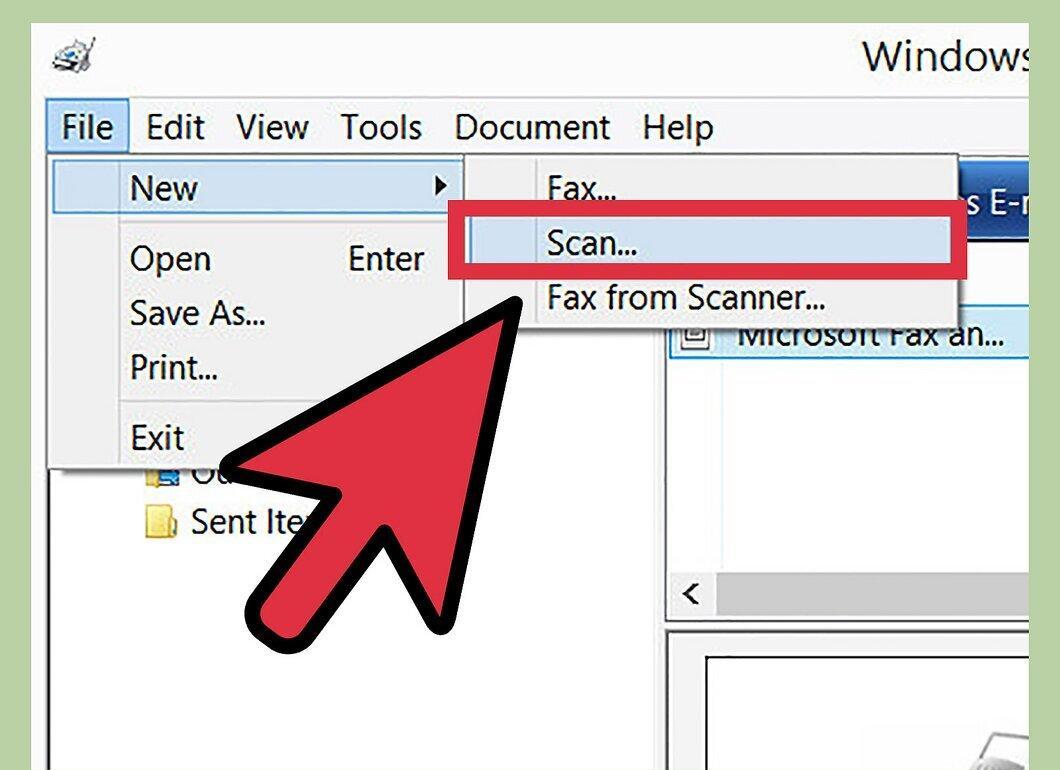
Purchase a scanner that connects to your computer. Scan each new important document, create an electronic version, and place it in your electronic database. If you need to save a large number of documents electronically, consider getting a scanner with an automatic document feeder and software for saving documents to save time.
Step 4. Keep Your Electronic Database Password in a Safe Place.
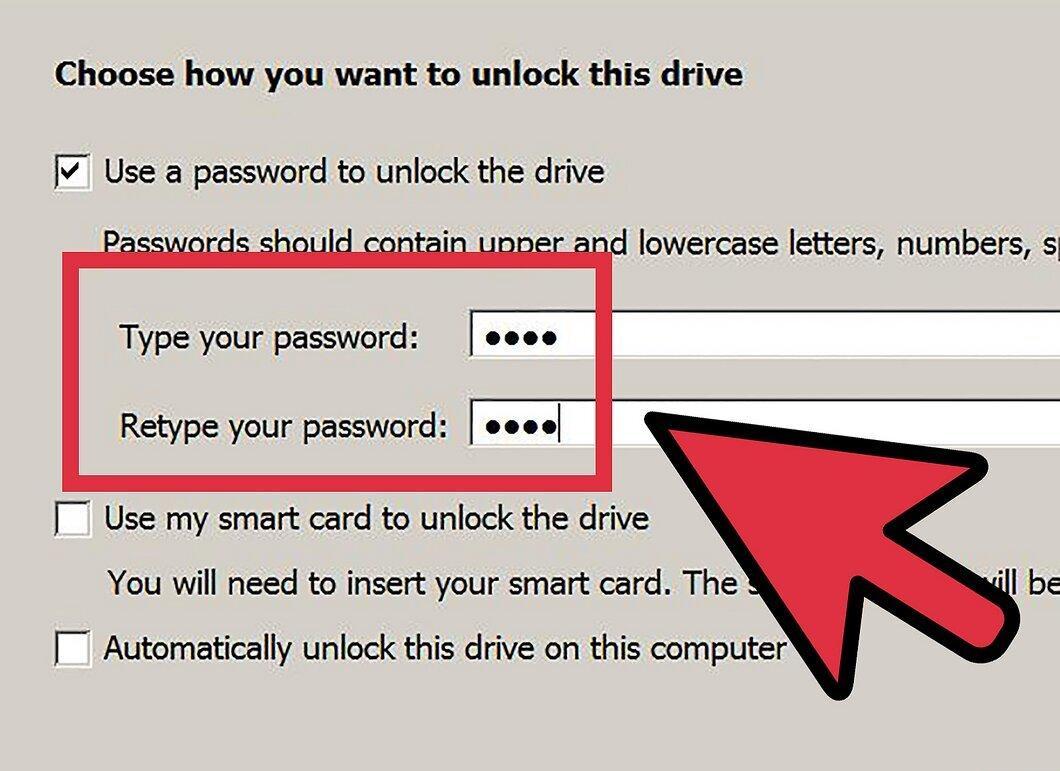
Keep your electronic database password in a safe place. Remember that it’s safer to write it down on a piece of paper and keep it in your wallet or on your desk than to store it in a document on your computer. There’s a higher chance that a hacker will access your computer than your office.
Step 5. Decide Whether You Want to Use Software or Not.
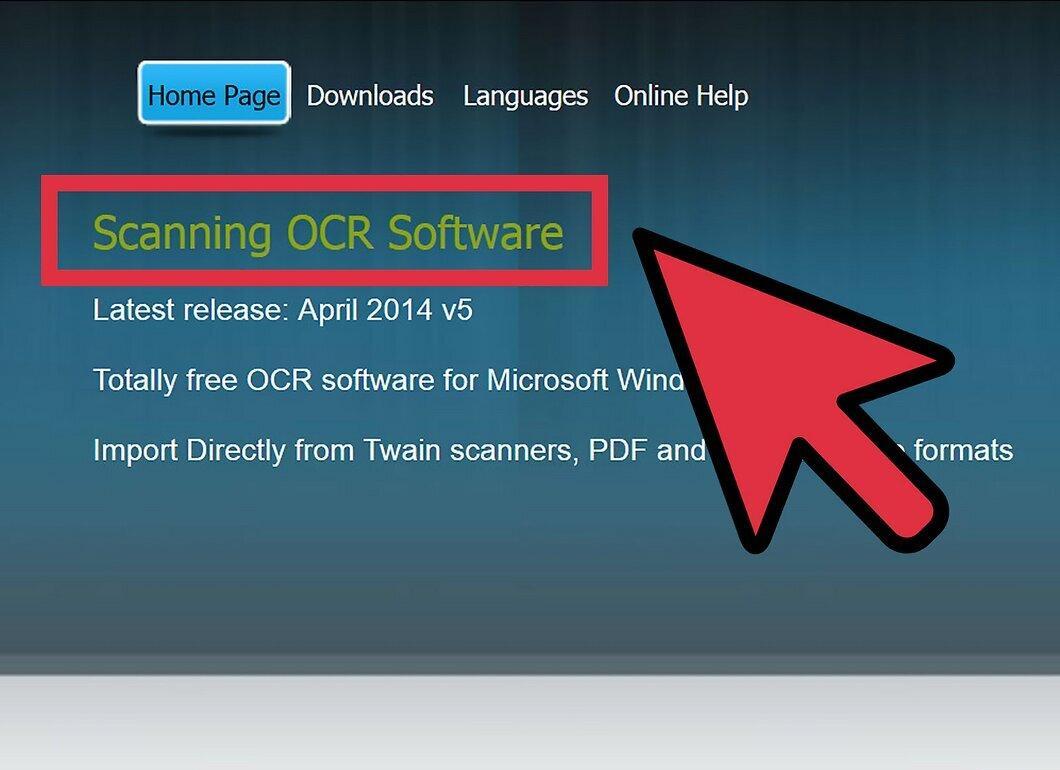
Decide whether you want to use software or not. If you prefer to manage all your files directly, simply create and organize folders and subfolders on your computer’s hard drive. If you want to use a pre-made document management system, purchase software for scanning and organizing documents with optical character recognition.
- The optical character recognition feature allows you to find created documents. The computer can read documents when you type search terms into the software.
- Systems with optical character recognition will let you search for documents using words that may be in them, such as the name of a store or a subtitle.
Step 6. Create a Standard Document Naming System.
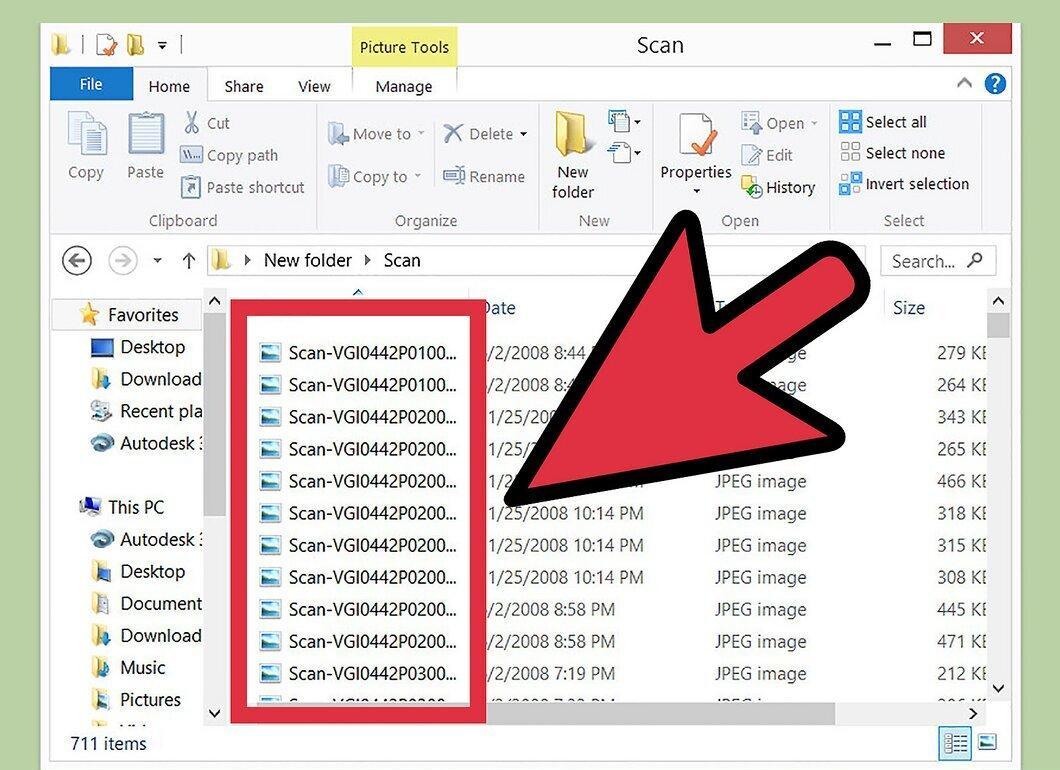
Create a standard document naming system. Name each document consistently, including the subject, date, and other important information. For example, a receipt should include the store name, date, and purchased item.
Step 7. Organize Your Folders and Subfolders.
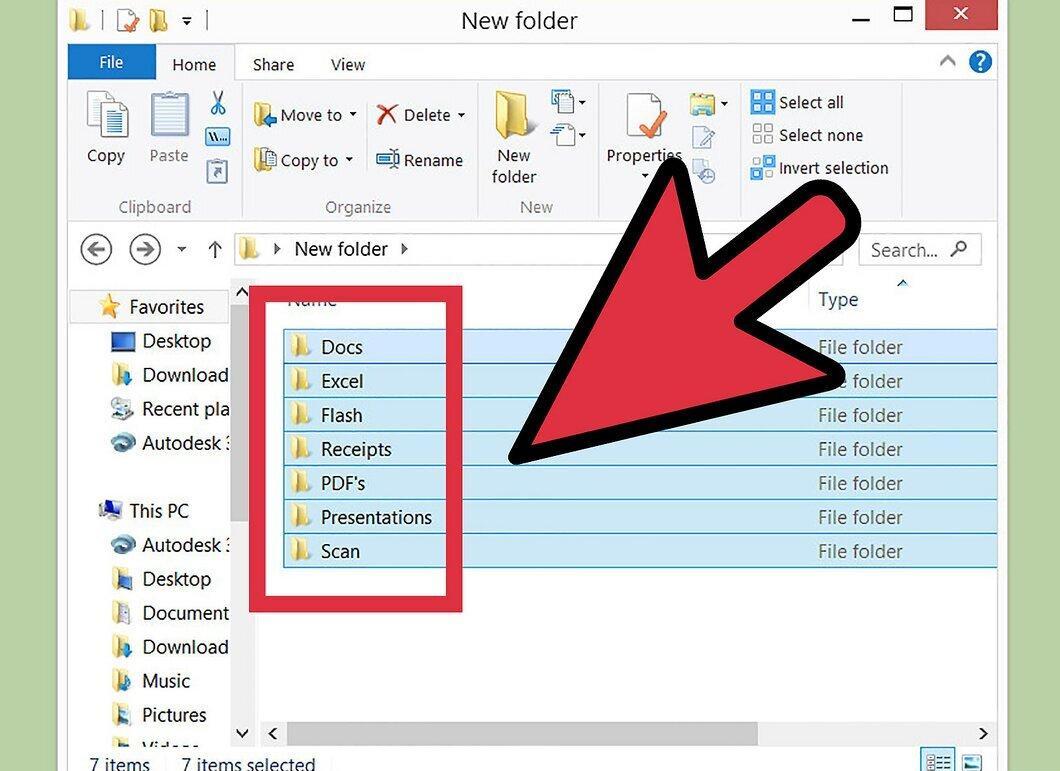
Organize your folders and subfolders. If you’re using folders for data storage instead of a document management system, you’ll need to separate them by date, subject, or project. Create a new subclass of folders to organize those with too many documents.
Step 8. Don’t Give in to the Temptation to Save Files on Your Desktop.
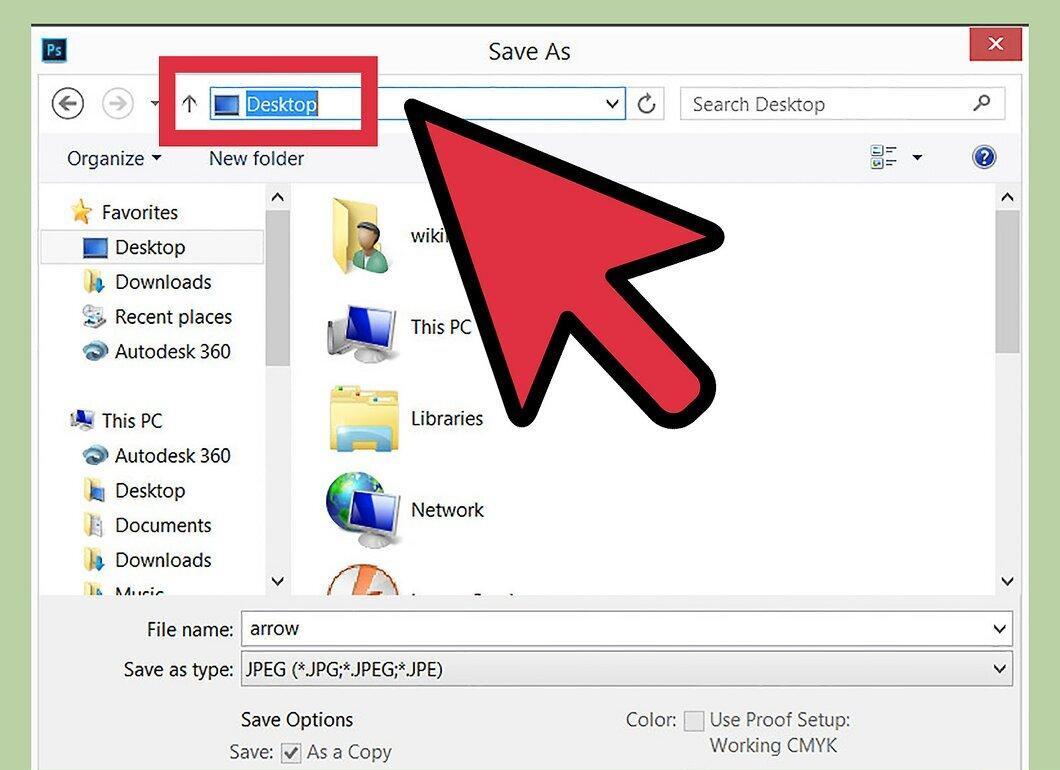
Don’t give in to the temptation to save files on your desktop. As soon as you upload documents, name them according to your naming rules and immediately place them in the appropriate location to make them easier to find.
Step 9. Explore and Use Software That Works for Your Operating System.
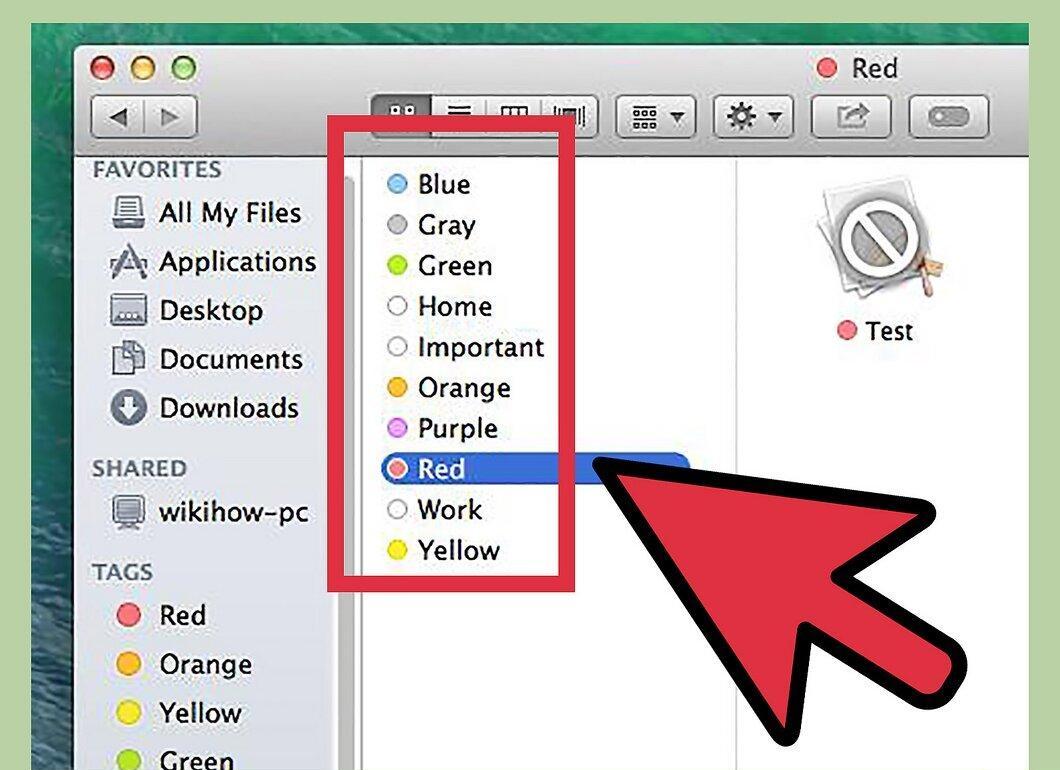
Explore and use software that works for your operating system. On Apple computers, frequently used files are often marked in different colors. Both Apple and Windows systems frequently save backups and search history.