If you spend a lot of time at your computer, it's essential to make sure your office chair fits your body. Poor adjustment can lead to pain and back issues. Specialists like chiropractors and physical therapists note that many people experience ligament strains and even spinal disc problems due to prolonged sitting in unsuitable chairs. However, adjusting your chair is easy and only takes a few minutes if you follow these simple steps.
How to Adjust Your Office Chair
Step 1. Adjust the Height of Your Workstation
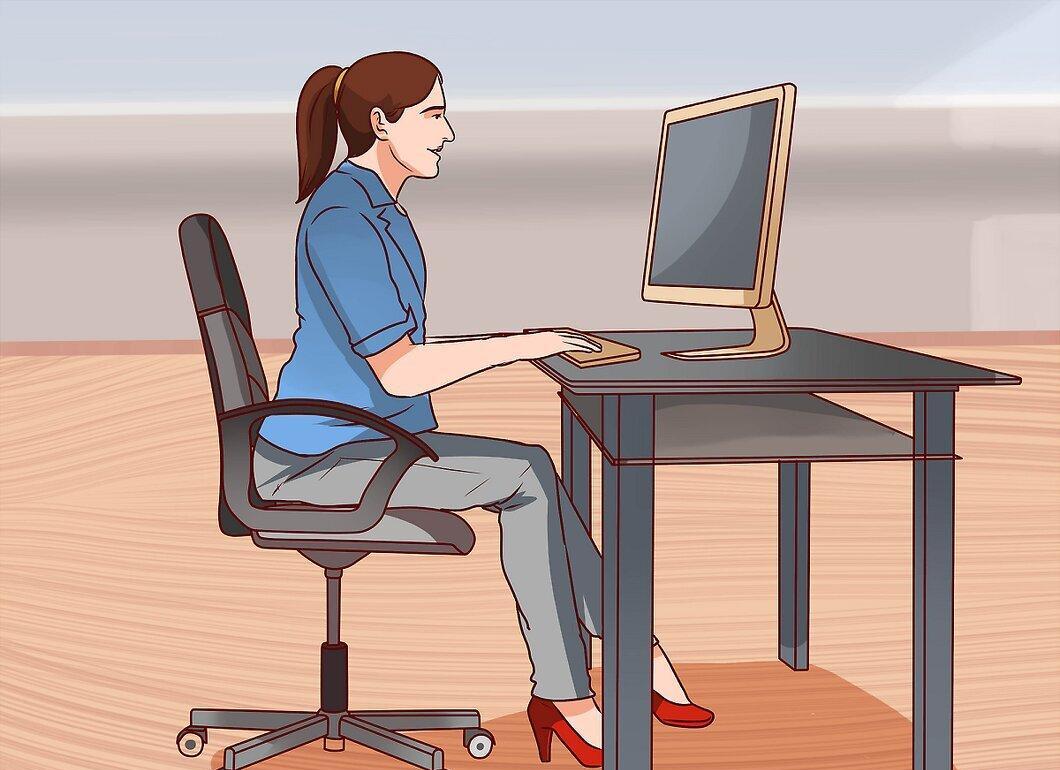
Start by adjusting the height of your workstation. Ideally, your desk should be adjustable, but if that’s not an option, then adjust your chair height.
- If you can change the height of your workstation, stand in front of the chair and set the height so that the top of the desk is slightly below knee level. Then, adjust the desk height so that your elbows are bent at a 90-degree angle when sitting, and your hands rest comfortably on the desk.
Step 2. Check the Angle of Your Elbows
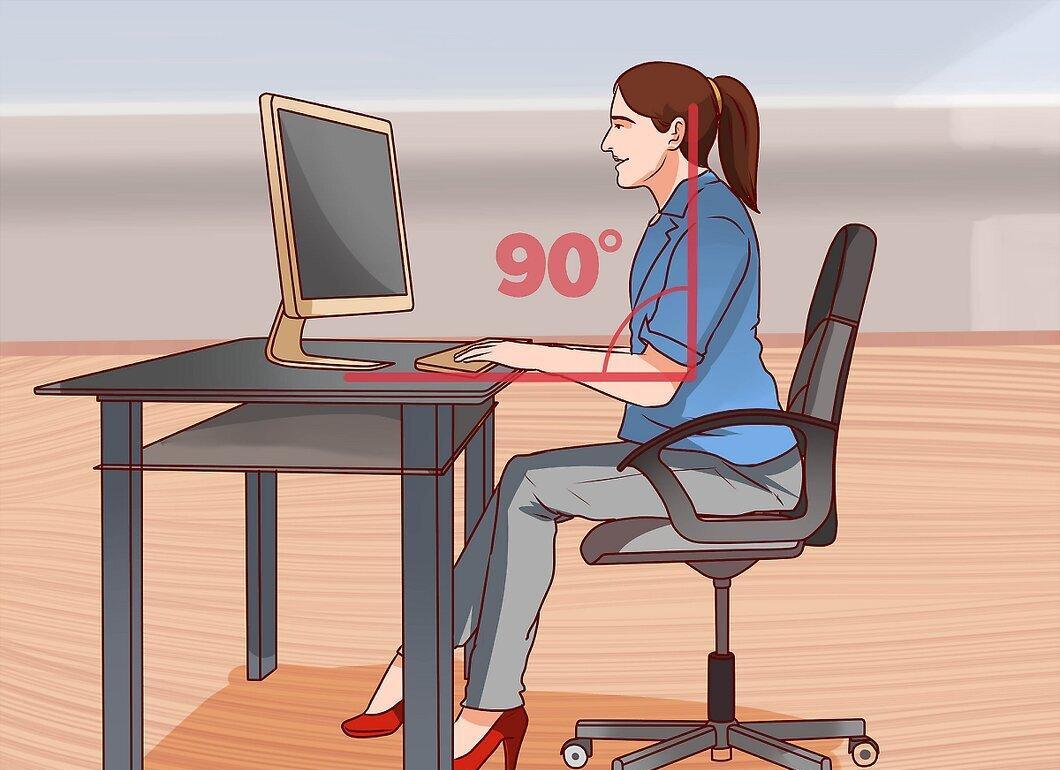
Sit as close to the desk as is comfortable. Your shoulders should be parallel to your spine. Place your hands on the desk surface or keyboard. The angle between your upper arm and forearm should be 90 degrees.
- Sit in the chair and adjust the height using the lever usually found under the seat on the left.
- If your hands are higher than your elbows, your chair is too low. Stand up and pull the lever to raise the seat. Release the lever when the chair reaches the desired height.
- If the seat is too high, remain seated, pull the lever, and release it when you reach the desired height.
Step 3. Check Your Feet Position
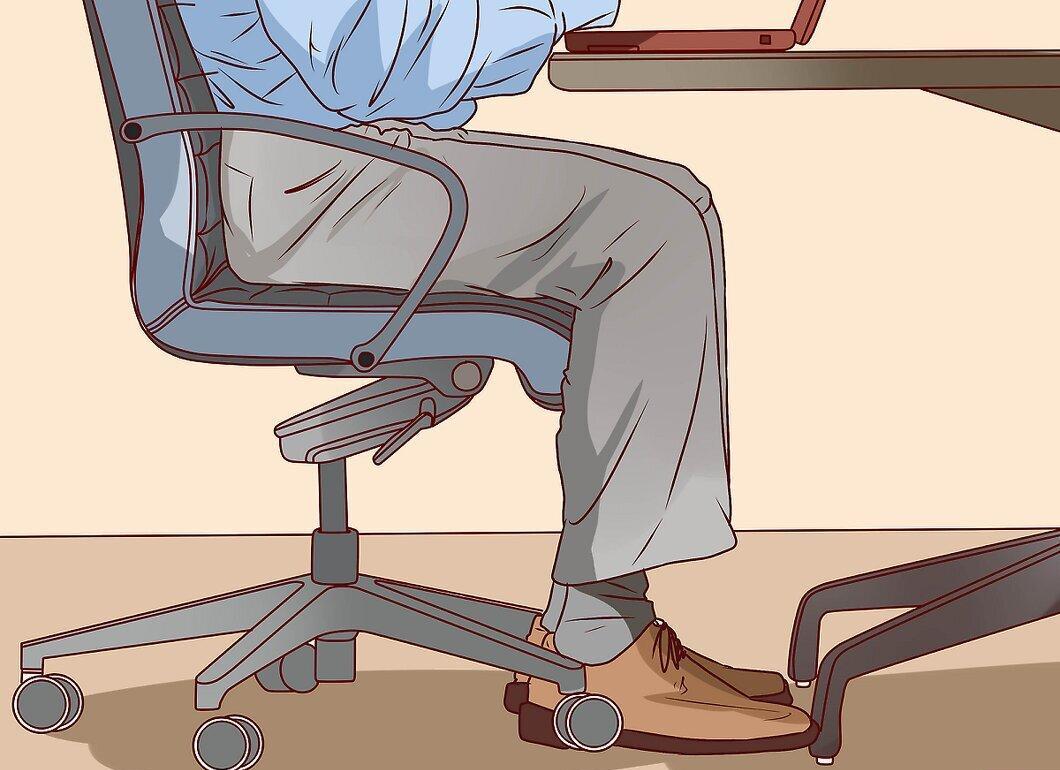
Make sure your feet are at the right level in relation to the seat. When your feet are flat on the floor, try to fit your fingers between the top of your thigh and the edge of the seat. There should be enough space for a finger-width gap.
- If you are tall and the gap is wider than a finger, you need to raise the chair and workstation to the correct height.
- If you struggle to fit your fingers, you need to elevate your feet so that your knees are bent at a 90-degree angle. A footrest can help with this.
Step 4. Measure the Distance from Your Calf to the Edge of the Chair
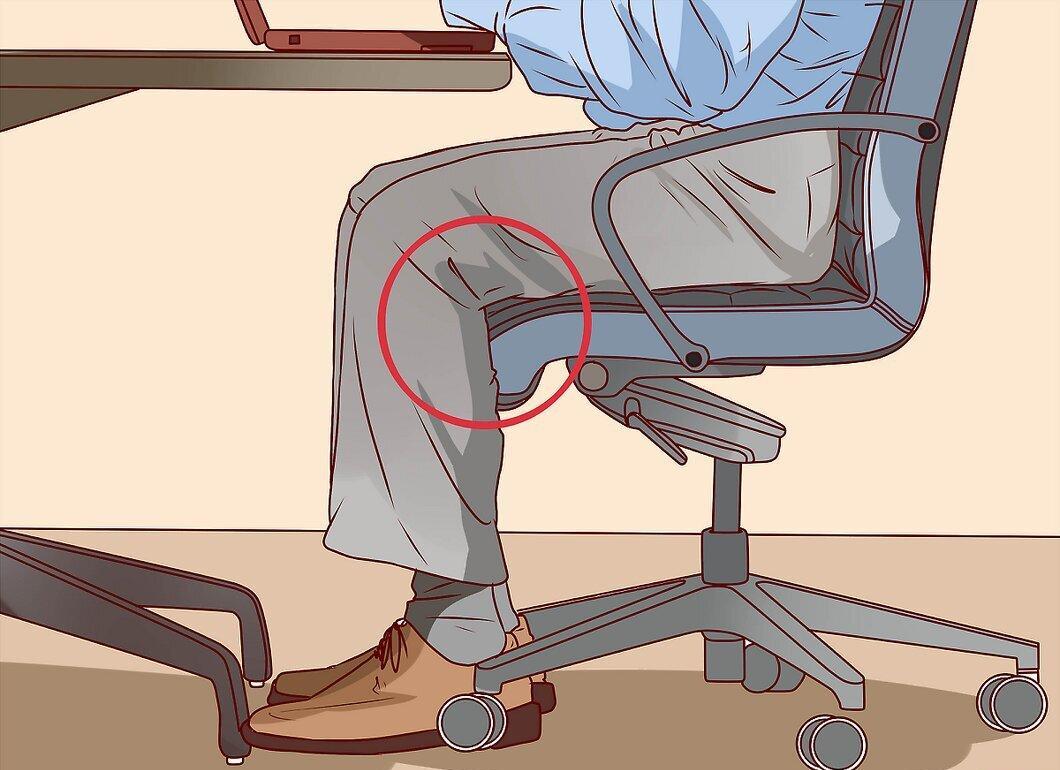
Check the distance from the back of your calf to the front edge of the chair. Make a fist and try to insert it between the edge of the seat and the back of your calf. There should be enough space for your fist (about 2 inches). This test will help determine if the chair depth is correctly adjusted.
- If your fist barely fits, the chair is too deep, and you need to move the backrest forward. Most ergonomic chairs allow for this adjustment by turning a lever on the right under the seat. If you cannot adjust the chair depth, consider using orthopedic cushions or supports.
- If the distance between your calf and the chair edge is too great, you can move the backrest backward using the lever on the right under the seat.
- Correct chair depth is crucial for preventing slouching and discomfort. A good orthopedic cushion or support can help reduce strain on your back.
Step 5. Adjust the Backrest Height
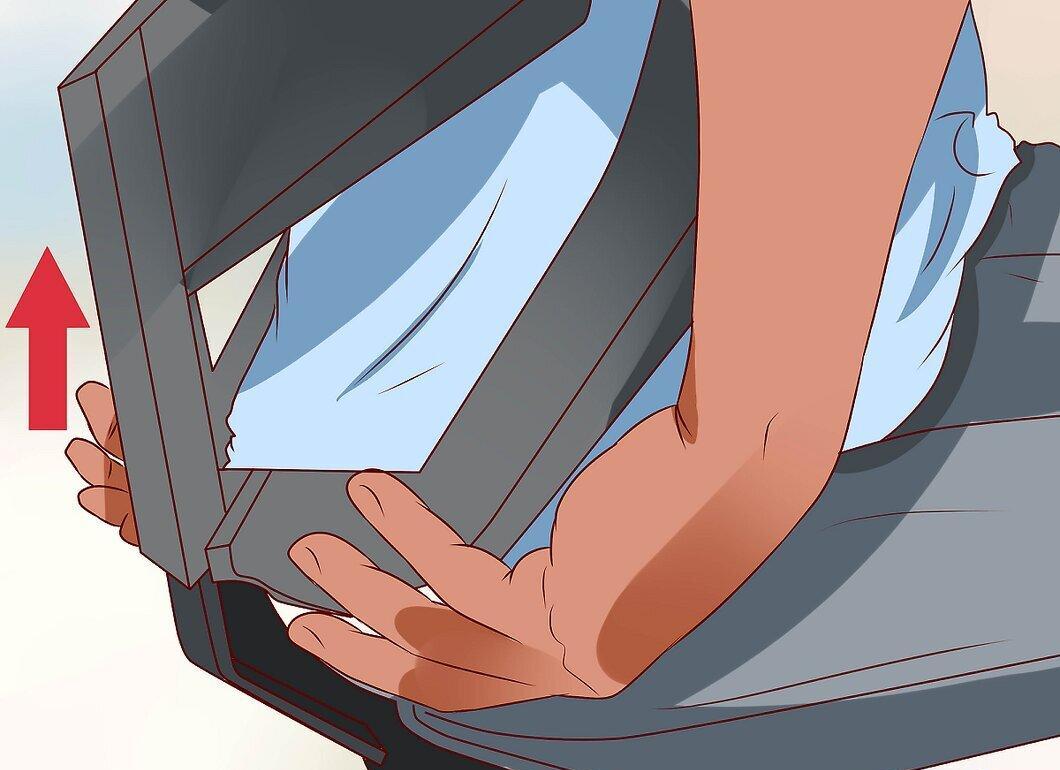
Adjust the height of the backrest. While seated, with your feet on the floor and your calves an inch away from the edge of the chair, raise or lower the backrest so that your lower back rests against it. This will provide optimal support for your back.
- You should feel support at the curve of your lower back.
- There is usually a screw on the backrest for height adjustment. Since it’s easier to raise the backrest than to lower it, start by raising it to the maximum, then sit down and lower it until your lower back is supported.
- Not all chairs have height-adjustable backrests.
Step 6. Adjust the Backrest Angle
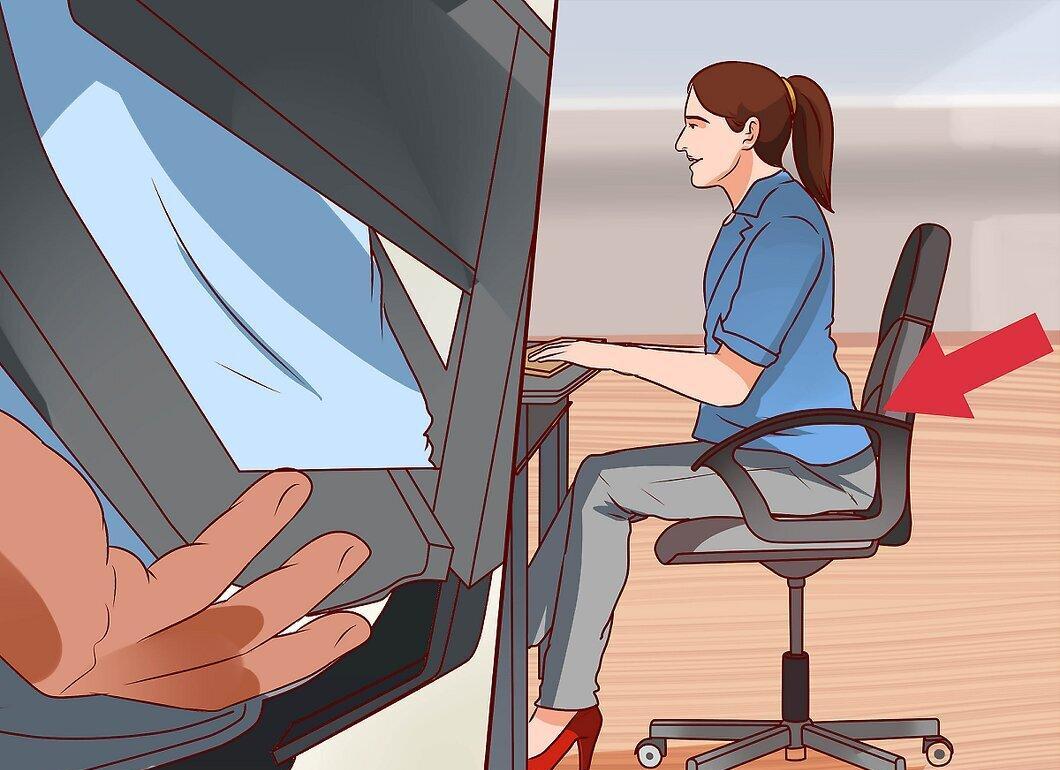
Adjust the backrest angle so that it supports your back. It should be positioned at an angle that feels comfortable for you while sitting. Avoid leaning too far back or forward.
- Find the screw on the back of the chair for angle adjustment. Loosen it and adjust the angle while looking at the monitor. Tighten the screw when you find a comfortable position.
- Not all chairs have this adjustable feature.
Step 7. Adjust the Armrests
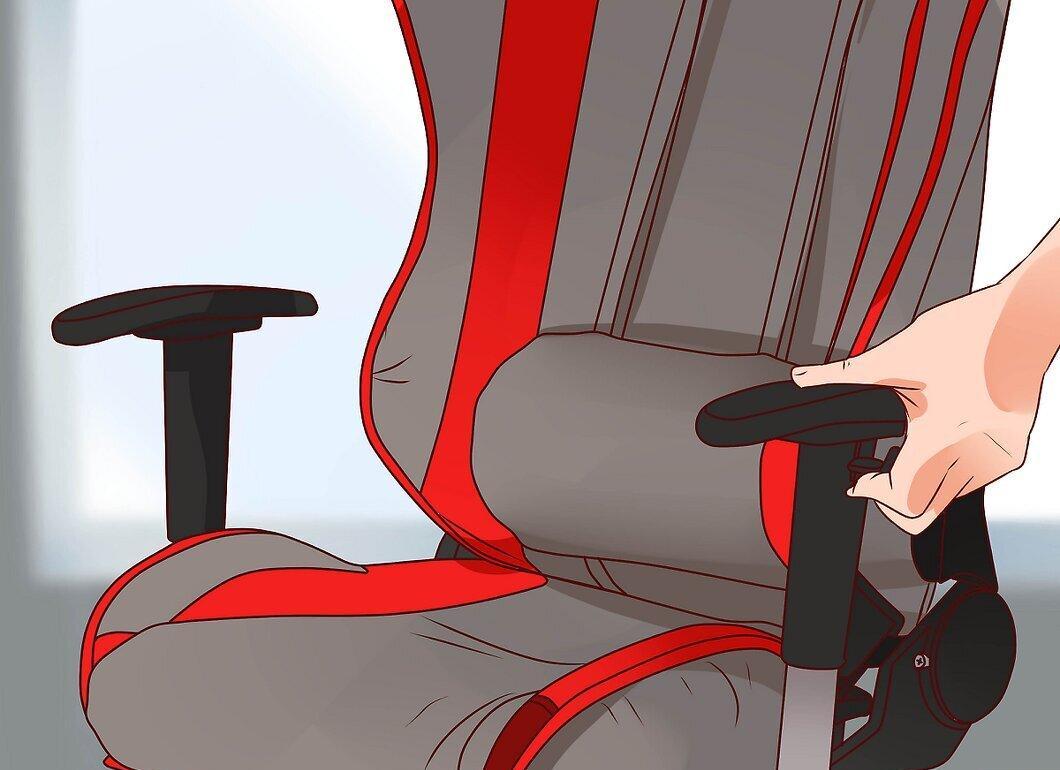
The armrests should touch your elbows when they are bent at a 90-degree angle. If the armrests are too high, it will be difficult to position your arms comfortably. They should also allow your arms to move freely to the sides.
- If your arms rest on the armrests while typing, it can put extra strain on your wrists and fingers.
- A screwdriver or a special mechanism may be needed to adjust the height of the armrests. Ensure they can be lowered.
- Not all chairs have adjustable armrests.
- If the armrests are too high and non-adjustable, it's better to remove them to avoid shoulder pain.
Step 8. Check the Monitor Height
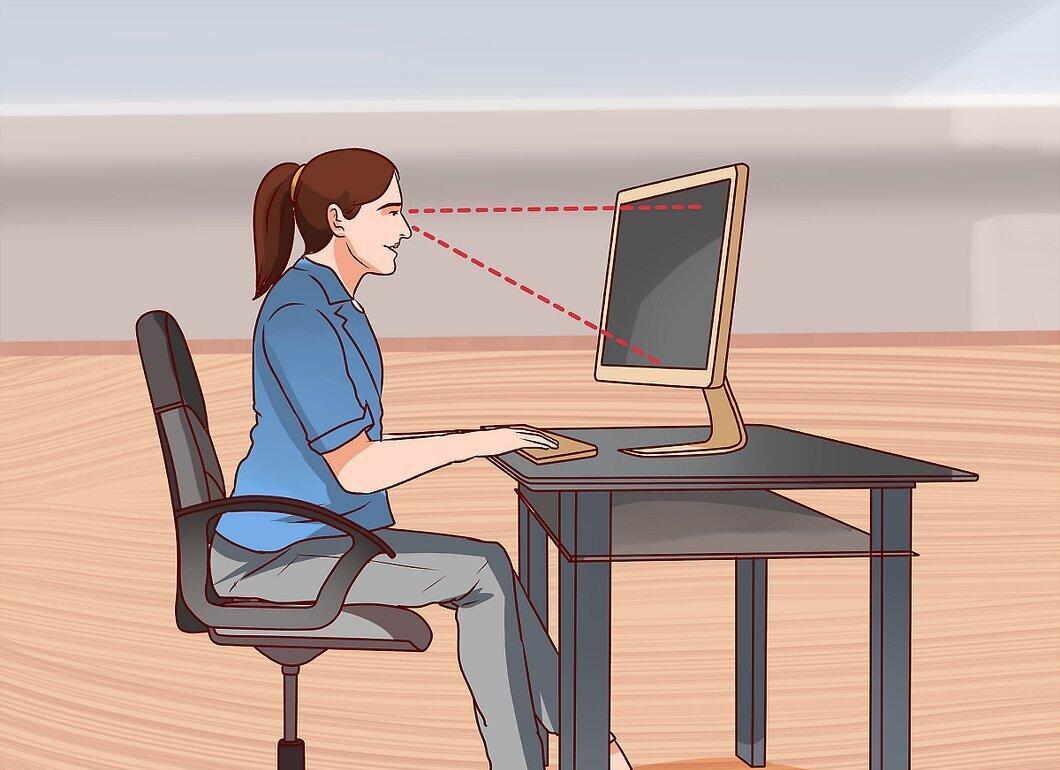
Evaluate the height of the monitor relative to eye level. Your eyes should be level with the screen. To test this, sit in the chair, close your eyes, and then slowly open them. You should be looking directly at the center of the monitor.
- If you have to look down to see the monitor, try raising it on something like a box.
- If you have to look up to see the screen, lower it so that it is at eye level.
How to Choose the Right Chair
Step 1. Choose a Chair that Fits Your Size
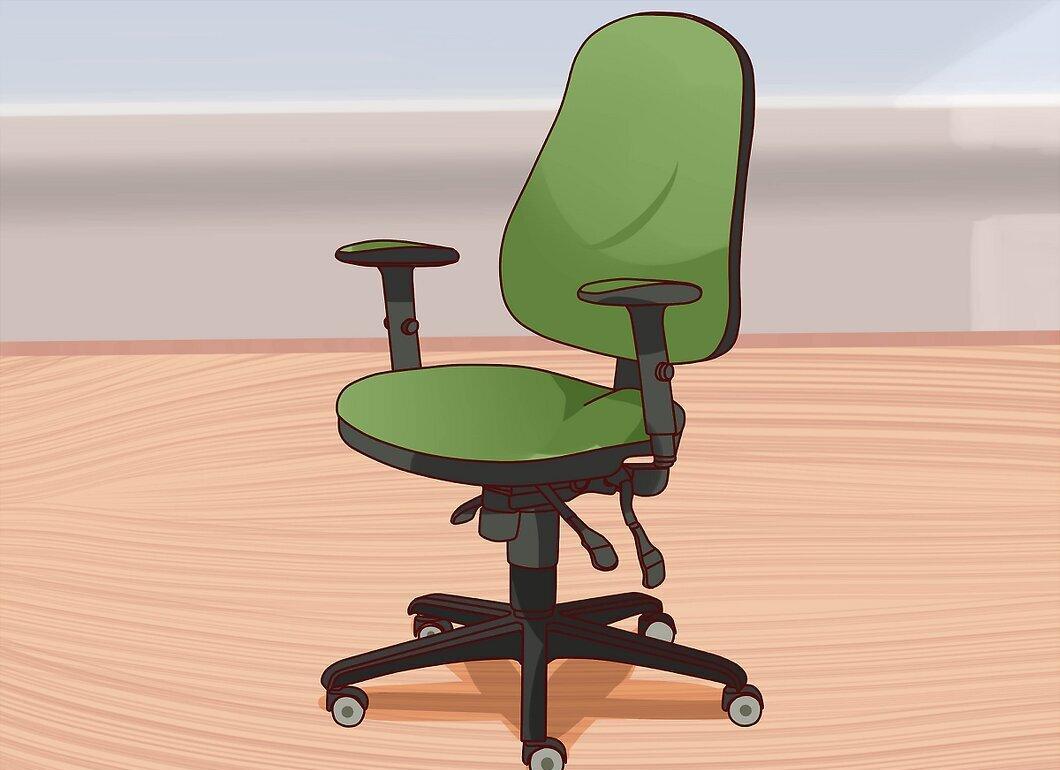
Select a chair that suits your size. Most models are designed for 90% of people, but for the remaining 10%, they may not fit properly. Since there's no standard "average size," chairs are usually fully adjustable. However, if you are significantly taller or shorter, you may need a custom order.
- If you don’t plan to order a custom chair, choose a fully adjustable model.
Step 2. Look for a Chair with Sitting Adjustability
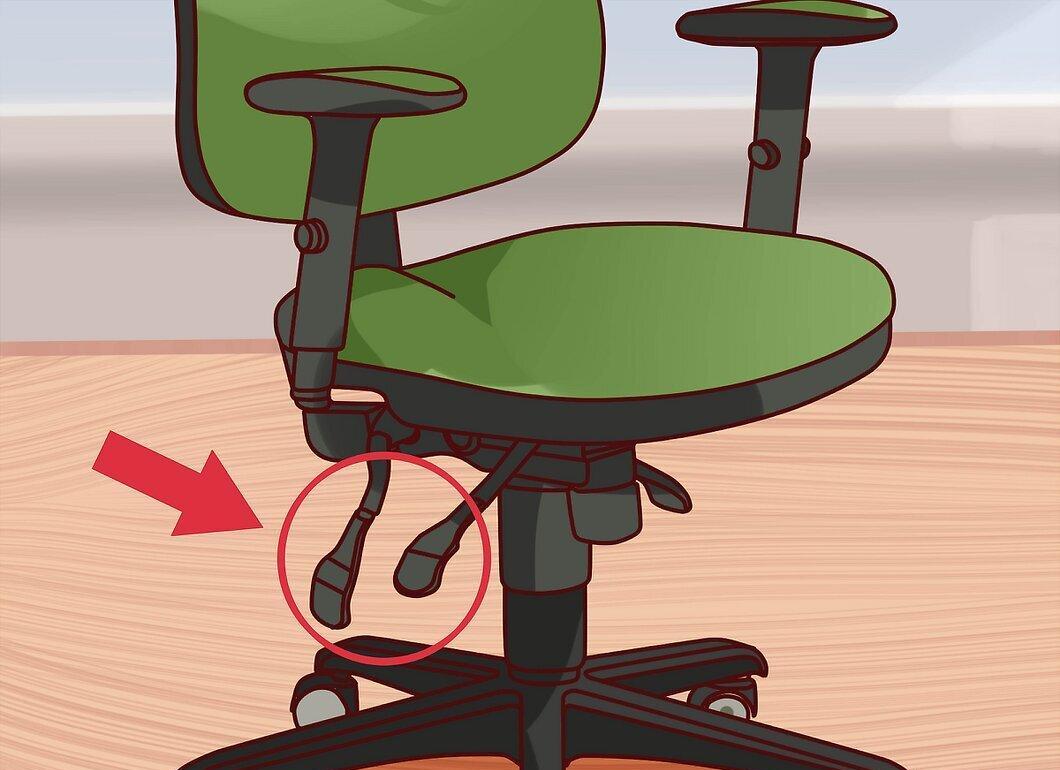
Choose a chair that can be adjusted while seated. This allows you to customize it without getting up.
Step 3. Pay Attention to Seat Height and Angle Adjustment
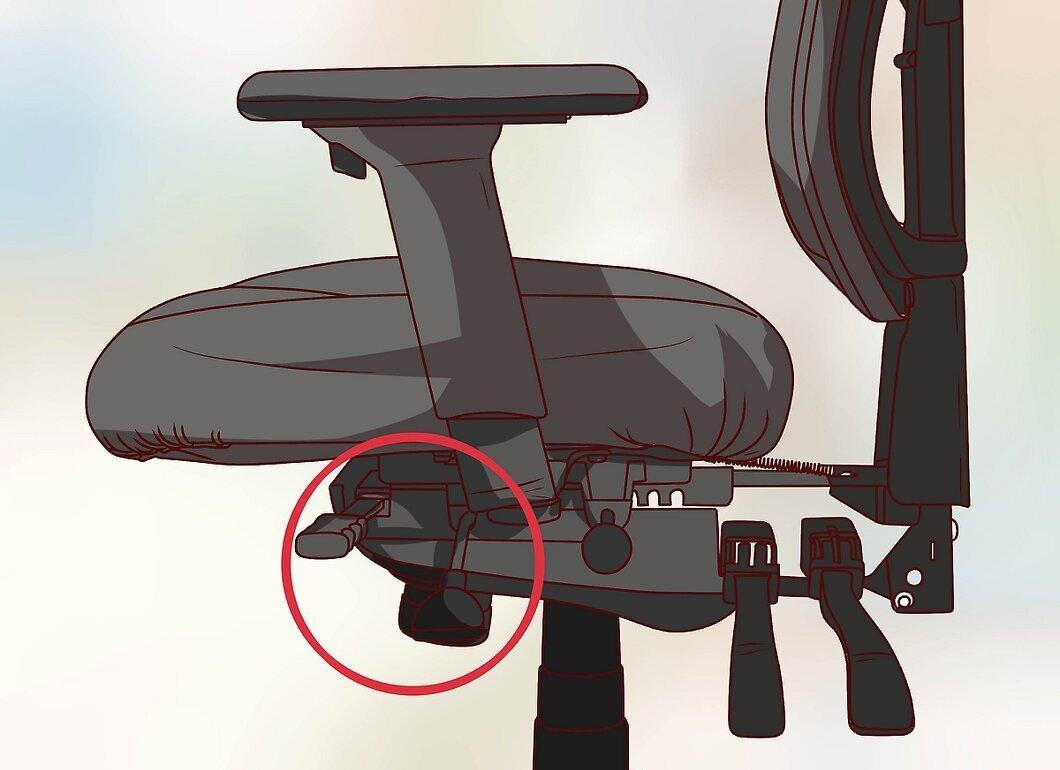
It’s essential that both seat height and angle are adjustable. This will ensure proper posture and comfort.
Step 4. Choose a Chair with a Comfortable Seat
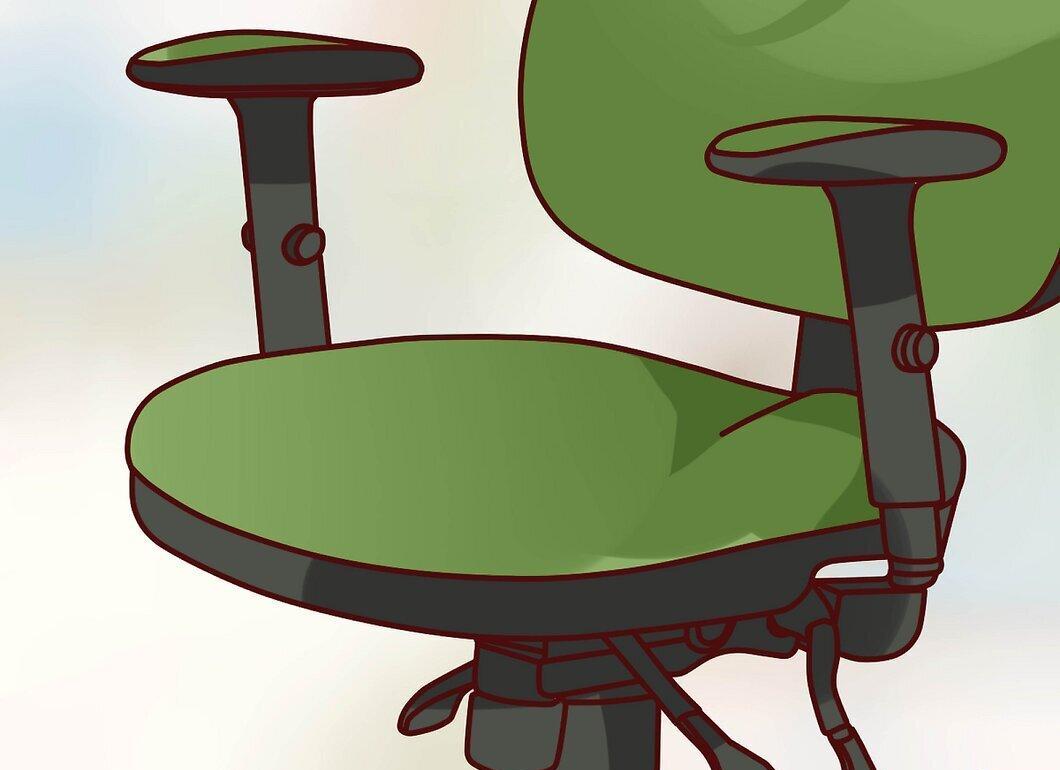
Select a chair with a seat that has a downward sloping front edge. This creates more space for your knees and ensures comfort for your thighs.
Step 5. Consider the Material
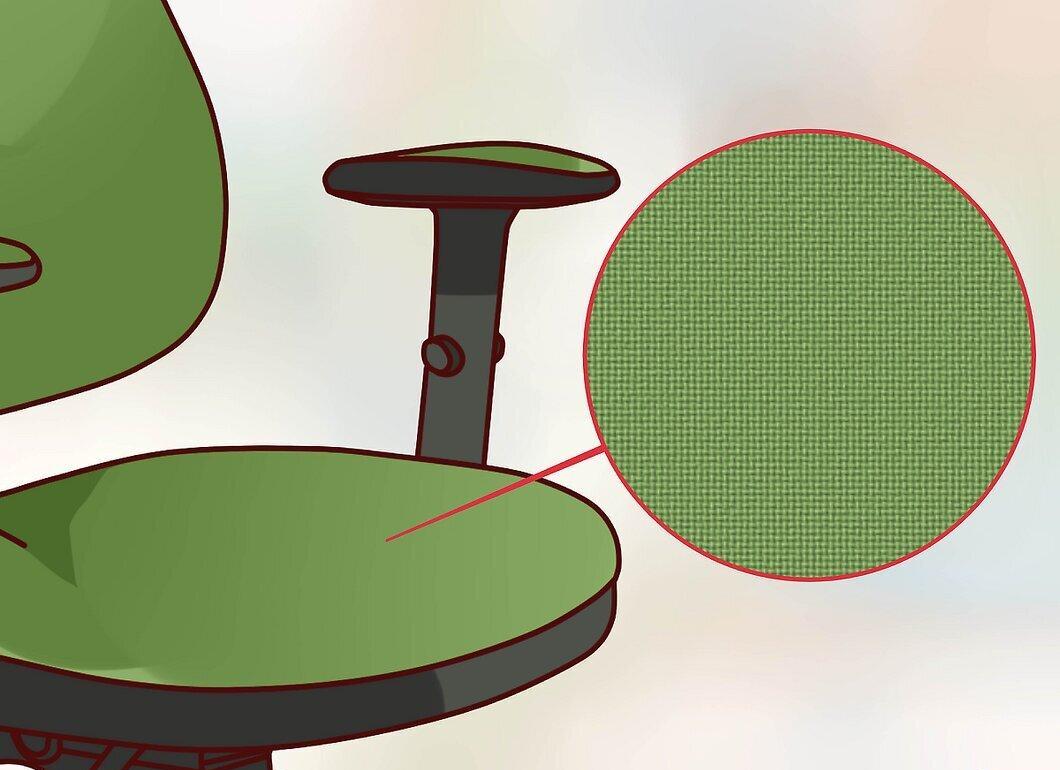
Make sure the chair is made of breathable and non-slip material. This is crucial to avoid sweating and discomfort while working.
Step 6. Look for Lumbar Support
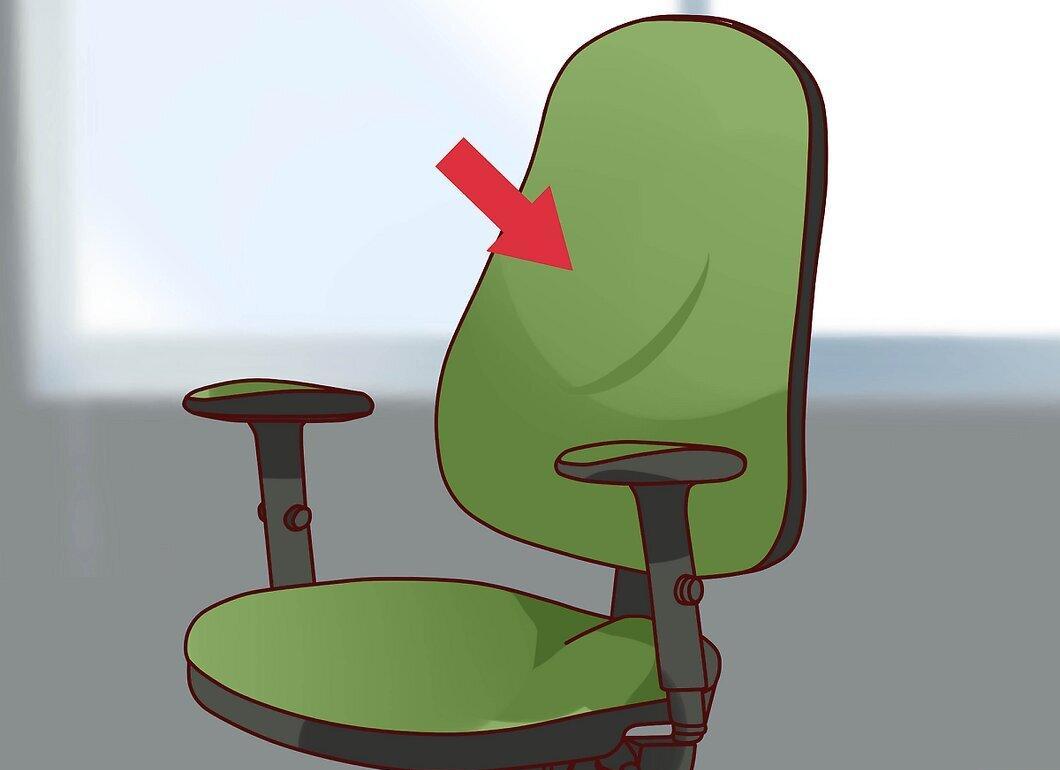
Seek a chair with a backrest shape that supports the lumbar region, along with adjustable height and angle. This will help prevent back pain.
Step 7. Ensure Stability
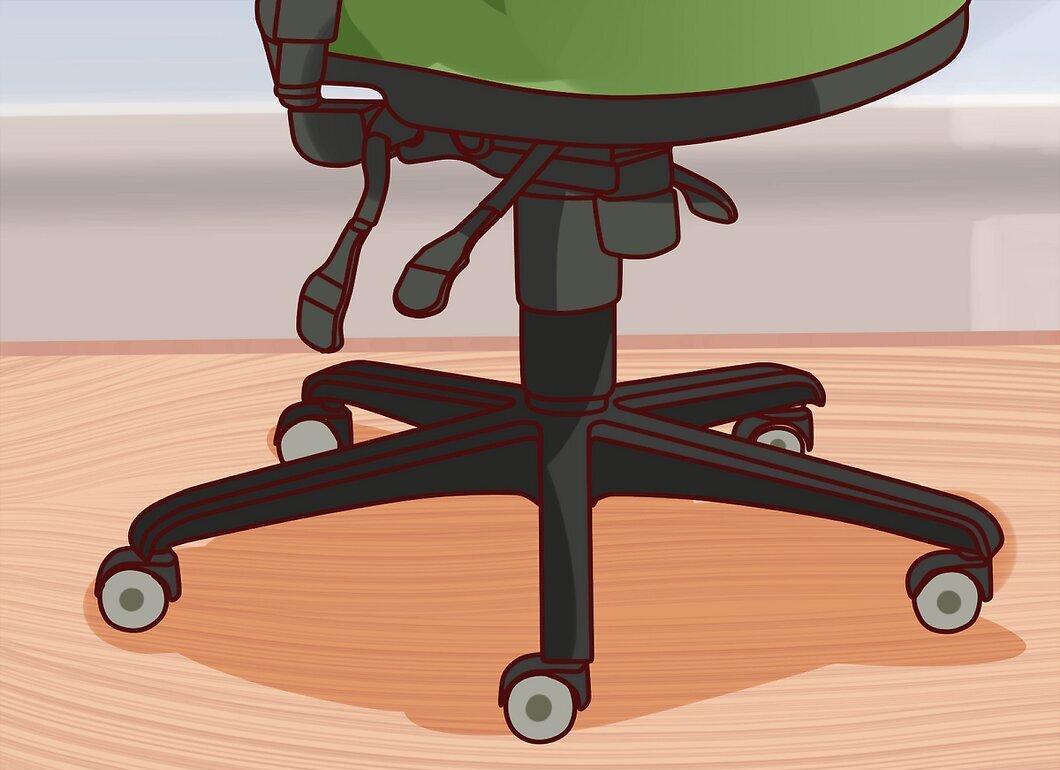
Choose a chair with a sturdy five-point base for better balance and stability while sitting. Check that the wheels are functioning properly.
Step 8. Adjustable Armrests
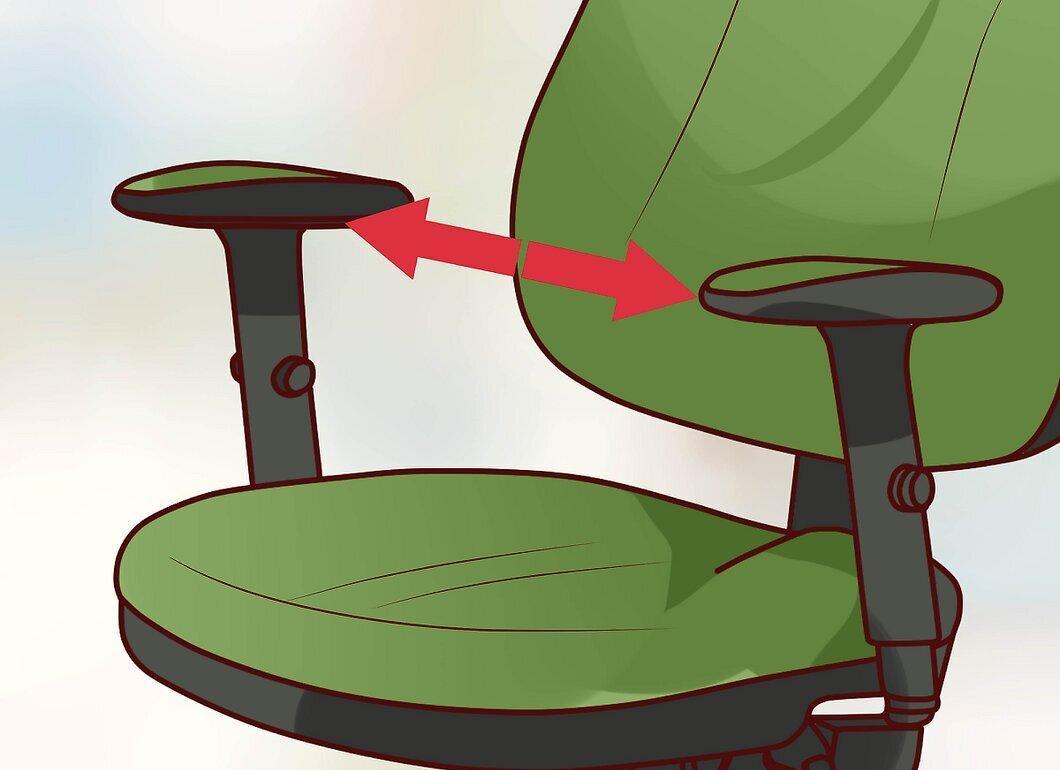
Armrests should be spaced appropriately. They should not interfere with getting in and out of the chair, but should be close to your body while working. The closer the armrests, the more comfortable you will be.
Step 9. Ensure Armrest Adjustability
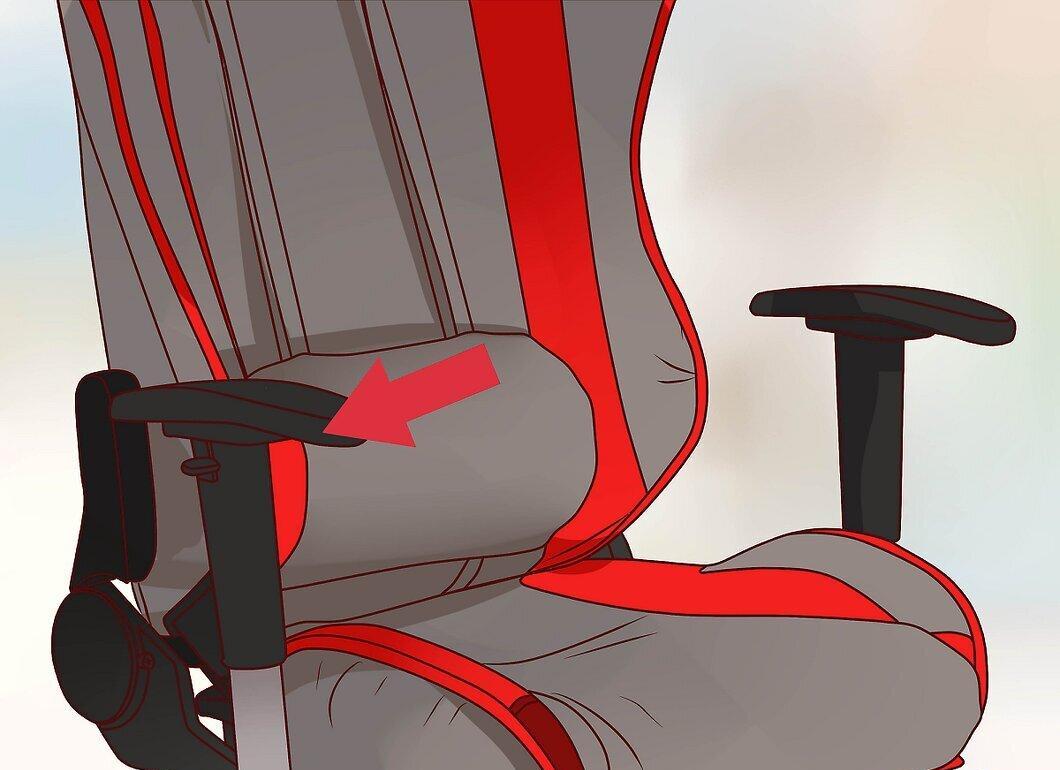
Choose a chair with adjustable armrests. They should not restrict your movements while working or typing. If they can be adjusted, you can customize them to your comfort.