When you need to keep your cargo safe, shrink wrap is an excellent solution. It is ideal for protecting various items during transportation and storage, ranging from compact discs to motorboats. With shrink wrap, you can seal items tightly, preventing air and moisture from entering. In this article, we will detail how to properly wrap items in shrink wrap.
Part 1
Step 1. Choose the right shrink wrap material.
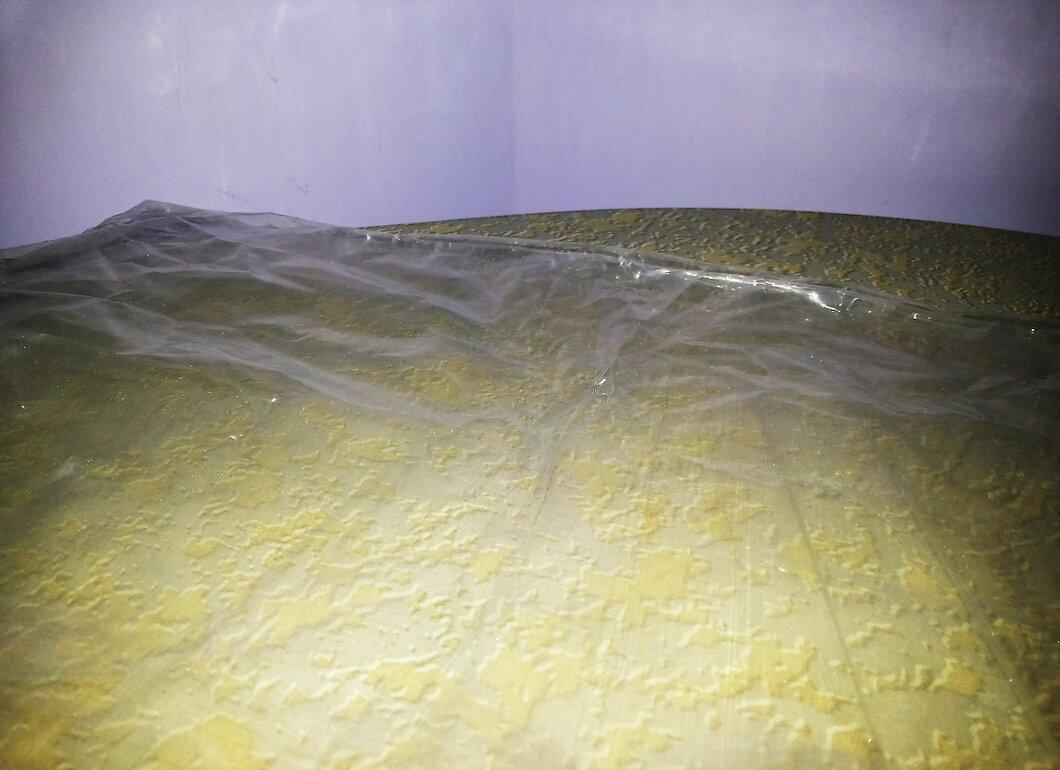
First, select the material for your shrink wrap. Polyvinyl chloride (PVC) is a common choice known for its durability, though it can become brittle over time. An alternative is polyolefin, which is more resistant but typically costs more than PVC. Both materials come in various thicknesses, such as 75 and 100 gauge, while polyolefin can also be found in 60 gauge. The higher the gauge, the denser the film will be.
Step 2. Determine the tools you will use with the wrap.
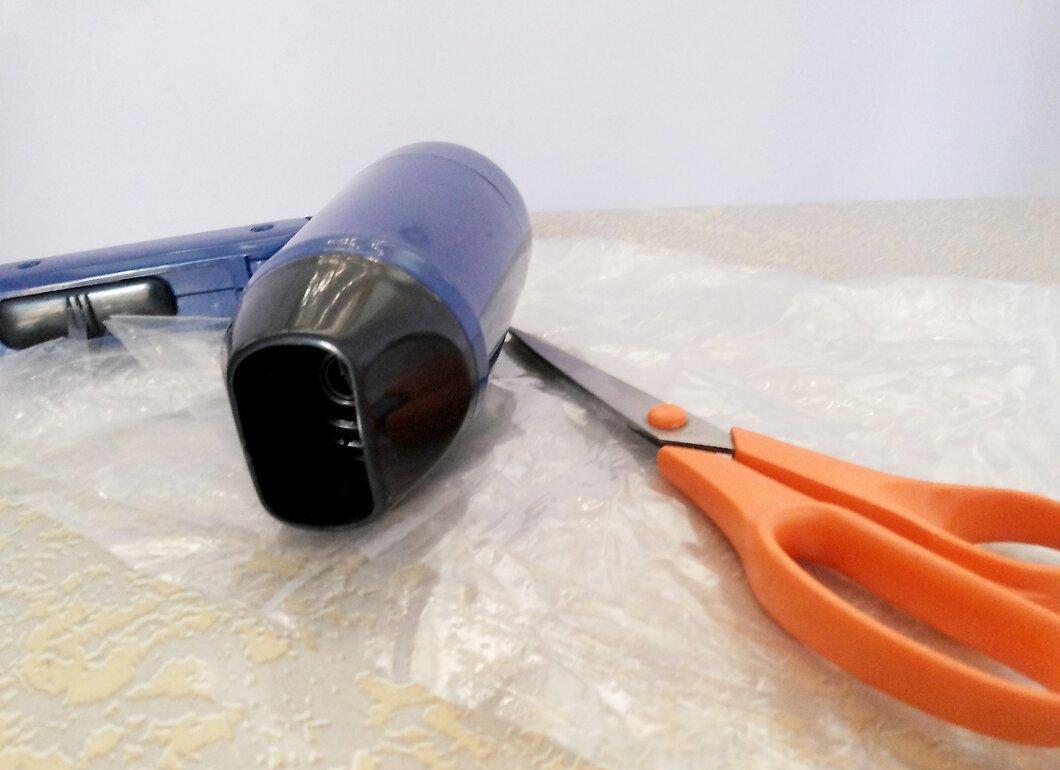
The choice of tools depends on the size of the item and the thickness of the wrap. If you are packaging small items at home, scissors and a hairdryer will suffice. For larger items, it’s better to use specialized machines, including automated heat tunnels and industrial sealers.
Step 3. Wrap your item.
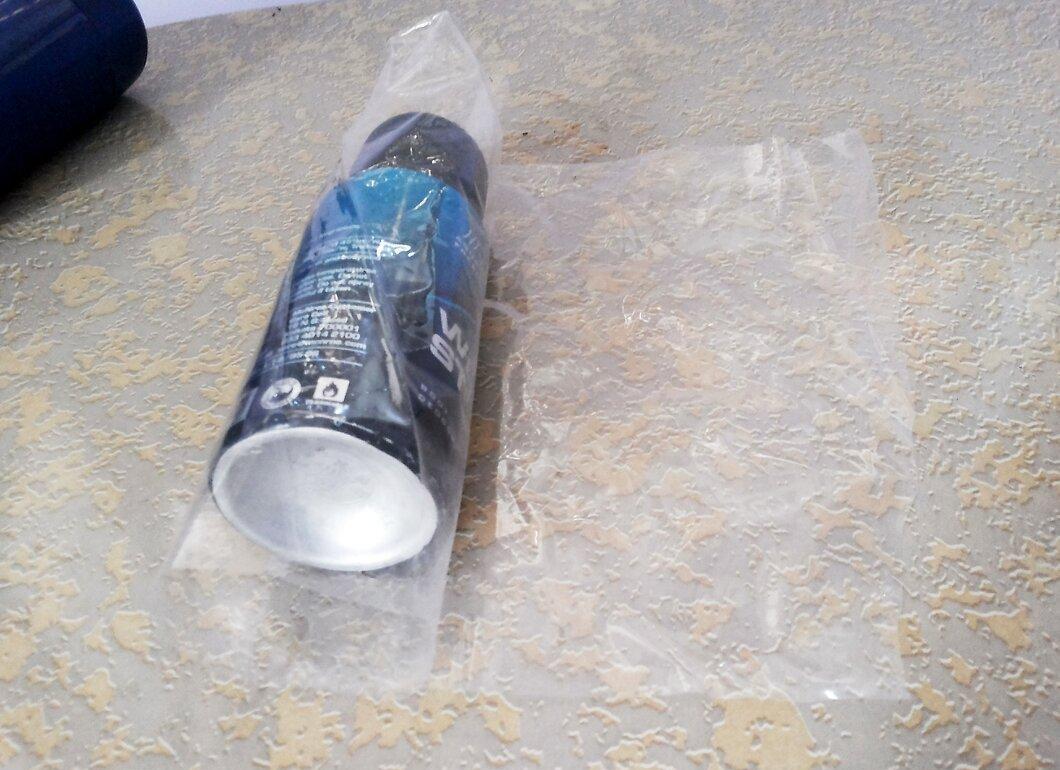
Now it’s time to wrap the item. Try to use one continuous piece of wrap. Make sure it’s slightly larger than the item itself.
Step 4. Trim excess wrap.
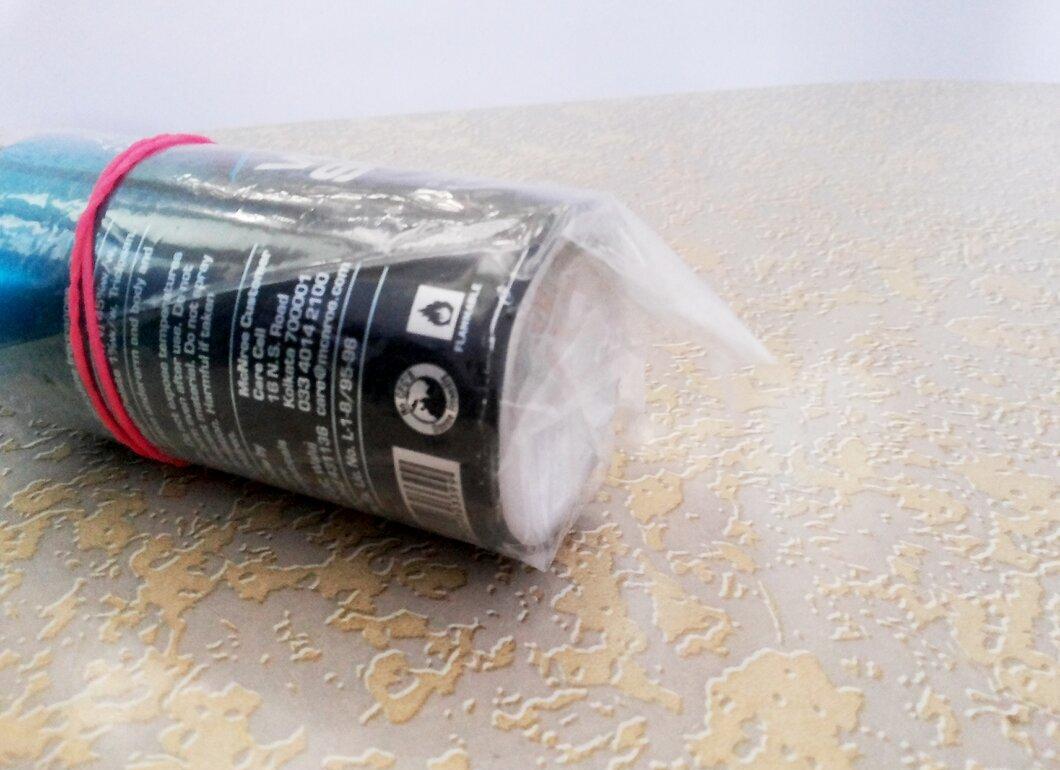
Cut away any excess pieces of wrap. Ensure that the wrap fits snugly against the item, avoiding air pockets or gaps.
Step 5. Complete the wrapping of the item.
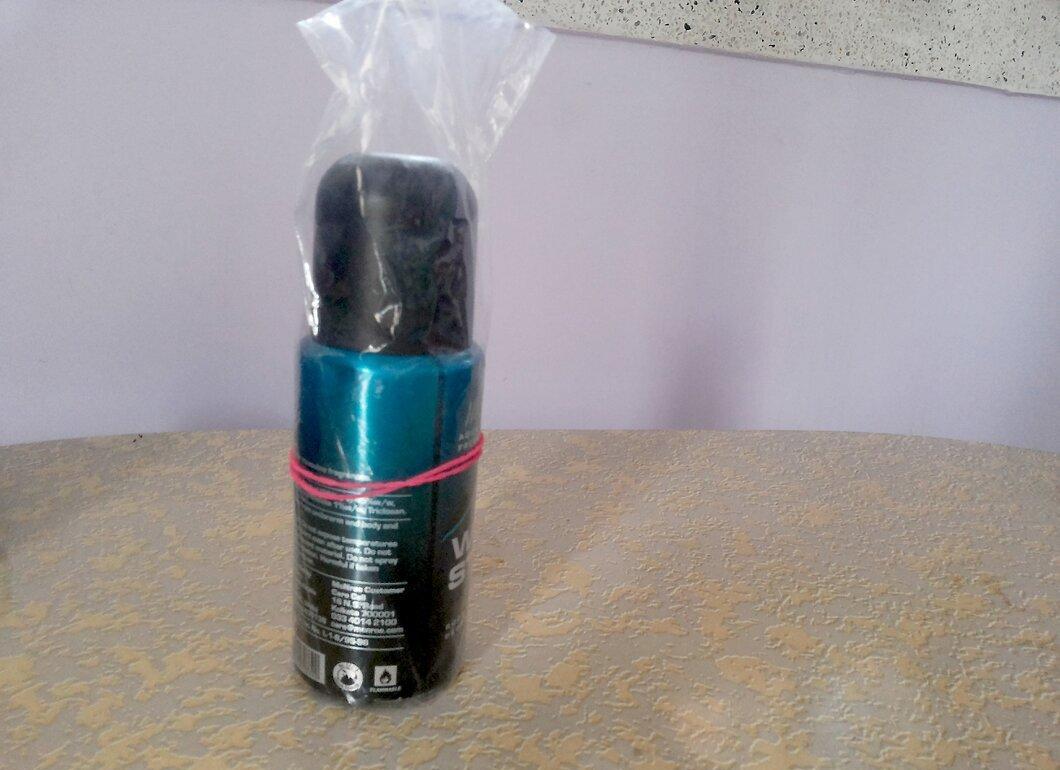
Continue wrapping the item, evenly distributing the wrap to ensure it fits tightly without leaving any voids or gaps.
Step 6. Apply heat to shrink the wrap.
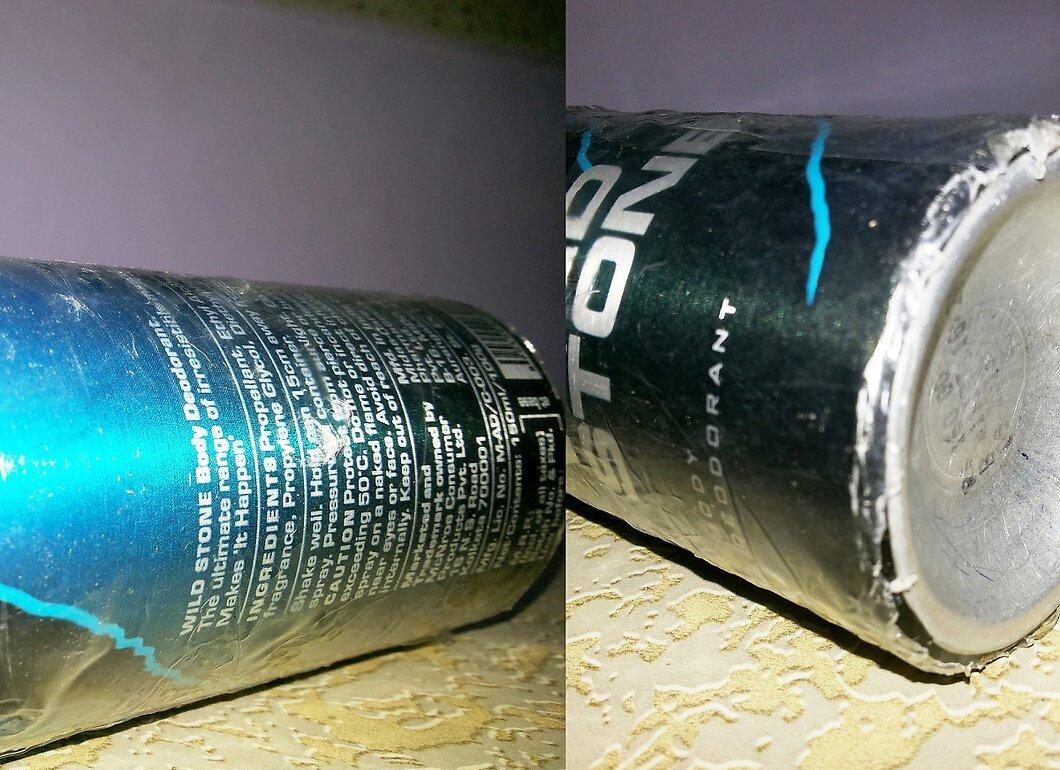
Use heat to shrink the wrap and seal the item. Evenly heat the wrapped item to ensure the wrap shrinks properly; uneven heating can lead to improper shrinkage.