Would you like to learn how to type quickly and easily? Have you ever thought about how challenging it is to transfer text from paper to keyboard while getting distracted by pages? Do you dream of impressing your colleagues with your outstanding typing skills? Touch typing is the ability to type text without looking at the keyboard. Regardless of your age — whether you're 6 or 66 — if you can type, you can master touch typing using the ten-finger method. This guide is designed for users of the 'QWERTY' keyboard layout.
Part 1
Step 1. Familiarize Yourself with the Home Keys.
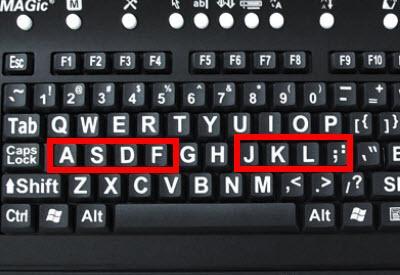
Get to know the home keys. These keys are crucial for touch typing and will help you navigate the keyboard. Each finger corresponds to a specific home key.
- For the left hand: place your pinky on 'A', ring finger on 'S', middle finger on 'D', and index finger on 'F'.
- For the right hand: place your pinky on ';' (semicolon), ring finger on 'L', middle finger on 'K', and index finger on 'J'.
- Your thumbs should rest on the space bar — align them so they are roughly below where your index fingers are.
Step 2. Locate the Bumps on 'F' and 'J' Keys.
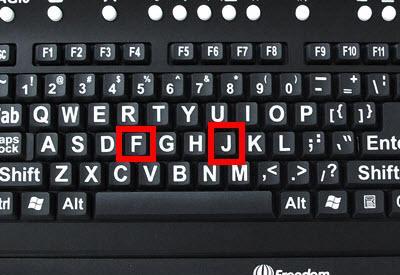
Run your index fingers along the bottom of the 'F' and 'J' keys — you will feel small bumps. These bumps will help you find the home keys. If you lose your place while typing, don’t look at the keyboard; just locate these bumps. It’s crucial to return to the home keys after each keystroke to maintain proper finger placement.
- Before starting a new sentence, return your fingers to the home keys. This will help you navigate the keyboard more easily. It may feel strange at first, but over time it will become second nature.
Step 3. How to Determine Which Finger to Use?
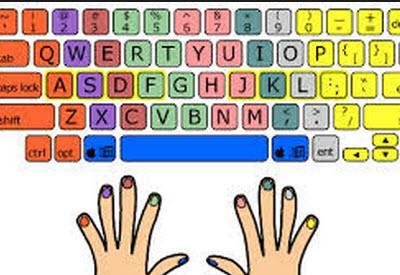
How do you know which finger to press for each key? It’s simple! Position your fingers on the home keys. Each home key has a key directly above and below it.
- For example, for the 'A' key, 'Q' is above it, and 'Z' is below it. If you need to type the word “quickly”, use your left pinky for 'Q', your right index finger for 'U', your right middle finger for 'I', your left middle finger for 'C', and so on.
- For keys that don’t have home keys directly above and below them, use the nearest index finger. For example, use your right index finger for 'Y' and your left index finger for 'T'.
- Don’t hesitate to use all your fingers; it might feel awkward, but you’ll get used to it quickly.
Step 4. Practice Makes Perfect!
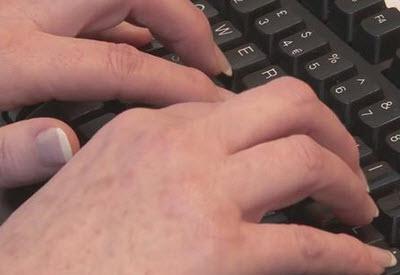
Practice is what will make you a master! Try closing your eyes, placing your fingers on the home keys (don’t forget to find the bumps on 'F' and 'J'), and type your name in a blank Word document. Then open your eyes and see how you did! Keep practicing until you feel confident. Then move on to simple sentences like: "The boy ate an apple."
- If you need to look at the screen, cover your hands with a towel to avoid peeking. Once you learn to resist this temptation, try typing completely blind!
- Devote your full effort to this process. Don’t stop! If something doesn’t go right, don’t get discouraged — perseverance will lead you to success. In a few months, you’ll look back on these challenges with a smile!
Step 5. Install Programs to Enhance Your Skills.
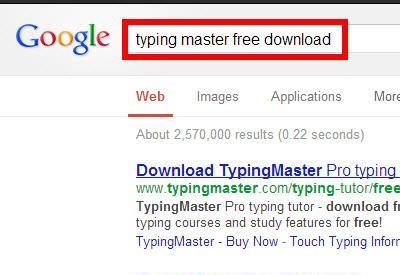
Download applications that will help you improve your skills. If free demos or trial versions of programs are available, don’t hesitate to use them! This will be a great way to diversify your training. Try free online tutors that offer various courses for any skill level.