Airports can feel like sprawling mazes, and it's no wonder many travelers wish to minimize their time wandering through confusing terminals. If you've opted for a layover, choose a flight with ample time between connections. This way, you won't have to sprint like an Olympic runner trying to escape the labyrinth. If you’ve already booked your tickets, here’s how to make your layover as smooth as possible for your peace of mind.
Plan Ahead
Step 1. Check Your Itinerary.
Check your itinerary. When booking tickets, it's often not clear if a layover is required at an intermediate stop. Look for the following information to track your journey:
- On direct flights, the same flight number is usually listed for each segment of your journey. Traditionally, this means no aircraft change is necessary, although many "direct" flights now require a plane change. Contact your airline for clarification.
- On connecting flights, different flight numbers are used for each leg of the journey. You will definitely have to change planes.
Step 2. Find the Airport Map.
Find the airport map. Most airport websites provide maps. Print one out and keep it in your carry-on to save time when searching for your departure gate. You'll often find maps of major airports in magazines available on the plane as well.
- If there are separate maps for each terminal, print each one. You may need to move to a different terminal when changing planes.
Step 3. Estimate Your Layover Time.
Estimate your layover time. Sometimes this information can be found on the airport's website or through your travel agent (if you have one). If official data isn’t available, try to make a rough estimate:
- Transferring from a domestic flight to another domestic flight typically requires about 60 minutes. 45 minutes is already risky, but doable if both flights are operated by the same airline.
- For layovers in a foreign country, allow at least 2 hours, and the same goes for switching from a domestic flight to an international one. A 90-minute buffer may not be sufficient in this case.
- Add an extra 30 minutes if you’re checking bags, if you have mobility issues, if you're traveling during peak hours, or if there are adverse weather conditions.
Step 4. Plan for Short Layovers.
Plan for short layovers. If the time between arrival and departure is less than recommended, take steps to ensure everything goes smoothly. You can rebook your flight for a fee or take less drastic measures:
- Choose an aisle seat as close to the front of the plane as possible. This way, you can disembark first.
- Try to travel with only carry-on luggage so you won’t have to collect checked baggage.
- Download an app to track flight delays while you’re in the air.
Step 5. Confirm Your Baggage’s Journey.
Confirm your baggage’s journey. On domestic flights, your luggage usually gets automatically sent to your final destination. On some international flights, particularly those with a layover in the United States or Canada, you must collect and recheck your baggage. To ensure your bags are traveling with you, ask airport staff to verify their routing.
- If you booked your tickets for two separate flights, you typically need to collect your luggage during the layover.
- On flights between two countries within the Schengen Area, customs checks are not required (just standard security checks), so you generally don’t need to collect your baggage.
Step 6. Check Visa Requirements.
Check visa requirements. If you have a layover in a foreign airport, you might need a transit visa. For information on this, visit the embassy's website of the country you are traveling to.
- If one of your layover points is an airport in the United States, visit this website for additional information. If the country you are traveling to is on the visa waiver list, then you won’t need a visa.
Step 7. Request Wheelchair Assistance if Needed.
Request wheelchair assistance if needed. If you cannot move independently, consider ordering a wheelchair at the layover airport. Contact your airline for assistance in making this request.
- If you didn’t arrange this in advance, ask a flight attendant for help during your first flight, and do so as early as possible. If you wait too long, the wheelchair may not be ready by boarding time.
- In most countries, it’s customary to tip the person pushing the wheelchair. Recommended amounts are $10 in U.S. airports or £2 in the UK.
Preparing for Disembarkation
Step 1. Listen for Announcements During the Flight.
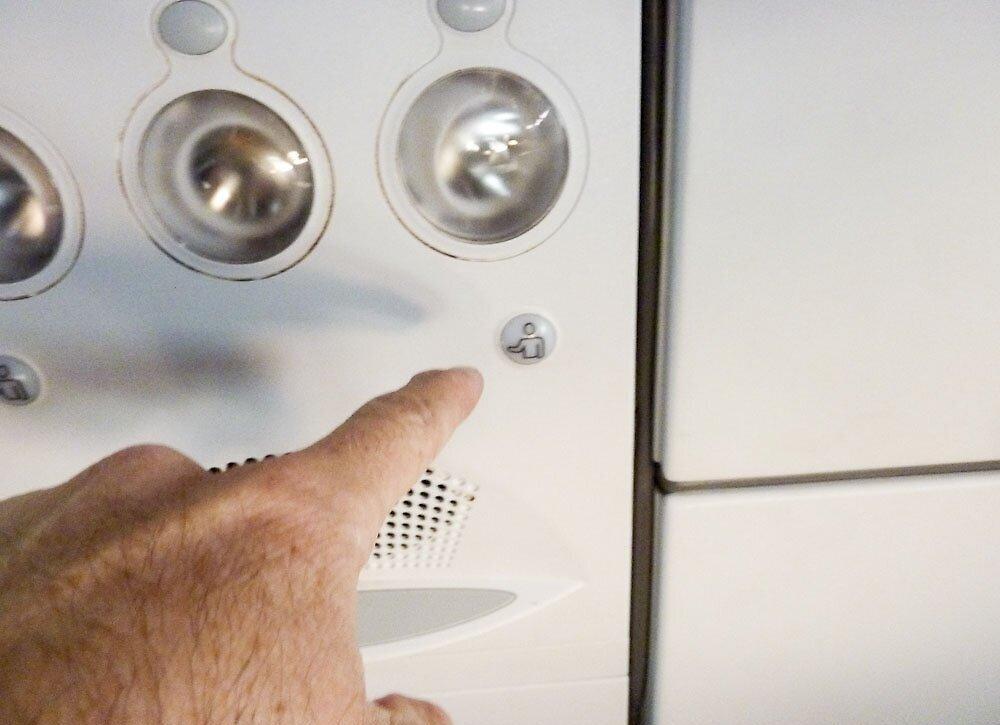
Listen for announcements during the flight. Sometimes at the end of the flight or during taxiing after landing, the pilot or flight attendants may announce gate changes.
Step 2. Gather Your Carry-On Items.
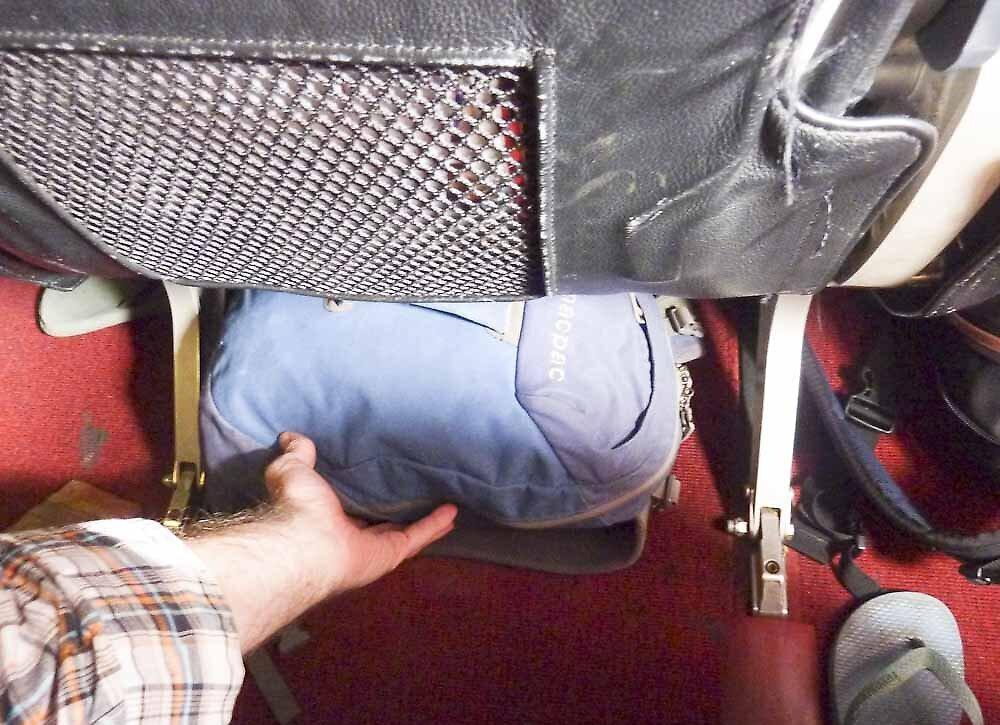
Gather your carry-on items. If you’re short on time and need to exit the plane quickly, start collecting your belongings before passengers are asked to fasten their seatbelts.
Step 3. Prepare Your Documents.
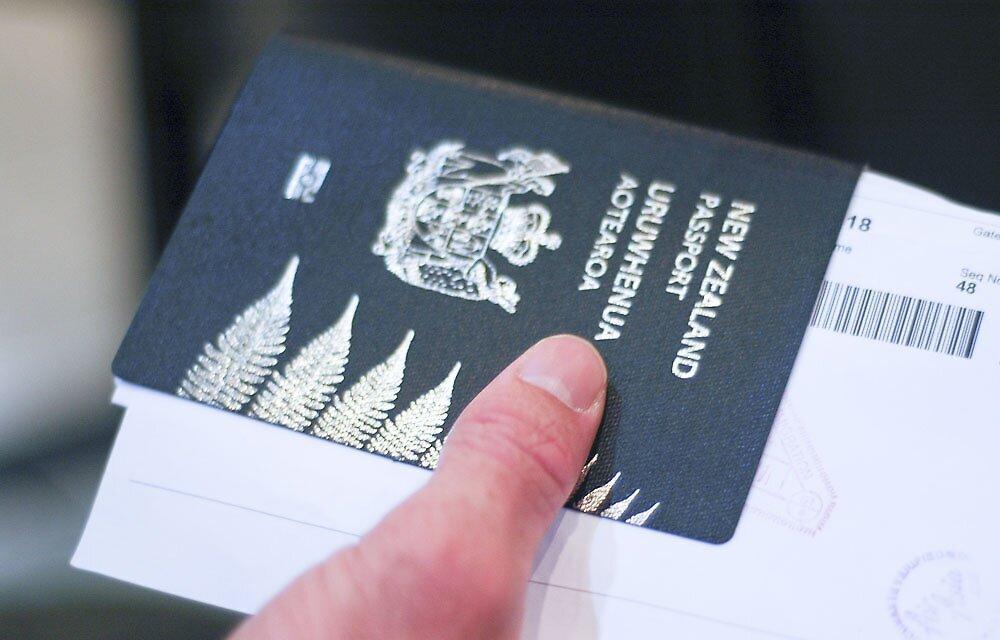
Prepare your documents. Get your boarding pass for the next flight, along with your passport and customs declaration if necessary. Keep them in a secure yet easily accessible place, such as an inside pocket of your coat.
Step 4. Try to Move Closer to the Front of the Cabin.
Try to move closer to the front of the cabin. If your flight is delayed and this might cause you to miss your next connection, ask the flight attendant if you can move forward a few minutes before landing. Moving from the back of the plane to the front can save you 10-15 minutes.
- You can also make this request directly to passengers, but remember that you're asking for a favor. Be polite.
- Descent can begin 30 minutes before landing. Don’t wait until the last minute to ask for a seat change, or you might be stuck where you are.
Boarding Your Next Flight
Step 1. Find Your Departure Gate.
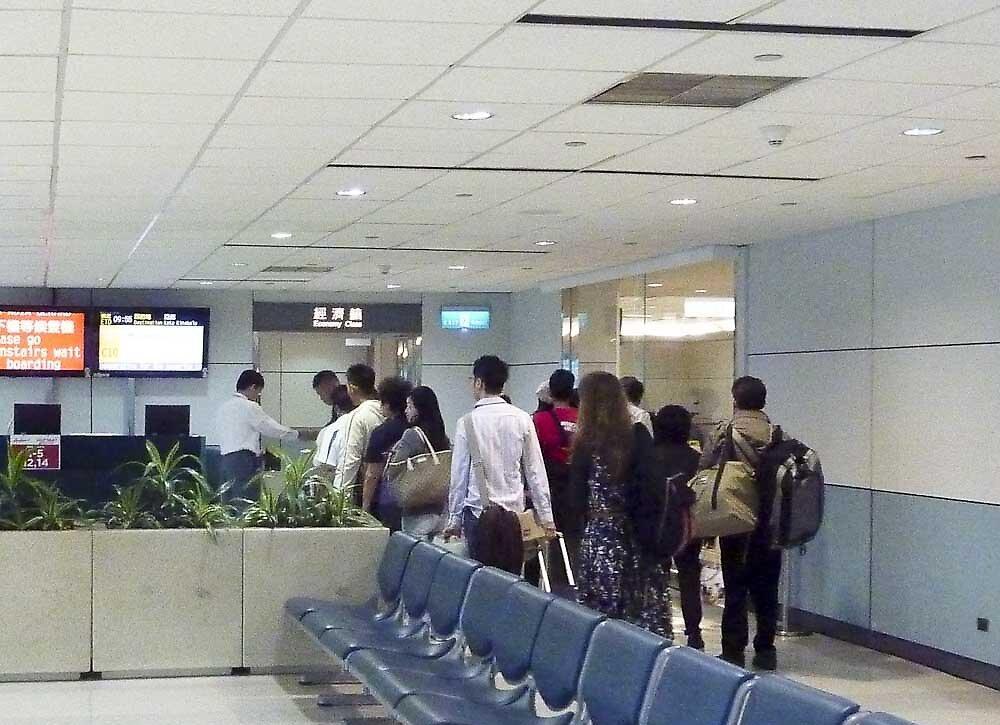
Find your departure gate for boarding your next flight. The first thing to do after disembarking from the plane is to locate the gate for your next flight. Don’t assume that the gate number on your boarding pass is correct, as they often change. It’s best to find a display board that shows gate information.
- If you’re in a hurry, ask airport staff at the exit to help you find your way to your boarding gate.
Step 2. Collect Your Baggage.
Collect your baggage. This is usually necessary if you're on an international flight or if you purchased two tickets separately. If you know you need to pick up your baggage, do it as soon as possible. The baggage claim area is often quite far from the security checkpoint, so it may take time to get your belongings and return.
- After collecting your baggage, you will need to go through another baggage check, this time with the airline operating the next leg of your flight.
Step 3. Go Through Customs if Necessary.
Go through customs if necessary. If you just completed an international flight, follow the signs to the customs area. It is usually divided into two zones – for citizens and non-citizens. You may also need to go through standard security checks (depending on the airport).
- If there’s a long line ahead of you and you’re short on time, politely ask an airport staff member to assist you with expedited screening so you can make your next flight. They might not say yes, but it’s worth a try.
- Stay calm even if an official makes you go through additional screening. Rude comments or pleading usually only slow down the process.
Step 4. Find Your Gate.
Find your gate. Even if you have plenty of time, head to the gate for boarding. Don’t hesitate to ask any airport employee for directions.
- If you are transferring from an international flight to a domestic one (or vice versa), you likely need to move to a different terminal. This can sometimes take 10-20 minutes.
Step 5. Relax.
Relax. If you have free time, there’s no need to stay at the gate. Most airports have restaurants, shops, and even art exhibits. But don’t forget to keep an eye on the clock.
- Keep your baggage with you at all times.
Step 6. Return to Your Gate with Some Extra Time.
Return to your gate with some extra time. The exact boarding time is usually listed on your boarding pass. If it’s not, arrive at least 30 minutes before departure.
Step 7. Contact Your Airline If You Miss Your Flight.

Contact your airline if you miss your flight. If you realize you’re going to miss your boarding, immediately call your airline. Their contact information is usually on your boarding pass, but for a quicker response, reach out to their local representative at the airport where you are. You can find the number you need on the airport’s website or ask at the information desk.
- If you don’t have phone service, ask for a phone at the information desk.
Step 8. Develop a Plan with Your Airline Representatives.
Develop a plan with your airline representatives. If you missed your flight due to the airline's fault (e.g., flight delay), the airline is responsible for getting you to your destination. This rule does not apply if you booked two flights separately or if you missed the flight due to your own fault. However, even in this case, most airlines are willing to accommodate you. Don’t hesitate to calmly and politely ask for the following:
- To be placed on standby for the next flight for free. Standby passengers are allowed on board if there are available seats or someone has canceled.
- If you can’t wait, ask about the likelihood of flying soon while on the standby list. If the chances are low, request a discounted ticket for the next flight with guaranteed departure (not always available).
- Meal vouchers and hotel accommodations if you need to wait overnight (unlikely if the airline is not at fault for your delay).
- A free phone call if you don’t have a phone.