Is your GPS failing, leaving you needing to navigate from point A to point B without getting lost? There's no need to admit defeat and ask for help. Just pull out that trusty old map! Whether you're hiking in the mountains or planning a cross-country road trip, knowing how to read a map is an essential skill for everyone. Contrary to popular belief, it's not as complicated as it seems. Familiarize yourself with key elements like scale, latitude, longitude, and contour lines to easily determine any route on the map.
How to Read a Map
Step 1: Choose the Right Type of Map.
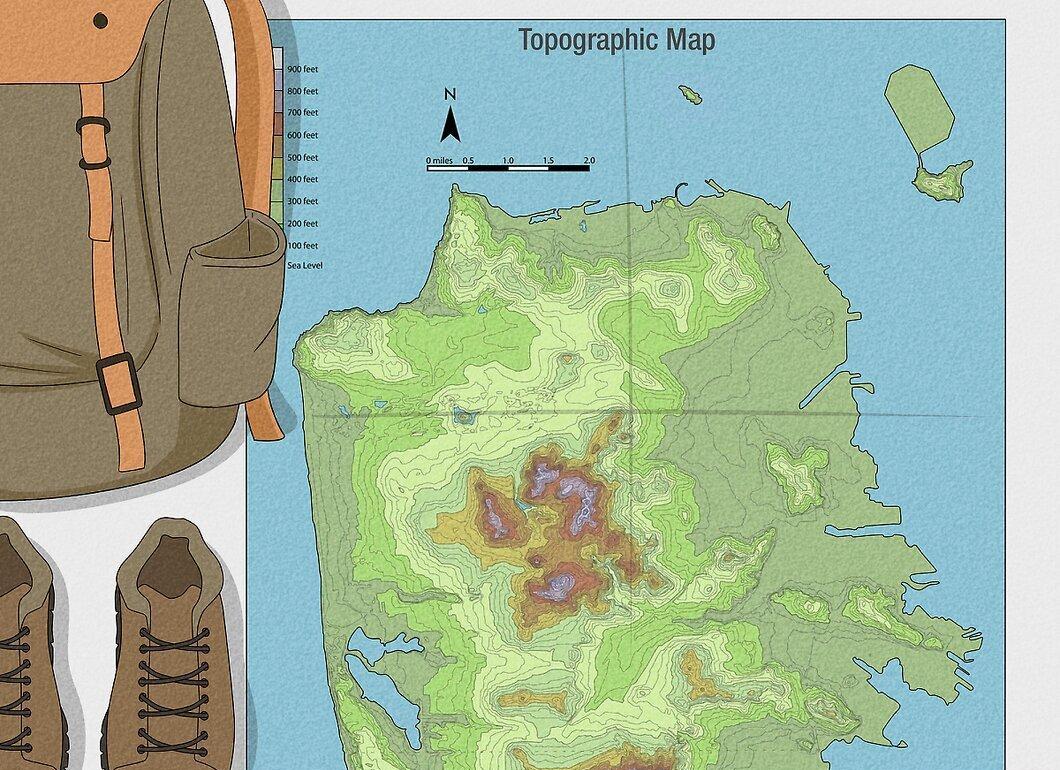
Choose the right type of map. Different maps serve different purposes. Before using a map to determine your route, ensure that you are using an appropriate type.
- Road maps simplify driving on highways and backroads, topographic maps help travelers find campgrounds and parking spots, and tourist maps allow visitors to quickly locate famous landmarks.
- Maps are available for purchase at gas stations, newsstands, tourist centers, cafes, and train stations.
Step 2: Check the Orientation of the Map.
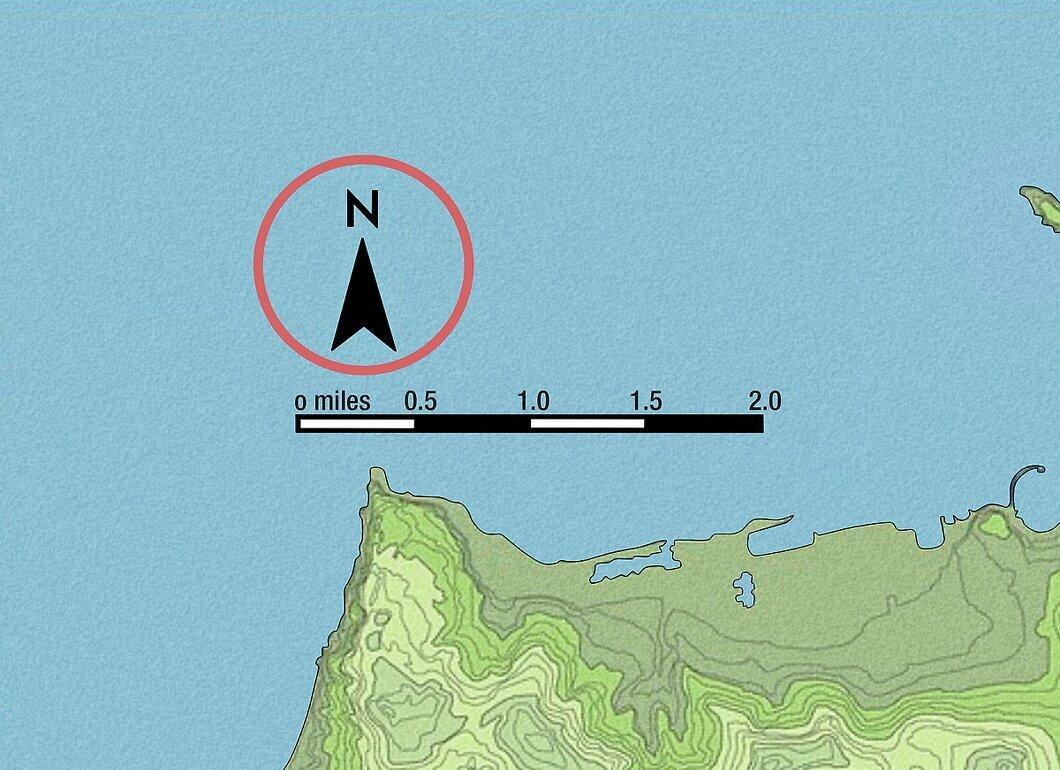
Check the orientation of the map. Open the map and ensure you are looking at it from the correct angle. Usually, a compass rose can be found in one of the corners, which helps determine the directions indicated on the map. Unless stated otherwise, north is typically at the top of the map.
- North is considered a "neutral" reference point that helps determine the other directions. Travelers use north to orient themselves.
Step 3: Review the Map Legend (Symbols).
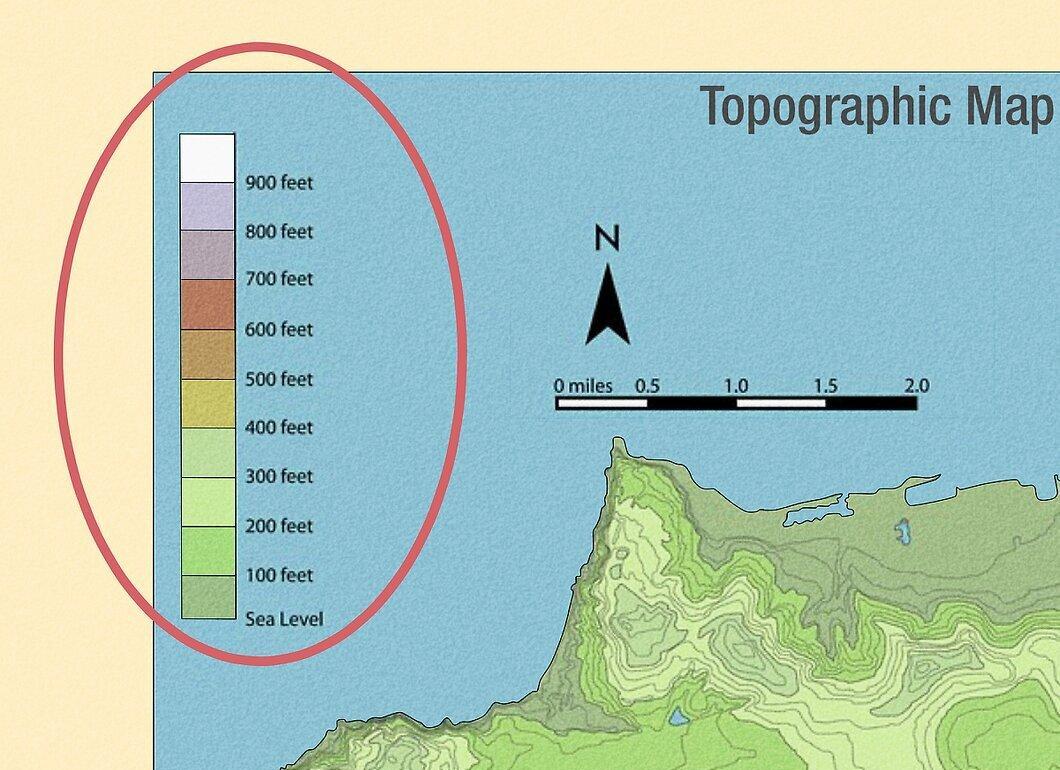
Review the map legend (symbols). In addition to the compass rose, many maps contain a legend, or a table explaining the scientific methods used to create the map and a list of important symbols. Study the legend to accurately interpret the information presented on the map.
- Look at the symbols representing roads, boundaries of settlements and cities, and noticeable landmarks. Color coding is often used to indicate natural features (mountains, forests, and bodies of water).
- Such symbols help travelers interpret the terrain correctly and navigate safely.
Step 4: Understand Latitude and Longitude.
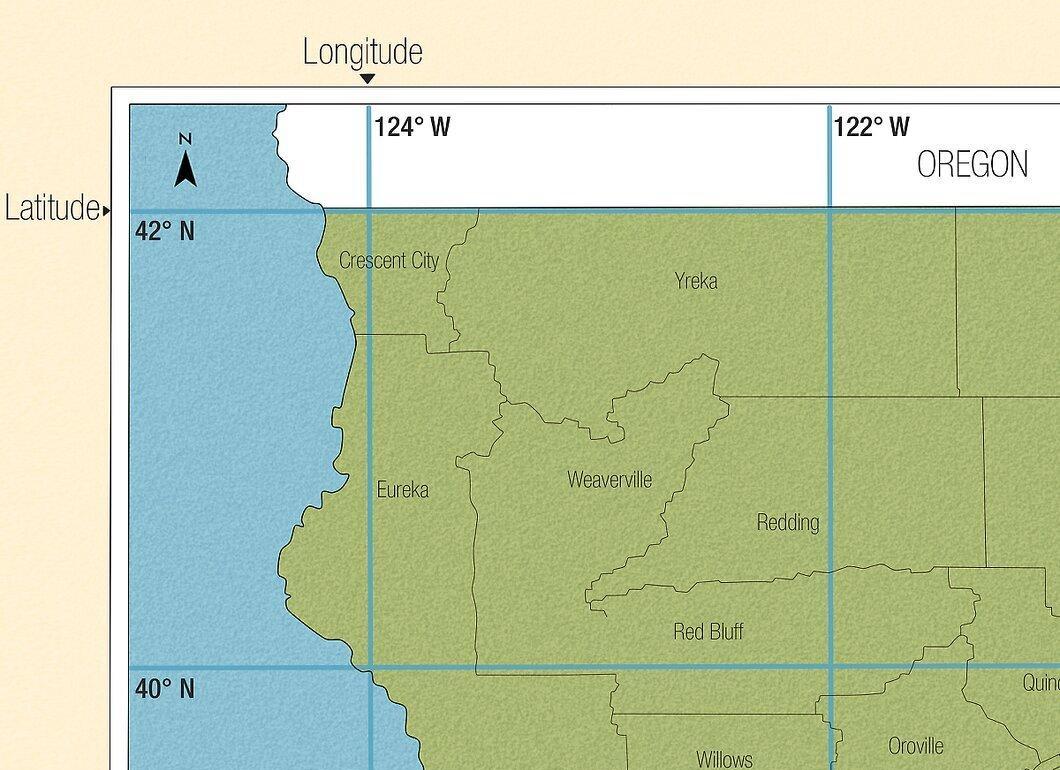
Understand latitude and longitude. Lines of longitude are geographical coordinates that indicate a point's position on the Earth's surface in the east-west direction relative to the prime meridian. Meridians run vertically from the North Pole to the South Pole (or vice versa). Lines of latitude run horizontally parallel to the equator and measure distance north or south from the equator. The numbers along the edges of the map correspond to degrees of latitude and longitude. Each degree is divided into 60 minutes (here, a unit of distance, not time), and each minute equals 1 nautical mile (approximately 1.85 kilometers).
- The equator and prime meridian are chosen as convenient reference points since they are roughly centered on the globe.
- If you're traveling to a nearby city, you may not need to think about latitude and longitude. However, they become invaluable for long-distance travel, helping to clarify your location.
Step 5: Consider the Scale.
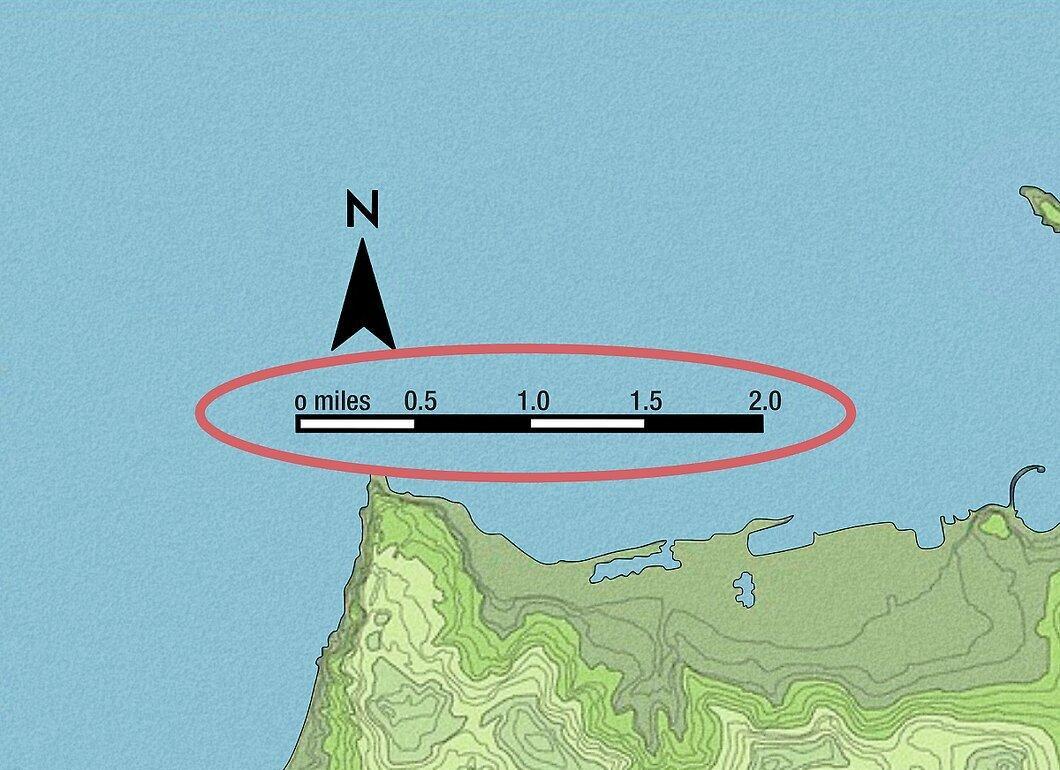
Consider the scale. The scale indicates the ratio between the distance on the map and the actual distance, allowing you to measure distances to locations. Each map typically uses a different scale, which is indicated as a ratio like "1:100,000". This means that 1 unit of distance on the map equals 100,000 units in the real world.
- The scale is usually located at the bottom or along one side of the map.
- The scale varies according to the type of map. For example, hiking maps generally use a scale of 1:25,000, while a medium-sized road map has a scale of about 1:50,000.
- For instance, on a road map with a scale of 1:100,000, each centimeter on the map equals 1 kilometer in reality.
How to Navigate Using a Map
Step 1: Determine Your Location.
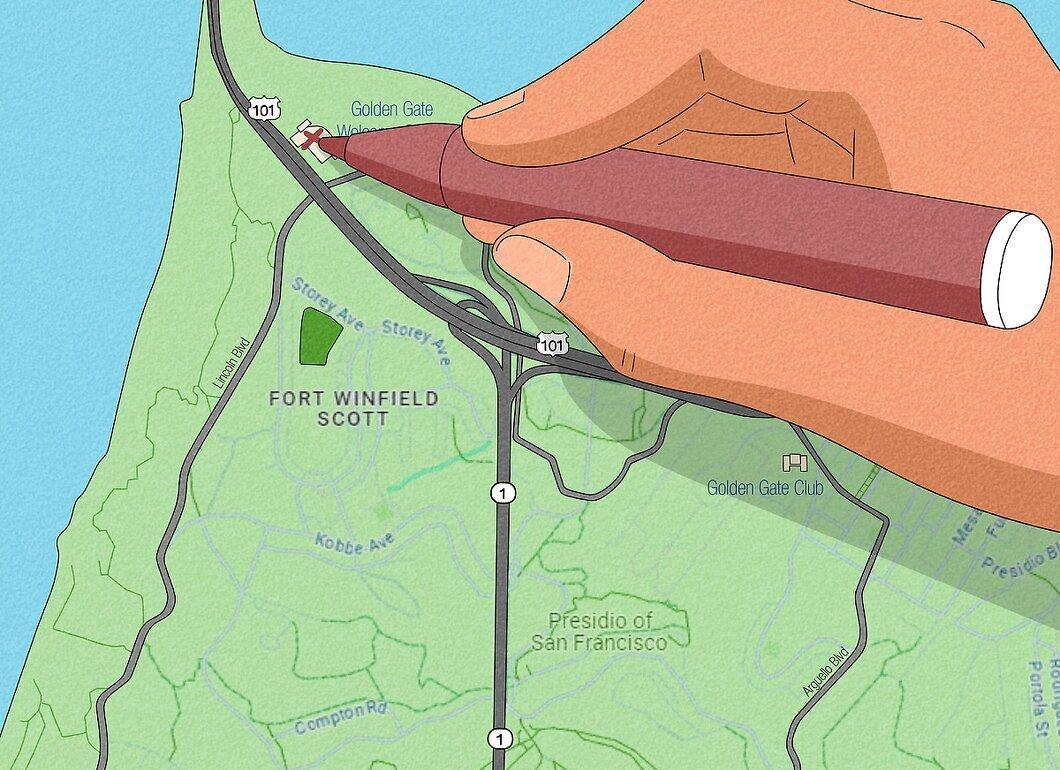
Determine your location. If you're on the road, the easiest way to pinpoint your location is to look for nearby road signs and find the corresponding marks on the map. If there are no distinguishing landmarks nearby, try to match the surrounding terrain with what’s depicted on the map. Mark your location to ensure you're heading in the right direction.
- Notable natural features (such as rivers and mountains) can serve as landmarks to help identify your location.
- Use this helpful tip: choose two visible landmarks (like a water tower and a small town) and draw a straight line between them. You are approximately where they intersect (give or take a few kilometers).
Step 2: Align the Map with a Compass (Optional).
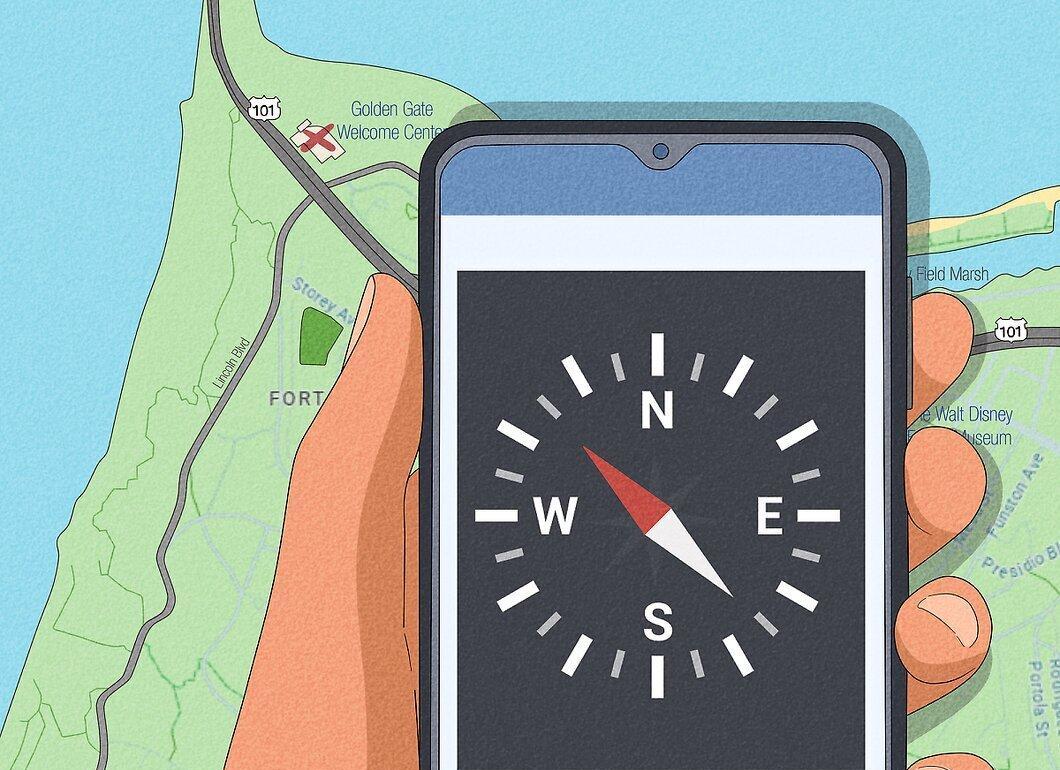
Align the map with a compass (optional). If you're using a compass, it's important to calibrate it correctly based on your surroundings to account for any magnetic anomalies (which are typically indicated on the map). This step is sometimes referred to as declination. It makes navigation easier when you only need to turn your head in the right direction.
- If you're heading into an area where you might get lost, a compass is always a handy tool.
- Most smartphones today come equipped with compass apps that accurately determine cardinal directions even without a network connection.
Step 3: Mark Your Destination.
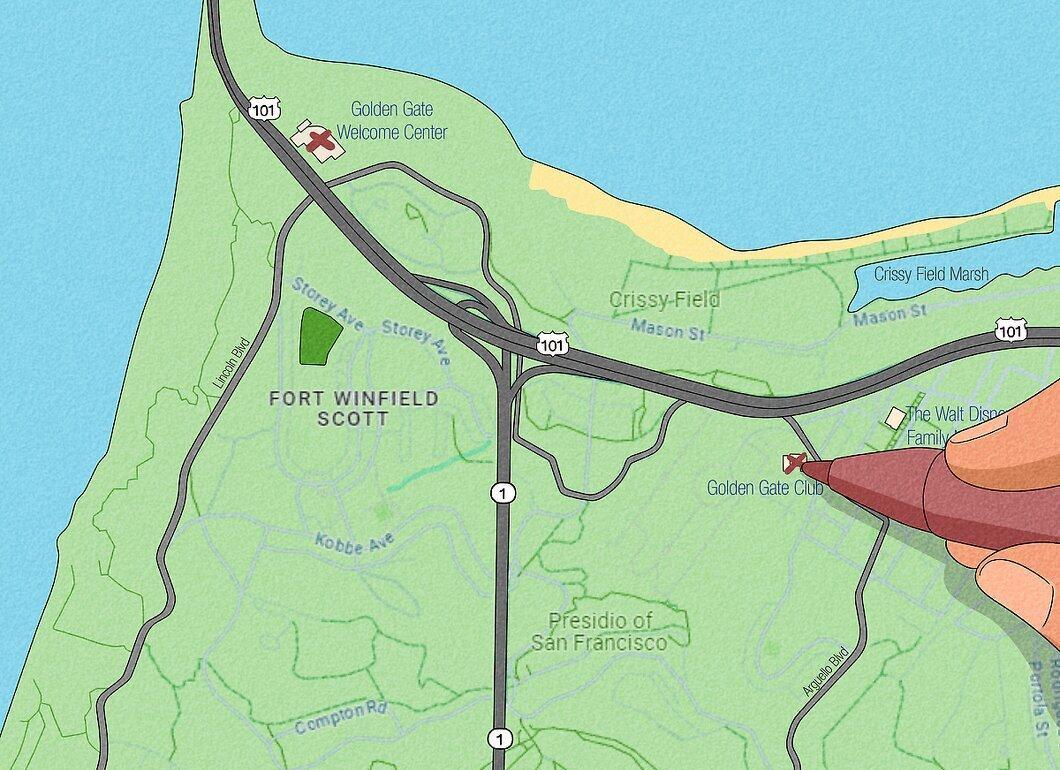
Mark your destination. Circle the location you need to reach on the map, then assess the distance between your starting point and your endpoint. Use the scale to choose a route that allows you to reach your destination in the shortest time possible.
- Determine the distance using the scale to keep track of your movement accurately.
Step 4: Plan Your Route.
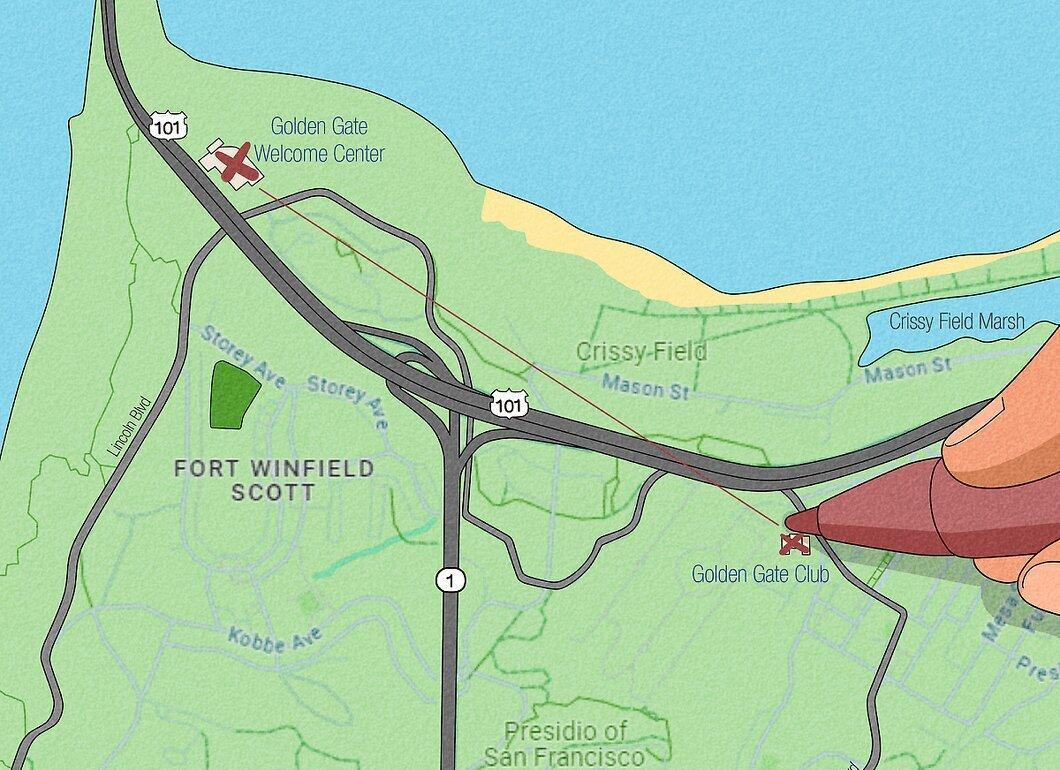
Plan your route. Now it's time to select the roads and paths that will take you from point A to point B. The shortest distance between two points is always a straight line connecting them. Therefore, it's best to use a direct route with minimal detours.
- Keep in mind that highways are typically marked left to right and from south to north, while city streets often form a grid pattern.
- One main drawback of traditional maps is that they do not contain information about closed roads, construction, renamed streets, and other obstacles.
Step 5: Follow the Chosen Route to Your Destination.

Follow the chosen route to your destination. Now you can focus on the journey itself. Travel confidently and note each kilometer you pass, checking your map from time to time. Do not deviate from the planned route unless you have chosen an alternate path in advance.
- The chosen route is often a matter of preference. Sometimes you need to hurry to reach your destination on time, while at other times, you can take your time and enjoy the sights along the way.
- If you're traveling with companions, designate one person to be in charge of navigation to avoid disputes and confusion.
Step 6: Use Checkpoints to Stay on Track.
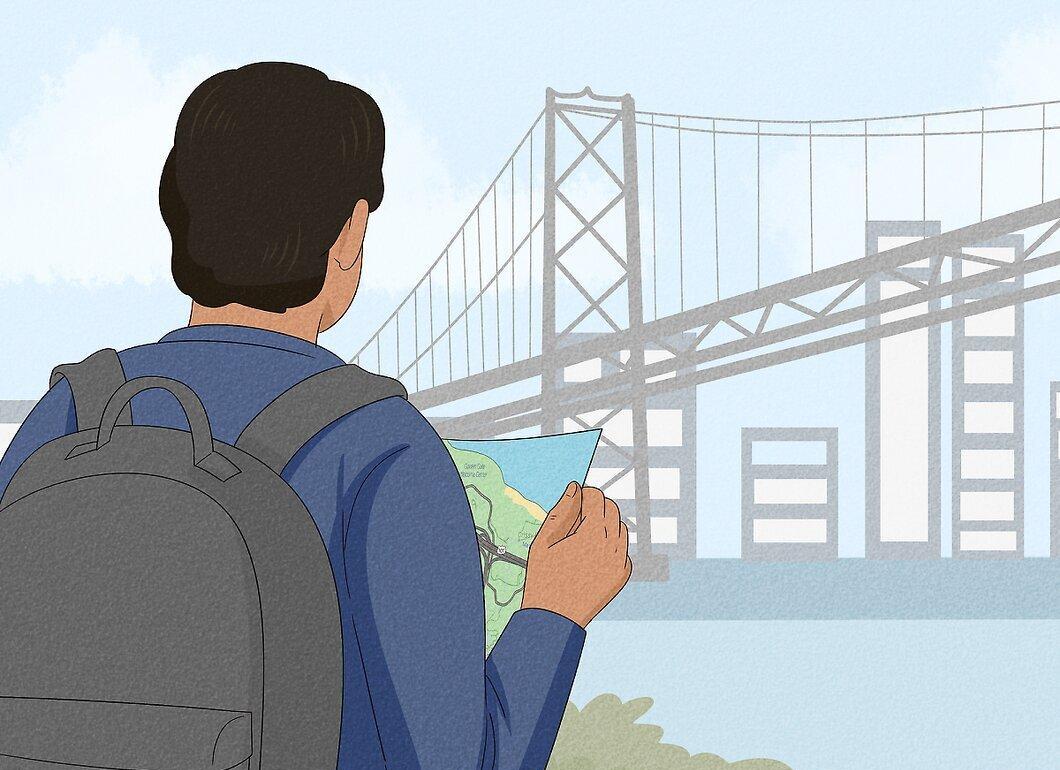
Use checkpoints to stay on track. As you travel, mark your new locations on the map with a pencil or pen. Place a dot, star, or other symbol near each noticeable landmark. This way, you can always determine your position relative to the last checkpoint if you need to turn back.
- At each stop, note the distance traveled and calculate the remaining distance to your destination.