Mastering the Art of Posing: Your Path to Becoming a Model
Learn the art of posing to make your photos stunning and unforgettable!
Part 1
Step 1. Relax.

Relaxation is key to great photographs. Awkward movements or tense expressions can ruin the perfect shot. Allow yourself to feel calm: take a deep breath and focus on the tense parts of your body, then simply let them go.
Step 2. Connect with the Camera.

Building a connection with the camera is crucial. Pay attention to how your body is positioned in relation to the lens. Many photogenic people feel comfortable in front of the camera, and this shows in the photos. Don’t fear the lens—imagine it as a friend that brings out the right emotions in you. Take plenty of shots to get used to being the center of attention.
Step 3. Find Your Best Angles.

Discover your best angles. Study which angles make your face look most attractive. Stand in front of a mirror to find the most symmetrical part of your face. Facing the camera directly can appear too harsh, so it's better to turn slightly to highlight your features and create a softer image.
Step 4. Smile with Your Eyes.

Smile with your eyes! This advice is quite common in the modeling industry. Your eyes can convey a multitude of emotions in photos. A simple smile with a blank stare can create an undesirable effect. You don’t want to look tired or bored! To learn how to smile with your eyes, tense the upper parts of your cheeks and lower eyelids. Imagine your eyes are genuinely smiling. This might seem difficult, but practice in front of a mirror while keeping your mouth closed with a piece of paper. The outer corners of your eyes should lift slightly to give your gaze a playful edge.
Step 5. Extend Your Torso.

Straighten your torso. The ideal pose involves a 45-degree angle: one leg and shoulder slightly closer to the camera. Straighten your hips and turn your upper body toward the lens, creating a slight bend at the waist. Imagine a string pulling you up from your head. Pull in your stomach but don’t strain your lungs. Place your hands on your hips or along your body, avoiding contact with it. These poses help create the illusion of a slimmer waist.
Step 6. Create Space Between Limbs.

Create space between your arms and legs. Notice the poses of models in magazines. The main rule is asymmetry. Such poses always look more striking. By bending your limbs, you can create interesting lines that attract the photographer’s and viewers’ attention. If the background is complex, an asymmetrical pose will make you stand out; if the background is simple, it will add interest. Experiment with different options: place one hand on your hip while letting the other relax; bend one arm while holding your shoulder; lift one shoulder while placing both hands on your hips; tuck your hands behind your back with elbows out; place your palms on your waist, arch your back, bend one leg while extending the other forward (a great pose for silhouettes).
Step 7. Lower Your Chin.

Tilt your chin downwards. This helps visually elongate your neck. Slightly tilt your head and try to position yourself so that the camera is just above eye level. This pose can hide a double chin and make your gaze appear more open.
Step 8. Seek the Light.
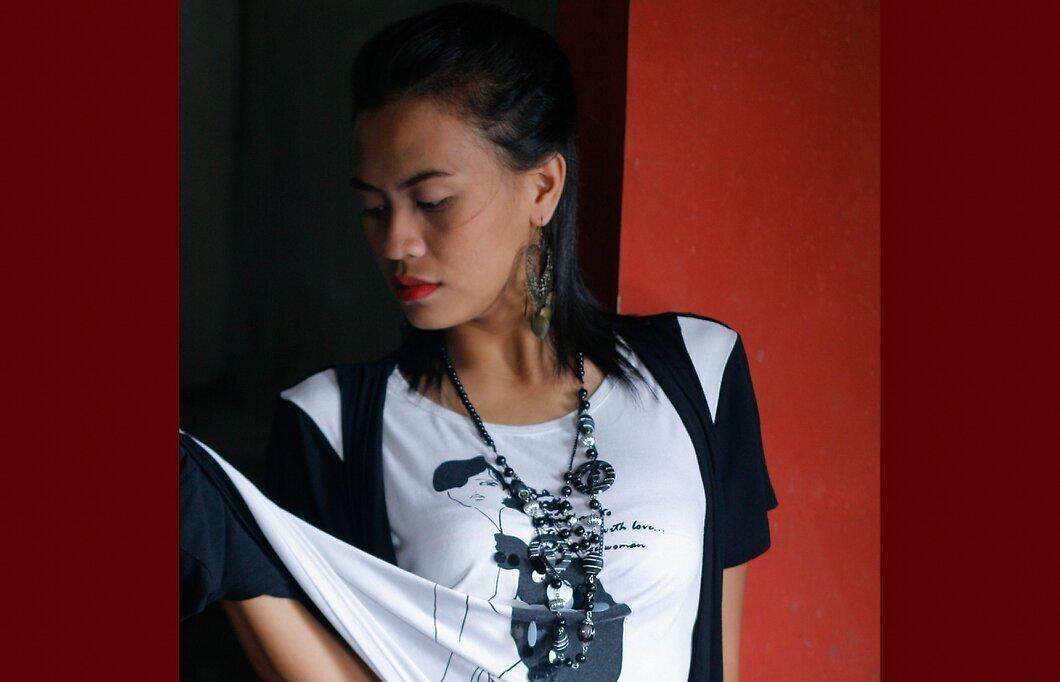
Look for the right lighting. If you’re outdoors, always face the sun. If it’s behind you, your face will be in shadow and look flat. If you have a wide face, ensure the light falls on the cheek that is further from the camera, and vice versa for a narrow face—the light should illuminate the side closest to the lens.
Step 9. Keep Your Eyes Open!

Keep your eyes open! This can sometimes be challenging. If the sun is bright or you’re in a group photo, there’s a trick to avoid distractions. Just close your eyes while the photographer prepares. When the countdown begins, open them at the number 3 (not too wide). Don’t forget to smile with your eyes, which might be tricky if you have only a second to prepare; at least relax your gaze and get ready for the shot.
Step 10. Slightly Open Your Mouth.

Slightly open your mouth. You can gently clench your teeth. Don’t press your lips against your teeth, as this will make them look thin. This pose helps relax your jaw and adds a natural feel.
Step 11. Remember:
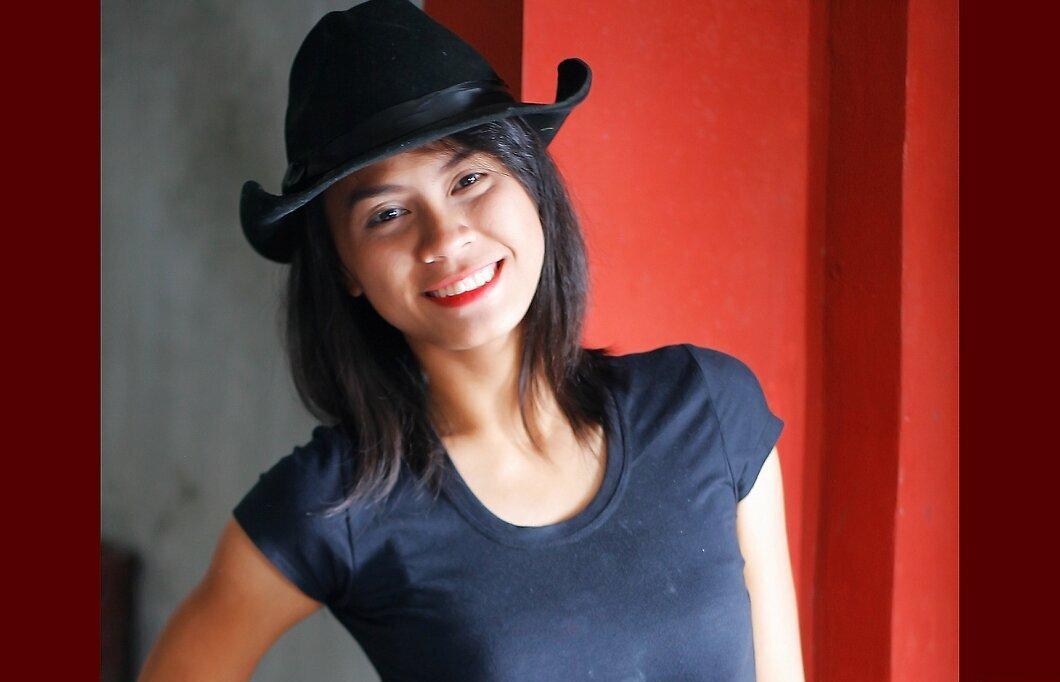
Remember: practice is the key to success! A great photo doesn’t happen by chance. By mastering the art of posing, you’ll always end up with fantastic shots. Models are not just born; they become through persistence and training!