Letter writing skills can benefit anyone—at work, in school, or in personal life. Letters can express various emotions, from friendly to romantic. In this article, we'll explore some key tips for writing letters.
Craft Your Letter
Step 1. Determine the level of formality for your letter.
The first thing to do is to understand how formal your letter needs to be. This depends on your relationship with the recipient. For example:
- If you're addressing an official, a prospective employer, or a supervisor, a formal style should be used.
- For communication with your current employer, colleagues, friends, or acquaintances, a semi-formal style is appropriate.
Step 2. Choose your method of sending: email or paper letter.
Consider how you'll send the letter. This also affects its tone.
- Formal letters are better printed and mailed unless the situation requires urgency or the recipient prefers electronic messages.
- Informal letters can be sent via email or handwritten.
- Semi-formal letters may require a preliminary phone call to clarify how to proceed with the correspondence.
Step 3. Use a letterhead or include your address at the top of the page (for formal letters).
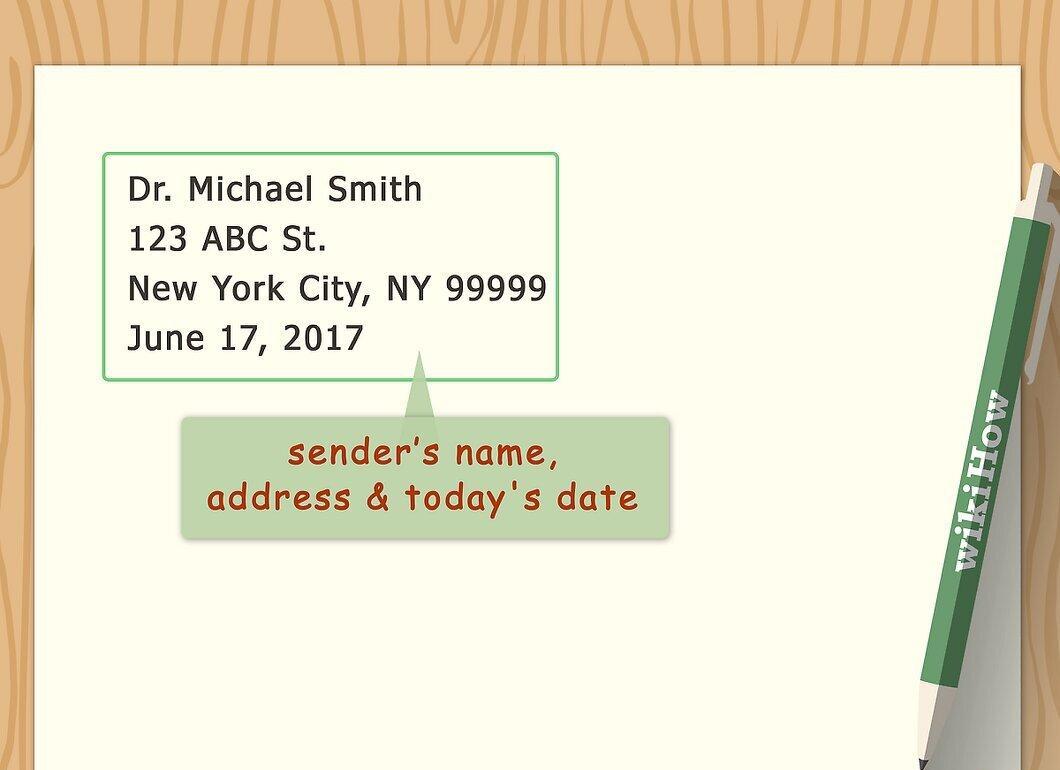
If you're writing a formal letter, use an official letterhead or simply write your address at the top of the page. If the company doesn’t have letterhead, you can create one yourself. You may also include your full address on the left side of the page, considering different address formats in various countries.
Step 4. Specify the date.
After including the address, leave two lines and write the date. If the address is not written yet, start with the date aligned to the left.
- Use the full date, such as "January 1, 2012," as it looks more professional than "1/1/2012."
- For informal emails, it's not necessary to include the date, as it will appear in the email header.
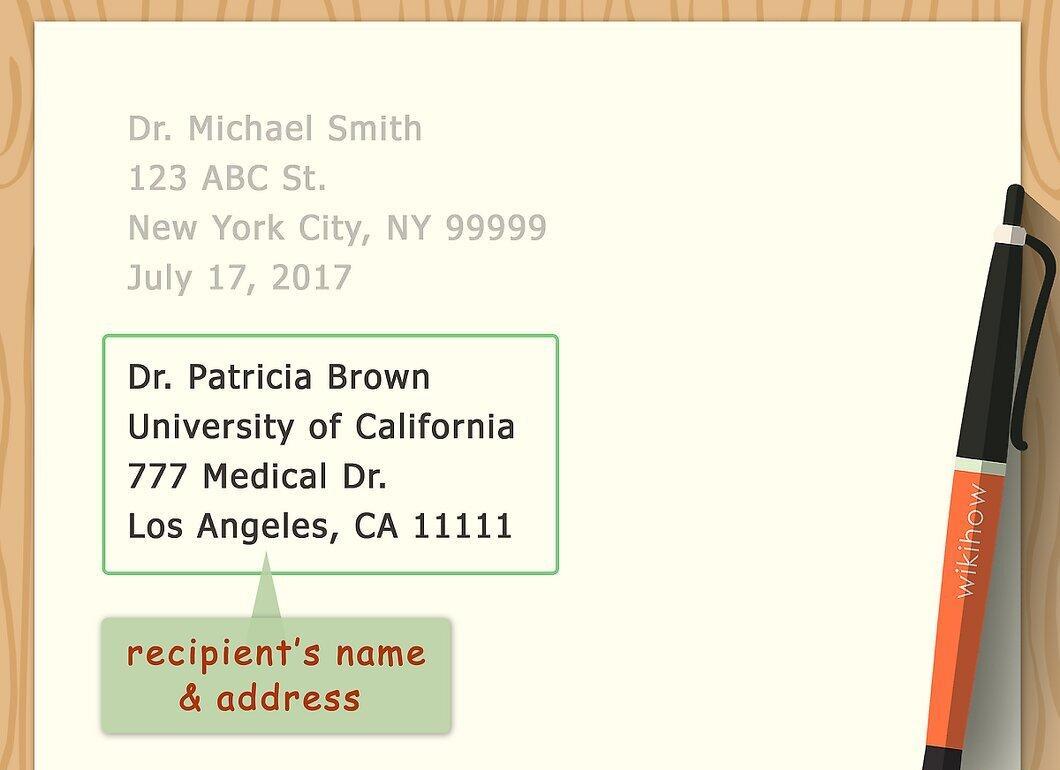
Step 5. Include the recipient's name, title, and address (for formal letters).
After the date, leaving two lines, specify the full name and title of the recipient. Then write the company name, street address, city, state, and zip code.
- This is not necessary for emails.
- For informal and semi-formal letters, it’s enough to include the name and address on the envelope.
- If your letter is addressed to an organization, just include its name and address.
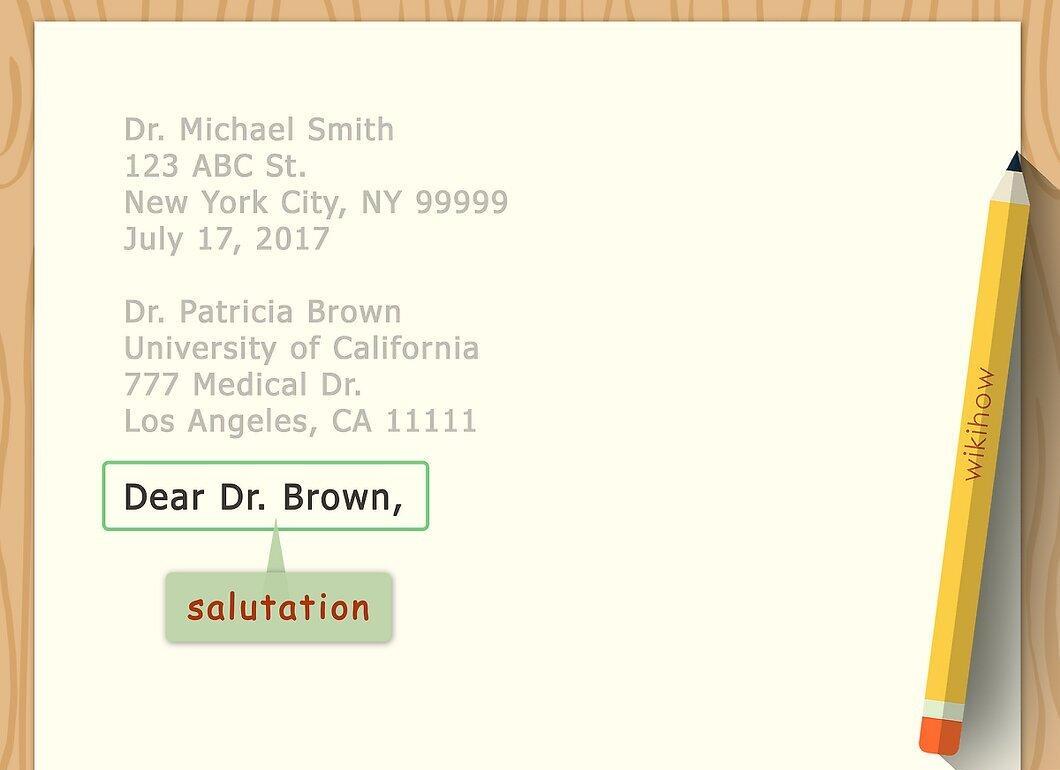
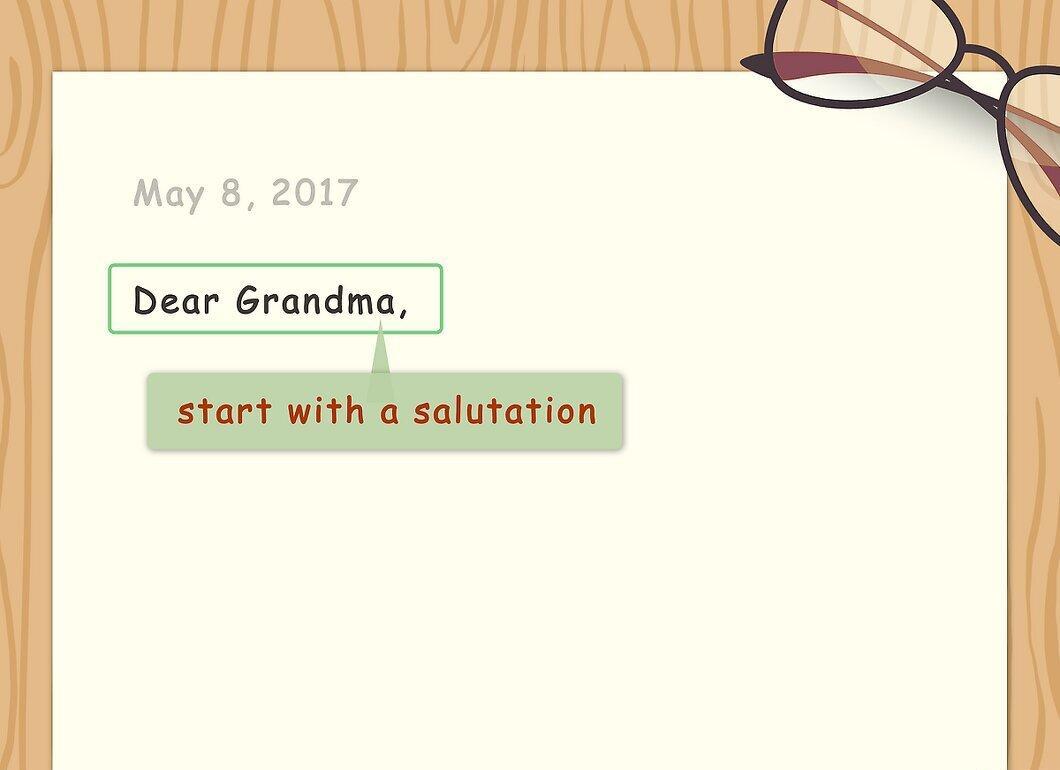
Step 6. Start with a greeting.
The type of greeting depends on your relationship with the recipient and the letter's formality. Here are some options:
- For formal letters to unknown recipients, use "Dear Sir/Madam."
- If you know who the recipient is, you can use "Dear #" or "Respected #."
- For semi-formal letters, you can use "Hi" or "Dear."
- In informal letters, feel free to use more friendly greetings like "Hello" or "Hi."
Step 7. Include the recipient's name after the greeting.
- In formal letters, use titles (Mr., Mrs.) before the surname.
- In semi-formal letters, decide whether to address the recipient by their first name. It’s safer to use a title if you’re unsure.
- In informal letters, you can use their first name unless they are an elder relative.
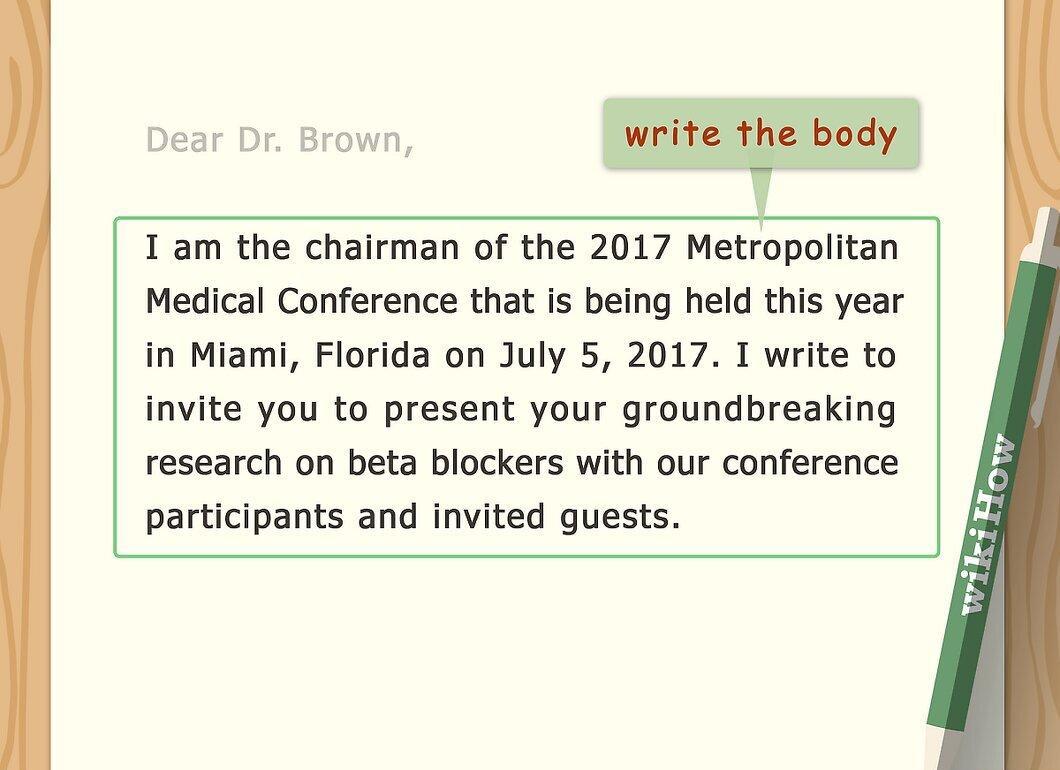
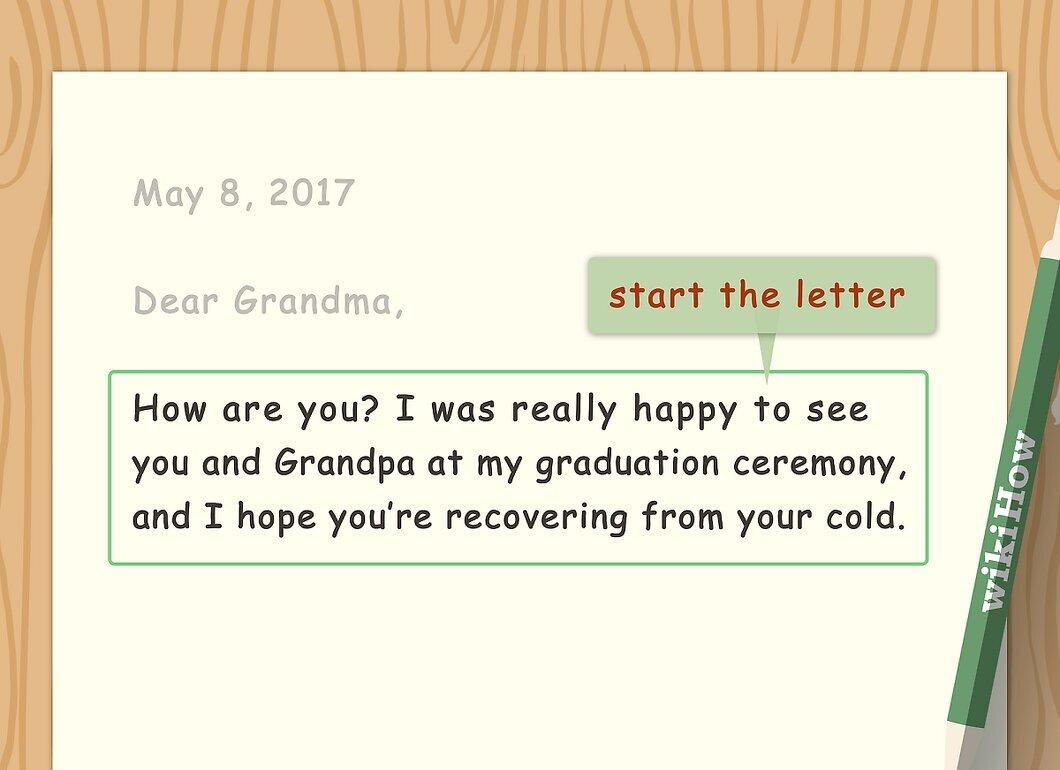
Step 8. Move on to the content of the letter.
Begin the main part of the letter, leaving two lines after the greeting. If it’s a personal letter, start by asking how the person is doing. In a business letter, get straight to the point.
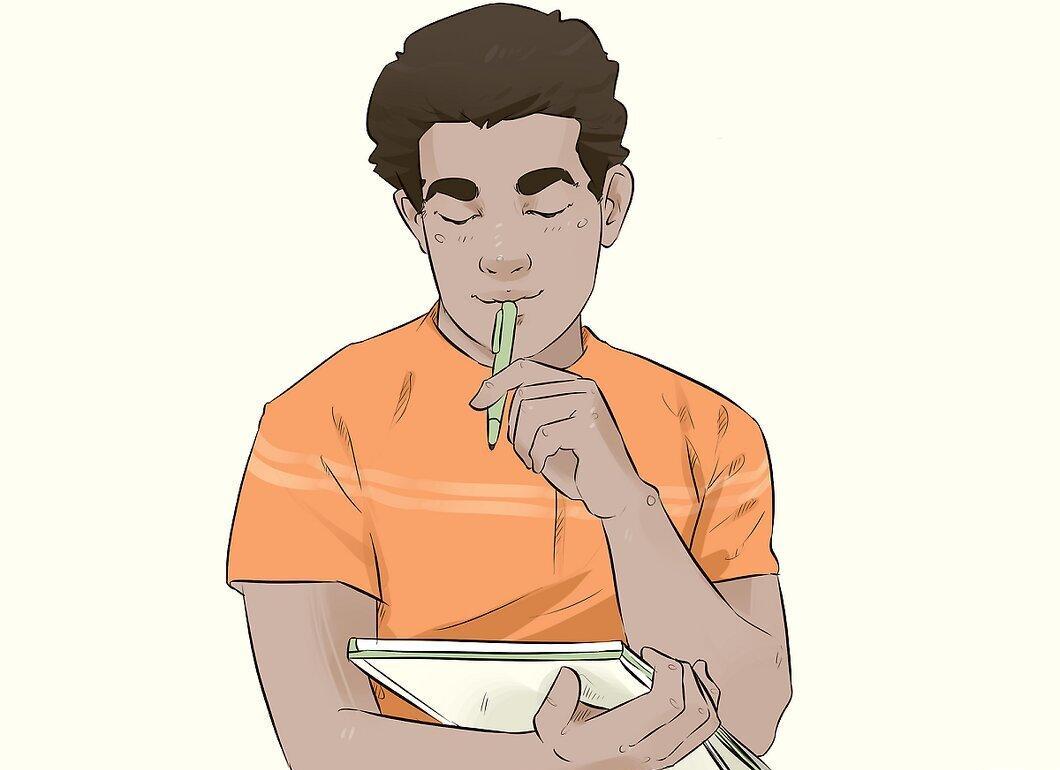
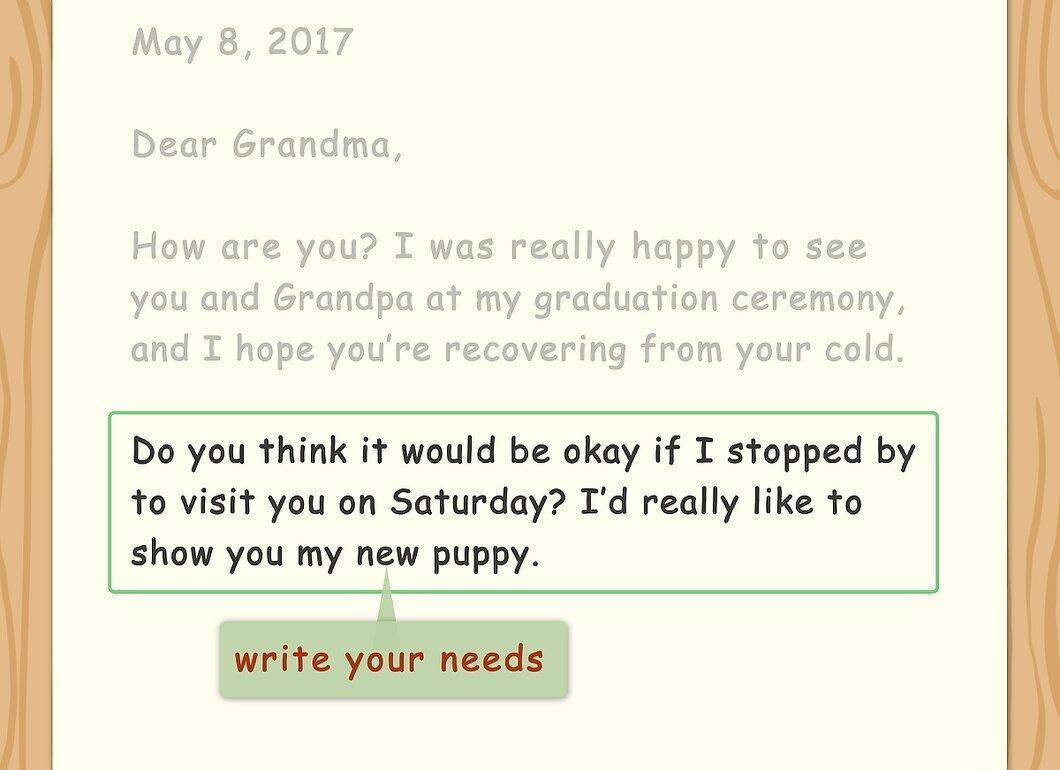
Step 9. Define the purpose of your letter.
Think about what information you want to convey to the recipient. What should they learn from your letter? Whether it’s news about prices or expressing gratitude. Remember, the goal of the letter is to exchange information.
- Don't write in a fit of anger. If you have doubts, it’s better to put off the letter for a few days to evaluate the situation from another perspective.
Step 10. Proofread your letter before sending.
Before sending, read the letter several times to ensure there are no mistakes. If necessary, have someone else check it or use grammar-checking tools in text editors.
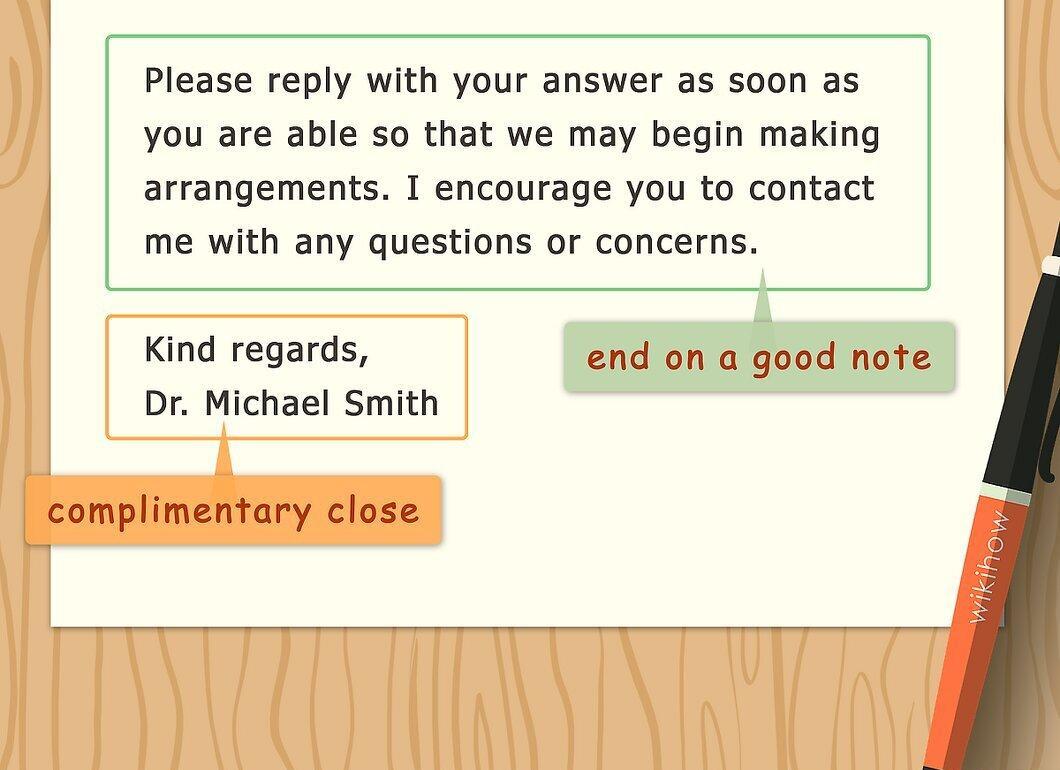
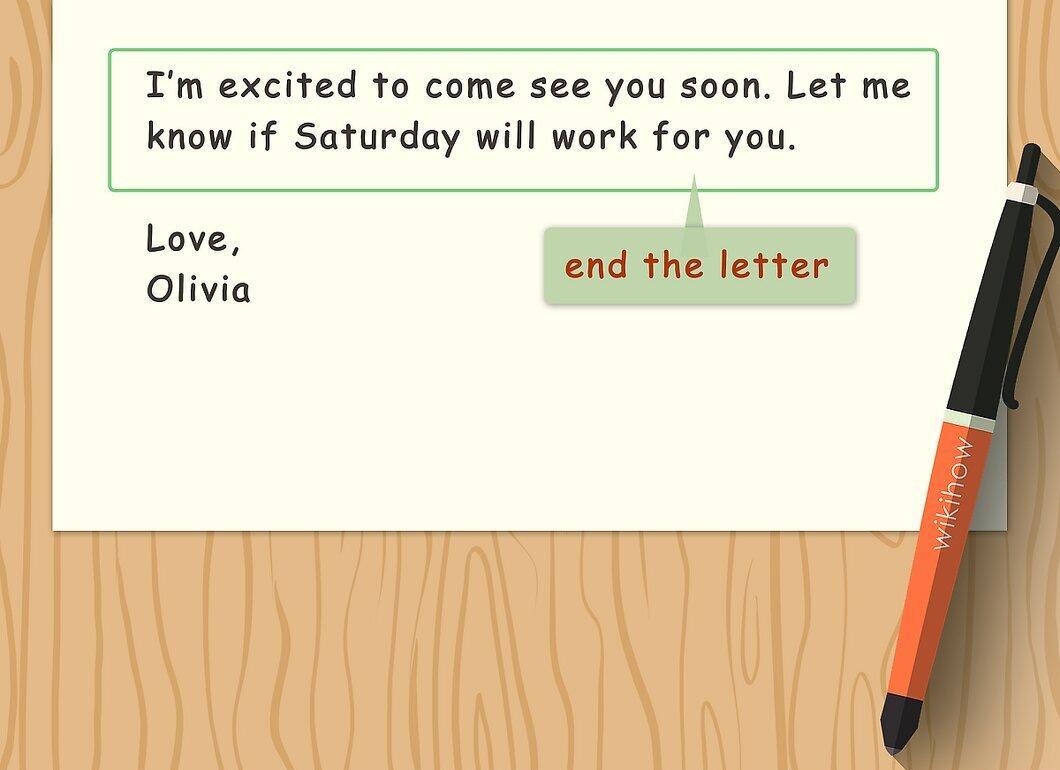
Step 11. Conclude your letter appropriately.
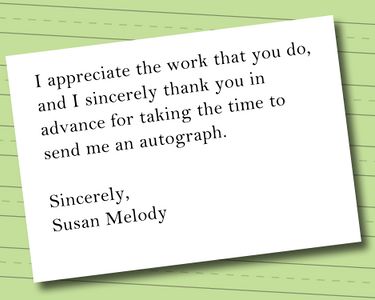
The closing should be polite. Leave two lines after the last paragraph and write an appropriate closing expression.
- Formal letters can end with phrases like "Sincerely" or "Best regards."
- For semi-formal letters, shorter versions of formal closings are suitable.
- In informal letters, you can use "With love" or "Yours."
Step 12. Sign your letter.
The signature depends on the letter's format.
- For formal letters, leave four lines between the closing and your typed name, then sign.
- In formal emails, just type your full name.
- Semi-formal letters can include just the first name or full name.
- Informal letters do not require a last name; just sign your first name.
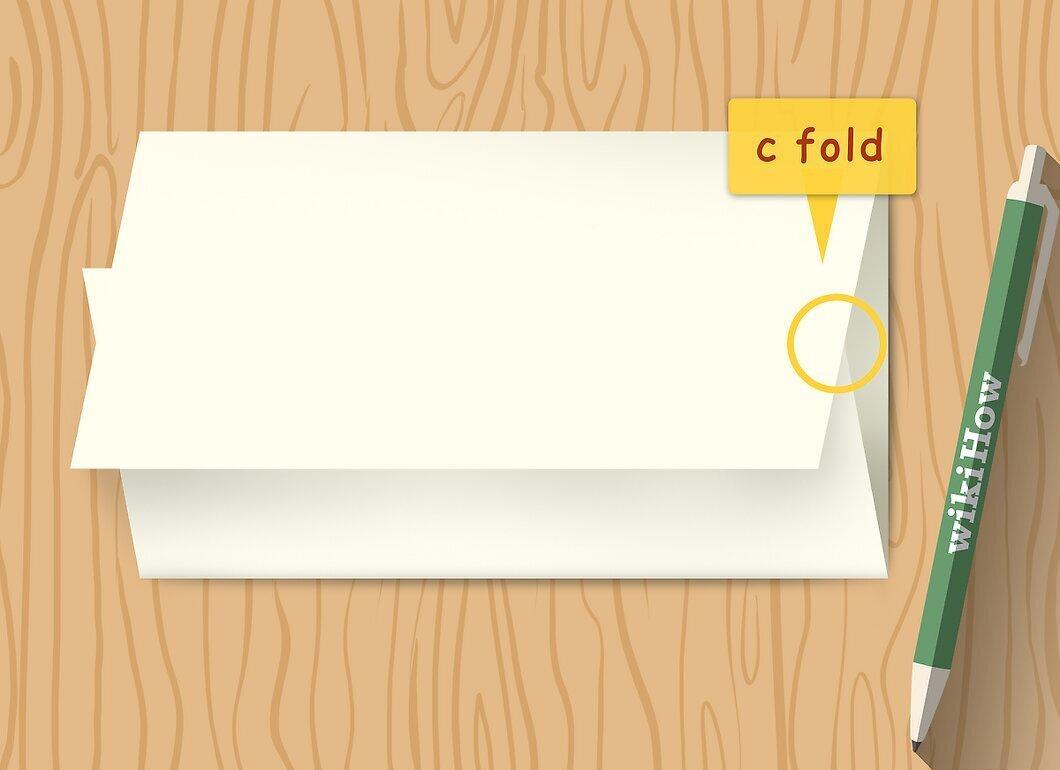
Step 13. Fold the letter (if sending by mail).
If you’re sending a letter by mail, fold it into thirds to fit into the envelope.
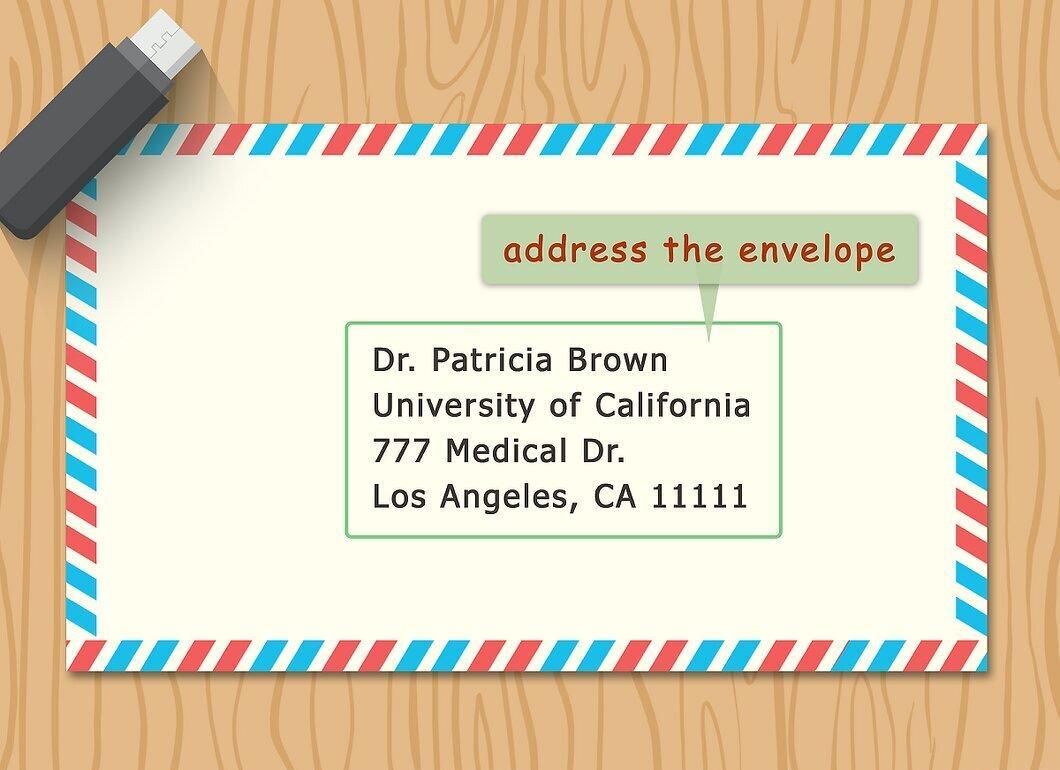
Step 14. Address the envelope (optional).
If you choose to address the envelope, do it in the center unless there are other markings. Remember that different countries have their own rules for addressing envelopes.
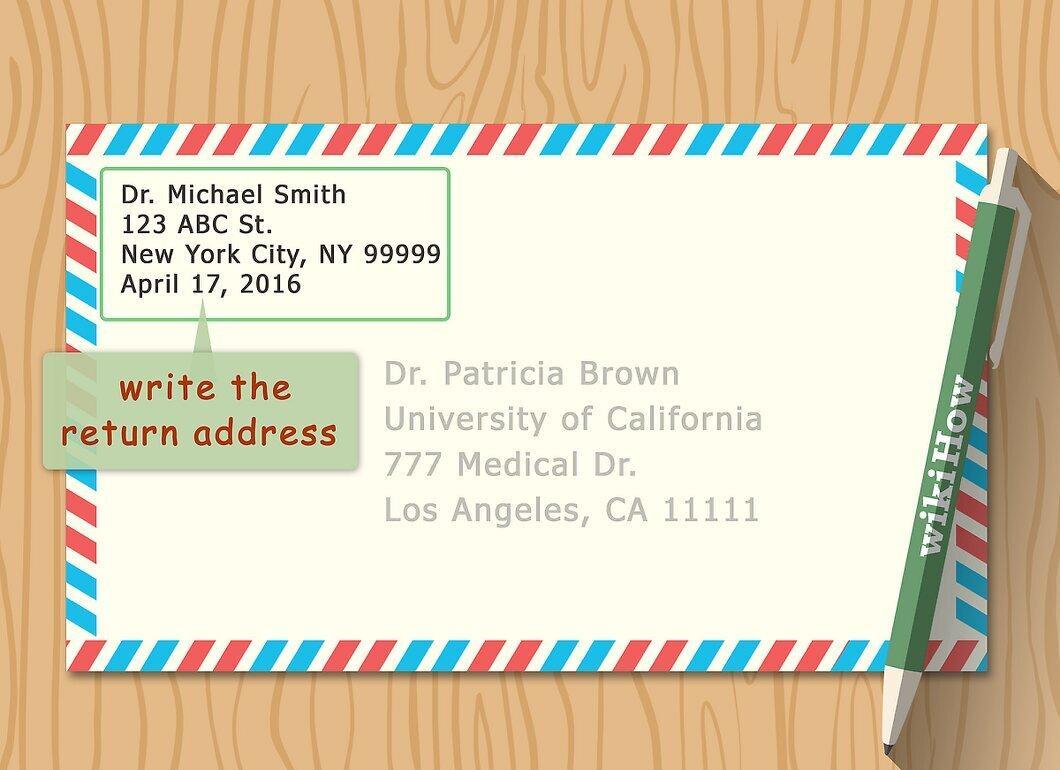
Step 15. Include a return address on the envelope (optional).
If your letter is undeliverable, some postal services will return it to the sender at the specified address.