Your First Hot Air Balloon Experience: Tips and Recommendations
All around the world, there are many enthusiasts of hot air balloon flights. They offer rides in hot air balloons for a fee or in exchange for volunteer assistance to their ground crew. If you've already experienced the joy of these flights and now want to take control of the balloon and ignite the burner yourself, you'll need to undergo a training course and obtain a certification. Understanding how a hot air balloon works will help you determine if this hobby is right for you.
Basics of Hot Air Balloon Control
Step 1. Why Does the Balloon Ascend?
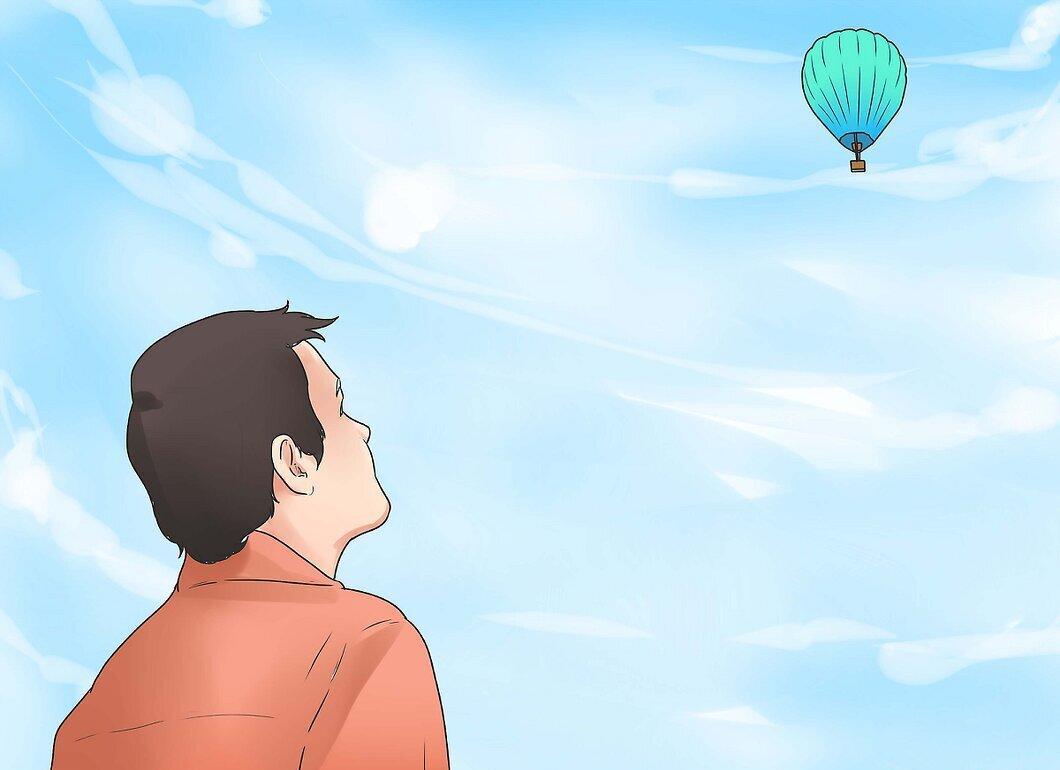
Let’s explore why a balloon can fly. The principle is simple: by heating the air or any gas, you make it less dense. Like a bubble in water, hot air rises above the colder air surrounding it. When the temperature of the air inside the balloon reaches the necessary level, it can lift both the envelope and the basket with passengers.
- As altitude increases, the air becomes less dense because the pressure on it decreases. Therefore, the hot air balloon will continue to rise until its density equals the density of the surrounding air.
Step 2. Understanding the Balloon's Structure.
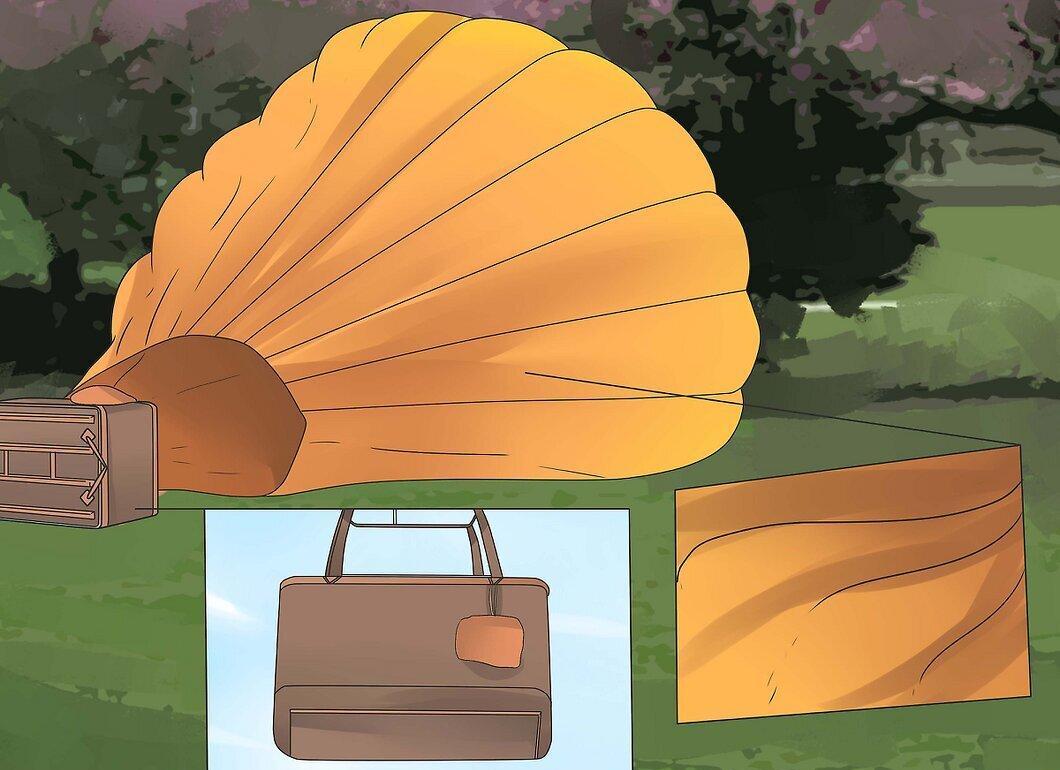
Familiarize yourself with the structure of the balloon. It is designed so simply that you will have no trouble understanding its components. Knowing the terminology will help you and your team work more efficiently:
- The fabric of the balloon is called the “envelope,” and its seams are referred to as “gores.”
- Most balloons have a top opening covered by a fabric cap known as a “parachute valve.” This valve is connected to a “rip line” that runs to the basket.
- The bottom of the envelope or “mouth” is situated above the “burner,” which creates flames using “propane tanks” located below.
- The basket contains propane tanks, passengers, and cargo, all secured to the bottom of the envelope.
Step 3. Wear Protective Clothing.
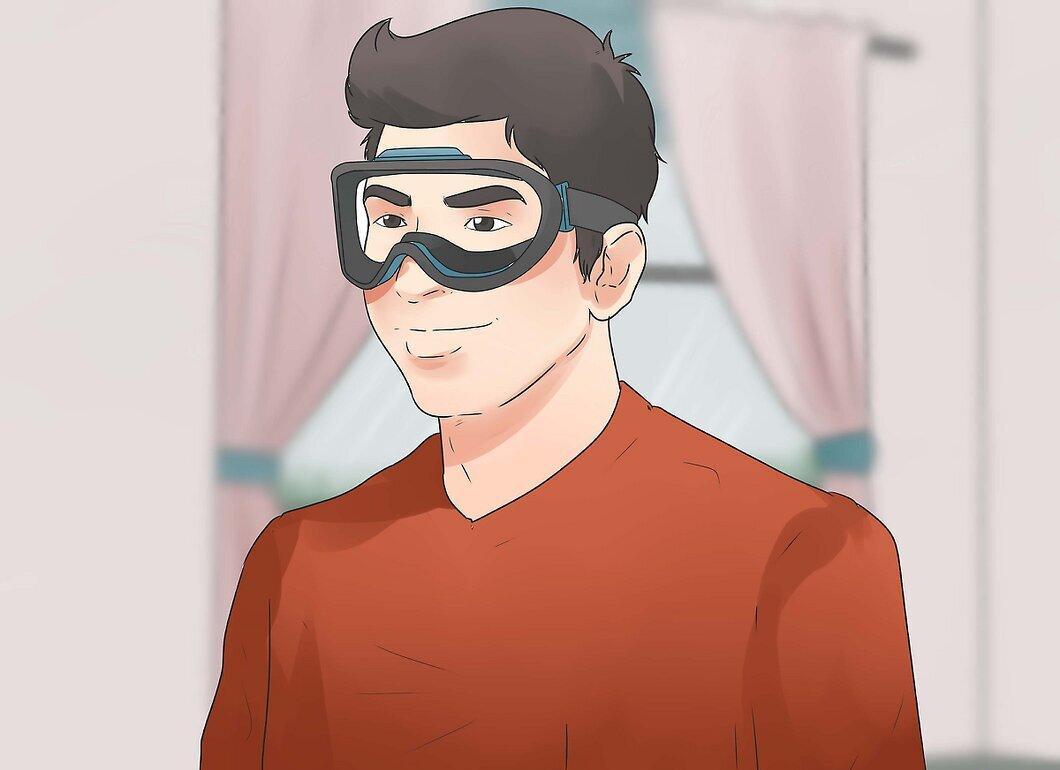
Before the flight, it's crucial to wear appropriate protective clothing. The pilot must wear safety glasses since they are close to the fire. All crew members should also wear durable gloves and clothing with long sleeves and pants made of materials that are not easily ignited, such as nylon or polyester.
- Everyone in the basket should remember that a hot air balloon may land in difficult conditions, so clothing and footwear should be comfortable.
Step 4. Increase Propane Supply to Gain Altitude.
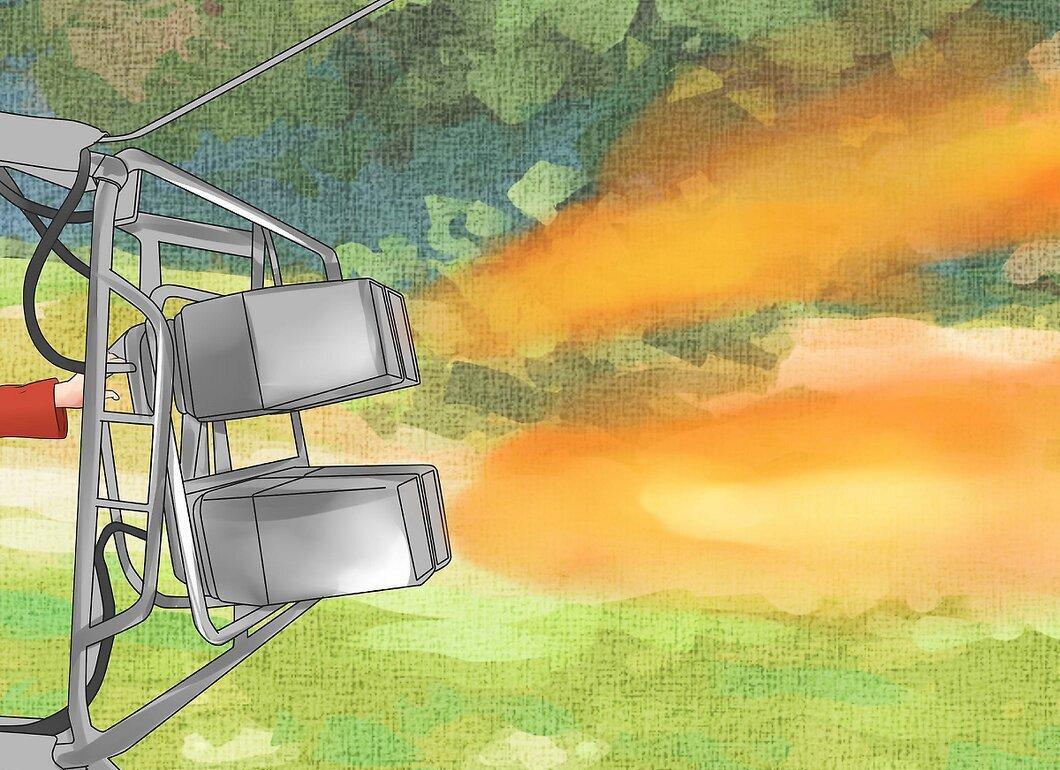
To ascend, you need to increase the propane supply. This can be done by opening the blast valve on the hose, which is usually located under the burner. The wider you open the valve, the more hot air will enter the balloon, and the faster you will rise.
- Dropping ballast or any heavy cargo placed on the sides will reduce the balloon's density, which will also help it ascend. However, this method is not recommended over populated areas.
Step 5. How to Maintain a Stable Altitude.
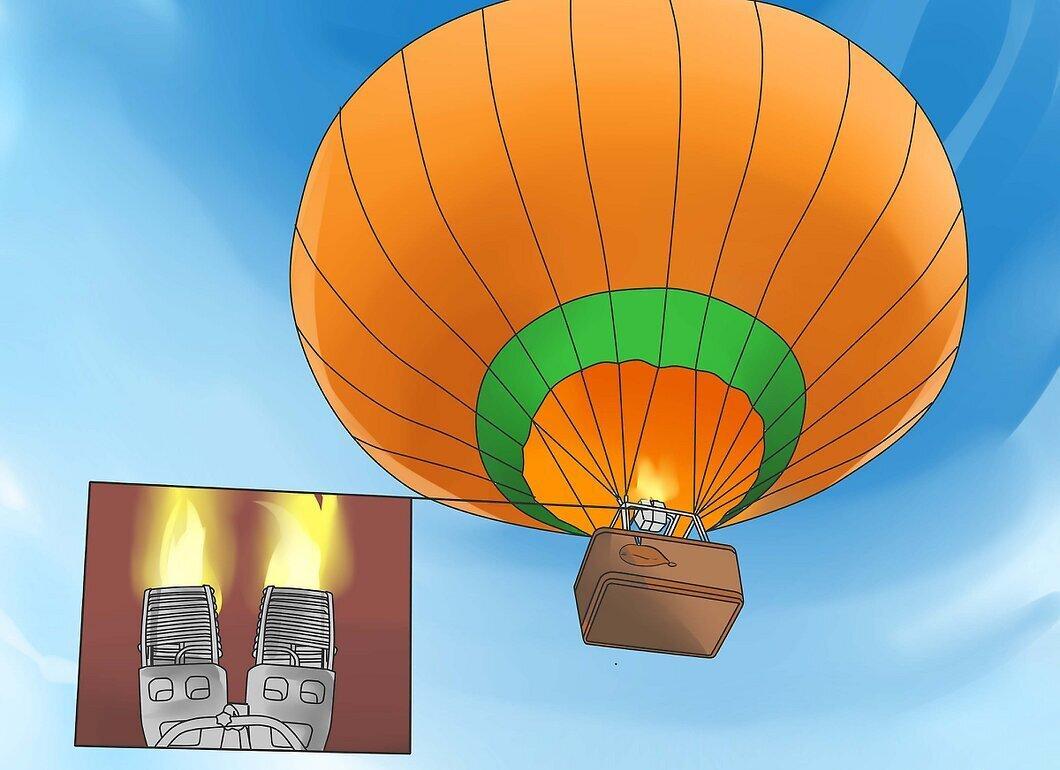
It’s essential to learn how to maintain a consistent altitude. Like any object, the hot air balloon cools over time, which leads to a descent. To maintain altitude, use one of the following methods:
- The propane tank has a measuring valve, or “cruise,” which controls the gas supply to the burner. Gradually opening it during flight will help you maintain the desired height.
- A brief burst of additional propane from the blast valve will help lift the balloon if it starts to descend too low.
Step 6. Open the Parachute Valve to Descend.
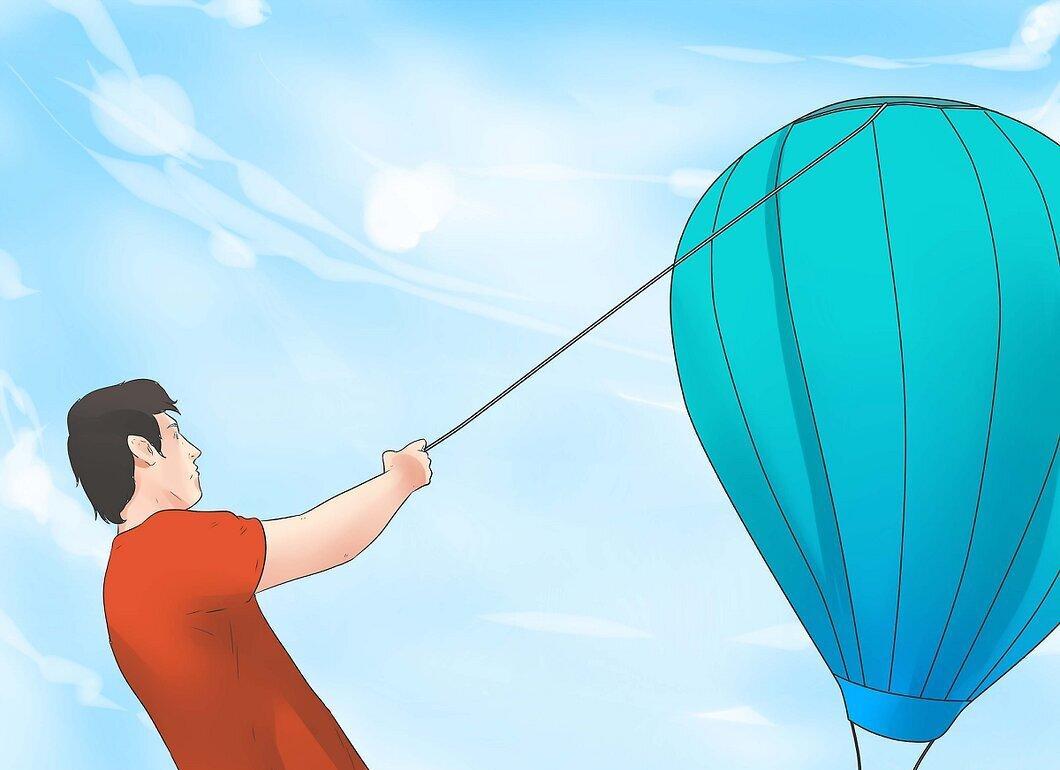
To descend, open the parachute valve. This is a flap at the top of the envelope that is normally tightly closed. To open it, pull on the red line known as the rip line. This will allow hot air to escape from the top. Keep the line taut until the balloon descends to the desired altitude, then release it to close the valve.
- The parachute valve is also known as a release port (deflation port), and the rip line opens it.
Step 7. Control the Direction.
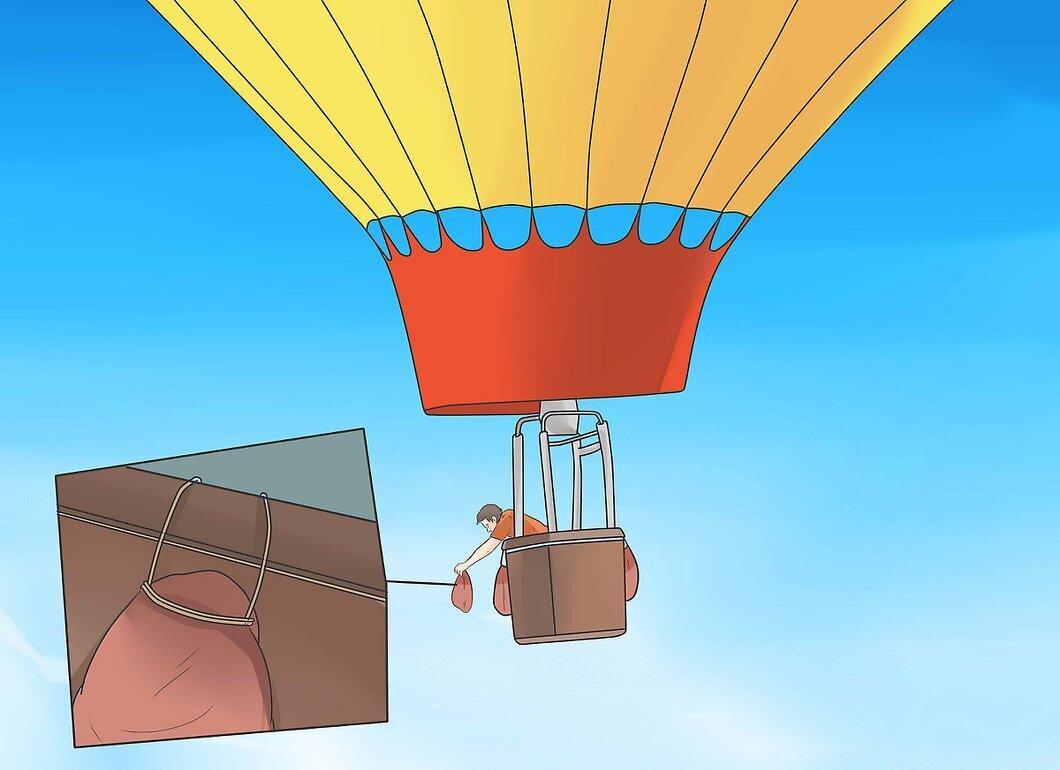
Controlling the flight direction is not an easy task. You cannot directly influence the direction of the balloon's movement. There are various air currents that layer over each other. By rising or lowering the balloon, you can catch different air currents, changing your course. Pilots often need to adjust their route to adapt to the air flows.
- Many balloons have lines connected to the side valves of the envelope, but they can only be used to turn the basket.
- Typically, each flight is accompanied by a car, either a passenger vehicle or a truck, which transports the balloon and passengers after landing.
Managing the Hot Air Balloon
Step 1. Take a Training Course.
Before taking on the role of the main pilot, it’s important to undergo training. In the instructions below, you will find information about the necessary responsibilities and skills required for a pilot, but they do not replace real experience. A complete training course and obtaining a license can cost thousands of dollars, but you can start as a volunteer on a ground crew. After ground training, you will need only 10–15 hours of flight training to pass the qualification test, although requirements may vary in different countries.
Step 2. Assess the Wind Strength.
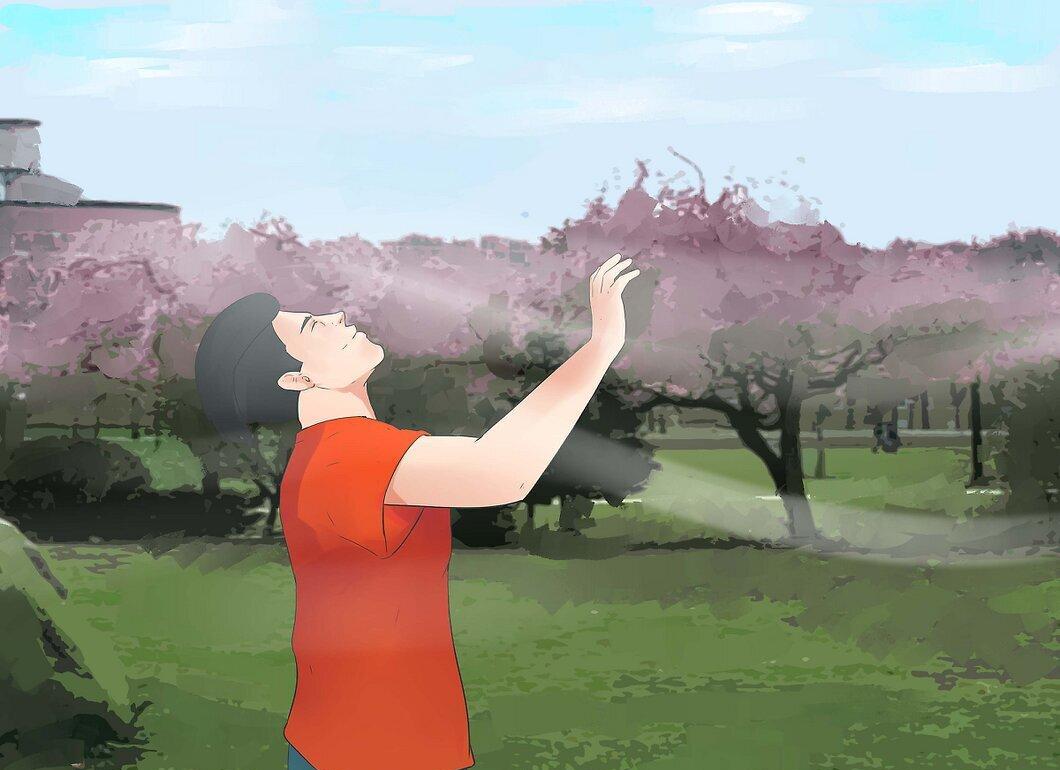
It’s important to know when to cancel a flight. Flying in strong winds is extremely dangerous and prohibited. Beginners should follow a simple rule: fly in the early morning hours after sunrise or a few hours before sunset when the wind is predictable and not strong.
Step 3. Check for Necessary Items.
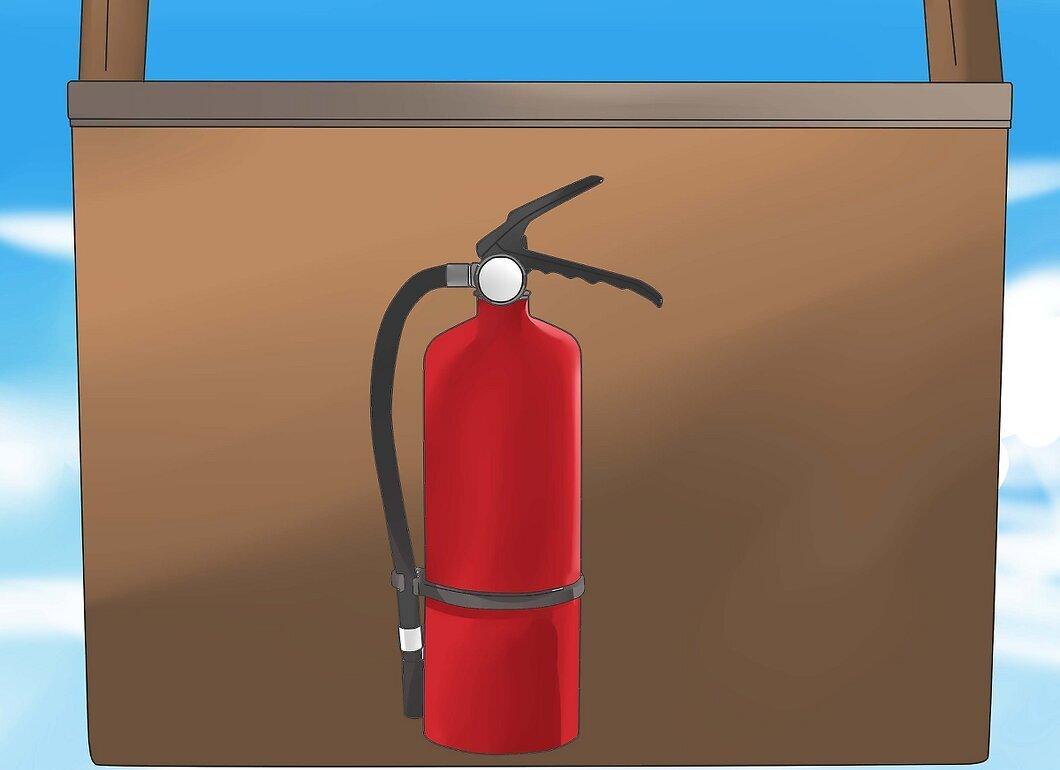
Make sure that the basket has all necessary items: a fire extinguisher, first aid kit, topographical map, aeronautical chart, altimeter, and a flight log to record flight details. Also, check the propane gauge in the tanks to ensure there is enough fuel for the flight—usually around 30 gallons (114 liters) per hour. For longer flights, a radio and electronic navigation equipment may also be needed.
Step 4. Prepare the Balloon for Takeoff.
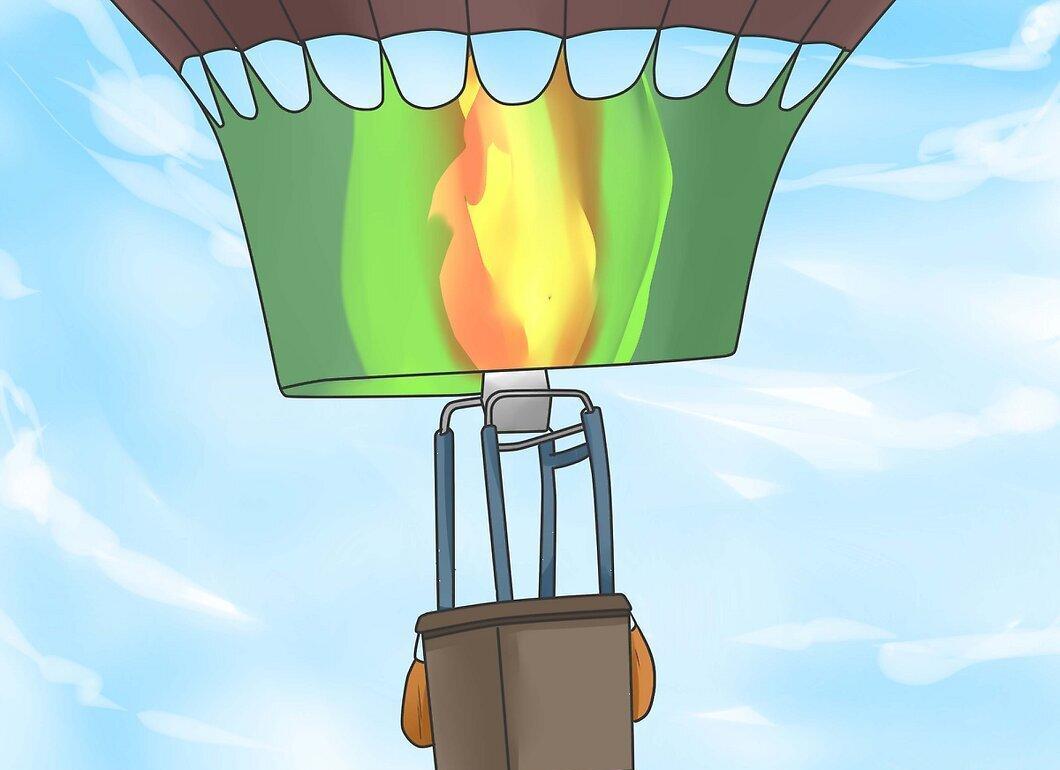
To ascend, most hot air balloons require the help of several people. First, the burner needs to be secured to the basket and placed beside the envelope lying on the ground. Raise and straighten the mouth of the envelope, then use a powerful fan to pump air for about ten minutes until it is heated by the burner. Usually, while the balloon is being prepared for takeoff, the basket is held by the crew or tied to a vehicle. Once all passengers and the pilot are in their places, the pilot ignites the burner, and the balloon lifts off the ground.
Step 5. Be Attentive During Takeoff.
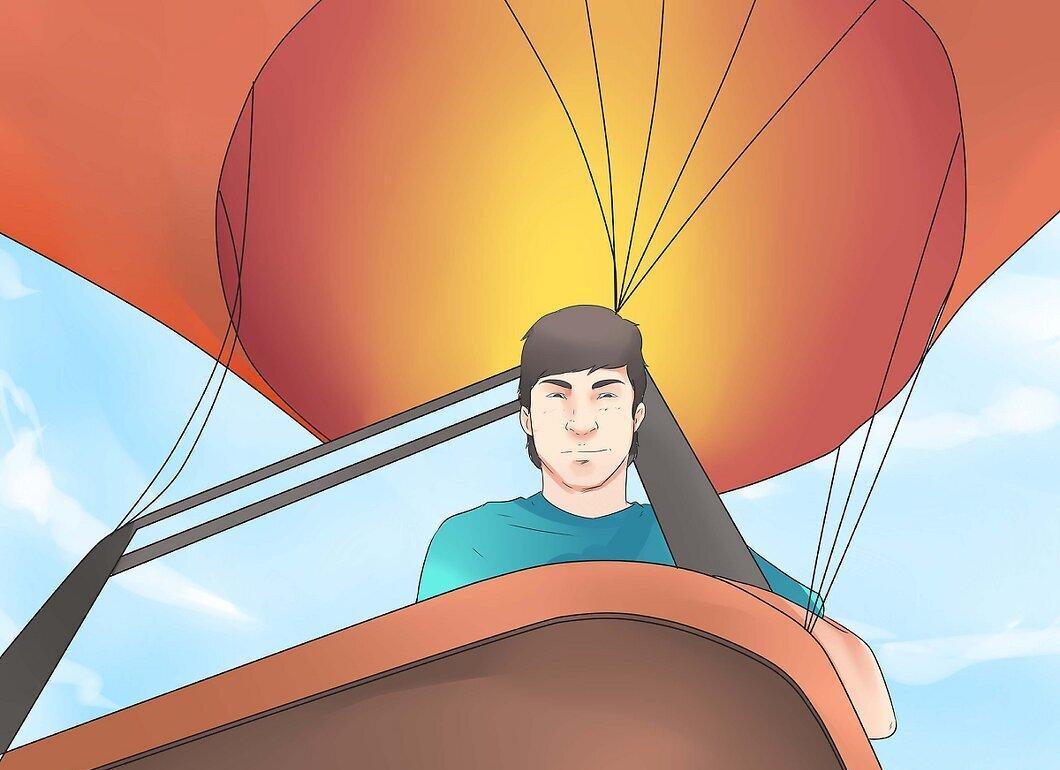
At the moment of takeoff, the pilot must be extremely focused and monitor the inflation of the envelope while the ground crew controls the lines. Be sure to look around in all directions to spot trees or other obstacles that might obstruct the ascent. As soon as you feel a gust of wind, fix your gaze on an obstacle until the balloon clears it. This will help you react quickly to any deviations from your course.
Step 6. Study the Weather Conditions.
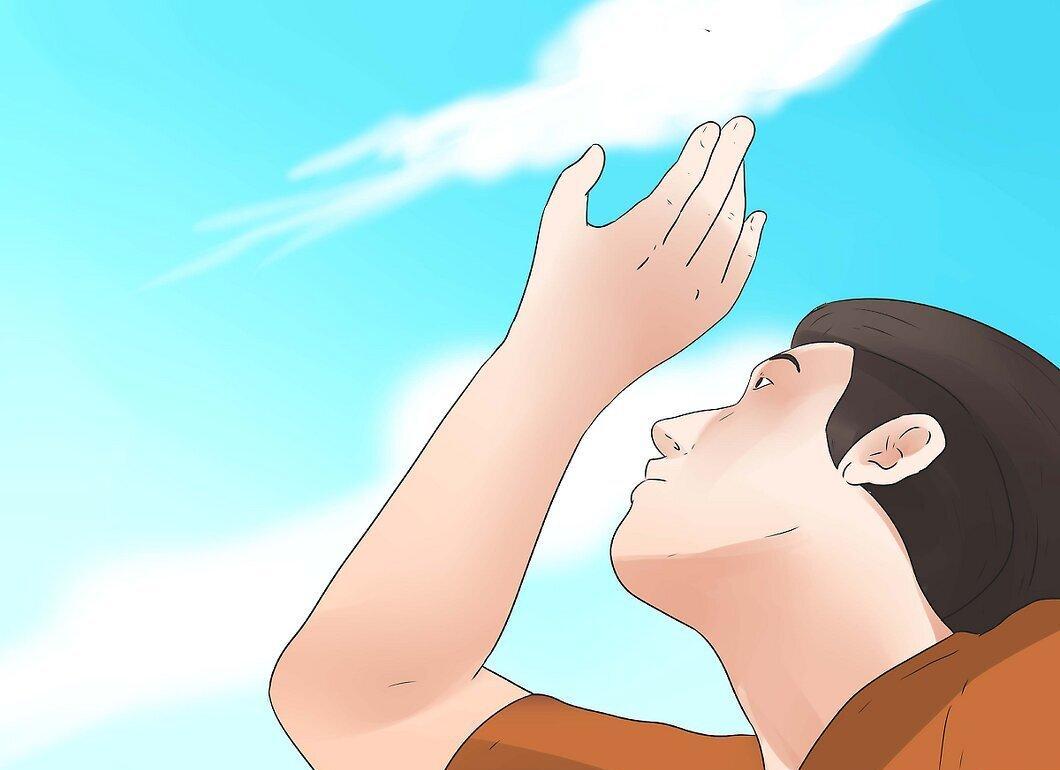
Before obtaining a flight certificate, future pilots must pass a meteorology test to understand how temperature, altitude, and humidity affect one another, as well as what air conditions various types of clouds can indicate. Examples:
- Wind changing direction during ascent or descent is called a wind gust and requires special attention as it can speed up or slow down movement. If a wind gust extinguishes the burner flame, you need to relight it quickly and increase the heating of the balloon to prevent a descent.
- If the balloon reacts slowly to actions or the air is wasted, it may be a sign of “inversion,” when the air gets warmer with altitude. In this case, increase the heated air supply or decrease it, depending on the direction of movement.
Step 7. Monitor the Wind Direction and Speed.
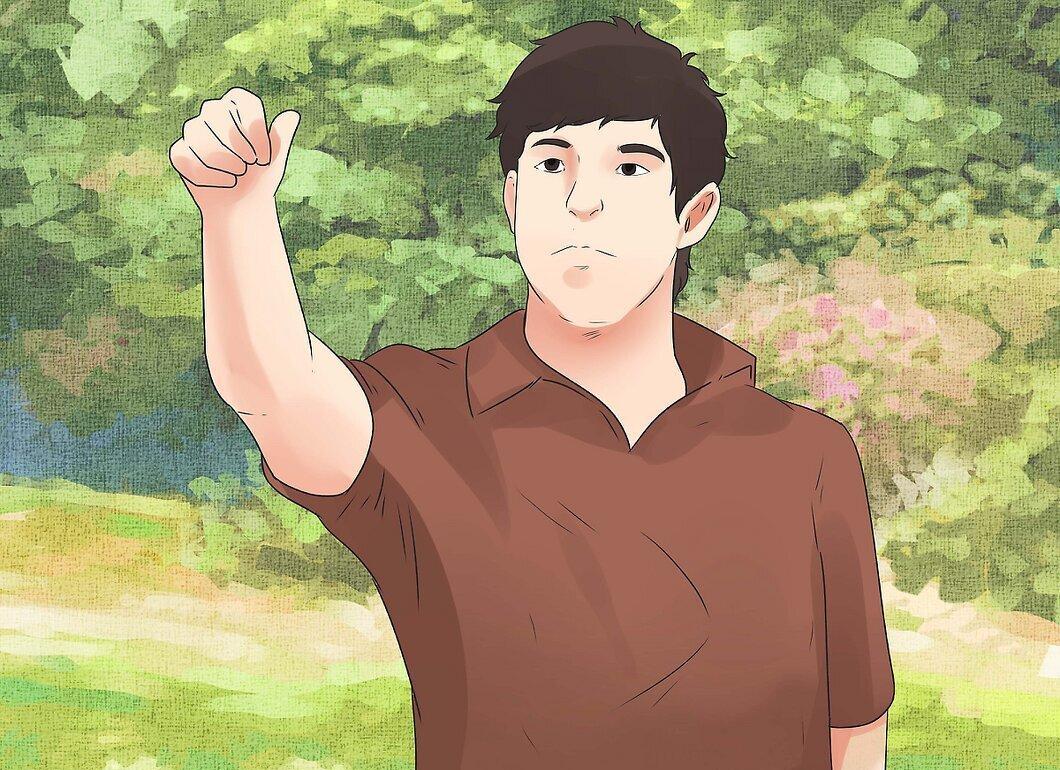
Regularly check the wind direction and speed, and learn to read meteorological maps, using this data to analyze air currents. To understand local conditions, spit or spray a bit of shaving cream on the edge of the basket.
Step 8. Navigate in Space.
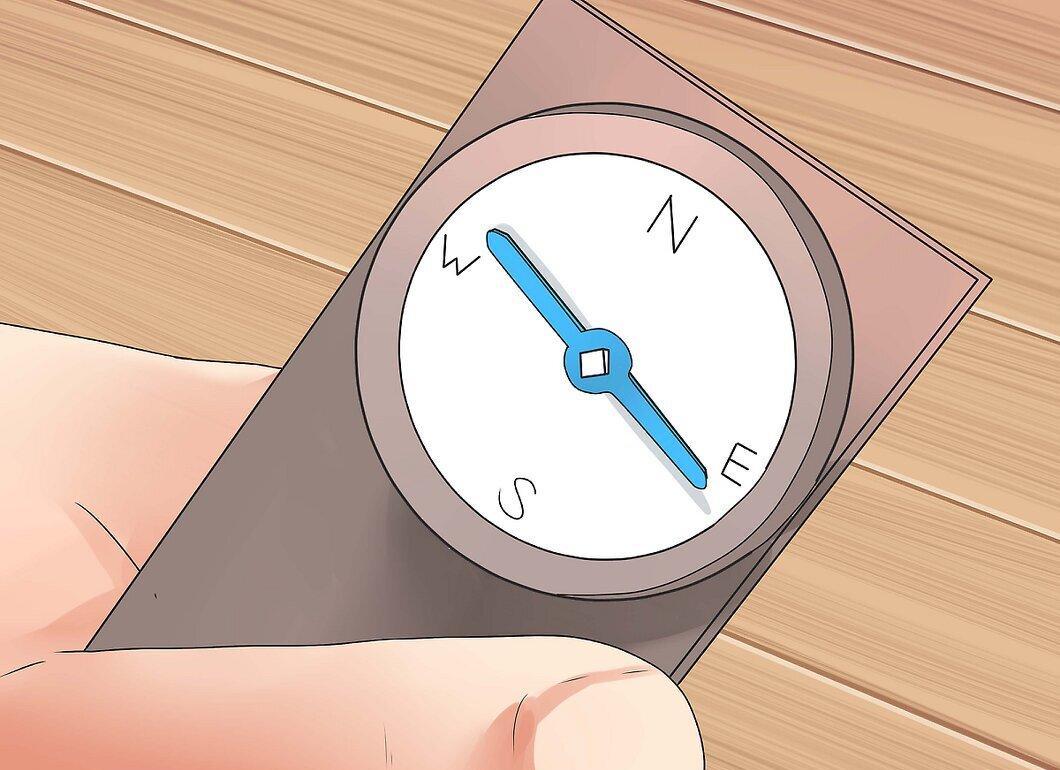
For planning the course and altitude of the flight, pilots are trained to use topographical maps and altimeters. Obtain an aeronautical chart from the regional aviation authority and use it to avoid commercial airliner flight paths. A GPS navigator, magnetic compass, and binoculars can be helpful, although they are not mandatory for short flights unless required by local regulations.
Step 9. Avoid Turbulence and Thermal Zones.
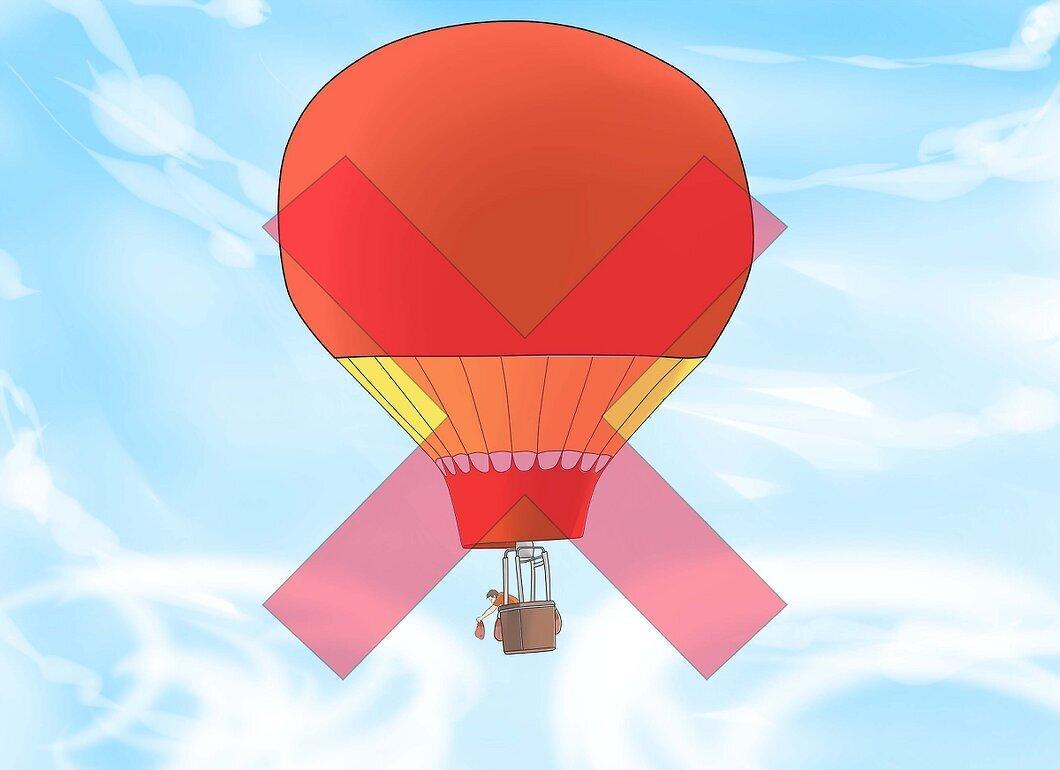
If you encounter turbulence or a storm, land immediately. If you feel circular movement or sudden ascent, you should also land to avoid uncontrolled movement of the balloon. Once you reach the ground, immediately release the air; otherwise, the basket may be dragged along the surface.
Step 10. Be Prepared for Emergencies.
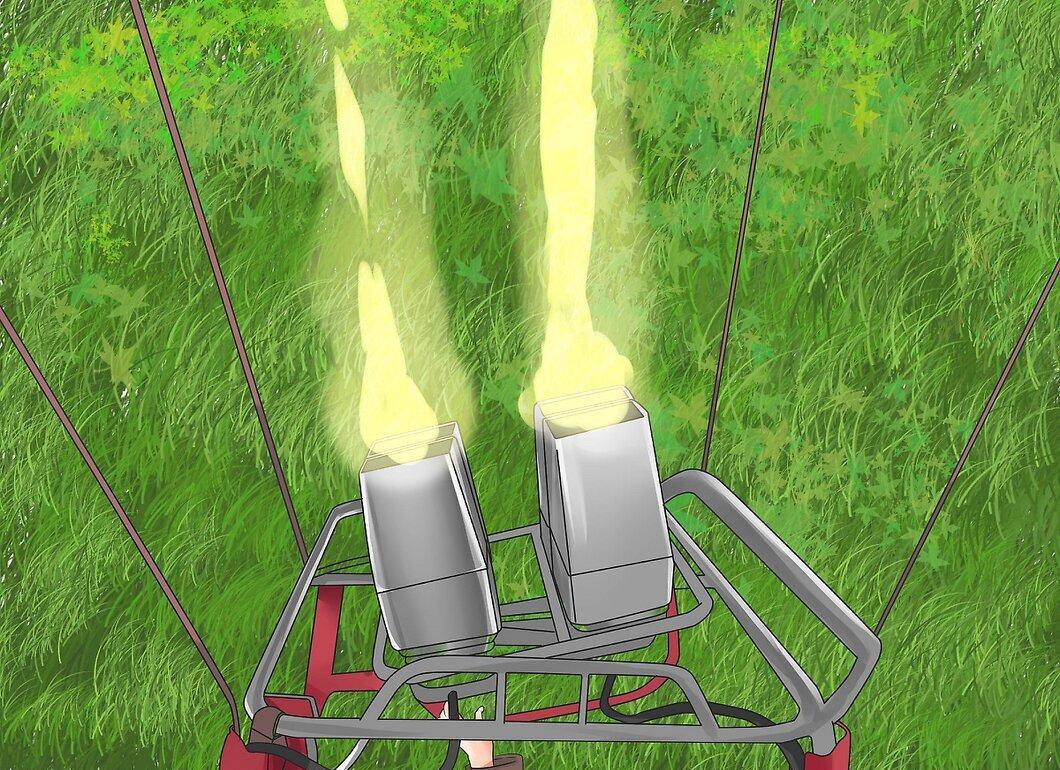
Regularly practice igniting the burner during flight, as this may come in handy in an emergency. If the flame does not ignite, there may be a problem with fuel supply. In that case, try to light the fire above the blast valve, but only do this under the supervision of an experienced pilot. In the worst-case scenario, if the fabric of the envelope is damaged, try to burn as much propane as possible to slow the descent of the balloon.
Step 11. Landing the Balloon.
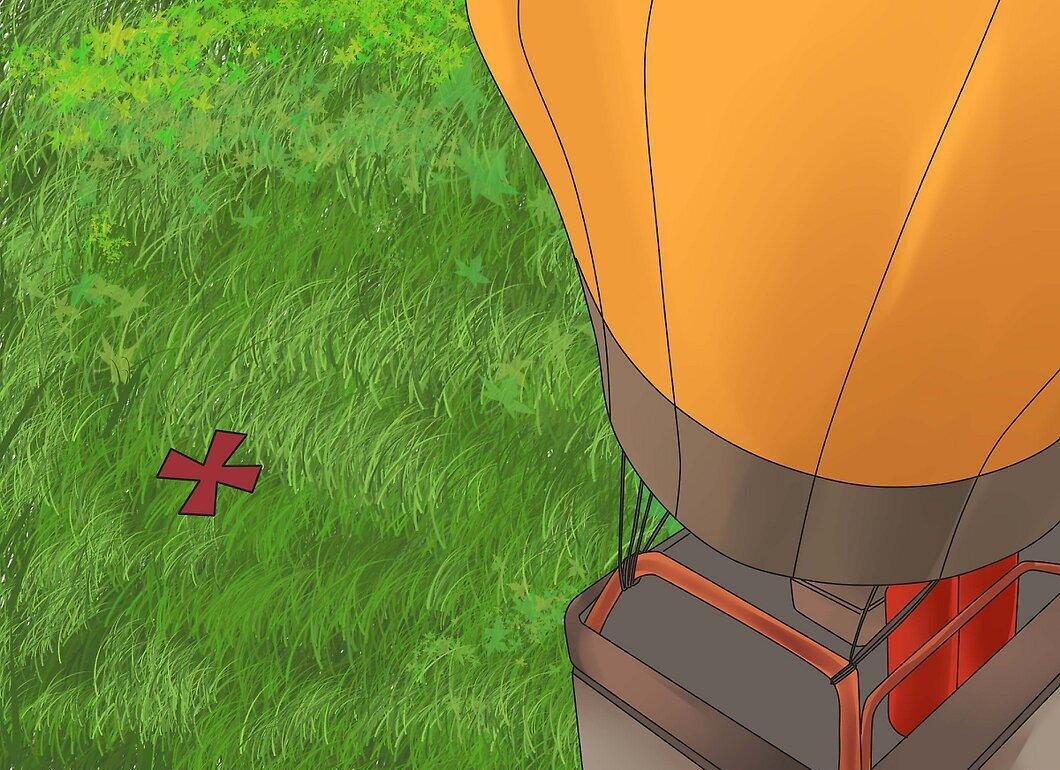
Learning to land accurately will take a lot of practice. There are many approaches to landing methods that you need to know to successfully land the balloon in any conditions. Start by training in good weather on a sufficiently large piece of land to ensure a safe landing. Gradually release air and pay close attention to tall objects in the landing zone. Once you pass them, you can increase the air release, but make sure the landing is soft and safe.