If you plan to visit the USA for leisure or medical treatment, you will need to apply for a B-2 non-immigrant visa. Generally, these visas are granted for up to 6 months, and can be extended for another six months if necessary. While the B-2 visa application process is largely similar across different countries, specific details and timelines can vary. Here are the steps to help you obtain a B-2 visa.
General Information about the B-2 Visa
Step 1. Determine Who Can Obtain a B-2 Tourist Visa.
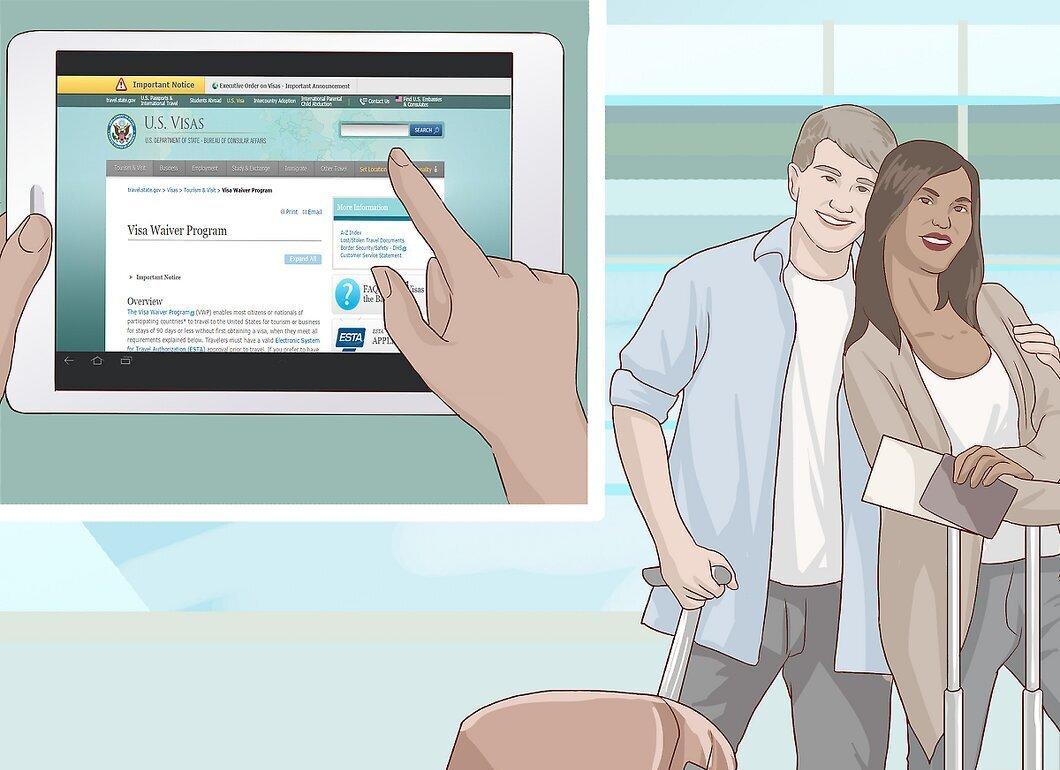
The first thing to do is determine who is eligible for a B-2 visa. Every foreigner wishing to visit the USA must obtain a visa. The B-2 visa is intended for the following purposes:
- Tourism, vacation, visiting friends or family, participating in short courses that do not count towards a degree (i.e., recreational), medical treatment, attending events organized by social or community organizations, and unpaid participation in sports or musical events.
- If you plan to be in the USA for 90 days or less and are a citizen of a visa waiver country, you do not need a visa. A complete list of such countries can be found on the travel.state.gov website.[2] X Source
Step 2. Contact the US Embassy or Consulate to Apply for the Visa.

To apply for the visa, you should contact the US embassy or consulate. While you can apply at any location, it's best to obtain the visa from the one that serves your permanent residence. Also, keep in mind that processing times for visas may vary from country to country.
- Be aware that the visa application process can differ depending on the specific consulate or embassy, so follow the instructions provided by your consulate.
Step 3. Schedule an Interview at the Consulate or Embassy.
Don't forget to schedule an interview at the consulate or embassy. An interview is mandatory for all applicants aged 14 to 79, while it may not be required for other age groups unless specified by the consulate.
- Remember that you can apply for your visa at any consulate or embassy, but obtaining the visa may be more complicated if you apply outside your home country.
Step 4. Fill Out the Online Application.
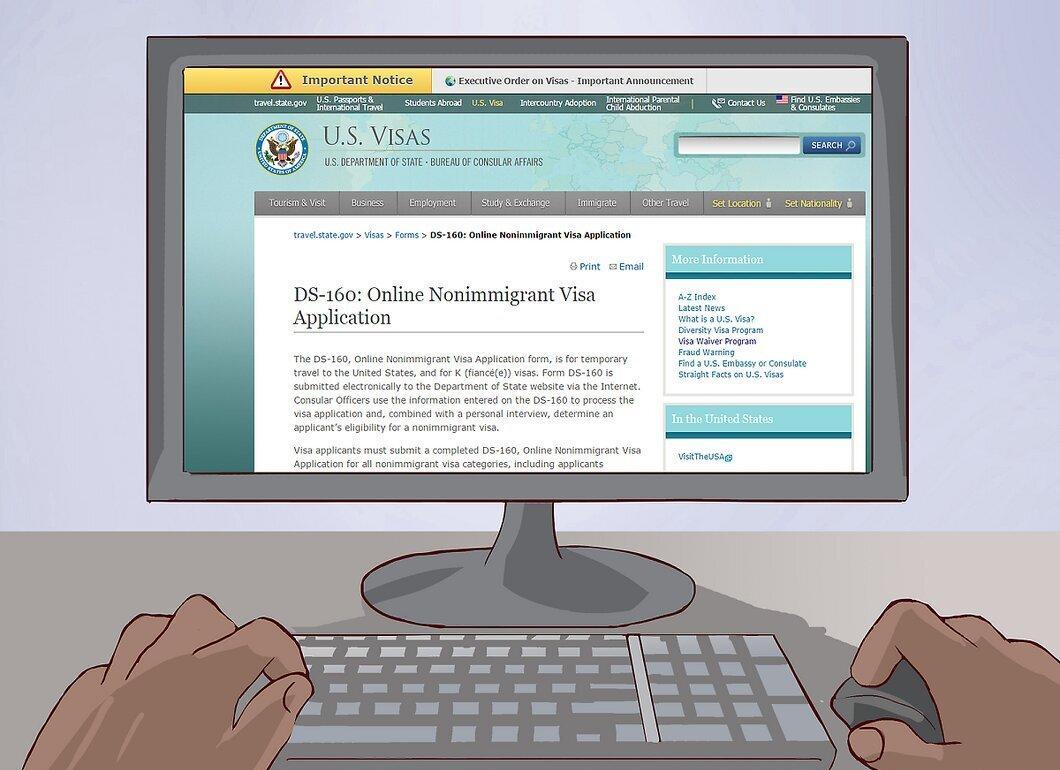
Complete the online application known as the "DS-160 Online Nonimmigrant Visa Application." This application is filled out on the US Department of State's website and determines your eligibility for entry into the country on a B-2 visa. You can fill out the application here.
Step 5. Choose the Right Photo.
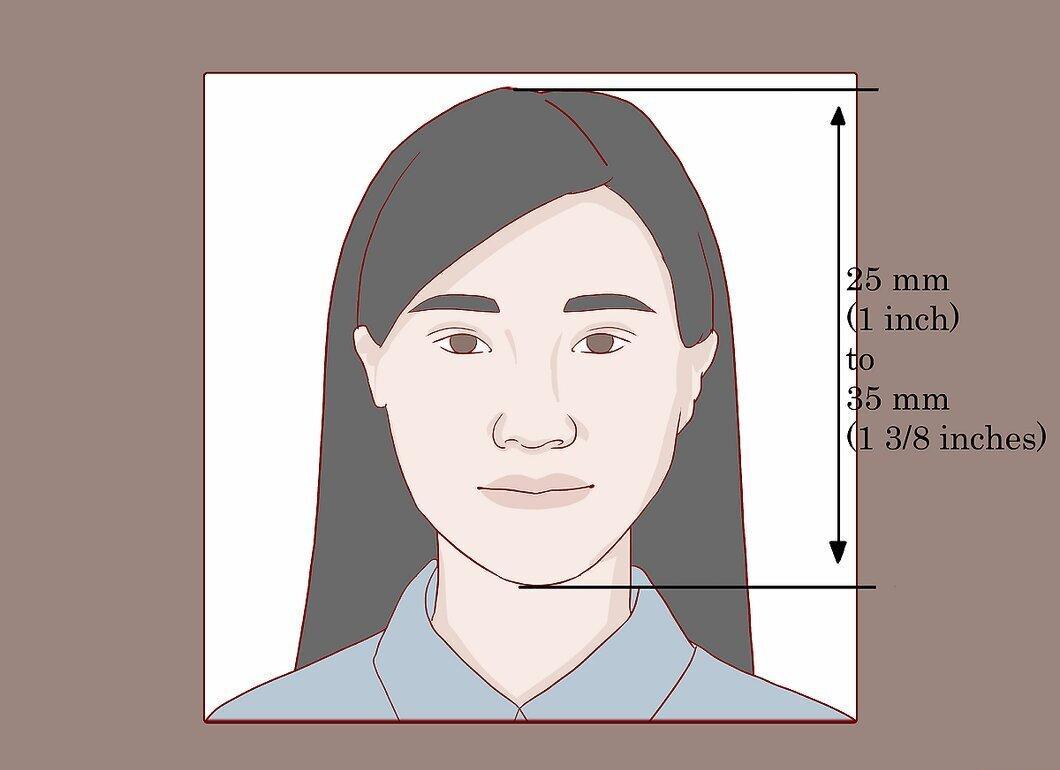
Select an appropriate photo for your application. You will need to upload your image, which must meet the following criteria:
- The photo must be in color (black and white images are not accepted).
- The face size should be 22×35 mm, occupying 50-69% of the height of the image.
- The photograph must be taken no more than six months before your application. It’s best if you look the same in the photo as you do now.
- The background should be pure white.
- The face should be facing directly towards the camera.
- The expression should be neutral, eyes open, and attire should be casual (avoid work uniforms).
Interview
Step 1. Pay the Application Fee.
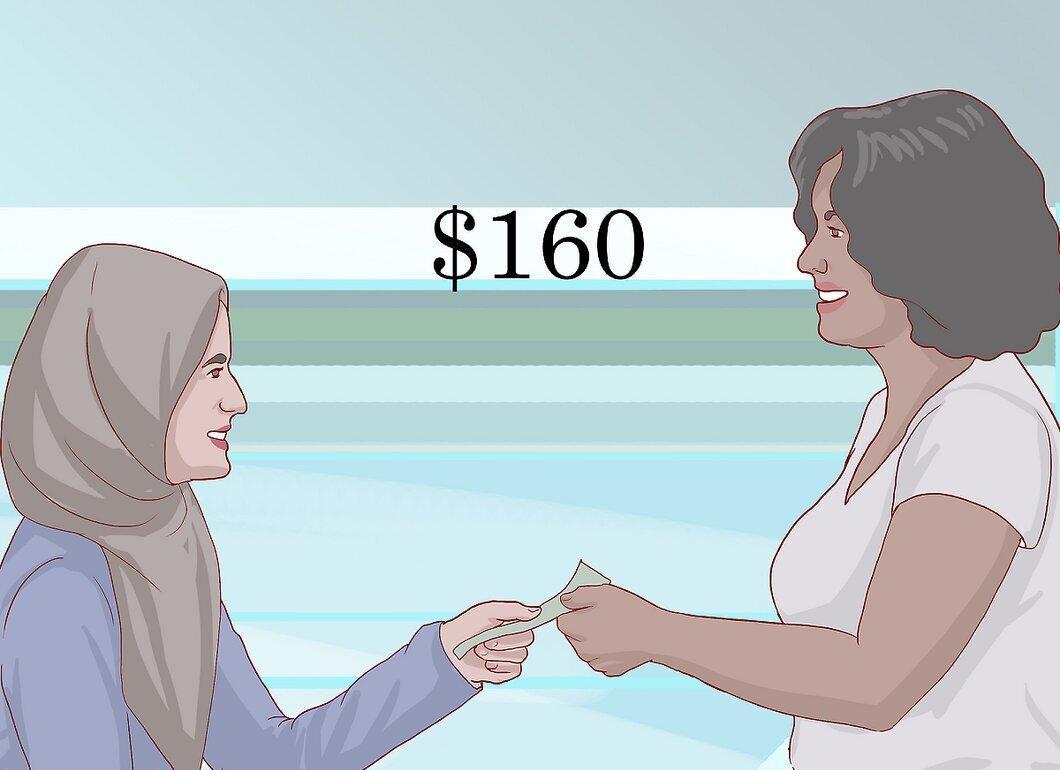
When applying for the visa, you must pay a non-refundable application fee. You may need to pay this before your interview. As of October 2013, the fee was $160. Depending on your nationality, additional visa issuance fees may apply. For more details, visit: http://travel.state.gov/visa/fees/fees_3272.html
Step 2. Prepare All Necessary Documents for the Interview:
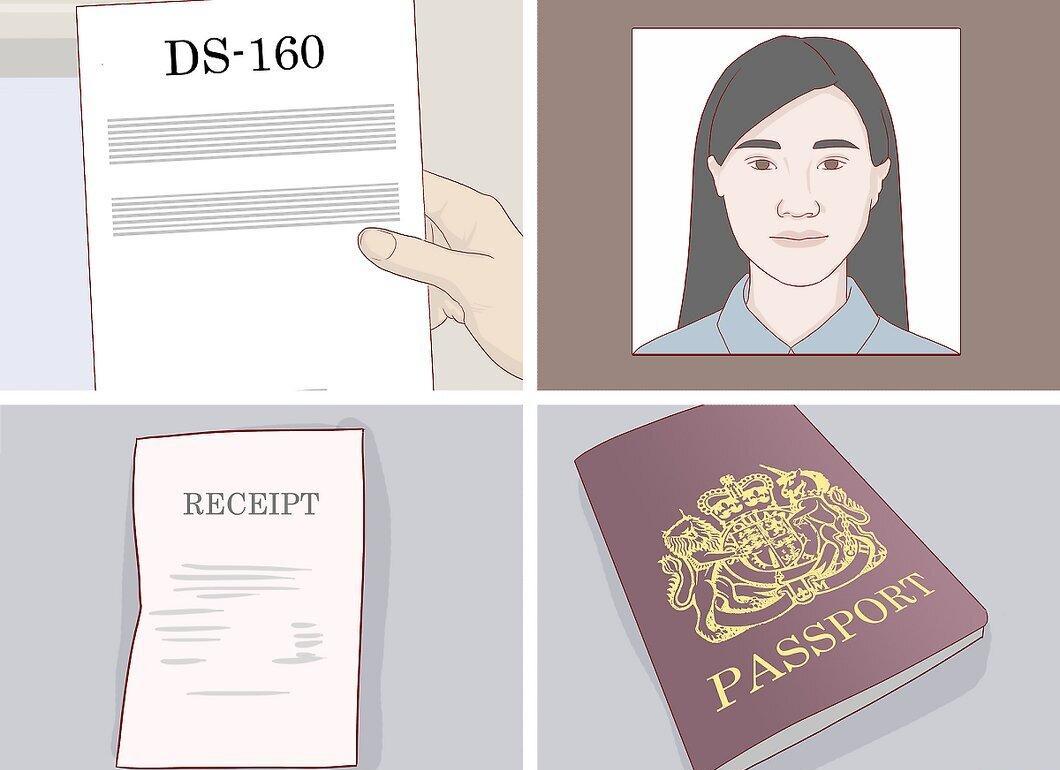
- Passport: it must be valid and have at least six months of validity beyond your planned departure from the USA.
- DS-160 application confirmation: this is sent to the consulate automatically, but you need to print the confirmation you receive after submitting the application.
- Payment receipt for the application fee: bring it with you if you paid the fee before the interview.
- Photo: bring it only if you were unable to upload it when filling out the DS-160 form.
- The consulate may request additional documents, so check the list on your embassy’s website. You may need to provide proof of financial means or evidence of the purpose of your visit.
Step 3. Prepare for the Interview with the Consular Officer.
Be ready for the interview with the consular officer. It’s important that you do not raise suspicions about your intent to stay in the USA. Justify that your purpose is for treatment, tourism, visiting relatives, or one of the other reasons mentioned above.
Step 4. Provide Evidence of Temporary Stay.
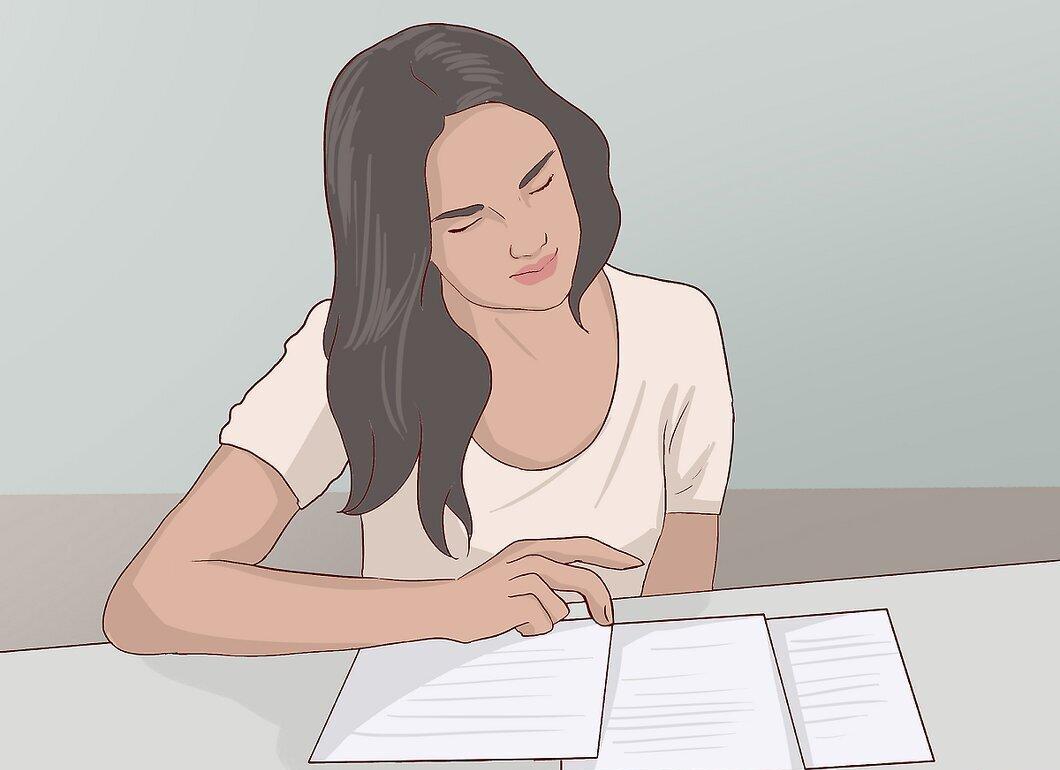
Provide evidence that you intend to stay temporarily in the USA. You need to show that you have the means to cover your expenses during your stay, as well as justify your ties to your home country (including your residence), which will guarantee your return home. If you are traveling for medical treatment, you may need to provide medical documents confirming the diagnosis, as well as information about the medical facility in the USA. It is advisable to specify the cost, duration, and payment method for the treatment.
Step 5. Fingerprinting.
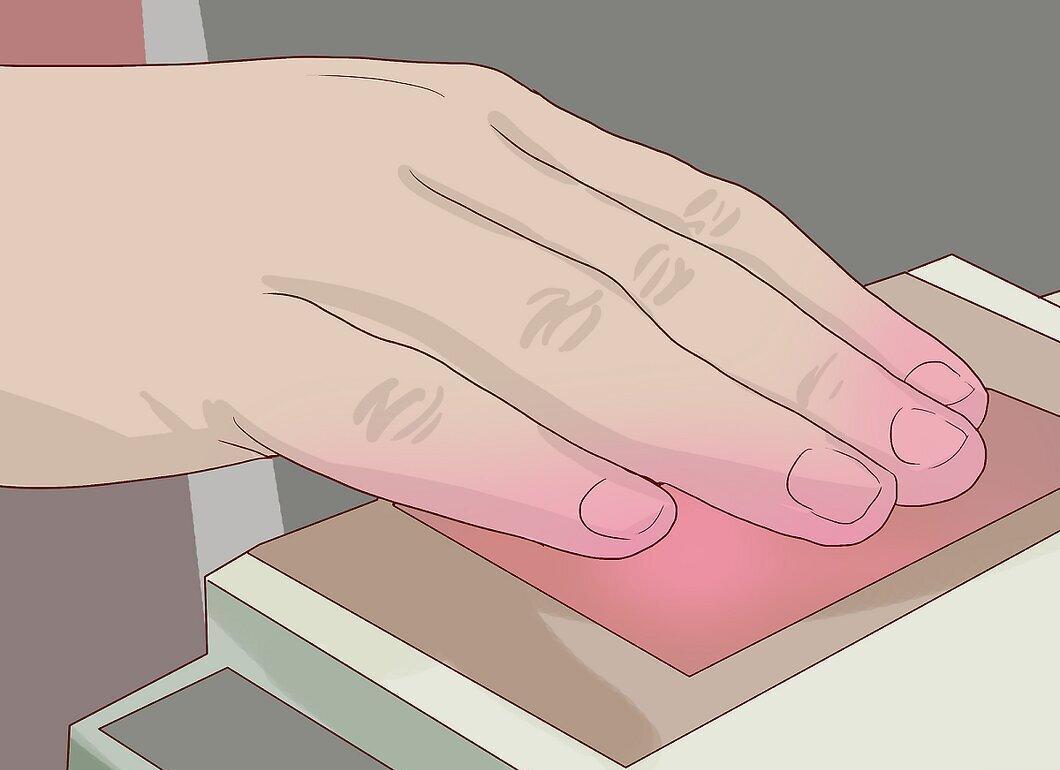
Step 6. Processing Time for Your Application.
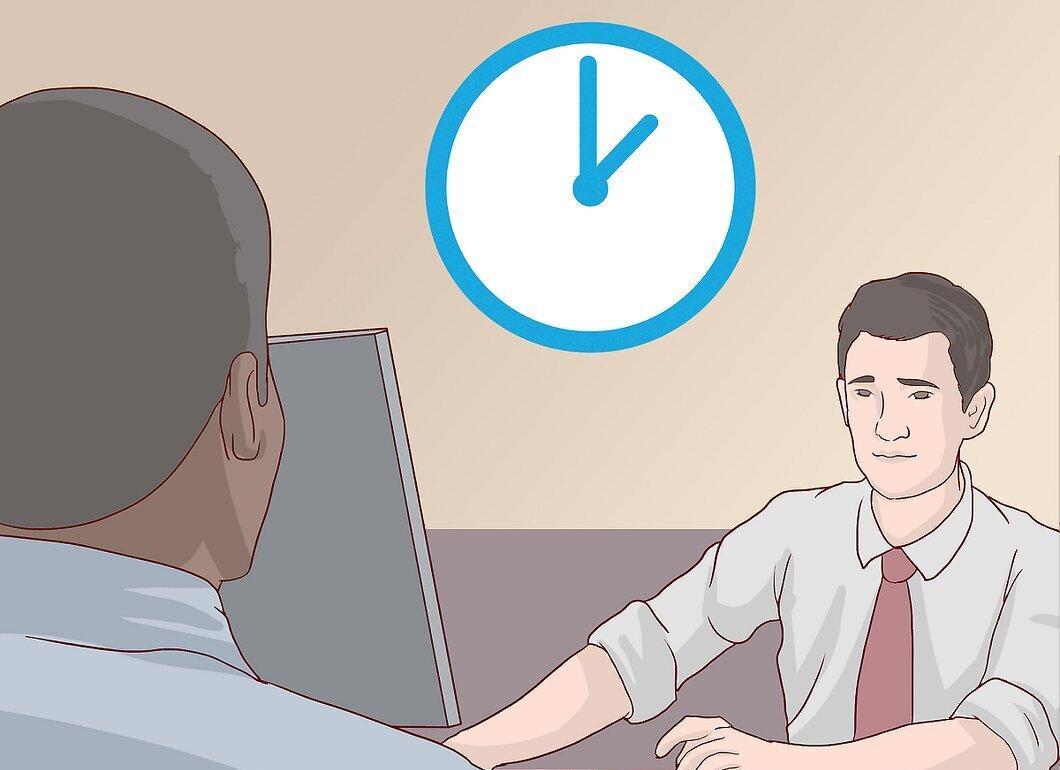
Keep in mind that processing your application may take longer. Some applications require more extensive processing, and the consular officer will inform you if your application needs additional review.
- After receiving your visa, you may need to pay an additional fee for its issuance.
Step 7. Remember, visa approval is not guaranteed.
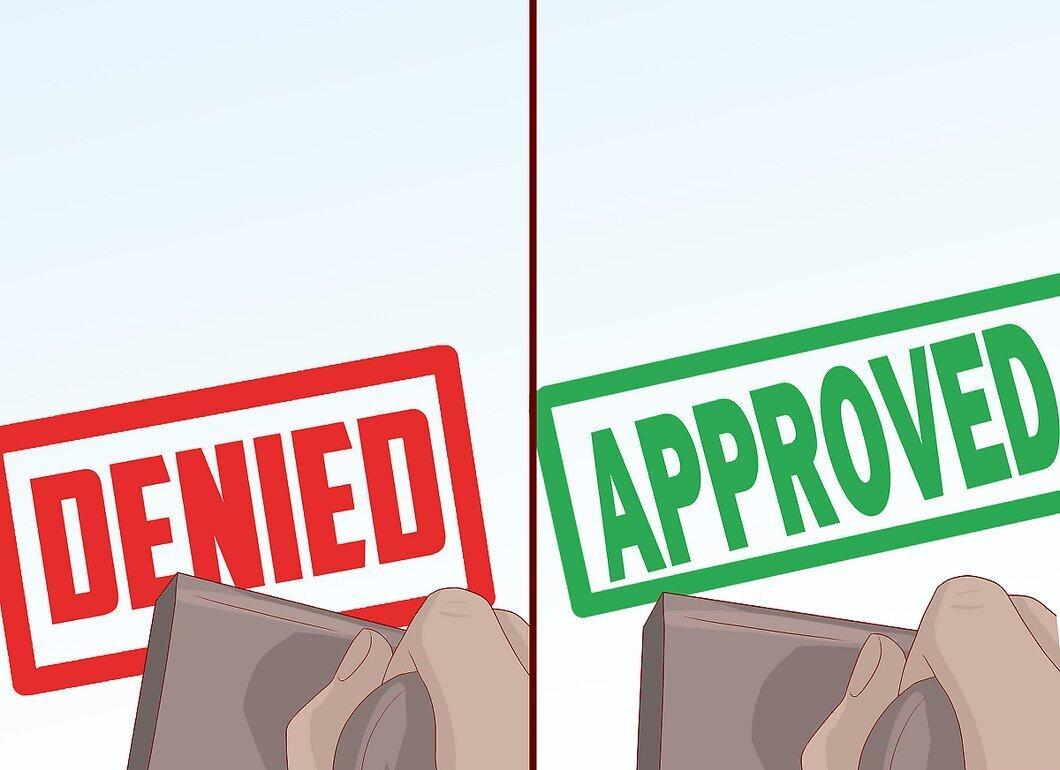
Remember that no one can guarantee you a visa. Therefore, postpone purchasing tickets until you receive confirmation, or buy them with a refund option.