
Painting tiles is a fantastic way to refresh your interior. You can change the look of both new and existing tiles. Instead of spending time and money replacing dull tiles, use paint to create a unique focal point in your home. Follow these simple steps to add vibrant details or create an original piece of art.
Identify the Material
Step 1. Choose smooth ceramic tiles.

For painting, it's best to select smooth ceramic tiles. The simpler the texture, the better the result will be. You can update tiles already in your home, but textured tiles may require more effort.
- Both glazed and unglazed tiles can be used.
Step 2. Get ceramic paint or oil-based paint.
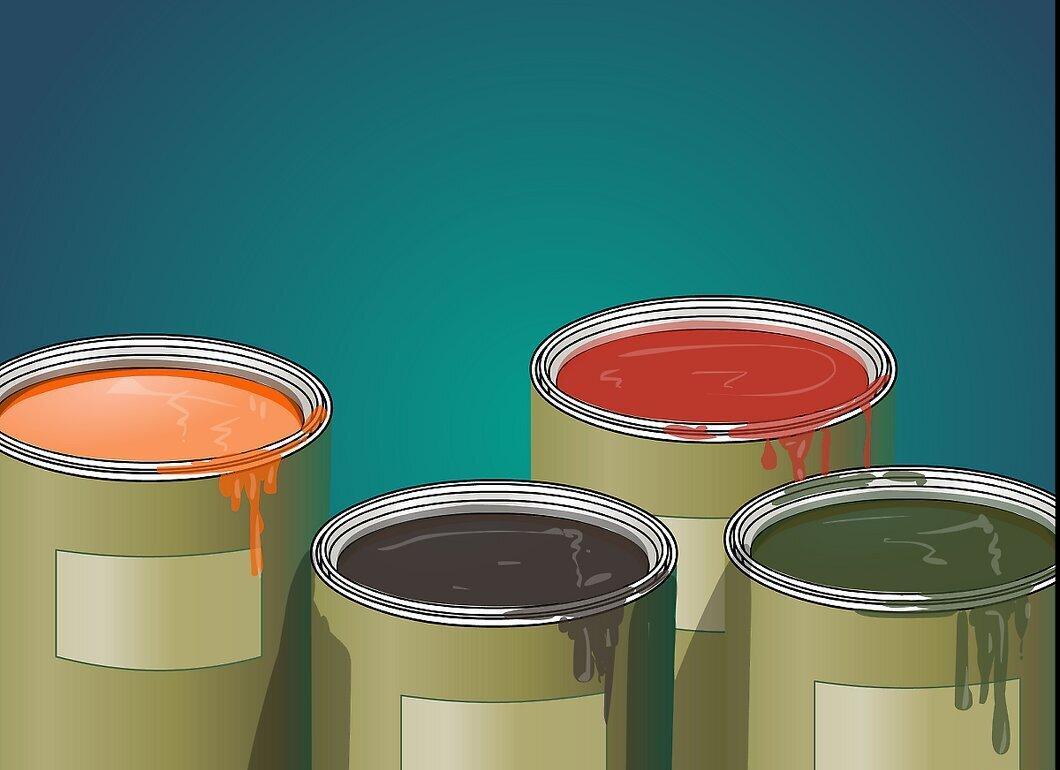
It's crucial to choose the right type of paint so it adheres well to the ceramic and is resistant to moisture.
Step 3. Select brushes in various sizes.

For a successful project, choose brushes of different sizes. If you want to create intricate patterns, you'll need small brushes; for larger surfaces, like bathroom walls, a wide brush will work best.
Step 4. Prepare your workspace.
Don't forget to protect the surface you'll be working on by laying down newspapers or cloths. Also, have damp rags handy for correcting mistakes and a container of water for rinsing brushes.
Preparing the Tiles
Step 1. Clean the tiles before painting.
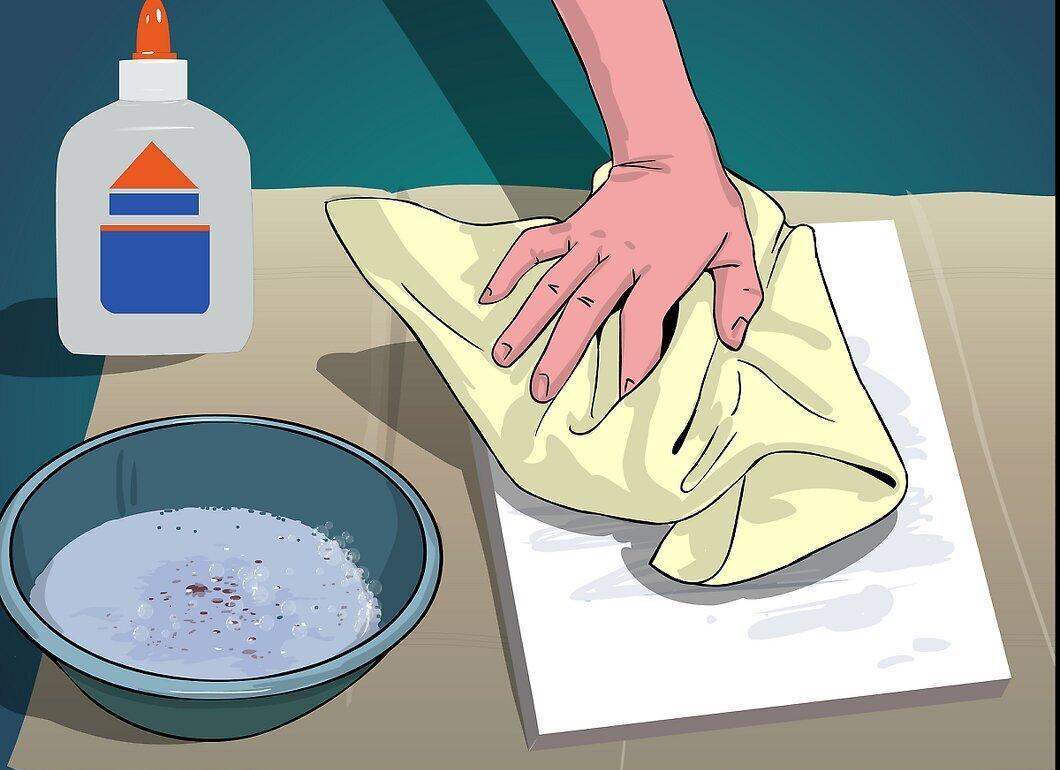
Before you start, clean the tiles thoroughly. Use a toothbrush and cleaning solution to remove any grime. If you're painting individual tiles, simply wipe them down with soapy water.
- Use bleach or hydrogen peroxide to remove mold.
- Vinegar can help eliminate soap scum and streaks.
Step 2. Use an orbital sander if necessary.
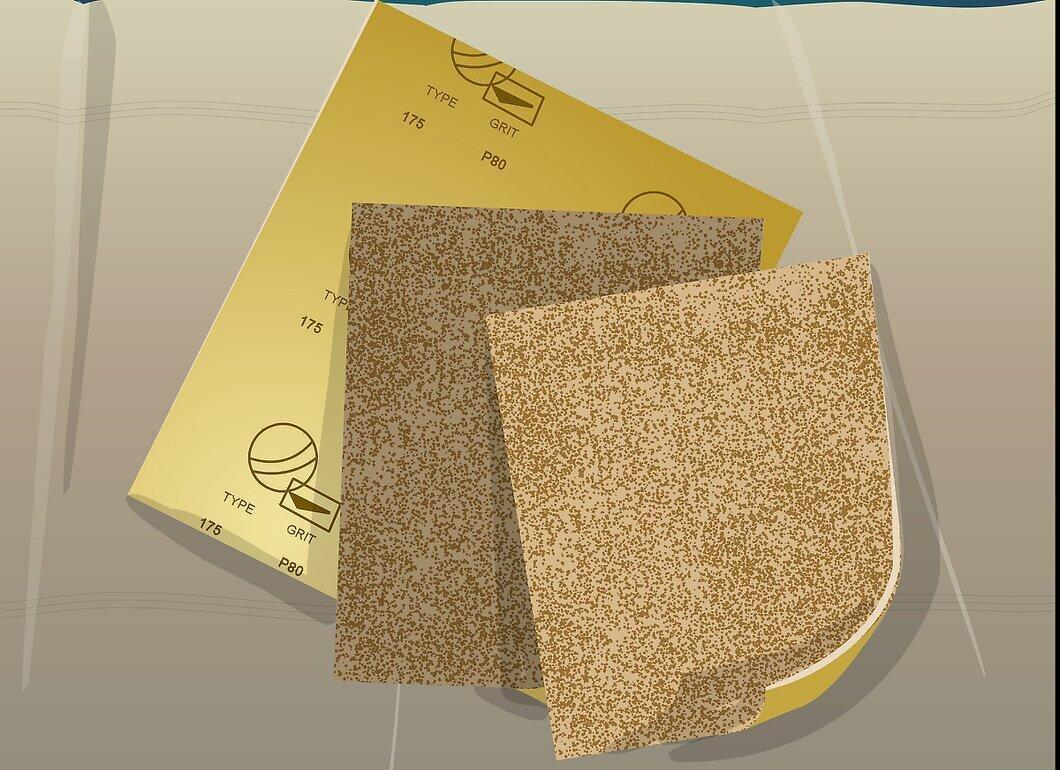
If the tile surface needs smoothing, use an orbital sander with sandpaper to make it even. Be sure to vacuum up any dust after sanding.
Step 3. Apply primer to the tiles.
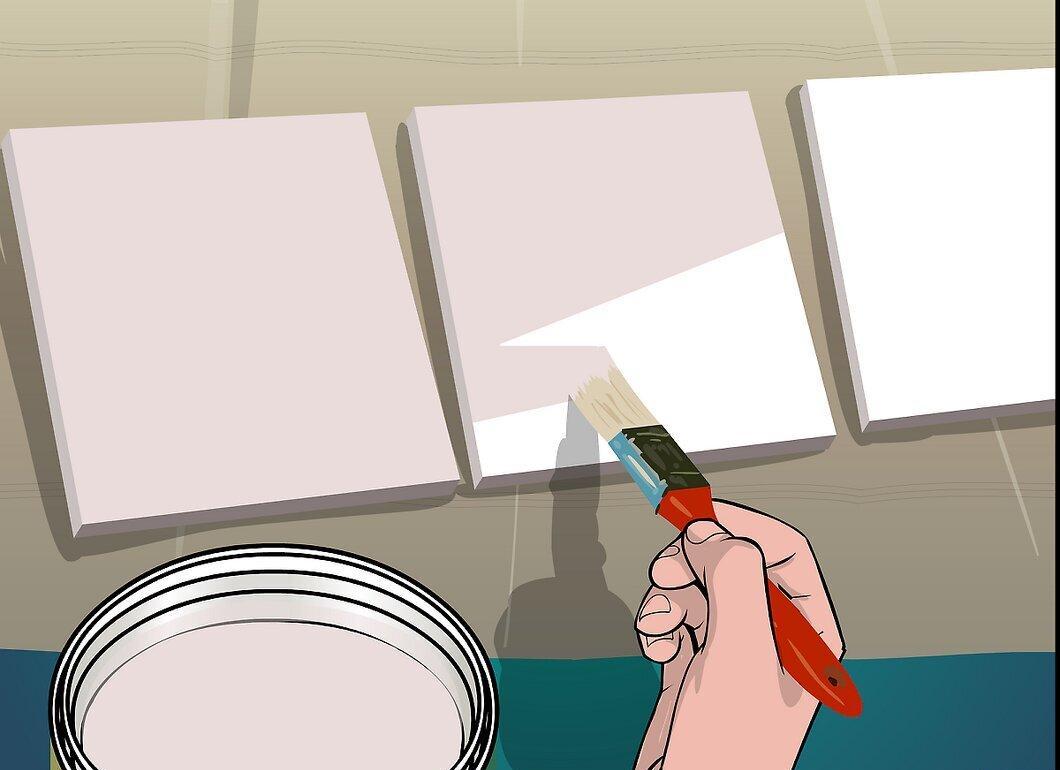
Primer will help protect the tiles from stains and provide better adhesion for the oil-based paint. Apply two coats of primer if necessary.
Step 4. Allow the surface to dry.
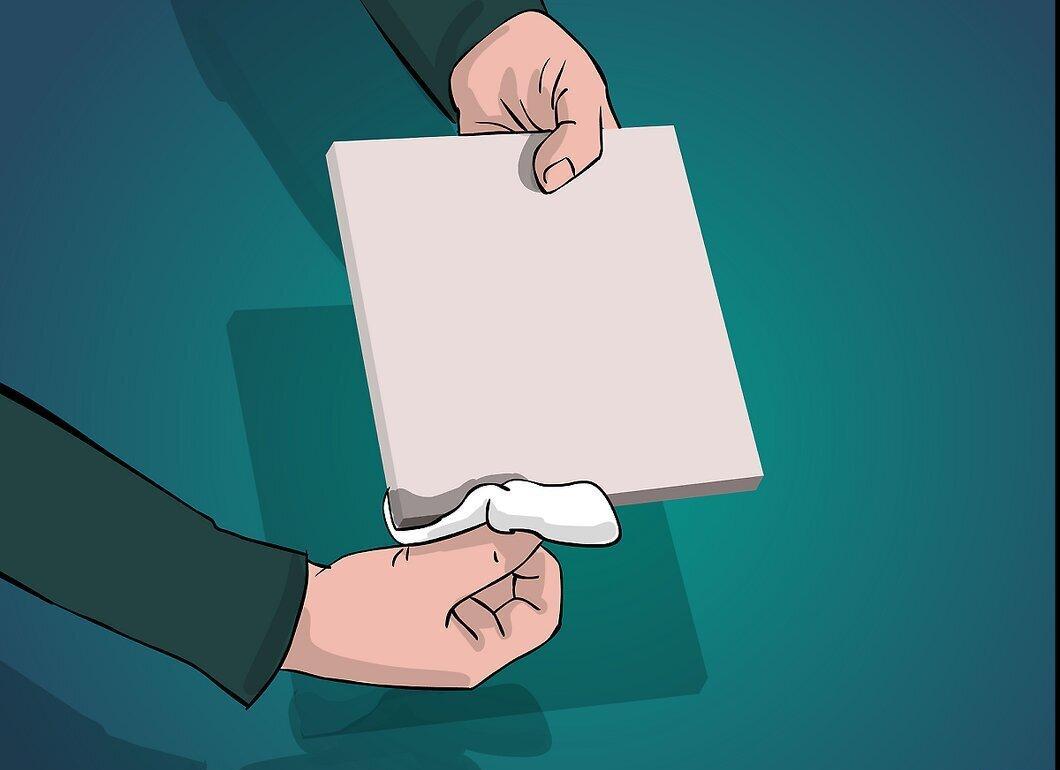
Make sure the surface is completely dry before painting.
The Tile Painting Process
Step 1. Choose a color and/or pattern.

When selecting a color, consider the existing decor in your space. Lighter shades work best to avoid making the area feel cramped.
- Think about whether you want to paint all the tiles or just part of them. Both options can work well. For example, a bright design in the center of a tile can create an interesting focal point, while a large mural can serve as a great background.
- You can also add unique tiles with patterns or text for variety.
Step 2. Transfer the design onto the tiles with a pencil.
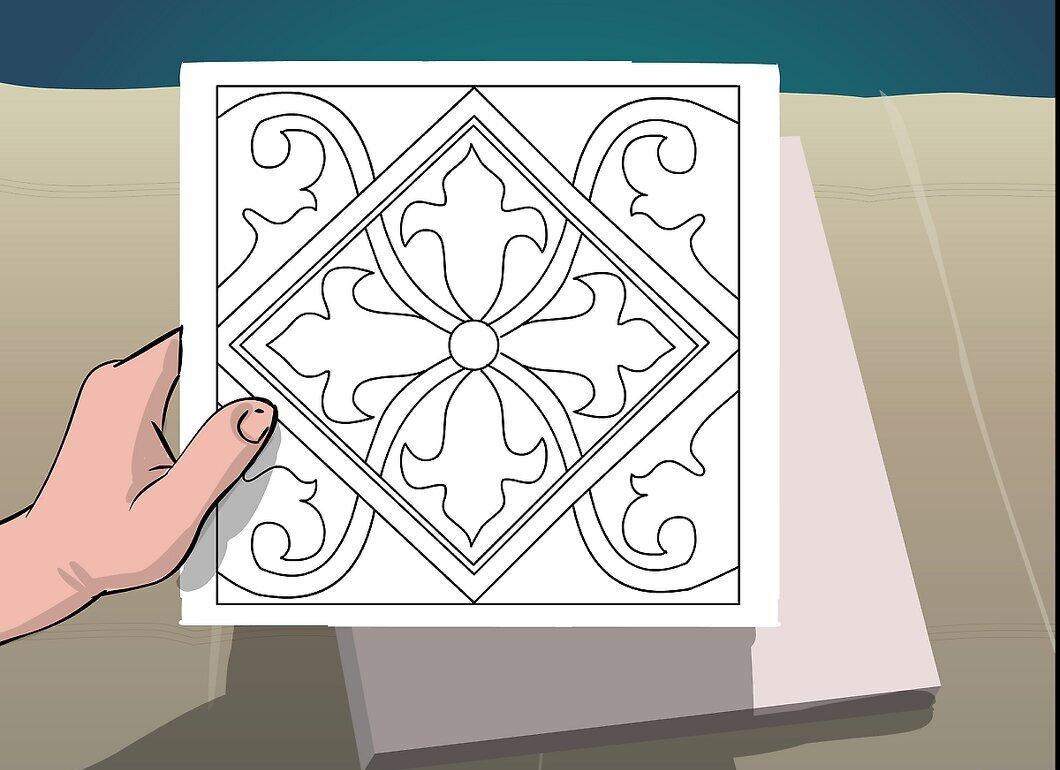
Before starting to paint, carefully transfer your design onto the tile using a pencil. This is especially useful for complex patterns since light lines can easily be covered with paint or erased if needed.
Step 3. Outline the design and paint the surface.
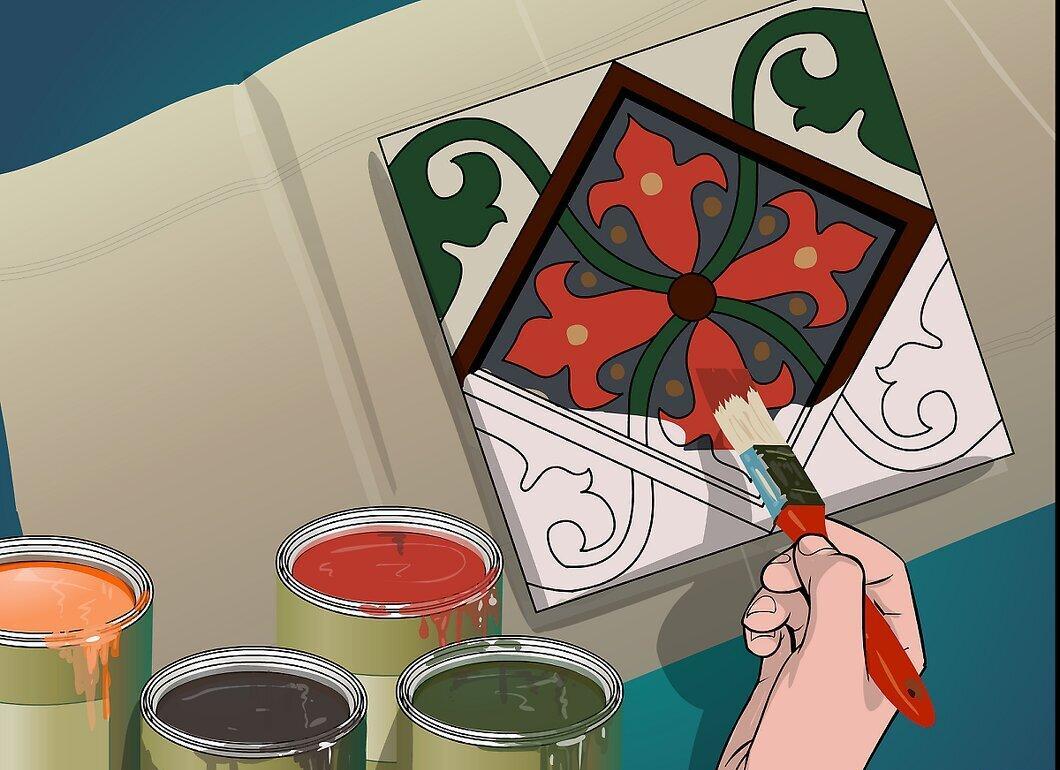
If you're painting an entire wall, apply several thin coats of paint, allowing each coat to dry.
Step 4. Let the paint dry.
For larger projects like painting an entire wall, allow the paint to dry for 48 hours. For smaller designs, 24 hours is sufficient.
Step 5. Finish the painting with a clear coat.
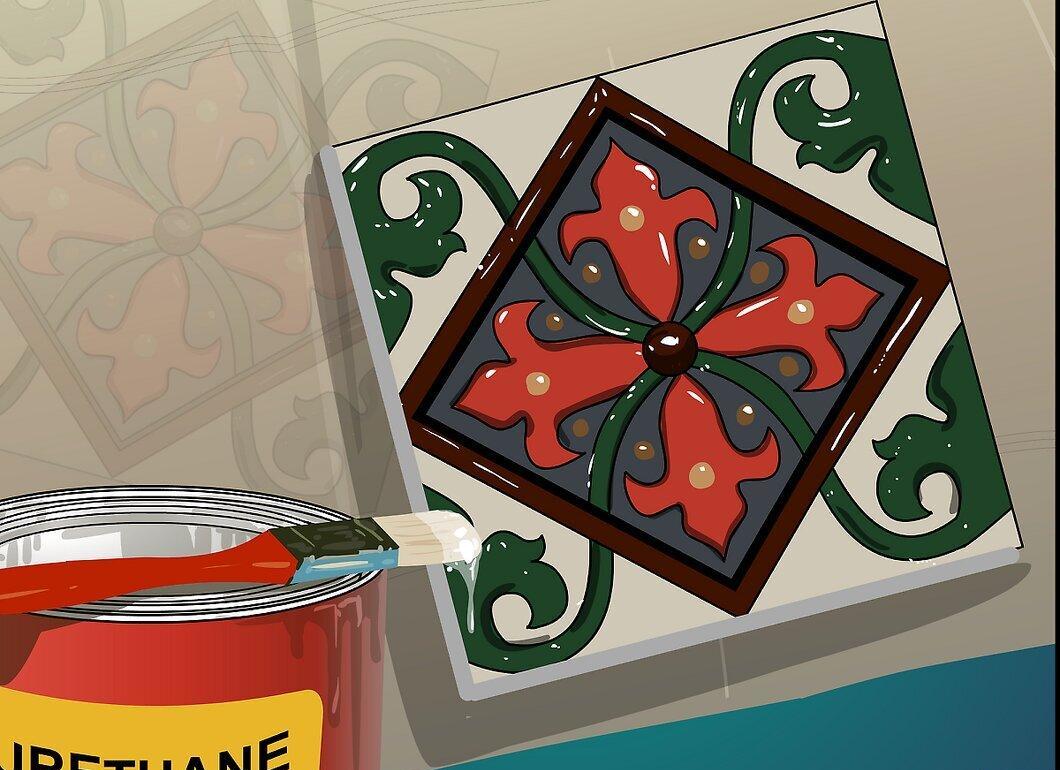
Apply a final layer of clear coat to protect your work. You can add multiple layers for better durability if desired.


