
Creating a LEGO car is an incredibly enjoyable process that unleashes your imagination. Regardless of your skill level, whether you're a novice or a seasoned pro, assembling a LEGO car is quick and easy. There are many different approaches to building, but the basic principles remain the same. Let’s get started and build your one-of-a-kind LEGO car!
Getting Ready to Build
Step 1. Gather Your LEGO Pieces.
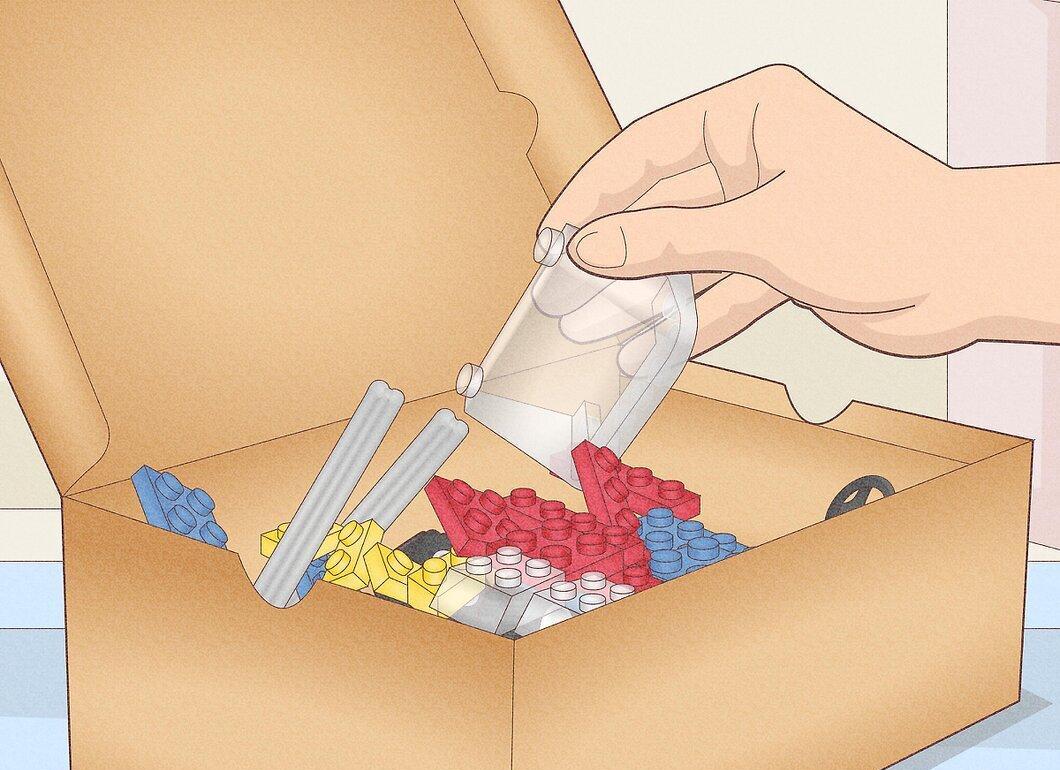
Start by collecting all your LEGO pieces. If you decide to follow the instructions from an official set, ensure you have all the necessary elements. If you want to create your own vehicle, make sure you have a variety of pieces to bring all your ideas to life.
- For the simplest car, you will need at least 4 wheels, 2 axles, and one long piece to connect them. It’s also fun to add extra elements like steering wheels, seats, and windows.
Step 2. Find a Comfortable Place to Build.
Choose a comfortable workspace, like a table or desk, with plenty of light. Make sure the area is suitable for laying out all your pieces and instructions, if you're using them.
- Remember that LEGO pieces can be small and pose a choking hazard for pets and young children. If you're working on the floor, try not to leave pieces unattended to avoid accidents.
Step 3. Spread Out Your Pieces.
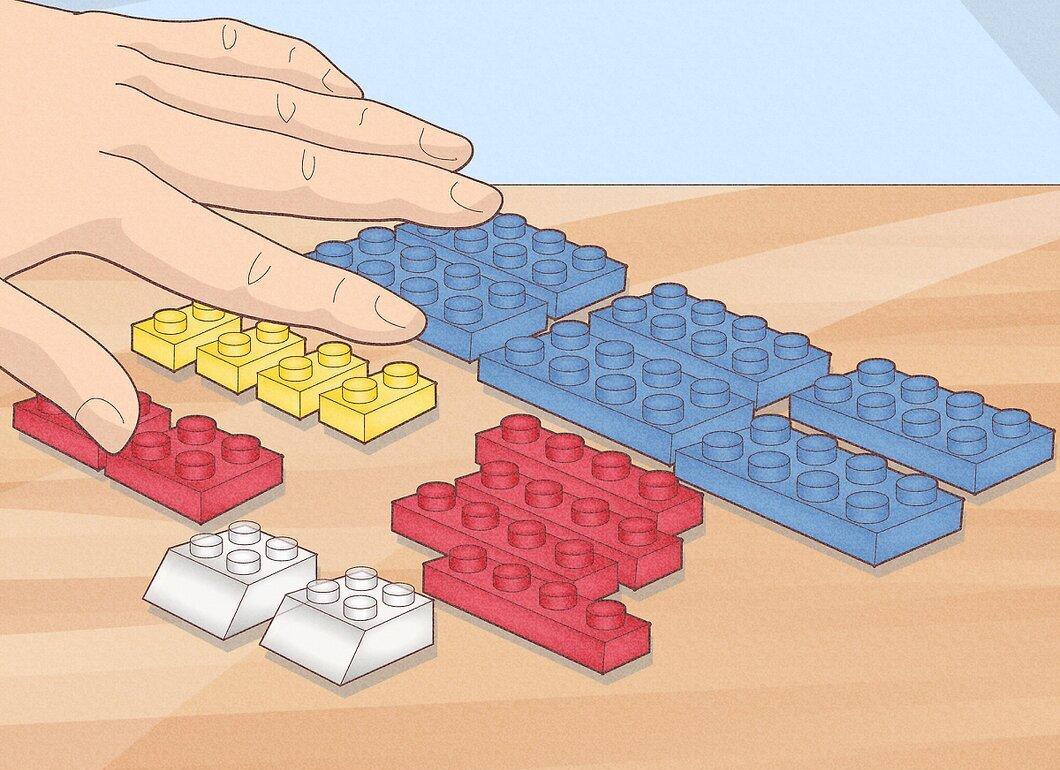
Carefully lay out your pieces in front of you. Sort them by size and shape—this will make the assembly process easier.
- If you’re building with small children, keep an eye on them to ensure they don’t put pieces in their mouths, as this can be dangerous.
Building a Simple LEGO Car
Step 1. Prepare the Required Pieces.
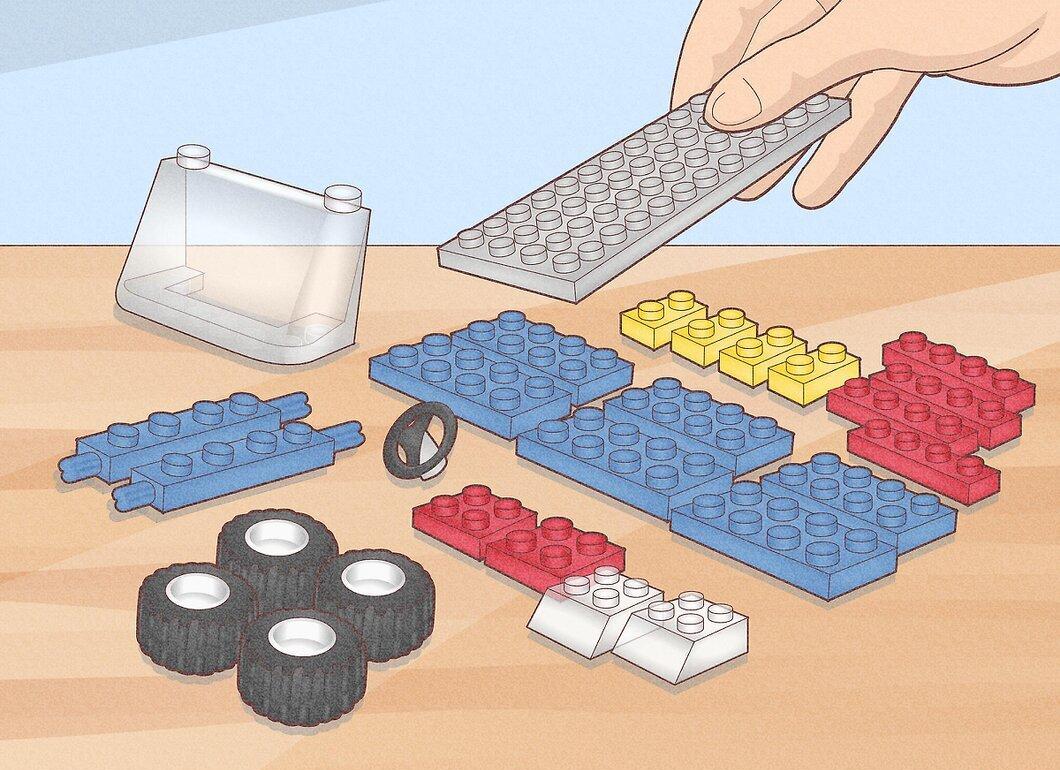
Select your pieces for assembly. To create a simple car, you’ll need common LEGO elements. Use different pieces based on what you have. The sizes of the blocks are measured in "studs" (or "dot elements"). For example, a 2x4 block has a width of 2 studs and a length of 4.
- For the chassis, you need 4 wheels of the same size, 2 identical axles, and a thin plate measuring 4x12.
- For the body, take 2 blocks of 2x2, 6 blocks of 2x4, 4 blocks of 1x2, 1 block of 1x4, 2 transparent corner blocks of 2x2, 1 windshield, and 1 steering wheel.
Step 2. Attach the Wheels to the Axles.
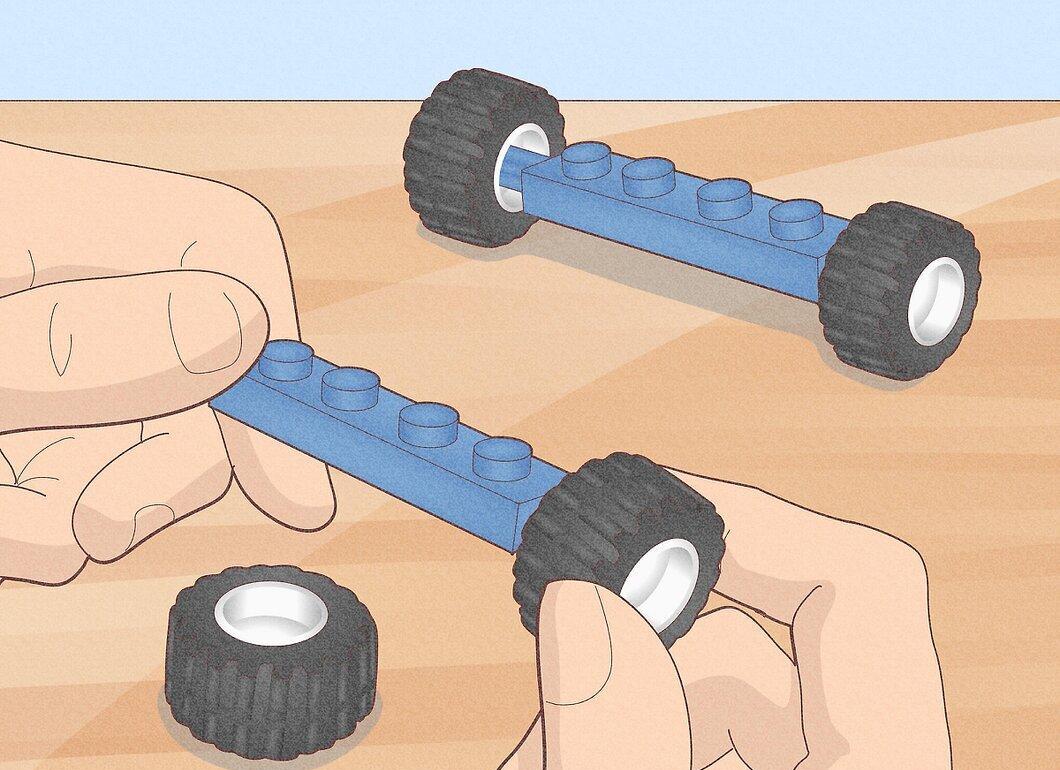
Secure the wheels onto the axles. These pieces have notches on the edges where the wheels fit. Make sure they are firmly attached so that the wheels can spin freely.
- Check that the wheels are proportional to the body—small wheels won’t support a large car.
Step 3. Create the Front Hood.
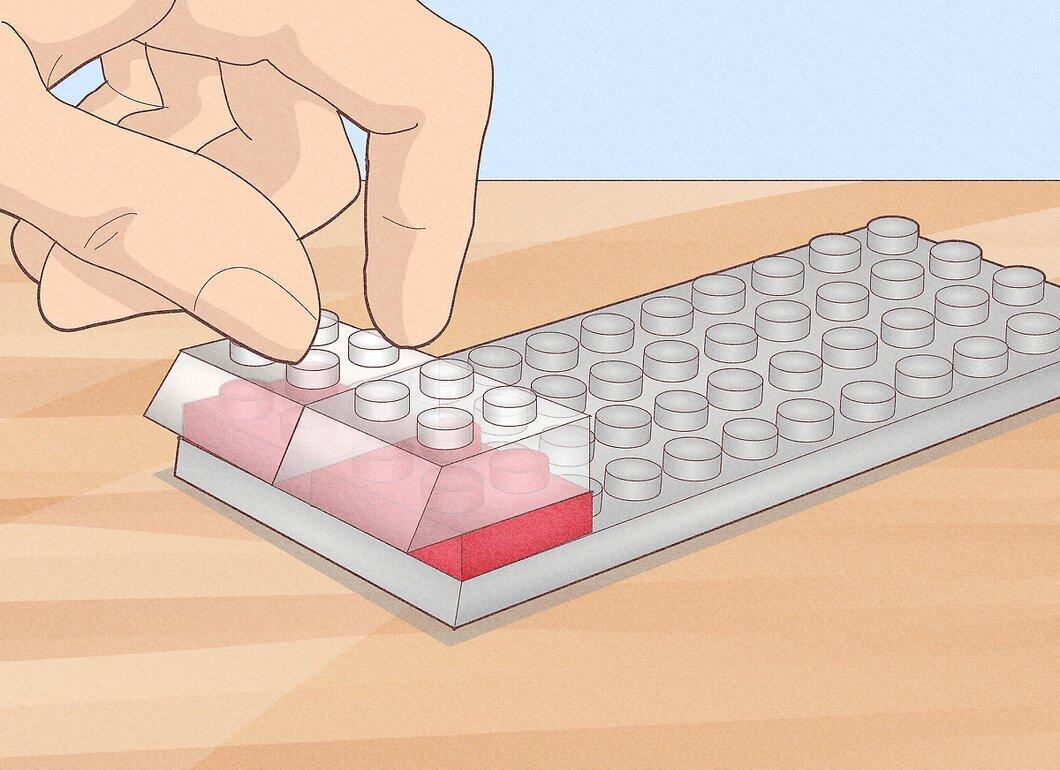
Assemble the front hood. You’ll need 2 blocks of 2x2 and 2 transparent corner blocks of 2x2. Alternatively, you can use 1 block of 2x4 and 2 corner blocks of 2x2.
- Attach the transparent blocks to the square blocks and connect the assembled piece to the front of the body.
Step 4. Install the Windshield.
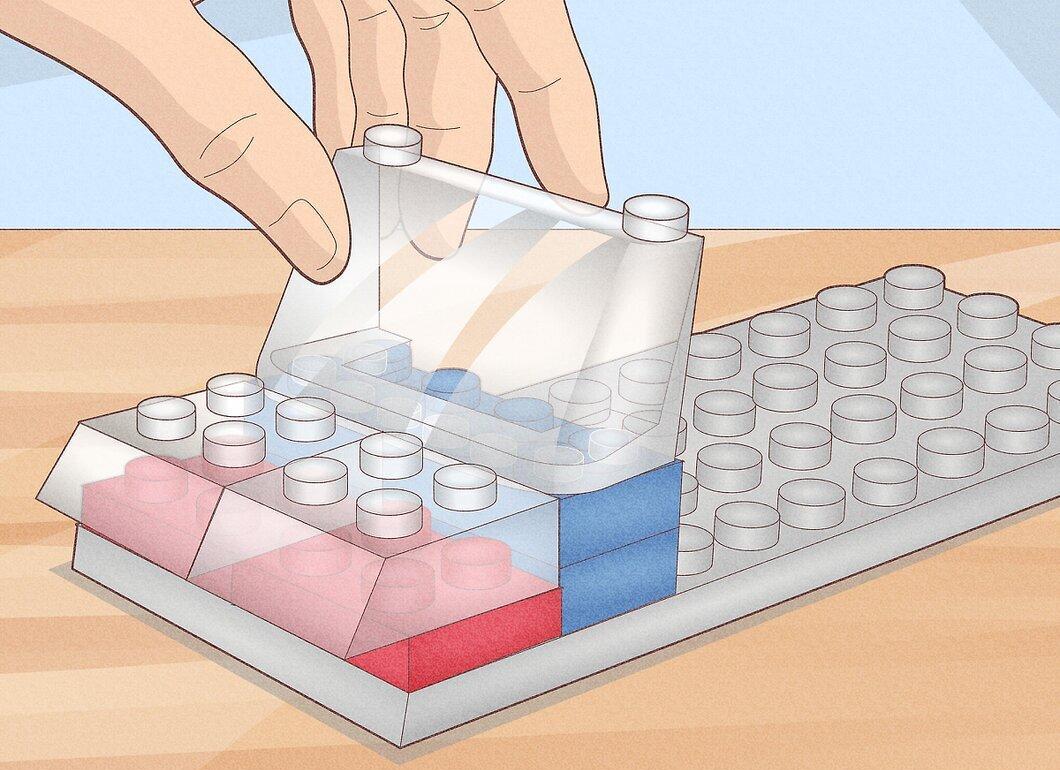
Place the windshield. This piece attaches behind the hood. Use 2 blocks of 2x4 and a windshield of size 2x4.
- Connect the 2x4 blocks and add the windshield, securing the module to the body.
Step 5. Build the Cabin.
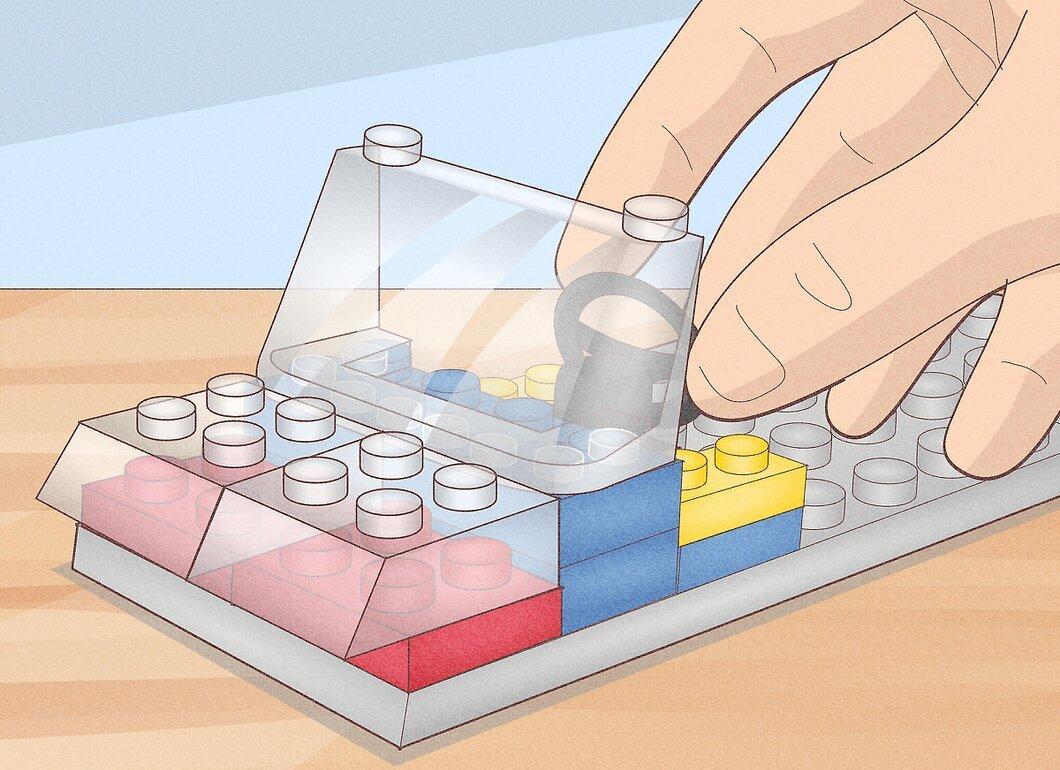
Create the cabin. You will need 1 block of 2x4, 2 blocks of 1x2, and a steering wheel of size 1x2.
- Attach the 1x2 blocks to the sides of the 2x4 block to form a “u” shape. Place the steering wheel between the 1x2 blocks.
- Attach the assembled piece to the body behind the windshield.
Step 6. Assemble the Rear and Spoiler.
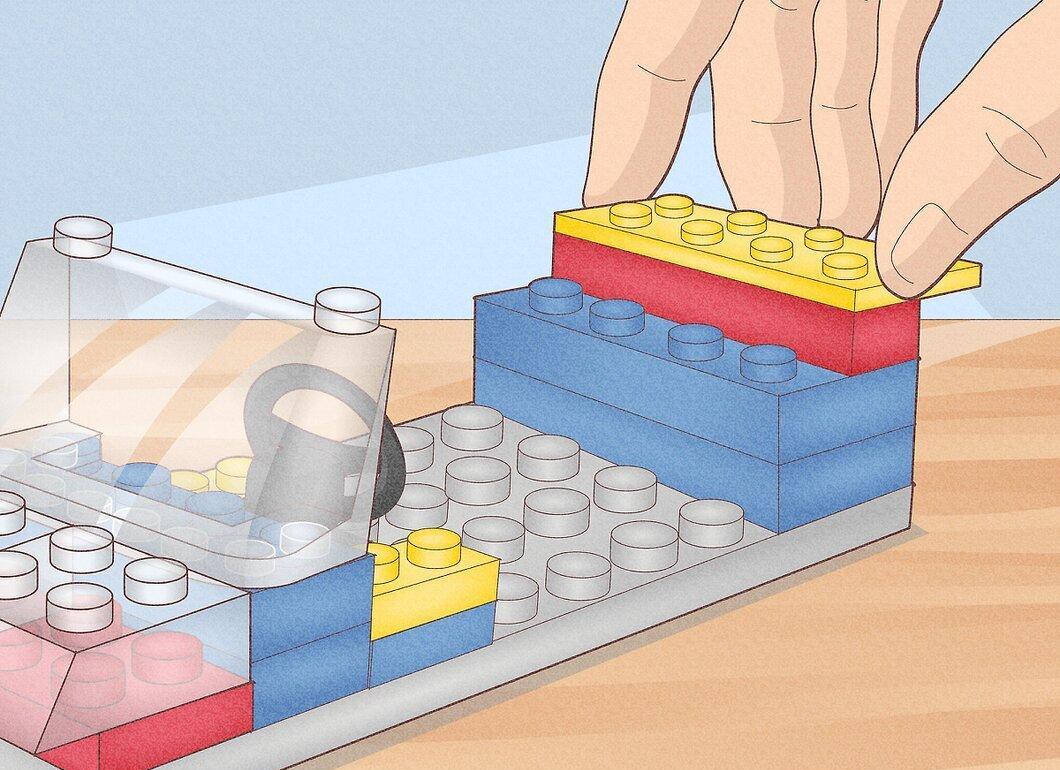
Construct the rear and spoiler. You’ll need 2 blocks of 2x4, 1 block of 1x4, and 1 flat plate of 2x4.
- Connect the two 2x4 blocks and add the 1x4 block at the back. Secure the plate so it looks like a spoiler.
Step 7. Attach the Axles Under the Body.
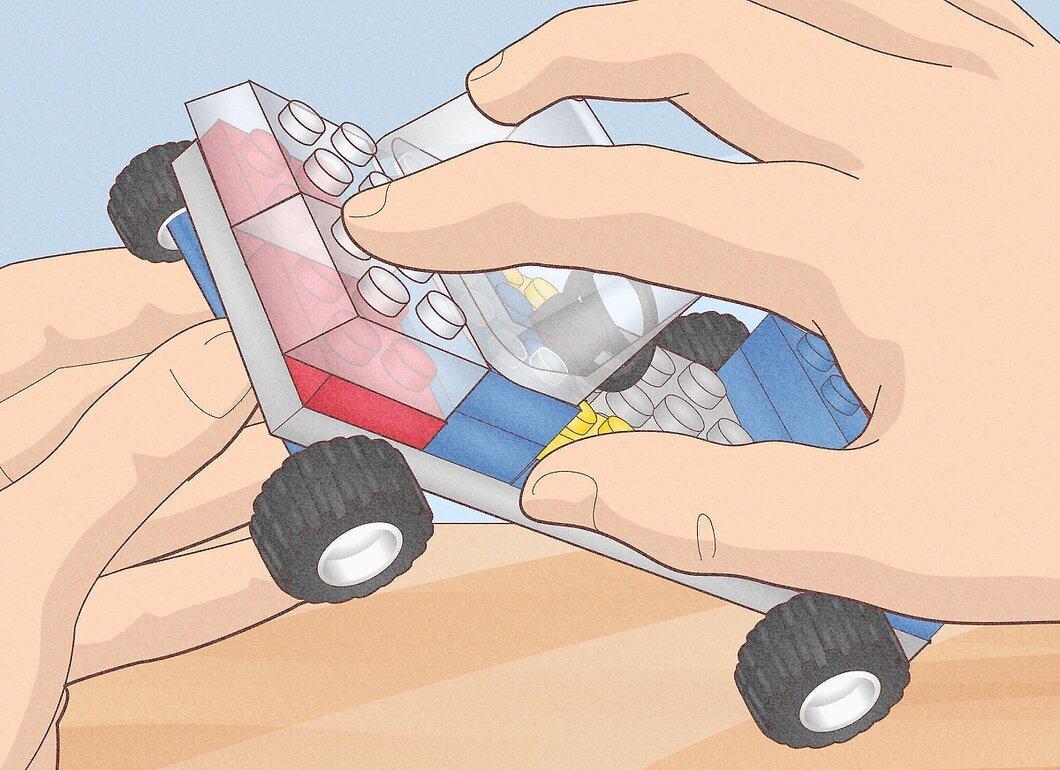
Secure the axles under the body. One axle will be at the front, the other at the back.
- Ensure the wheels are positioned correctly and do not obstruct movement.
Step 8. Add a LEGO Figure.
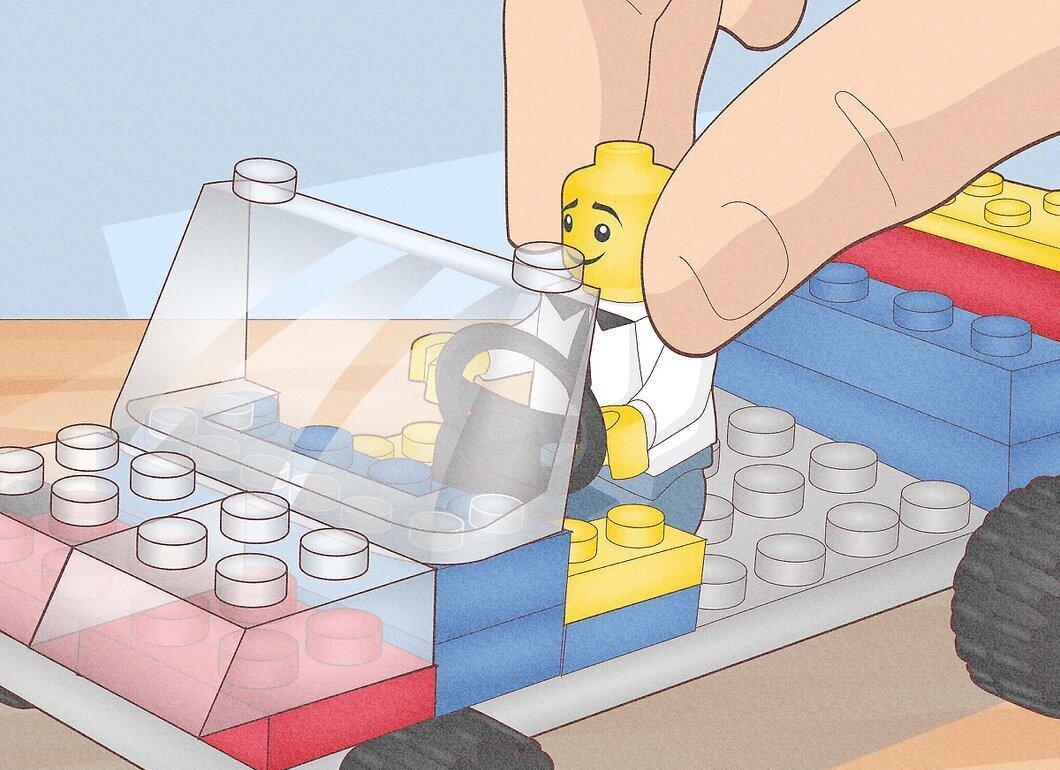
Select a LEGO figure. Place it behind the wheel, bending at the waist.
Step 9. Enjoy Playing with Your Car!
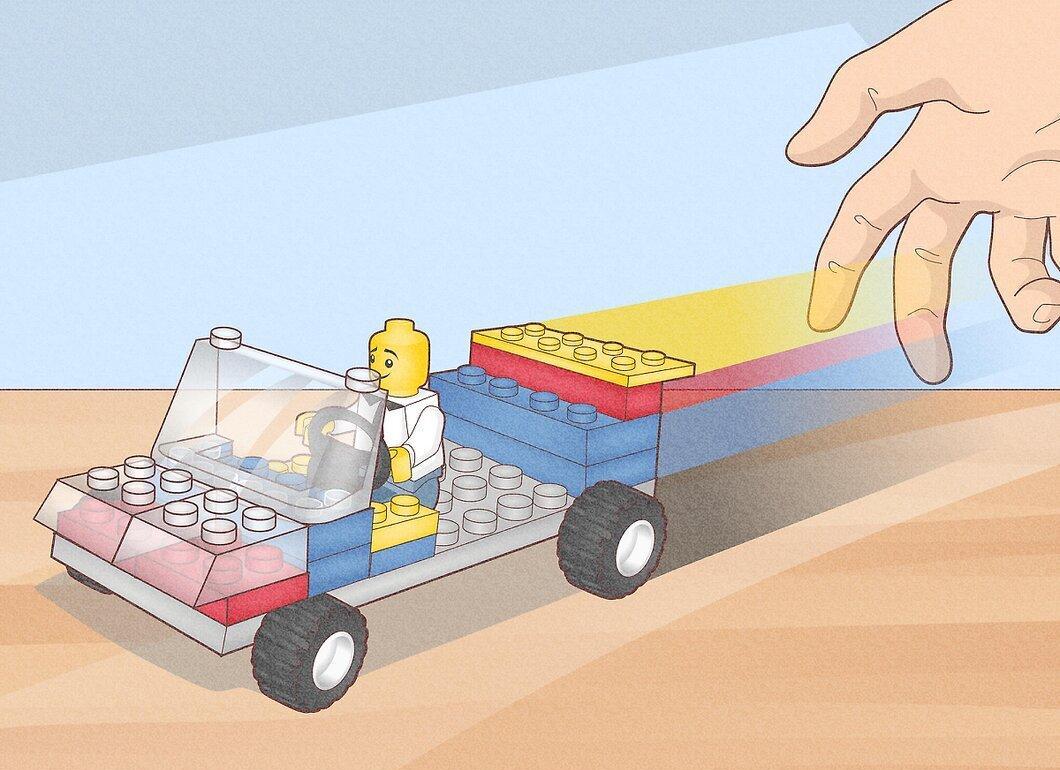
Have fun playing with your new car! If it moves slowly, the body may be too large for the wheels. Experiment with the design to achieve the desired result.
Building a LEGO Car with a Rubber Band
Step 1. Gather Special Blocks.
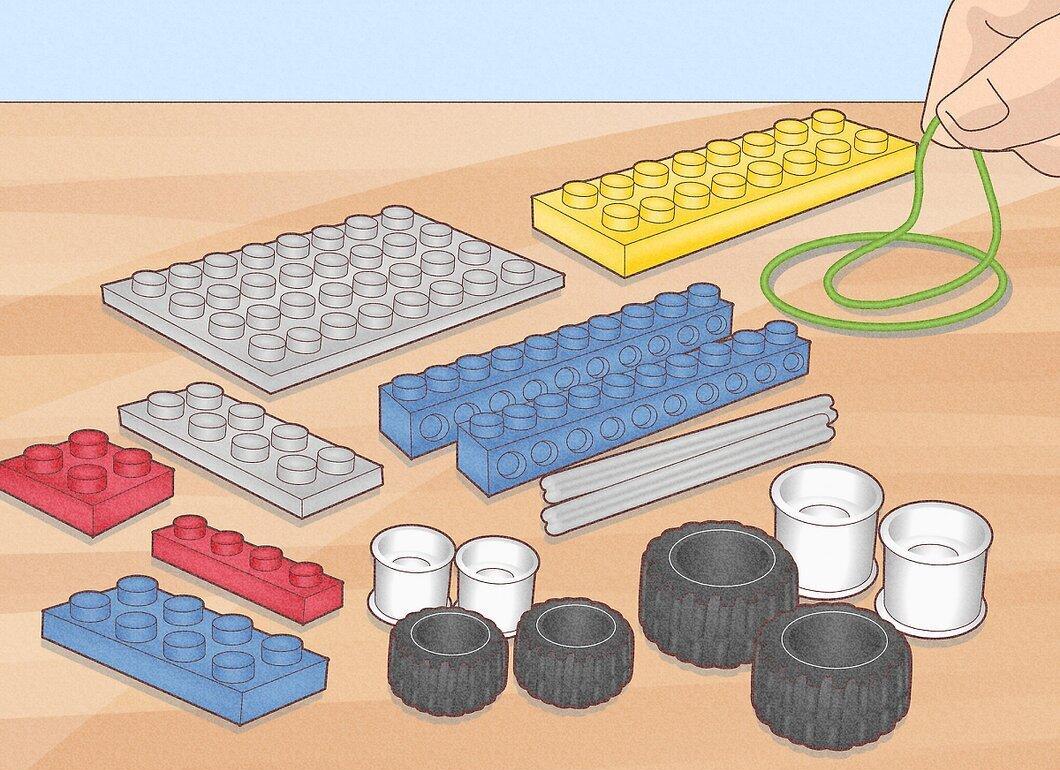
For this build, you will need some special blocks, such as blocks with holes, thin axles, and wheel discs. These elements can be found in LEGO Technic sets or purchased separately.
- You will need 2 blocks of 1x10 with holes, 1 flat plate of 2x4, 1 flat plate of 8x4, 1 block of 1x4, 1 block of 2x4, 1 block of 2x2, 1 block of 2x8, 2 axles from the Technic set, 4 wheel discs, 4 wheels, and 2 rubber bands.
Step 2. Attach Wheels to Discs.
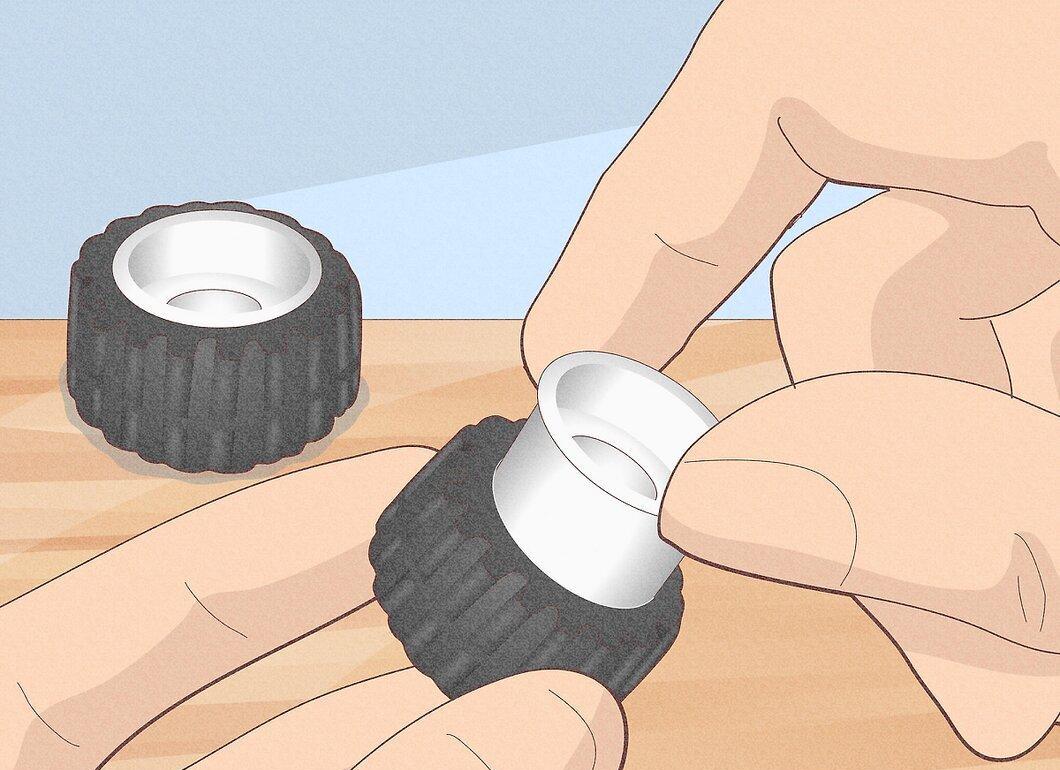
Secure the wheels onto the discs. For better energy transfer, use two larger wheels for the rear and two smaller ones for the front.
Step 3. Build the Chassis.
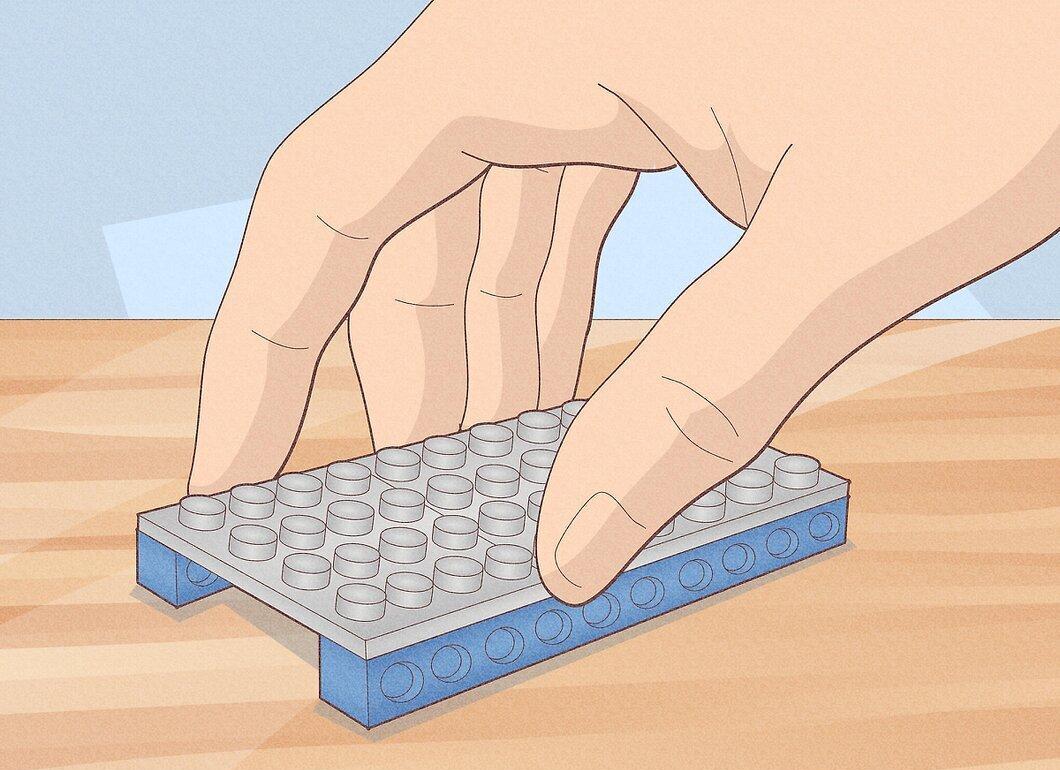
Assemble the car chassis by placing the 1x10 blocks next to each other. Secure the 2x4 and 8x4 plates on top.
Step 4. Create the Car Body.
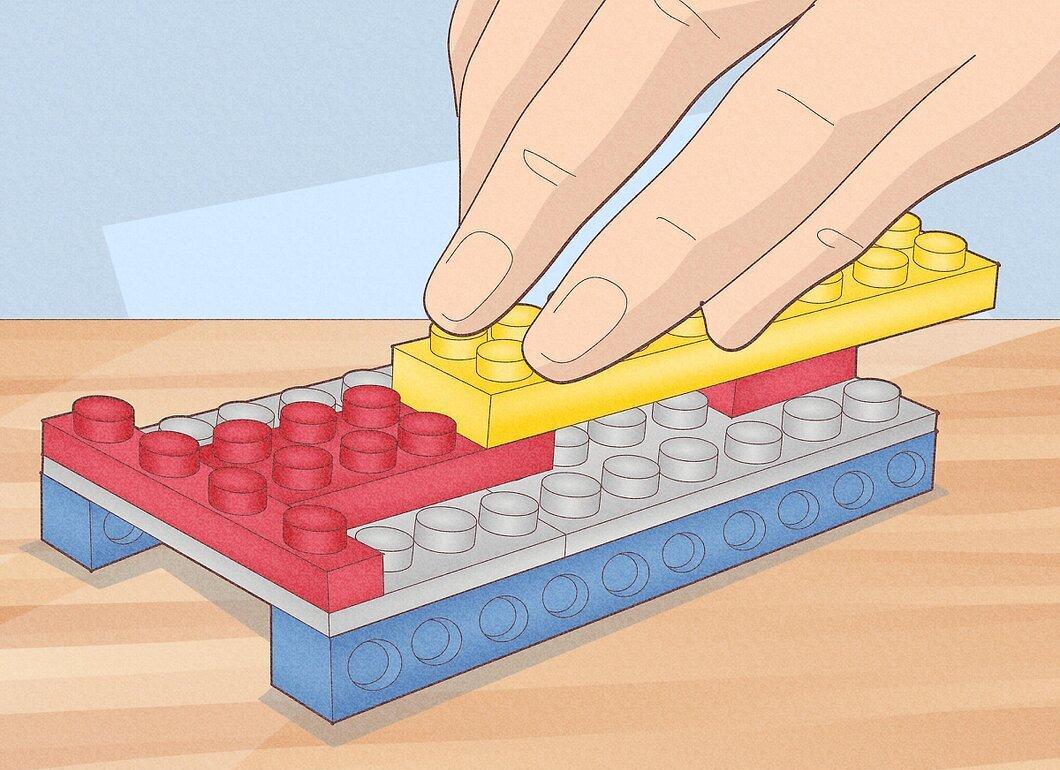
Build the body, to which the rubber band will be attached for movement.
- Attach the 1x4 block to the front of the chassis, then add the 2x4 block behind it, forming a “T” shape.
- Secure the 2x2 block at the end of the chassis, leaving one stud on each side.
- Place the 2x8 block so that it overlaps the last two studs of the “T” shape.
Step 5. Tie the Rubber Band.
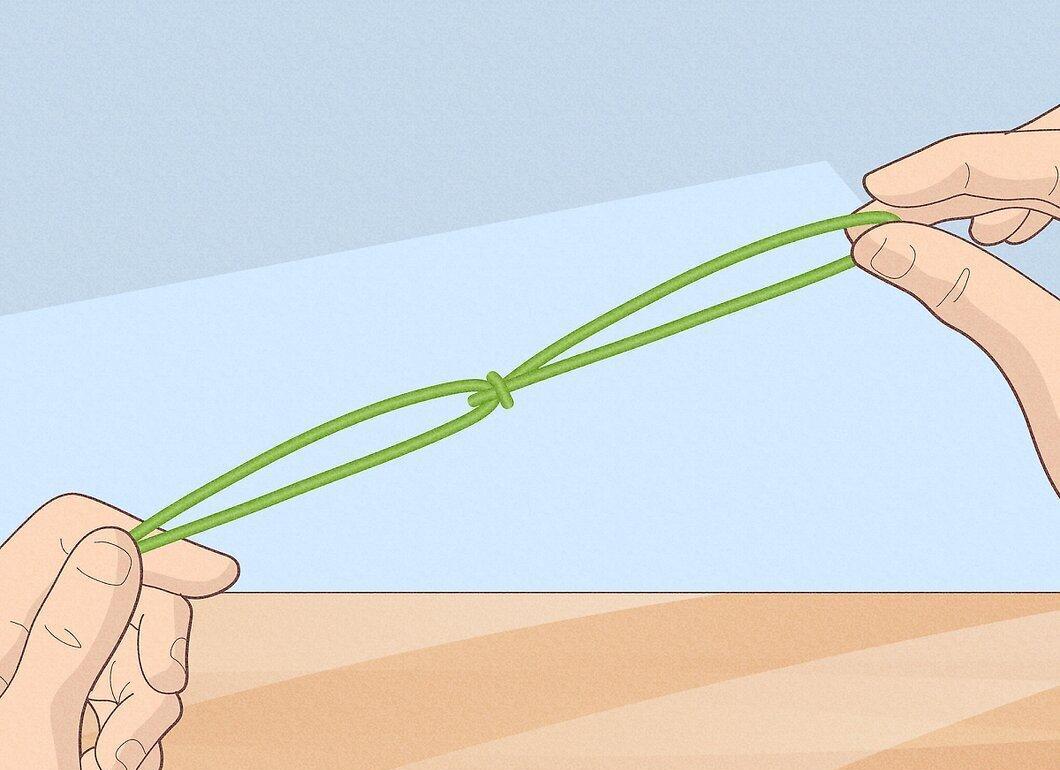
Tie the rubber band in a simple knot. Wrap one rubber band around your fingers and thread the other through the center.
Step 6. Place the Rear Axle.
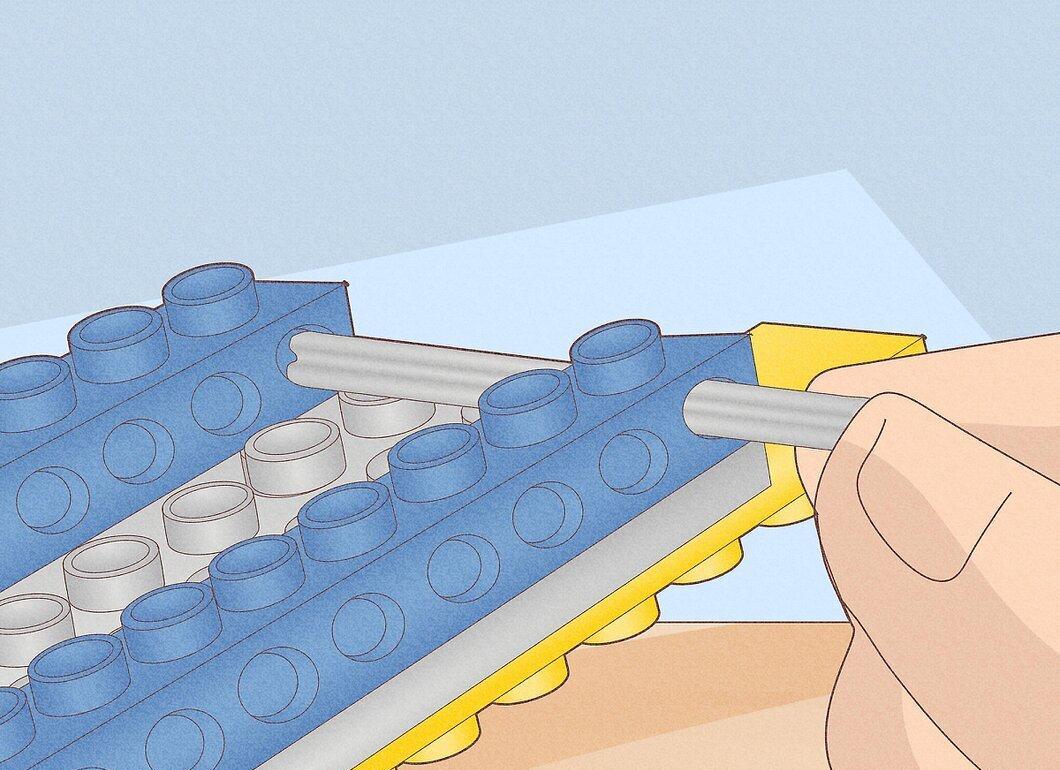
Insert one axle into the last hole of the 1x10 block at the back. Attach wheels to both ends.
Step 7. Attach Rubber Bands to the Rear Axle.
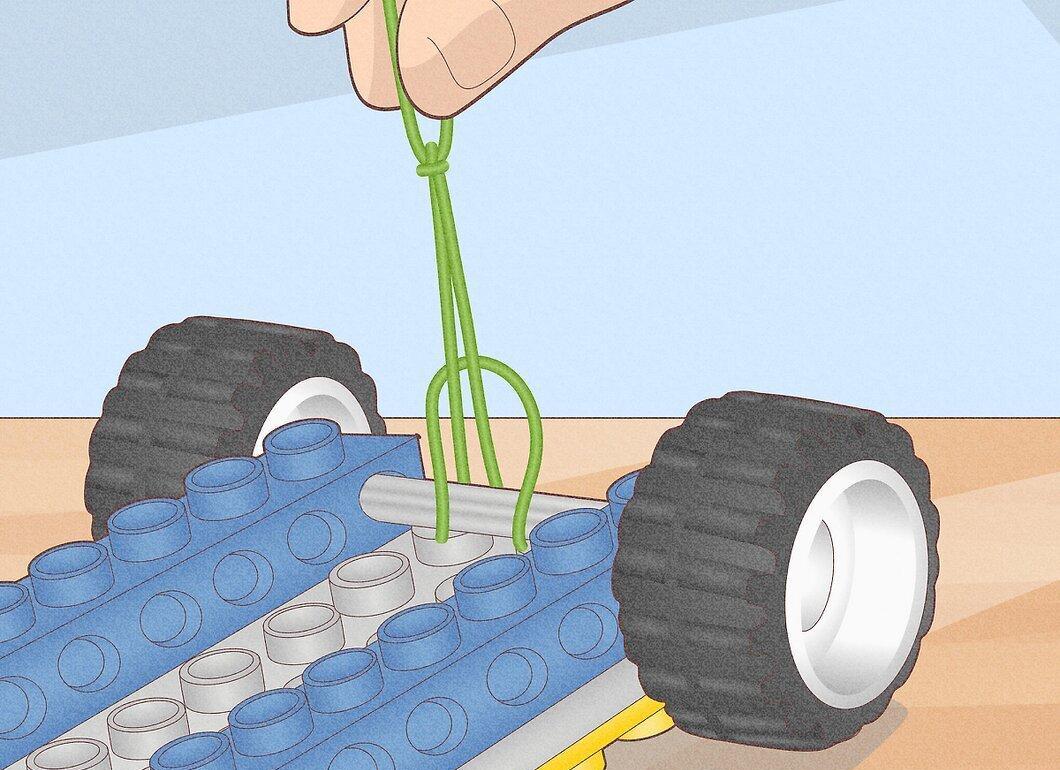
Secure the rubber bands on the rear axle by threading one of them under the axle and tightening.
Step 8. Pull the Rubber Band Over the Body.
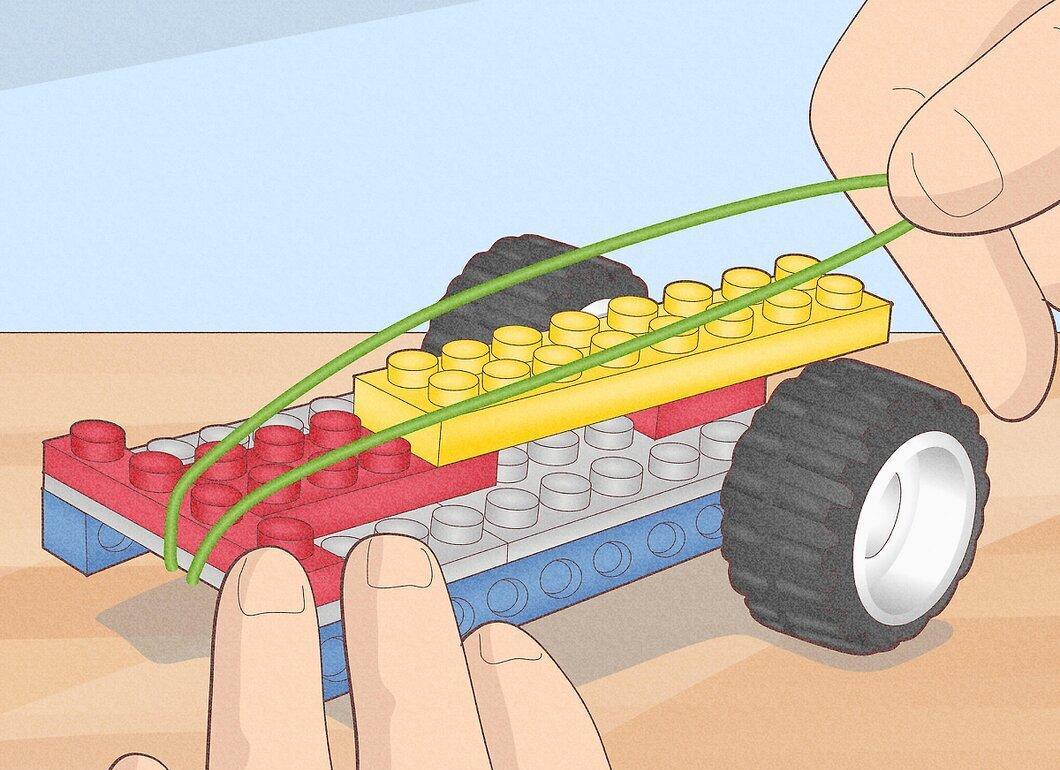
Pull the rubber band over the body so that it goes under the chassis.
Step 9. Place the Front Axle.
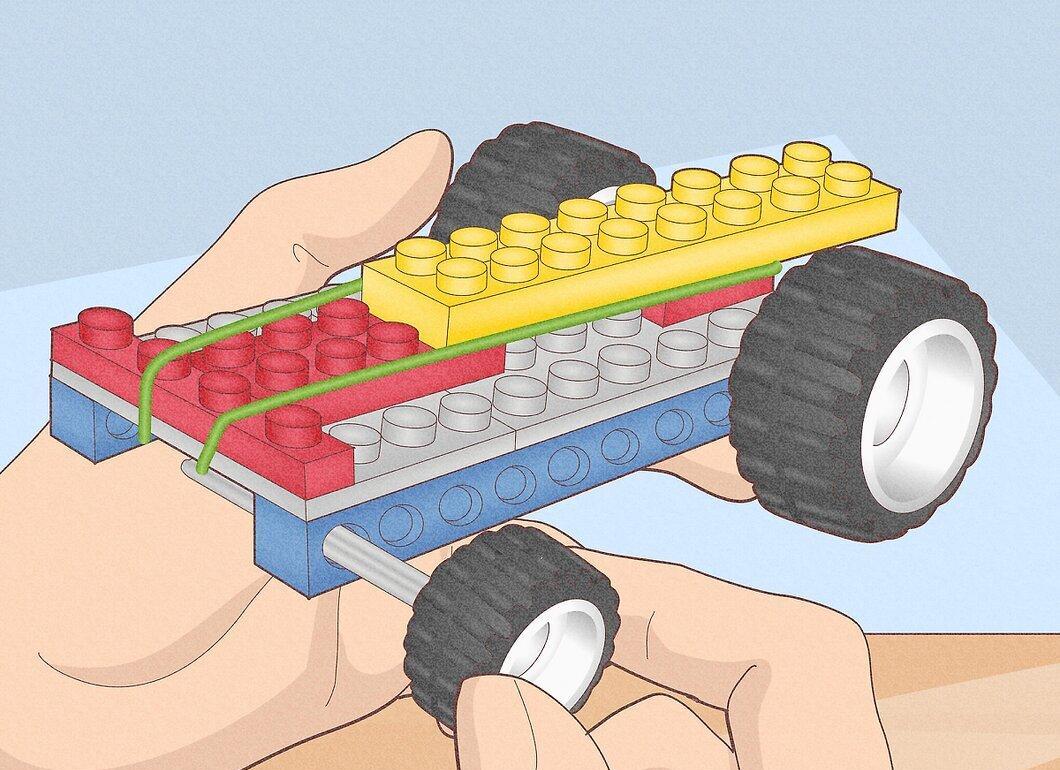
Insert the front axle into the first hole of the 1x10 block at the front, placing the rubber band under the axle.
Step 10. Launch the Car.
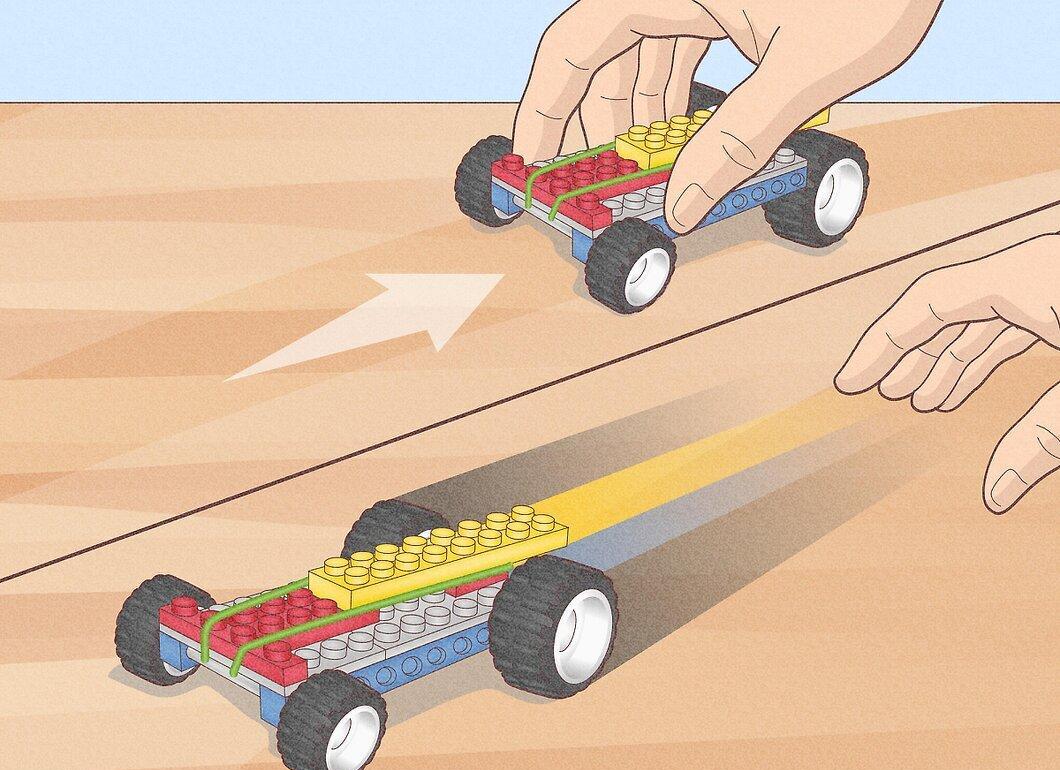
To launch the car, set it on a smooth surface and push it back to wind the rubber band. When you let go, the car should go flying!
Creating a Balloon-Powered LEGO Car
Step 1. Build a Simple Car.
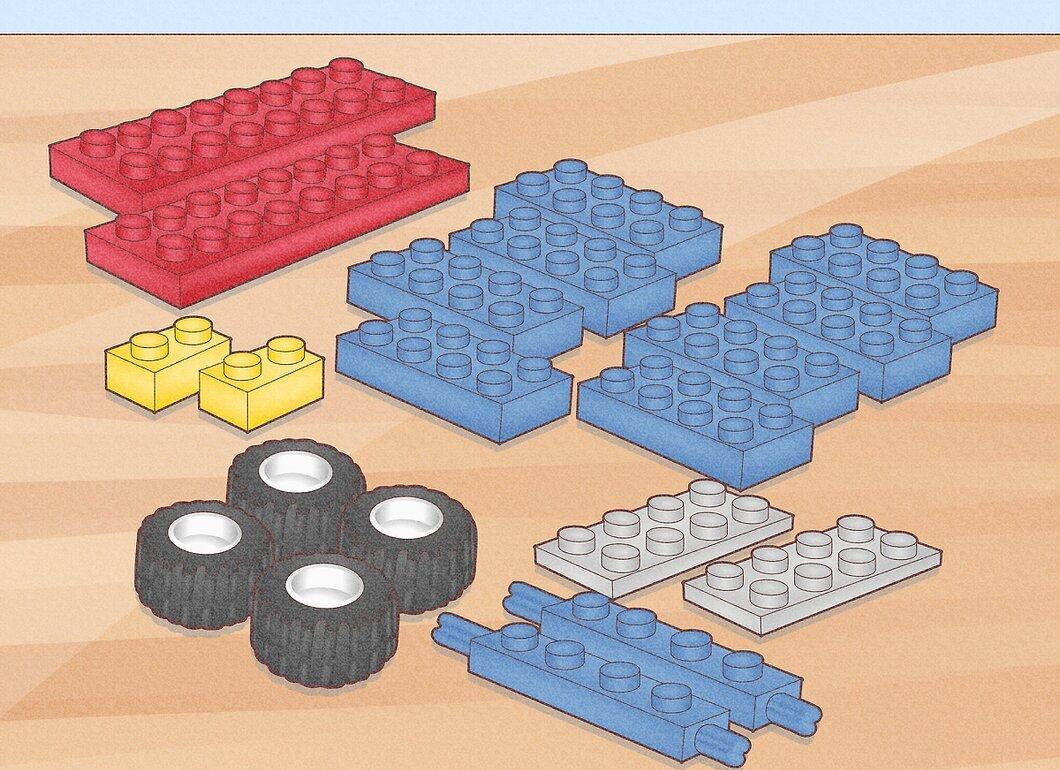
Create a lightweight dragster with a low center of gravity. You can use your blocks, but try to make the model light and low.
- For this version, you will need 2 axles, 4 wheels of the same size, 4 blocks of 2x8, 8 blocks of 2x4, 2 blocks of 1x2, and a flat plate measuring at least 2x4, plus one small balloon.
Step 2. Lay Down the 2x8 Blocks.
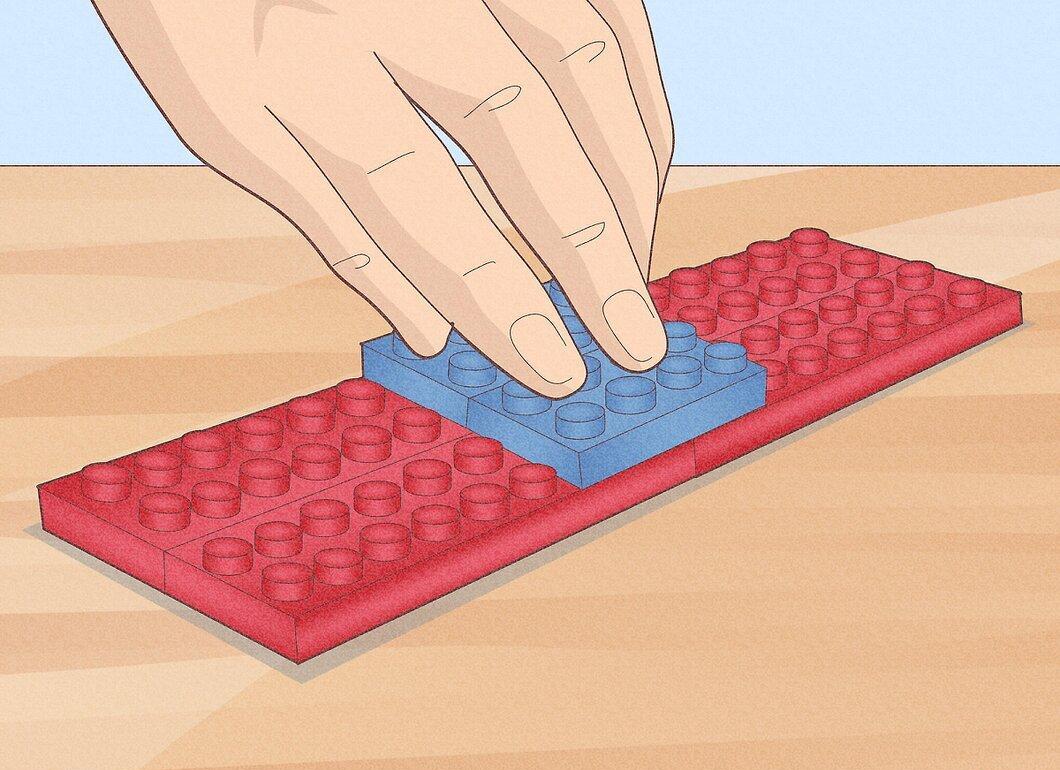
Place the 2x8 blocks in two rows to form a 2x16 structure. Secure blocks on top of the rows to connect them.
Step 3. Flip the Blocks.
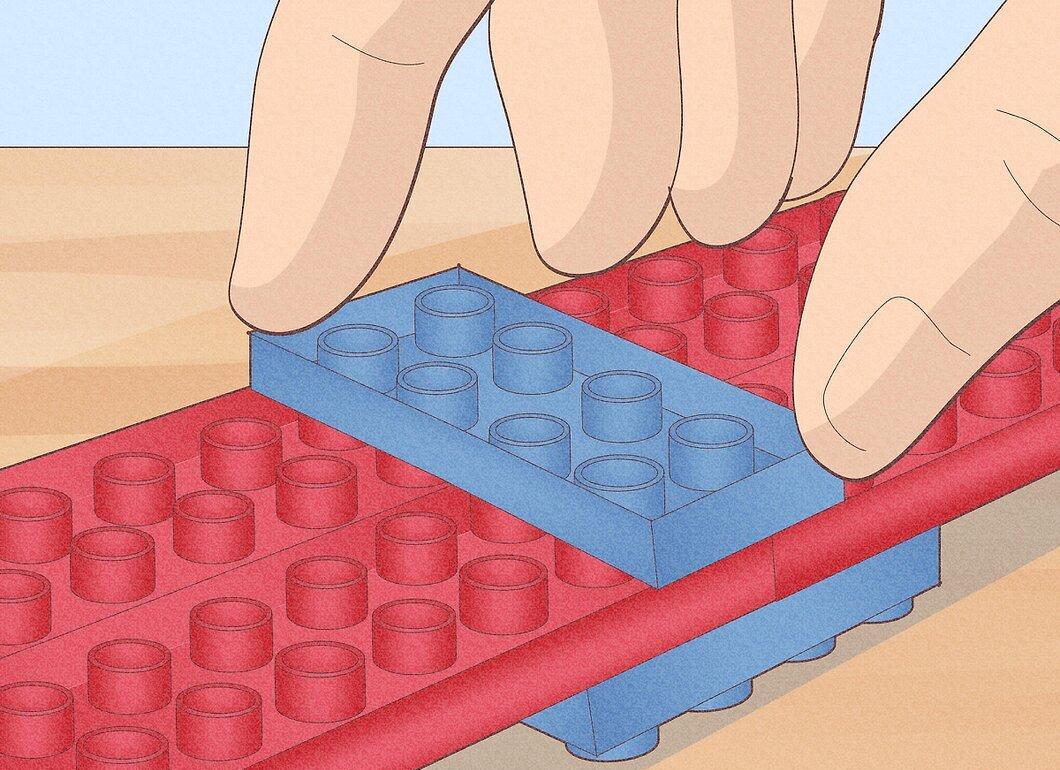
Flip the connected blocks and add a flat plate to the bottom to connect them.
- Install wheels on the axles. Place an axle at each end of the car.
Step 4. Stack the 2x4 Blocks.
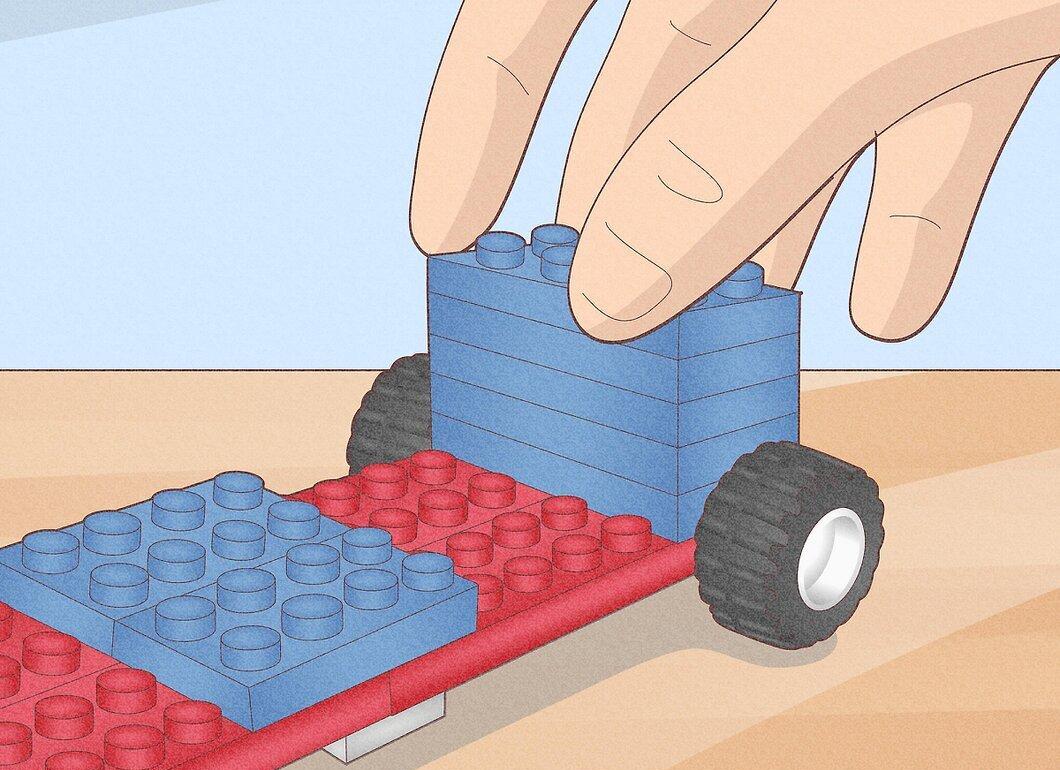
Connect 5 blocks of 2x4 and attach them to the back of the body. Ensure they are tightly connected.
- Attach the 1x2 blocks to the top of the column, creating a small cavity.
Step 5. Insert the Balloon.
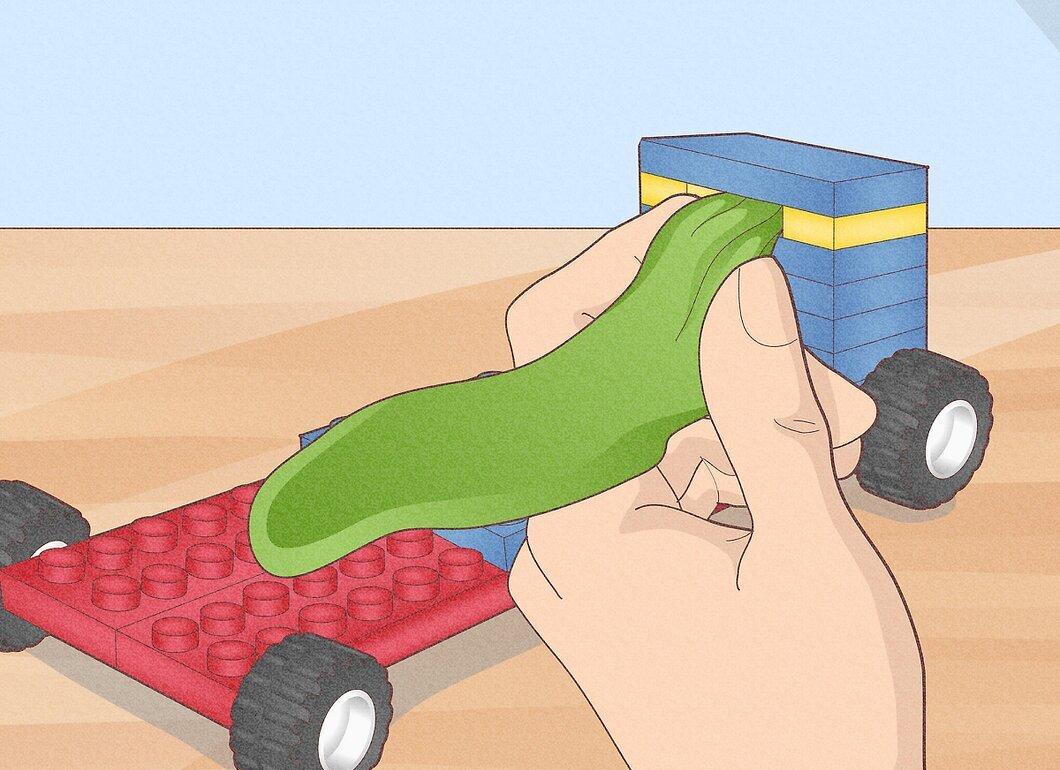
Place the balloon on the body, threading the neck through the hole, but do not pull it all the way through.
Step 6. Inflate the Balloon.

When inflating the balloon, hold the car close to your face for easier control of the opening.
Step 7. Set the Car on a Smooth Surface.
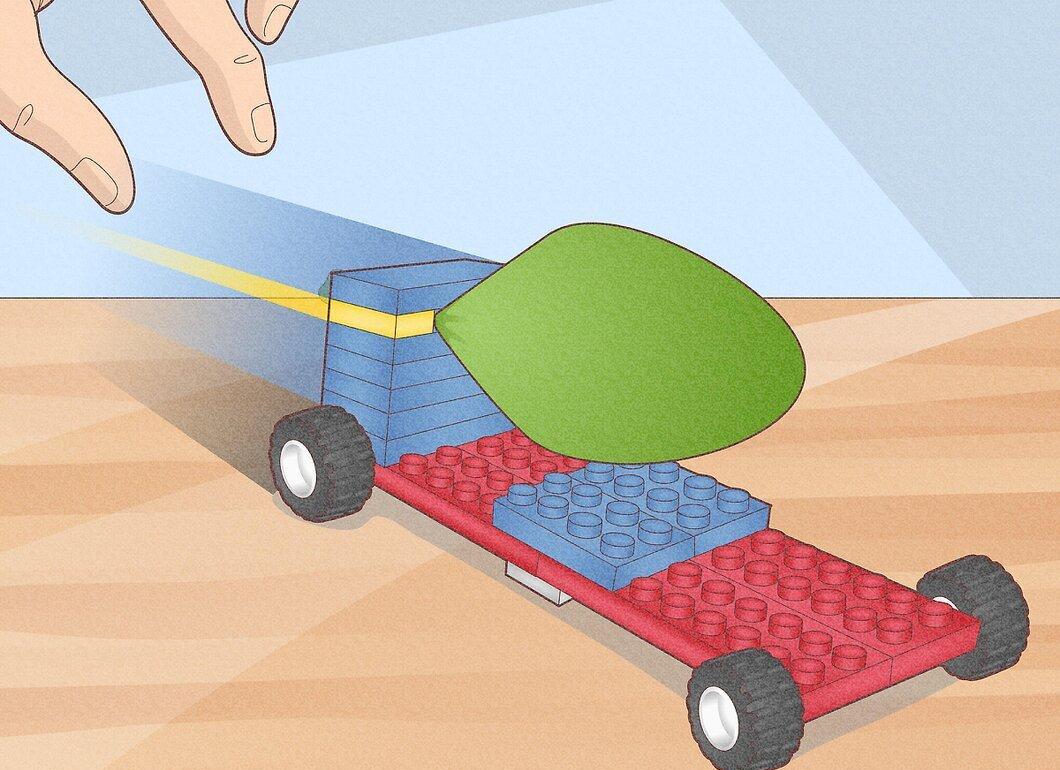
Release the neck of the balloon, and your car should start moving away from you!


