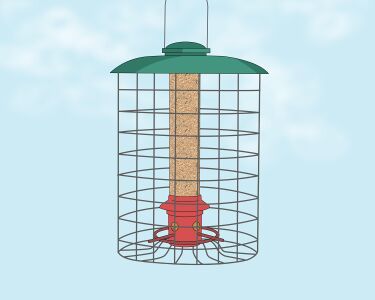
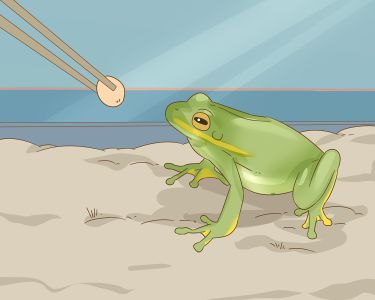
Your pets are absolutely adorable, and you definitely want to photograph them to share online or decorate your home! However, whether your animals are calm or always on the move, capturing their essence can be challenging. You'll need to work with your pet to get them to look at the camera. Additionally, you'll need to be quite nimble during the shoot to catch that precious moment!
Get Your Pet Used to Photography
Step 1. Let your pet sniff the camera thoroughly.
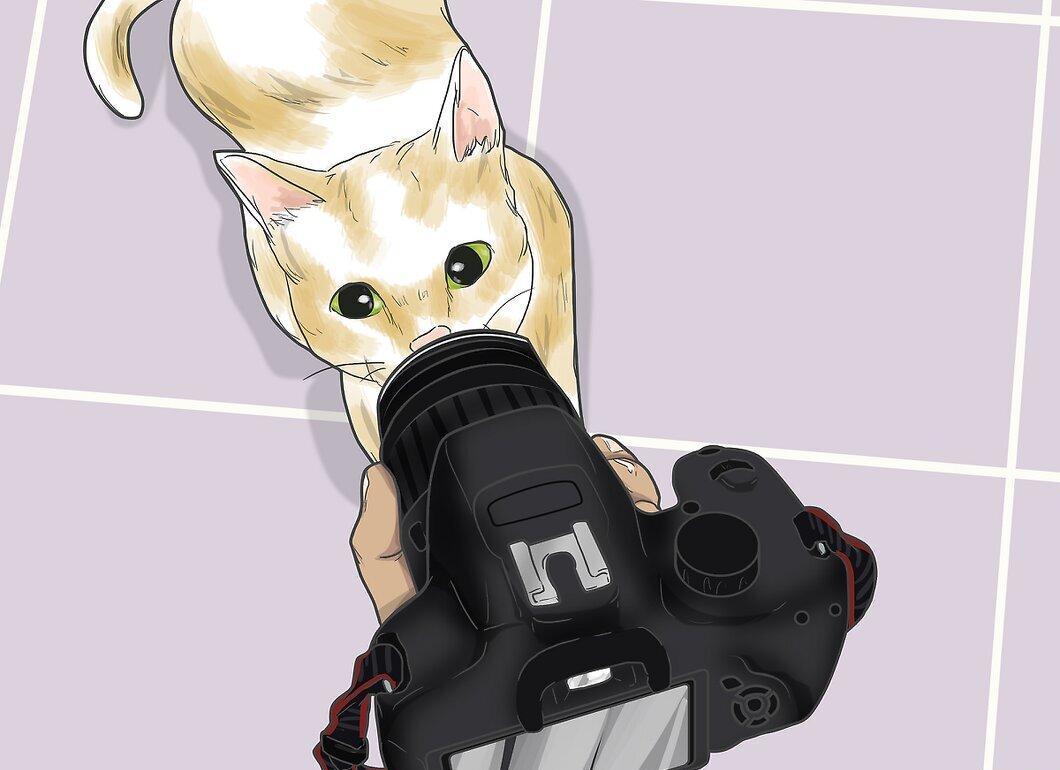
Allow your pet to sniff the camera thoroughly. Whenever animals encounter something new, they feel curious (especially cats). Let your pet take their time to sniff your camera, reducing the chances of them getting distracted during the shoot.
- If you’re photographing someone else’s pet, let the animal sniff you as well, to help it feel more comfortable during the session.
Step 2. Allow your pet to get used to the flash and shutter sound of the camera.
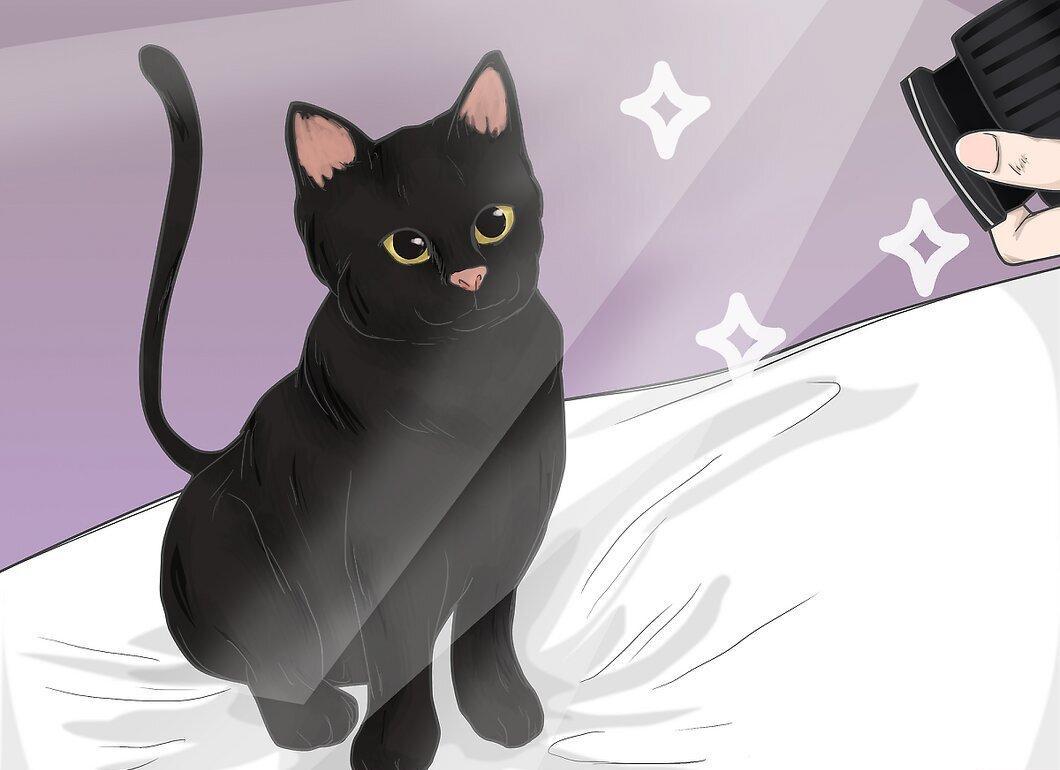
Let your pet get accustomed to the flash and the sound of the camera shutter. Sometimes the flash can make the animal freeze for a second, which is useful for capturing a still shot. However, both the shutter sound and the flash can distract your pet to the point that the shots turn out poorly. Therefore, take a few preliminary shots to let your pet adjust to the camera’s features.
- Try taking a couple of pictures of the ceiling first so that your pet can hear the shutter and see the flash.
Step 3. Allow your pet to explore the shooting area.
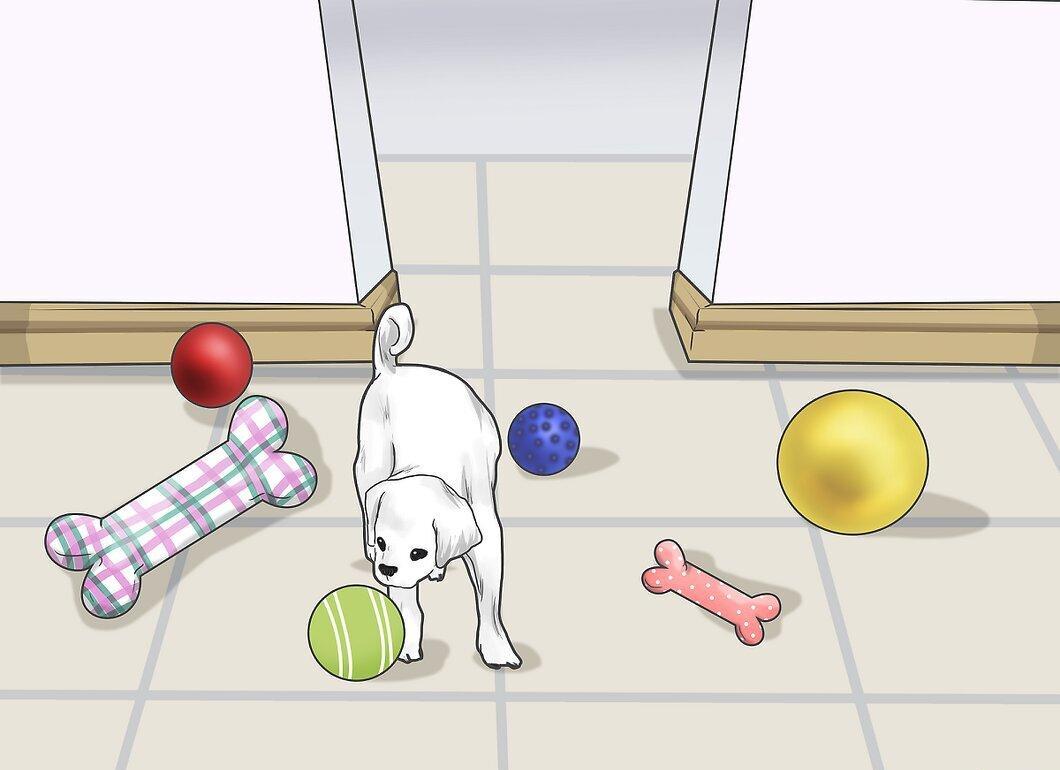
Let your pet explore the shooting area. If you are outside or have taken your pet to a new place, they will want to explore their surroundings. Give them a few minutes to look around! This way, your pet won't be as distracted when you prepare to start shooting.
- If you have your pet on a leash, take a slow walk with them around the photo zone, allowing them to sniff the area.
- If you’re indoors with a small pet, let them wander around for a minute on their own.
Photography Session
Step 1. Go outside if possible.
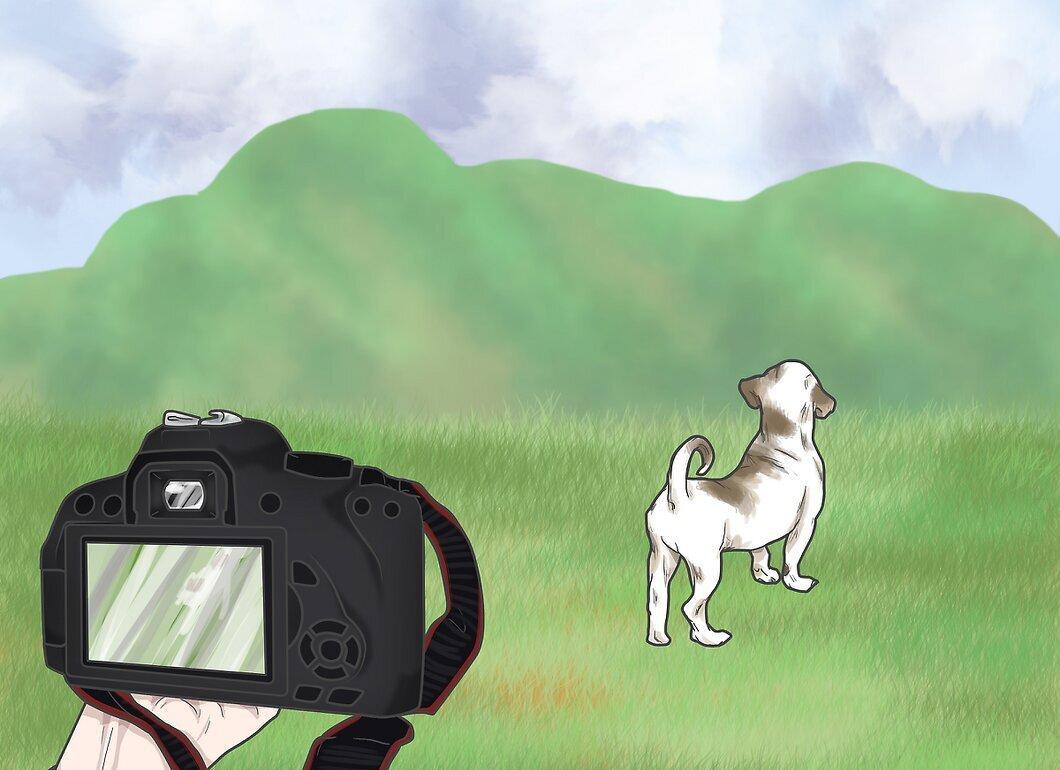
Go outside if possible. Natural lighting is beneficial for any photography, and pet photography is no exception. If it’s very sunny outside, choose a shaded spot where there’s enough light for your photos.
- Try to take photos just after sunrise or before sunset. These “golden hours” provide the best natural lighting. It’s best to avoid bright sunlight in the middle of the day.
- Of course, not all pets can be taken outside for shoots. In that case, just try to move your pet to an area that receives the most natural light. Open curtains and blinds to let the sunlight in!
- If natural light is not available, try using an external flash. Aim it at the ceiling to create perfect lighting by bouncing the light off the ceiling.[5] X Source
Step 2. Choose an uncluttered background.
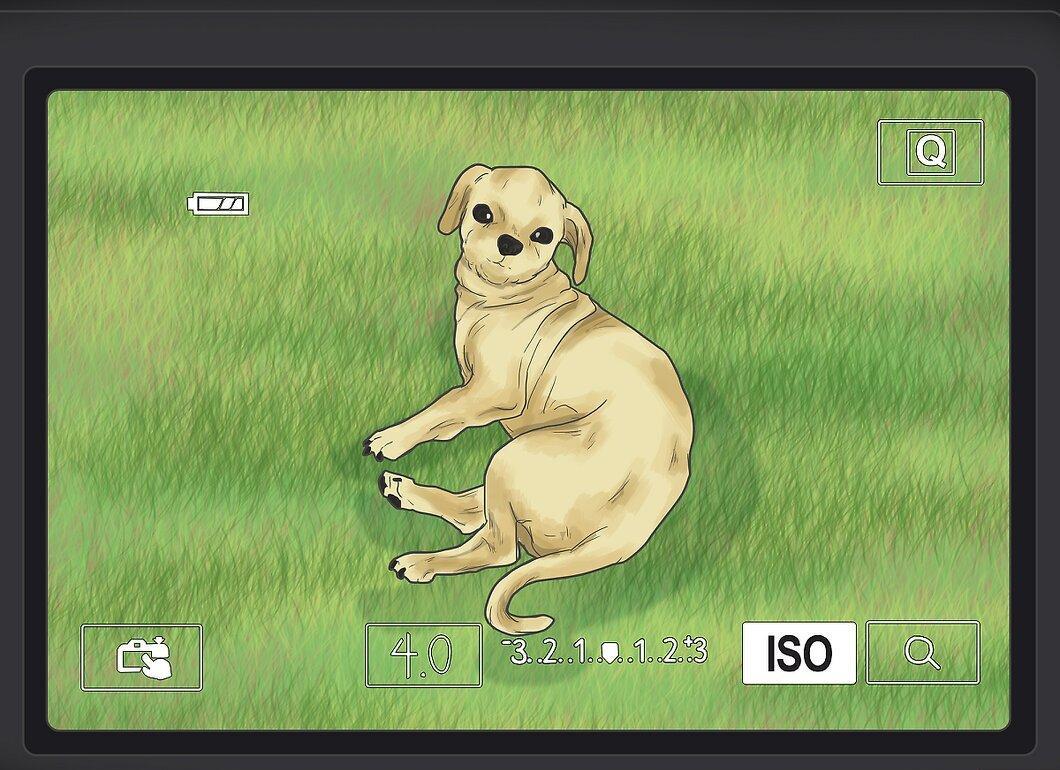
Choose an uncluttered background. Aim to use a mostly solid background, avoiding any patterns or people in the background. For example, grass or even a solid piece of furniture can make a great backdrop for a pet shot.
- If the background is too cluttered, your pet may not stand out in the frame as much as you'd like.
- Try to select a background that will highlight your pet best. For example, choose a bright background for a black cat or a dark background for a light-colored dog.
Step 3. Focus on your pet’s face.
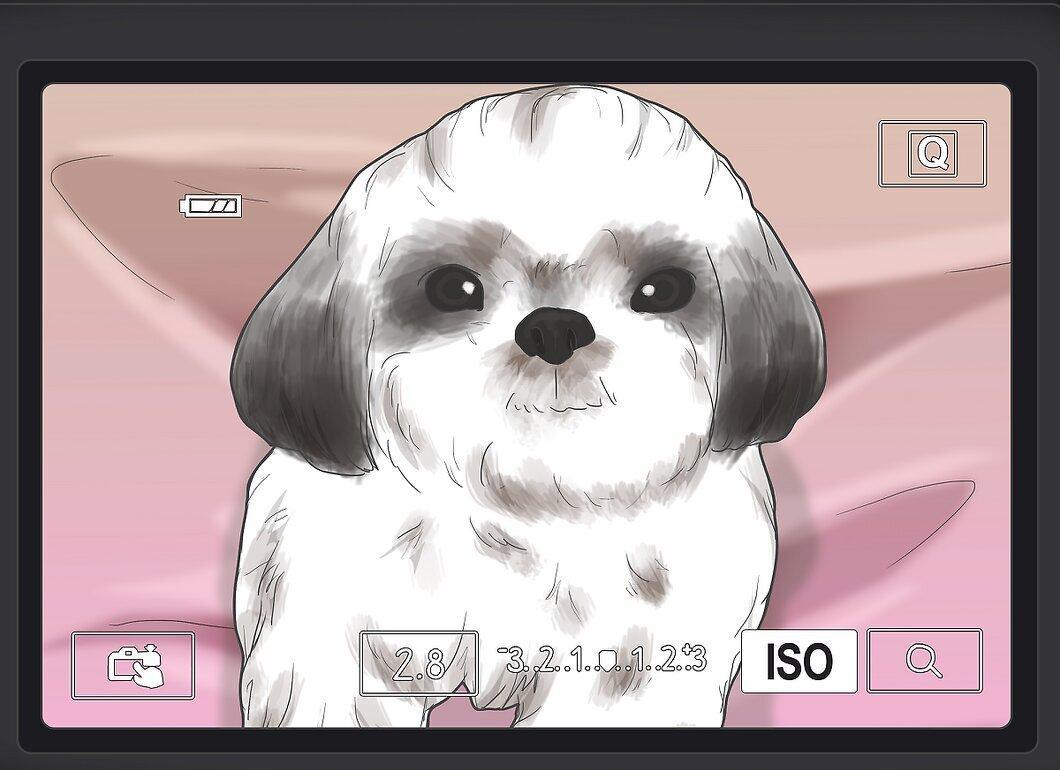
Focus on your pet’s face. The main character of your pet is expressed in their face, so it should be the primary focal point in your photographs. If you’re manually adjusting focus, make the animal’s eyes your target!
PRO TIP from Or Gozal
Amateur photographer Or Gozal has been taking photos since 2007. Her work has been published in outlets like National Geographic and Stanford University’s Leland Quarterly.
Or Gozal, Photographer
What settings should you use for a portrait shot?
Photographer Or Gozal suggests: "When it comes to ISO, choose the lowest possible value in natural light (e.g., ISO 100) to avoid graininess. With aperture, you have more room to experiment, but an f/1.4 setting will work well."
- Since your pet’s character is expressed in their face, try to capture that! Aim for a shot with your pet’s expressive eyes or their funny smile.
Step 4. Make your pet the sole subject of the photograph.
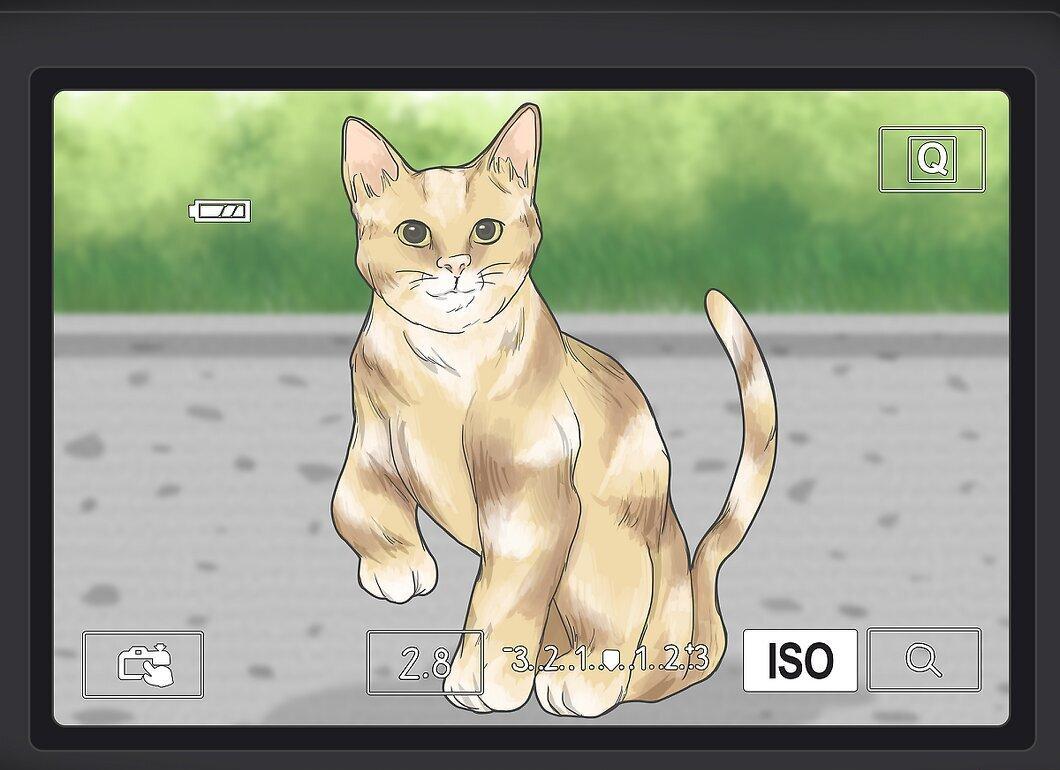
Make your pet the only subject of the photograph. Get close to your pet so they fill the entire frame. This way, the focus of the shot will be your pet rather than something interesting in the background.
- If possible, position yourself at the same level as your pet. Lie on the floor or crouch down. As an added bonus, your pet may decide to come over to see what’s going on.
- If necessary, you can crop the image later to remove any excess space around.
Step 5. Wait for the perfect moment to capture the shot.
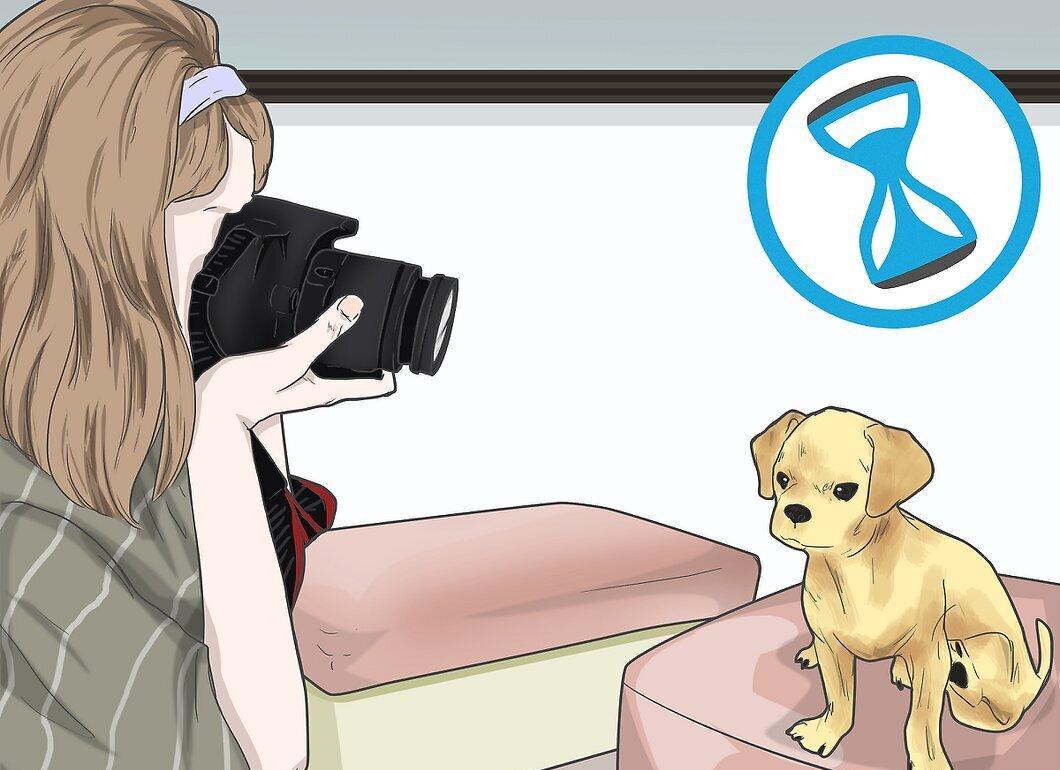
Wait for the perfect moment to capture the shot. A treat may draw your pet’s attention to look your way, or it may not work. However, eventually, most pets will have a moment when they look at you and the camera lens. Just be patient and wait for the right moment.
- While you wait, get your camera ready so that when your pet looks at you, all you have to do is press the shutter button.[10] X Source
Step 6. Try to capture your pet’s personality.
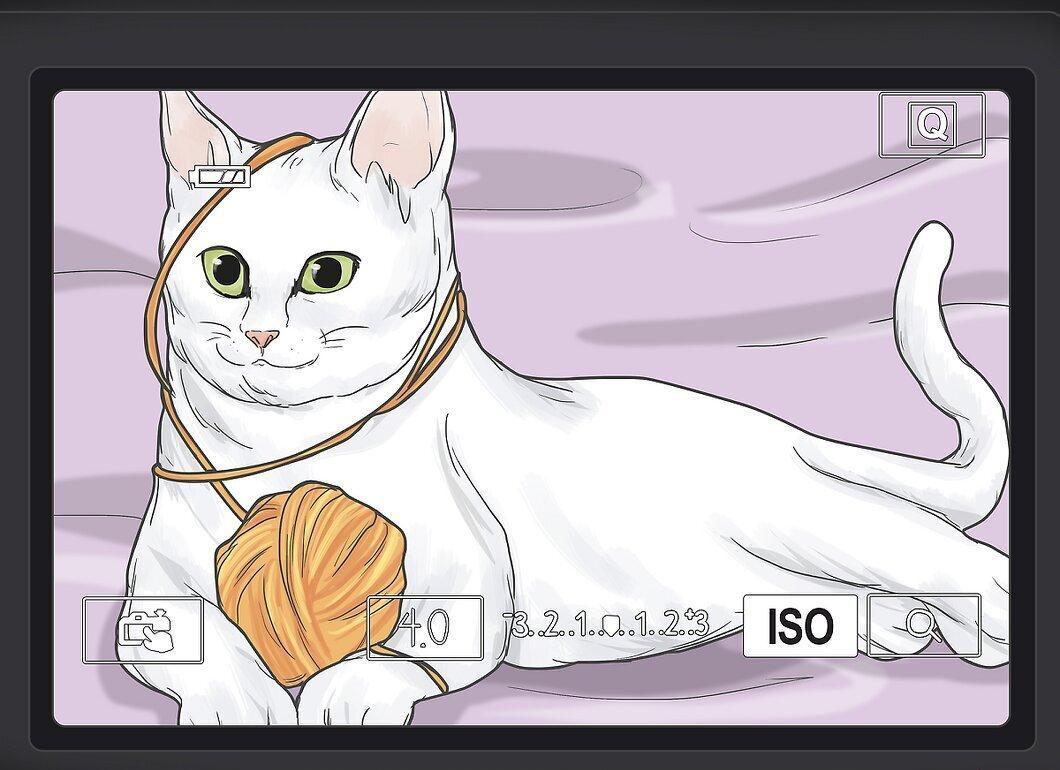
Make an effort to capture your pet’s personality. Regardless of what type of personality your pet has (cheerful, lazy, playful, or stubborn), try to encapsulate it in your shots. If you’re photographing someone else’s pet, ask the owner about the animal’s character traits.
- For instance, if your pet is prone to laziness, try to photograph them while they sleep.
- If they can perform a special trick, have them show it on camera!
Step 7. Experiment with different angles.
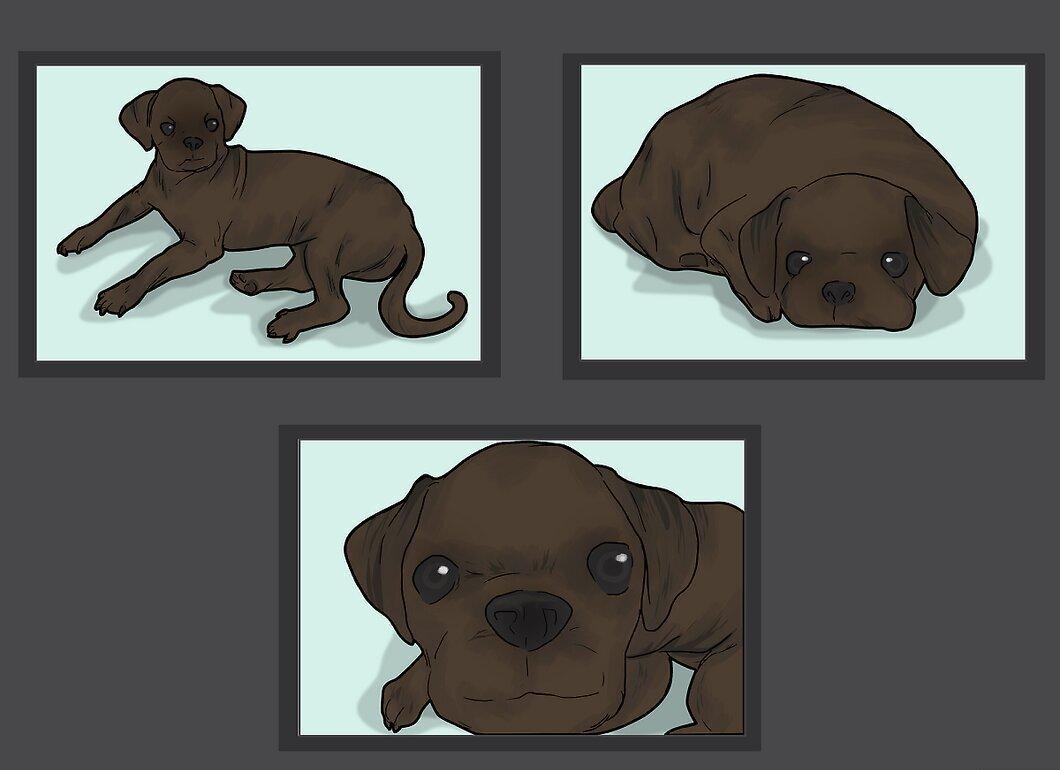
Try taking shots from various angles. Pets, like people, look different from different viewpoints, and choosing various angles and perspectives can add variety to your shots. During the photo session, take several close-ups of your pet’s face (focusing on a specific feature like the eyes, nose, or ears), but also be sure to capture some shots that show other parts of your pet’s body.
- Working with different angles may yield unexpectedly great shots that you wouldn’t have gotten if you hadn’t moved around your subject a bit.
Engage with Your Pet During the Shoot
Step 1. Work in short sessions to keep your pet interested.
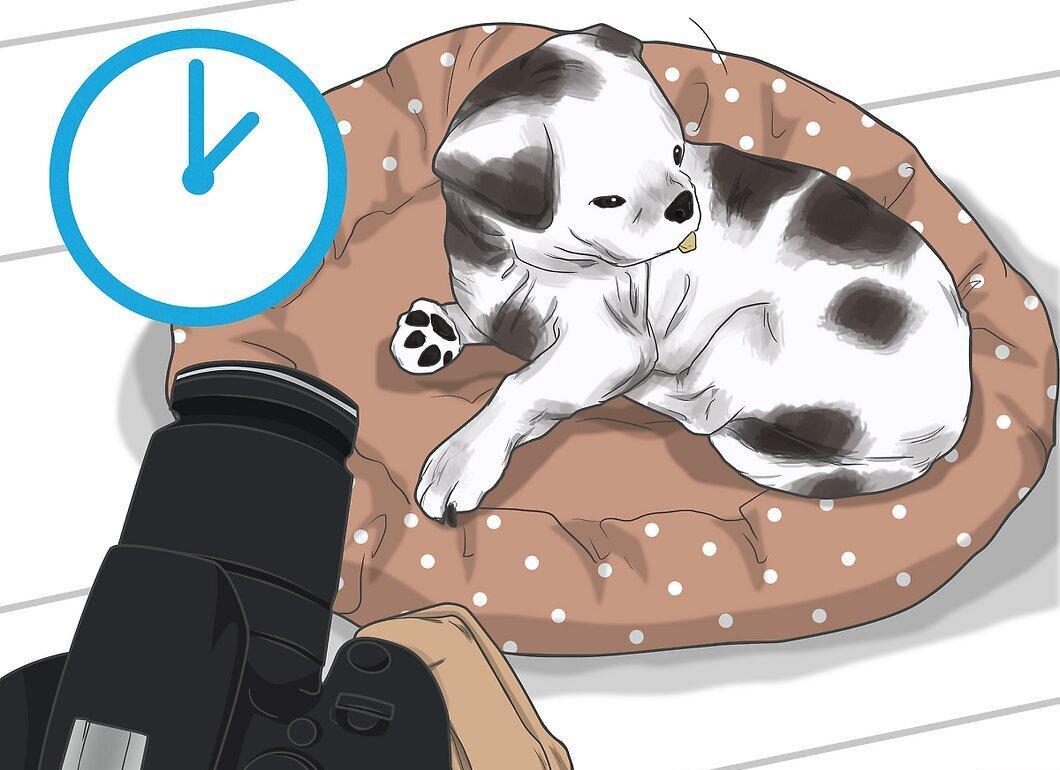
Work in short sessions to maintain your pet’s interest. Think of your pet like a small child, and you’ll get a pretty accurate idea of how long they can maintain focus. Take breaks during the shoot and only take a few shots at a time — this way, you’ll get photos with a happier and more engaged animal.
- Set a timer for a couple of minutes if you tend to forget to take breaks.
Step 2. Reward your pet with treats.
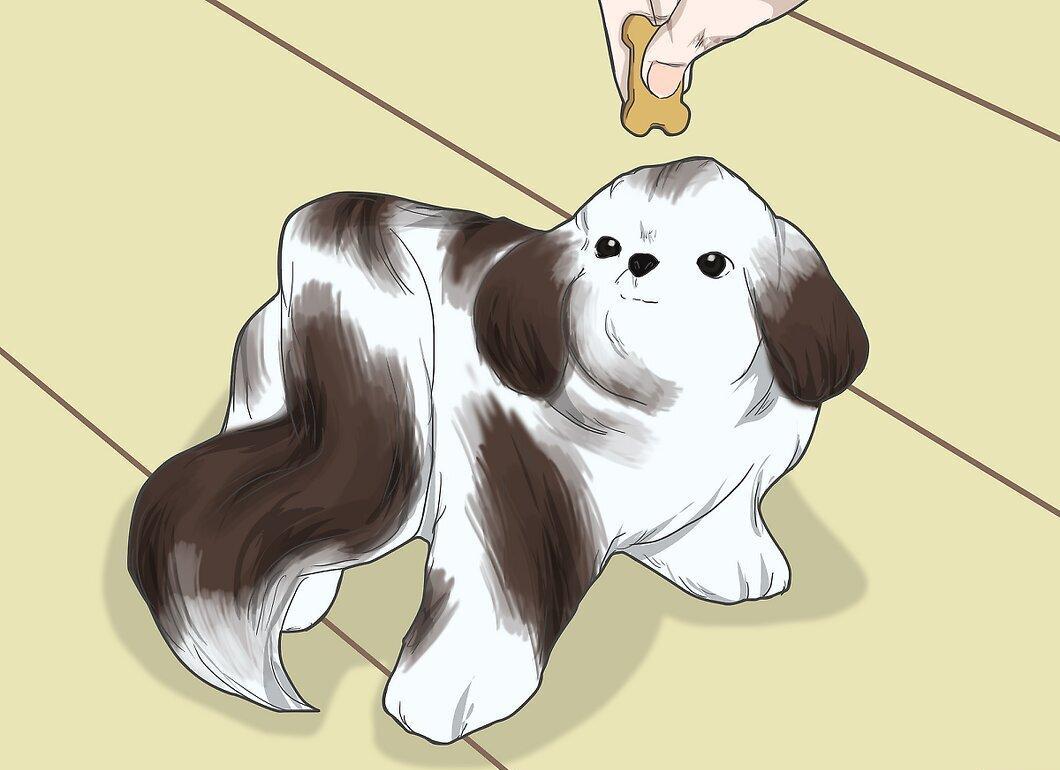
Reward your pet with treats. Most animals love treats, so now is the perfect time to bring out your pet’s favorite snack. Cut the treat into small pieces, as you will likely need to lure them more than once.
- Try asking someone to hold the treat near the camera. Make sure your pet knows about the treat, and then have your helper hide it. This trick often results in interesting facial expressions (especially from dogs).[13] X Source
Step 3. Play with your pet using their favorite toys.
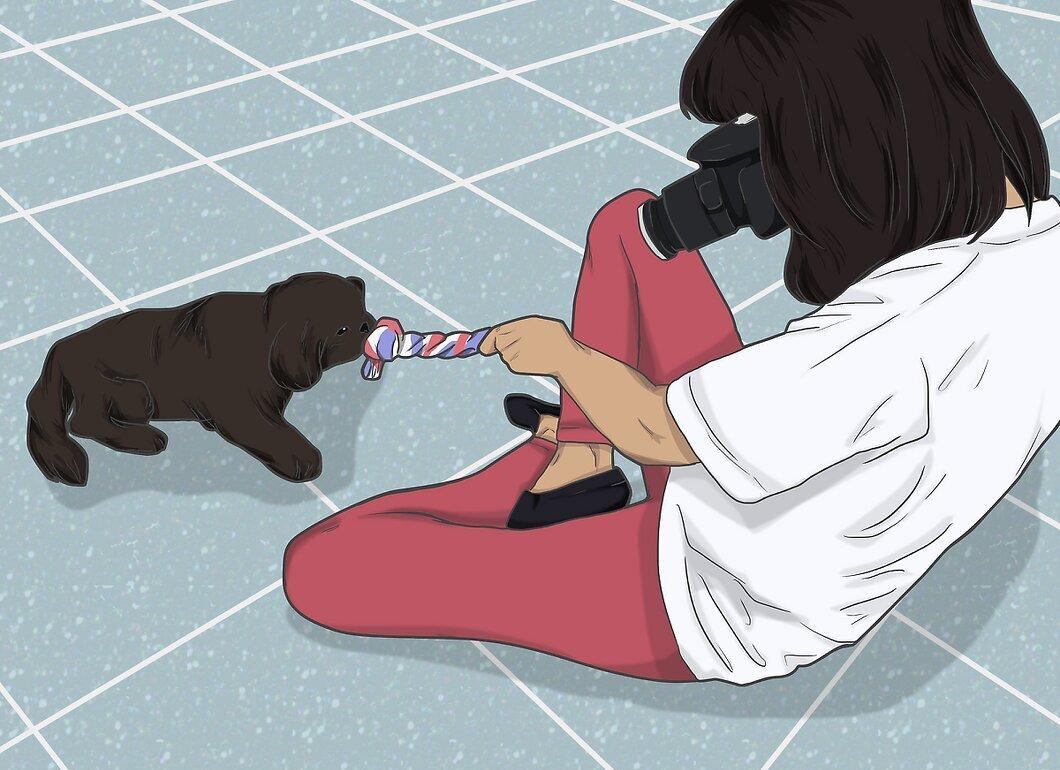
Play with your pet using their favorite toys. A playful pet will look great in photos, and using a toy will help keep them close to you. Grab a toy and play with your pet in the usual way.
- If someone is available to help, let them play with the animal while you take the photos.
- Tug-of-war toys are great for dogs, while wand toys work well for cats, as they can entice the animal over to you. However, any toy that keeps your pet within the shooting point will do.
- Balls typically don’t work well for photography unless someone is throwing the ball towards you. Otherwise, the animal will just run away from you.
Step 4. Use the right tone of voice to get the shots you need.
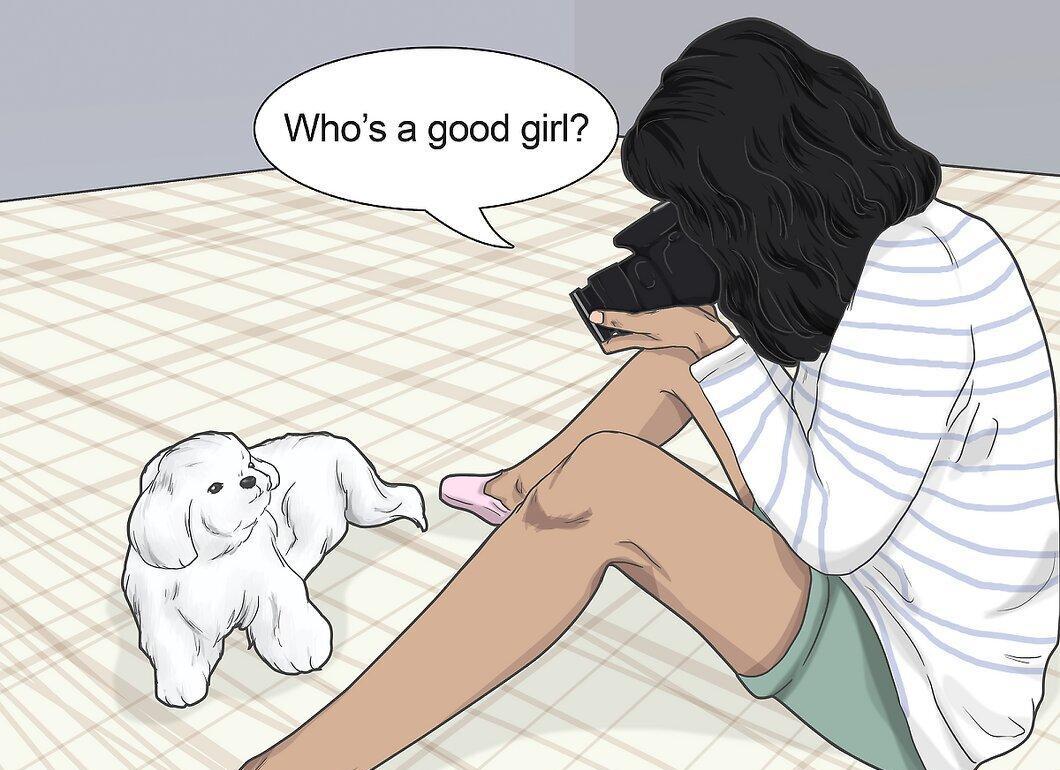
Use the appropriate tone of voice to get the shots you need. For dogs, your voice should be very cheerful and happy. Dogs respond well to enthusiastic tones, especially when you tell them how good they are! Other animals may prefer a calm and almost cooing tone.
- You know what your pet wants to hear! Call them by name and speak in a happy voice.
- For example, when addressing a cat, try to speak pleasantly but calmly. When talking to birds, use a very cheerful tone, but not too loud so as not to scare them. Whistling can also help!
- If you’re photographing someone else’s pet, ask the owner to talk to them, as they may have more success in this than you.
Step 5. Surprise your pet to get them to look your way.
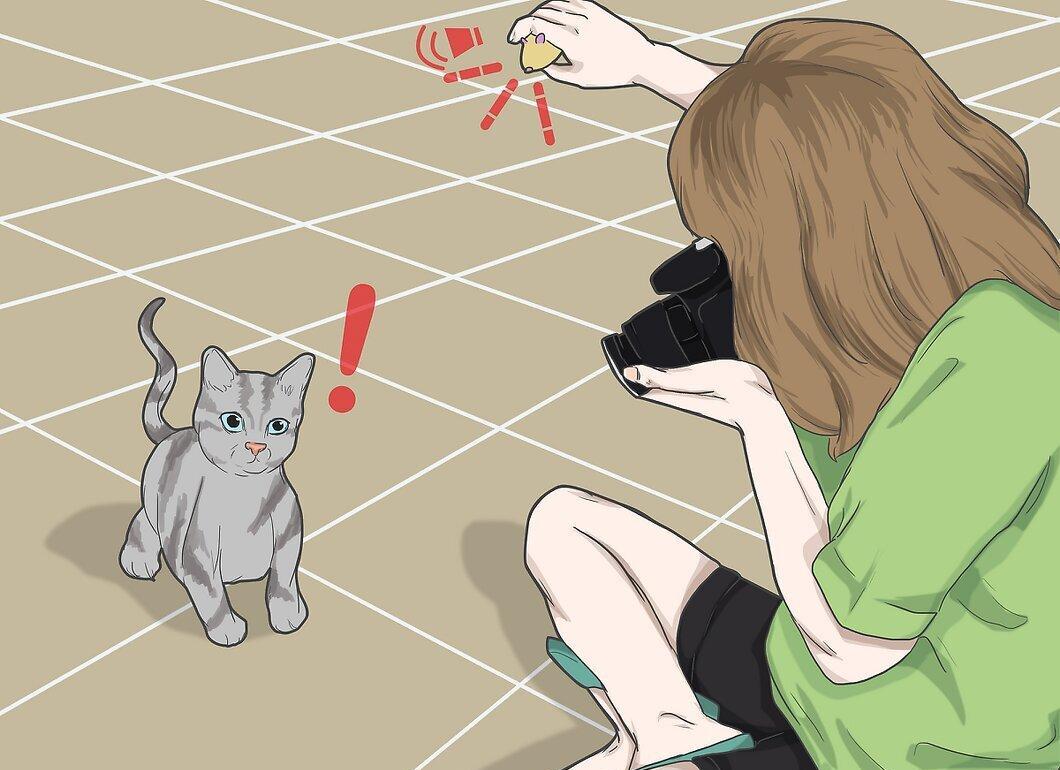
Surprise your pet to get them to look your way. Of course, you don't want to scare the animal, but something new and surprising can catch their attention. For example, you might enlist a helper to peek out from behind you occasionally or use a squeaky toy that will attract your pet with its sounds.
- You can also use unique sounds, such as clicking your tongue, tapping your fingers, scratching a surface, or whistling.
Improve Your Skills
Step 1. Decrease the shutter speed to capture your pet's joyful movements.
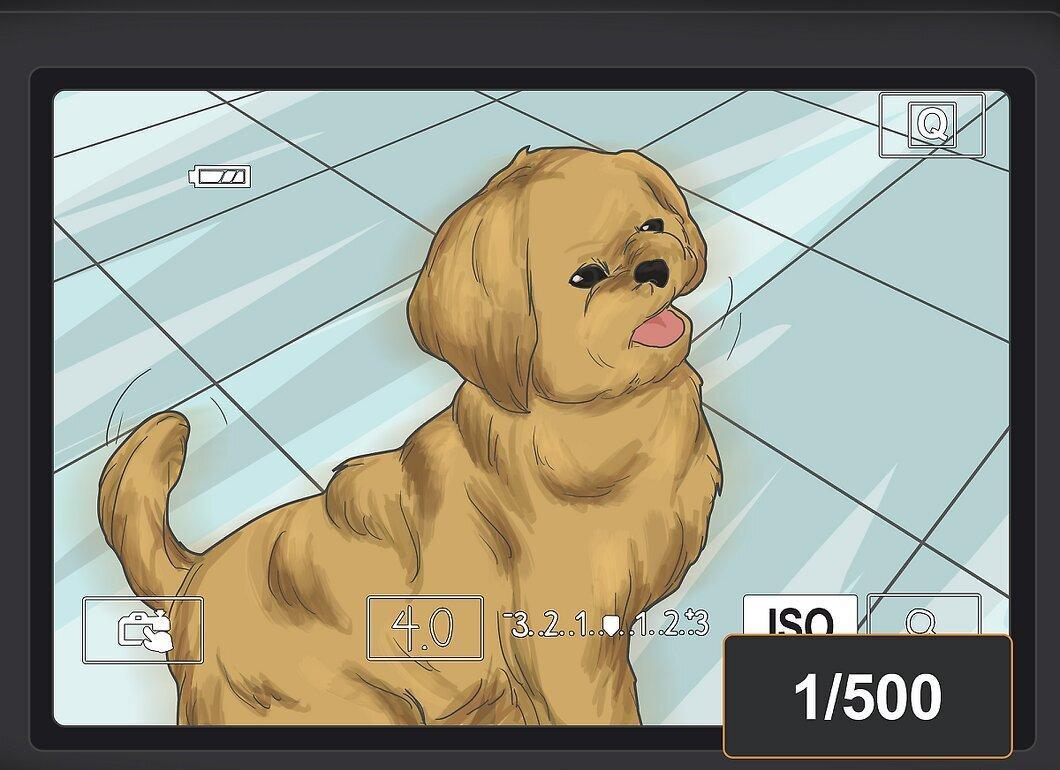
Decrease the shutter speed to capture your pet's joyful movements. Most pets won’t stay still for you to photograph them calmly! Try lowering the shutter speed, and you’ll reduce the likelihood of getting blurry photos due to your pet’s movement.
- Start with a shutter speed of 1/500.[18] X Source
Step 2. Increase the shutter speed to brighten photos of dark pets.
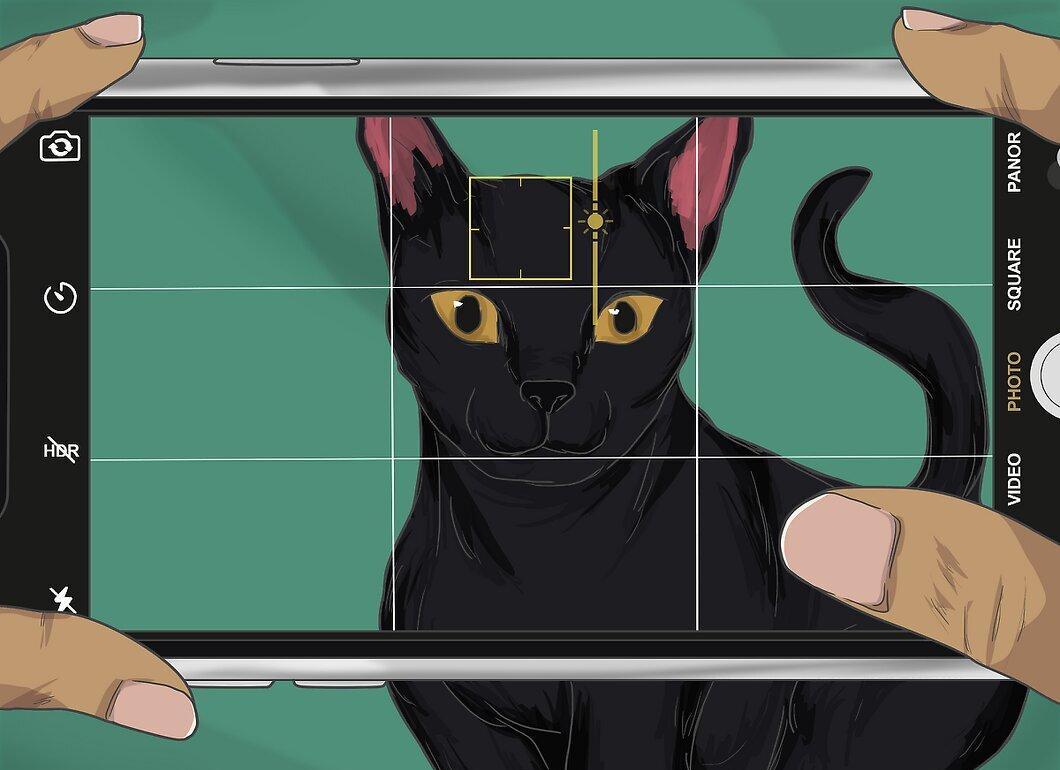
To brighten photos of dark pets, increase the shutter speed. It can be challenging to get good photos of animals with black fur, including cats and dogs. Some details may simply get lost in the darkness. To tackle the issue, increase the shutter speed to make the photo brighter.
- On most iPhone smartphones, you can brighten photos by tapping the screen where the animal's face is to focus on it, and then sliding the sun icon up when it appears on the screen. Adjust it until the shot is bright enough to show your pet’s face in all its stunning details.
- On Android smartphones, it’s usually easier to adjust brightness after taking the photo using photo editing apps.
Step 3. Use the widest aperture to get a detailed shot of the face while blurring the background.
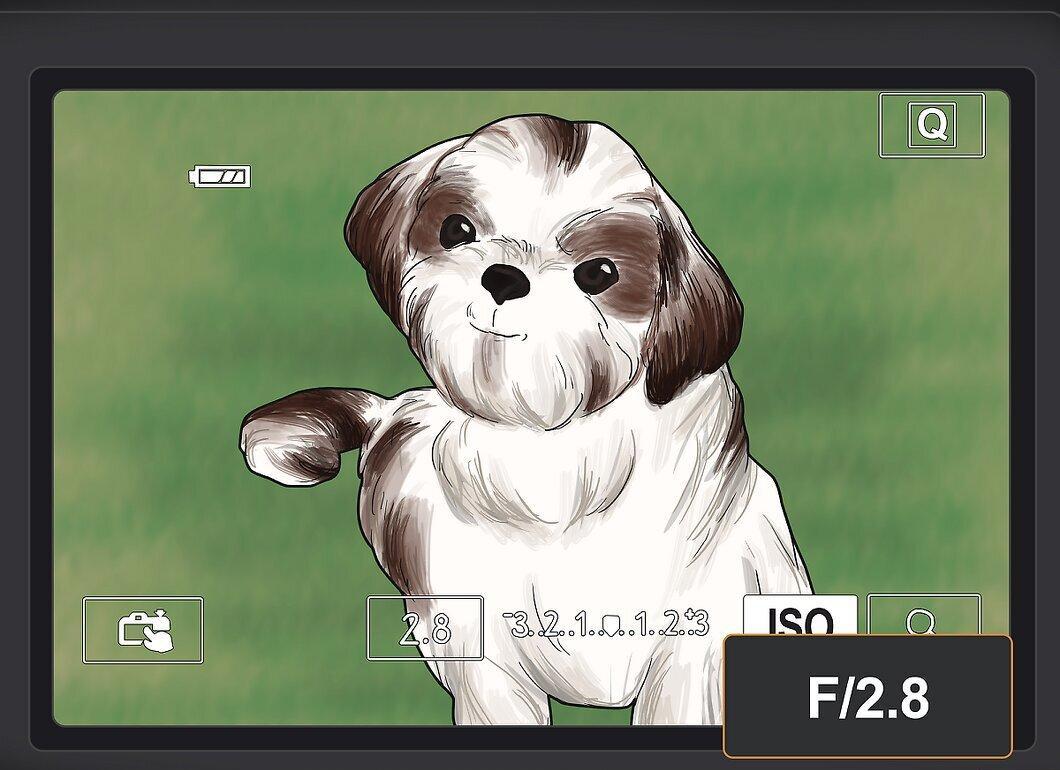
Use the widest aperture to capture a detailed shot of the face while blurring the background. Choose the lowest aperture value corresponding to its widest opening. This will allow you to focus on your pet’s face while blurring the background of the shot.
- If possible, also use a wide-angle lens when working with a wide-open aperture.[21] X Source
- If you’re working with a fully open aperture, place your pet a few steps away from the background, and position yourself closer to the animal.
Step 4. Enable continuous autofocus mode on your camera.
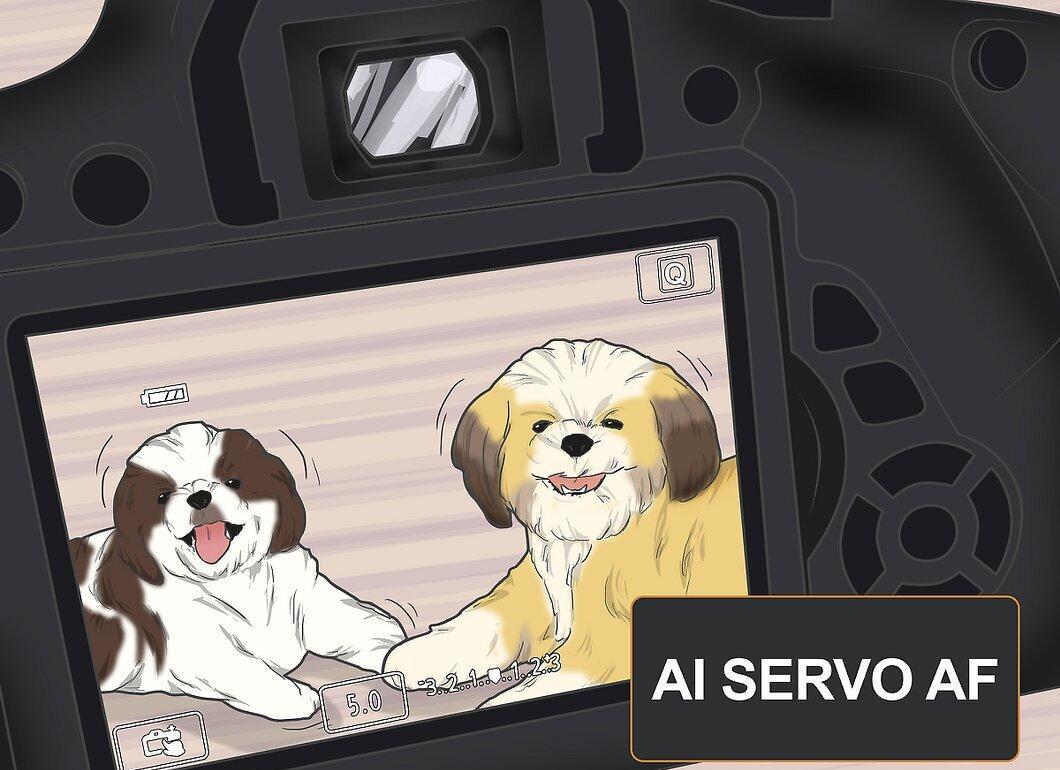
Enable continuous autofocus mode on your camera. It’s easiest to use continuous autofocus mode on higher-end cameras. You just need to press the shutter button halfway. If your camera doesn’t have continuous autofocus mode, try using burst shooting mode.