
Complete Guide to Fiberglassing Your Boat
Fiberglass is the ideal choice for building and repairing boats for many reasons. Its main feature is its high strength, along with its ease of repair. You can fix boat damage in just one day and then fiberglass it in a few days. In this article, we’ll show you how to properly carry out this procedure using epoxy resin.
Part 1
Step 1: Prepare the Boat for Fiberglassing.
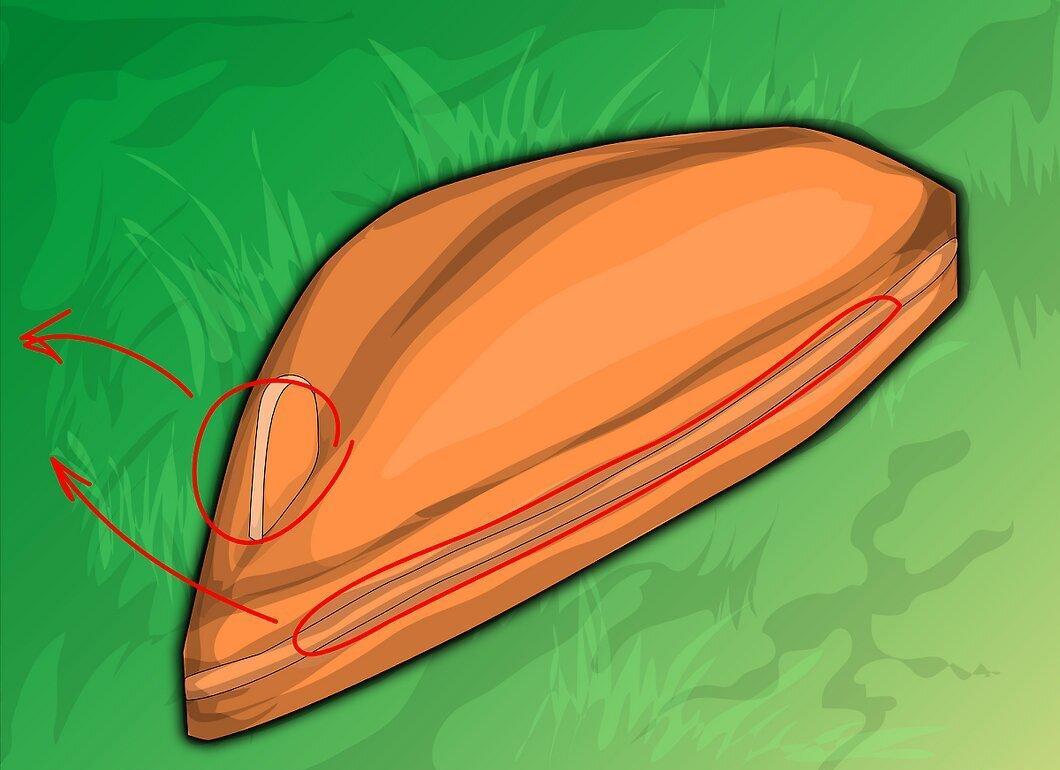
Before you start, it's essential to prepare the boat for fiberglassing. There are several important steps to keep in mind.
- Remove all unnecessary elements from the boat's bottom. Take off the keel, all lifting strakes, and any other parts that should not be fiberglassed.
- Repair any damage with an appropriate material. Cut out the damaged section, clean it, and treat it with a de-waxing solvent. Use an orbital sander to prepare the surface, then apply a patch made of fiberglass or acrylic using a specific adhesive, and then adhere a fiberglass patch cut to fit the hole. Apply resin and repeat the process.
- Clean the hull of the boat. Ensure that the surface is free from dirt, dust, debris, and mold.
- Sand the boat. For the best results, the surface should be slightly rough. Excessive sanding can cause warping.
Step 2: Mix the Resin and Hardener
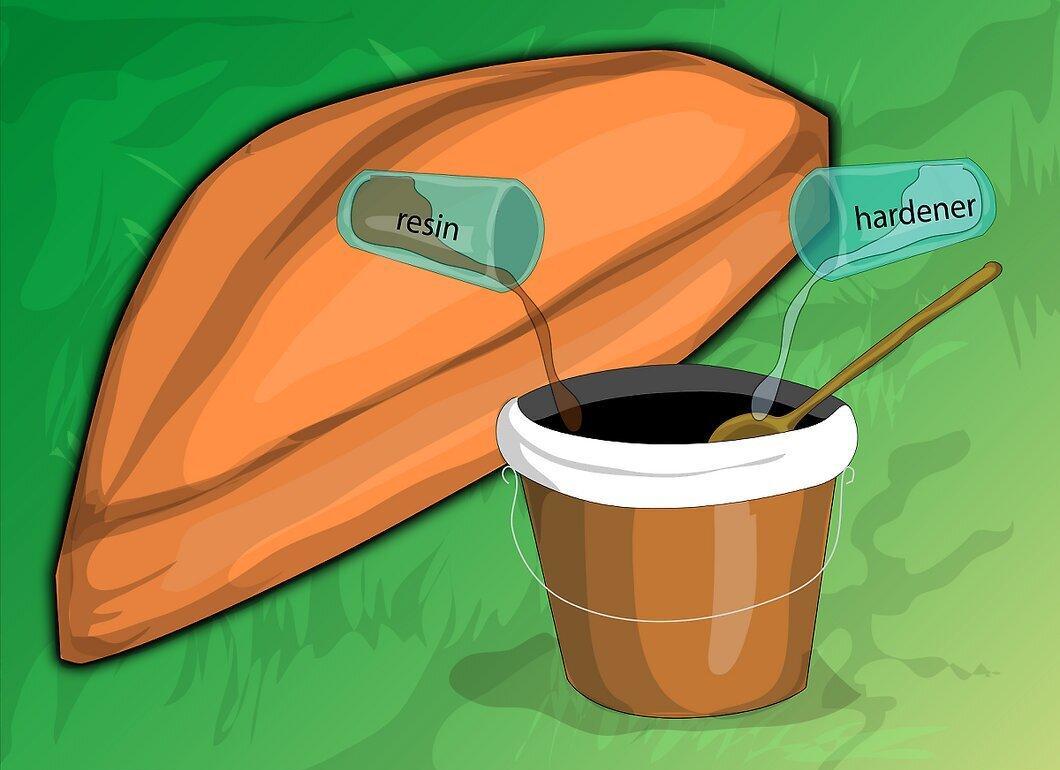
Mix the epoxy resin with the hardener according to the instructions on the packaging, then pour the mixture into a paint bucket. After about half an hour, the mixture will thicken, making it easier to apply to the hull.
Step 3: Apply the First Layer of Resin.
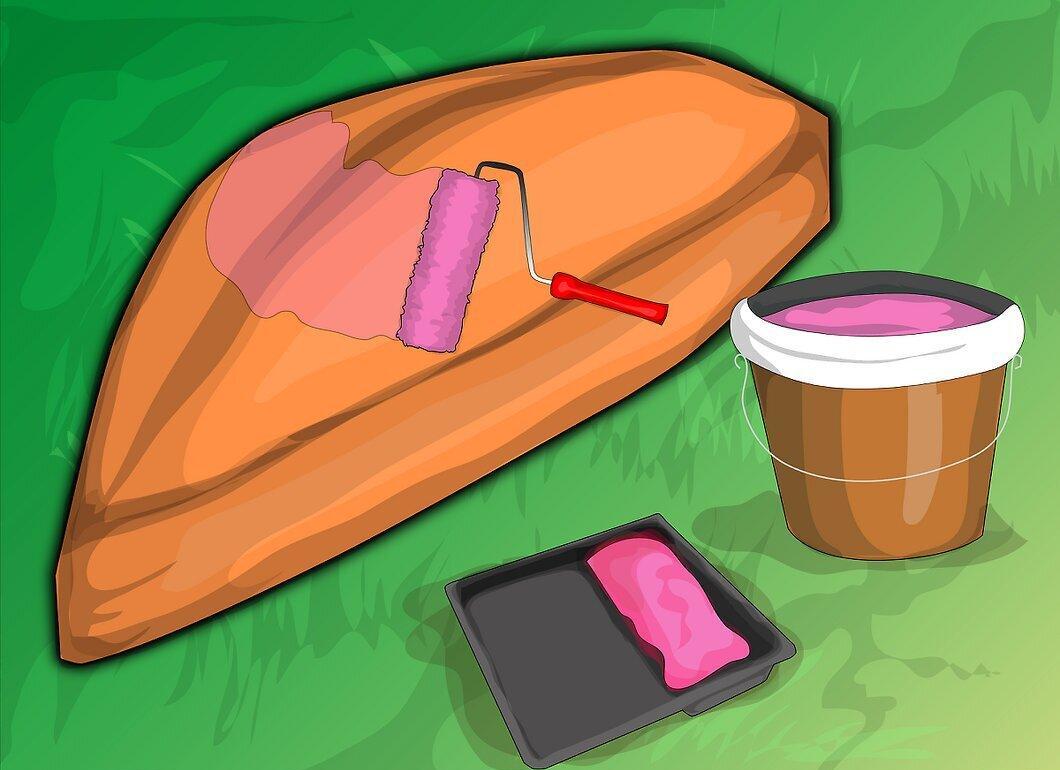
The first layer of resin you apply is called the isolation layer. Use a roller to evenly distribute the resin over the surface, aiming for maximum uniformity. Wait until the surface is no longer tacky before moving on.
Step 4: Prepare and Secure the Fiberglass Cloth.
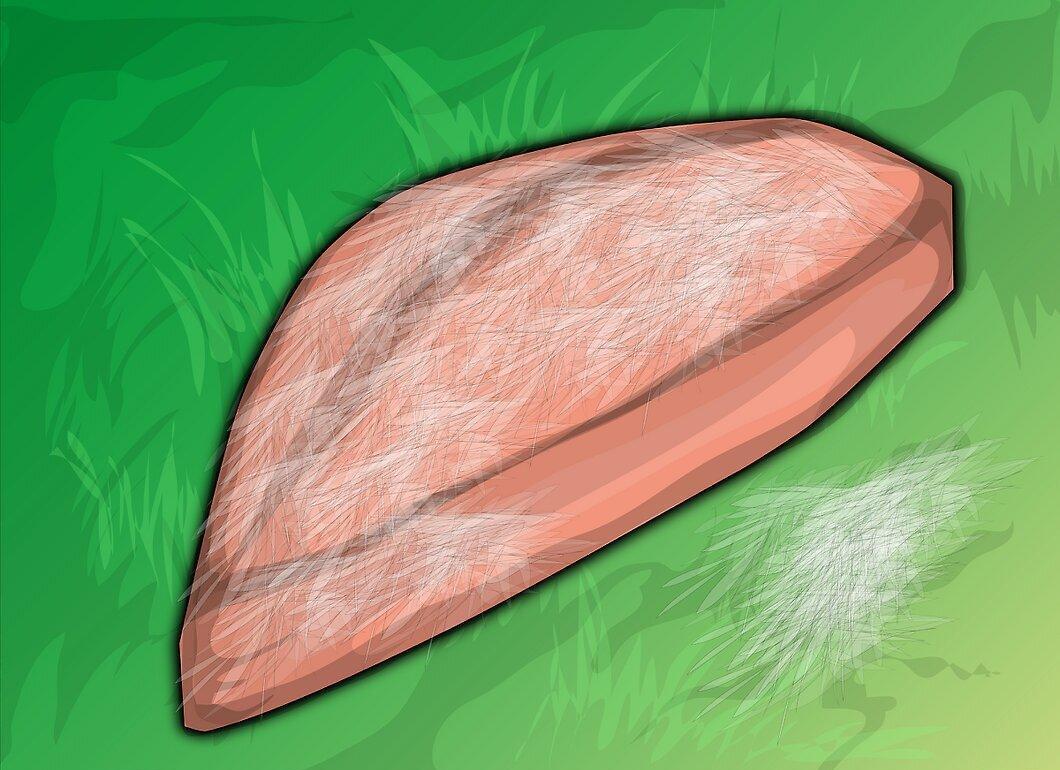
Cut the required piece of fiberglass cloth and attach it to the hull using tape, nails, or clips.
Step 5: Apply the Second Layer of Resin.
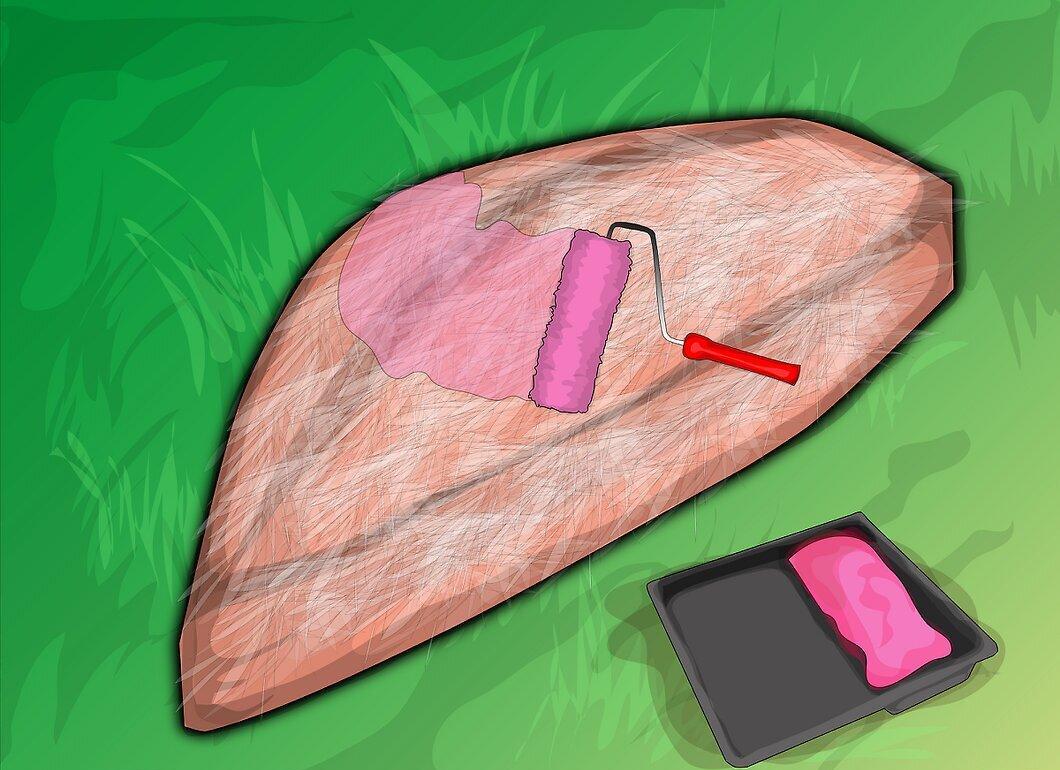
The second layer you apply is called the bonding layer. If you took a break, you may need to sand the hull again. Work from one end to the other, applying the bonding layer to the fiberglass cloth. Remove any material used to secure the cloth before the bonding layer fully cures.
Step 6: Apply a New Layer of Resin.
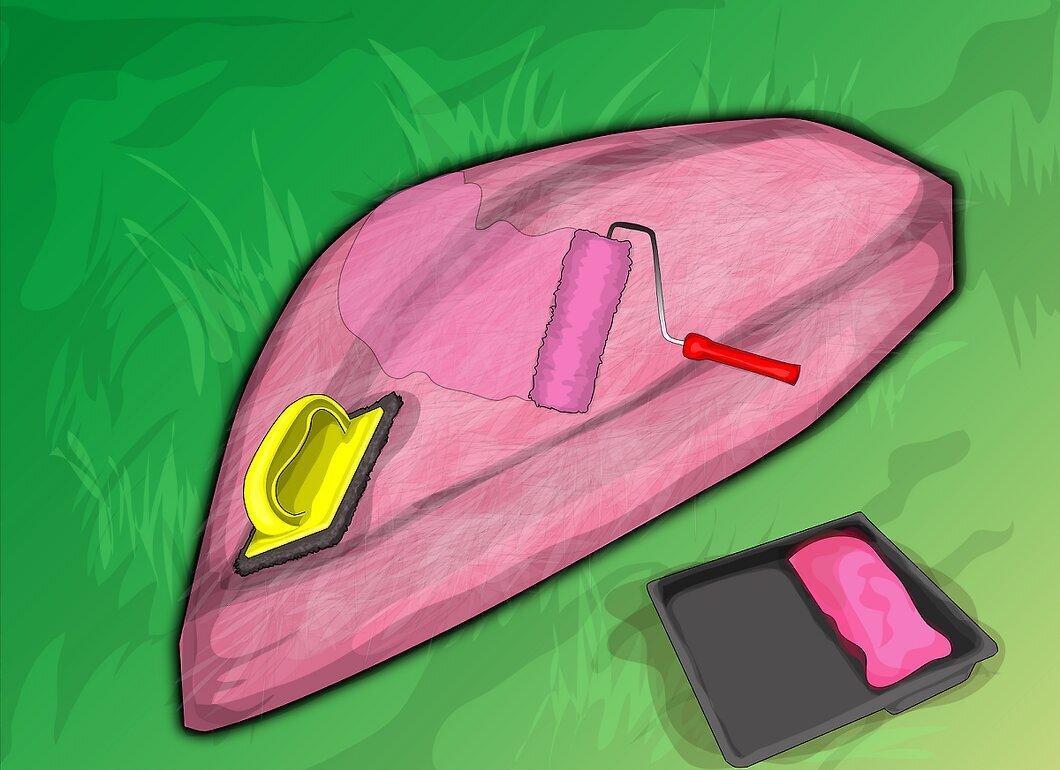
Now it's time to apply a new layer of resin, known as the filling layer. Wait until the previous layer has set and cured. If a lot of time has passed, clean and sand the hull again.
Step 7: Apply the Final Layer of Resin.
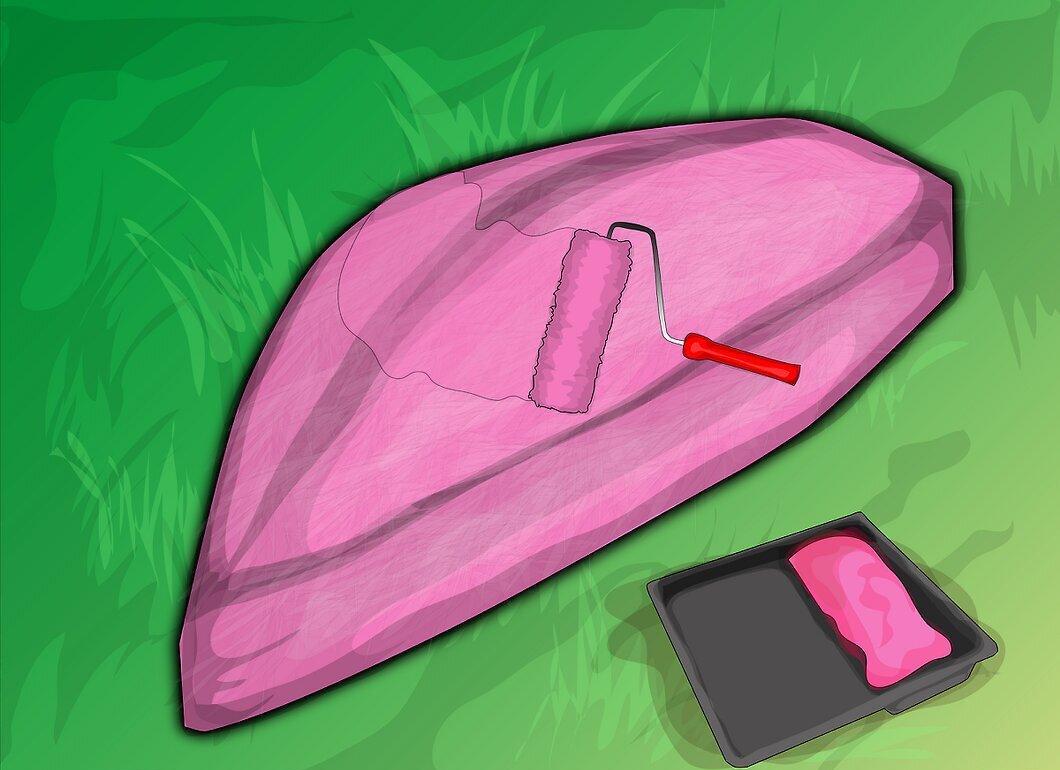
The final layer should be smooth and even, yet thick enough that you can sand it easily without damaging the fiberglass cloth.
Step 8: Sand the Hull.
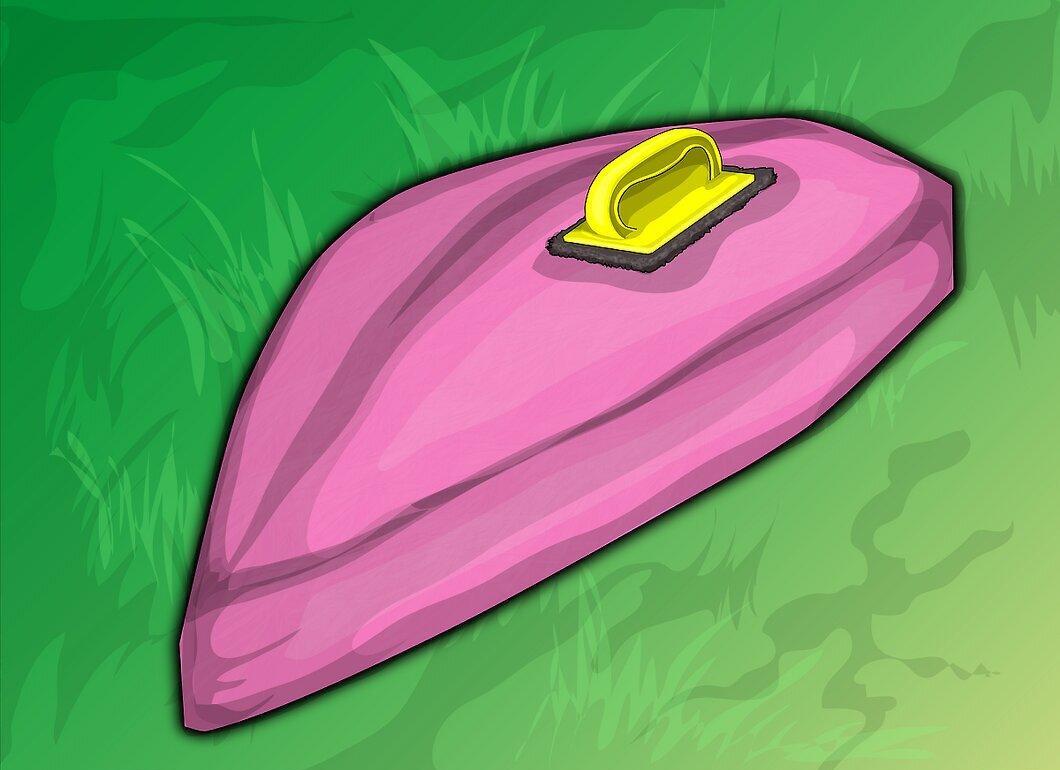
Allow the final layer enough time to dry, preferably leaving it overnight. Start with coarse sandpaper, then finish with finer sandpaper.
Step 9: Apply a Protective Coating.
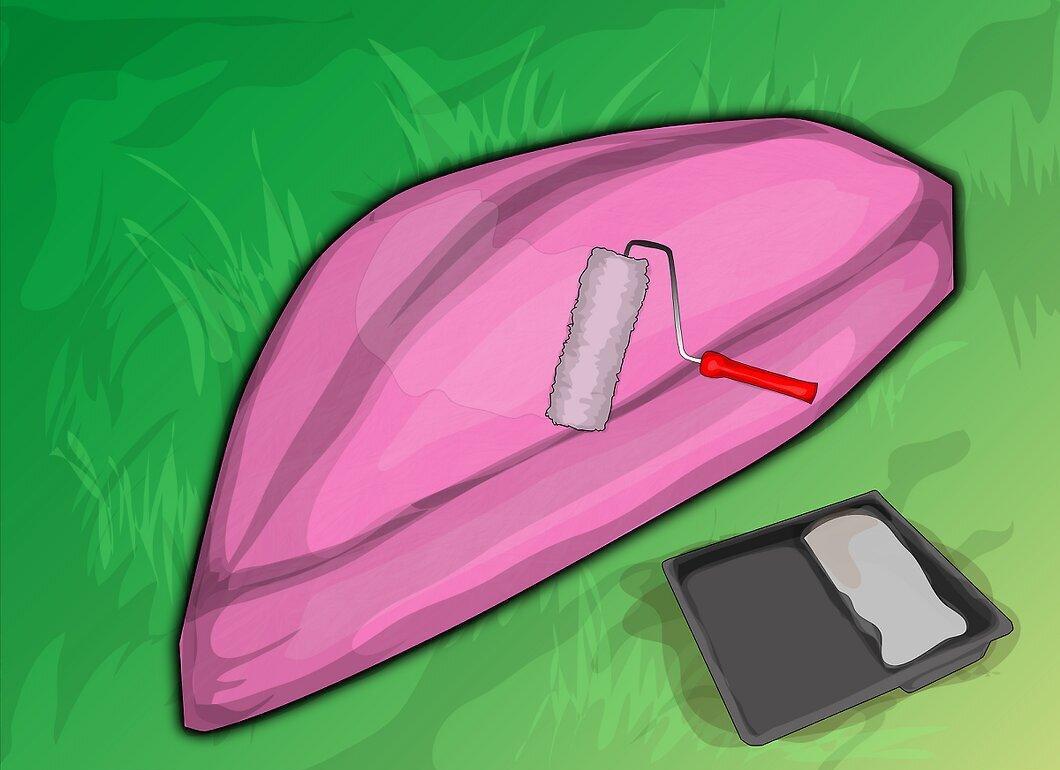
Apply a protective coating, which can be paint or another protective compound for boats. Follow the instructions on the packaging when applying the protective material.


