
The cajón is a hexagonal Peruvian drum that has gained immense popularity as a DIY musical instrument. This versatile and impressive tool allows you to play with both hands and feet, producing an extensive range of sounds and rhythms. You can embark on this woodworking project with the right materials and a solid plan. Check out Step 1 for more detailed information.
Getting Started
Step 1. Gather enough plywood to make the cajón.
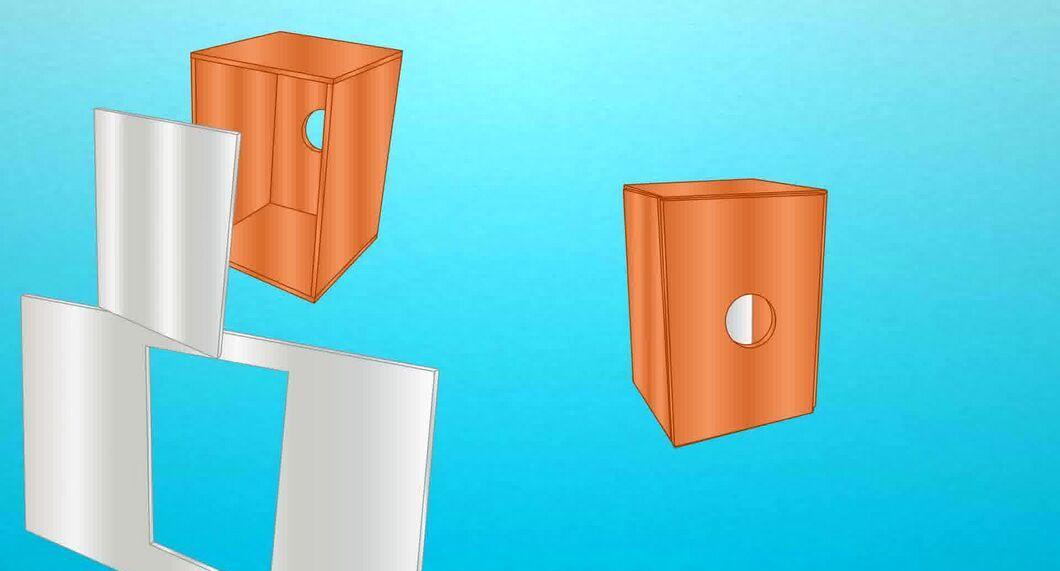
Gather enough plywood to make the cajón. Typically, a cajón is made from two types of wood: thinner wood for the striking surface, and slightly thicker wood for the rest of the instrument.
- Use 3 mm plywood for the tapa. The tapa is the striking surface of the instrument. You will usually need a rectangle measuring 33 cm by 48.3 cm to create most cajóns.
- For the rest of the instrument, use plywood that is 1.2 cm thick.
Step 2. Cut the plywood sheets to the required dimensions.
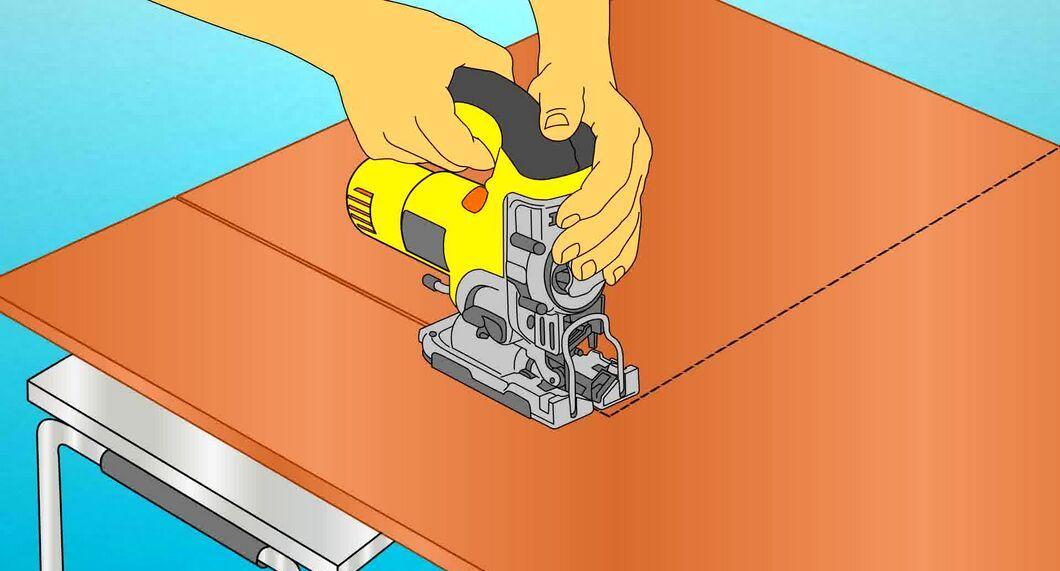
Cut the plywood sheets to the required dimensions. Prepare the body of the cajón by cutting rectangles of the correct sizes to form the main box. Make sure the cut lines are straight. To achieve this, lay a metal ruler along the surface of the plywood to guide your cut, and use a jigsaw or circular saw.
- The top and bottom pieces should be 33 cm by 33 cm.
- For the back panel, use a rectangle measuring 33 cm by 45.7 cm.
- For the sides, use sheets measuring 31.7 cm by 45.7 cm.
Step 3. Cut a 12 cm diameter hole in the back panel.
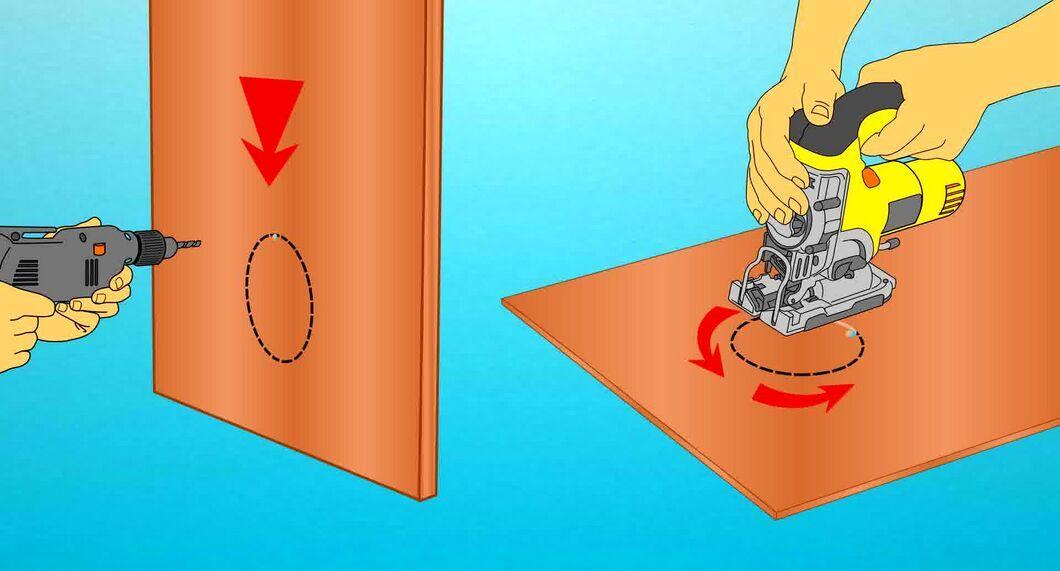
Cut a 12 cm diameter hole in the back panel. Drill a small hole closer to the edge of the marked sound hole and use it as a starting point to cut the desired hole with a saw.
- Round off the edges and sand them down to make the cut smoother.
Step 4. Create the snare.
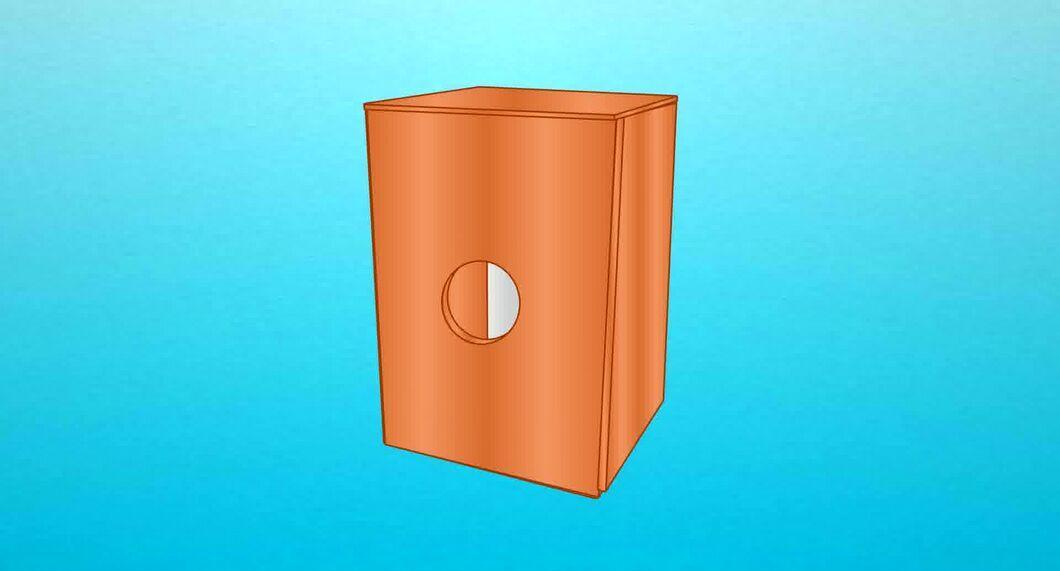
Create the snare. One of the crucial components affecting the sound of the cajón is the specific crack that resembles the sound of a snare drum when striking the tapa. This is achieved by attaching several strings or springs to the tapa. You can make them yourself, take them from an old drum, or buy a new snare and attach it to the inside of the drum.
- Most commonly, snares are made of strings or wire stretched to the desired length and tension, and covered with something that creates a buzz. If you want to make it yourself, using old guitar strings, fishing line, or another type of wire can be a good option. For the crack sound, try using paper clips, weights, or any other small metallic objects that produce a good rattle.
Assembling the Box
Step 1. Glue the main box together.
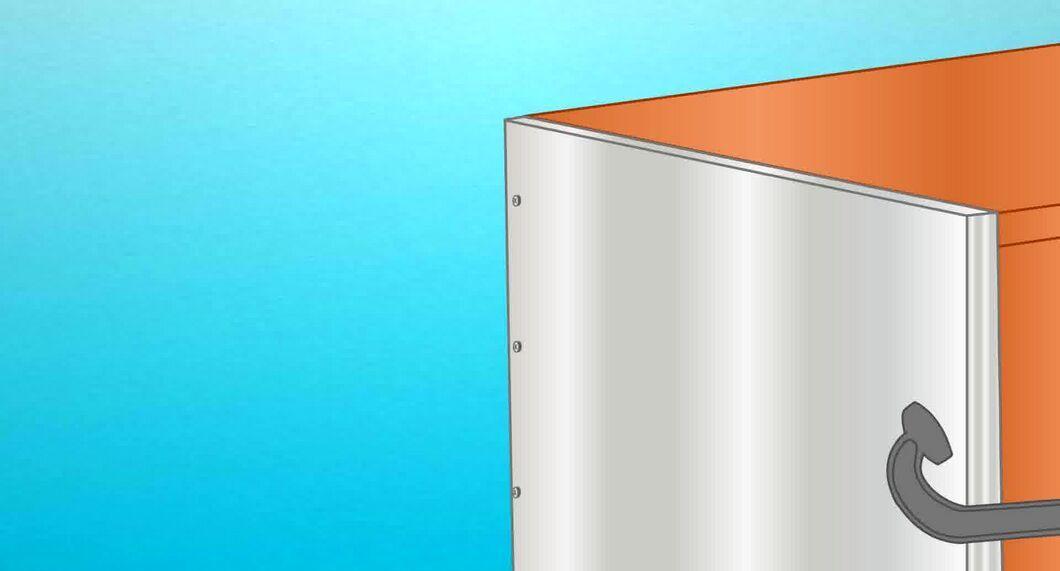
Glue the main box together. Start with the bottom piece and one of the sides, applying wood glue generously. Then attach the other side and the top piece to form the main shape.
- Ask someone for help to hold the parts of the structure while you apply glue and align them, or cut guide blocks to place inside the box to ensure the angles are square.
Step 2. Clamp it down.
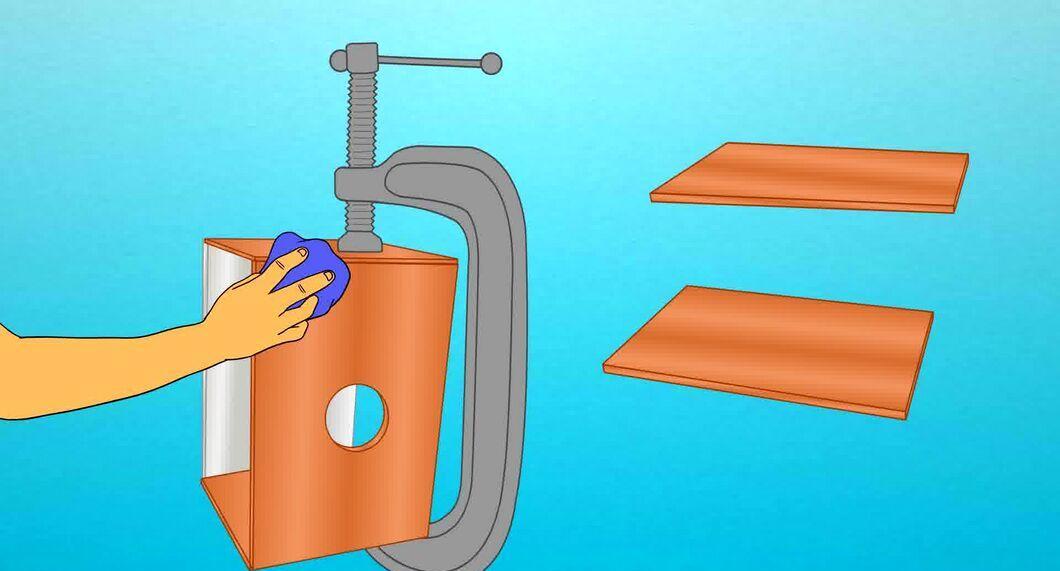
Clamp it down. Ideally, you should use large construction clamps, but luggage straps will do as well. Keep the structure under pressure until the glue dries. Let it sit for a few hours before attaching the back, tapa, and snare.
- Remove any excess glue with a damp cloth and read the instructions for the glue you are using to know what pressure to apply and how long it needs to dry.
Step 3. Attach the snare before gluing on the tapa.
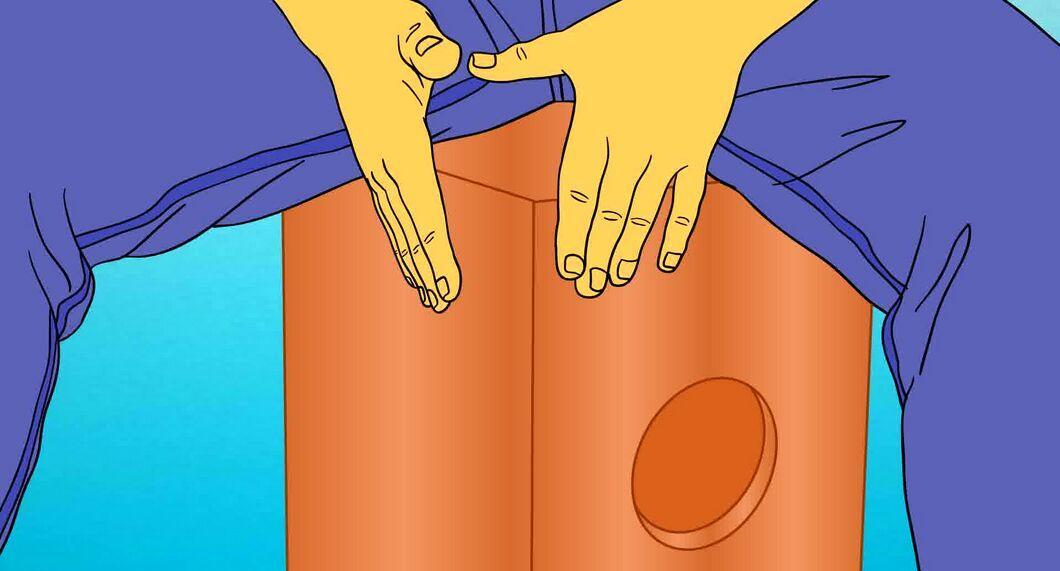
Attach the snare before gluing on the tapa. Depending on what you are using as a snare, you can do this in several ways. Ideally, you should buy tuning pegs at a music store to be able to "tune" the snare periodically.
- Stretch the snare diagonally from the top corner where the tapa will be attached, about 7.6 cm from each corner on the top and sides. Staple them down, or attach them to the tuning pegs for later sound adjustments.
Step 4. Glue the tapa and back panel.
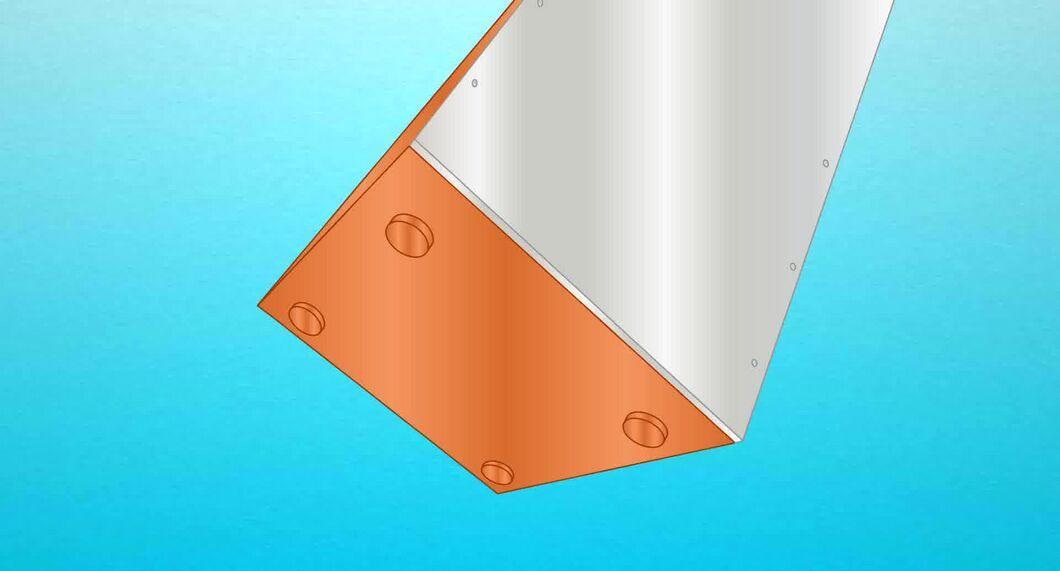
Glue the tapa and back panel. Attach the front and back pieces just like before and apply pressure, leaving it under pressure for the same amount of time. Attach the back piece so that the sound hole is at the bottom and the snare is at the top. You can also add staples for better attachment. You will be sitting on it, so make sure everything is securely connected.
Finishing Touches
Step 1. Cut legs from leftover plywood and attach them to the bottom.
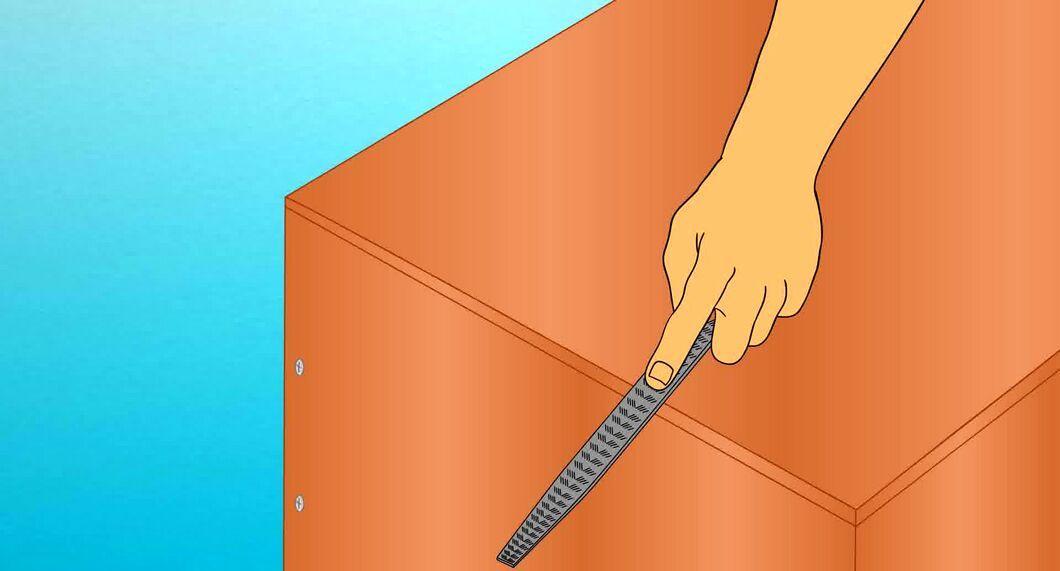
Cut legs from leftover plywood and attach them to the bottom. Rubber or cork will also work. Ideally, you need something to cushion the box since it will have to bear your weight. If placing the plywood on the floor, some surfaces may get scratched.
Step 2. Round off the edges of the top of the instrument for comfort.
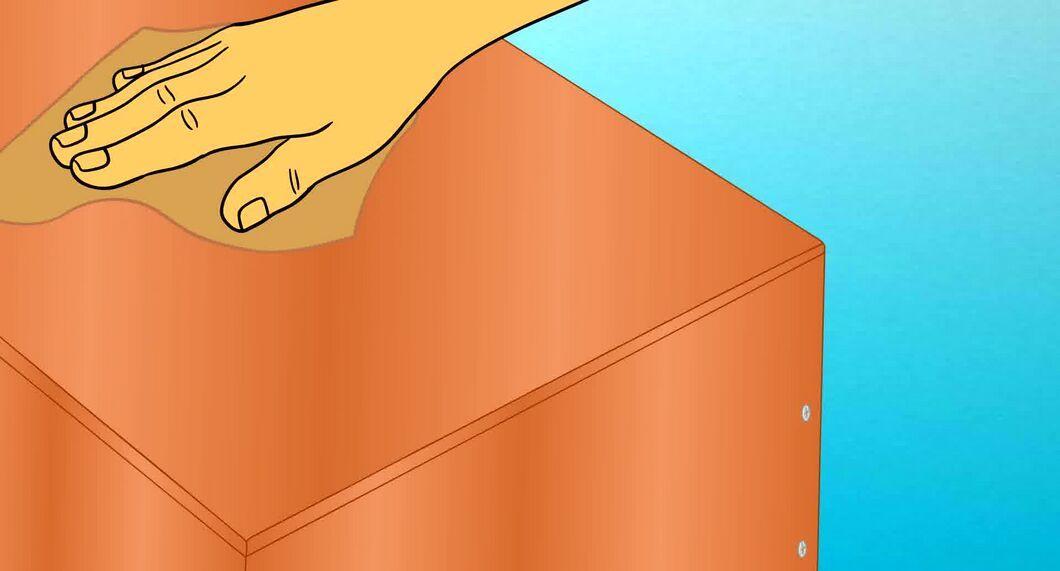
Round off the edges of the top of the instrument for comfort. Use sandpaper and take your time smoothing all corners and surfaces. Use sandpaper of varying grits, gradually increasing the fineness. Stop when you are satisfied with the result.
Step 3. Add a personal touch.
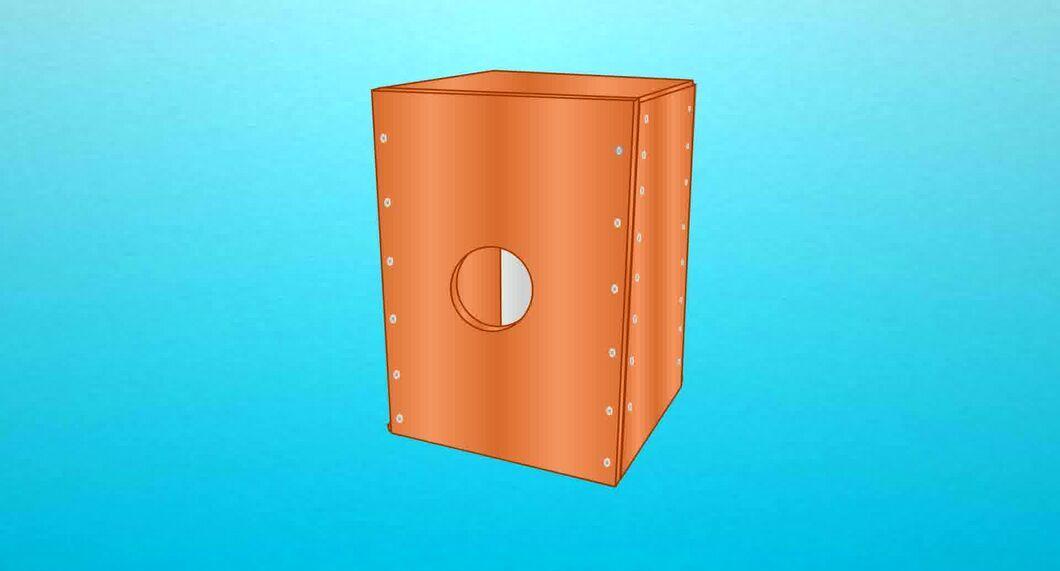
Add a personal touch. Decorate the instrument in your own style. Apply a wood finish for a professional and classy look, or paint a psychedelic Neptune and polar bears for a wild, hippie vibe. Have fun!


