
Paracord (or parachute cord) is a unique, lightweight nylon rope that was originally used for parachutes but has since found its place in various fields requiring strength and lightness. In the U.S. Army, there is a wonderful tradition of crafting survival bracelets. All you need is a bit of cord and a button. Each soldier makes a bracelet for their buddy, while their own accessory is crafted by someone else. These bracelets are worn by all participants in operations and are only removed upon returning to base. In this guide, you'll find step-by-step instructions for creating a survival bracelet yourself.
Part 1
Step 1. Measure three meters of paracord.
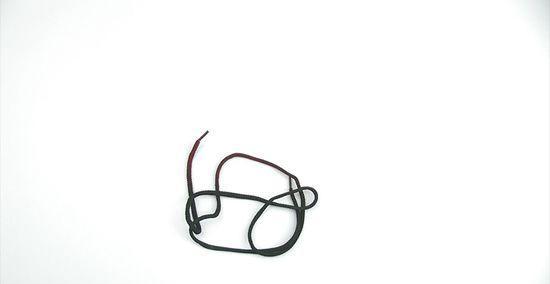
Measure out three meters of cord. You can use a ruler or tape measure for this.
- If you don’t have measuring tools handy, use your own hands! Stretching them out to the sides will give you an approximate distance equal to your height. For example, if your height is 1.5 m, cut enough cord to match the length of two of your arm spans.
Step 2. Find the midpoint of the cord.
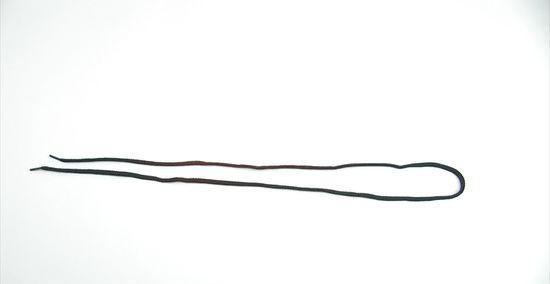
Fold the cord in half and determine its center.
Step 3. Wrap the cord around your wrist.
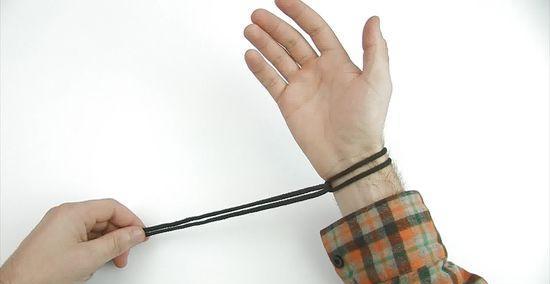
Wrap the folded end of the paracord around your wrist so it fully encircles it. To adjust the fit, thread the unbent end through the loop and tighten it around your wrist.
Step 4. Tie the cord at the marked point.
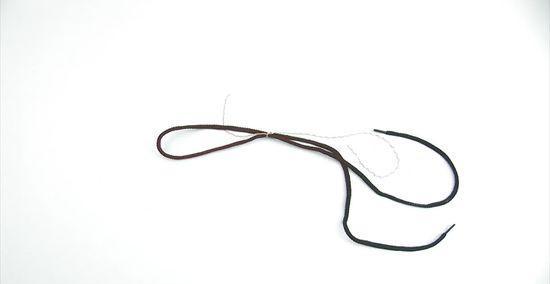
Tie the two halves of the cord at the marked point. Use thread, yarn, or something similar to secure the wrap around your wrist.
- If you want the bracelet to fasten with a button or another clasp, you can install it at this stage by threading one end of the cord through it and pulling it to the knot. Otherwise, you can add the clasp later.
Step 5. Check the bracelet size.
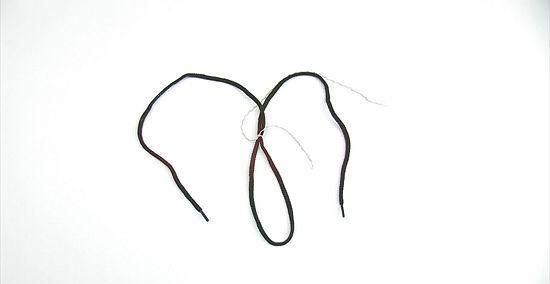
Make sure the bracelet fits properly. You should have a loop with two long ends. Compare it with your wrist and, if necessary, adjust the securing thread tied in the previous step.
Step 6. Start braiding the ends.
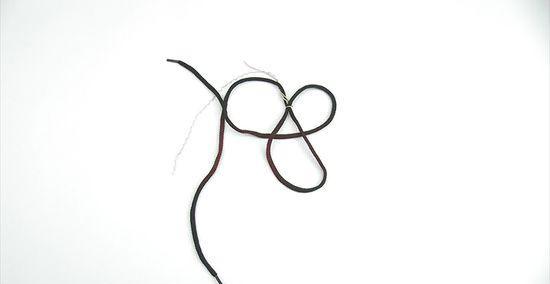
Begin braiding the ends. Thread one of the long ends (let's call it end #1) under the loop and over the second end (end #2).
Step 7. Change the position of end #2.
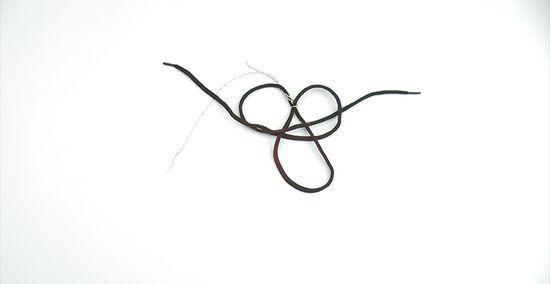
Run end #2 over the loop and under end #1. Now both ends have swapped places.
Step 8. Tighten the knot.
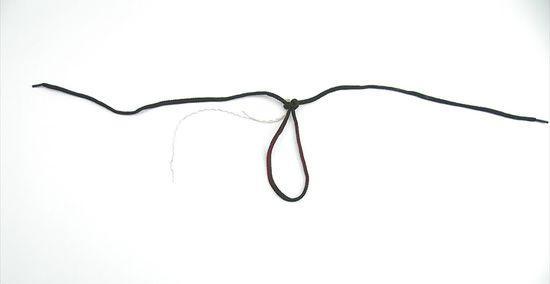
Step 9. Repeat the braiding.
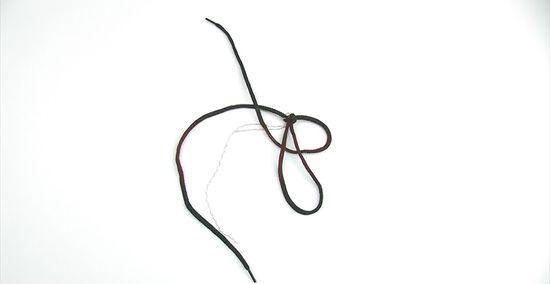
Start with end #1 again. Note that it now goes from left to right instead of right to left. If you always start with the same end, the bracelet will look neater.
Step 10. Repeat the position change for end #2.
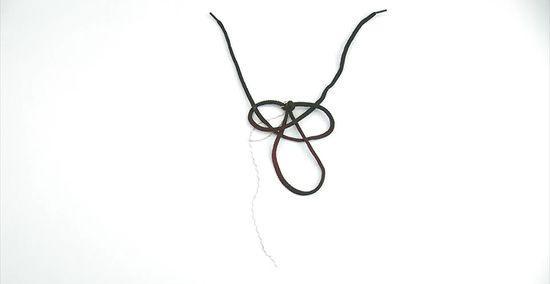
Again, run end #2 from the opposite side — over the loop and under end #1.
Step 11. Continue braiding.
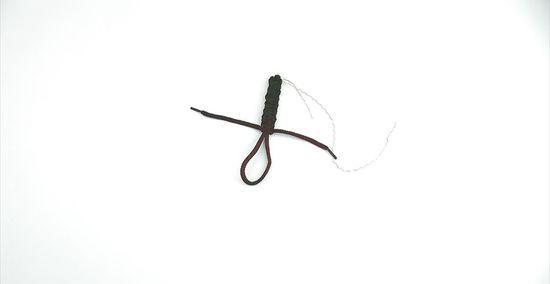
Keep braiding until the length of the cord reduces to about 3 cm. Trim any excess ends.
- Singe the ends with a lighter to melt them and prevent fraying in the future.
Step 12. Sew on the button.
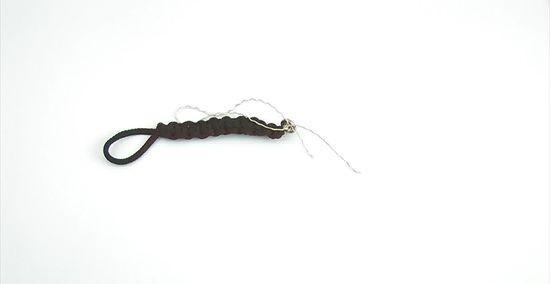
Sew the button onto the side without the loop. This will allow you to adjust the bracelet size.
- If the bracelet is too small, sew the button closer to the edge. If it’s too large, place it further away.
- Make sure the button is the right size before sewing it on. If it’s too small, it will slip out of the loop, and if it’s too large, the bracelet won’t fasten.
Step 13. Remove the temporary knot.
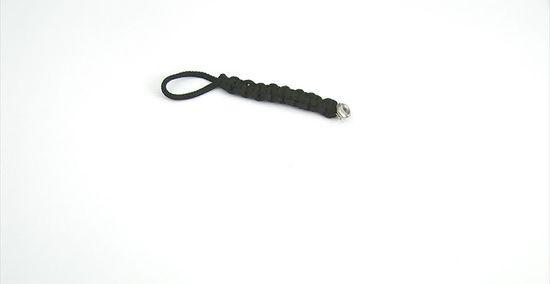
Take off the temporary knot tied in step 4. If it’s hard to untie, just cut it off.
Step 14. Wear the bracelet.
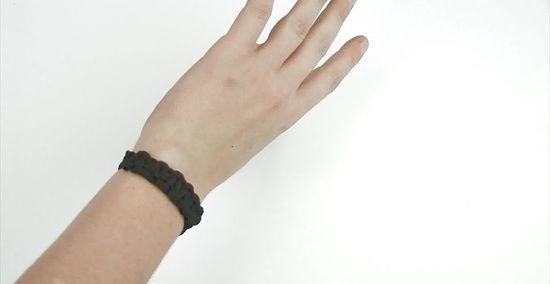
Now put on the bracelet by wrapping it around your wrist and fastening the button through the loop.


