
Hand-painted wine and martini glasses are becoming increasingly popular! You can create them at home with your own hands. Moreover, these glasses make for a unique, budget-friendly, and creative gift for friends and loved ones. You might even want to decorate your kitchen with these glasses!
Preparing the Glass
Step 1. Wash the glasses in warm soapy water.
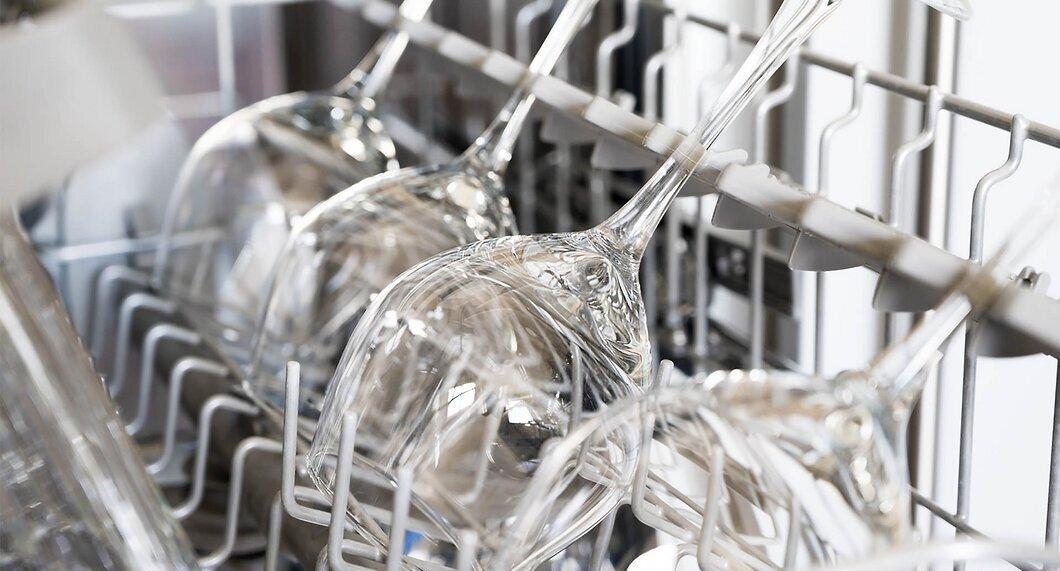
Wash the glasses in warm soapy water. Whether they are new or old, it’s important to remove dust and dirt. So, make sure to rinse them thoroughly and then dry them well.
- Be sure to dry the glasses completely, as painting on wet glass can be tricky.
Step 2. Wipe the glass with alcohol and a paper towel.
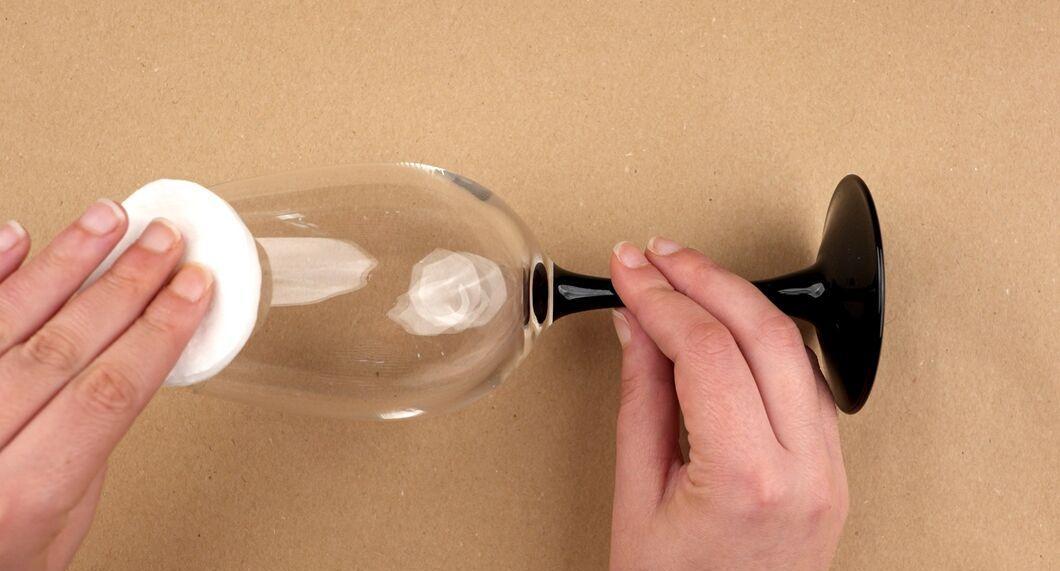
Wipe the wine or martini glass with alcohol using a paper towel. Remove any traces of grease, dirt, and fingerprints, as they can interfere with painting. Let the glass dry for 7-10 minutes.
- If you don’t have alcohol, white vinegar works great for degreasing glass as well.
Step 3. Tape the rim of the glass with painter's tape, leaving 2 cm unpainted.
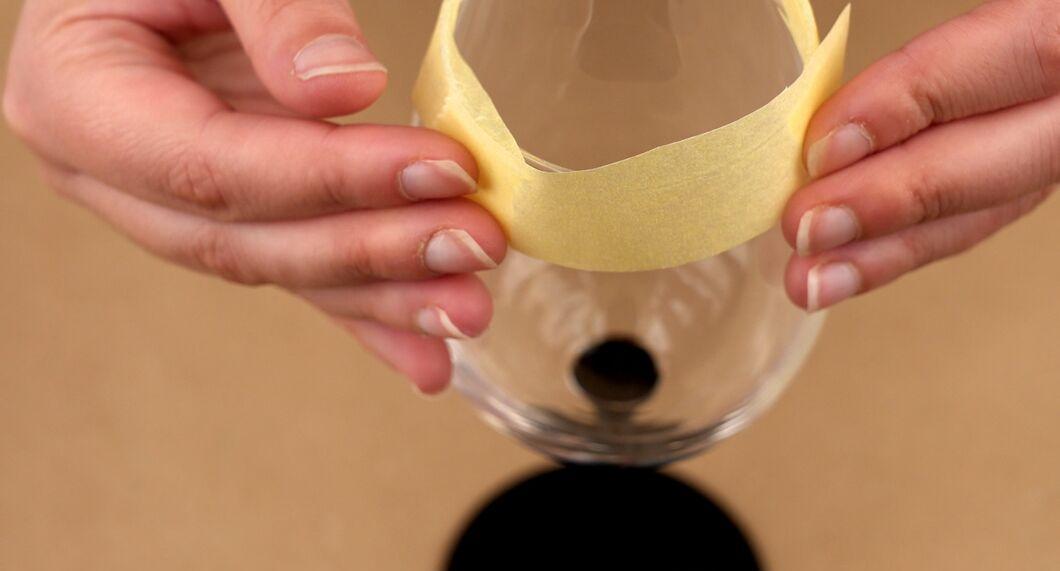
Tape the rim of the glass with painter's tape so that about 2 cm of unpainted surface remains. Some paints are toxic, so it’s important not to paint areas that will come into contact with your lips. Additionally, paint can wash off when it comes into contact with saliva.
- Make sure the tape adheres well. If it’s not sticking, you can re-tape it. Painter's tape works best for this.
Decorating the Glass
Step 1. Sketch your design on paper.
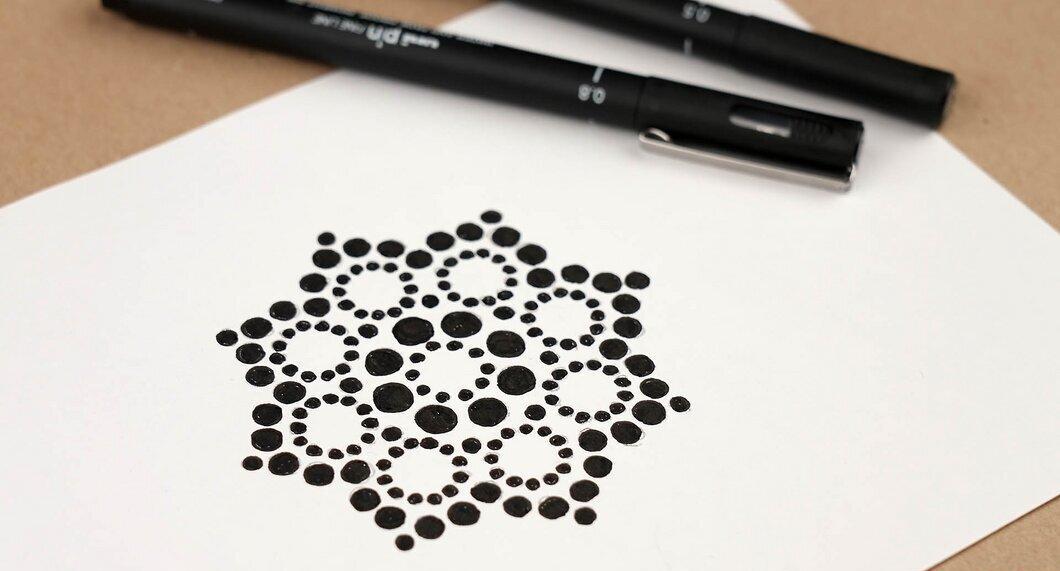
First, draw your pattern on a sheet of paper. This will make it easier to transfer the design onto the glass. Tissue paper works best as it is flexible and convenient.
- Don’t complicate it — simple geometric or abstract shapes can look stunning. Make a sketch and then secure it to the glass with tape. Don’t forget, you can also paint the stem of the glass!
Step 2. Attach the sketch to the glass.
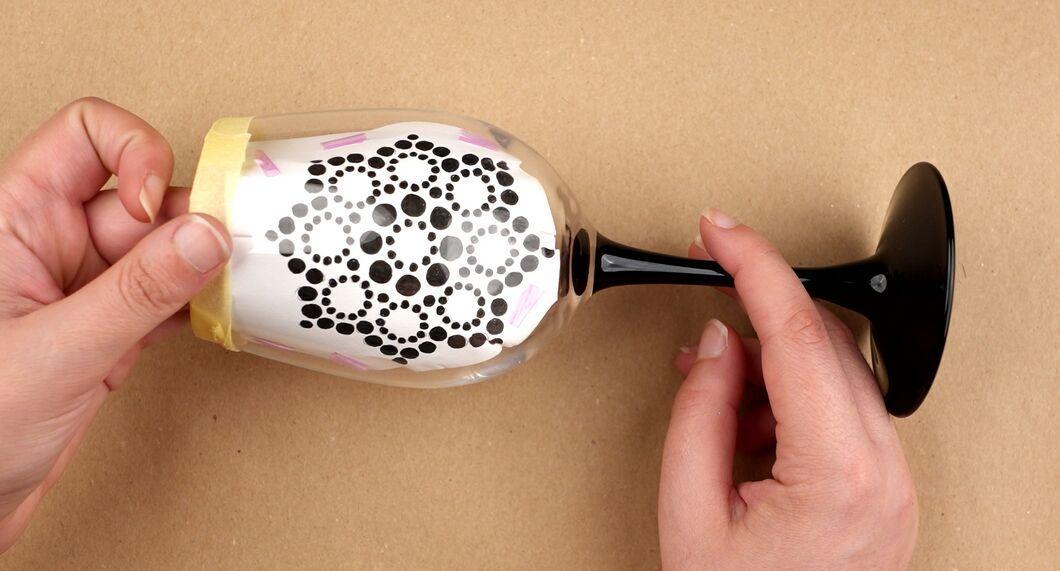
Attach your sketch to the glass. The easiest way is to tape the paper on the inside of the glass. There are also other methods:
- Place the sketch inside the glass and fill it with socks or cotton to keep the design in place.
- You can find self-adhesive stencils in craft stores that stick easily to the glass.
Step 3. Transfer the pattern onto the glass.
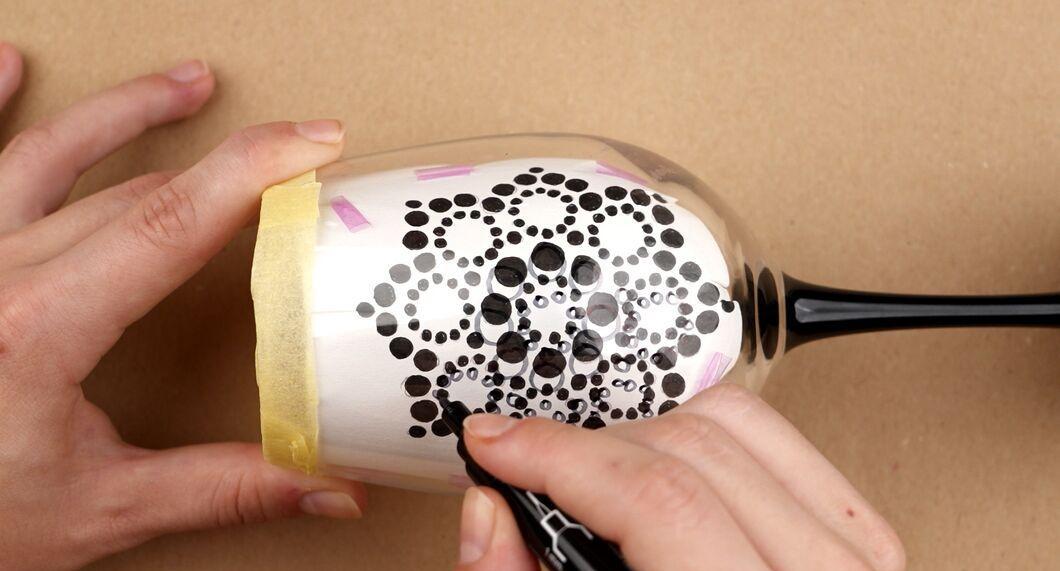
Transfer the design onto the glass using a pen or a marker with permanent ink that won’t wash off. If you don’t like the pattern, you can erase it with a cotton swab or pad moistened with alcohol or nail polish remover.
- The outline will be visible after you finish decorating, but you can skip it if you just paint the design while keeping the sketch taped to the glass.
Step 4. Choose the right paints.
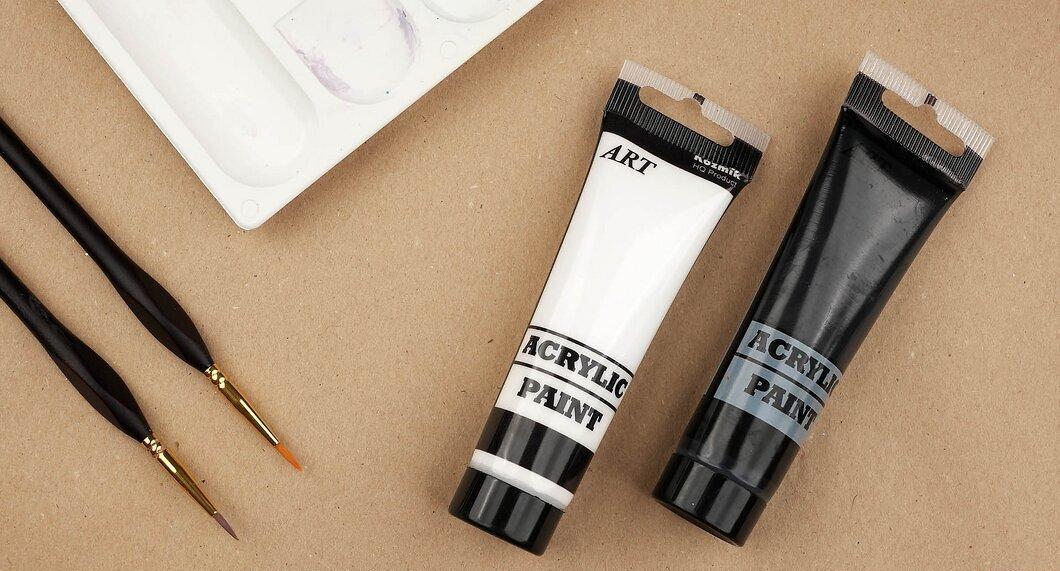
You have many options when it comes to selecting paints. Different types of paints may have varying characteristics. Your choice will depend on your decorating method and personal preferences. It’s important to remember that paints adhere better to baked glasses. You can use transparent paints that allow light to pass through, or opaque and matte paints — the choice is yours. There are also colored pens made for glass painting that are perfect for beginners.
- Water-based enamel paints (like those from Folk Art or Martha Stewart) are great for decorating glasses. They are safe for dishwasher use, possibly even microwave-safe, but sometimes require priming or sealing, so be sure to read the instructions on the packaging.
- Acrylic paints may also work, but the quality varies — some may wash off. If you choose acrylic paints, don’t forget to seal the finished piece with a topcoat to fix the design. There are acrylic paints specifically designed for use on glass, and it’s best to choose those.
Step 5. Prepare your workspace.
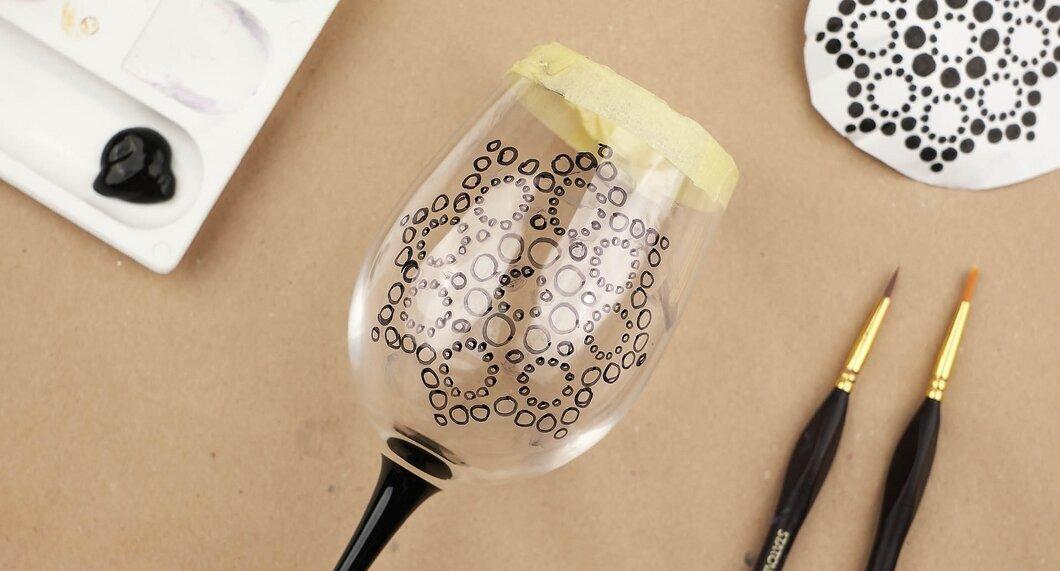
Prepare your creative space. Painting can be problematic if you ruin your favorite clothes or antique table. Cover the surface with newspapers or parchment paper to protect it. And don’t forget to remove the dog from the room where you’ll be working.
- Open windows to ventilate the room and avoid inhaling paint fumes!
Step 6. Start painting.
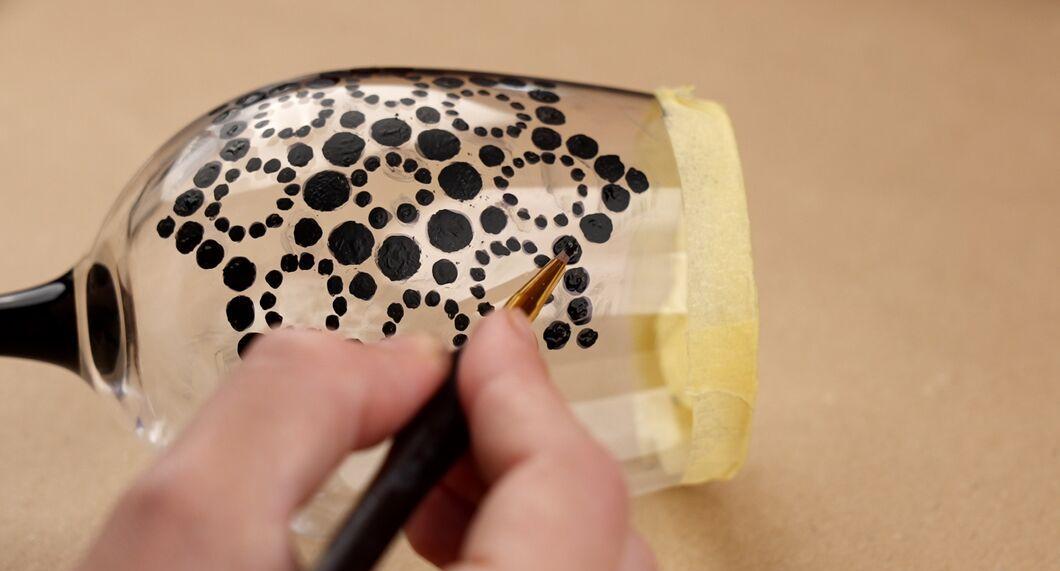
Begin painting. The process of painting on glass is similar to painting on fabric. If you need ideas, here are a few: use tape to create stripes that you can remove after the paint dries. If a stripe turns out uneven, you can fix it with a sharp knife. Try making a polka dot pattern — a brush with a blunt end works well, but you can also use a soft brush or sponge. To create striking patterns, hold the sponge at a right angle to the glass. You can also use a sponge to create interesting designs, like circles — this requires some skill.
- Try making a marbled glass by coating it with primer. Apply the primer in a thin layer, turning the glass upside down. Then paint as desired using liquid paints.
- If you’re unsure which brush to choose, any brushes will do — synthetic bristles for strokes and natural ones for smooth lines.
Step 7. Fix mistakes with nail polish remover.
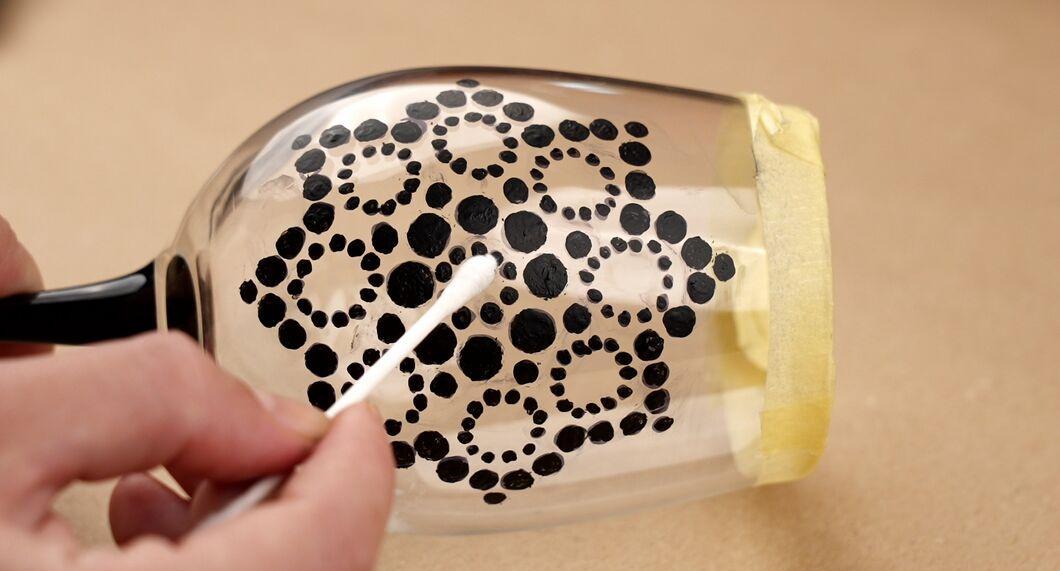
If you make a mistake, you can remove the paint with nail polish remover. Epoxy-based paints can be washed off with warm water before they are set by heat. If you need to remove paint, act quickly.
Setting the Paint
Step 1. Let the paint dry for 24 hours before proceeding.
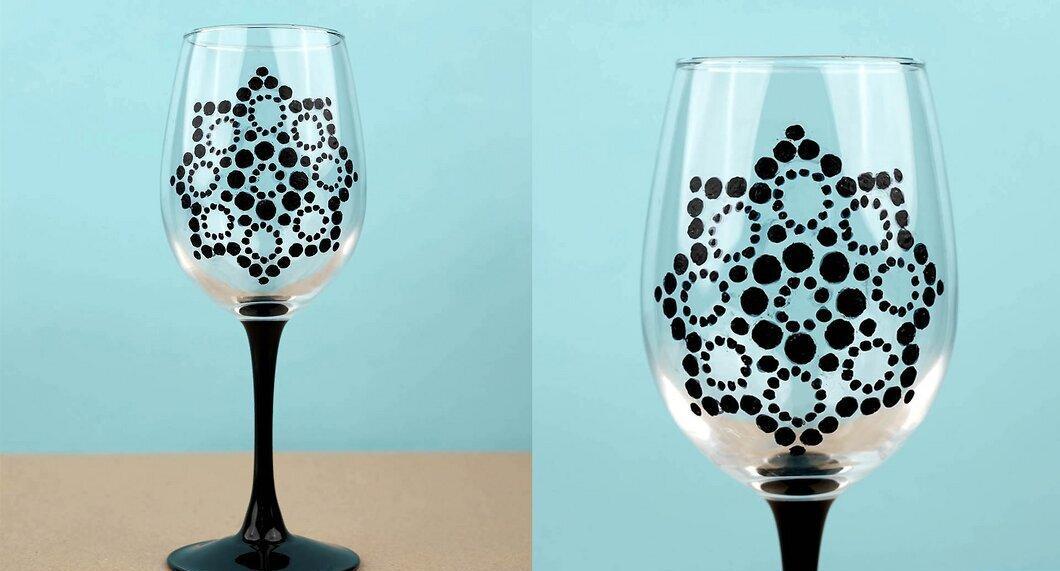
Allow the paint on the glass to dry for at least 24 hours before moving on to the next step. Turn the glass upside down and place it on a soft surface, like a tea towel. Keep the glasses away from the kitchen and bathroom — excess moisture can interfere with the paint drying.
- If you’re air drying, this can take about three weeks. Follow the instructions on the paint packaging.
Step 2. If you want to set the paint with heat, now is the time.
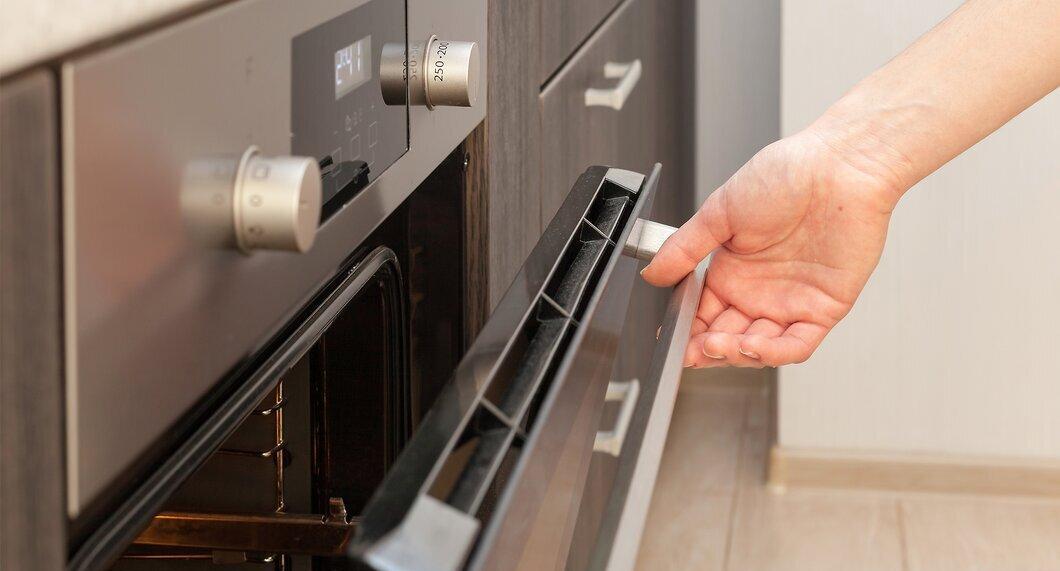
If you plan to set the paint with heat, now is a good moment. This process is very simple, and your glass won’t melt!
- Line a baking sheet with foil.
- Preheat the oven to 180ºC. Preheating is not necessary — it’s important to place the glass in a cold oven and gradually heat it to avoid cracking.
- Place the glasses on the foil and put the baking sheet in the oven.
- Set the timer for 30 minutes. After 20 minutes, turn off the oven and leave the glasses inside for another 10 minutes. After that, simply remove the glasses from the oven. Or follow the instructions on the paint packaging.
Step 3. Add final touches.
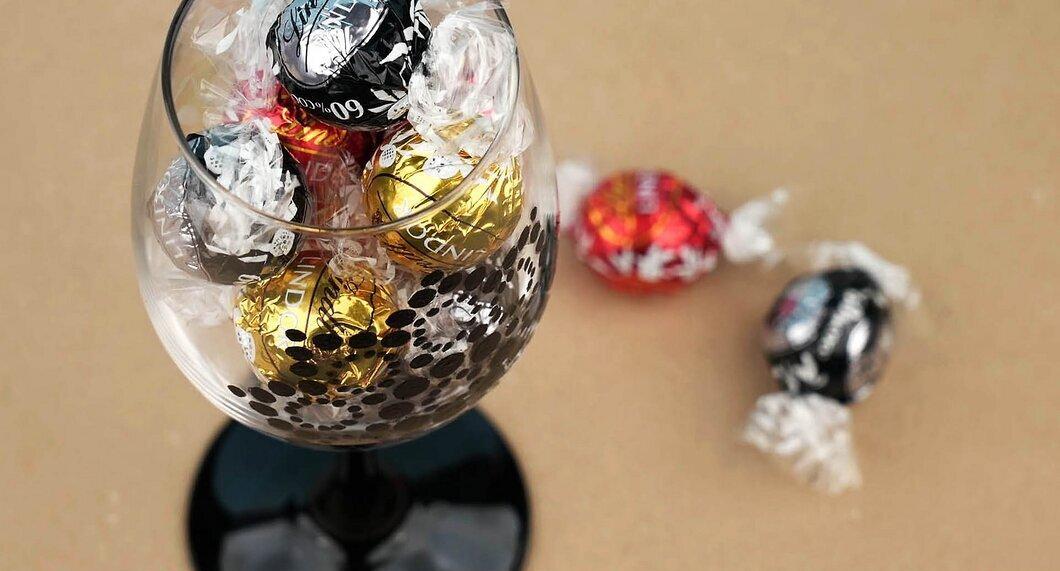
Add final touches. If you plan to gift some glasses for a birthday or other occasion, you can fill them with candies, confetti, or something else festive. This will add a special charm to your creation.
- Write your name or the recipient’s name at the base of the glass. Add a bit of glue to the stem of the glass and attach a ribbon. Such a gift is too beautiful to be wrapped!


