Fondant is a wonderful form of cake decoration that can be easily rolled out to create a variety of shapes. You can cover a cake with it, shape numbers, designs, and much more, letting your creativity shine. In this article, we will share several methods on how to use fondant for cake decoration.
Ingredients
Step 1: Purchase or Make Fondant

You can buy ready-made fondant, which saves you time and effort in making it. This is especially convenient if you’re in a hurry or simply don’t want to deal with preparation.
Step 2: If you want to make fondant yourself, it's quite simple.
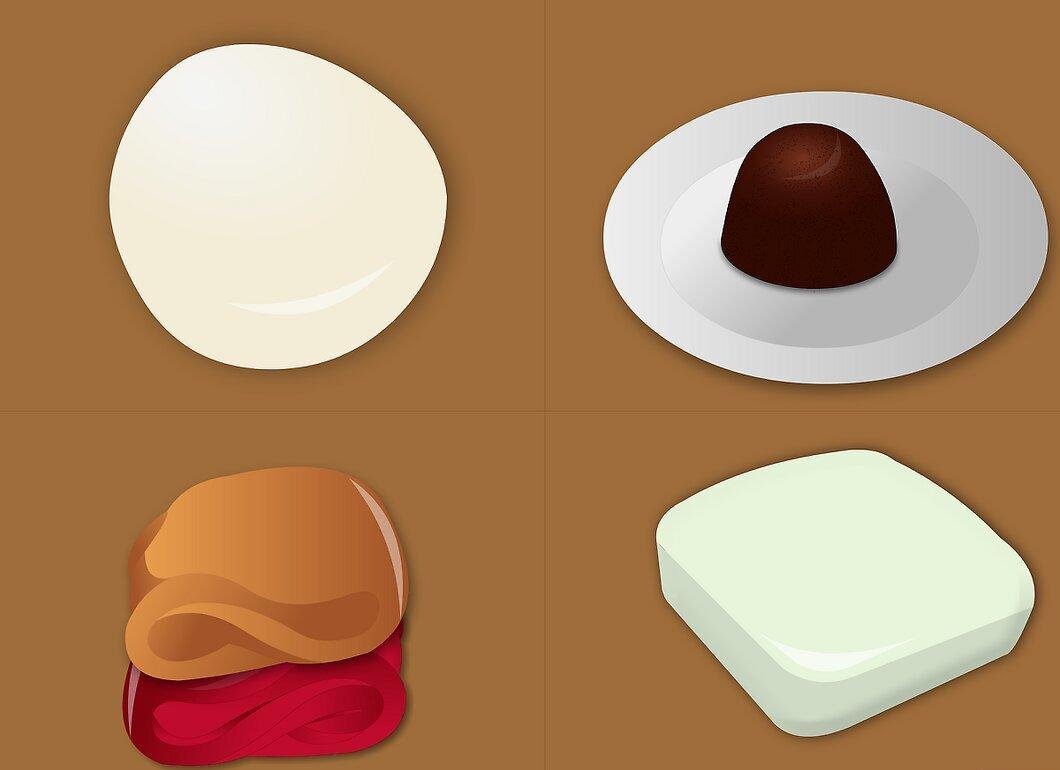
Making fondant at home is not difficult. The type of fondant you choose depends on its intended use. Try these options:
- Simple fondant
- Chocolate fondant
- Marshmallow fondant
- Cream fondant
Choosing Your Fondant
Step 1: Select a Cake with a Flat Top and Bottom.
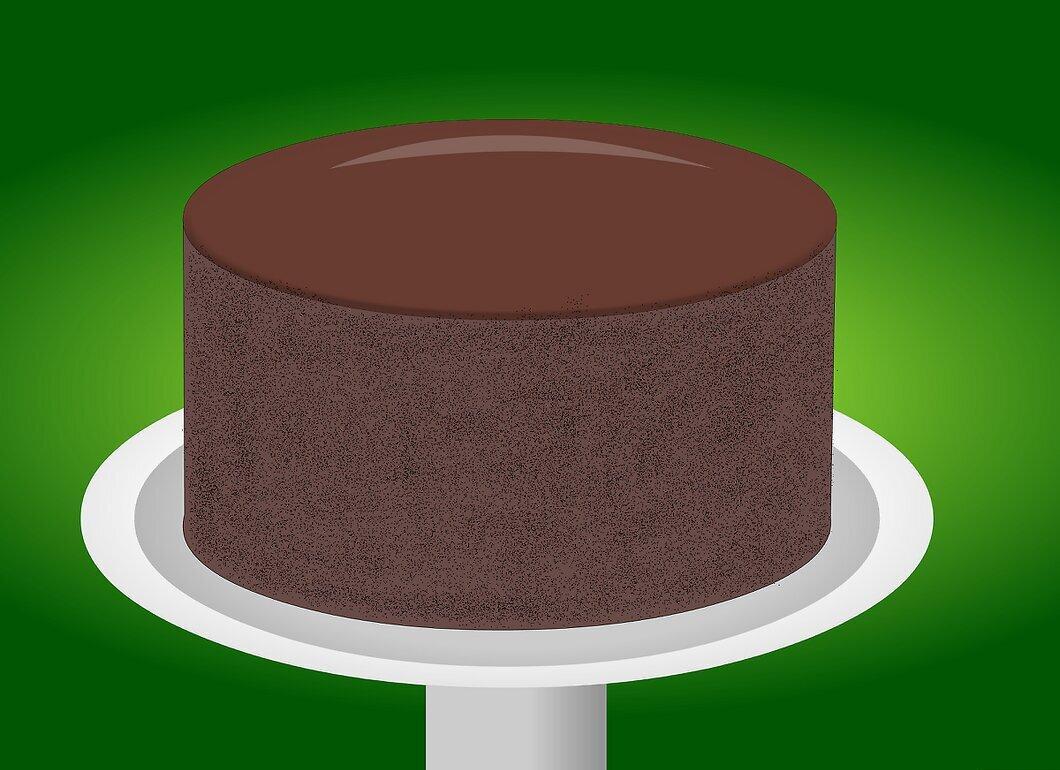
Choose a cake with a flat top and base. Make sure it is set evenly on the serving plate.
- If the cake isn’t stable, trim its base for better stability.
- If the cake is crumbling a bit, let it chill in the refrigerator for a few minutes to firm up.
Step 2: Before starting, fill in any bumps and dents with fondant.
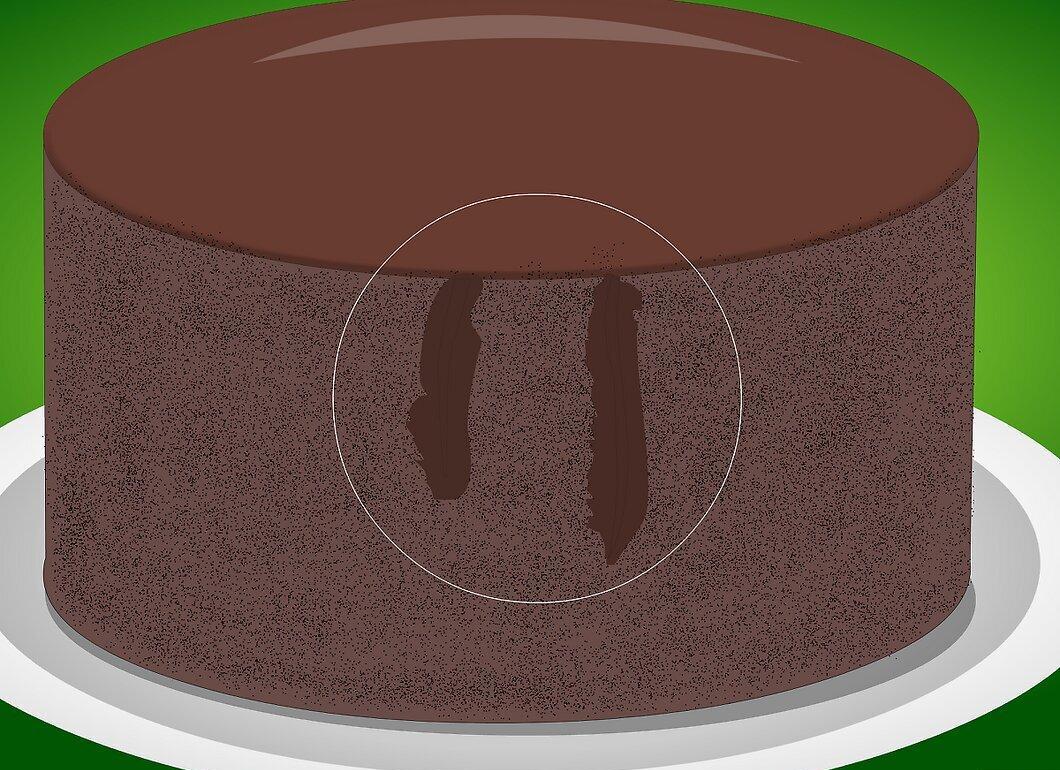
Filling in all the bumps with fondant is like prepping for painting: if you don’t fix the flaws, the cake won’t turn out perfect.
Step 3: Warm up some jam that complements the flavor of the cake.
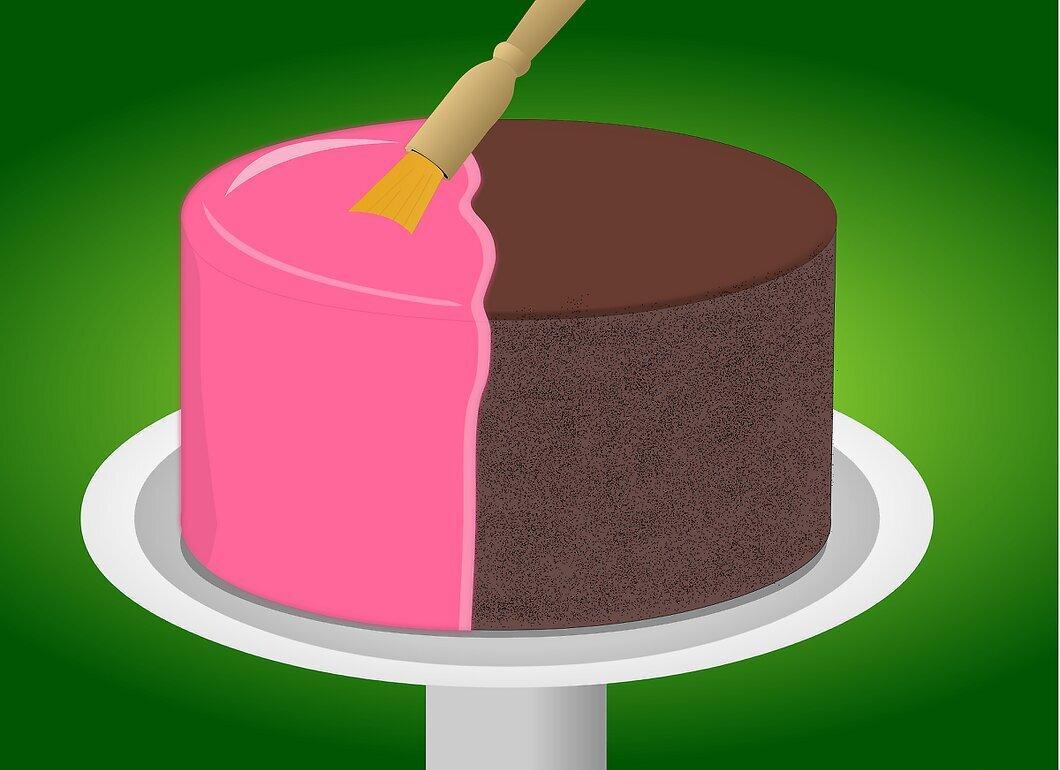
Heat a small amount of jam that pairs well with your cake. Most commonly, apricot, strawberry, or raspberry jam is used. Apply it to the surface and sides of the cake with a pastry brush.
Step 4: Decide if you need marzipan.
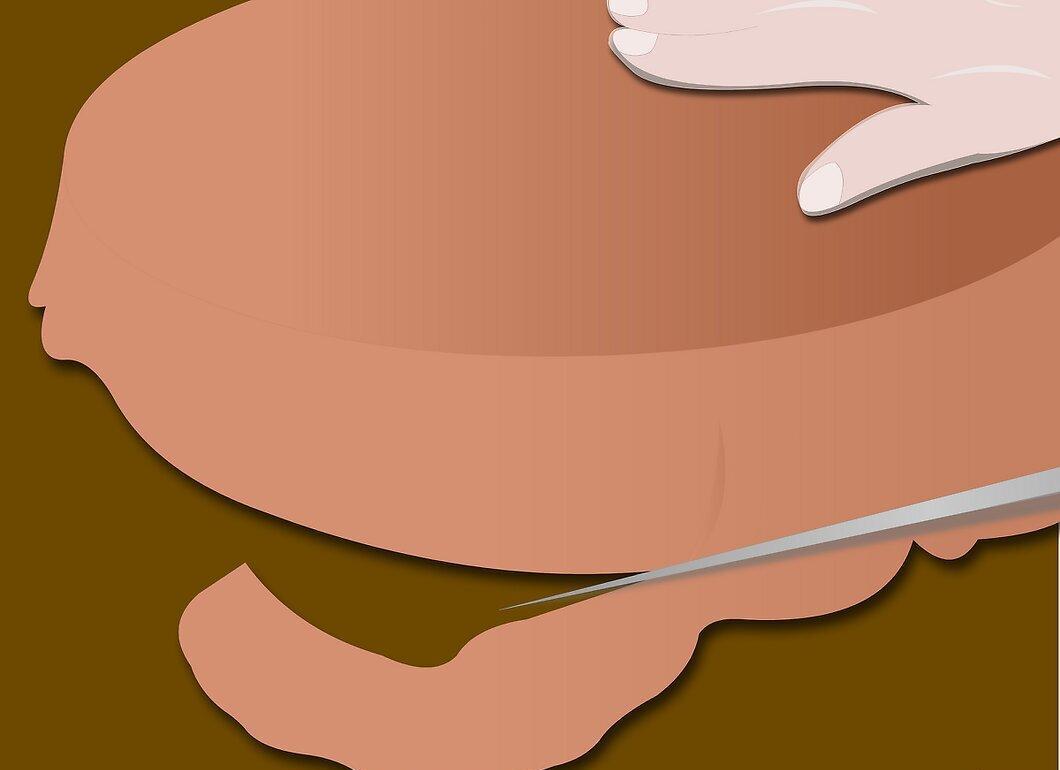
If you want your cake’s surface to be particularly smooth, a layer of marzipan is often placed under the fondant. This makes the cake more aesthetically pleasing, but not everyone likes the taste of marzipan, so it’s often avoided for children's cakes. If you do decide to use marzipan, follow these steps:
- Roll out the marzipan into a flat circle, slightly larger than the diameter of the cake.
- Cover the cake with the rolled-out marzipan.
- Smooth it out using a special icing tool or any suitable object, eliminating any bumps.
Step 5: Shape the Fondant into a Ball.
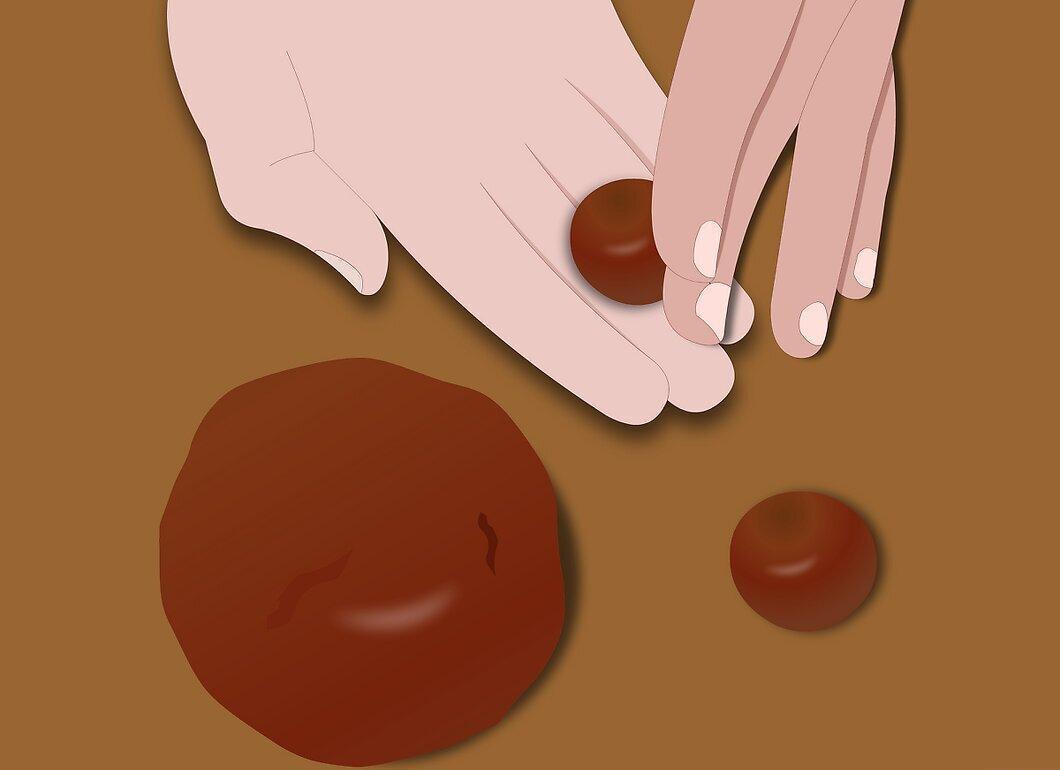
Form the fondant into a ball. If it cracks, knead the cracked part back in. Roll the ball on a surface dusted with powdered sugar, confectioners' sugar, or cornstarch to prevent sticking. Roll the fondant back and forth with a rolling pin, slightly turning it to achieve an even thickness. Once you roll the fondant to the desired size for covering the cake, about 0.5 cm thick, it’s ready to use.
- To know the right size of fondant, measure the height of the cake from the plate to the top, as well as its width.
Step 6: Place the Cake Next to the Rolled-Out Fondant.
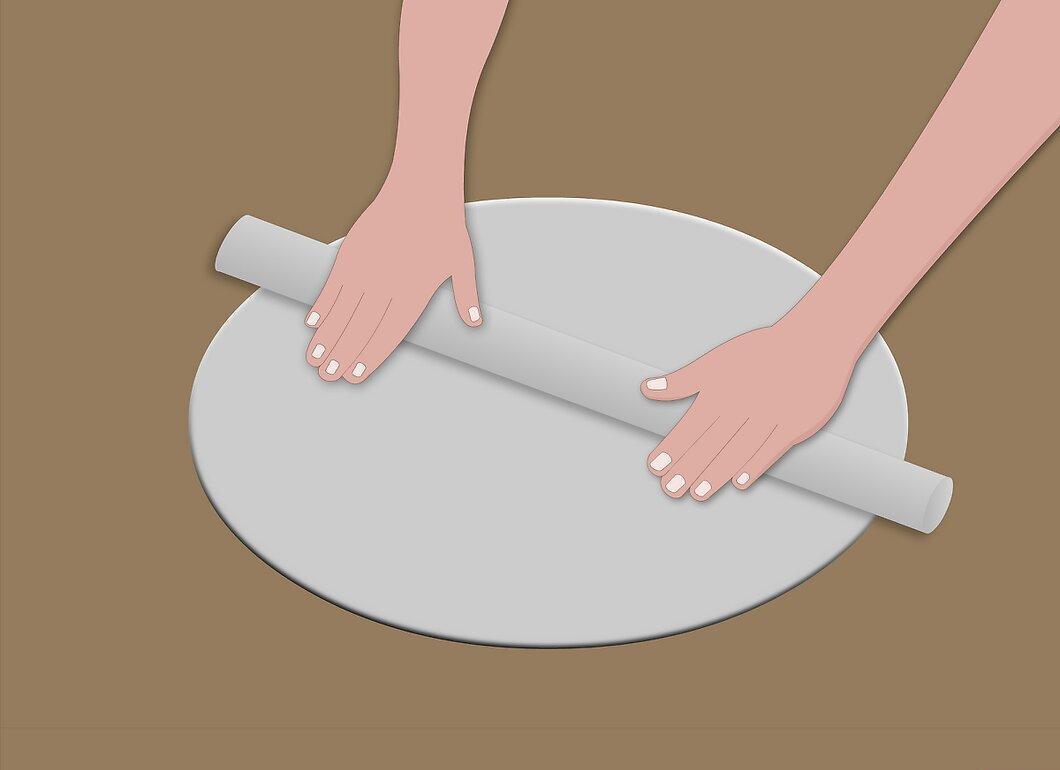
- Place the rolling pin in the center of the rolled-out fondant.
Step 7: Lift the Edge of the Fondant onto the Rolling Pin.

- Lift the rolling pin with the fondant and carefully transfer it to the cake.
- Gently unroll the fondant by removing the rolling pin.
Step 8: Smooth the Fondant Carefully.
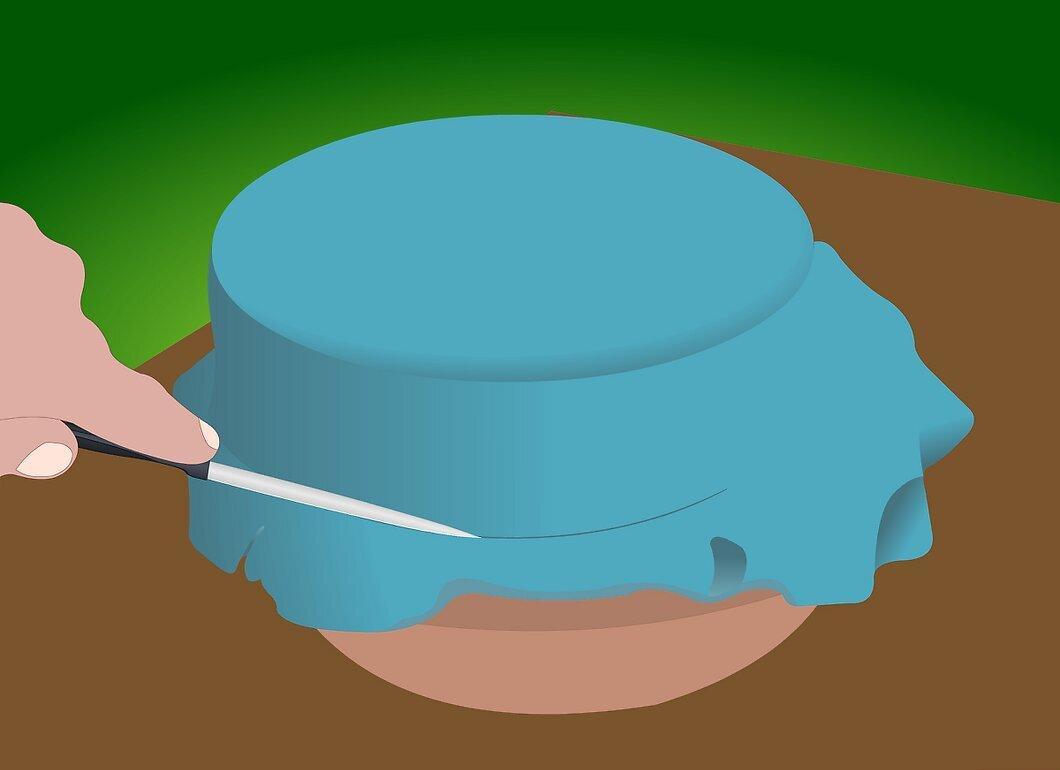
Smooth the fondant by pressing it against the cake from all sides.
- Press the edges of the fondant against the plate on which the cake is sitting. If air bubbles form, poke them with a clean needle and smooth the surface again.
- Eliminate any bumps and folds. You may need to stretch the fondant a bit with your hands.
- The icing can be polished with circular motions until it becomes smooth and satin-like.
Step 9: Trim Excess Edges.
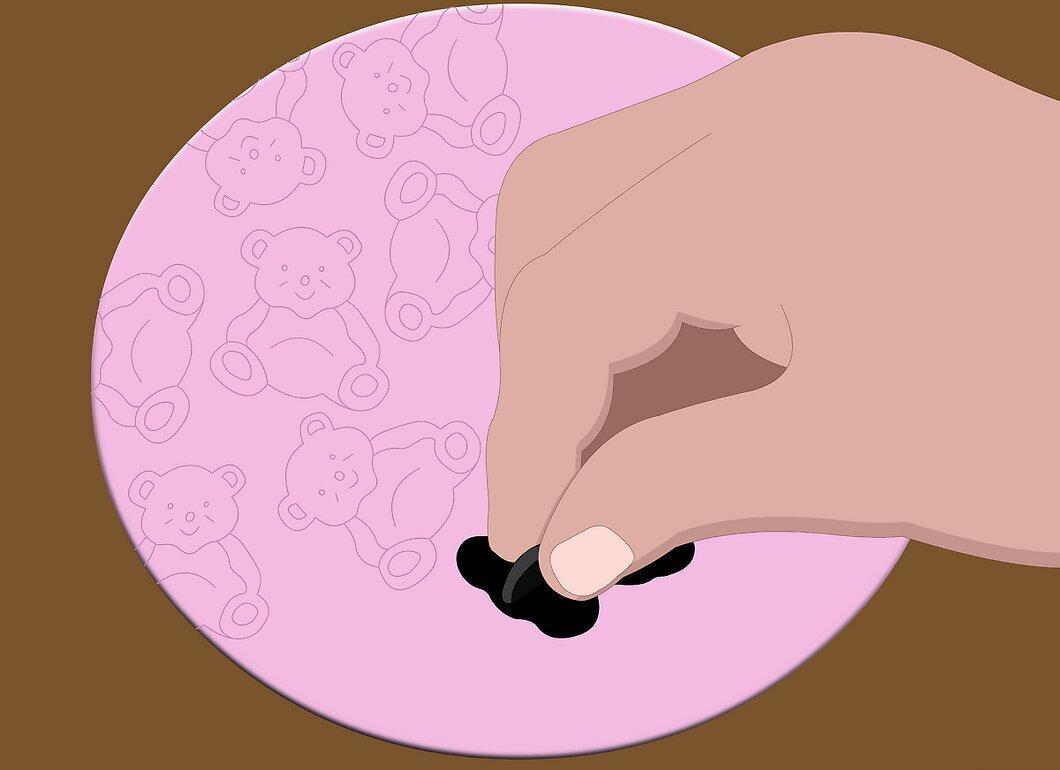
Using a spatula, cut off the excess fondant. Keep the flat edge of the knife against the cake and carefully trace around it, turning the cake and smoothing the edges.
Step 10: If you plan to add extra decorations, do this before the fondant sets.
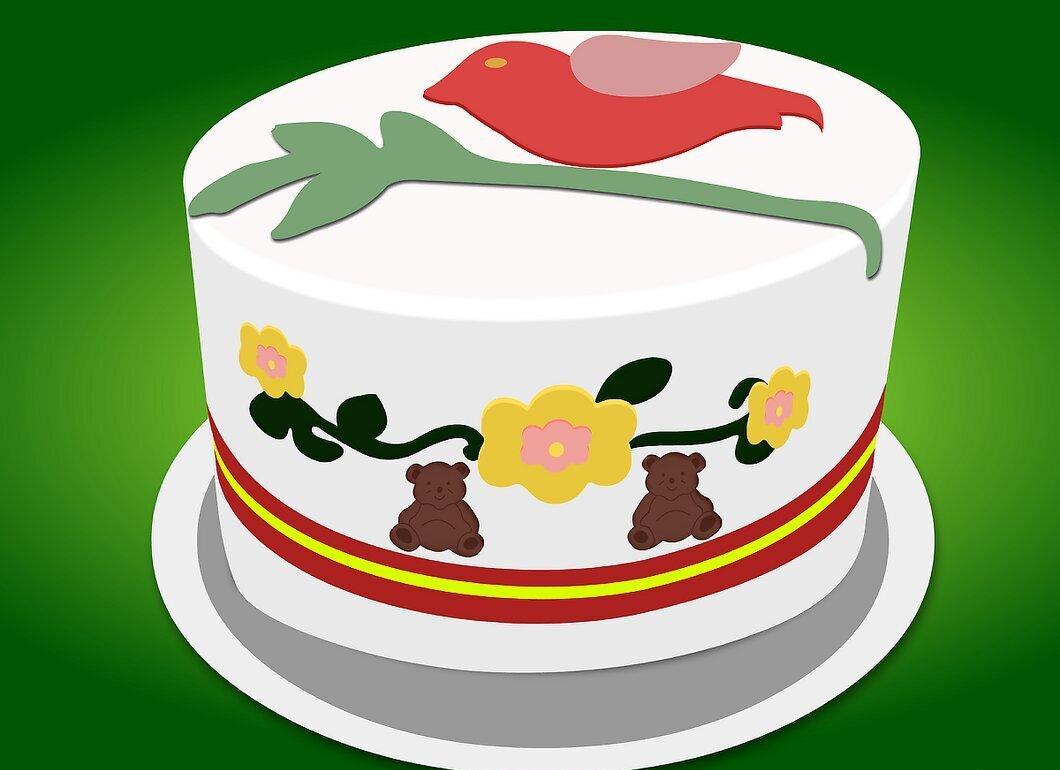
Add decorations while the fondant is still wet. Use special tools to create patterns or make your own designs.
Step 11: Add Ornamentation if Desired.
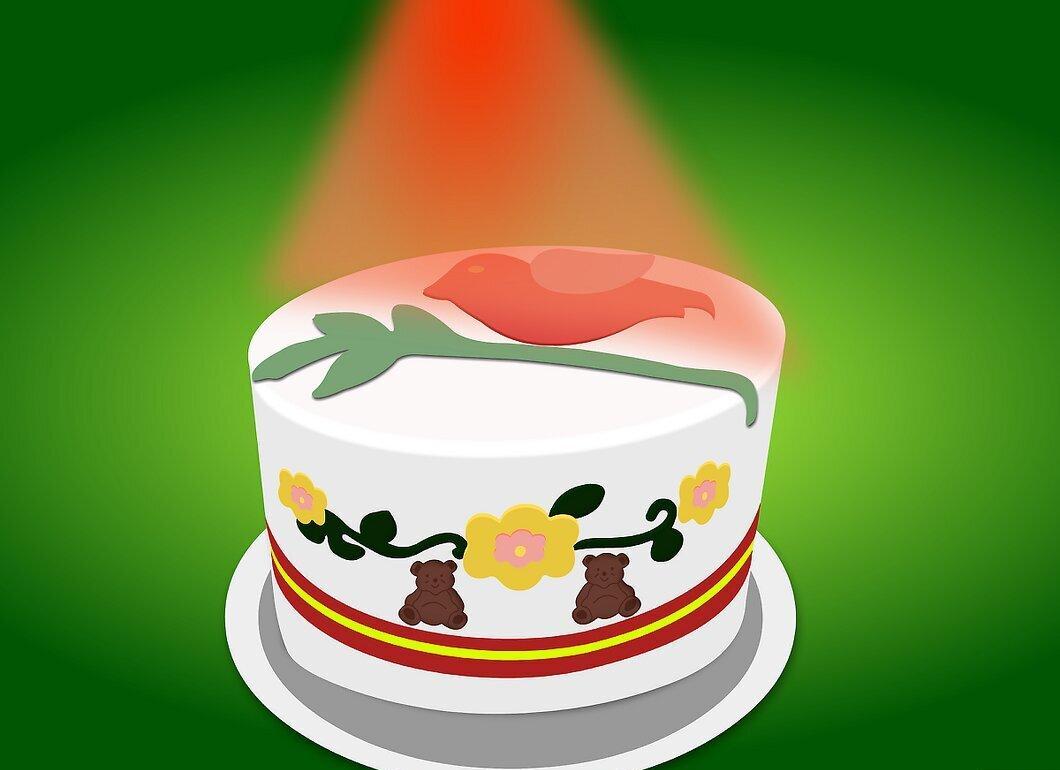
If you like, add ornamentation. Press it onto the surface of the fondant while it dries, just by gently pressing. If the fondant has already hardened, use freshly made royal icing or a drop of water as glue.
Step 12: Allow the Fondant to Dry.
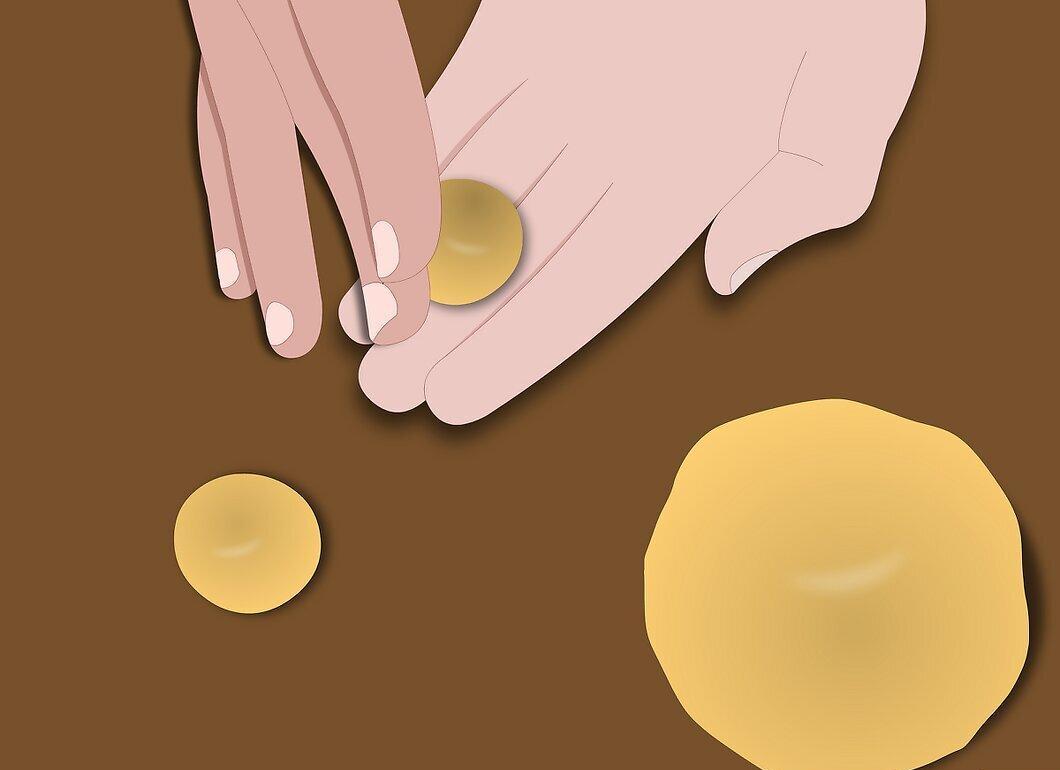
The drying time depends on the fondant recipe. If you made a fruit cake covered with marzipan and fondant, it may take up to a week.
Using Fondant to Create Decorations
Step 1: Form Balls.
Roll the fondant into a ball of the desired size using your palms and circular motions.
- You can cut the ball in half or into four pieces.
- To create smaller balls, cut the ball in half, then again into two parts, and continue rolling.
Step 2: Create Various Shapes from the Balls.
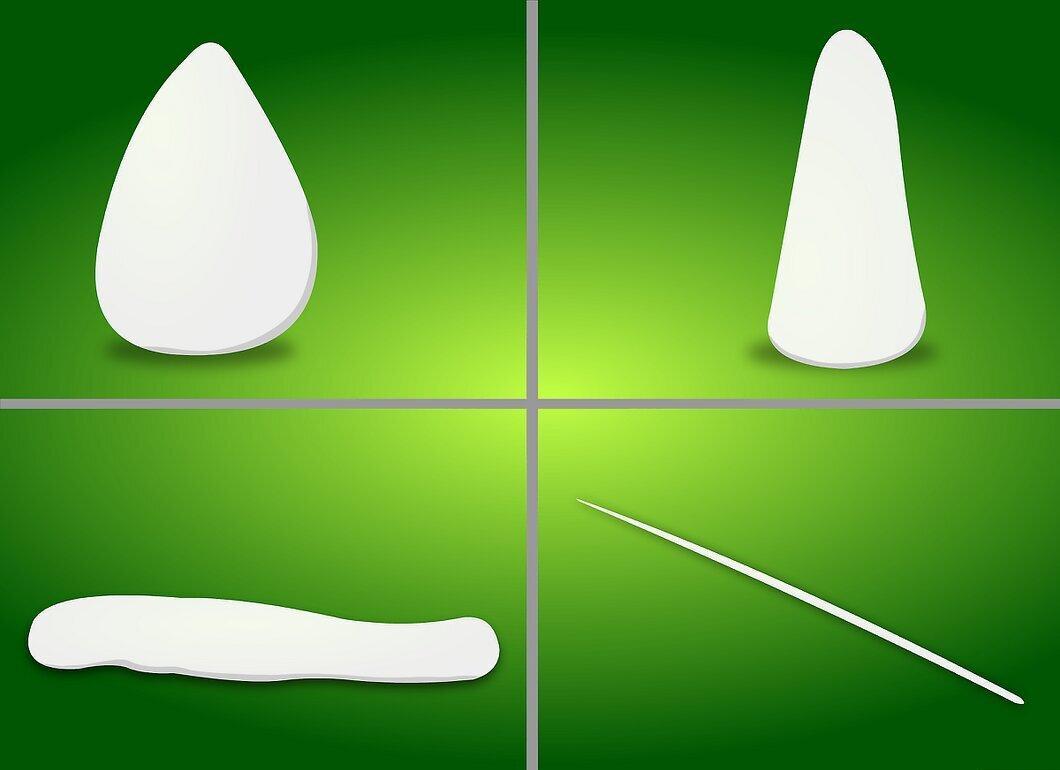
There are many simple shapes you can turn a ball into:
- Teardrop: Roll one end of the ball back and forth until it becomes thinner.
- Cone: Roll one end of the ball into a V shape.
- Sausage: Roll the ball on a flat surface until it becomes sausage-shaped.
- Tube: Continue rolling the sausage until it becomes thinner.
- Pinch the tip of the cone or sausage for an interesting shape.
Making Simple Figures from Fondant
Step 1: Draw a Grid on a Sheet of Paper.
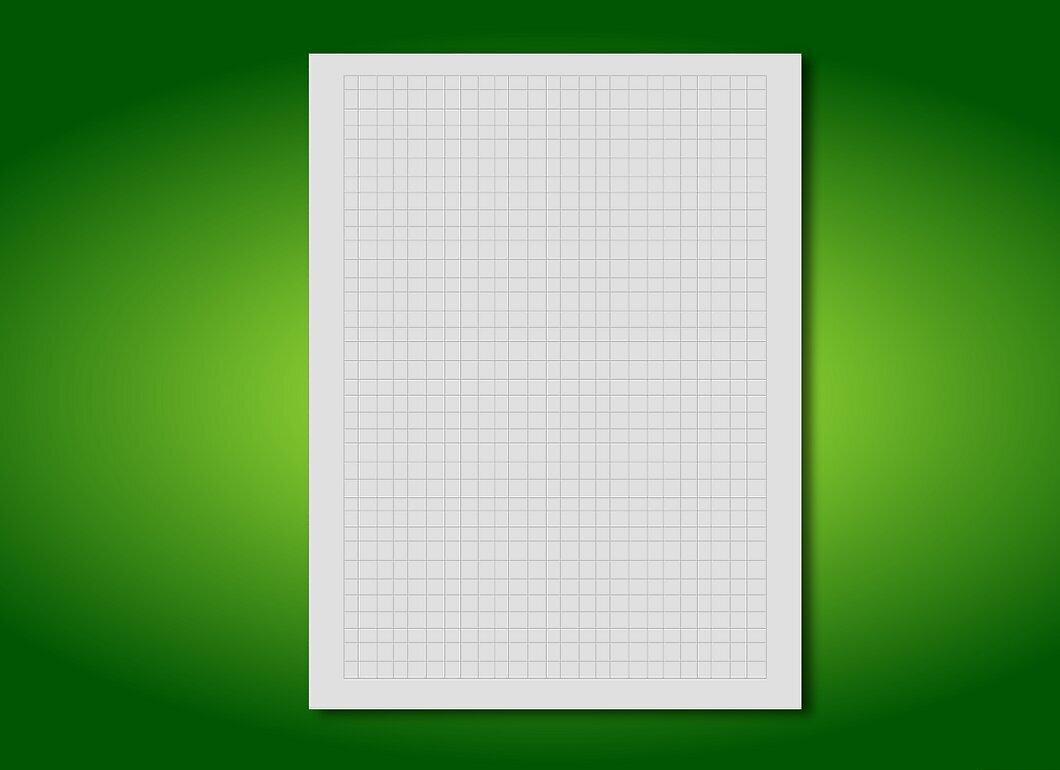
Create a grid on a sheet of paper that corresponds to the size of your decoration. It’s best to draw a square of the desired size and divide it into equal squares using a ruler.
- If you’re enlarging the original decoration, the number of squares should match the number on the small sample.
Step 2: Draw Your Decoration on the Grid.
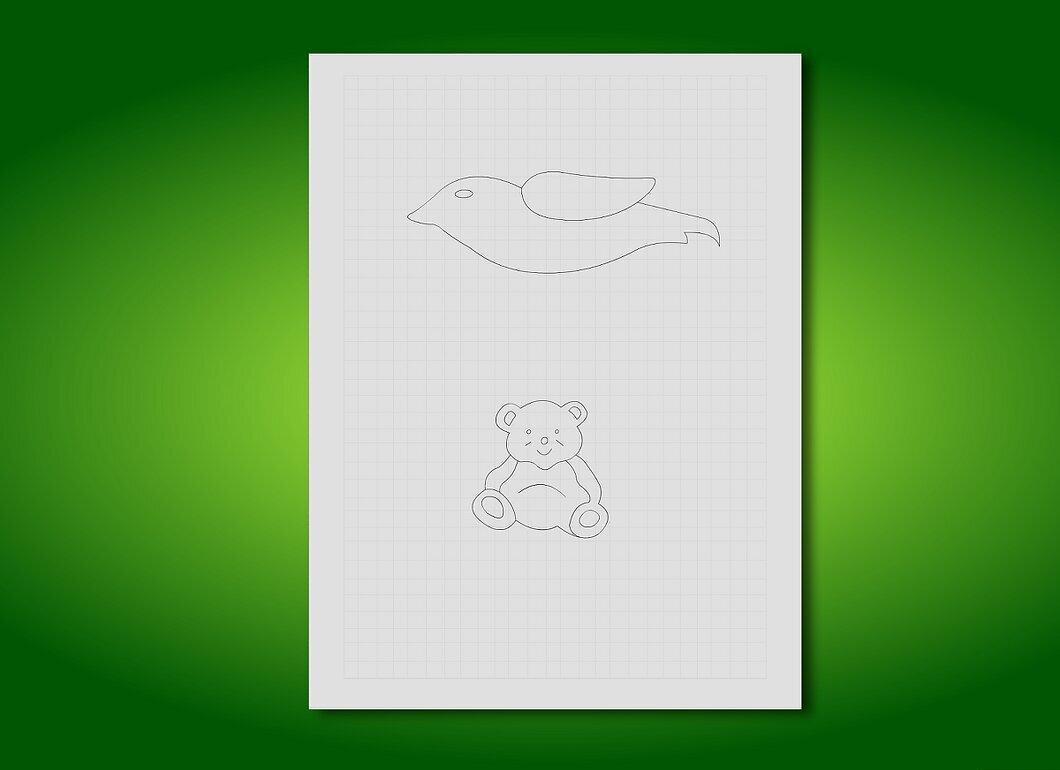
Copy an existing decoration or create your own.
- If you manage to find an image you like, you can print it out and cut it without using the grid. But the grid can be very helpful for transferring designs.
Creating Templates
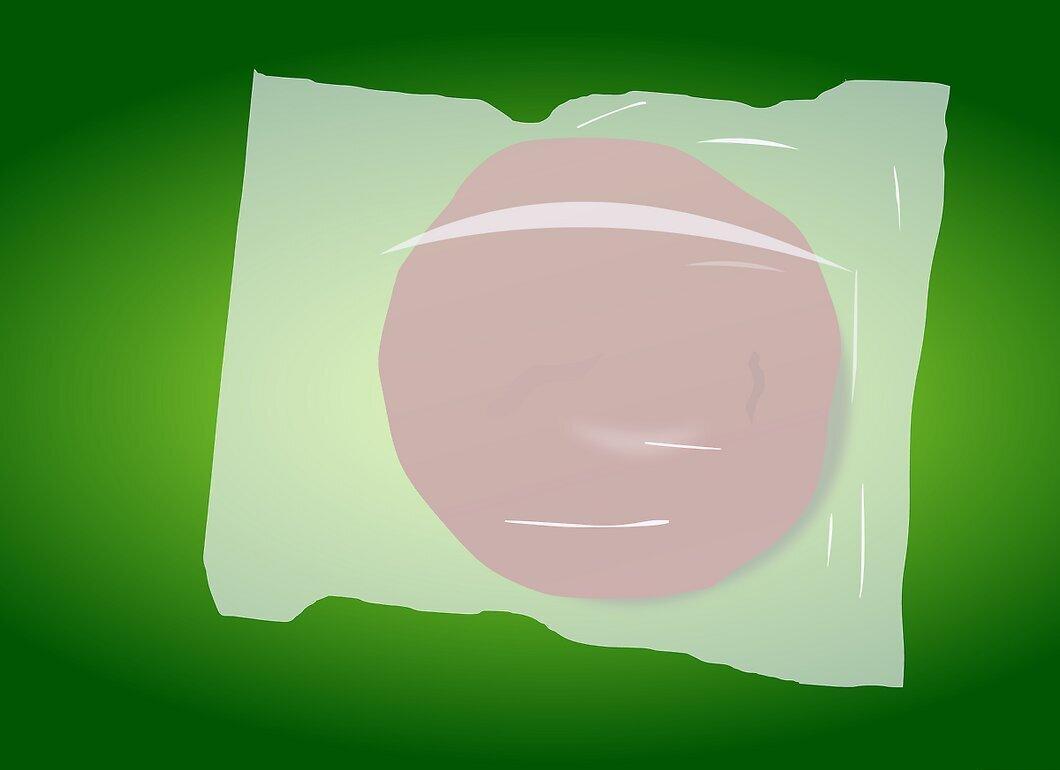
Step 1: Place the Decoration in a Plastic Sleeve or Folder.

This will protect your decoration, and you can work on top of it.
Step 2: Grease the Decoration with Vegetable Oil.
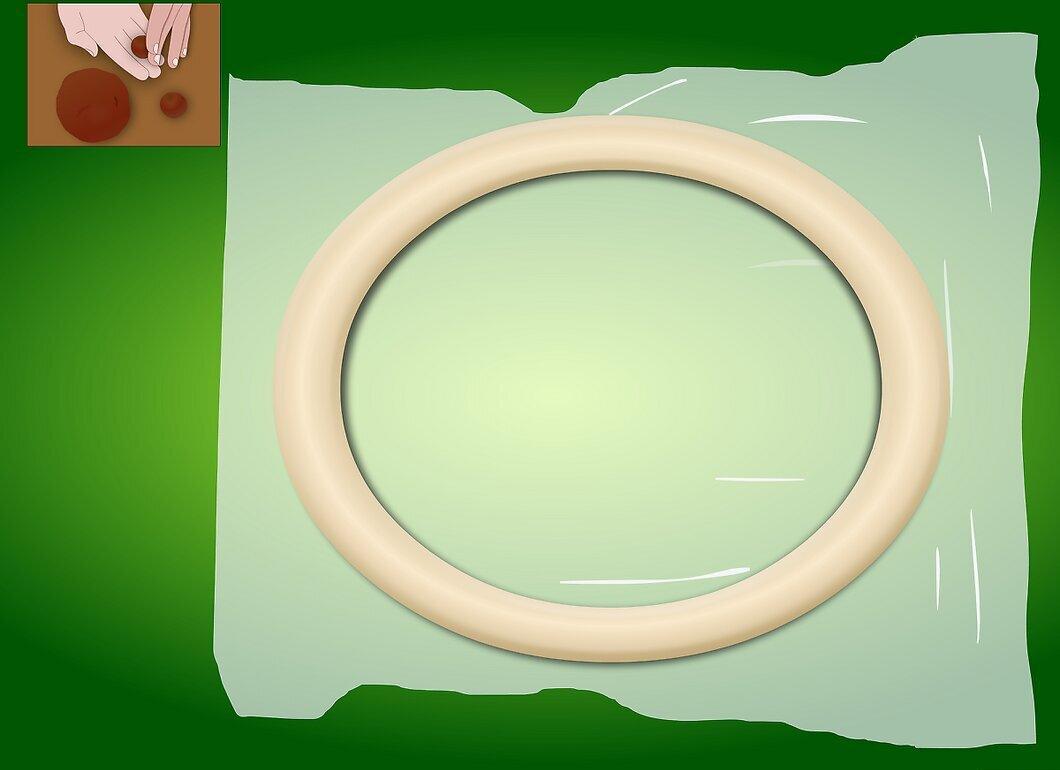
This will prevent the fondant from sticking to the plastic.
Step 3: Shape the Decoration from Fondant.
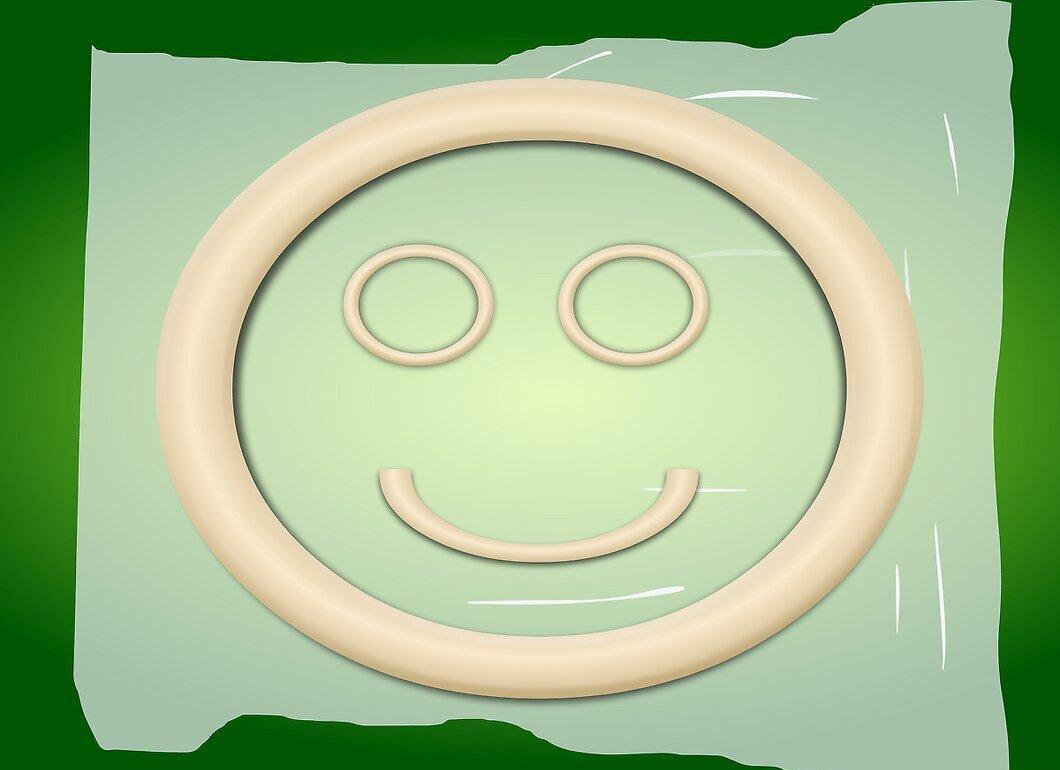
For each part of the decoration and fondant color, first roll it into a ball, then shape it according to the template. The size of the ball depends on the required amount of fondant. You will need to experiment a bit.
- Start with the back parts, leaving front details like eyes and whiskers for last. For example, if you’re making a cat, start with the body, tail, and head, then add legs, ears, eyes, and nose.
- Typically, the center of each piece of fondant should be higher than the sides, which are smoothed out at the joining points.
Step 4: Shape the Back Part First.
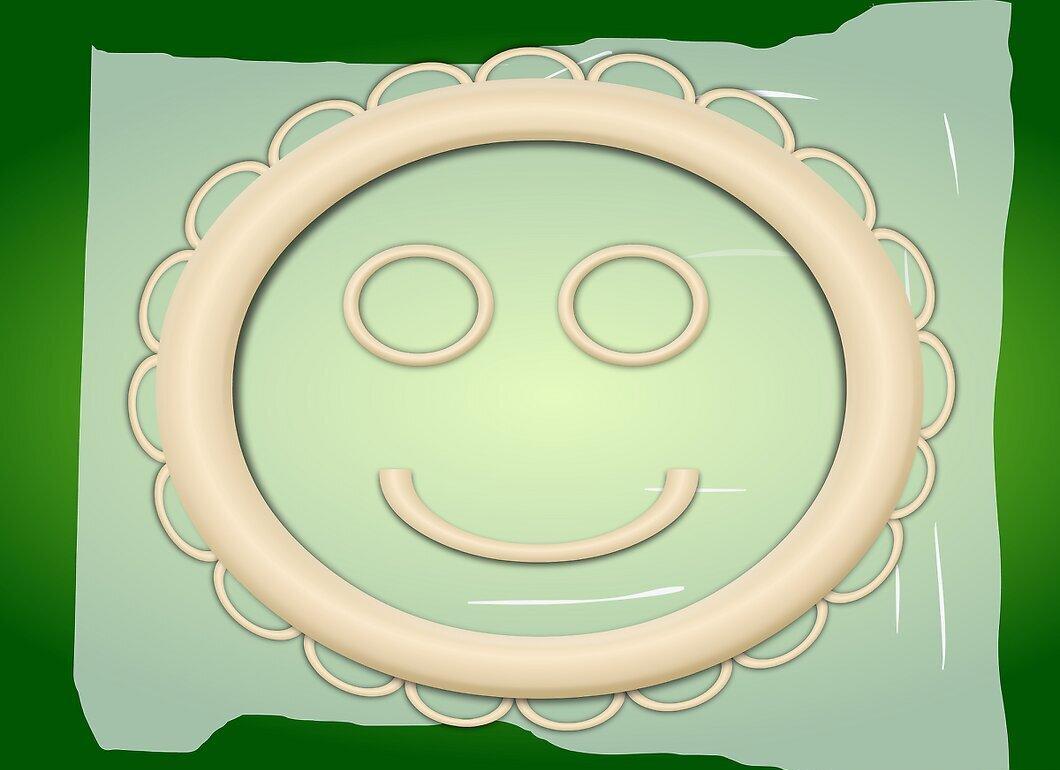
Then move on to the next layer and continue until all elements are added to the decoration.
- Use the previously described tips for shaping fondant.
- Leave the smallest details for later.
- To give the decoration a shine, rub it with a small amount of vegetable oil.
Step 5: Transfer the Decoration from the Template to the Cake:
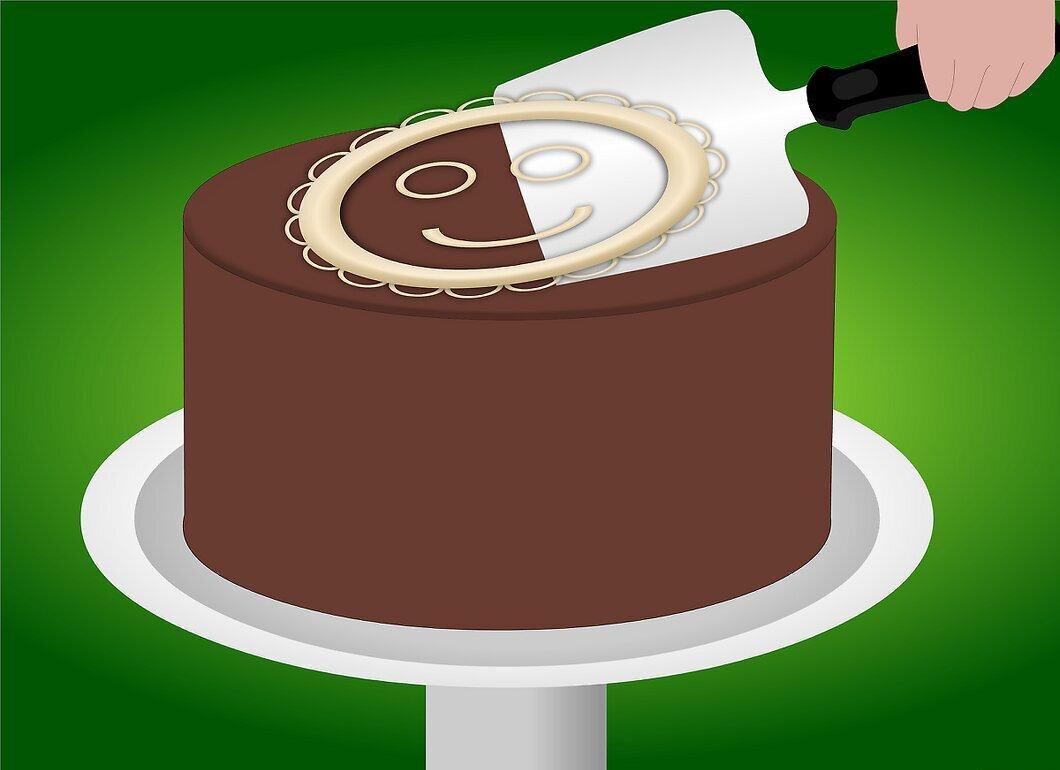
- Use a spatula. Carefully lift it under the decoration, but don’t detach it from the plastic yet. Place the cake nearby and quickly transfer the decoration onto it.
- If both the cake and fondant are already dried, use fresh royal icing or confectioners' sugar to glue the decoration. If the decoration is not yet dry, it usually sticks by itself.
Using Templates to Create Fondant Decorations
Step 1: Add Color.
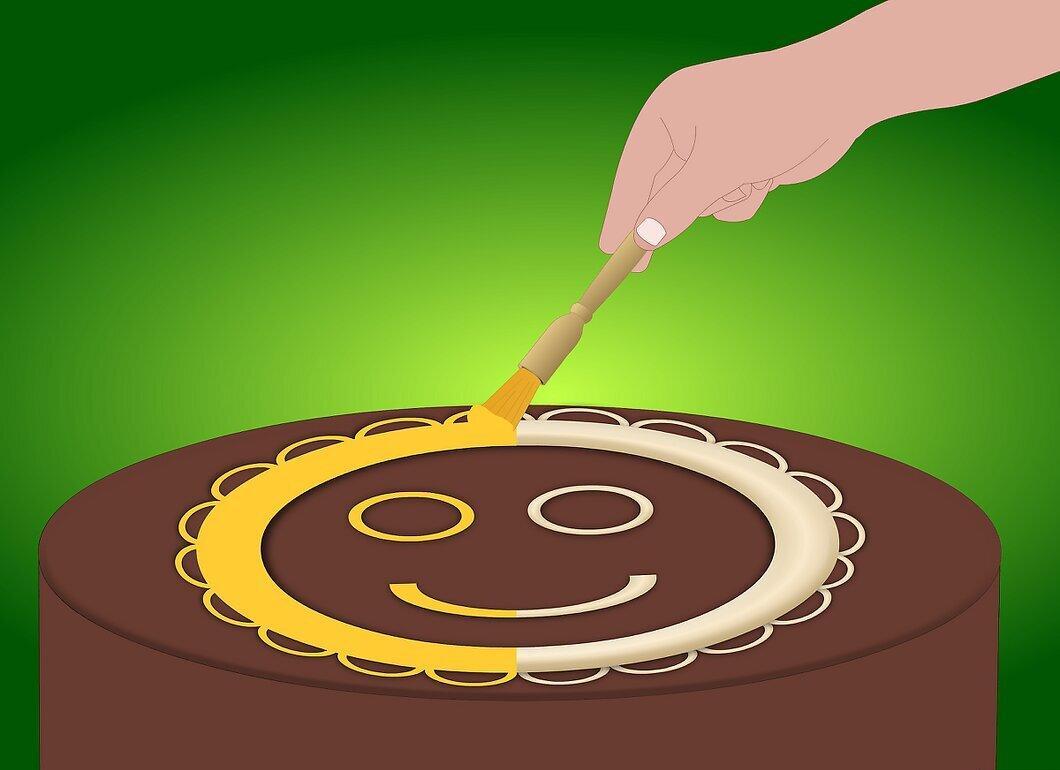
You can do this with a fine brush dipped in food coloring or edible glitter. Just apply color to the desired area.
Step 2: Add Texture with a Spatula.
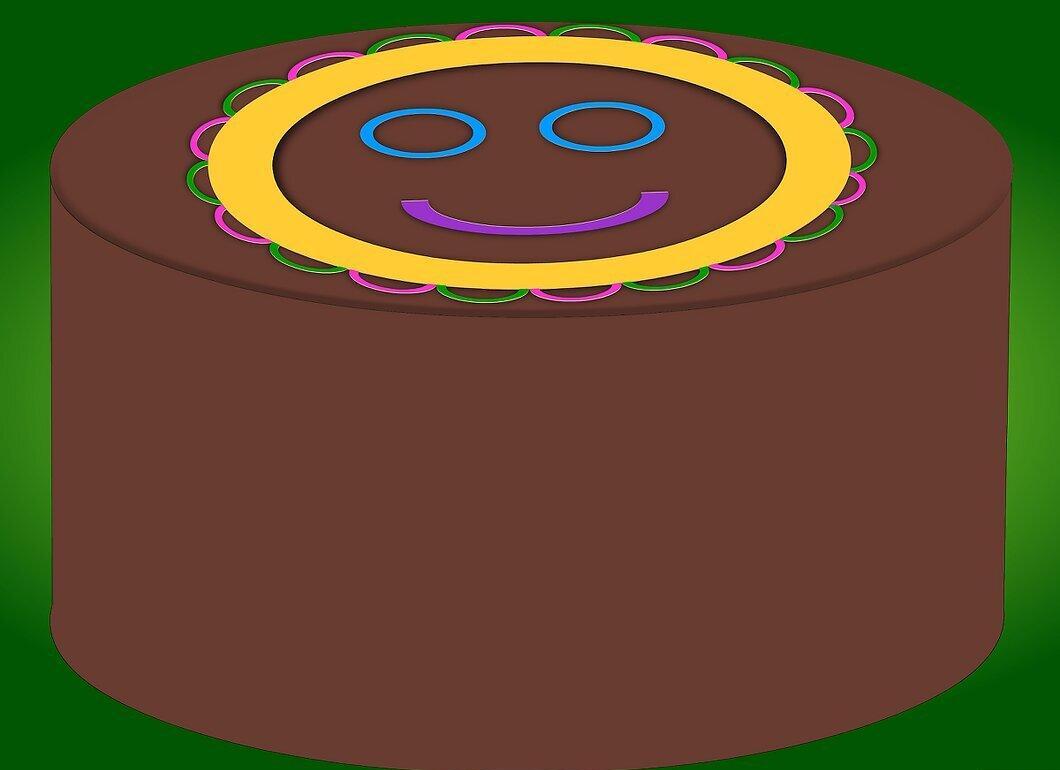
Create lines, indentations, and other details by cutting or pressing them into the fondant with a spatula.
Step 3: Use Cookie Cutters.
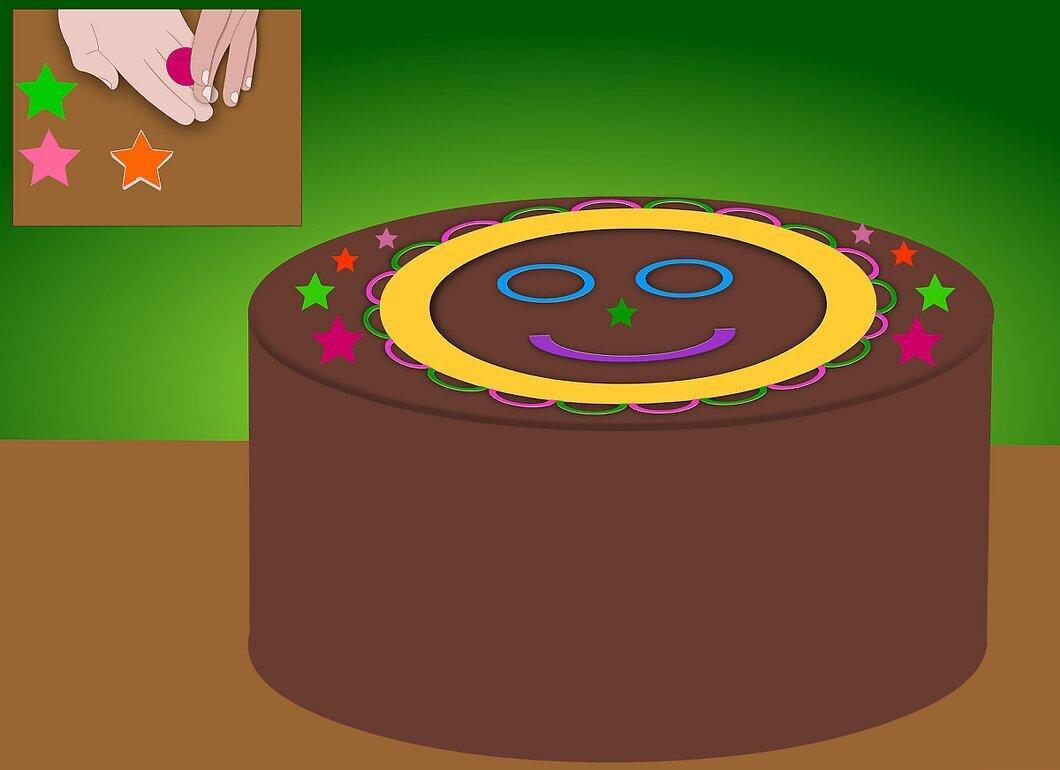
If you don’t want to create templates, simply cut out shapes from fondant using cookie cutters. These can be any shapes from bunnies to stars. You can always add details like eyes, hair, or clothing.
Step 4: Use Tools to Create Interesting Patterns.

There are many tools in the kitchen that can help you create interesting shapes, details, and patterns. Think about things like piping bag nozzles, straws, patterns on spoons, buttons, knives, cookie cutters, and forks.