The Ultimate Guide to Smoking Meat: From Choosing to Smoking
Smoking meat is a process where the product is cooked over low heat using smoke and fuel sources like wood chips or charcoal. Spending 4-12 hours in gentle warmth and thick smoke imparts a rich flavor and tenderness to the meat. In this article, we will detail how to properly use a smoker to achieve outstanding results.
Preparing for Smoking
Step 1. Choose the Right Smoker
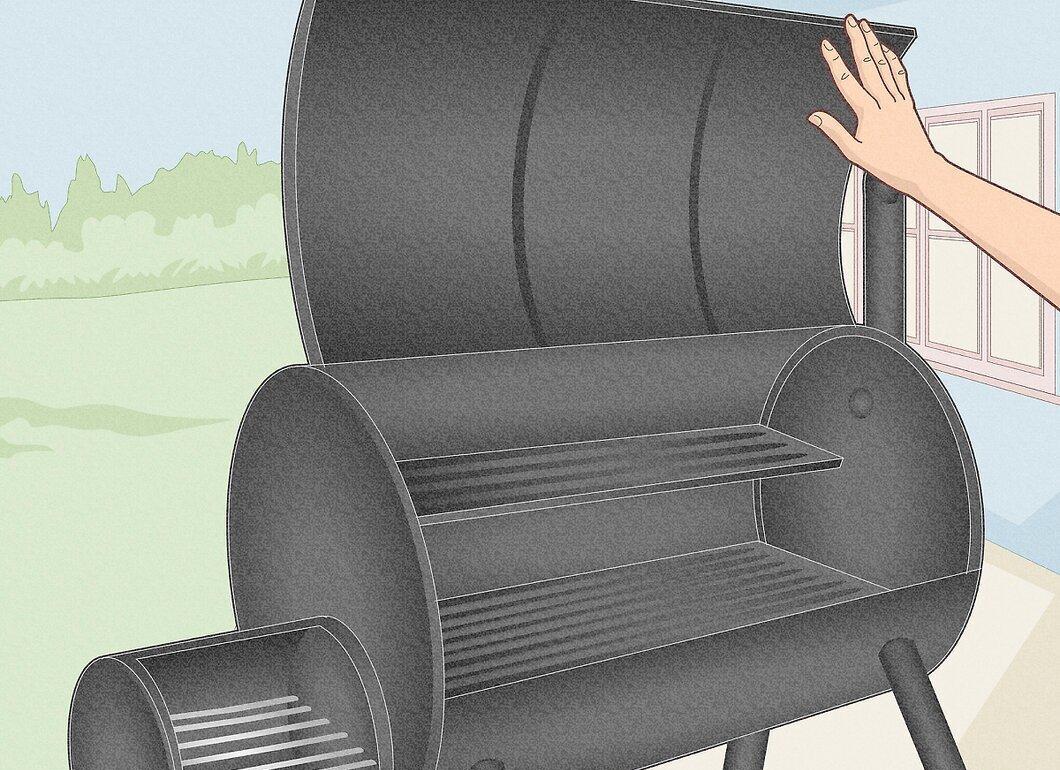
First, acquire a smoker. There are various types: electric, gas, water smokers, and charcoal. All of them are suitable for smoking different types of meat—from jerky to turkey.
- Electric and gas smokers typically operate faster than charcoal ones.
- If you already purchased a smoker, assemble it with special attention to the firebox and vents—these are critical elements that affect the outcome. Incorrect assembly can lead to spoiled meat or even a fire.
Step 2. Prepare the Smoker Before Use
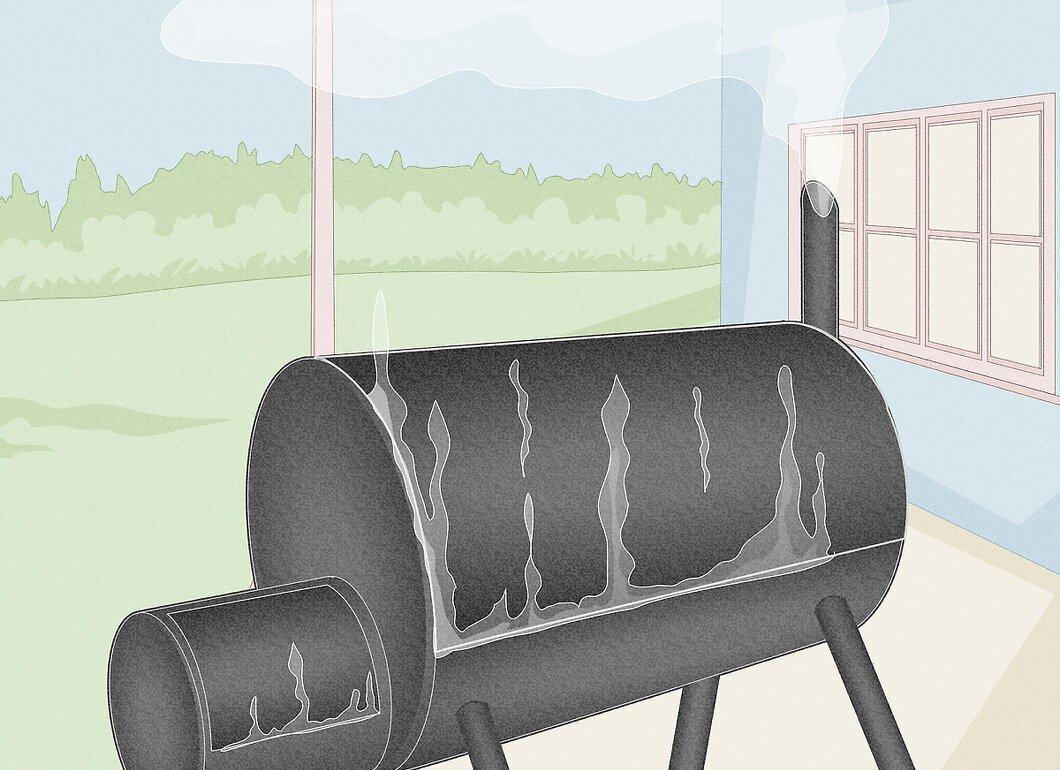
- Start by igniting the fire in the firebox. First, heat it to 200 degrees Celsius, then lower the temperature to 100 degrees for longer smoking. Don’t forget to clean the chamber of any residues and seasonings.
Step 3. Get Wood Chips or Charcoal
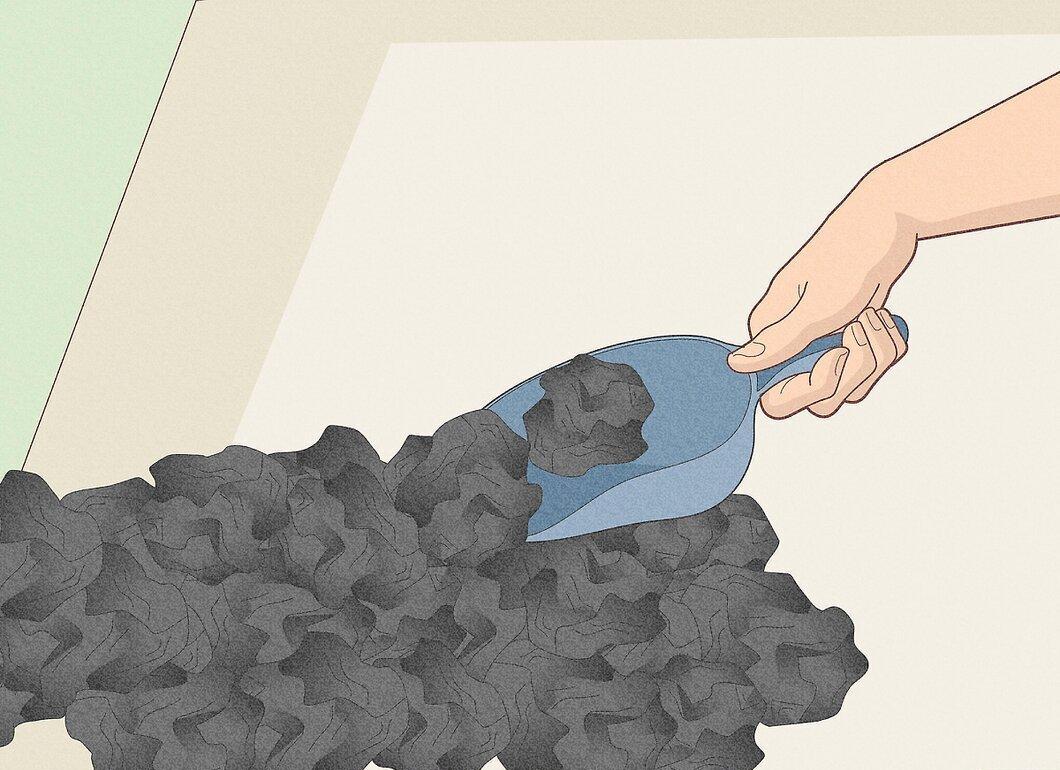
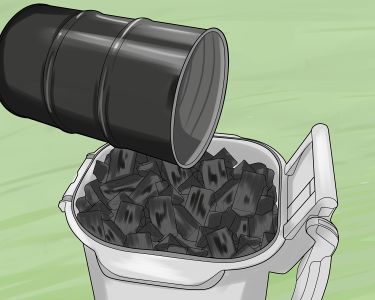
Stock up on wood chips or charcoal. There are different wood varieties—oak, cherry, apple, alder, and hickory. They impart a distinctive smoky flavor to the meat.
- Ensure the wood you choose is free from chemicals. This also applies to charcoal, as smoke from chemicals can ruin the flavor of your meat. Start with pre-soaked chips before moving on to self-prepared ones.
Step 4. Find a Safe Location for the Smoker
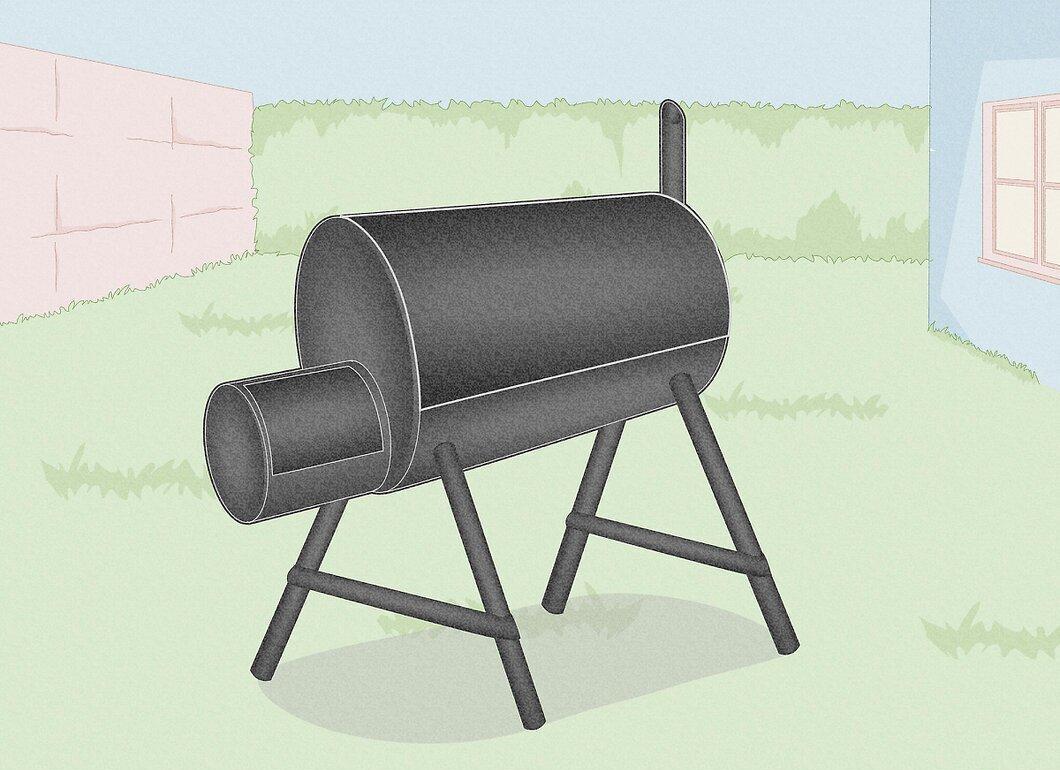
Choose a safe outdoor location for the smoker, where health risks are minimal and there’s no fire hazard. Make sure the smoker is placed away from strong winds.
Preparing the Meat
Step 1. Find a Marinade Recipe
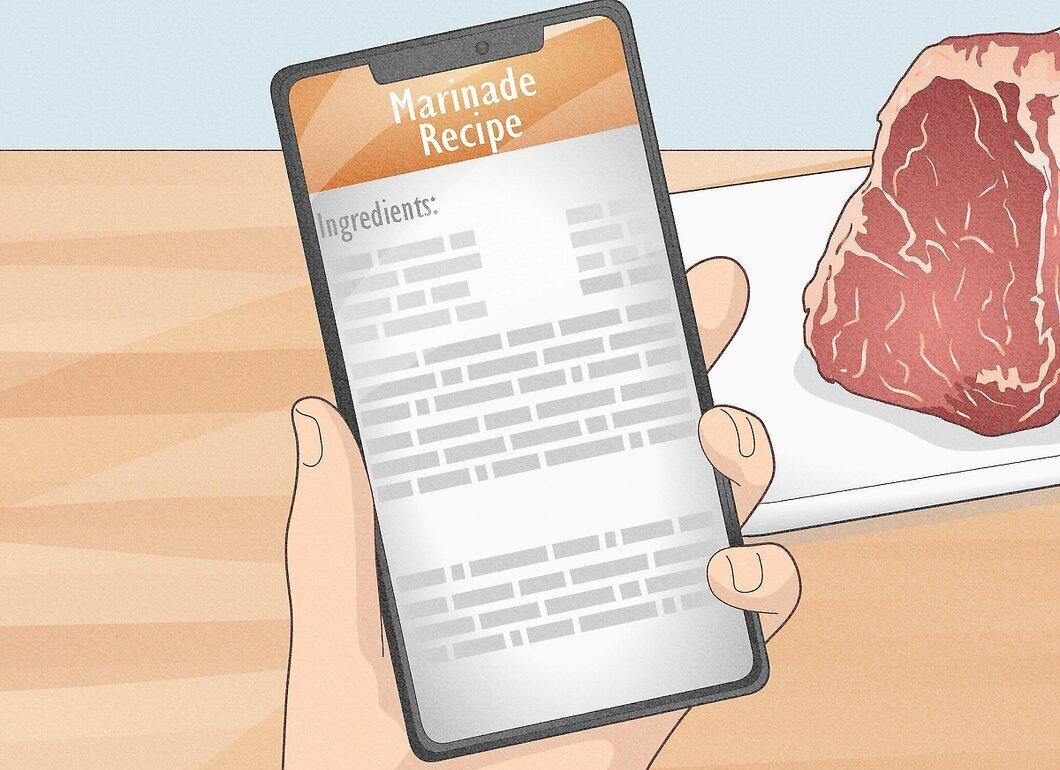
Select a marinade recipe for smoked meat. Marinate the meat a day prior to the smoking process.
Step 2. Marinate or Rub the Meat with Spices
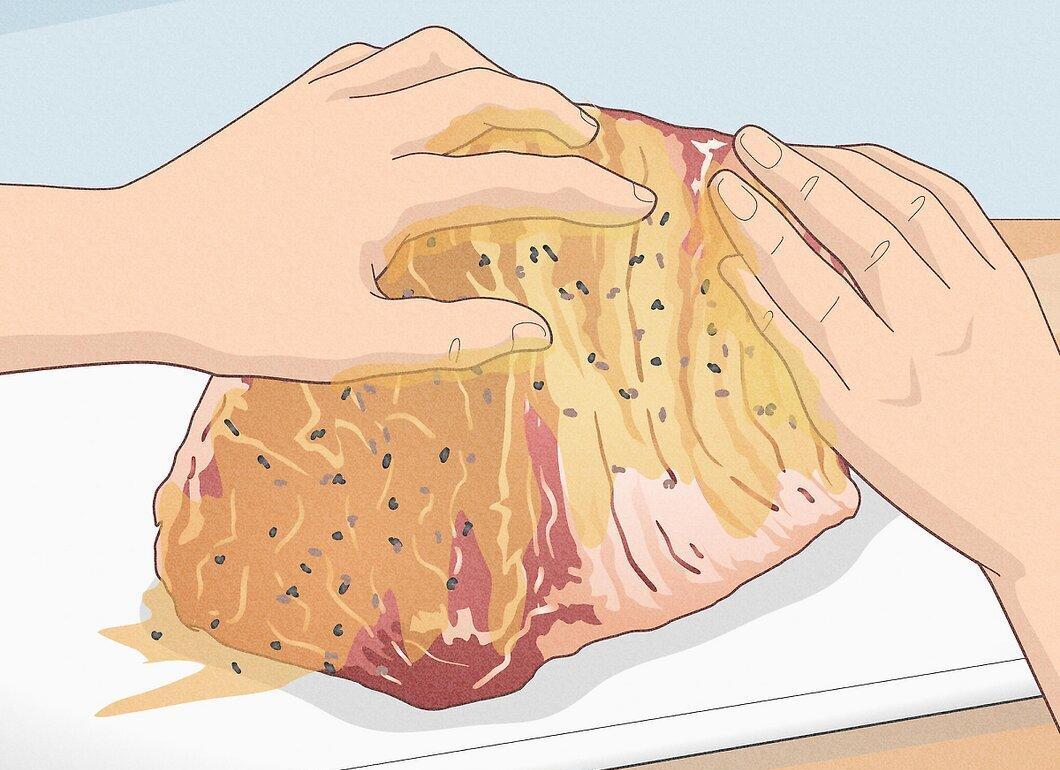
Step 3. Place the Meat in a Container
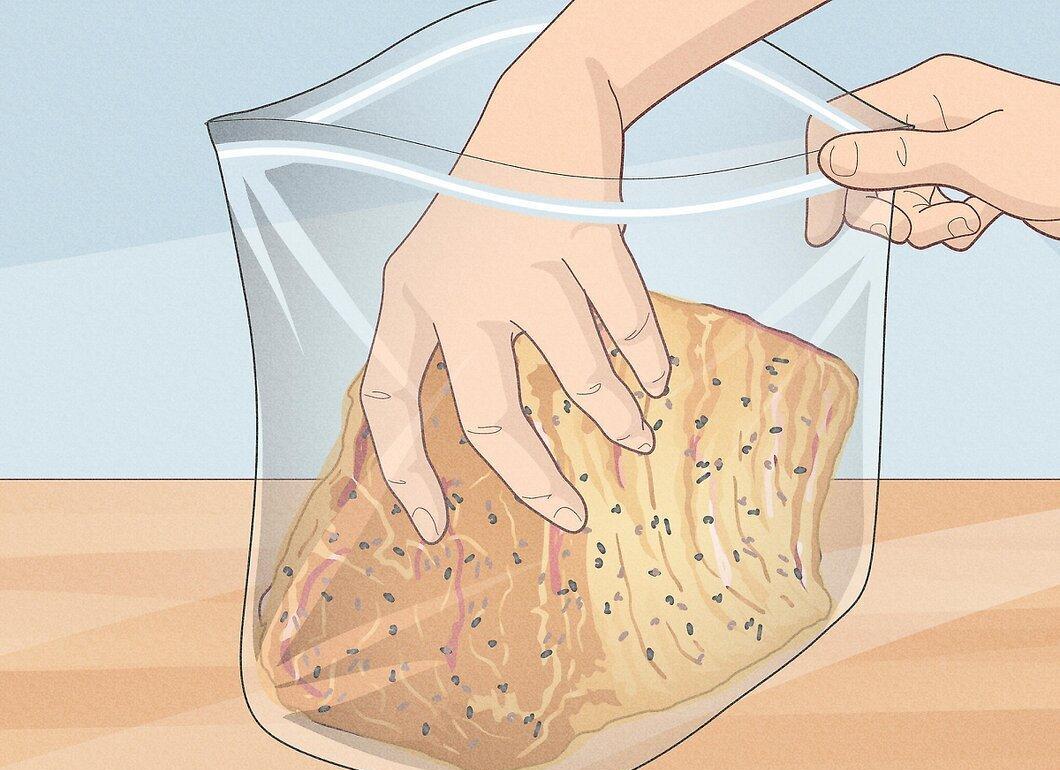
Put the meat in a plastic or glass container. Leave it in the refrigerator overnight or for up to 24 hours.
The Smoking Process
Step 1. Fill the Smoker with Fuel
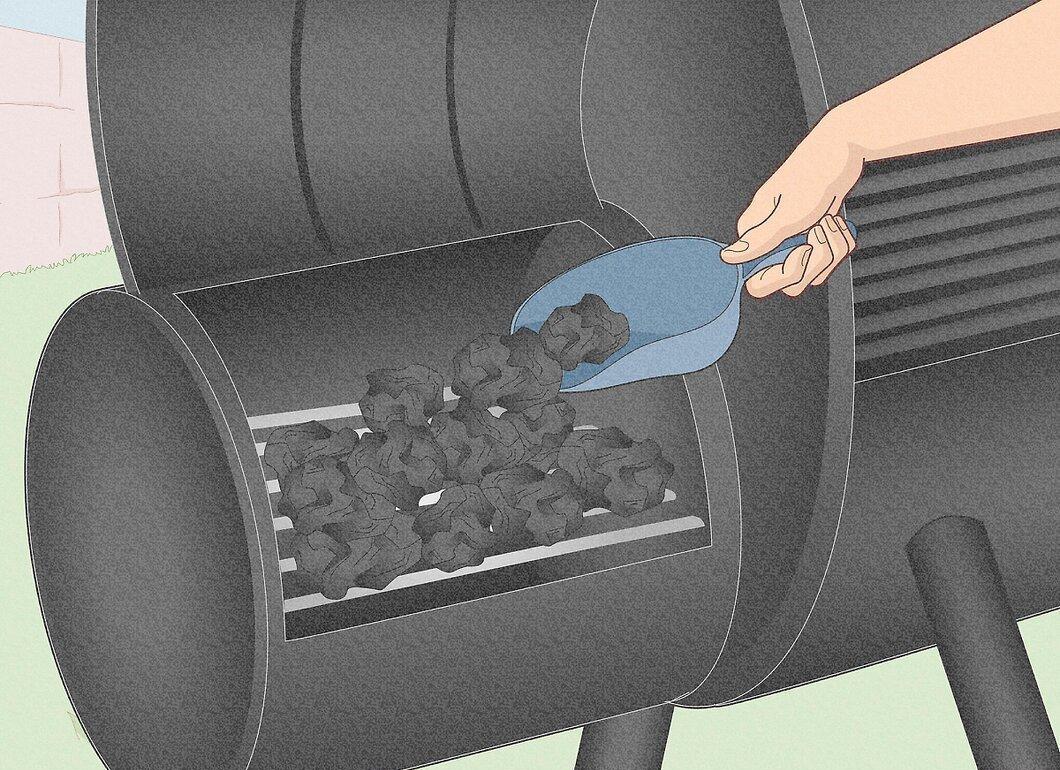
Fill the smoker with fuel, be it charcoal, propane, or electricity.
Step 2. Add Wood Chips
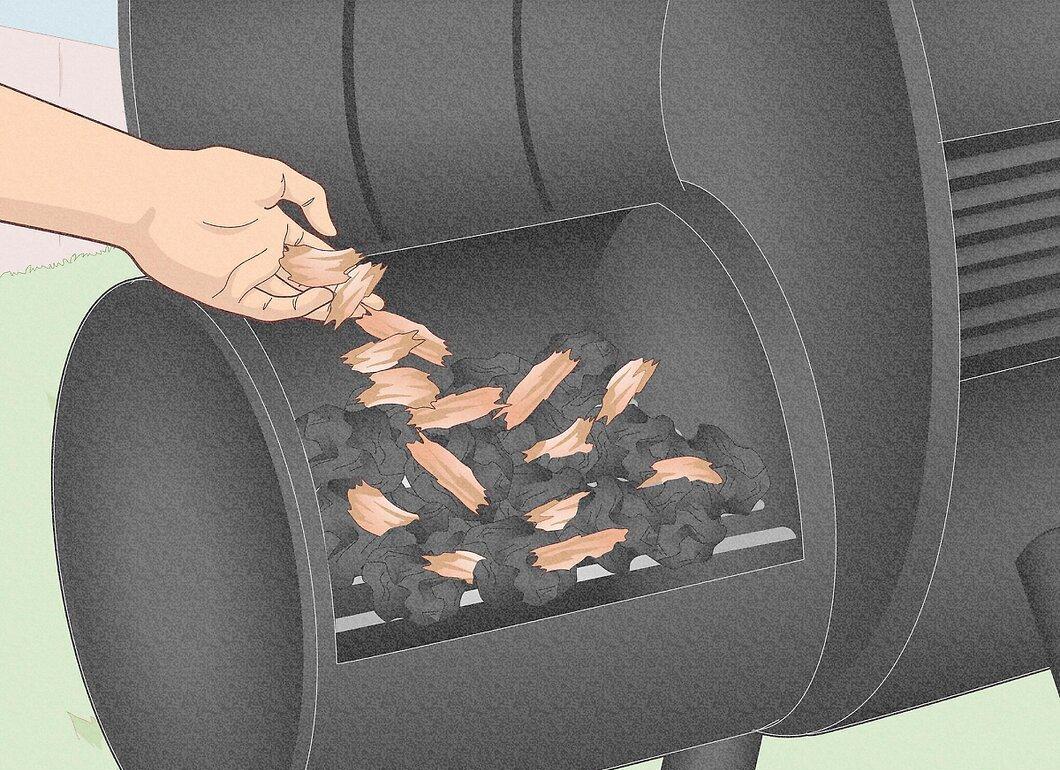
If you’re using chips, make sure to have a reserve in case you need to add more during the process.
- For a gas smoker, use a foil pouch with holes poked in it. Place the pouch as close to the heating element as possible to generate smoke.
- If you’re using a water smoker, adding fresh herbs to the water will give the meat a unique flavor.
Step 3. Ignite the Fire
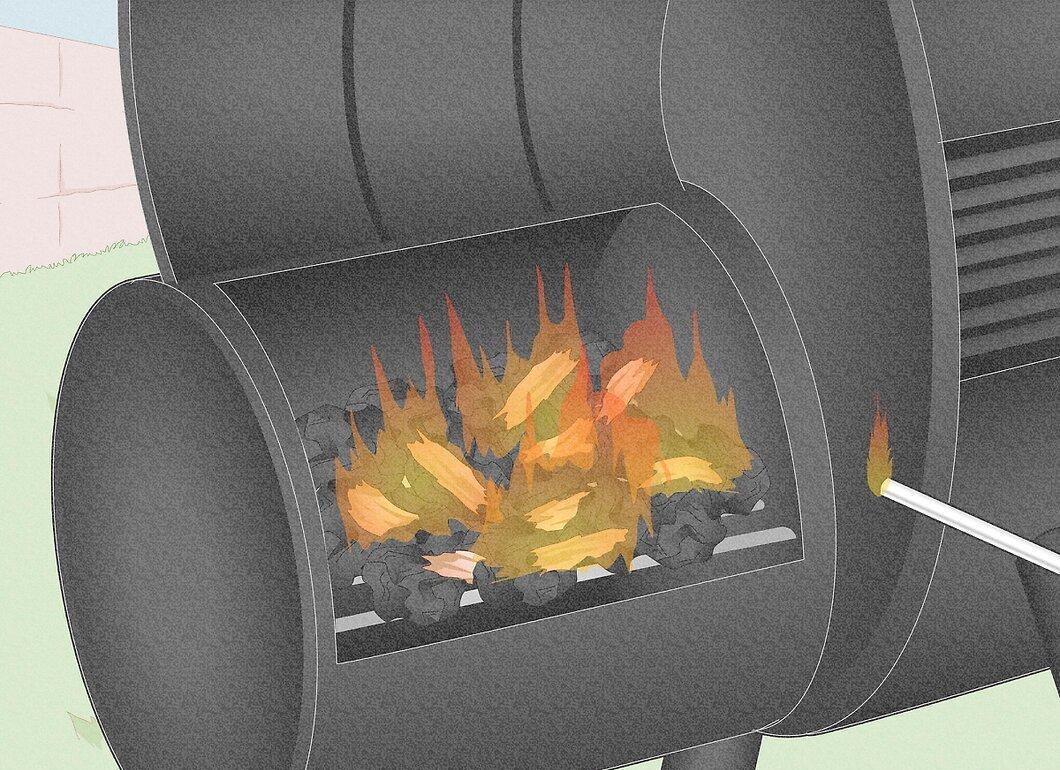
Ignite the fire, ensuring that air can freely access the wood or charcoal by opening all vents. Allow the smoker to preheat for at least 20-30 minutes.
- Once the temperature reaches 200 degrees, reduce the heat. Close the vents almost completely after 30 minutes to lower the flames and increase smoke production.
Step 4. Maintain the Desired Temperature
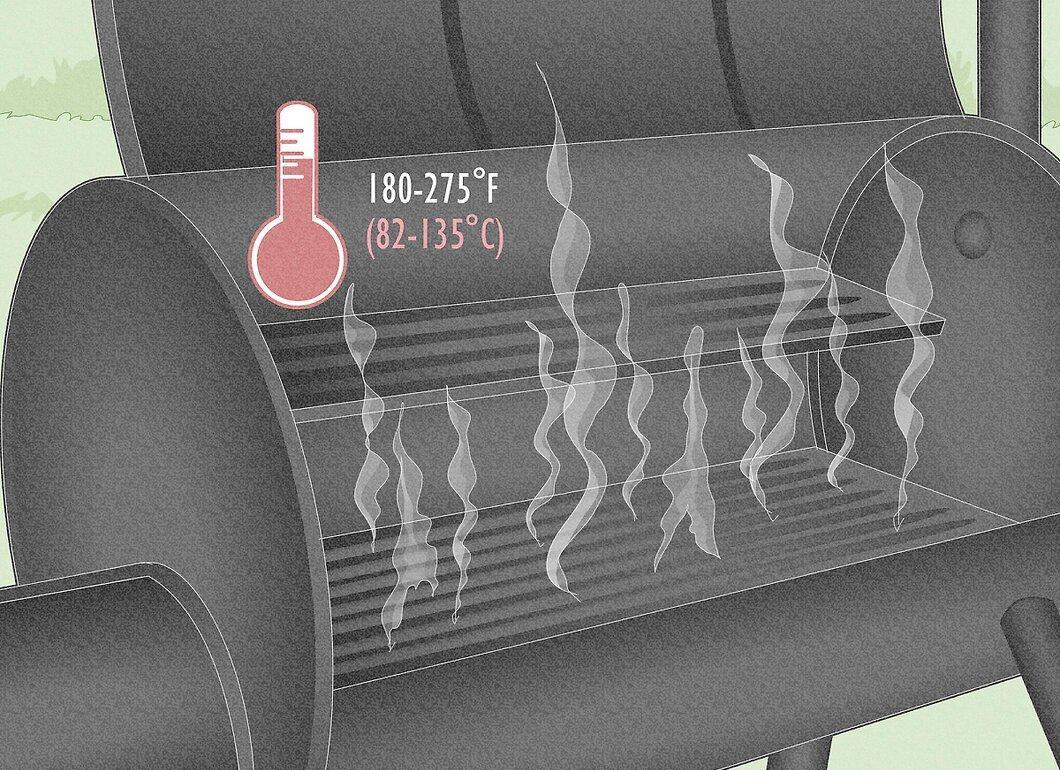
The goal is to maintain a temperature between 80 and 140 degrees. This depends on the type of smoker, the kind of meat, and its size.
- For example, fish needs to be smoked at a lower temperature than beef. Larger cuts require higher smoking temperatures than smaller pieces of jerky.
- Electric and gas smokers usually operate at higher temperatures, so set them to the lowest possible value.
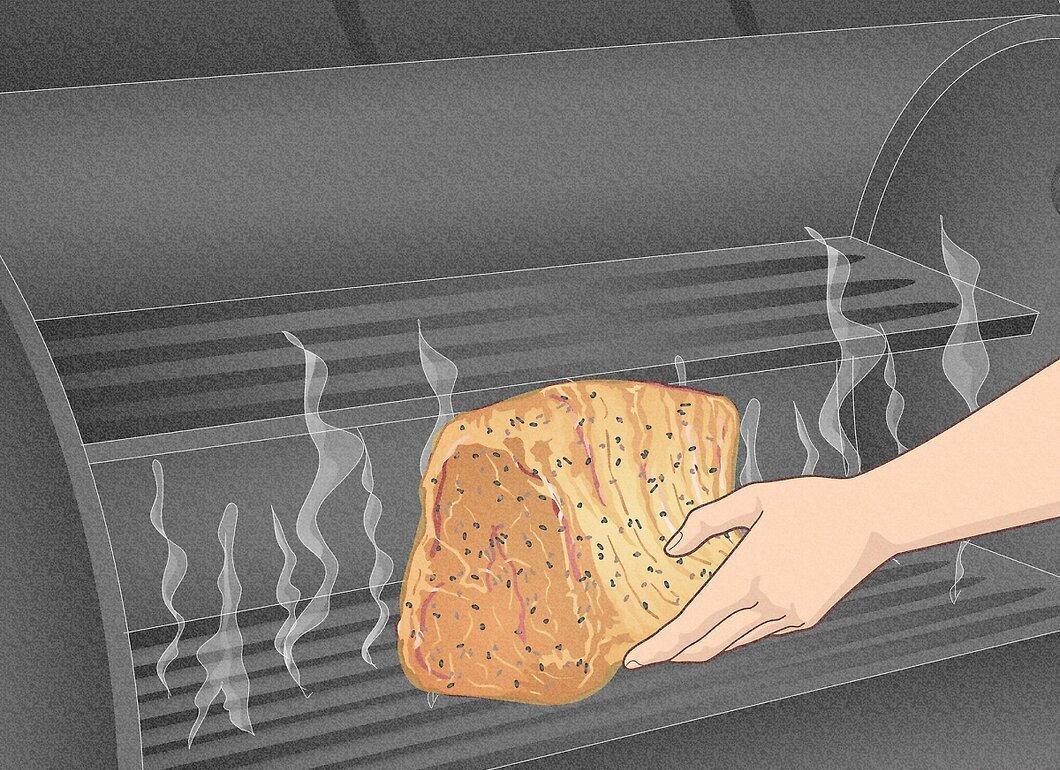
Step 5. Place the Meat on the Rack
Smoking Time
Step 1. Check the Meat Sparingly
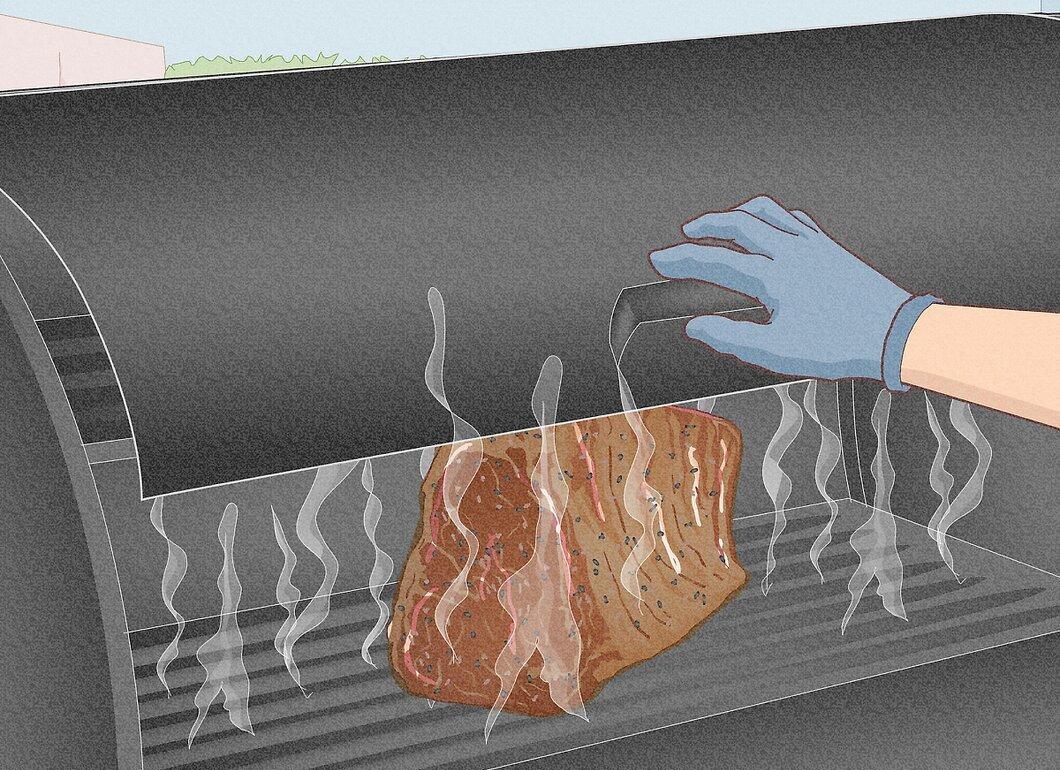
Check the meat only 1-2 times throughout the smoking process. Remember to monitor the fuel and wood chip levels, adding more as necessary.
- Each time you open the smoker, it loses heat.
Step 2. Smoking Time
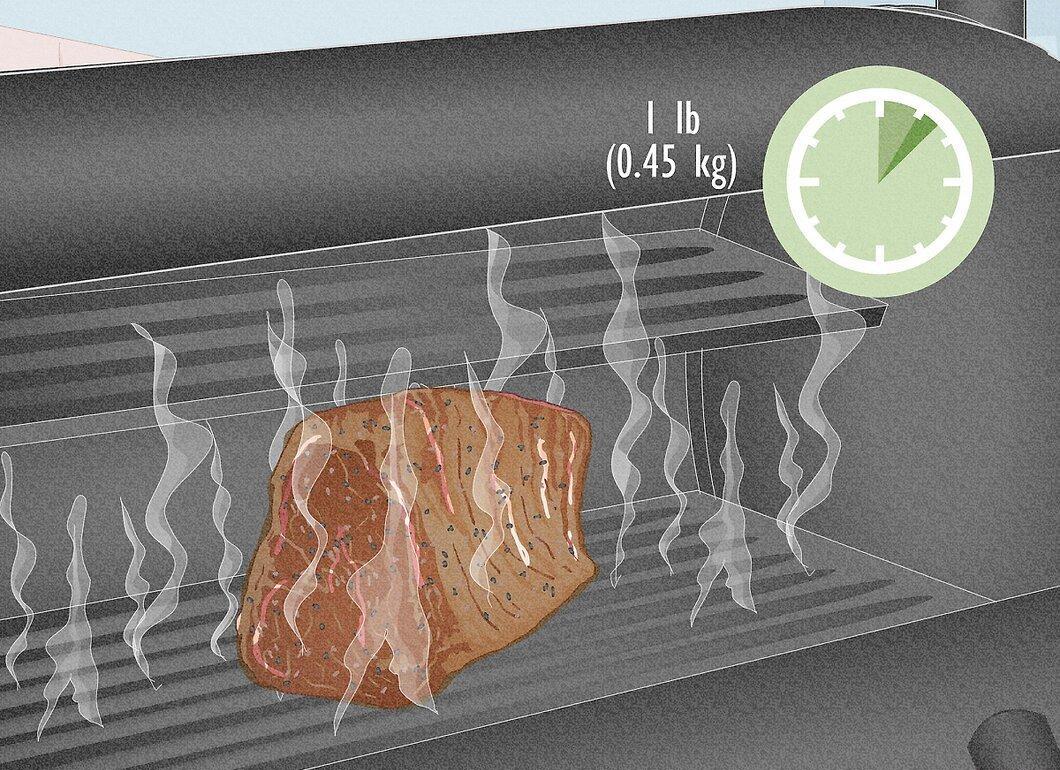
Recommendation: for every 500 grams of meat, allow 1-1.5 hours of smoking.
- At higher temperatures—1 hour for every 500 grams. At lower temperatures, the time increases.
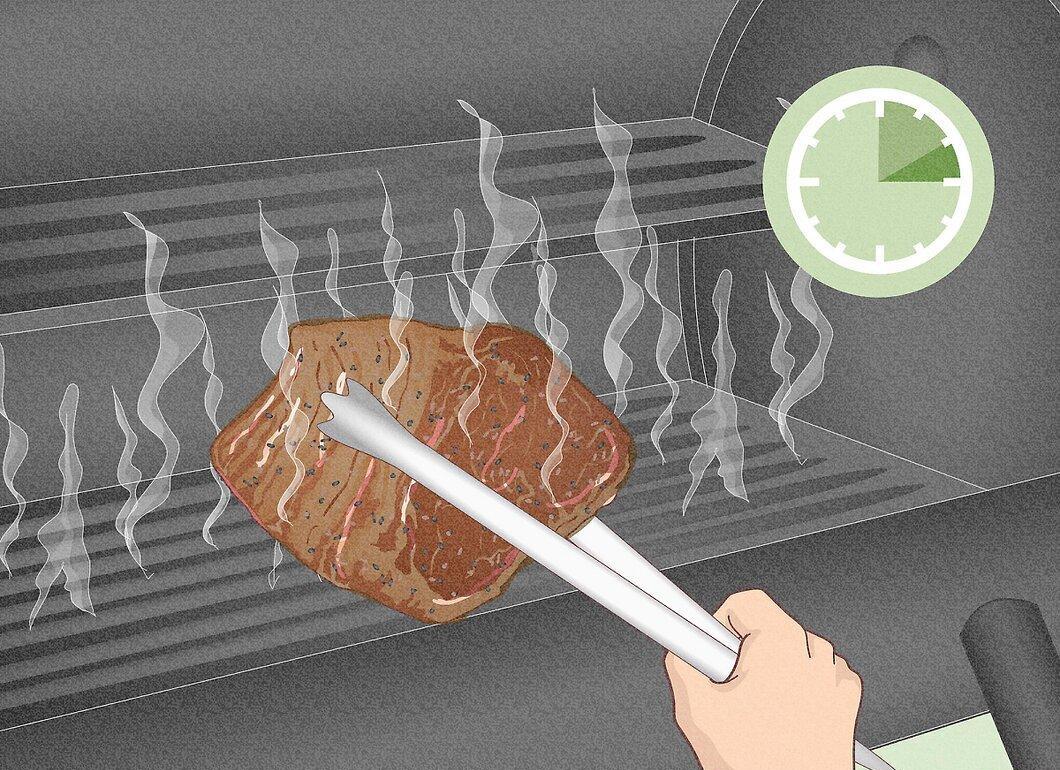
Step 3. Turn the Meat
Step 4. Baste with Marinade
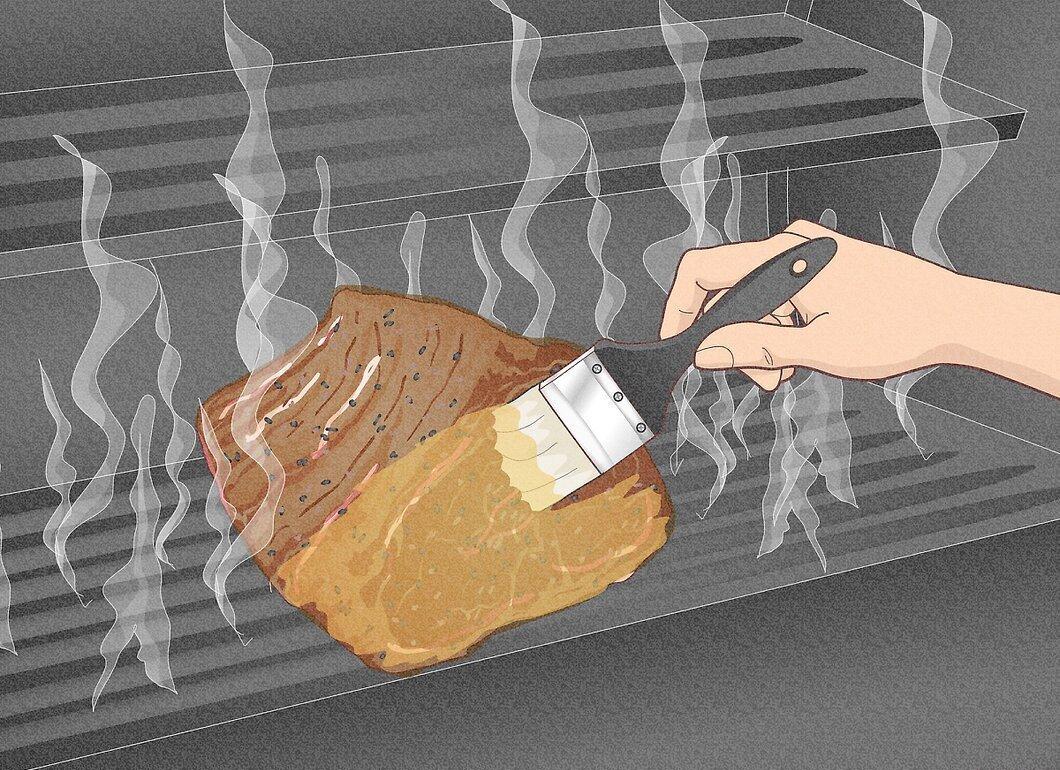
Baste the meat with marinade each time you turn it.
Step 5. Check for Doneness
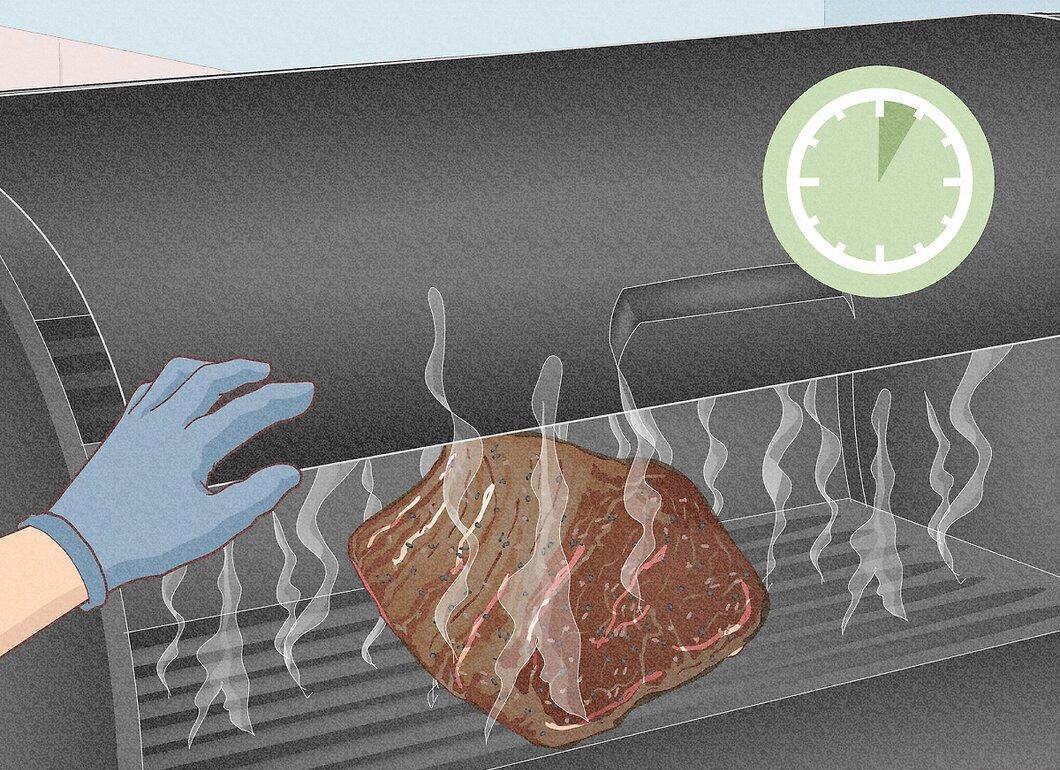
Check the meat an hour before the estimated finish time. It’s better to undercook than overcook—you can always finish cooking in the smoker.
- Overcooked meat is a common issue, especially in small home smokers.
Step 6. Remove the Meat When Ready
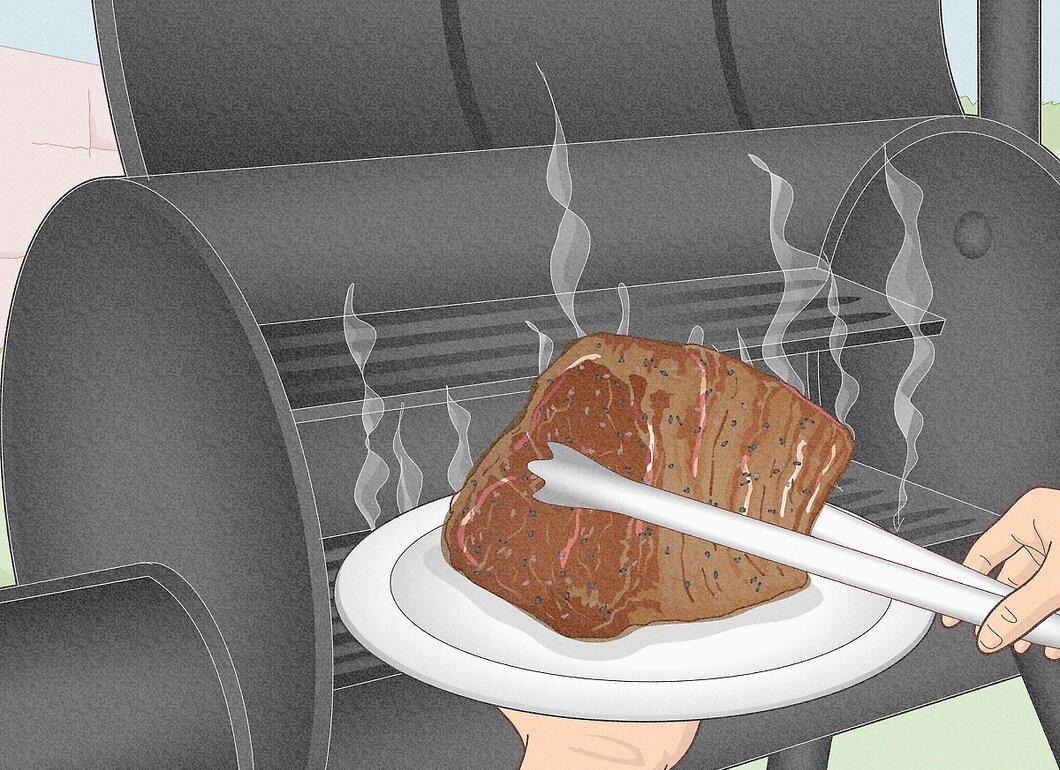
Remove the meat when you are confident it is done. Note that some types of wood may impart a deeper color to the meat, which can make it difficult to determine doneness.