How to Make Charcoal at Home: Two Easy Methods
Creating charcoal at home is not only cost-effective but also a fun activity. You only need a few materials and a bit of time. In this article, we will discuss two methods for making lump charcoal, perfect for barbecuing.
Method 1: Using a Campfire
Step 1. Find a Suitable Location for the Campfire.
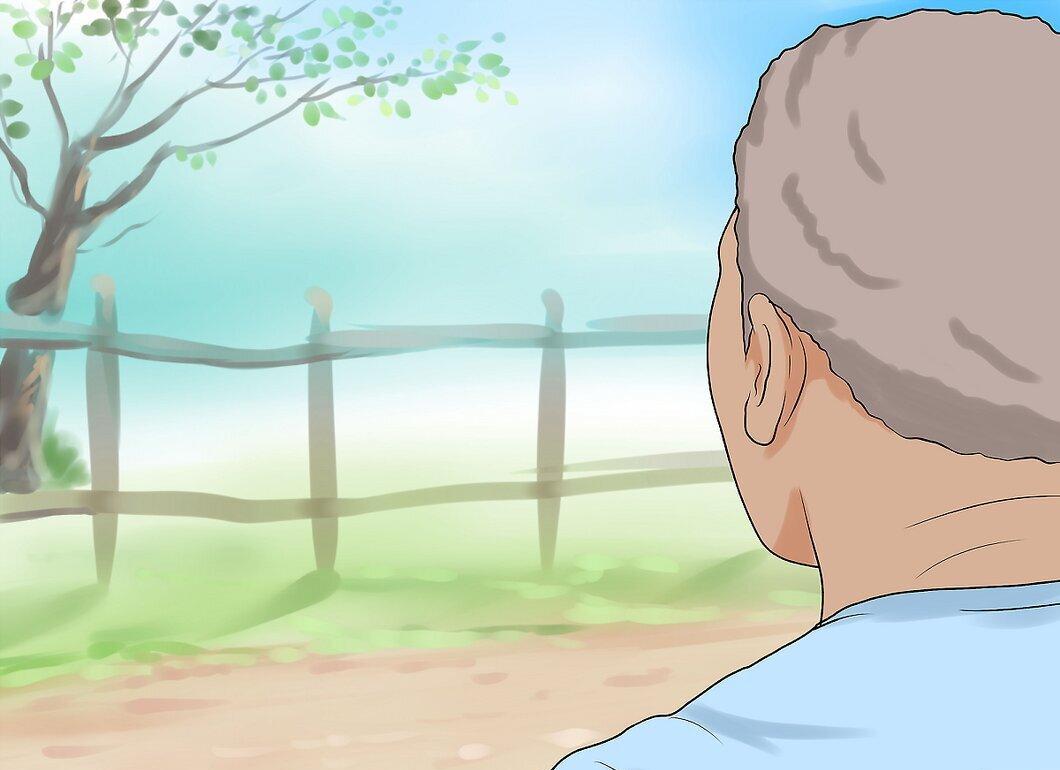
First, choose a location where you can safely start a campfire. This could be your backyard or a designated area. Be sure to check if campfires are allowed in your area.
Step 2. Prepare a Metal Barrel.
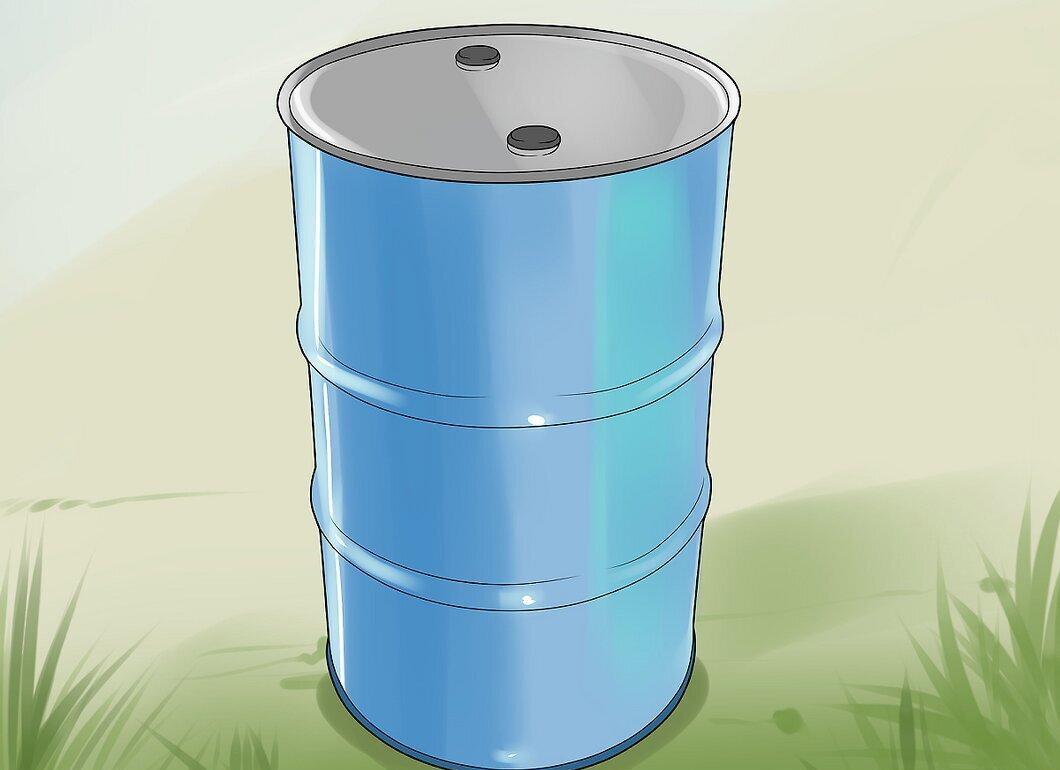
Find a metal barrel that will be used for burning the wood. The size of the barrel will depend on how much charcoal you want to produce. Ensure that the barrel has a fireproof lid.
Step 3. Choose the Wood for Charcoal.
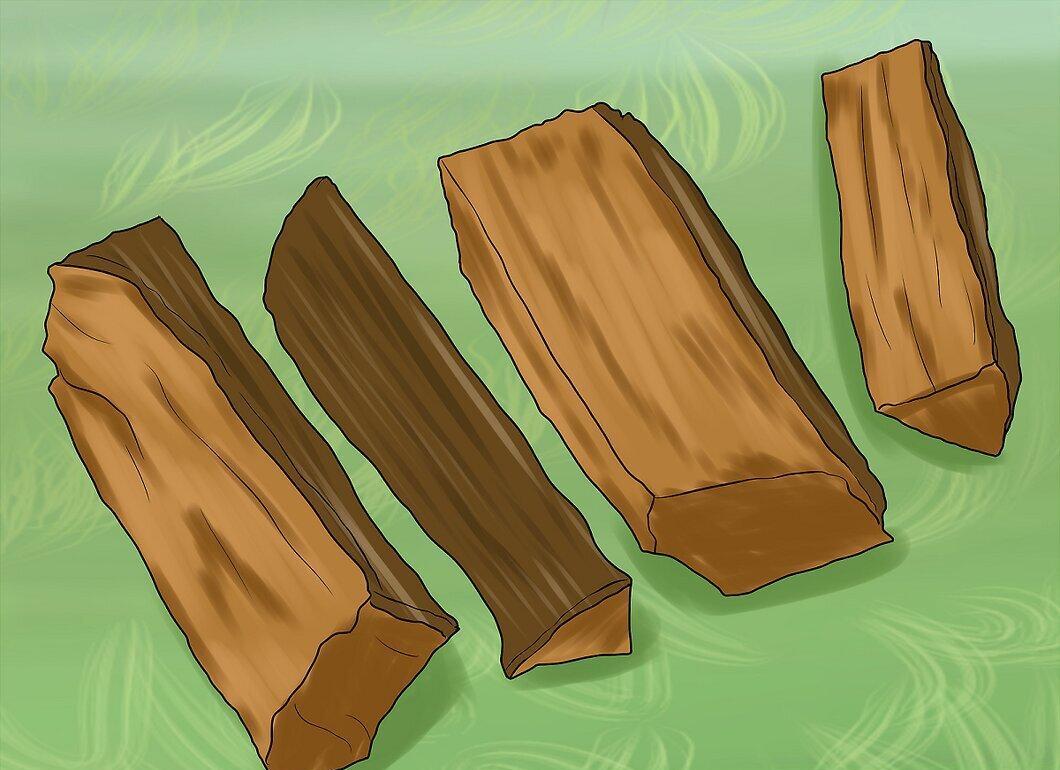
Decide on the type of wood you want to use. Unprocessed wood, such as cherry or oak, works best. Find a local supplier or purchase it from a hardware store. You will need enough wood to fill the barrel, cutting it into pieces about 10 cm long.
Step 4. Fill the Barrel with Wood Pieces.
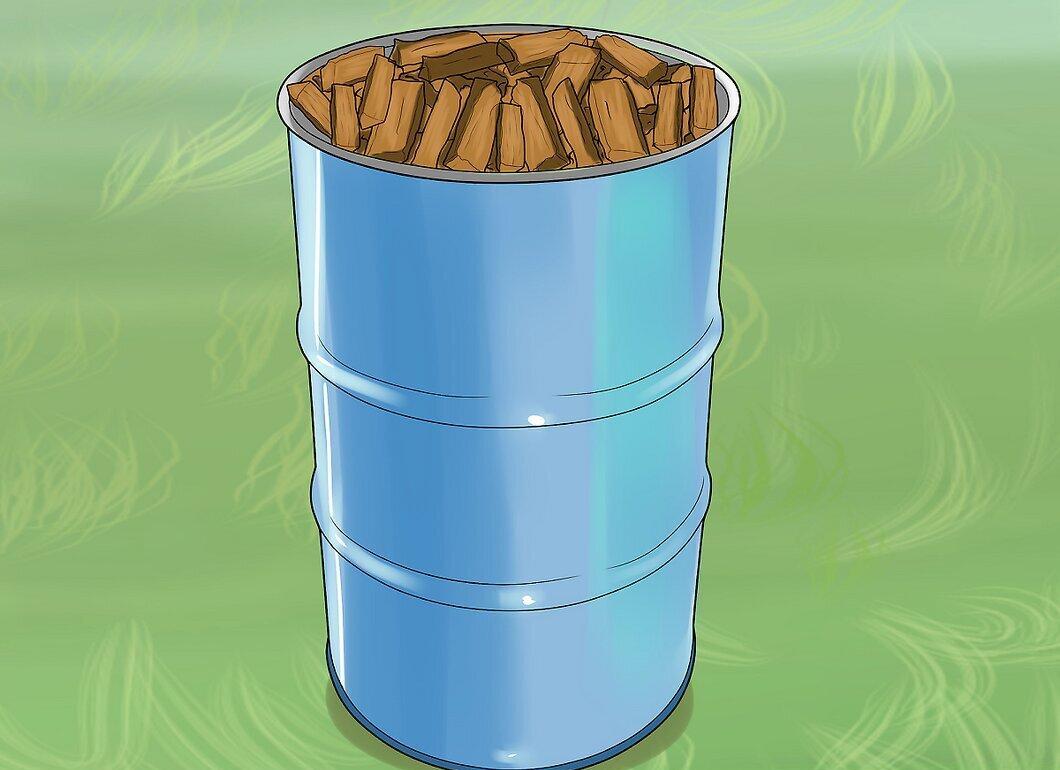
Tightly pack the wood into the barrel until it is full. Close the barrel with the lid to prevent the wood from spilling out.
- The lid should fit snugly but not be airtight.
Step 5. Prepare to Start the Campfire.
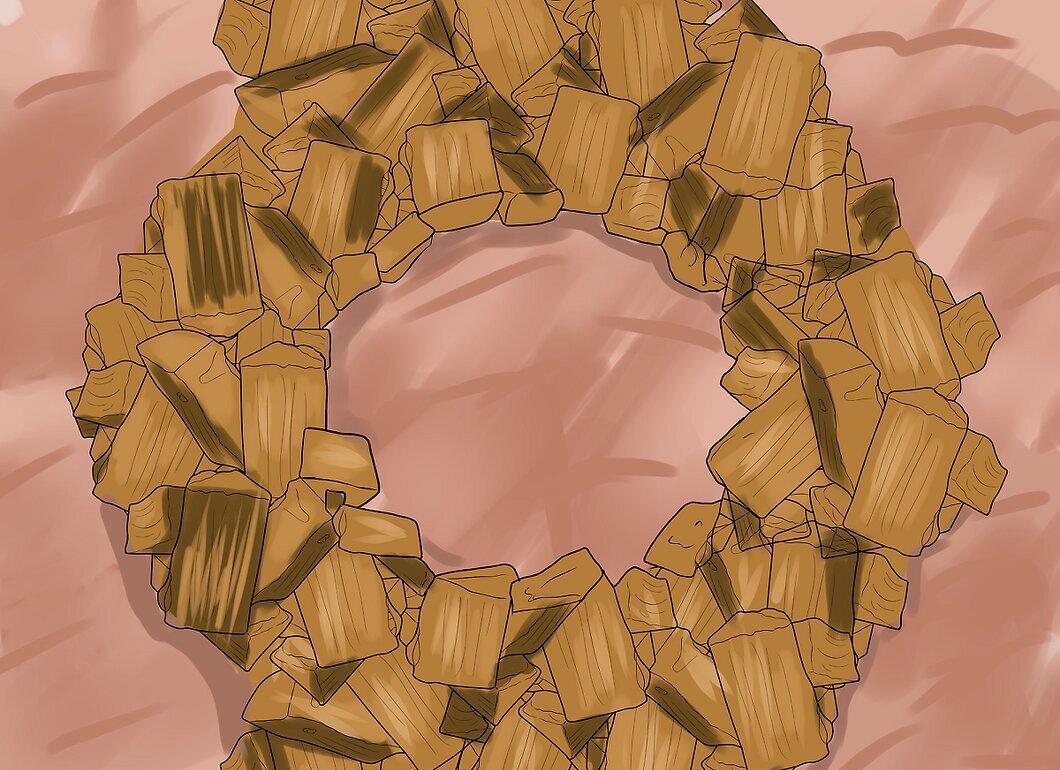
Gather enough firewood to keep the campfire burning for 3 to 5 hours. Light the fire in your chosen spot, leaving the center clear for the barrel. Place the barrel in the center of the fire and cover it with firewood.
Step 6. Light the Campfire.
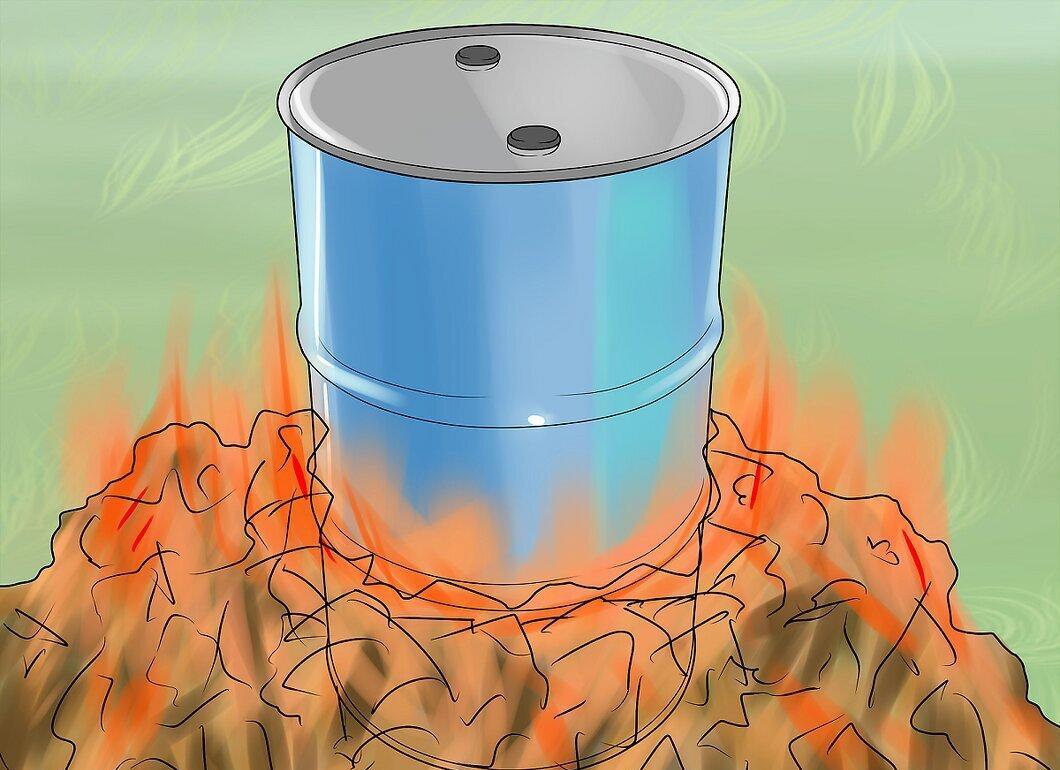
Start the fire and let it burn for at least 3 hours. If the barrel is large, it might take longer. Wait until the fire has completely burned down and cooled off before handling the barrel.
Step 7. Retrieve the Charcoal.
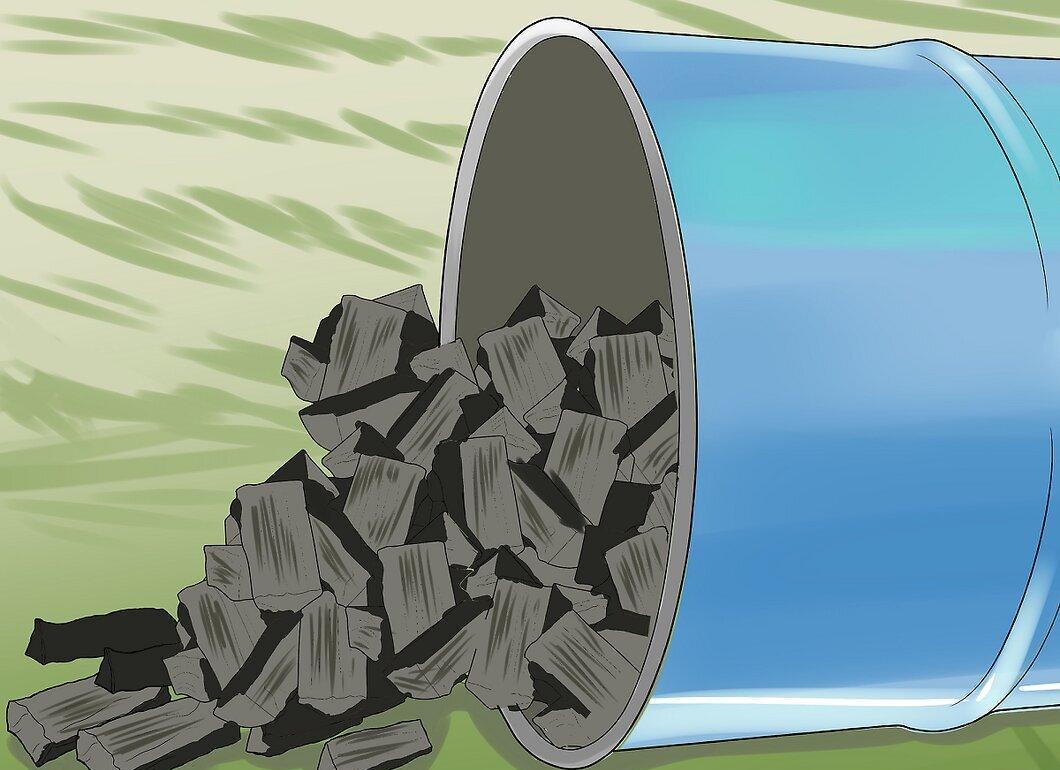
When you open the lid, you will see freshly made charcoal. Now you can use it for grilling during the summer.
Method 2: Using Two Barrels
Step 1. Acquire Two Barrels: One Small and One Large.
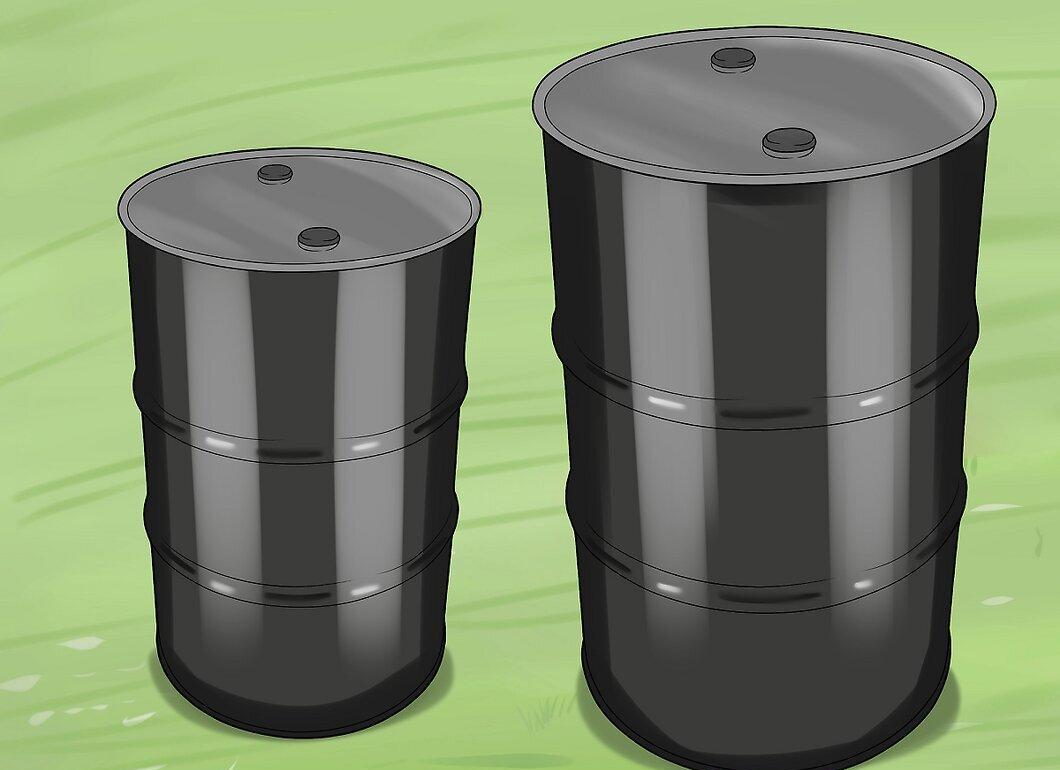
You will need two barrels: the smaller one should fit inside the larger one. For example, one can be 100 liters, and the other 200 liters.
Step 2. Cut an Opening in the Large Barrel.
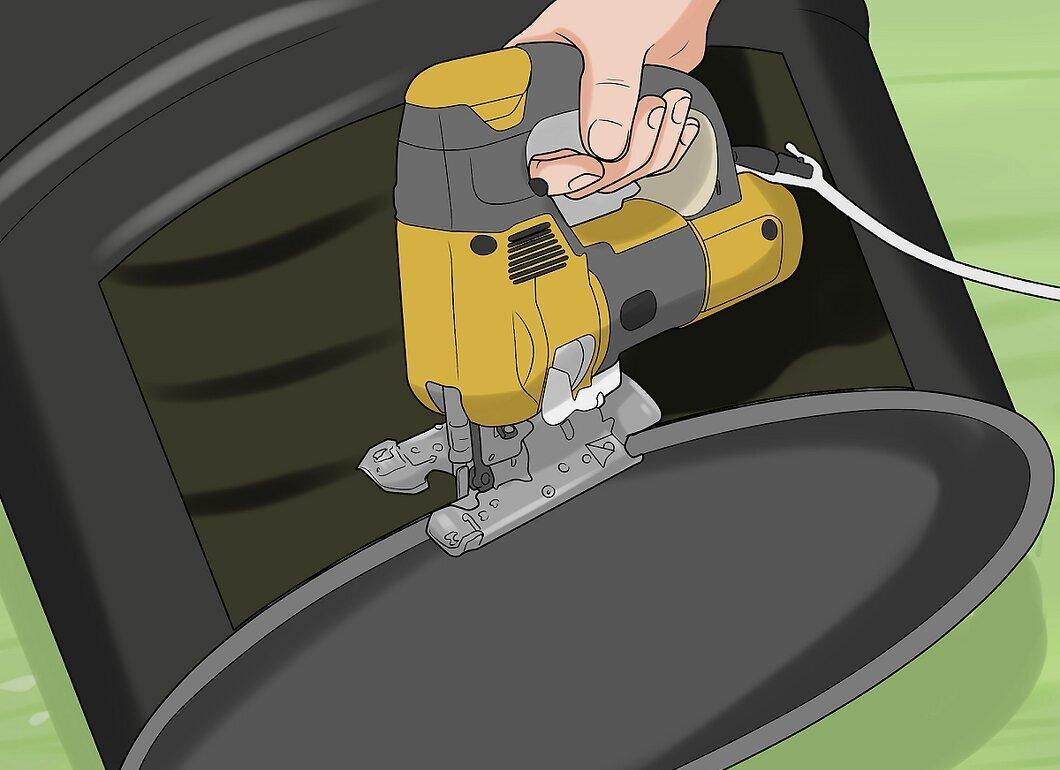
Using a metal cutting saw, create a rectangular opening at the bottom of the large barrel, approximately 50 cm by 30 cm.
- This opening is needed for adding firewood to maintain the fire.
Step 3. Drill Holes in the Smaller Barrel.
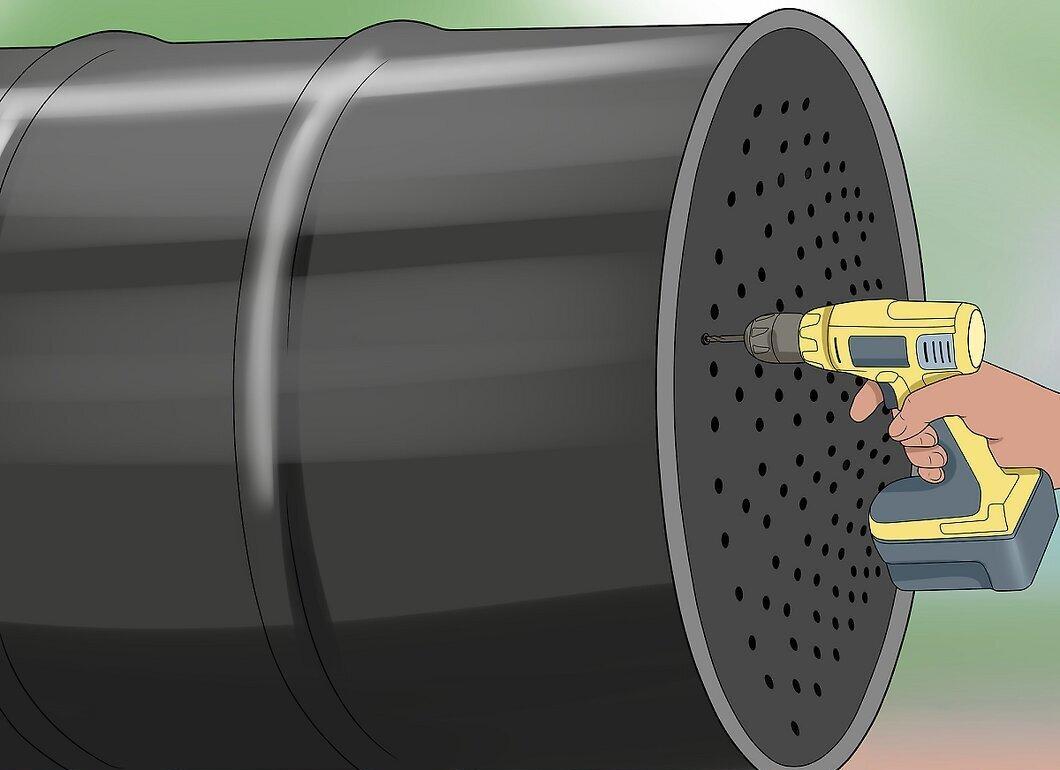
In the smaller barrel, make 5-6 holes about 1 cm in diameter at the base. This will allow high temperatures to penetrate and burn the wood.
Step 4. Fill the Smaller Barrel with Wood.
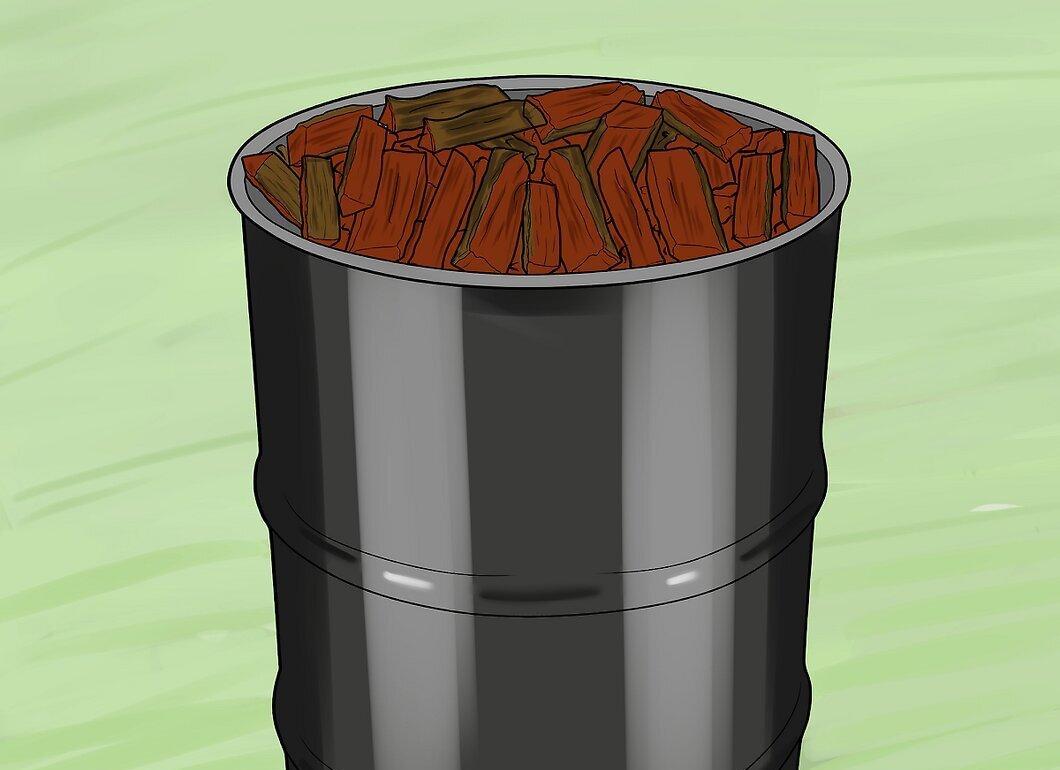
Fill the smaller barrel with processed wood, such as cherry or oak, cut into 10 cm pieces. Securely close the barrel lid, leaving a small gap for moisture to escape.
Step 5. Create a Stand Inside the Large Barrel.
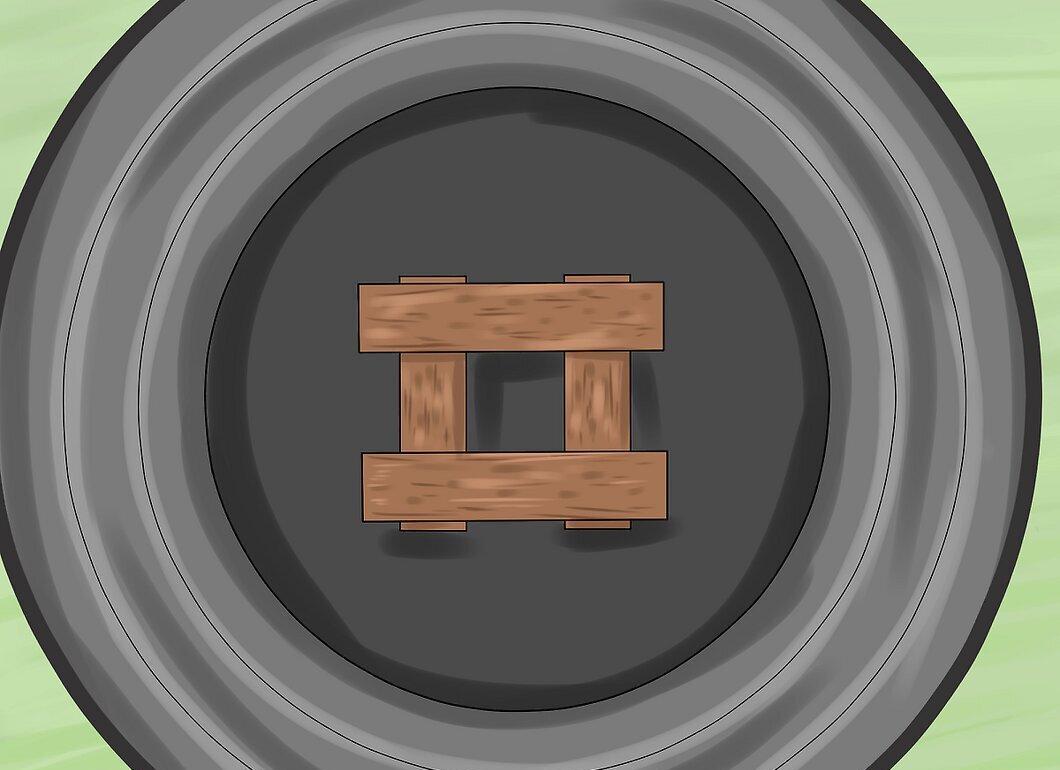
At the bottom of the large barrel, place two bricks horizontally, and on top of them, place two more bricks vertically. This will create a stand for the smaller barrel, keeping it off the bottom.
Step 6. Place the Smaller Barrel on the Stand.
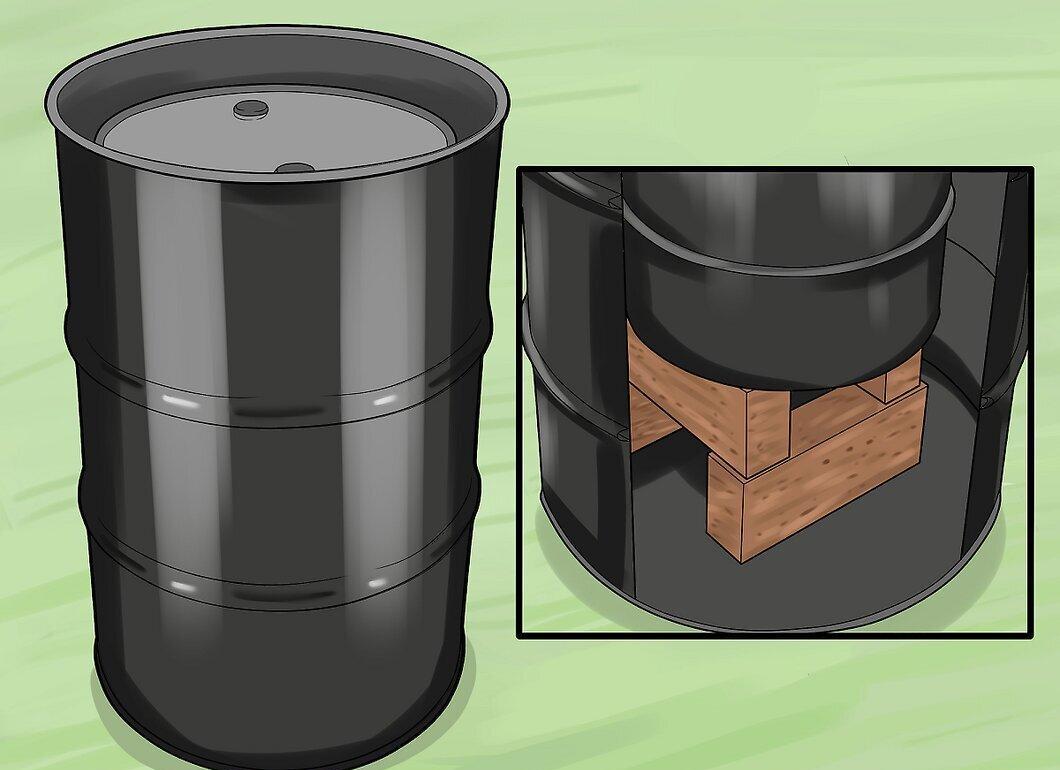
Set the smaller barrel on the stand, ensuring it fits completely inside the larger one. Close the larger barrel with a lid, leaving a small opening for air.
Step 7. Light the Fire Inside the Large Barrel and Maintain it for 7–8 Hours.
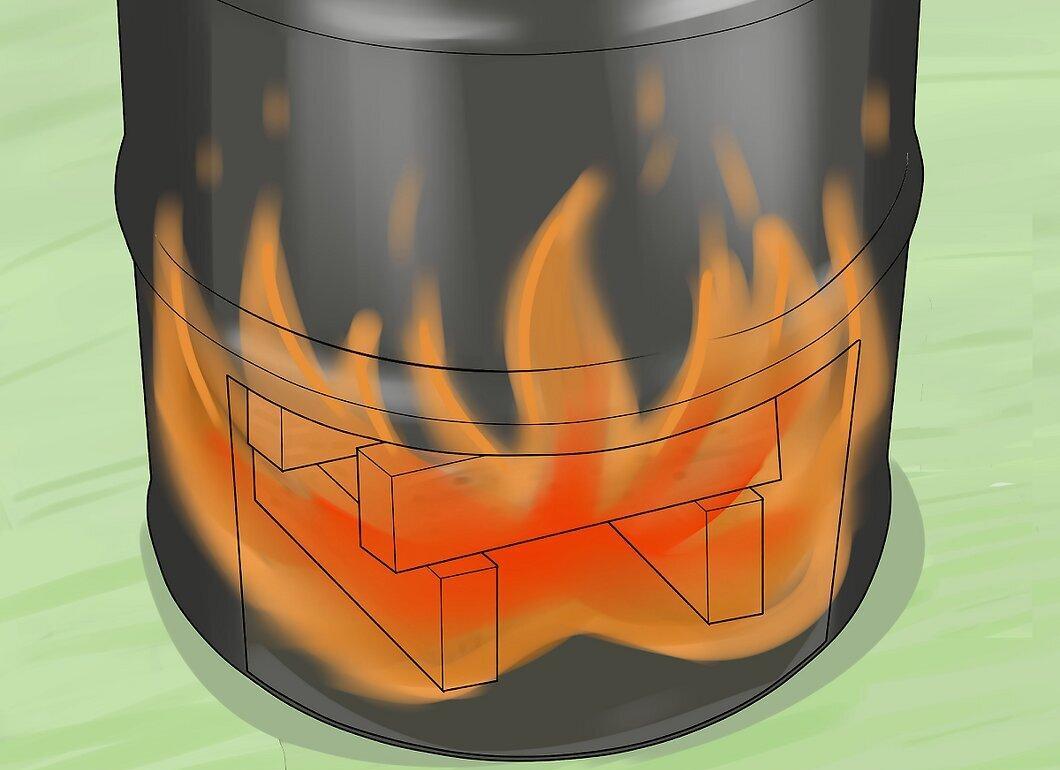
Start a fire inside the large barrel using firewood and kindling. Add firewood through the lower opening, and when the fire is blazing, add larger pieces of wood.
- Keep the fire hot, so regularly add wood.
- Monitor the fire and add wood if it starts to die down.
Step 8. Let the Fire Burn Out.
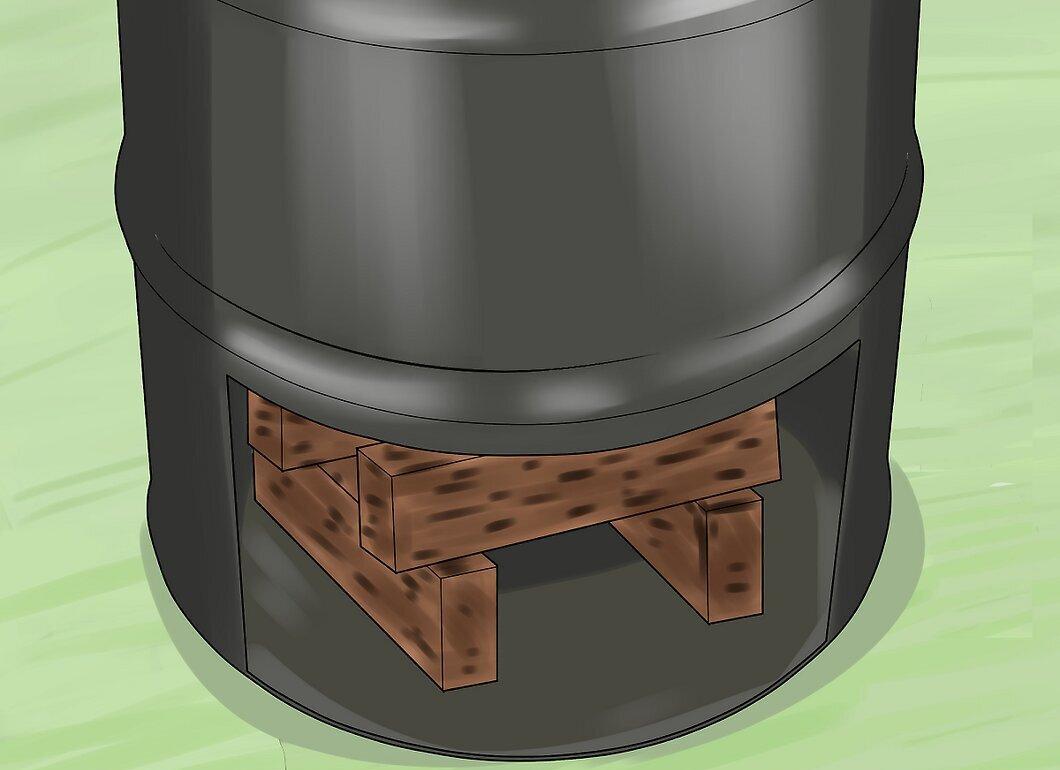
After 7–8 hours, any remaining smoke and moisture will be eliminated, leaving you with pure charcoal. Allow the setup to cool before approaching it.
Step 9. Extract the Charcoal.
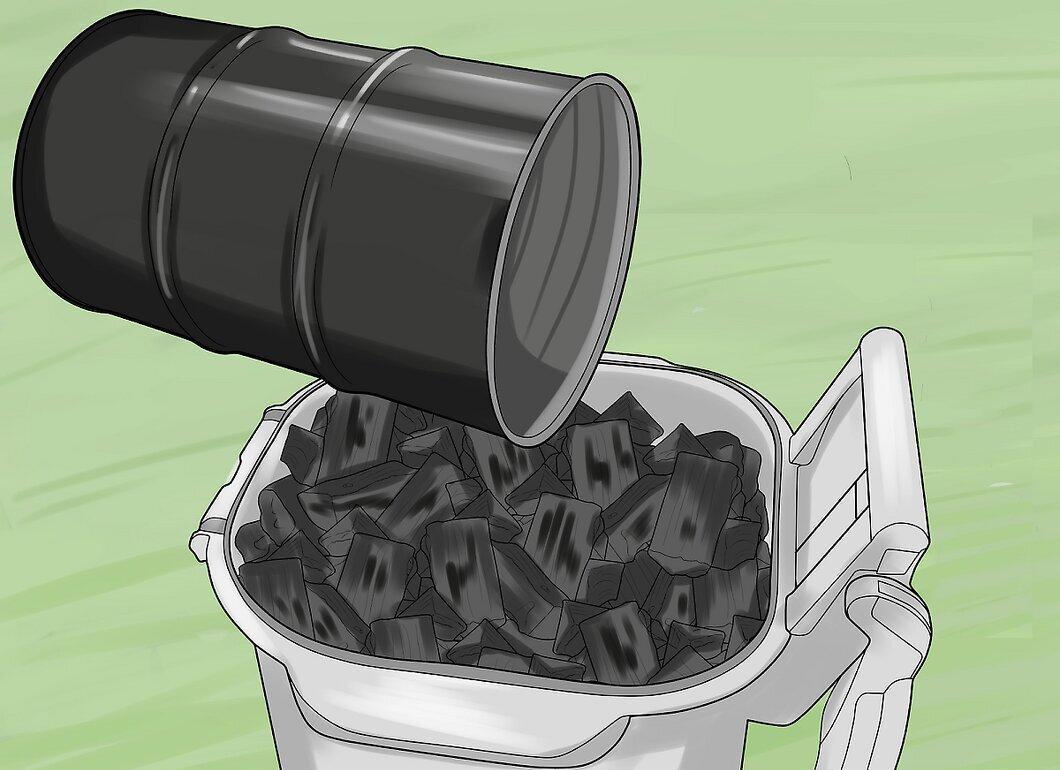
Transfer the charcoal from the smaller barrel into another container and store it for future use.