Interactive whiteboards are modern electronic devices that function alongside a computer and projector. They help capture the audience's attention and make presentations more appealing! Their quick replacement of traditional marker boards in educational institutions and offices is just one of their many capabilities. On these boards, you can draw, browse web pages, and present information. By connecting to a computer, you can save your notes and presentations, as well as share them with colleagues. Internet access is just a tap away.
Getting Started
Step 1: Connect the Interactive Whiteboard to Your Computer.
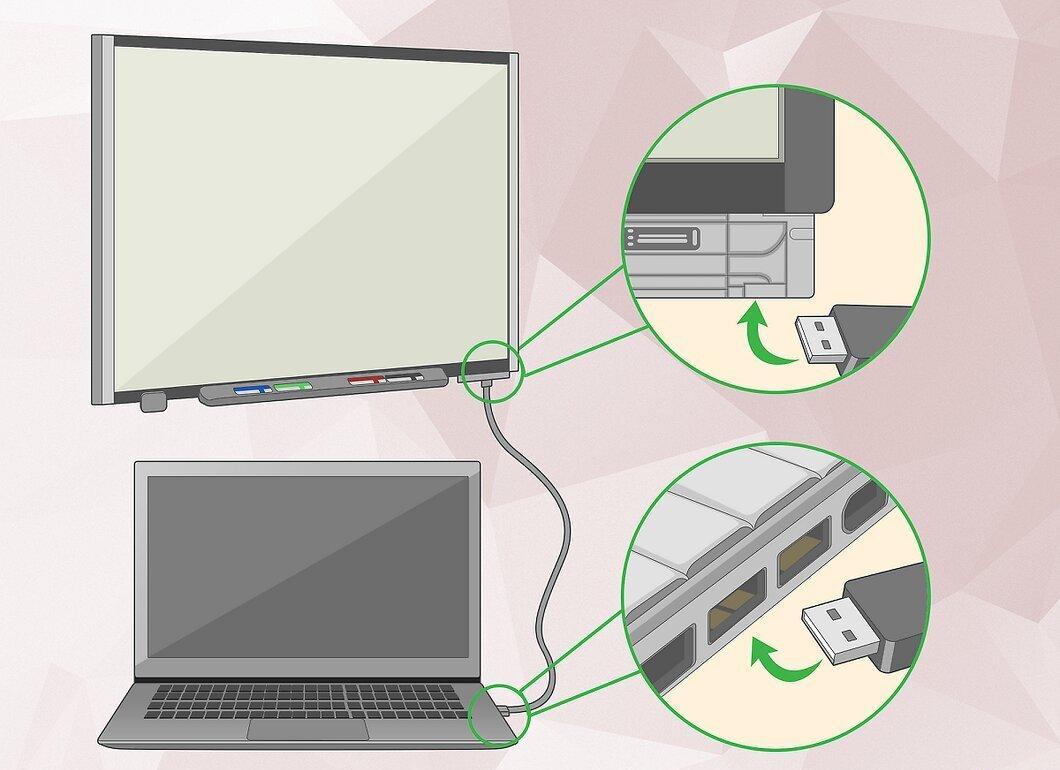
First, connect the interactive whiteboard to your computer. Before starting, you'll need to install the board’s software and make the connection. In most cases, schools or offices have specialists who can assist you with this, but you can also do it yourself by following the installer instructions.
- For more detailed information, refer to the user manual that comes with the interactive whiteboard.
Step 2: Launch the Smartboard Notebook Program on Your Computer.
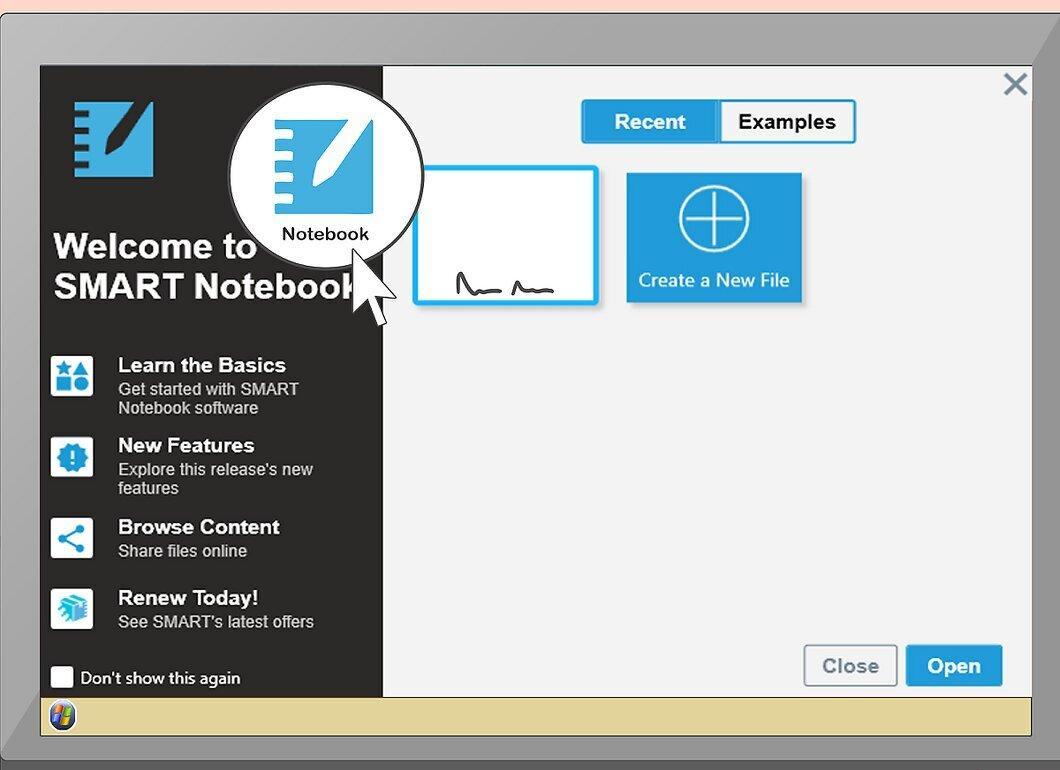
Open Smartboard Notebook on your PC. This program allows you to control the interactive whiteboard from your computer. You can plan lessons, take notes, and save files. Launch it by clicking the Notebook icon or file on your computer.
Step 3: Connect the Board to the LCD Projector.
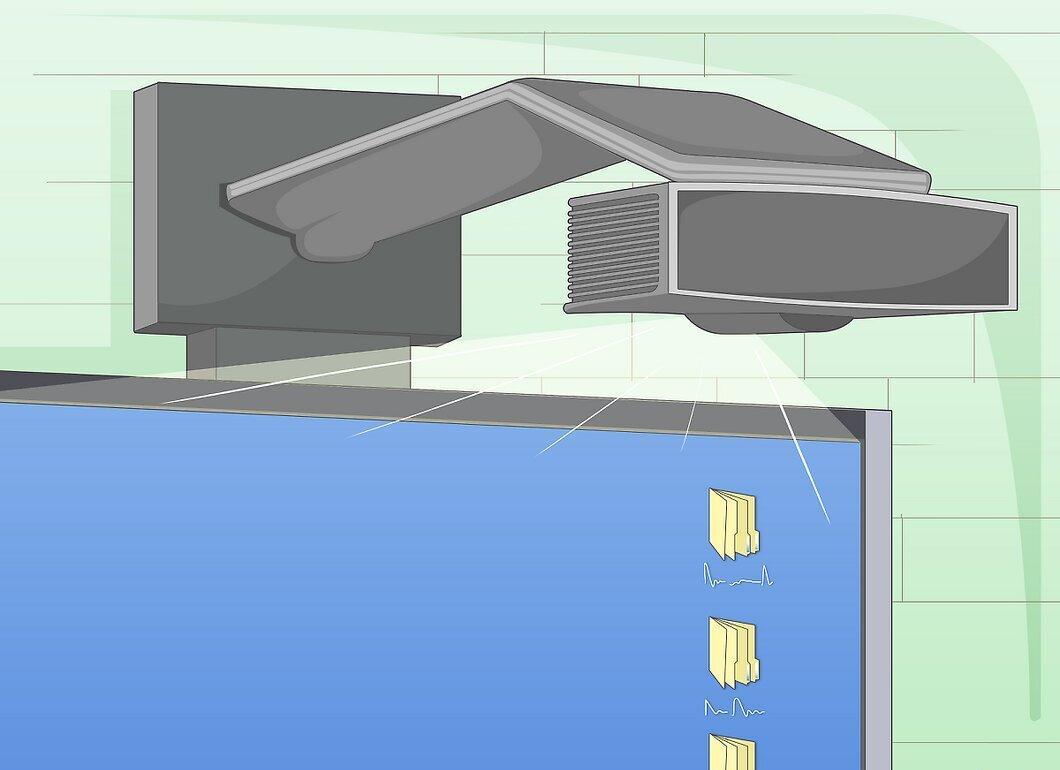
Attach the interactive whiteboard to the LCD projector. This will allow you to use the board as a screen so the entire audience can see it. Detailed instructions can be found in the installation wizard, but in most cases, the projector simply connects to the computer and then links to the board. To establish the connection, open Notebook and select “Projector” from the drop-down menu.
Step 4: Turn on the Interactive Whiteboard and Log In.
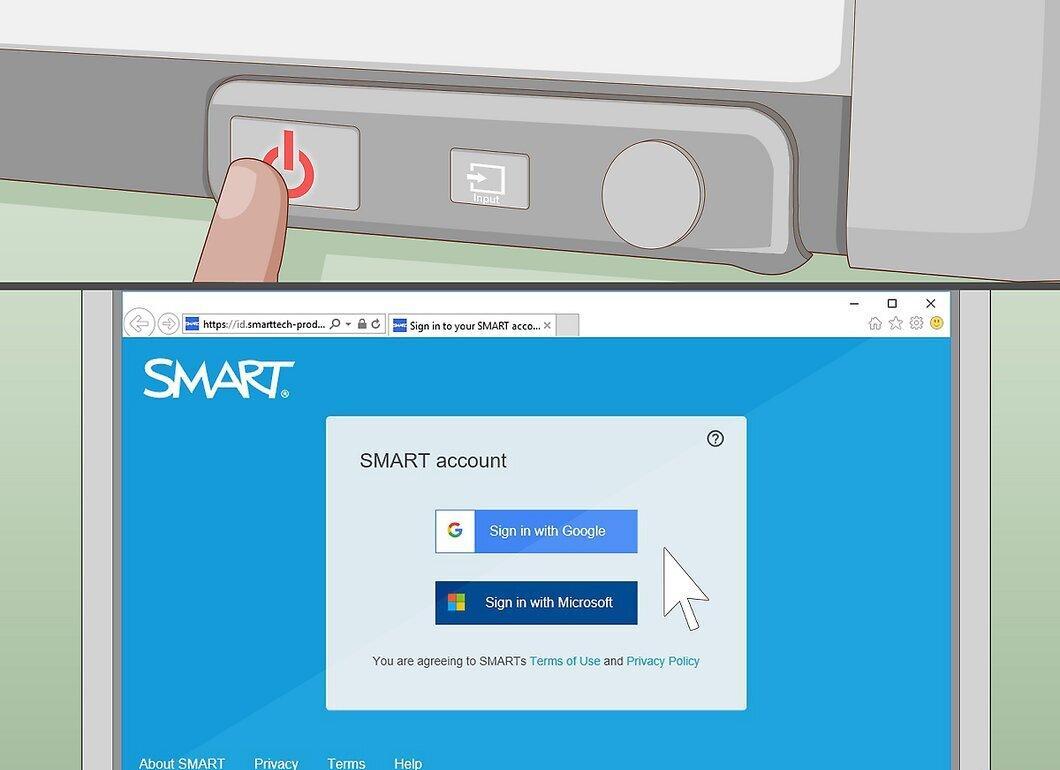
Power on the interactive whiteboard by pressing the “On” button. Logging in is done through the software on your computer, so open the program and follow the instructions for authentication. If you don’t know your credentials, please consult the system administrator.
Step 5: Calibrate the Interactive Whiteboard.
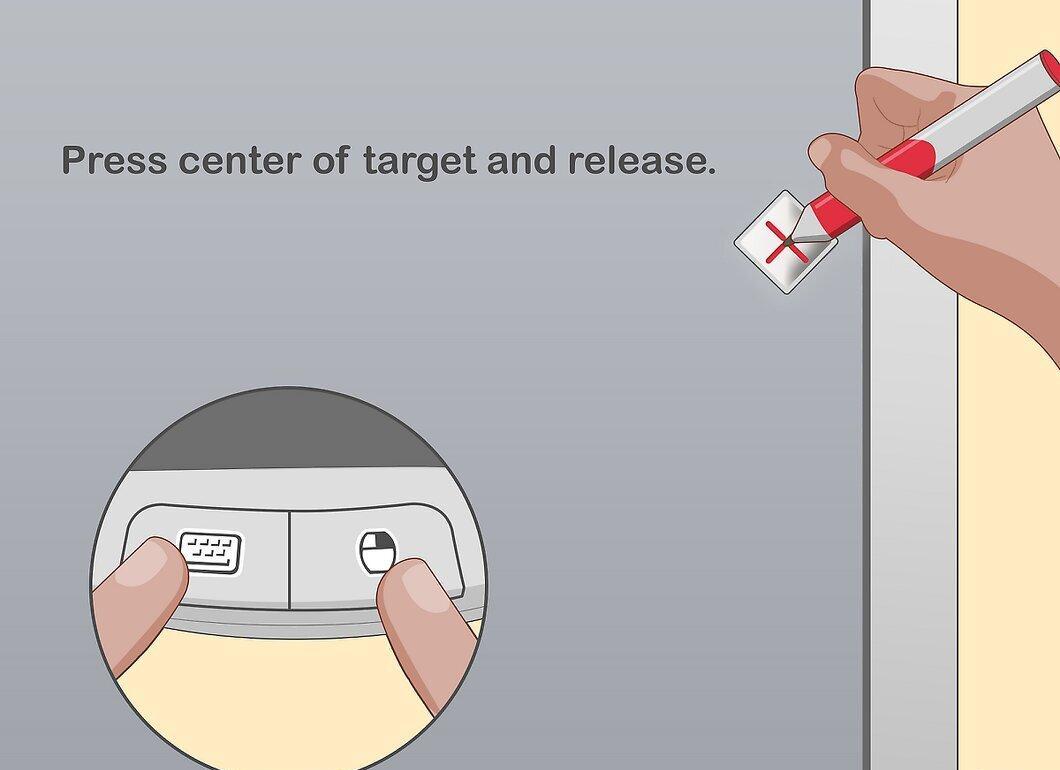
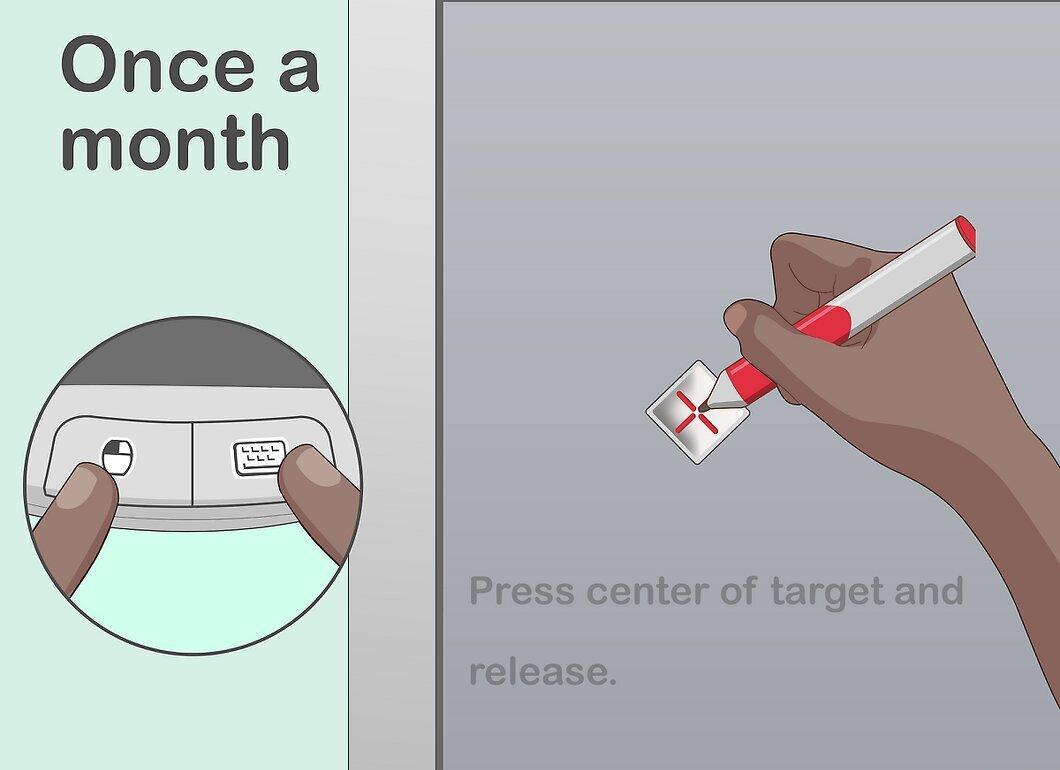
Before the first use, calibrate the interactive whiteboard. To do this, simultaneously press the key and the right mouse button at the bottom of the board. Then, take one of the pens and touch the target that appears on the screen.
- Several targets may appear on the screen for calibration!
Step 6: Install Additional Software if Needed.
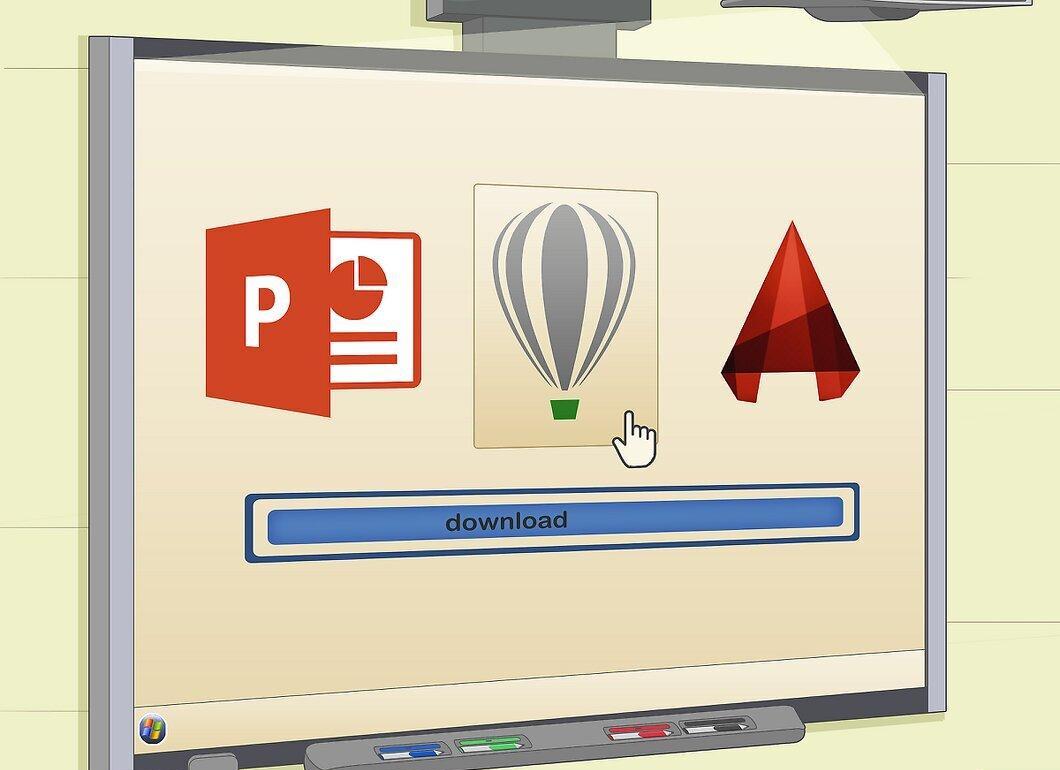
If necessary, download additional software. The interactive whiteboard may come with programs that provide access to extra features such as handwriting input or multi-color writing. If you have such programs, install them on your computer and open them through Smartboard Notebook.
Familiarize Yourself with Interactive Whiteboard Controls
Step 1: Control the Board with Your Hands.
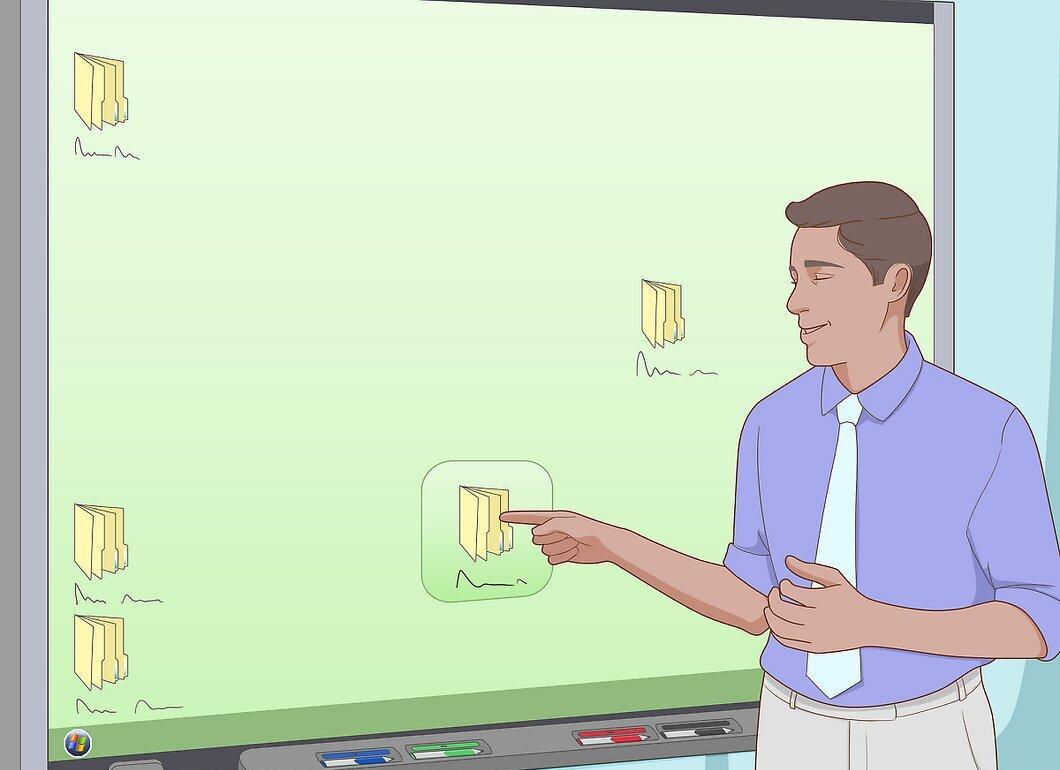
Interact with the board using your fingers. Touch the board to activate the cursor and start exploring other features.
- To select an icon or open a file, double-tap it with your finger.
- To bring up the context menu, hold your finger in one spot.
- To move a file or icon, press it with your finger and drag it to the desired location.
Step 2: Use the Toolbar for Access to Special Features.
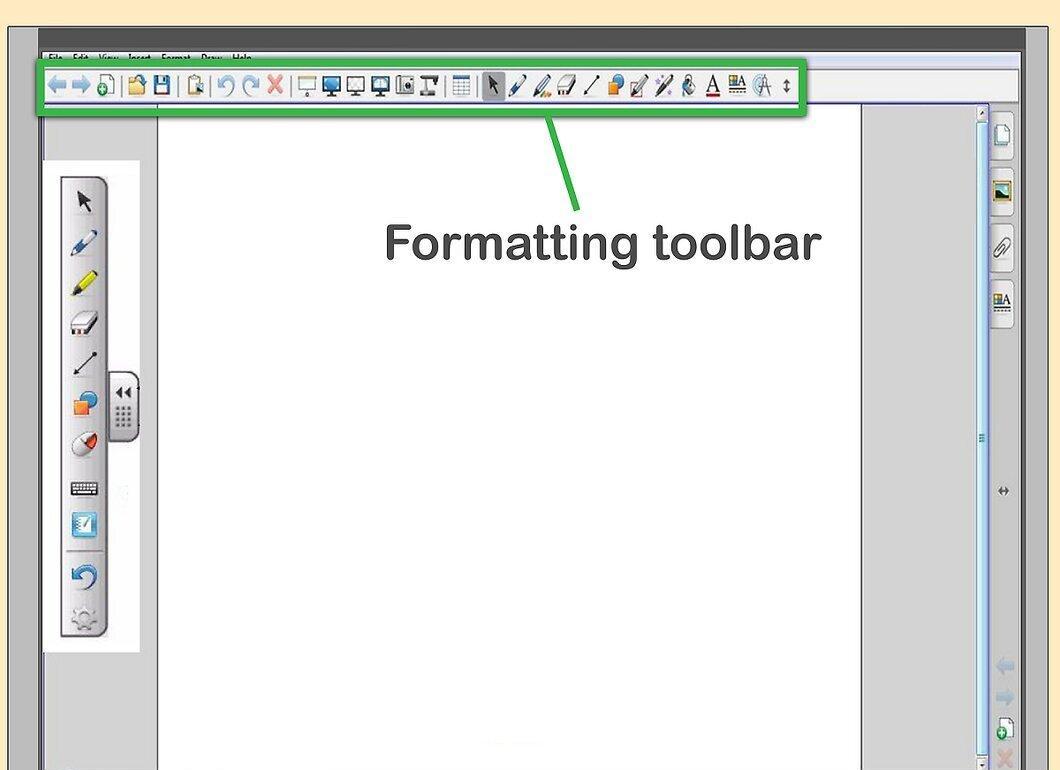
The toolbar provides access to special functions. It is located at the top of the interactive whiteboard and in Smartboard Notebook on your computer. Each button corresponds to a specific function that can be activated with a simple tap.
- The interactive whiteboard has numerous buttons depending on the software used, but some are more common. “Save,” “Pen,” “Erase,” and “Undo/Redo” are among the most frequently used. Tap each icon to perform the corresponding action.
- Many of these buttons represent a standard set of functions familiar from other programs. If you’re unsure how to use them, consult your system administrator or refer to the user manual.
Step 3: Write Text Using the Pen.
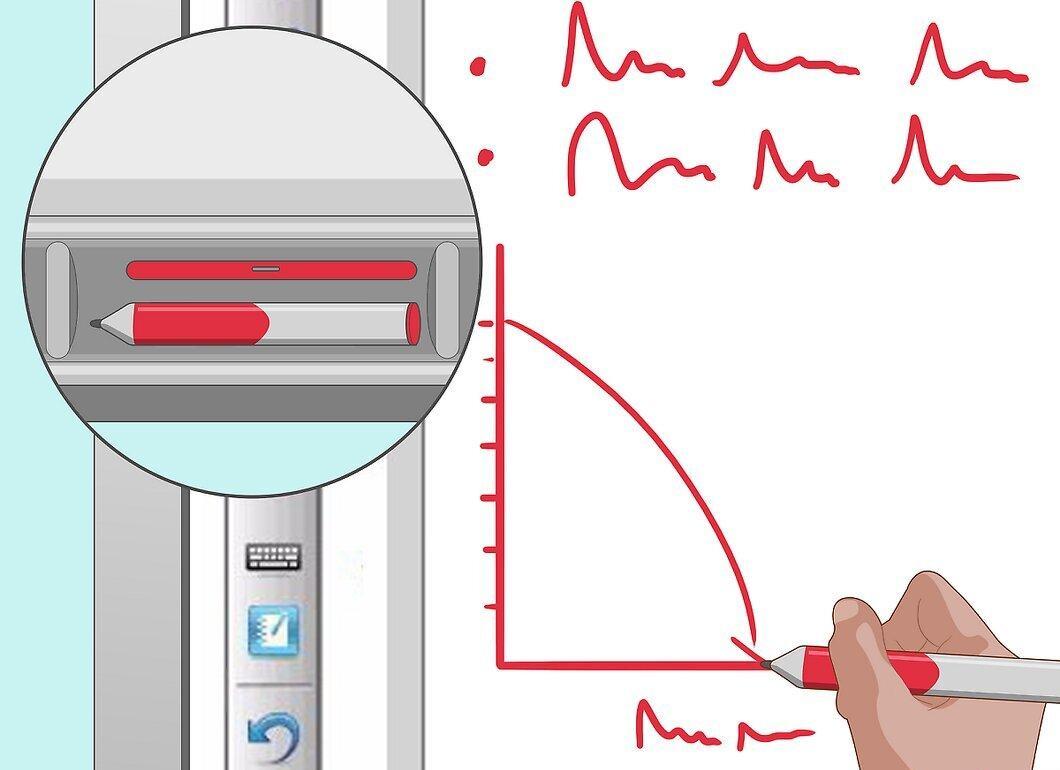
Use the pen to write text. The pens for the interactive whiteboard are located in a special tray under the board. Grab a pen, bring it to the board, and start writing when a text input field appears on the screen.
- Write and draw on the board just like you would on a regular marker board.
- To change colors, return the pen to the tray and select a different color.
- In writing mode, you cannot scroll the image, so make sure to set the screen position beforehand.
- To exit writing mode, return the pen to the tray.
- The pen function can also be activated by pressing the pen button on the toolbar, allowing you to use special features like “Shape” or “Text.”
Step 4: Erase Mistakes with the Eraser.
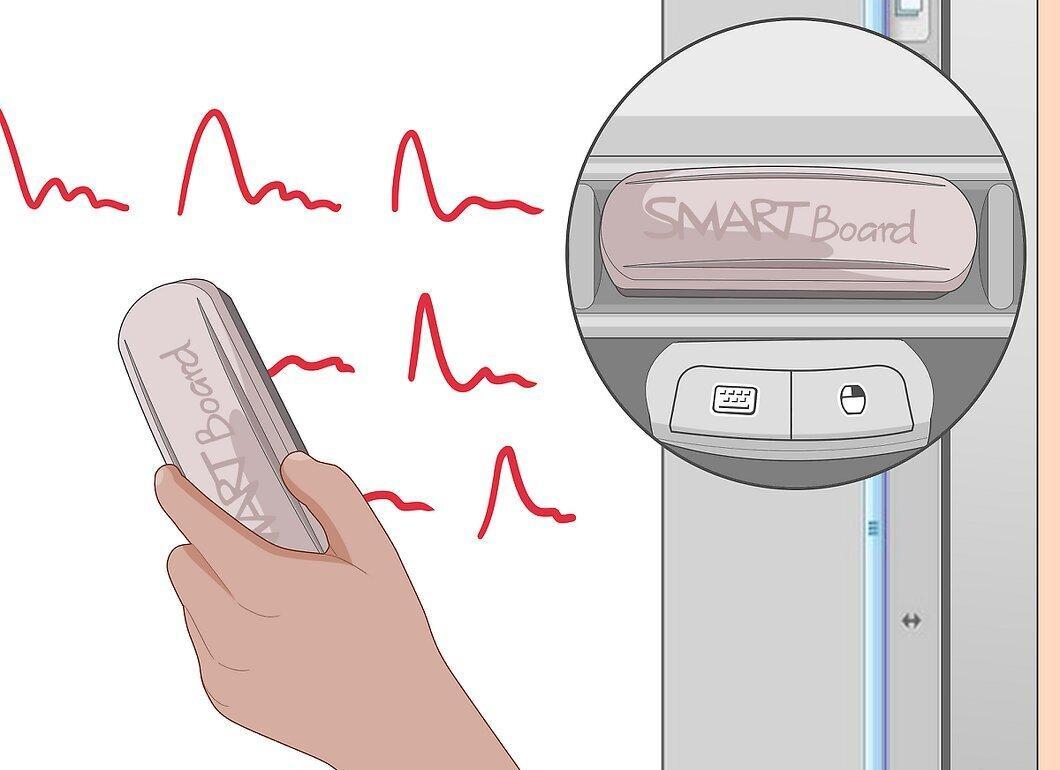
Use the eraser to remove mistakes. The eraser is also located in the pen tray. Use it just like a regular eraser — simply press it against the text you want to erase and move it across the board until it disappears.
- You can also draw a large circle around everything you want to erase, then touch the center of the circle — and watch as all the text disappears!
Step 5: Launch Browser, PowerPoint, or Videos through Notebook.
Use Notebook to launch the browser, PowerPoint, or videos. Open Smartboard Notebook on your computer. Access to browsers and other applications can be found through the drop-down menu in the upper left corner of the screen. To display a saved file, select “Open” and find the desired file.
- Interactive whiteboards are becoming increasingly popular in educational institutions as they make learning more engaging and help teachers tailor material to different learning styles. For example, kinesthetic learners can interact with the board, while visual learners can observe graphics and projections.
- Additionally, interactive whiteboards make presentations more dynamic. Instead of just flipping through slides, presenters can interact with the information on the board, bringing it to life for their audience.
Step 6: Save Your Work.
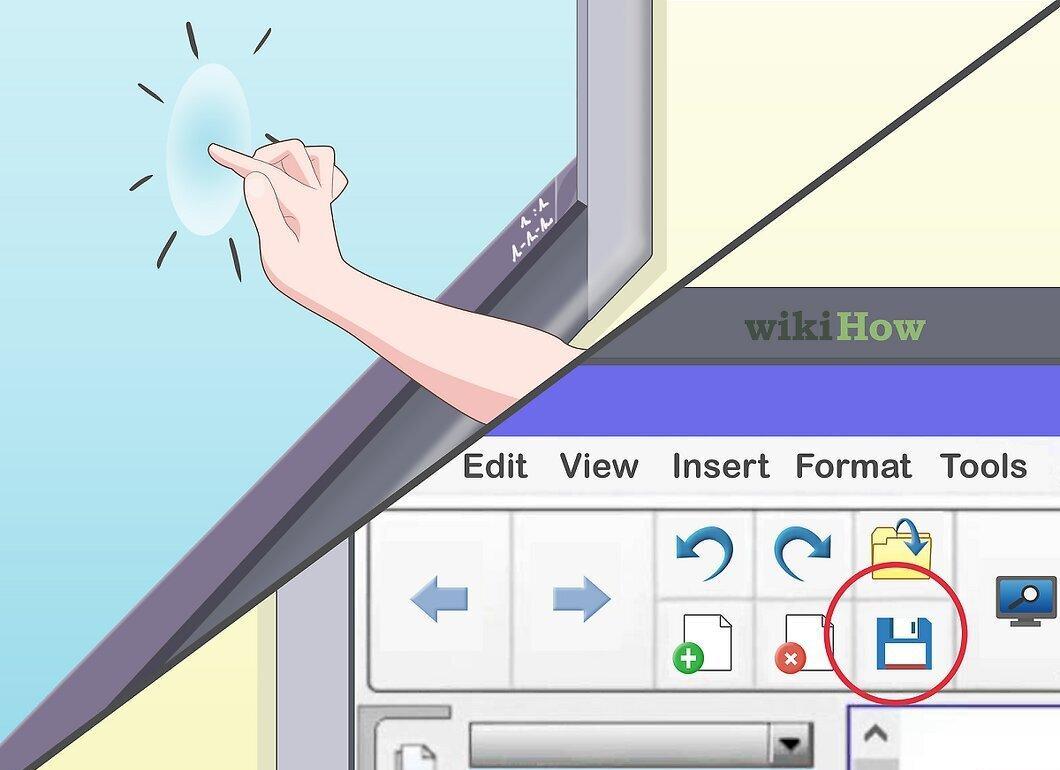
Don’t forget to save your work. To do this, simply touch the screen and select “Save Ink Layer” or click the file icon on the toolbar to open the “Save” menu. Choose “Save File” to store your notes on your computer.
- If you want to take a screenshot of the entire interactive whiteboard, just click the camera icon on the toolbar. It will automatically save in the Notebook program on your PC.
Step 7: Share Your Work with Others.
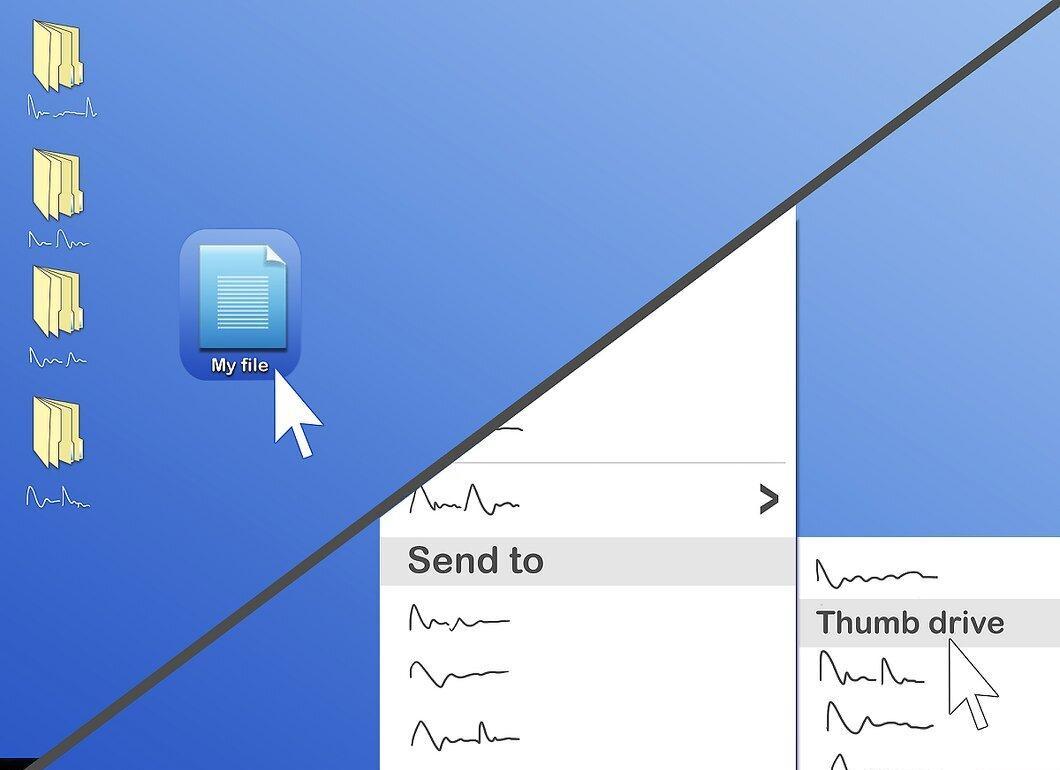
Share your work with others. Files saved in Notebook can be transferred to a flash drive or sent via email as attachments. Just drag the file to the desired device, email, or messenger.
Keep Your Interactive Whiteboard in Tip-Top Shape
Step 1: Log Out After Use.
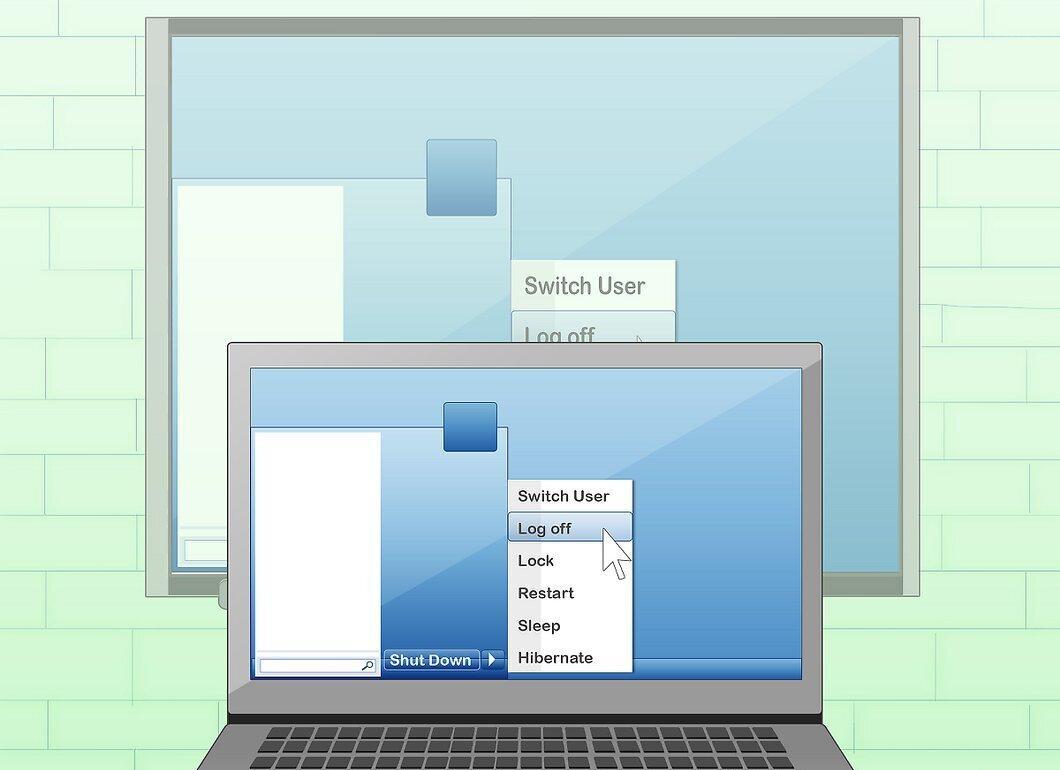
Remember to log out after use. This will help protect your privacy and data. To exit interactive mode, you need to close the program on your computer. Specific steps may depend on the software being used, so if you have questions, consult your administrator.
Step 2: Calibrate the Board Once a Month.
Don’t forget to calibrate the interactive whiteboard at least once a month. With frequent use, especially if multiple people are using it, the board can go out of alignment. Regular calibration will help avoid alignment issues.
Step 3: Clean the Interactive Whiteboard Weekly.

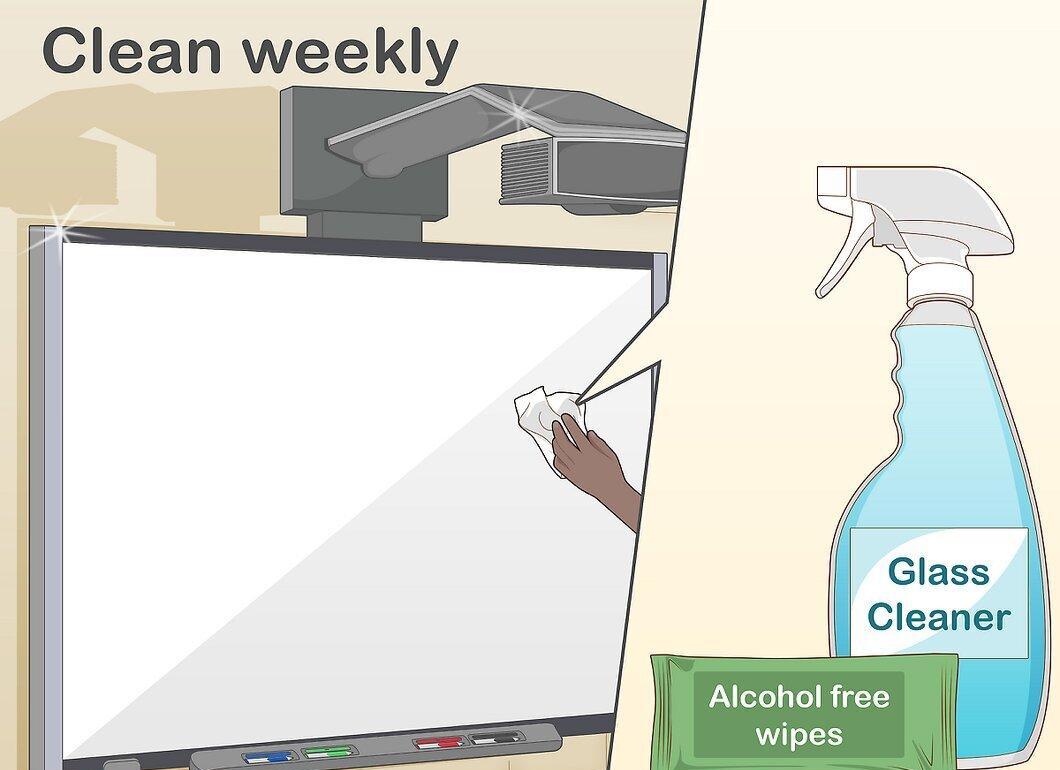
Regularly clean the interactive whiteboard using glass cleaner or non-alcoholic wipes. Due to frequent use, the boards can get dirty quickly, so it's important to perform cleaning once a week or as needed. Don’t forget to turn off the board before cleaning to avoid disrupting the display order on the screen.