
A simple way to experiment with dyeing fabric at home is to use coffee, an ingredient you probably already have. To dye fabric with coffee, you will need just a few basic items, which you likely have in your kitchen cabinet. Natural fabrics like cotton, wool, or linen work best. The entire dyeing process is quick and relatively clean, allowing you to change the look of almost any fabric to your liking.
Dyeing Fabric by Soaking in Coffee
Step 1: Pre-wash the Fabric.

Pre-wash the fabric. Before you start dyeing your fabric, wash and dry it normally. This will remove any oils and other residues that might prevent the dye from soaking evenly into the material.
- Newly purchased fabric may have been treated with a protective spray, making this step especially important for new fabric. Protective sprays often contain skin-irritating chemicals that can negatively affect dye absorption.
Step 2: Brew the Coffee.
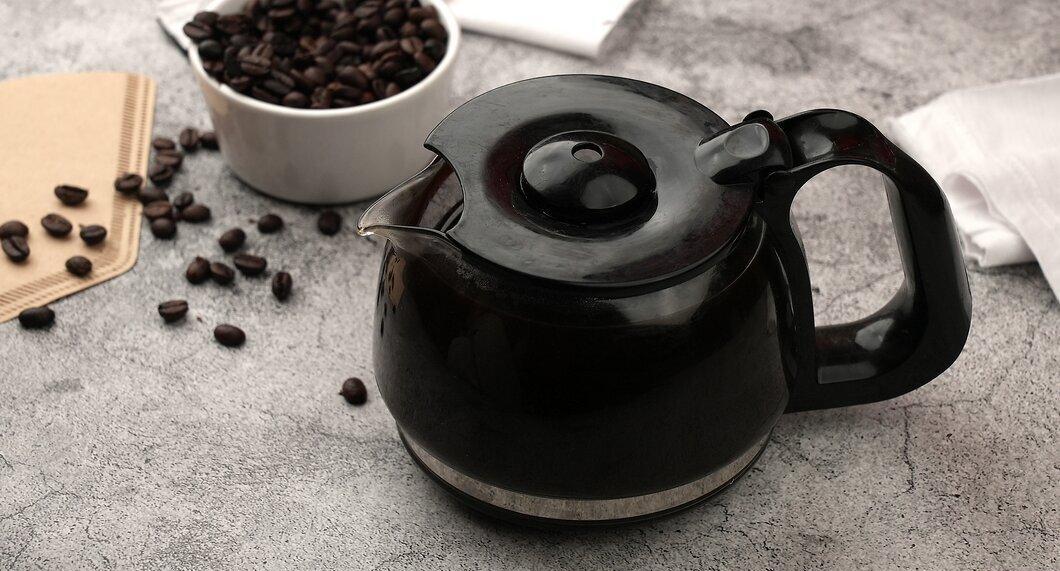
Brew the coffee. The amount of coffee you need to brew depends on how dark you want the fabric to be. The stronger the coffee, the darker the shade will be.
- If you need to dye the fabric a very dark coffee color, use more coffee or choose dark (strong) roast coffee. For a lighter coffee shade, use less coffee or opt for light or medium roast coffee.
- Alternatively, you can use instant coffee or buy brewed coffee from a nearby café, though this option will be significantly more expensive.
Step 3: Fill a Pot with Water.
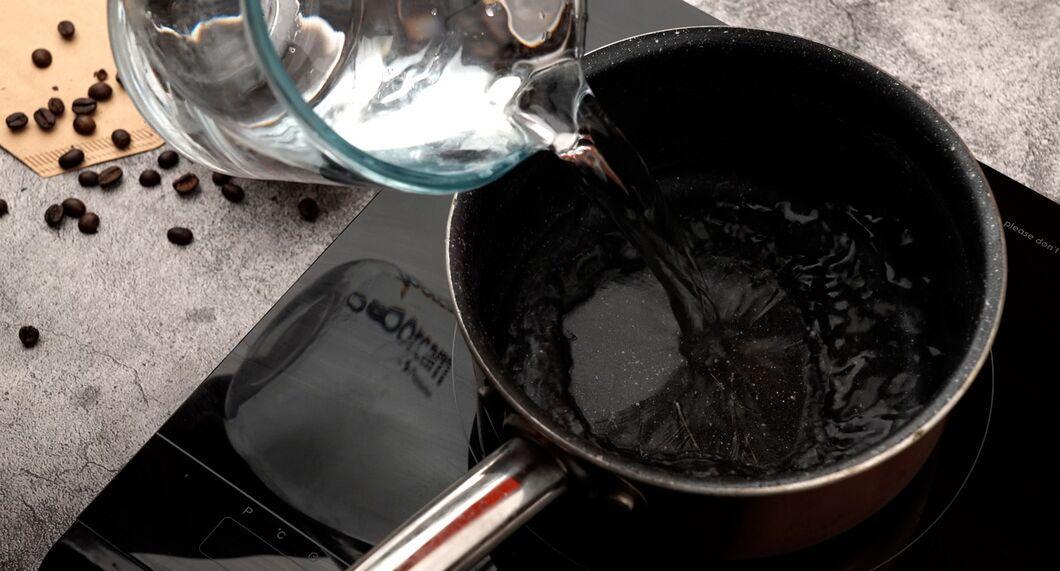
Fill a pot with water. Place it on the stove and turn on high heat.
- The size of the pot will depend on how much fabric you plan to dye. As a general rule, make sure the fabric can be fully submerged in water.
Step 4: Add Brewed Coffee to the Pot.
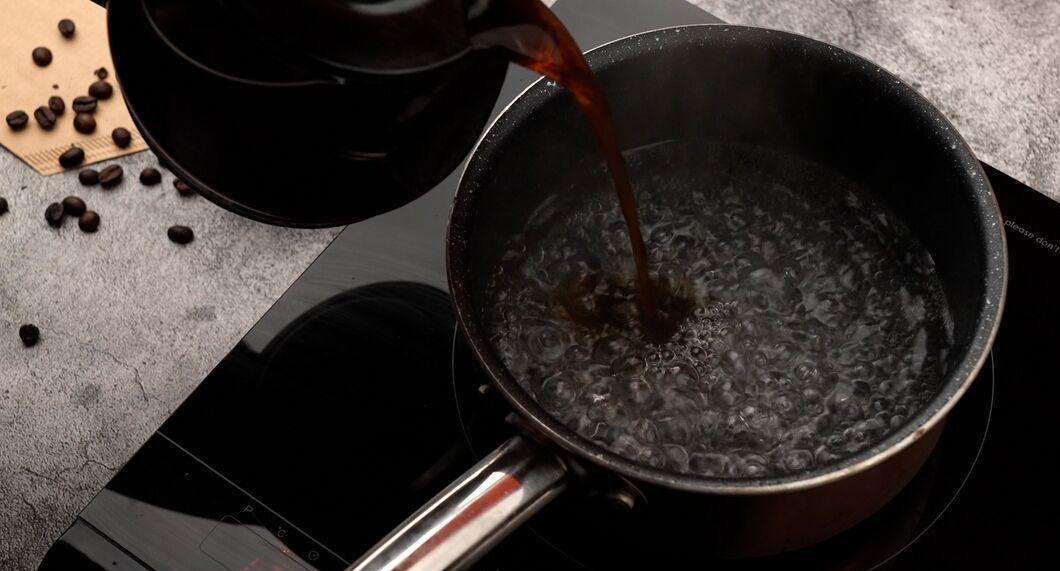
Add the brewed coffee to the pot. Once you've finished brewing the coffee, pour it into the pot of water.
Step 5: Bring the Mixture to a Boil.
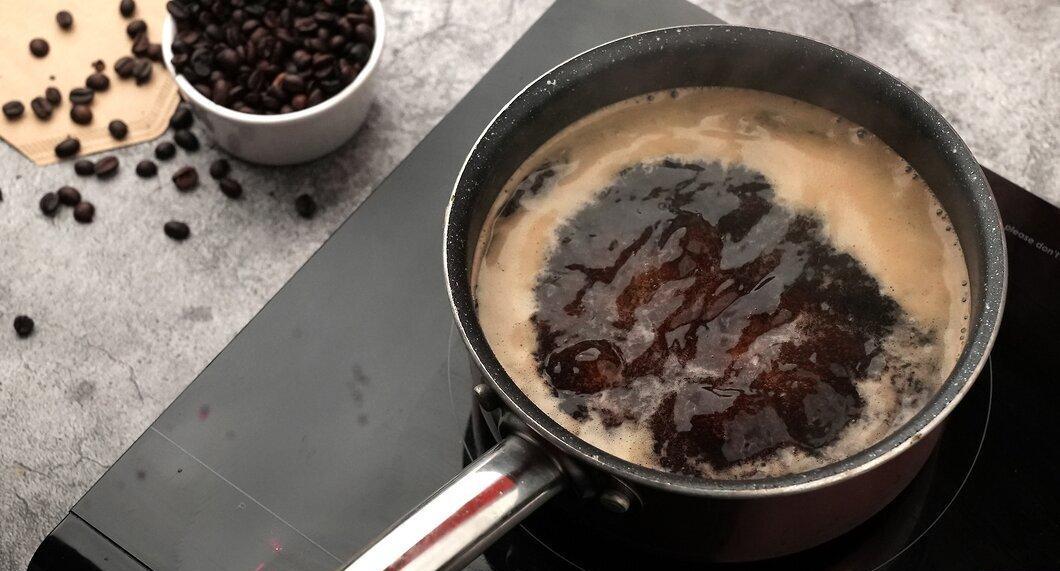
Bring the mixture to a boil. After adding all the brewed coffee to the pot, heat the coffee solution until it boils. Turn off the burner once the mixture is boiling well.
Step 6: Submerge the Fabric in the Pot.
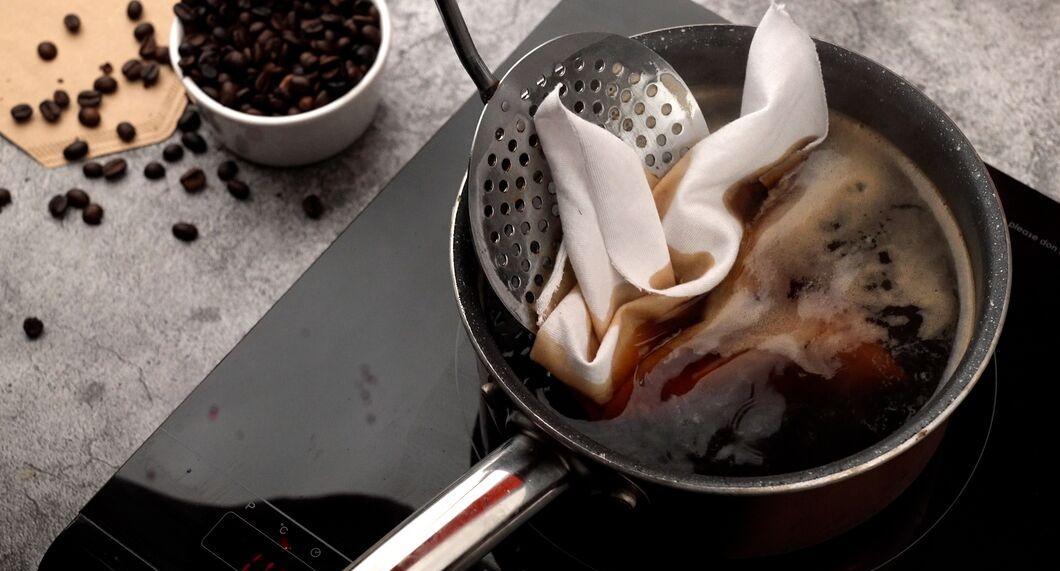
Submerge the fabric in the pot. Once you turn off the heat and the coffee stops boiling, completely immerse the fabric in it. Gently stir the wet fabric in the pot to release any trapped air pockets.
- Since the coffee solution has just stopped boiling, it’s best to use a wooden spoon to avoid burns and prevent damage to other kitchen utensils.
Step 7: Let the Fabric Soak in the Coffee Solution.
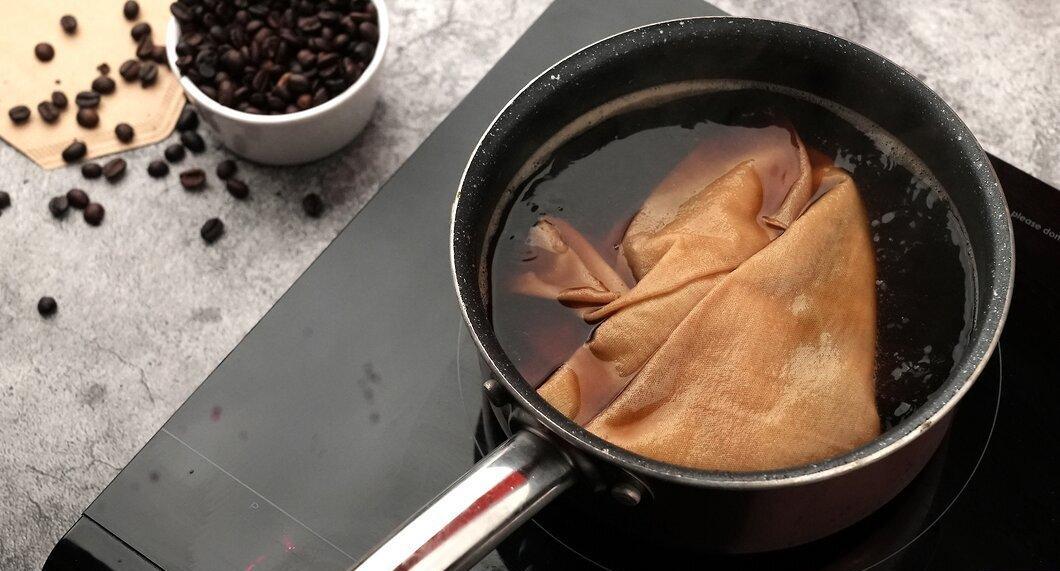
Let the fabric soak in the coffee solution. The longer the fabric stays in, the more saturated the color will become. You’ll need about an hour to achieve a noticeable and lasting dye result, but you can leave the fabric in the solution longer for a deeper shade.
Step 8: Remove the Fabric from the Pot and Rinse.
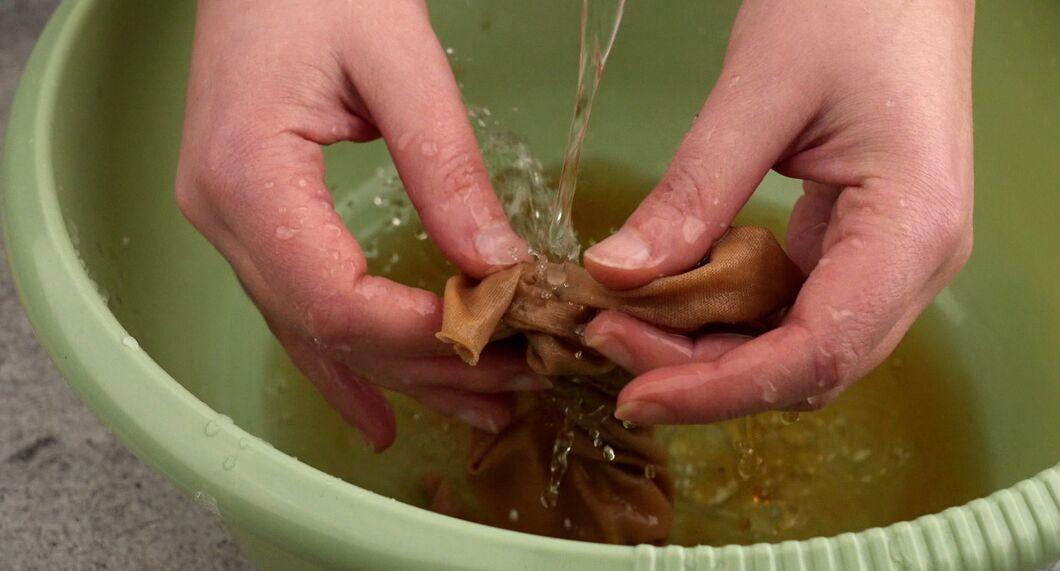
Remove the fabric from the pot and rinse it. Take the fabric out of the coffee solution and rinse it thoroughly with cold water. Continue rinsing until the water runs clear, indicating that all excess dye has been removed.
- Once the excess coffee is washed away, you will see how dark the fabric has become. If you want the material to be darker, you can place it back in the coffee.
- When you achieve the desired result, prepare a large container filled with cold water and place the fabric in it. You can add vinegar to the cold water and soak the fabric for ten minutes to set the dye.
Step 9: Rinse the Pot.
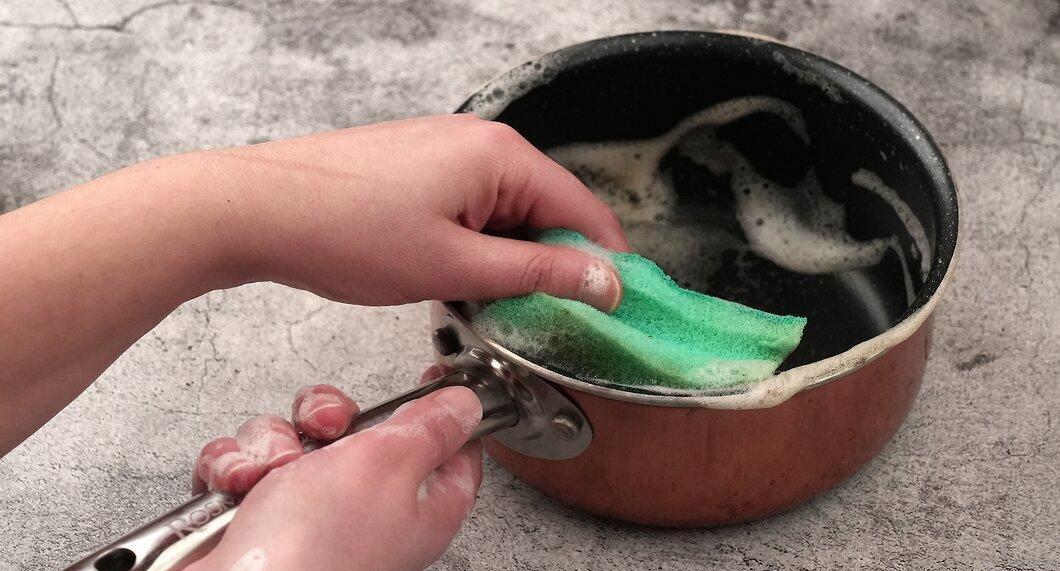
Rinse the pot. After finishing dyeing the fabric, rinse the pot. Coffee can stain the pot if it is not rinsed promptly after the dyeing process.
Step 10: Wash the Fabric with a Gentle Detergent and Dry.
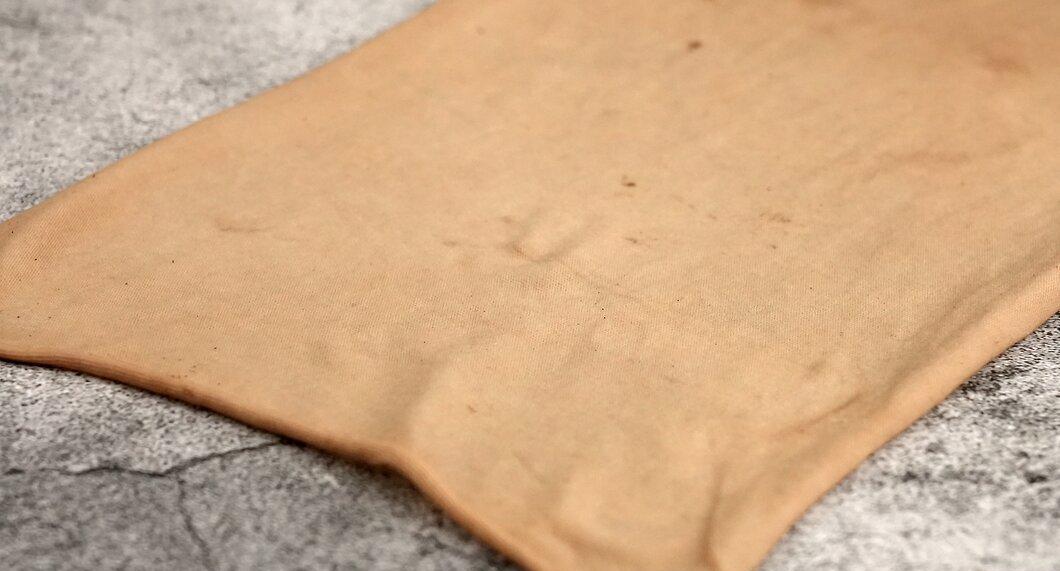
Wash the fabric with a gentle detergent and dry. Set your washing machine to a delicate cycle in cold water and add a gentle detergent. After washing, you can either dry the fabric in a dryer on low heat or hang it to dry in the shade.
- This method of dyeing with coffee will not yield a completely permanent result, as coffee is a natural dye whose color fades gradually with each wash.
Dyeing Fabric with Coffee Grounds
Step 1: Pre-wash the Fabric.

Pre-wash the fabric. Before dyeing fabric, wash it but do not dry it. This will remove oils and other residues that may interfere with even dyeing using coffee grounds.
- You can wash the fabric along with other clothes or individually (depending on your preferences).
- Be sure to follow the washing instructions for the fabric (if any).
Step 2: Brew the Coffee.
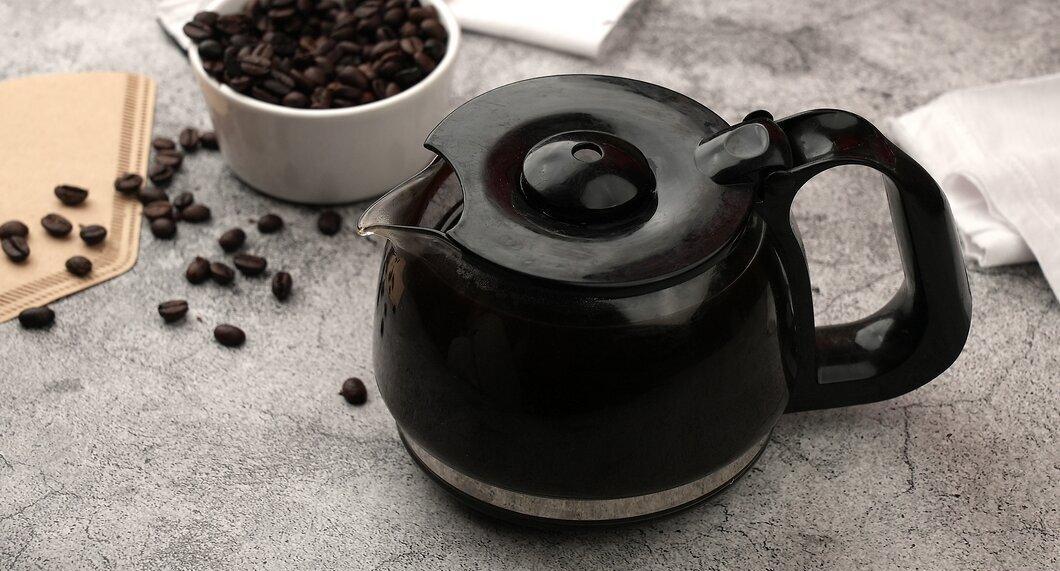
Brew the coffee. You will need the grounds from brewed coffee. Use a French press or coffee maker to get the coffee grounds.
- You will need a significant amount of coffee grounds to cover the entire area of the fabric being dyed. You may need to brew coffee several times to accumulate enough grounds.
- Choose dark roast coffee for a darker color or lighter roast if you don’t want the fabric to be very dark.
- This is a great way to put coffee grounds to good use. If you regularly drink brewed coffee, you can gradually collect enough grounds for this dyeing method.
Step 3: Make a Coffee Ground Paste.

Make a coffee ground paste. Once the coffee grounds have cooled, place them in a large bowl and add water. You will need about one tablespoon of water for every cup of coffee grounds.
- Mix the coffee grounds with the water using a wooden spoon to moisten the mixture evenly. The ground coffee is not too fine, so mixing the paste 7-8 times is sufficient.
Step 4: Apply the Coffee Ground Paste to the Fabric.
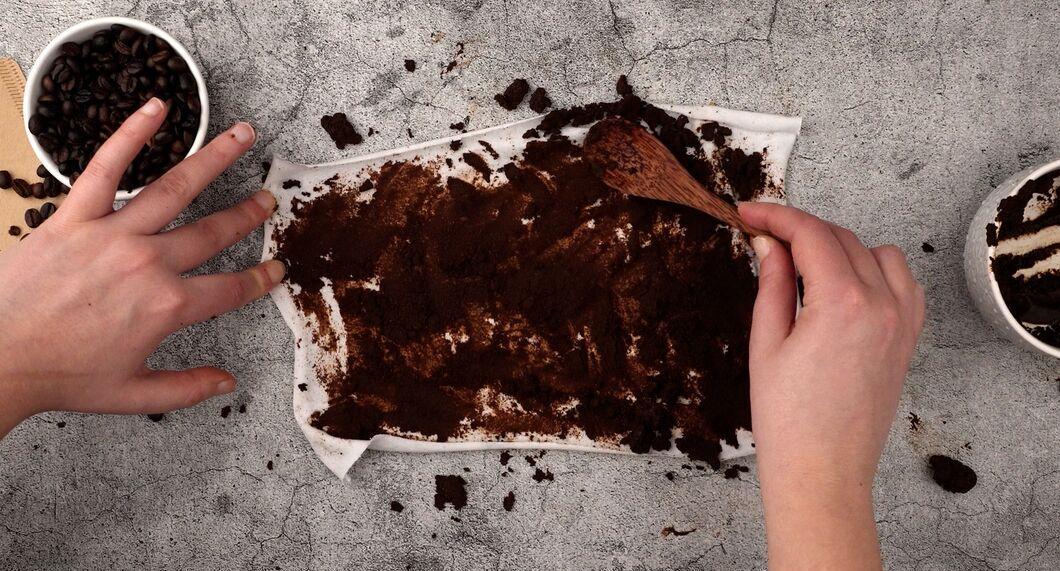
Apply the coffee ground paste to the fabric. Lay the fabric on a waterproof surface. Make sure to cover the material completely with coffee grounds and rub it in. You can use a wooden spoon or similar kitchen utensil, or simply rub the coffee paste in with your hands.
- The process can be a bit messy, so it’s best to do this where you don’t mind creating some mess, like in a garage. You can also protect the floor or carpet with a thick layer of newspaper.
Step 5: Dry the Fabric.
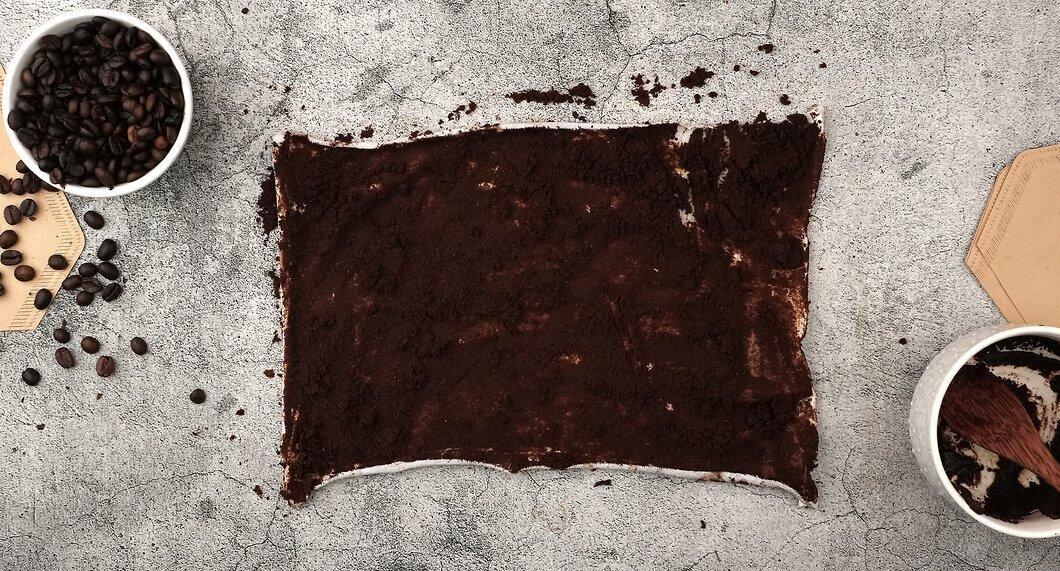
Dry the fabric. Hang the fabric to dry in a shaded area. You need to wait until it is completely dry, which can take anywhere from a few hours to a full day. Alternatively, you can dry the fabric in a dryer on low heat for about 30 minutes.
- Do not leave the fabric to dry in direct sunlight, as the sun can cause the fabric to fade.
Step 6: Brush Off the Coffee Grounds from the Fabric.
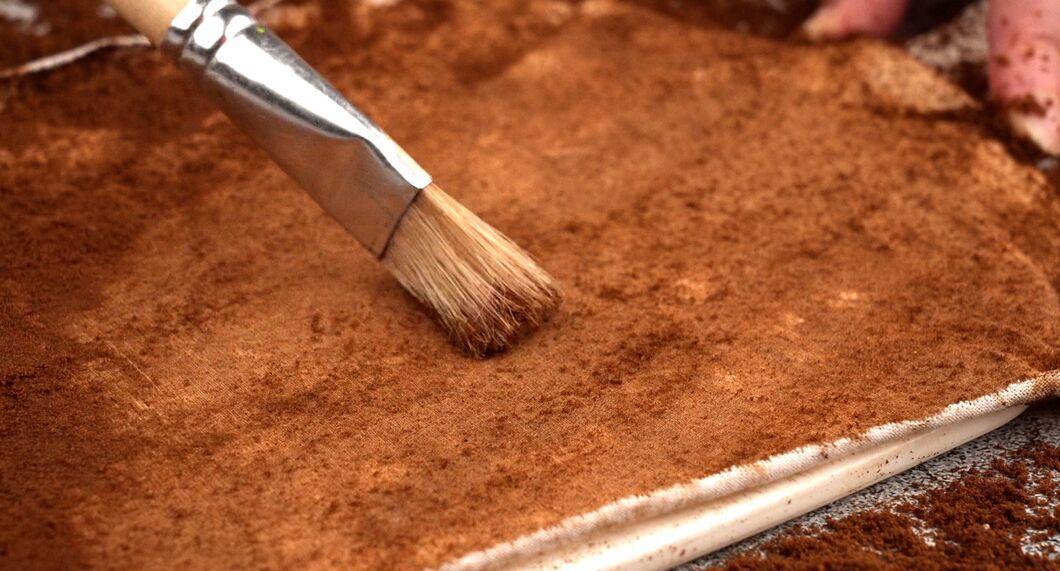
Brush off the coffee grounds from the fabric. You can do this by hand, using a natural bristle brush, or simply shake the fabric to remove all the coffee grounds. If the fabric isn’t dark enough, repeat the process until you achieve the desired effect.
Step 7: Iron the Fabric if Desired.
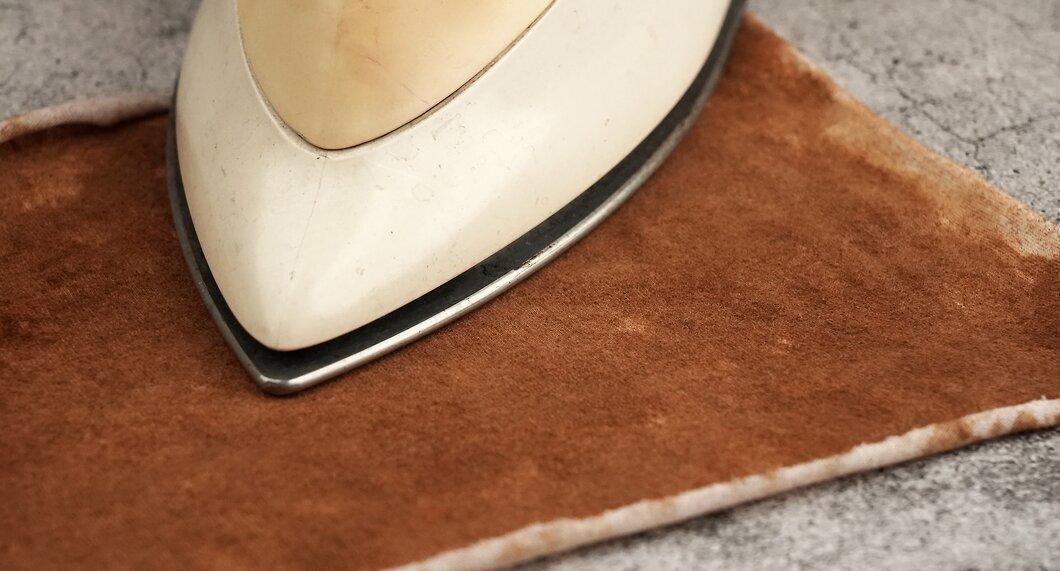
Iron the fabric if desired. Ironing will smooth out any wrinkles in the fabric.
- For best results, the fabric should be completely dry when you iron it with a hot iron.
Tie-Dye Technique with Coffee
Step 1: Pre-wash the Fabric.

Pre-wash the fabric. Before starting the tie-dye process, wash the fabric normally. This will remove any oils and other residues that might prevent even dye absorption.
- You can wash the fabric with other clothes or individually (depending on your preferences).
- Be sure to follow the washing instructions for the fabric (if any).
Step 2: Brew the Coffee.
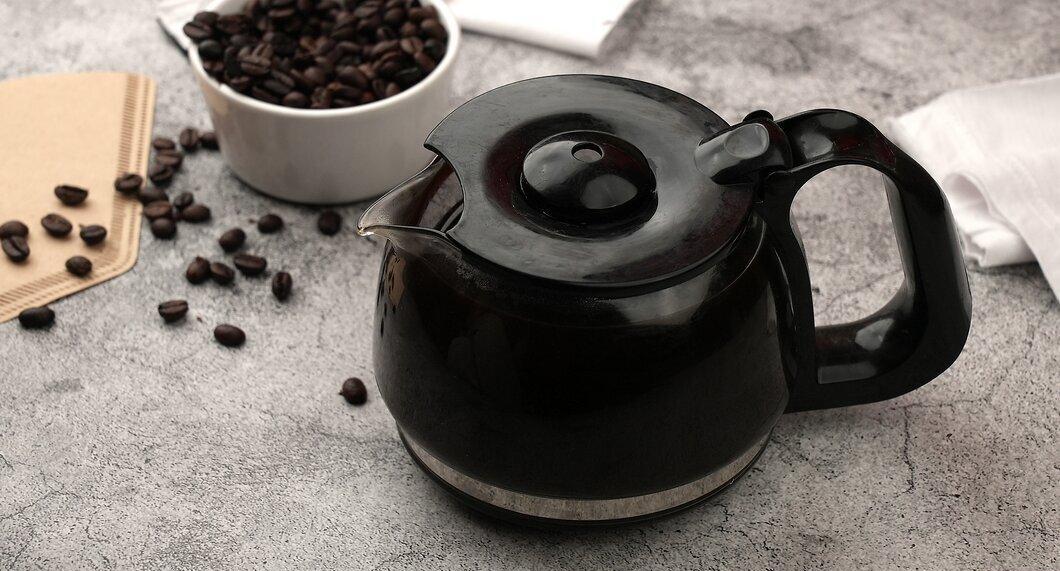
Brew the coffee. The amount of coffee you need to brew will depend on how dark you want the fabric to be. Stronger coffee will produce a darker coffee shade.
- If you need to dye the fabric a very dark coffee color, use more coffee or choose dark (strong) roast coffee. If you need a lighter coffee shade, use less coffee or opt for light or medium roast coffee.
- Alternatively, you can use instant coffee or buy brewed coffee from a nearby café.
Step 3: Wait for the Coffee to Cool.

Wait for the coffee to cool. You can put it in the fridge for about 20 minutes or simply wait a couple of hours at room temperature.
Step 4: Pour the Coffee into Squeeze Bottles.
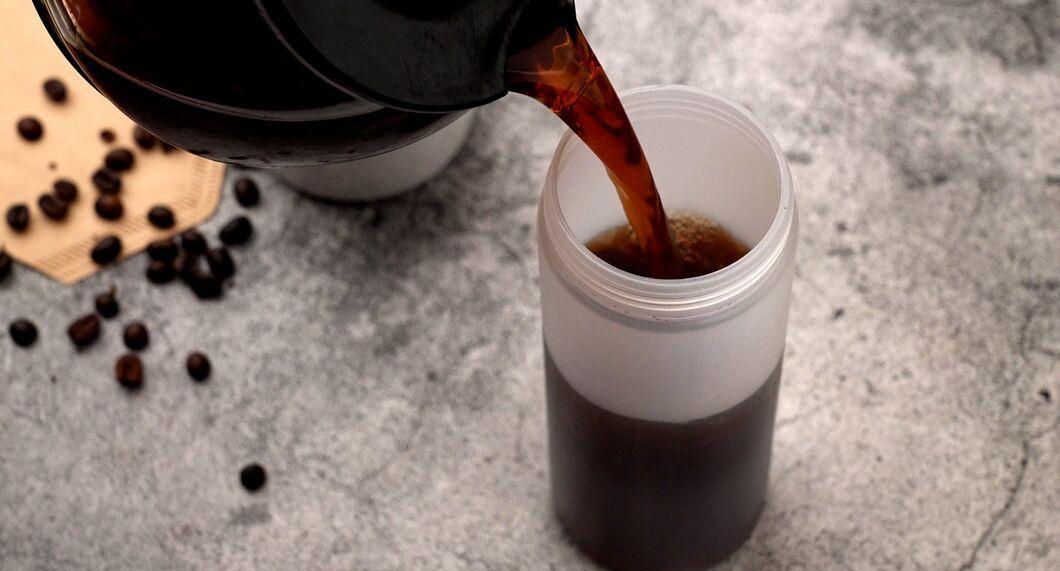
Pour the coffee into squeeze bottles. This will allow you to apply the dye to specific areas of the fabric without spilling onto other areas.
- Prepare different squeeze bottles for coffee of varying roast levels (for example, one bottle with dark roast coffee and another with light roast coffee).
Step 5: Section the Areas of Fabric to Be Dyed.
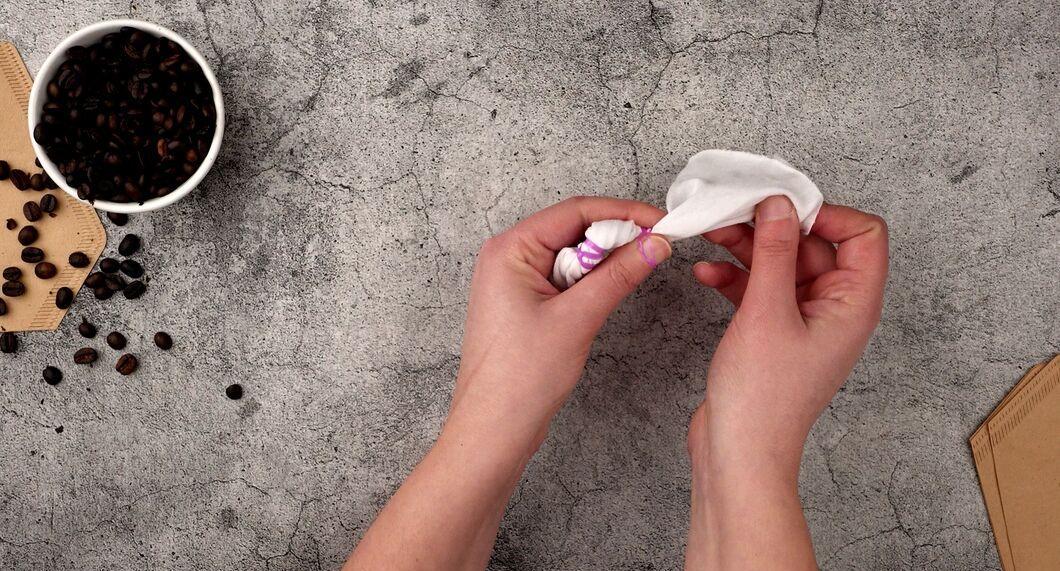
Section the areas of fabric to be dyed. Twist and tie off the necessary areas of fabric with rubber bands to separate the dye sections from one another. This will help you know exactly which parts of the material to dye. Additionally, the rubber bands will prevent the dye from spreading too much on the fabric.
- First, fully unfold the fabric.
- Then, place a finger in the center of the fabric (or item) and begin twisting it with your hand clockwise.
- The fabric will start to gather as you twist. Make sure it folds neatly and forms round shapes (like a wide, flat cylinder resembling a pie).
- Once the fabric looks like a pie, tie it off with rubber bands to divide it into sections, similar to cutting a pie into eight slices.
Step 6: Dye the Highlighted Areas of Fabric with Coffee.
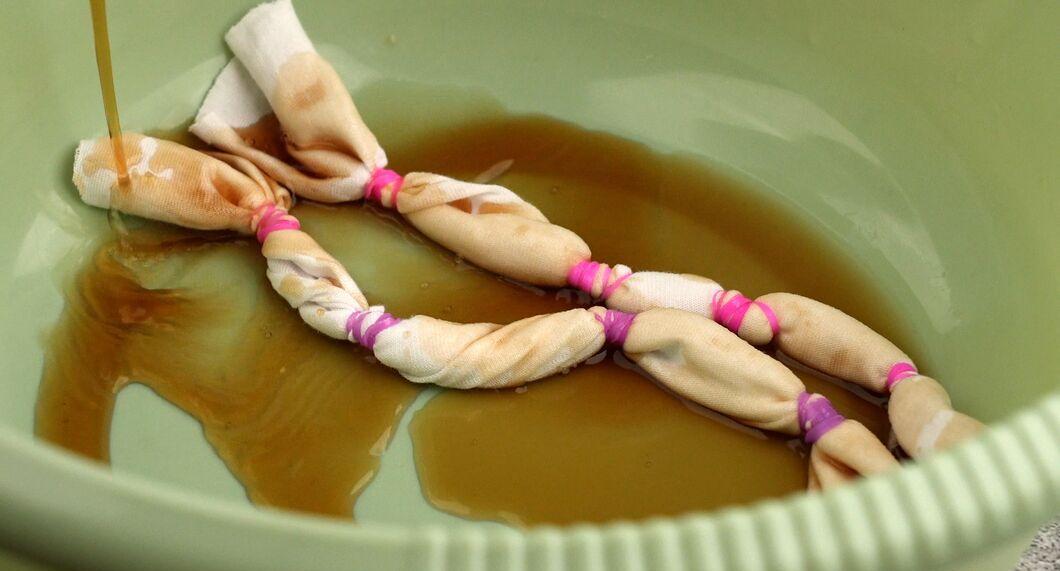
Dye the highlighted areas of fabric with coffee. Use the squeeze bottles to pour coffee onto the fabric in the desired areas. For color variation, you can use more coffee or darker coffee in some places.
- Once you finish dyeing the top side, flip the fabric over and dye the underside.
Step 7: Place the Fabric in a Bag or Airtight Container.
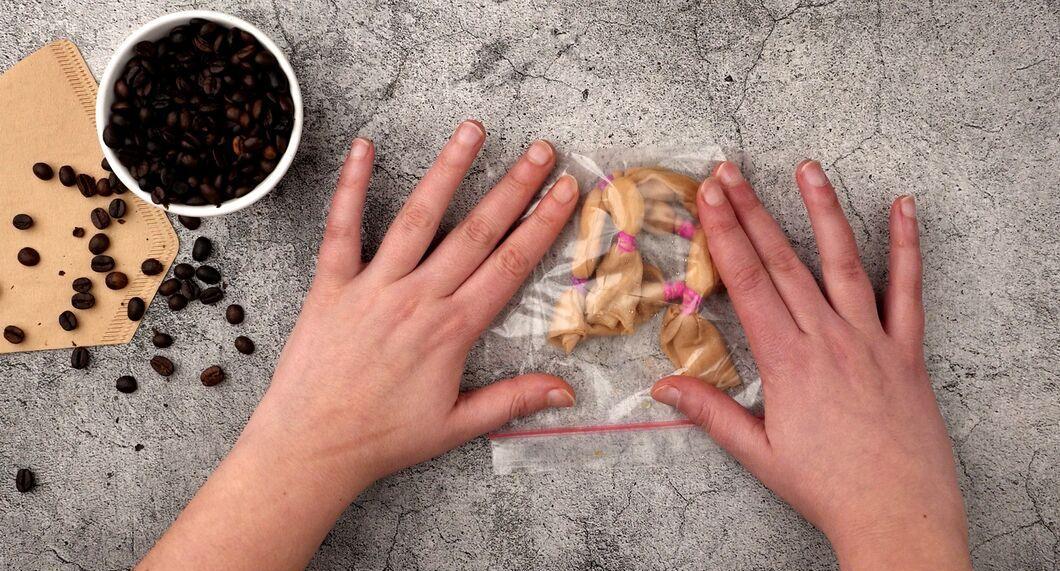
Place the fabric in a bag or airtight container. Depending on the amount of fabric, you may need a plastic container or a zip-lock bag. Seal the bag or container and place it in a warm spot for 24 hours.
- If you have a large amount of fabric, use a big plastic storage container. These containers come in various sizes, from shoe box sizes to larger containers for kitchen items and other bulky objects.
Step 8: Rinse the Fabric.
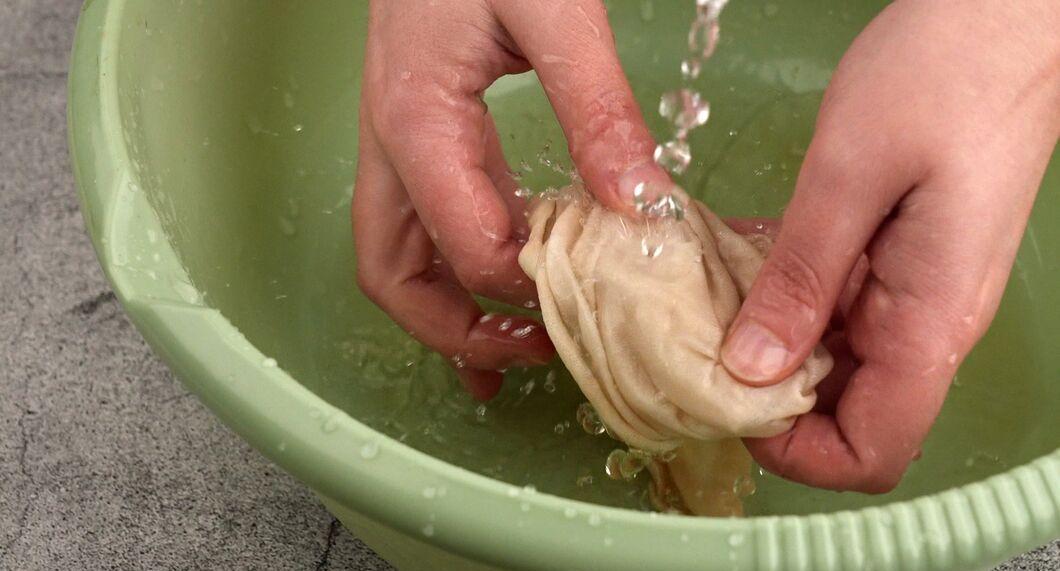
Rinse the fabric. Once the dye from the coffee has set, open the bag or container and remove the fabric. Rinse it thoroughly with cold water until the water runs clear.


