
When you plan to undertake construction or carpentry work, sooner or later you will need to cut something out of plywood. Plywood sheets are usually large and can be challenging to cut, especially if you don’t have specialized tools. However, if you remember a few simple rules, you can cut plywood easily with a handheld or circular saw. The key is to ensure that the saw blade is sharp and the plywood sheet remains stable.
Cutting Plywood with a Handheld Circular Saw
Step 1. Choose the Right Blade.
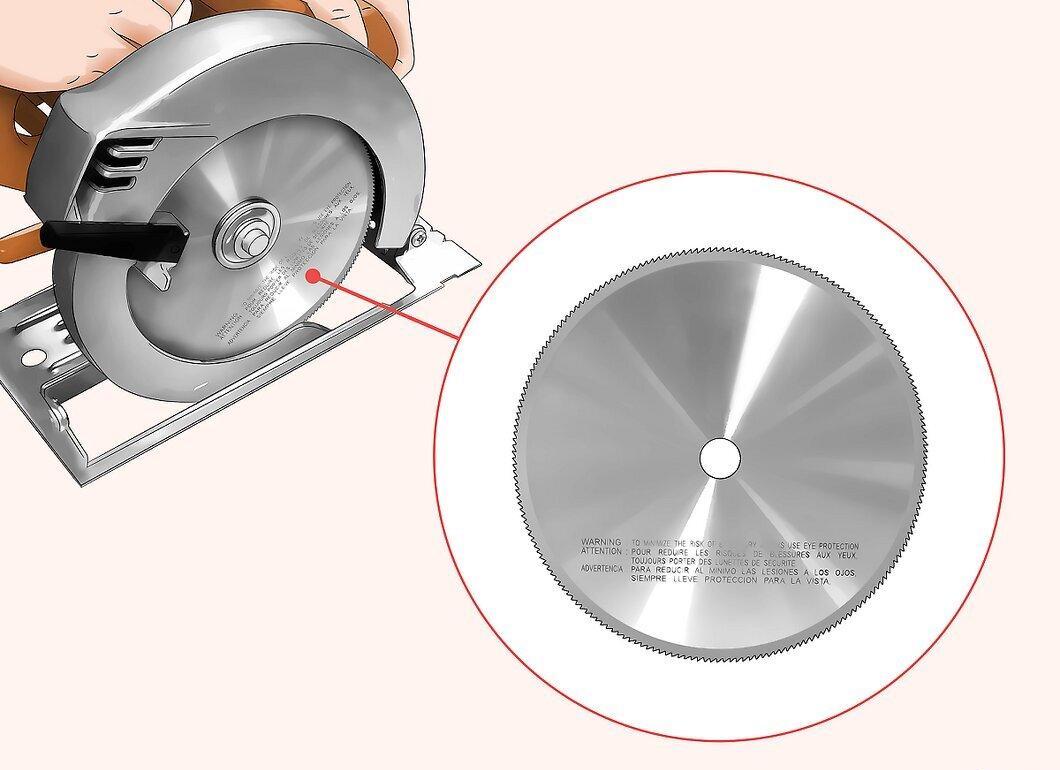
Select a blade that suits your tasks. To achieve a clean cut in plywood, you'll need a high-quality carbide blade with a high tooth count.
- You can find specialized saws labeled "for plywood" at stores, but make sure to check the number of teeth on them.
- Blades come in various sizes, so ensure that the blade you choose is compatible with your saw.
- If you decide to use a standard blade for your circular saw, the cut may turn out uneven and ragged.
Step 2. Set the Cutting Depth.
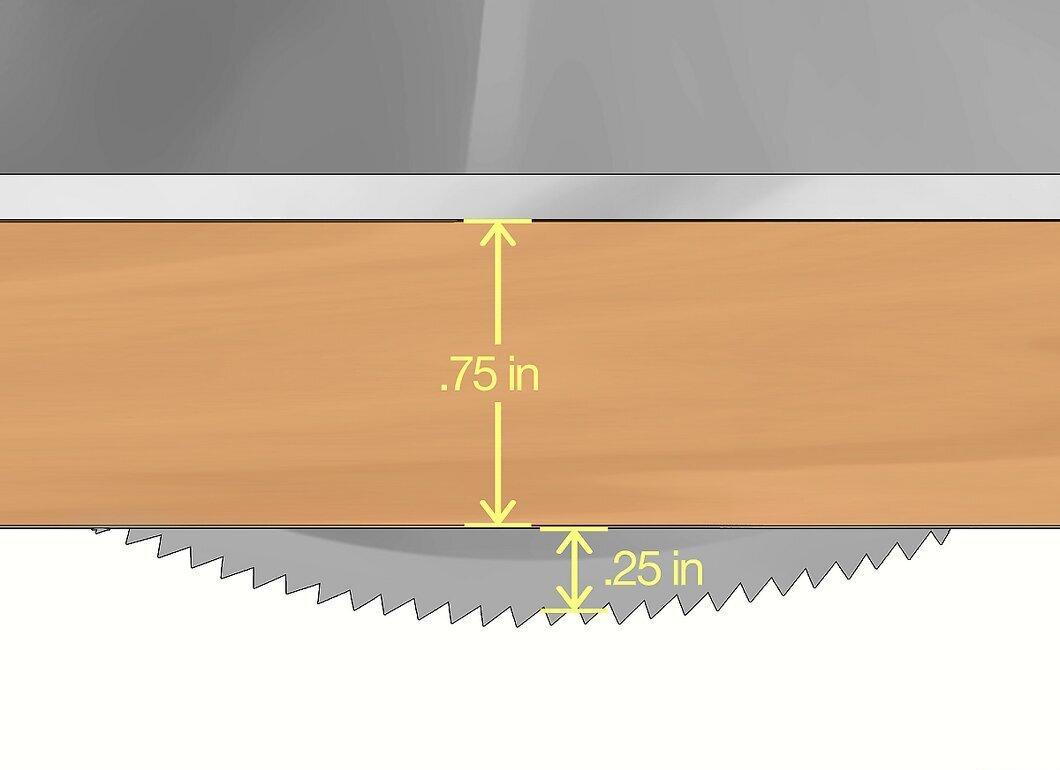
Adjust the cutting depth on your saw correctly. Before you start cutting the plywood, set the depth so that the blade protrudes about 5 mm deeper than the bottom side of the plywood. If the depth is too great, the blade will cut unnecessarily, and if it's too shallow, you won't cut through the sheet completely.
- For 2 cm plywood, the cutting depth should be 2.5 cm.
Step 3. Provide Support for the Plywood.
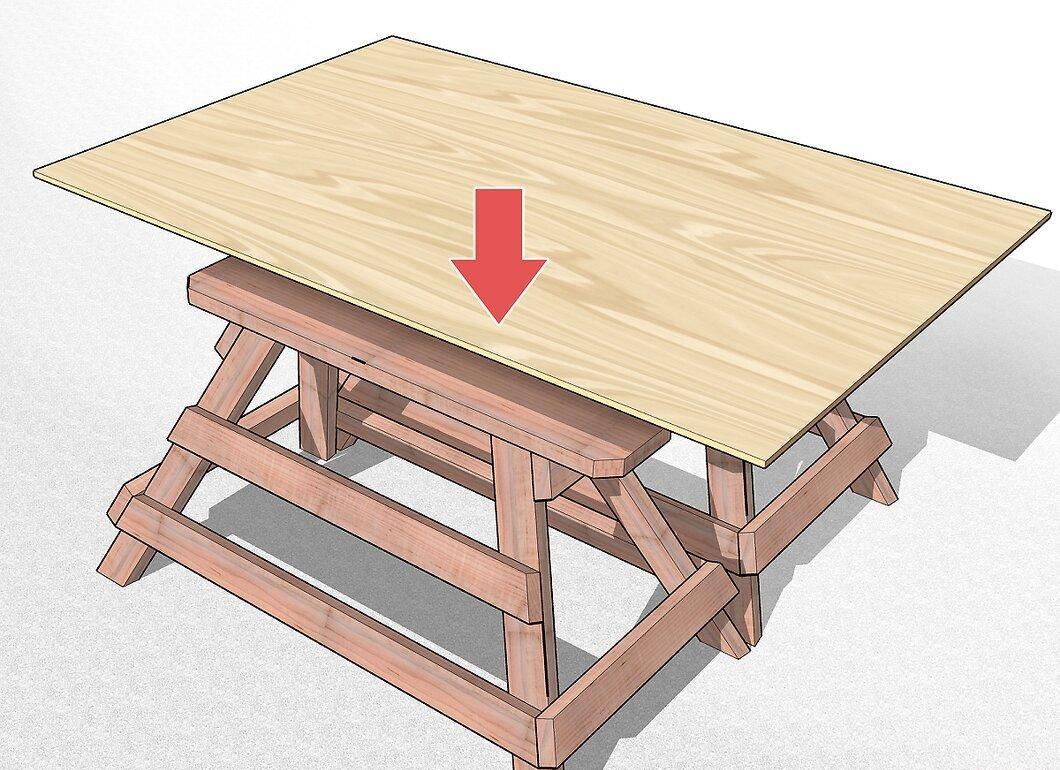
It’s important that the plywood is supported on both sides of the cutting line. Place a few beams measuring 5x10 cm under the plywood sheet to provide support during the cut.
- If you don’t have beams, you can use foam insulation. Lay it on the floor and place the plywood on top, ensuring it doesn’t slip.
Step 4. Cut the Plywood Face Down.
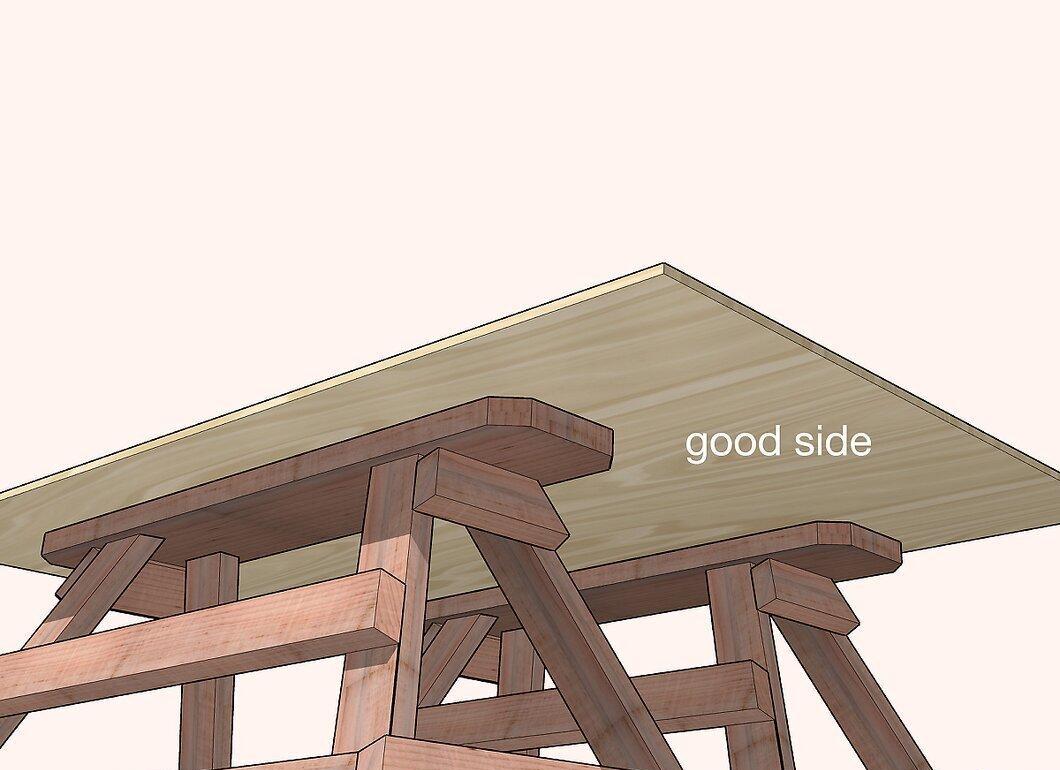
To avoid damage, lay the plywood face down. This allows the saw teeth to enter the wood from the face side and exit from the back, preventing tear-out edges.
Step 5. Mark the Cutting Line.
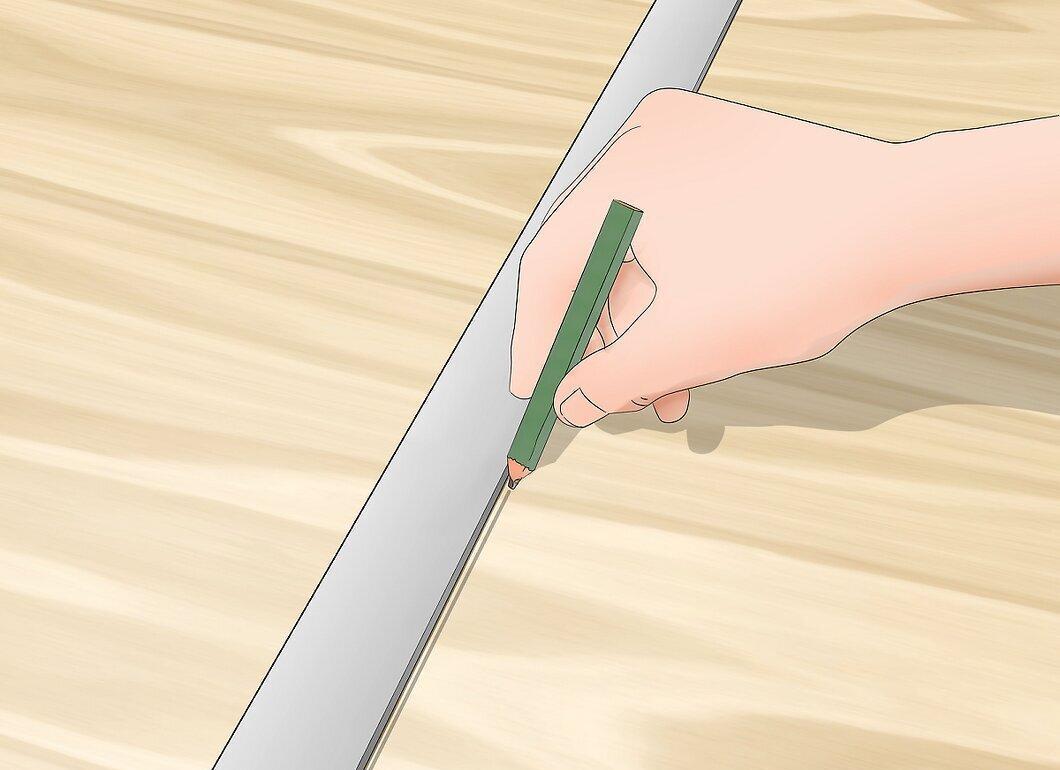
Use a ruler to mark the cutting line. Ensure that the line is perpendicular to the edges of the plywood.
- To achieve a straighter cut, make a notch along the cutting line on the plywood by running a utility knife several times.
- Remember: "Measure twice, cut once." A mistake in cutting could cost you a new sheet of plywood.
Step 6. Use a Guide.
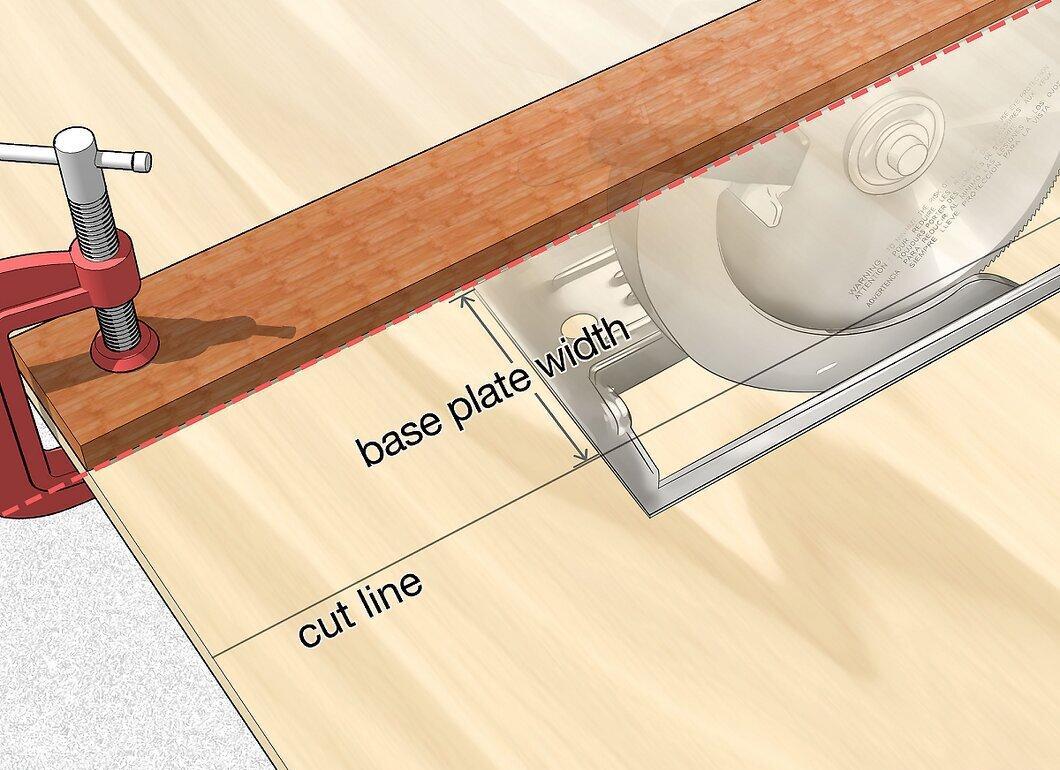
Find a straight piece of plywood, lay it on the main sheet parallel to the cutting line, and secure it with clamps.
- Ensure that the guide is positioned so that the saw base sits tightly against it, and the blade is on the cutting line.
- If you plan to cut a lot of plywood, consider purchasing a specialized guide for circular saws.
Step 7. Start Cutting.
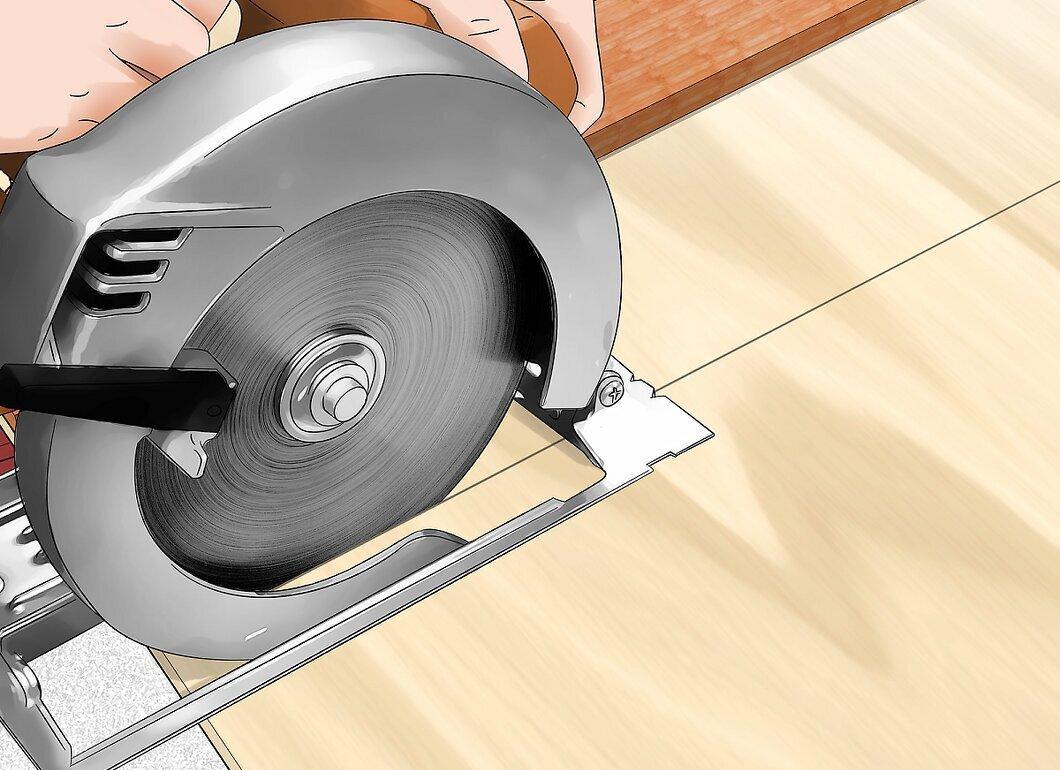
Attach the saw to the guide and make sure the blade is on the cutting line. Turn on the saw and push its base along the guide, trying to maintain a straight cut.
- Don’t forget about safety: wear safety goggles, keep your fingers away from the blade, and watch out for the power cord.
Cutting Plywood with a Table Saw
Step 1. Choose the Right Blade.
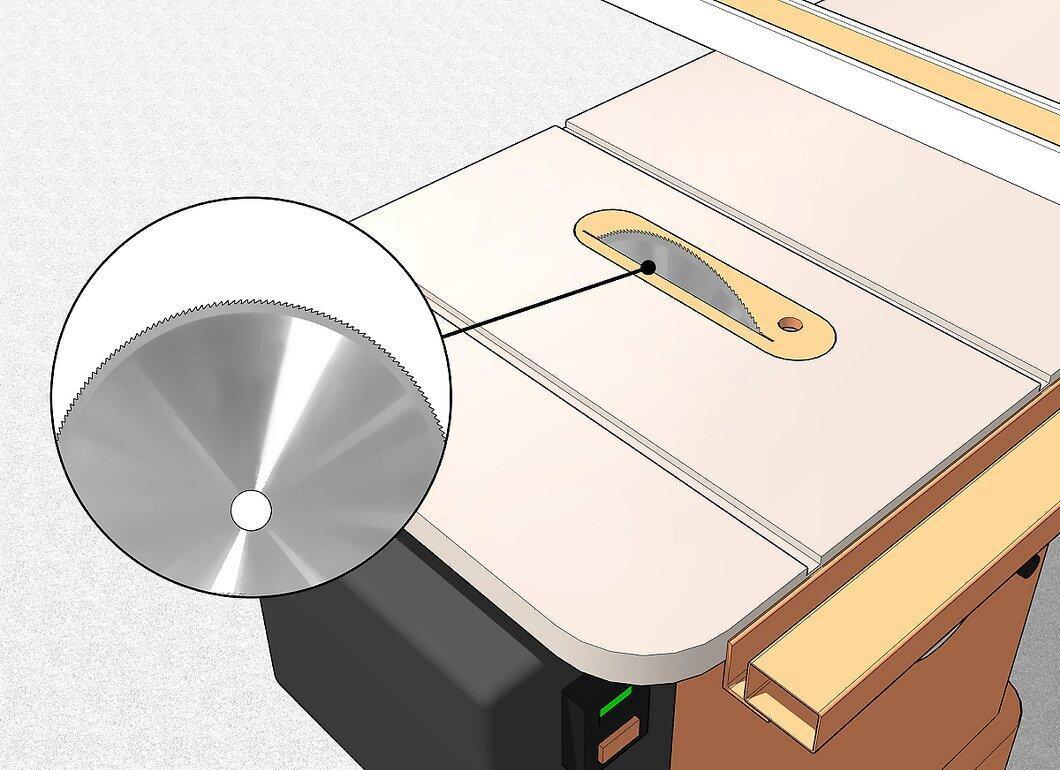
For a table saw, it is advisable to purchase a blade with a high tooth count, such as an 80 TPI blade for plywood (80 teeth per inch).
- Most standard blades are suitable only for rough cutting, which can lead to uneven edges.
- You can also use a zero-clearance insert for the saw to improve cutting quality.
Step 2. Raise the Blade.
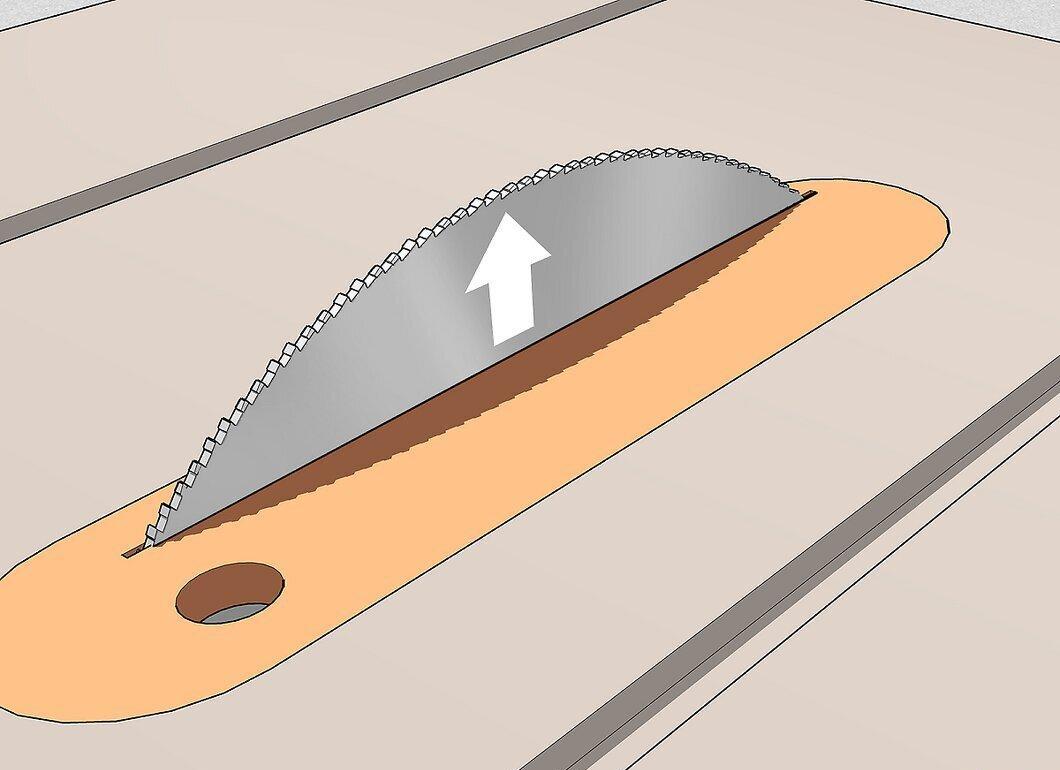
Raising the saw blade changes the angle at which the teeth enter the wood. For a clean cut, raise the blade just slightly, no more than 2.5 cm.
Step 3. Ensure a Zero-Clearance Fit for the Blade.
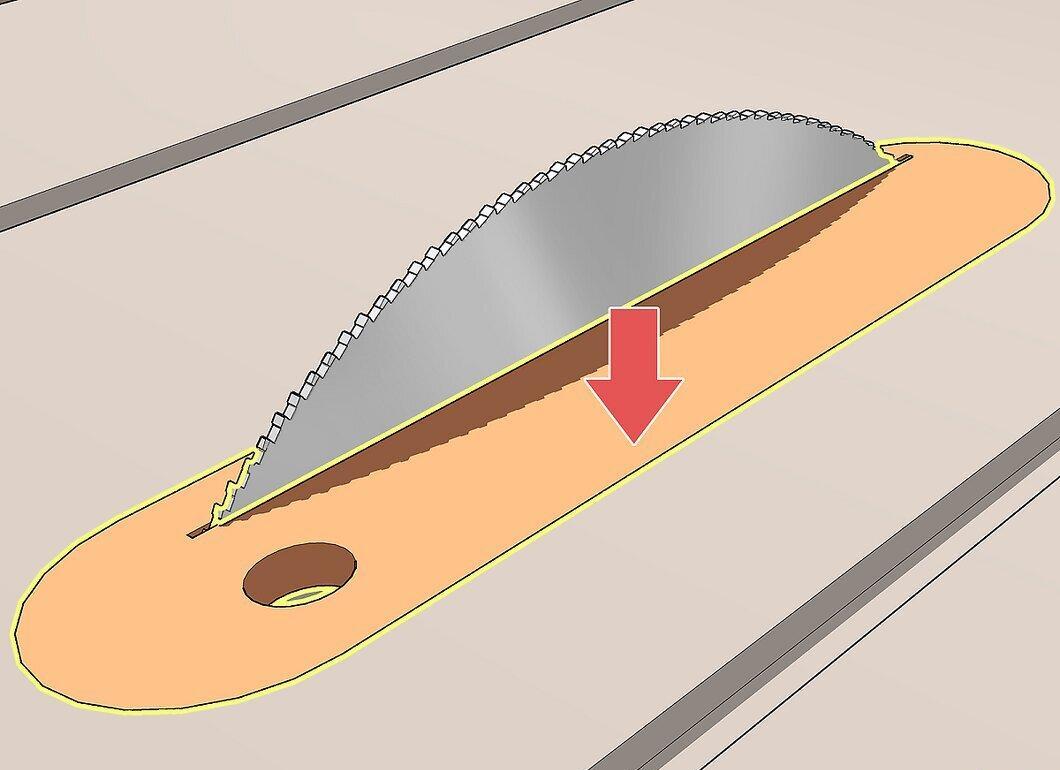
Make sure there is no gap between the blade and the opening it is mounted in on your table saw to provide better support for the sheet being cut.
- Zero-clearance plates can be purchased or made by yourself.
Step 4. Provide Stable Support for the Plywood.
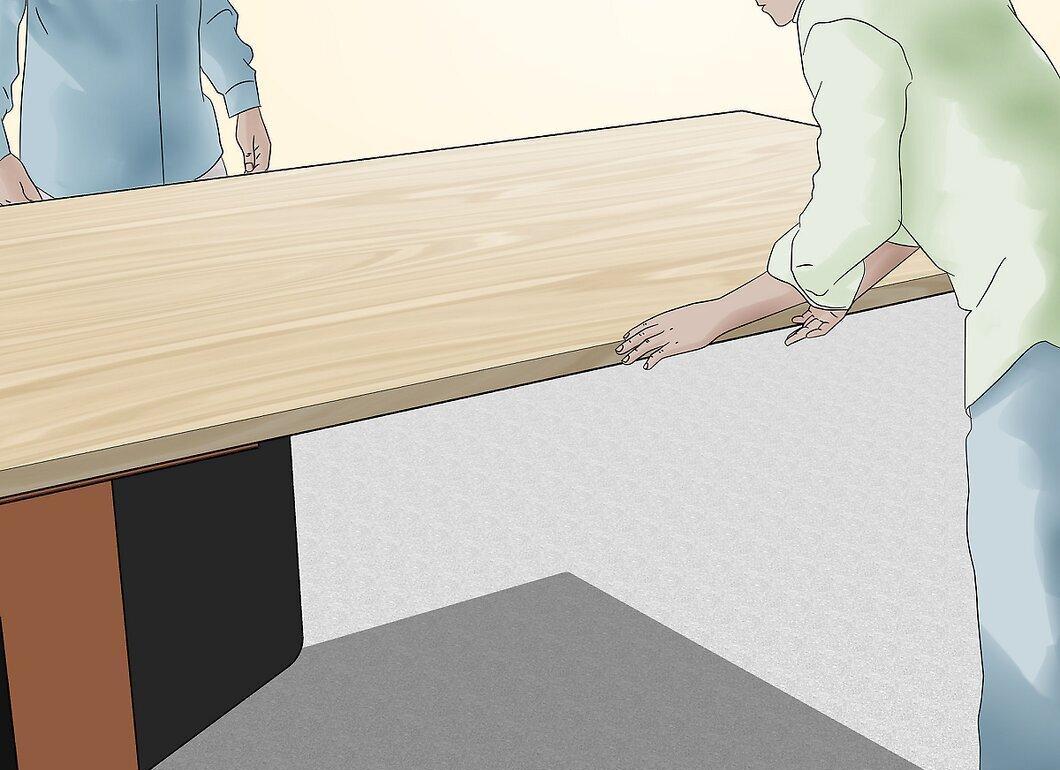
Ensure that large sheets of plywood are well supported, using saw horses or getting help from a friend.
Step 5. Tape the Cutting Line.
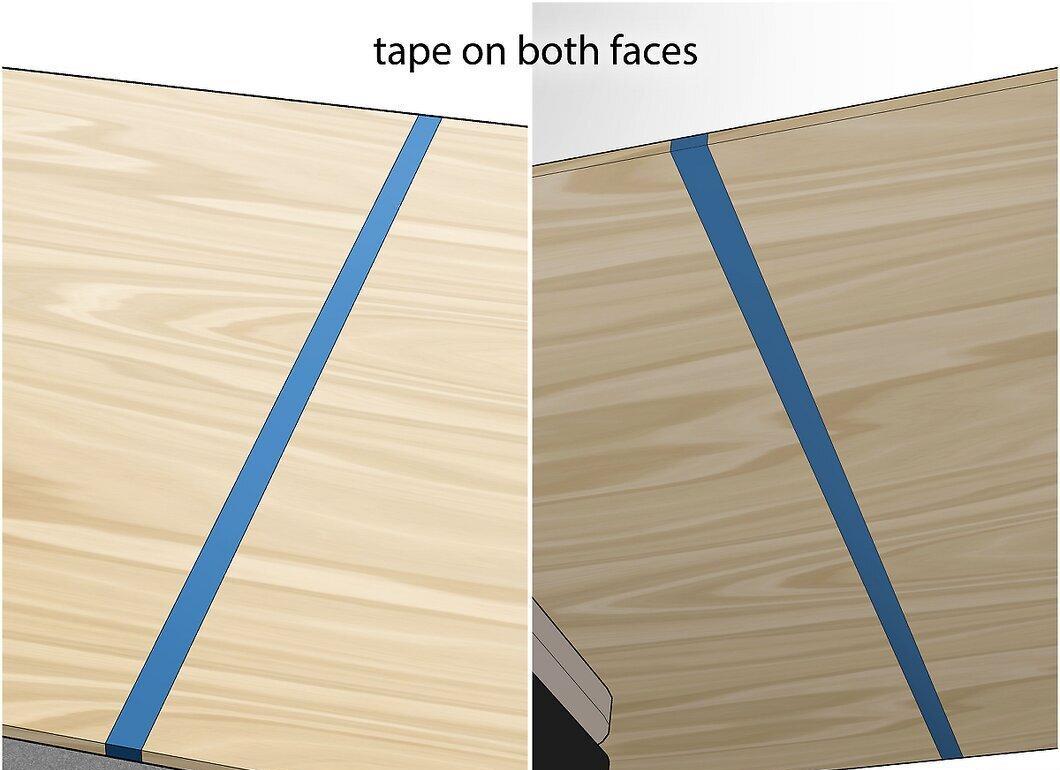
Use painter's tape to cover the cutting line, which will help prevent wood from splintering.
Step 6. Place the Plywood Face Up.

Lay the plywood on the table of the table saw face up to avoid damage to the face side.
Step 7. Make the Cut.
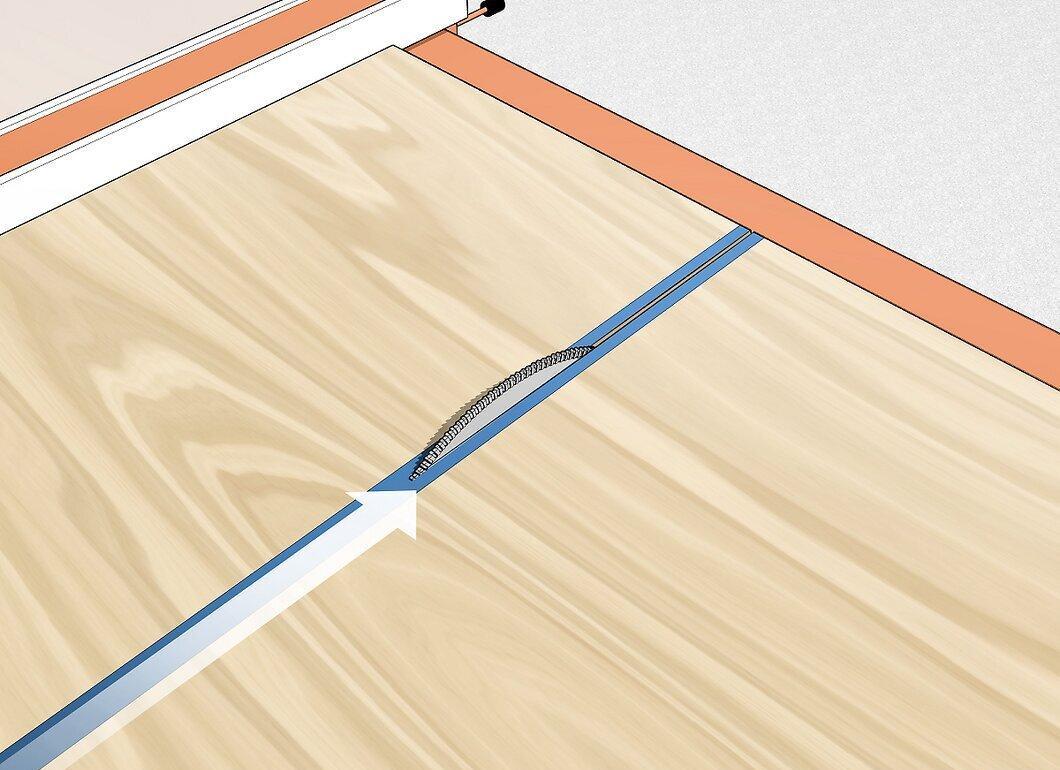
Ensure that the sheet is pressed tightly against the guide, and carefully feed it into the saw blade.
- Use both hands to control the movement and keep safety in mind.
Making a Notch in Plywood with a Handheld Circular Saw
Step 1. Ensure Stable Support.
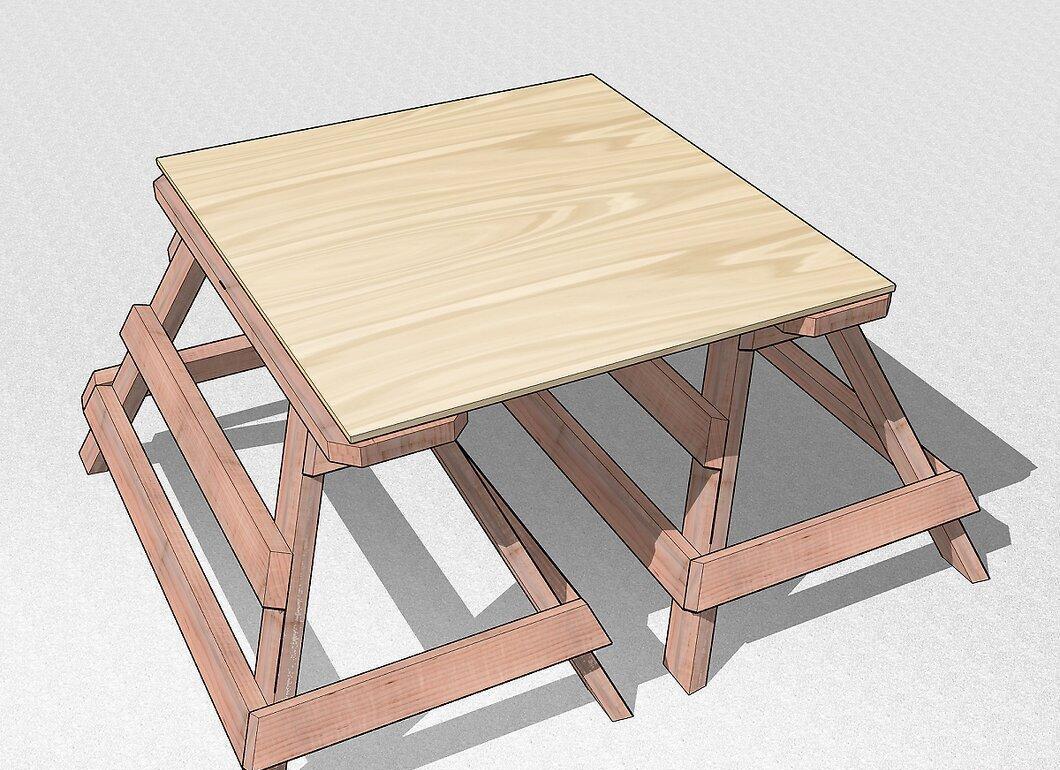
Ensure that the plywood sheet is securely supported using beams or saw horses.
Step 2. Set the Right Cutting Depth.
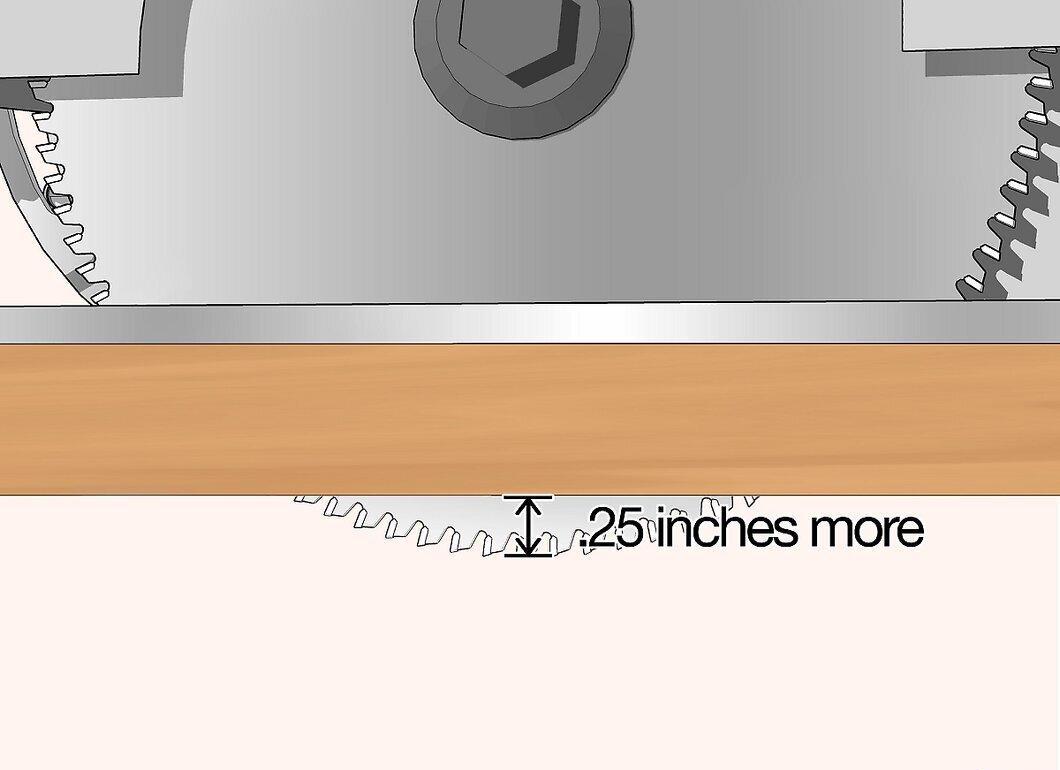
Adjust the cutting depth so that it is 5 mm greater than the thickness of the plywood.
Step 3. Stand to the Side of the Work.
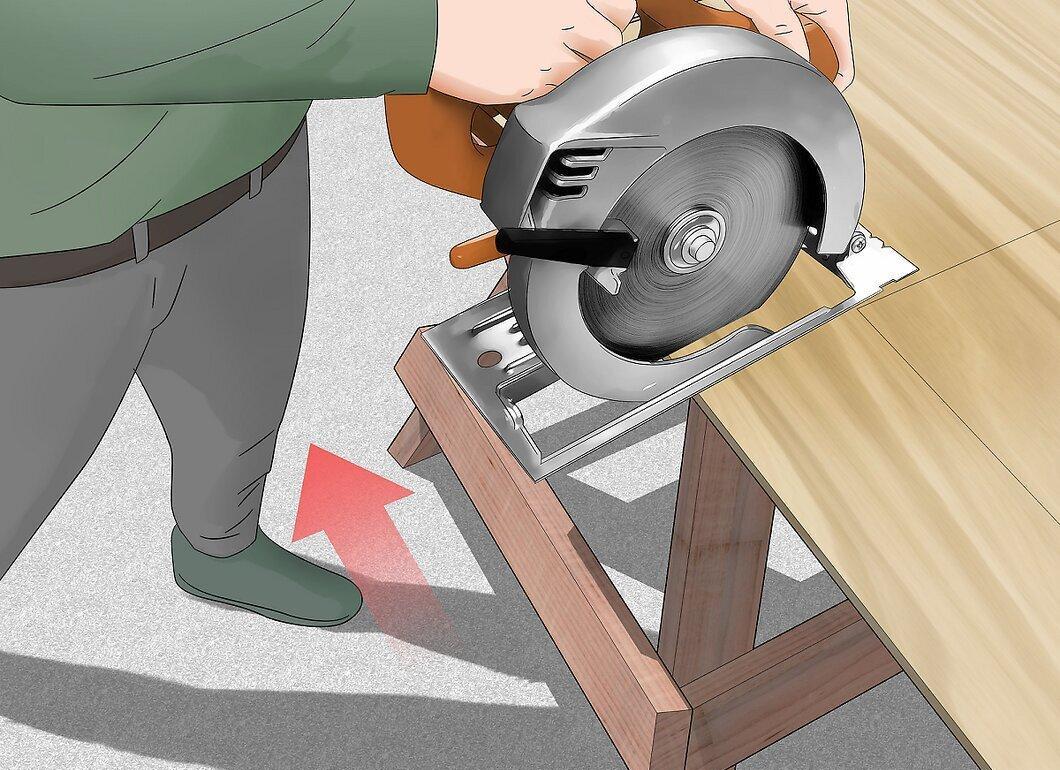
Avoid standing directly in front of the saw to prevent the risk of kickback.
Step 4. Set the Saw for Cutting.
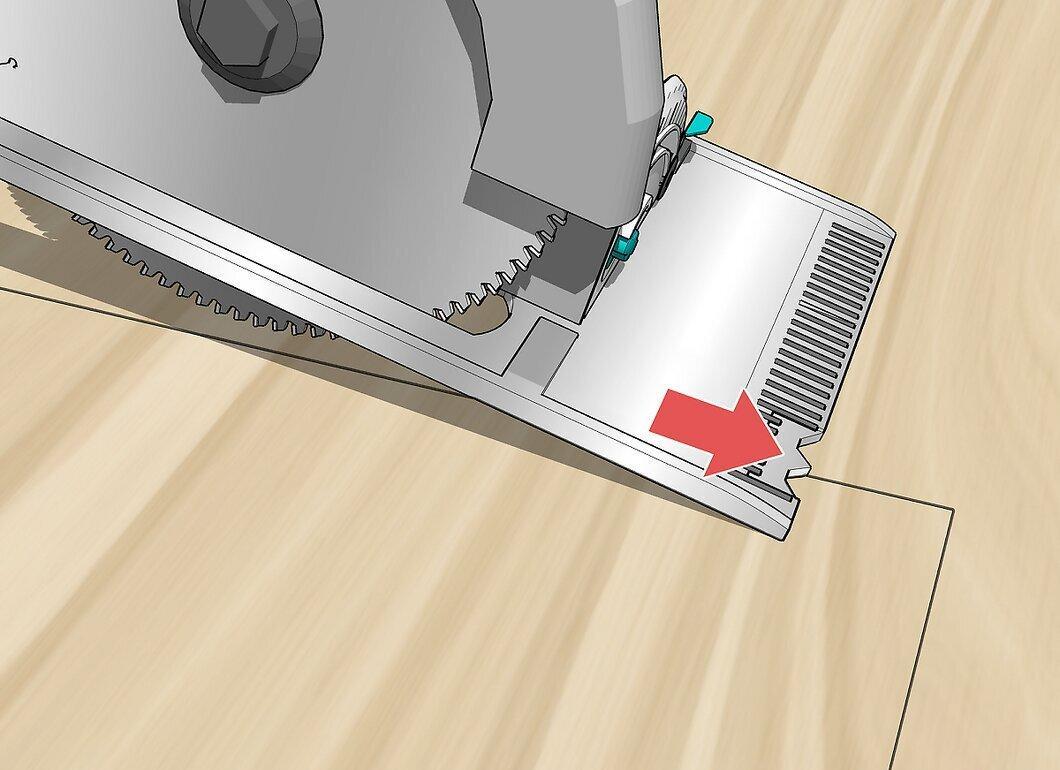
Position the saw on the plywood sheet and align the blade with the cutting line.
Step 5. Check for Cleanliness Below.
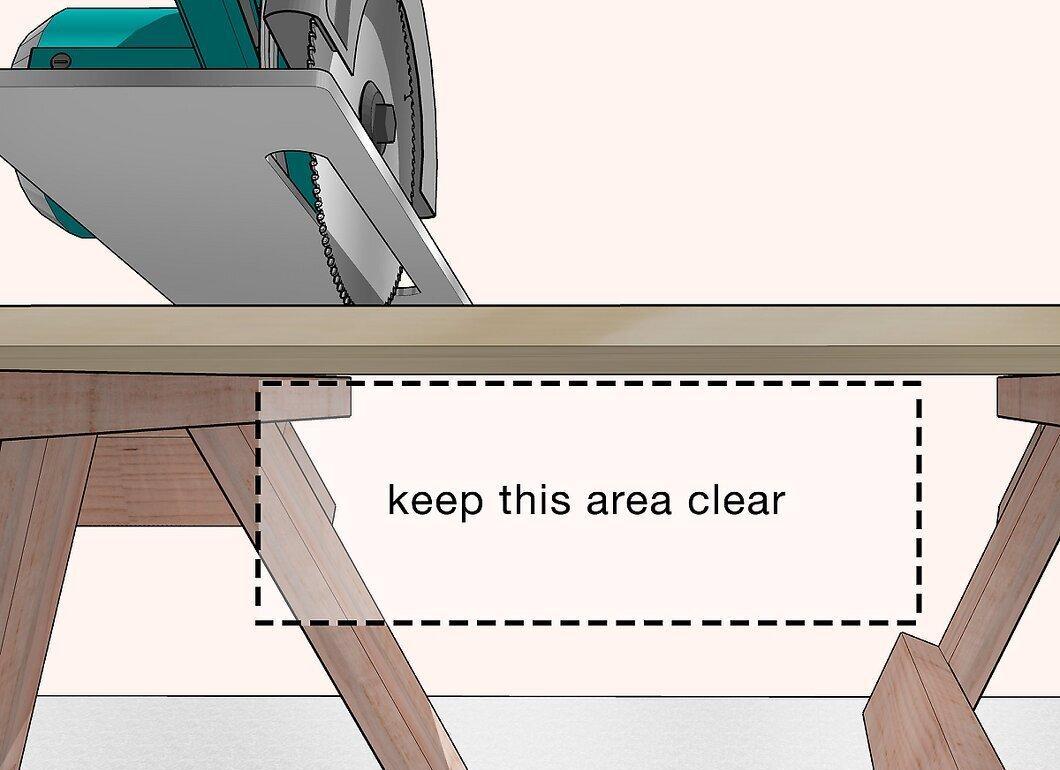
Before cutting, make sure there are no foreign objects under the plywood.
Step 6. Turn on the Saw and Lower it into the Plywood.
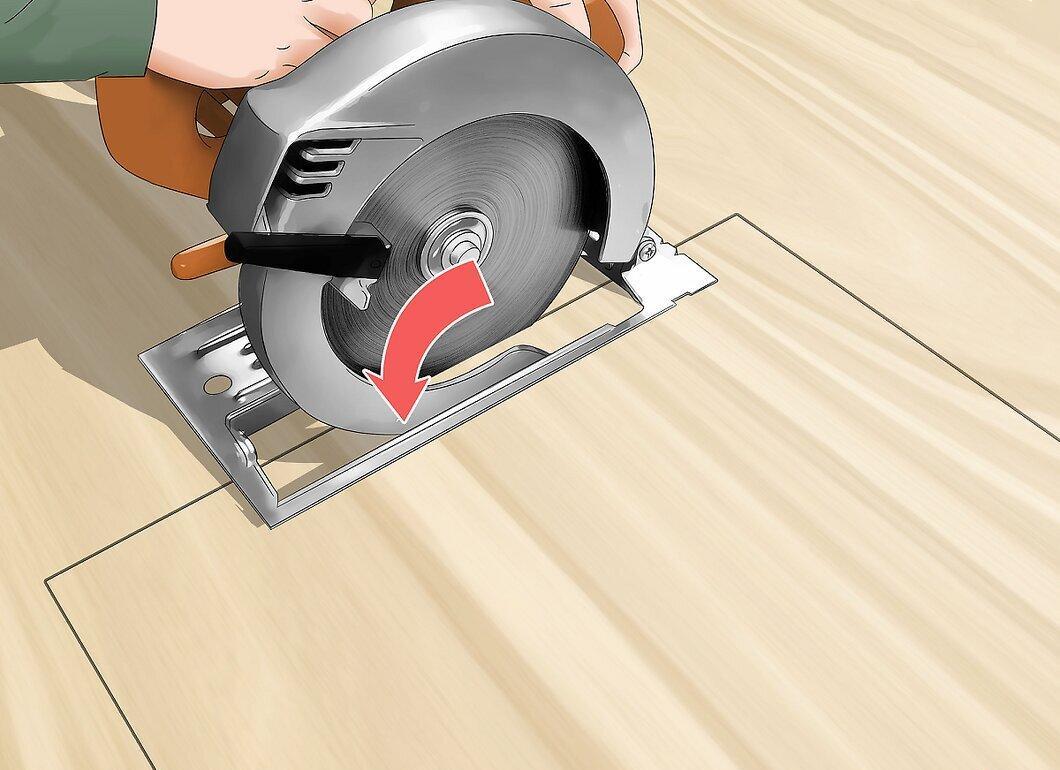
Hold the tool firmly and slowly lower the blade into the wood to avoid kickback.
- Wait for the blade to stop before removing the saw from the notch.
Cutting Plywood with a Hand Saw
Step 1. Find a Good Saw.
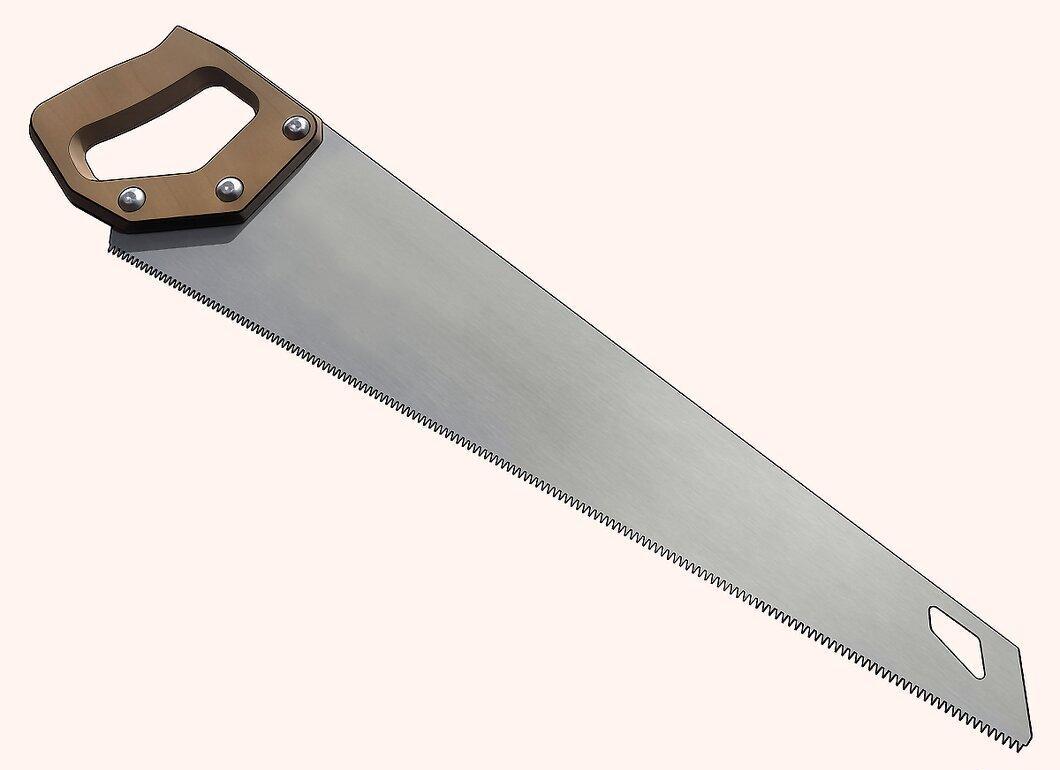
If power tools are not available, purchase a quality hand saw. Pay attention to the tooth count: fewer teeth allow for faster cutting but result in ragged edges, while a higher tooth count provides a cleaner cut but takes more time.
Step 2. Mark the Cutting Line.
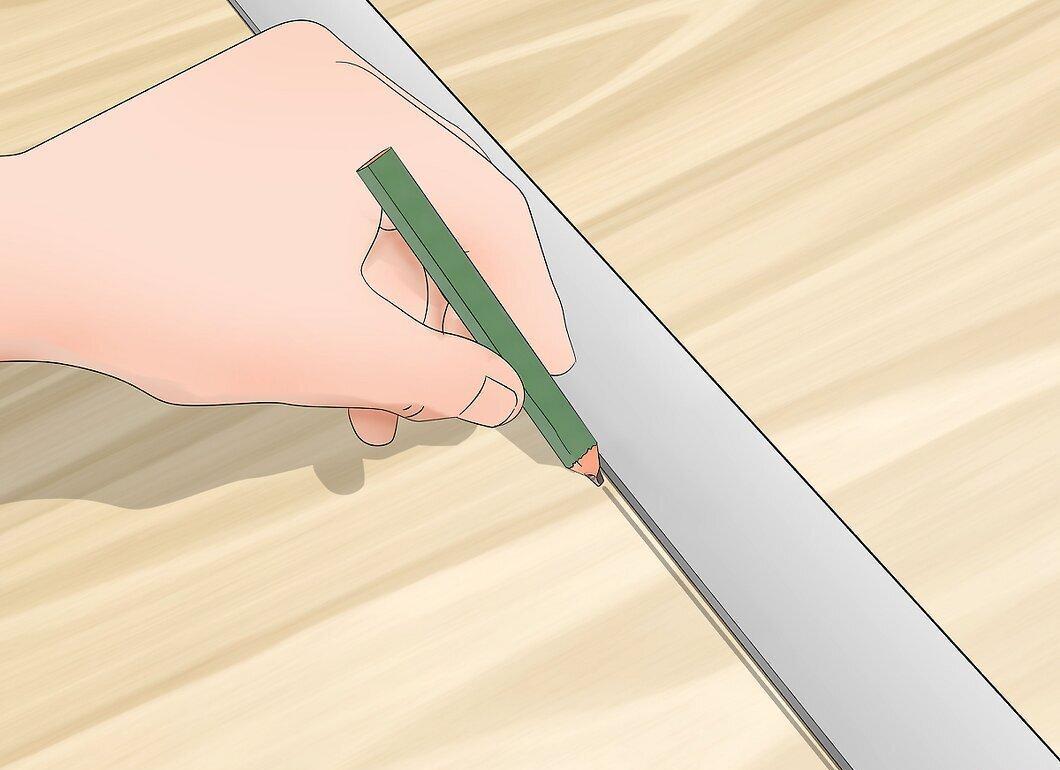
Before starting, carefully mark the cutting line and double-check your measurements.
Step 3. Make a Notch.
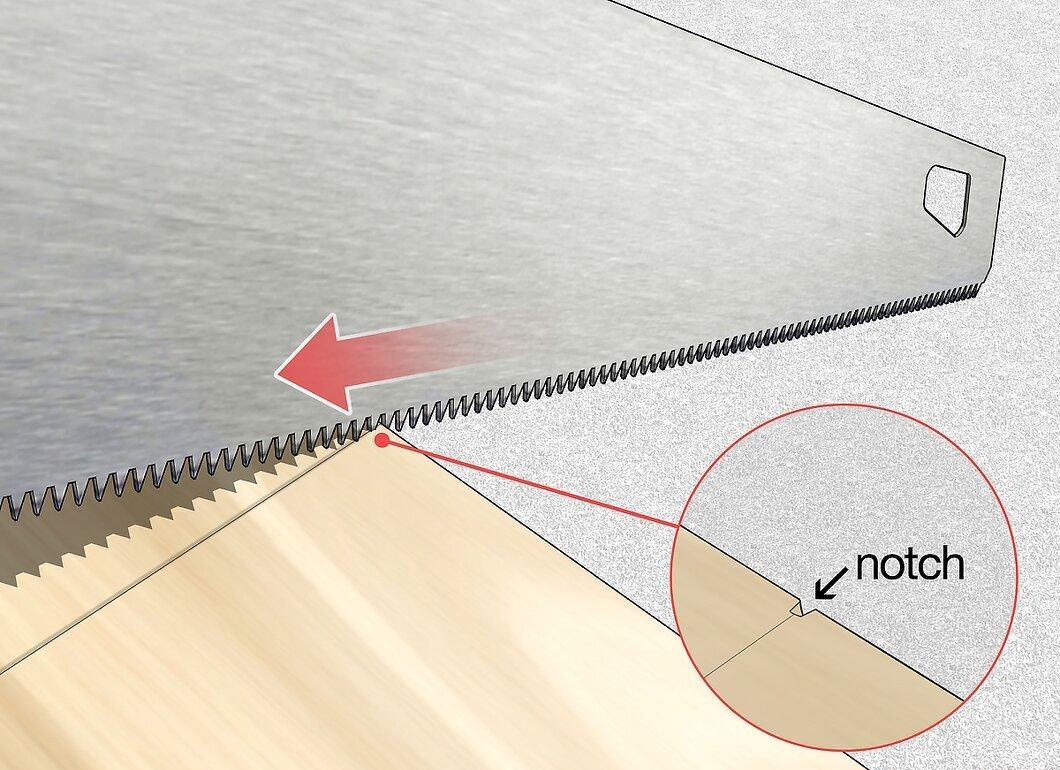
Position the saw at the edge of the plywood and run it several times to create a notch.
Step 4. Start Cutting.
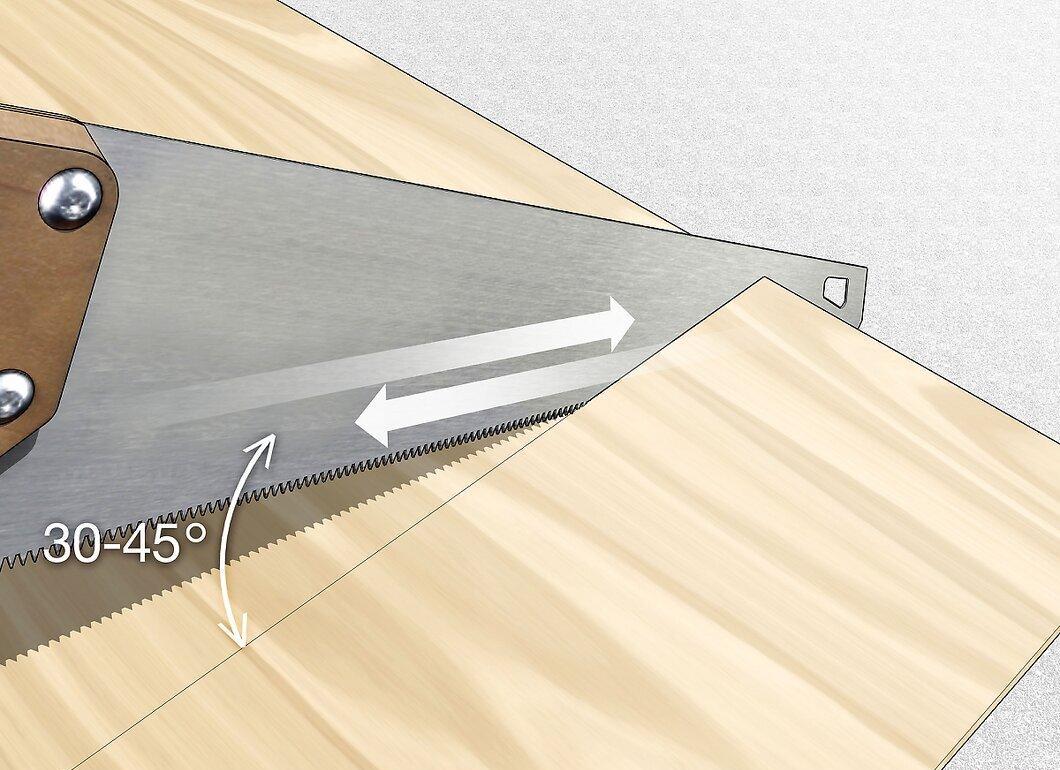
Tilt the saw at a 45-30 degree angle and gently guide it along the cutting line.
Step 5. Support the Cut Piece.
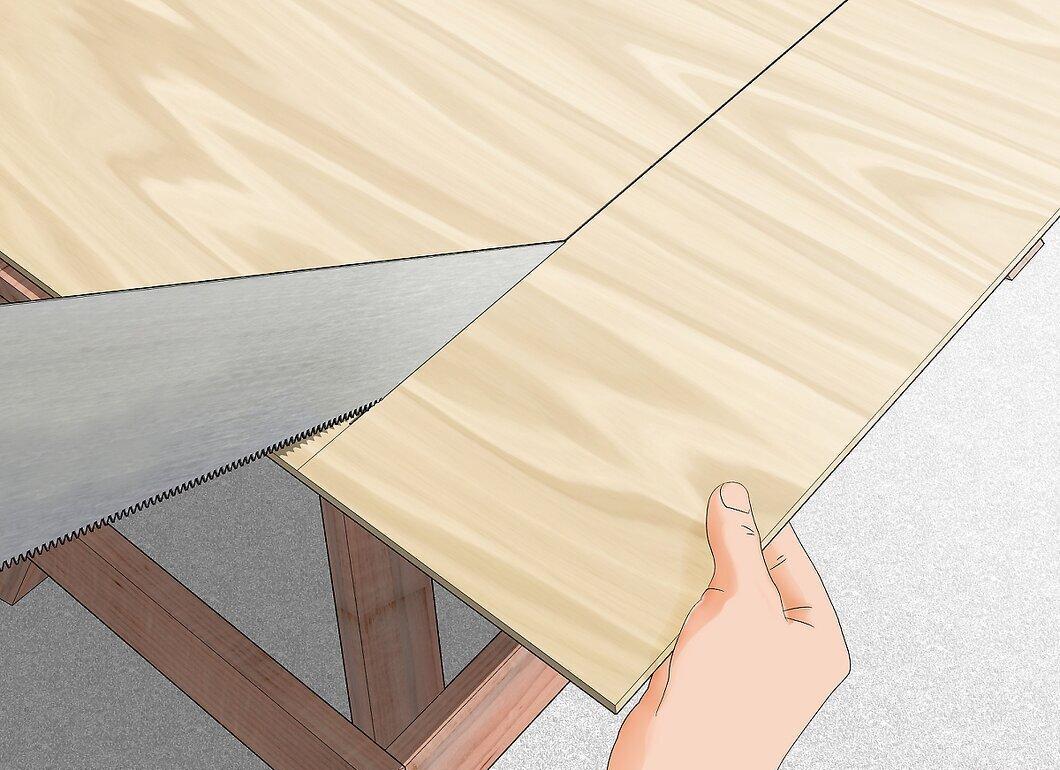
Finally, hold the cut piece to prevent it from breaking at the end of the cut.


