Ear mites are blood-sucking parasites that depend entirely on your pets' ear canals for survival. These tiny creatures thrive in the dark, moist environment provided by the ear canals. They can cause significant itching and irritation in animals and, if left untreated, can lead to ear infections. Frequent scratching can result in damage to the skin around the ear. Check out the information below to learn how to combat ear mites.
Part 1
Step 1: Confirm that your pet has ear mites.
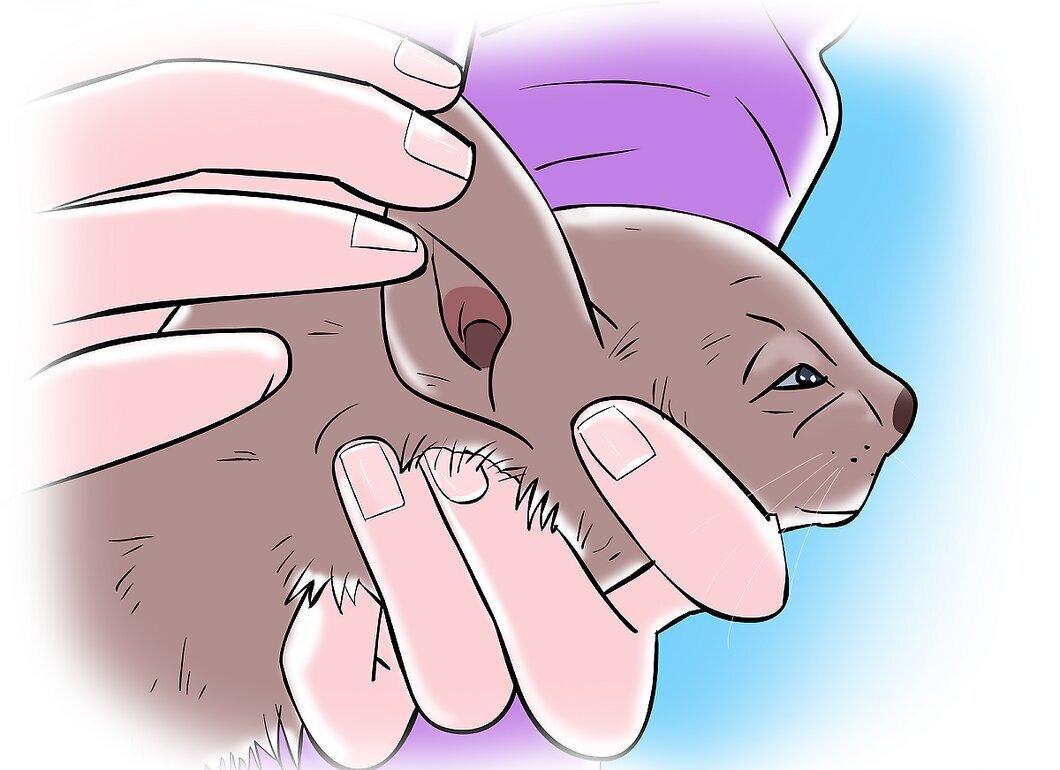
- While you might not be able to see the mites themselves, there are specific signs indicating their presence. The inner surface of the ear may appear red and irritated.
- Look for dark, waxy deposits in the ears that may resemble coffee grounds or dirt. This is likely the waste of the parasites feeding on your pet.
- For a more accurate diagnosis, consult a veterinarian who can analyze a sample of the ear debris under a microscope to detect the mites.
Step 2: Remove as much dark debris from the ear as possible.
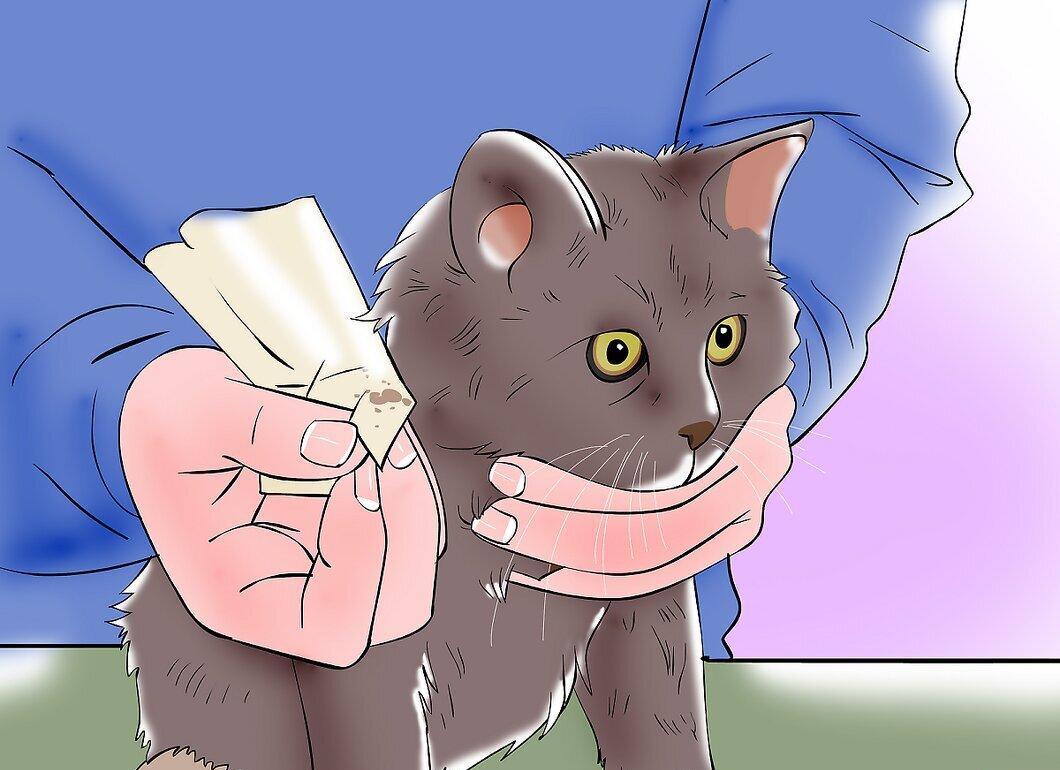
- Use cotton or a thin towel wrapped around your finger. Moisten the cotton ball or cloth with olive oil. Wipe the ear with your fingertip until the visible debris is gone.
Step 3: Apply ear mite treatment in both ears of your pet.
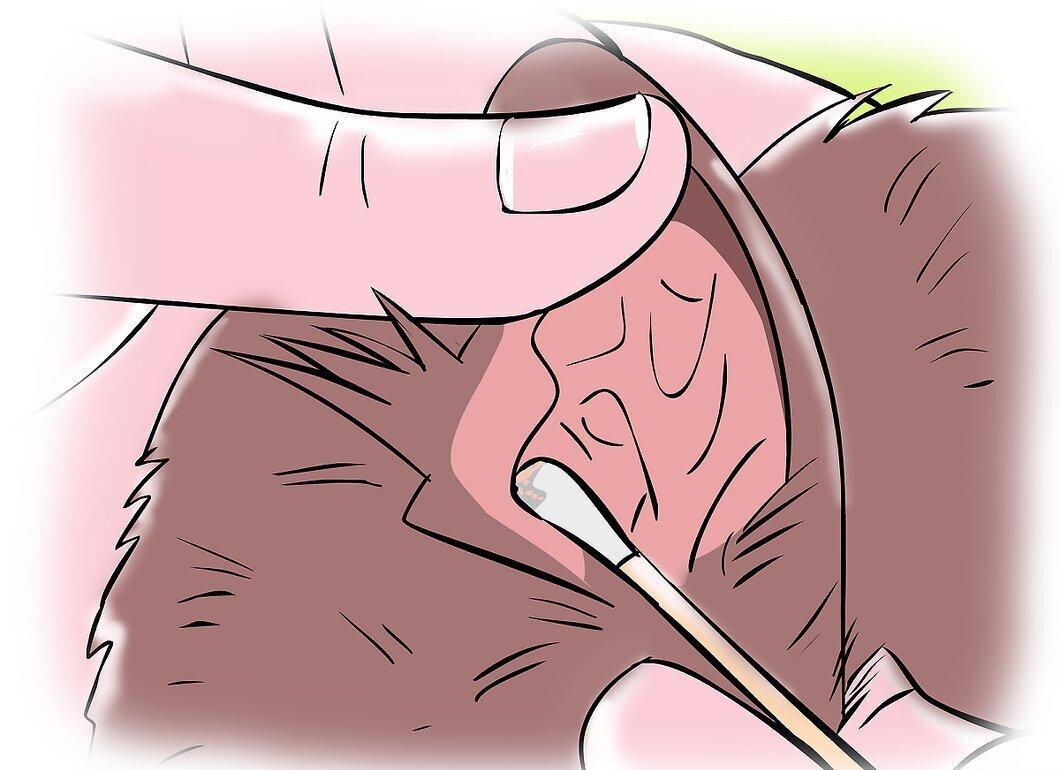
- Hold the animal's head firmly to prevent it from shaking and the medication from spilling out of the ear canal.
- Tilt the bottle and gently insert the applicator tip into the ear. Squeeze the bottle to dispense the appropriate amount of treatment. Your veterinarian will advise you on the correct dosage.
- The medication will work more effectively if you place it deeper into the ear canal.
Step 4: Massage the medication deeper into the ear canal.
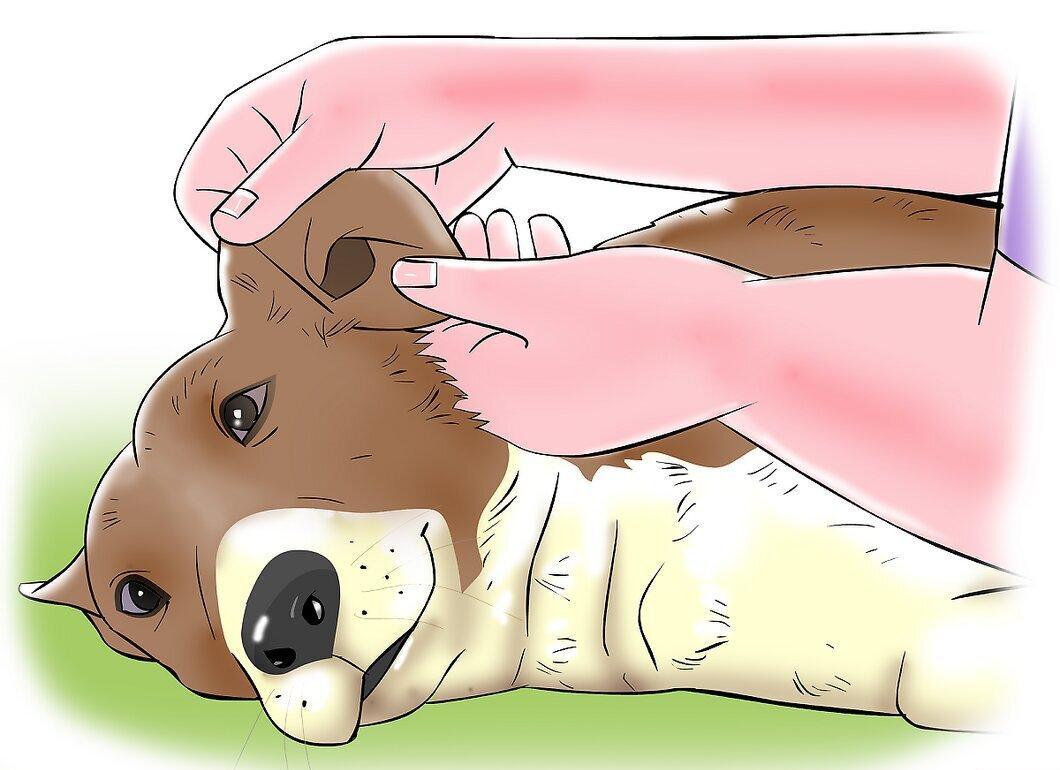
- Gently squeeze the closed ear and carefully massage the medication with your fingers, moving them around the ear for better distribution.