
Do you have a document that has fallen victim to your actions — perhaps you sat on it, crumpled it, or folded it? Don’t worry! Even after such incidents, you can restore its presentable appearance. Simply dampen it slightly with distilled water, then place it under a few heavy books or iron it through a cloth. However, be cautious: these methods can be risky, as they may lead to tearing or fading of the paper. If you have very important documents, it's best to consult professionals at a restoration workshop.
Flattening Paper with a Press
Step 1. Dampen the Paper with Distilled Water.
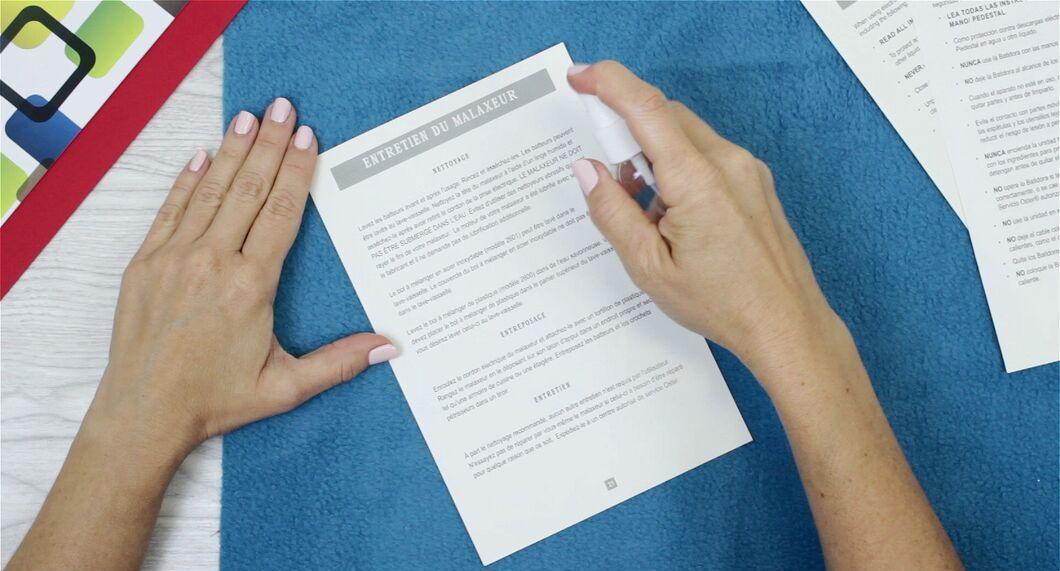
Start by lightly dampening the paper with distilled water. When paper folds, its fibers can become damaged. Moisture will help soften the fibers, allowing them to return to a flat state and minimizing the visibility of creases. Be sure to use distilled water, as regular tap water may contain minerals that can make the material brittle. Spray the water from about 12 inches away or gently wipe the paper with a slightly damp cloth.
- Important: Water can soften watercolor paints, chalk, pastels, or water-based inks. If your document has these materials, dampen it from the back. You can also try leaving the paper dry under a press — this can help smooth out at least the larger creases.
Step 2. Place the Damped Paper Between Absorbent Materials.
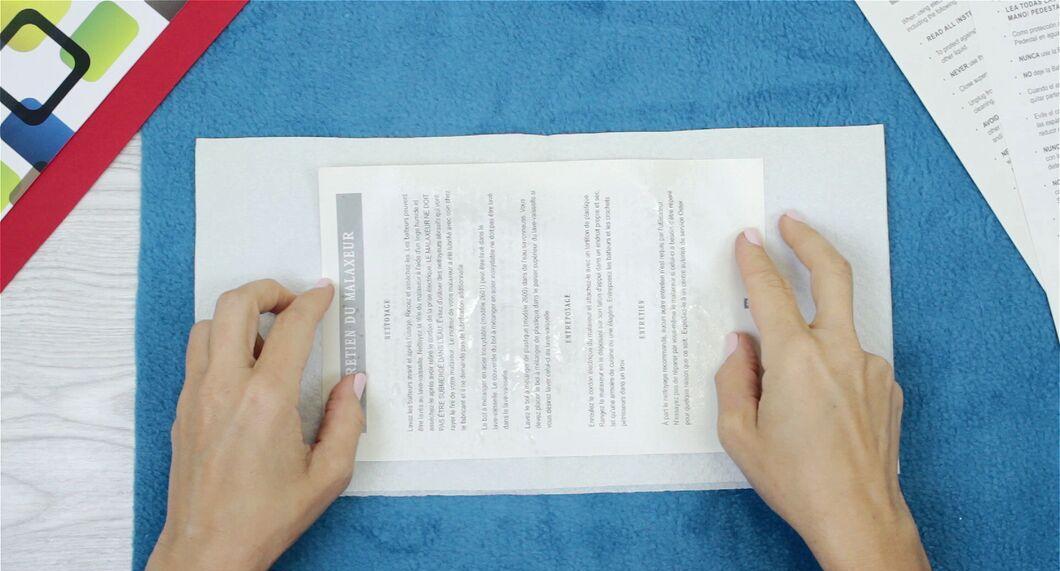
Lay the dampened paper among absorbent materials. After dampening, place it between blotters, wool felt, or other materials that can absorb moisture.
- You can use paper towels, but be aware that their texture may imprint on the surface of the paper, which is undesirable.
Step 3. Stack the Resulting Pile Under Weights.
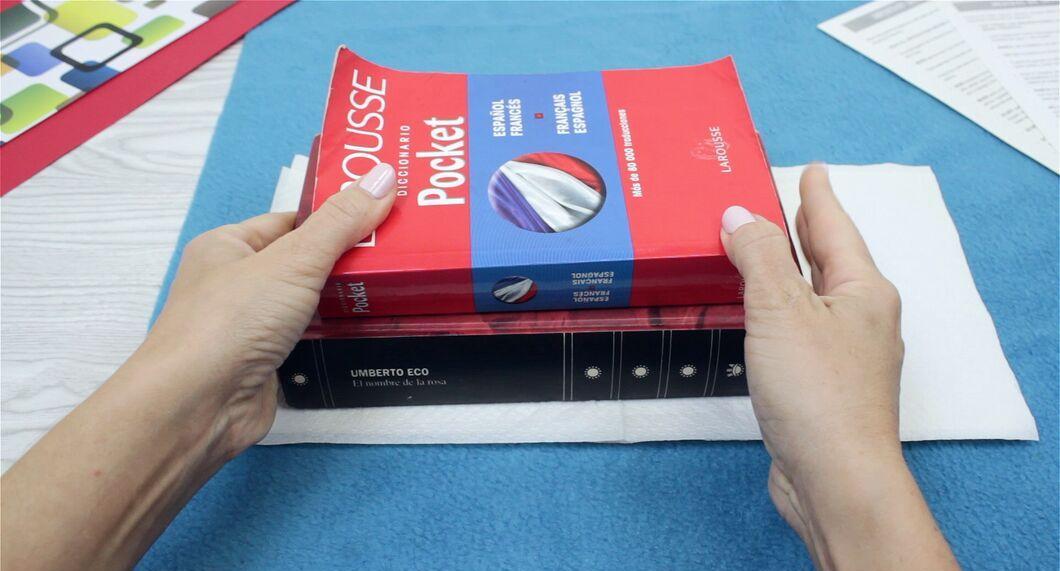
Position the formed stack between heavy objects. Place the paper, surrounded by absorbent materials, on a flat, hard surface. Smooth it out with your hands to eliminate the main creases. Cover the paper with a flat, heavy object — a stack of books works great for this.
Step 4. Wait for the Paper to Dry, Checking It Daily.
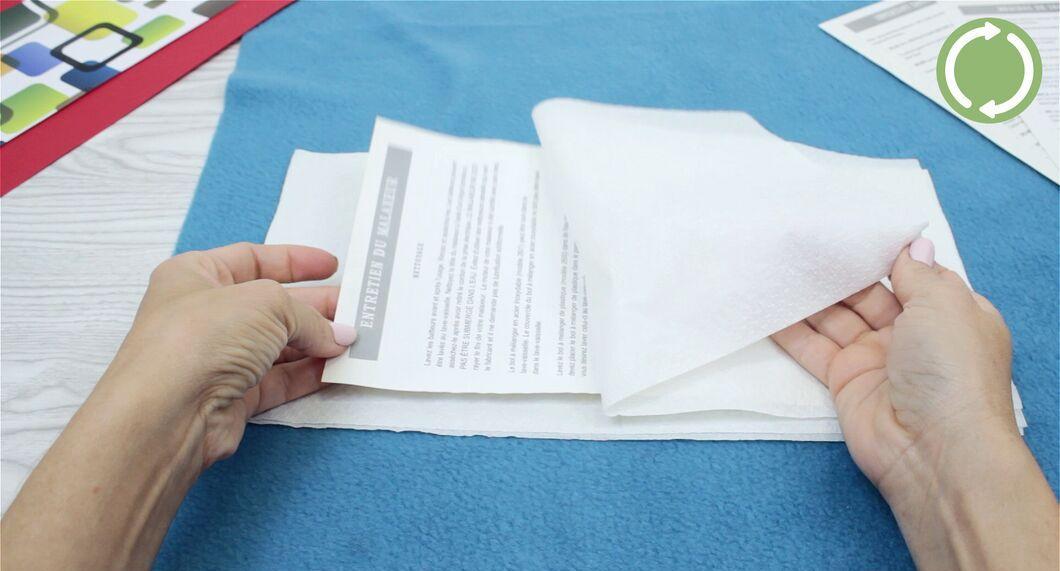
Allow the paper to dry completely, checking its condition each day. It should become flat and nearly crease-free. Monitor the process daily and change the absorbent materials as needed.
- A completely wet sheet of paper typically dries in three to four days, while a slightly dampened one dries in less than two days.
Using an Iron to Smooth Paper
Step 1. Understand the Possible Risks.
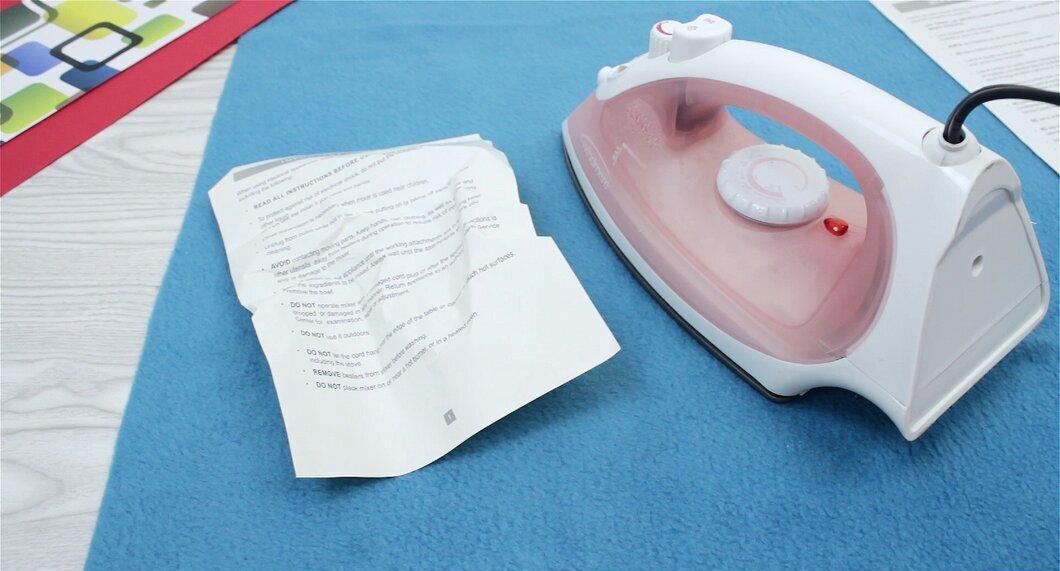
Keep in mind that using an iron to smooth paper through a towel or cloth can make it flat, but the creases may still remain visible. Using steam or slightly dampening the paper before ironing can help remove creases, but the risk of ink fading or tearing also increases.
- If you're working with an important and irreplaceable document, test the method on a scrap piece of paper first, or to be safer, don't press too hard.
Step 2. Cover the Paper with a Towel or Cloth.
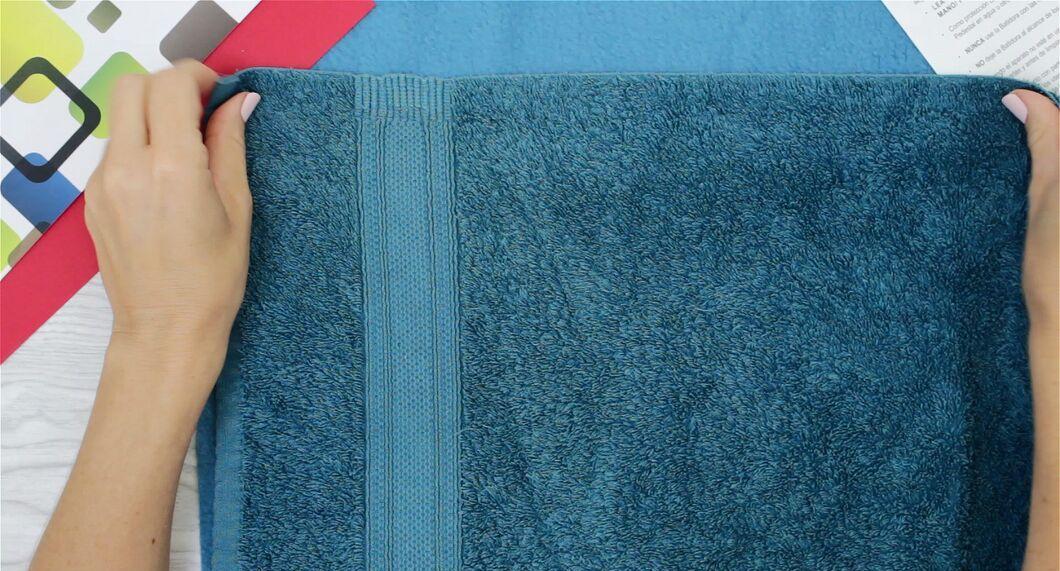
Cover the paper with a towel or cloth. Smooth it with your hands to avoid exacerbating any existing creases. Use a hand towel, pillowcase, or another protective fabric to prevent overheating the paper while ironing.
Step 3. Set the Iron to the Lowest Heat Setting.
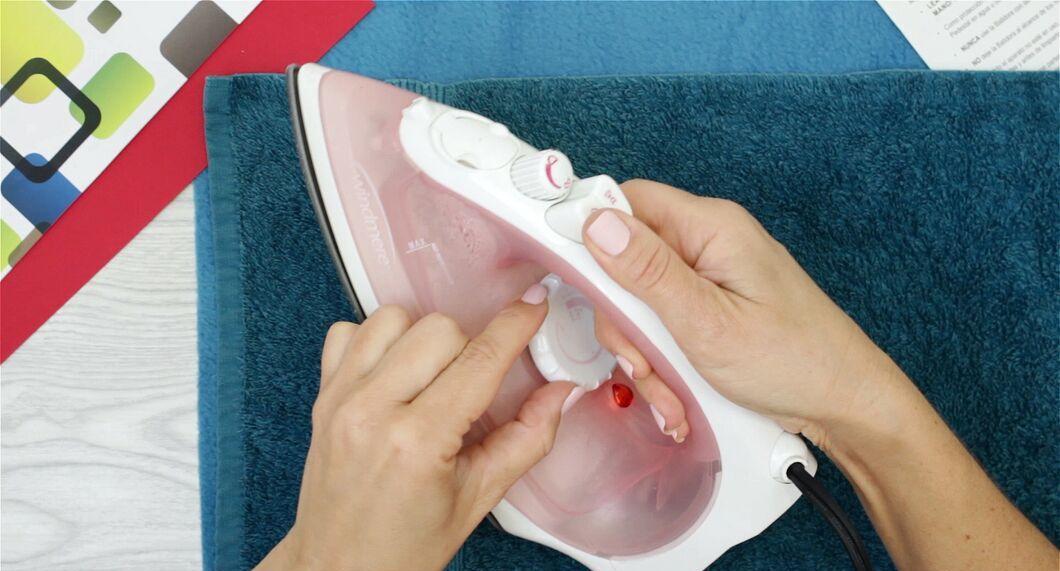
Adjust the iron to the lowest heat setting. Start with the lowest temperature to minimize the risk of damaging the paper due to overheating. Too high a temperature can dry out the material, making it brittle and yellow.
Step 4. Iron the Towel with the Iron.
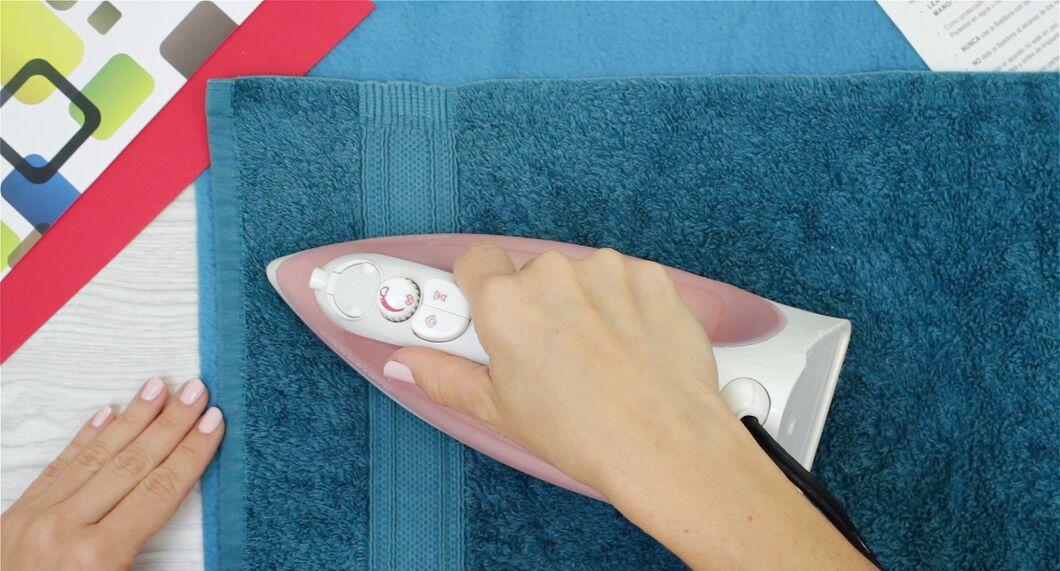
Once the iron is sufficiently heated, run it over the towel as if you were ironing it.
Step 5. Adjust the Temperature if Necessary.
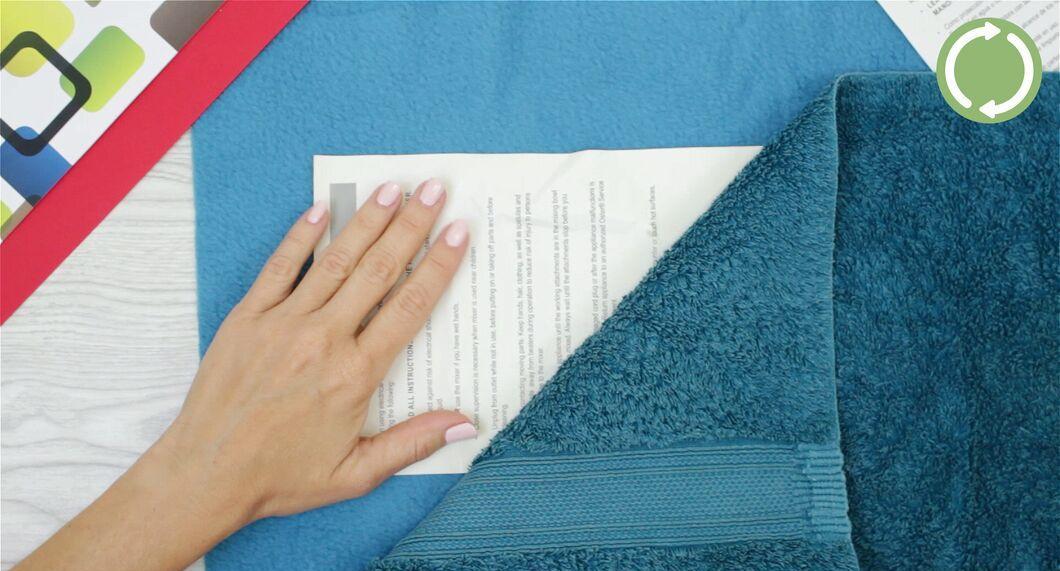
After a minute of ironing, lift the towel and check the state of the paper. If it hasn’t flattened yet, increase the temperature and iron the towel again. If the paper is overheating, lightly dampen it with distilled water and iron the towel again. This may help remove creases, but the risk of tearing will increase.
- Avoid dampening the paper if it has watercolor paints, chalk, or other water-soluble materials on it.
Professional Methods for Smoothing
Step 1. Trust Valuable Documents to Specialists.
If you have especially valuable documents, it’s better to hand them over to professionals. Archivists and conservators work with historical artifacts, including paper. They can smooth and preserve materials of any type, including old or fragile documents, as well as papers with watercolor illustrations.
- Look for information about local restoration workshops or ask library staff for suitable services.
Step 2. Familiarize Yourself with Moistening Methods.
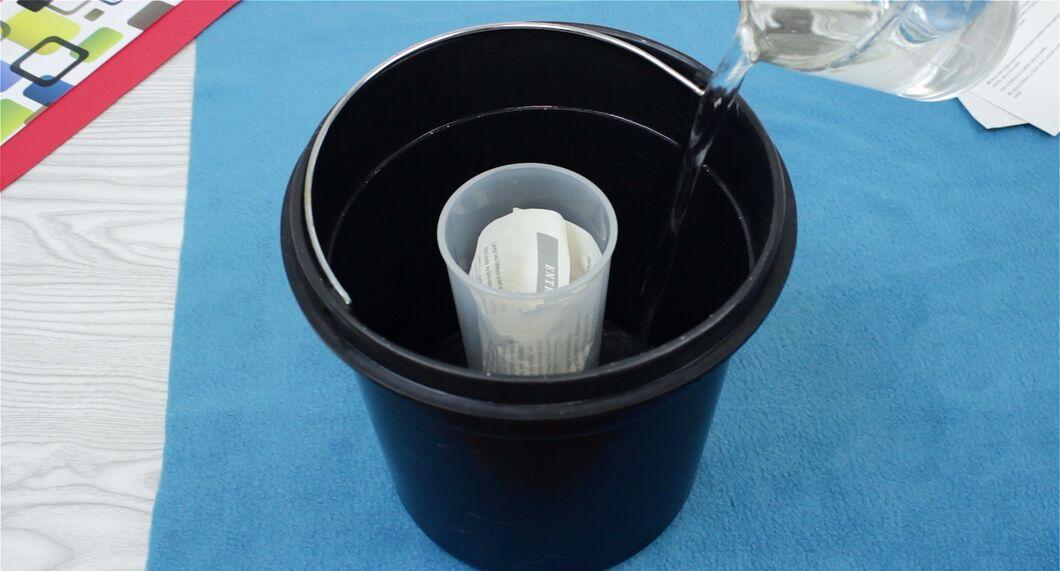
Study moistening methods. Moistening paper can indeed help correct creases caused by damage or fiber displacement. Restorers apply such methods with great caution. If you wish to try, the simplest option is the Horton method: roll the sheet of paper into a cylinder, place it in an open plastic cup, then into a large plastic container, after which fill it with water and close the lid.
- Be cautious, as this can lead to mold growth on the paper, which can be difficult to manage at home. Some archivists use antifungal agents, but incorrect application can damage the paper.
Step 3. Learn How to Properly Hold Paper During Drying.
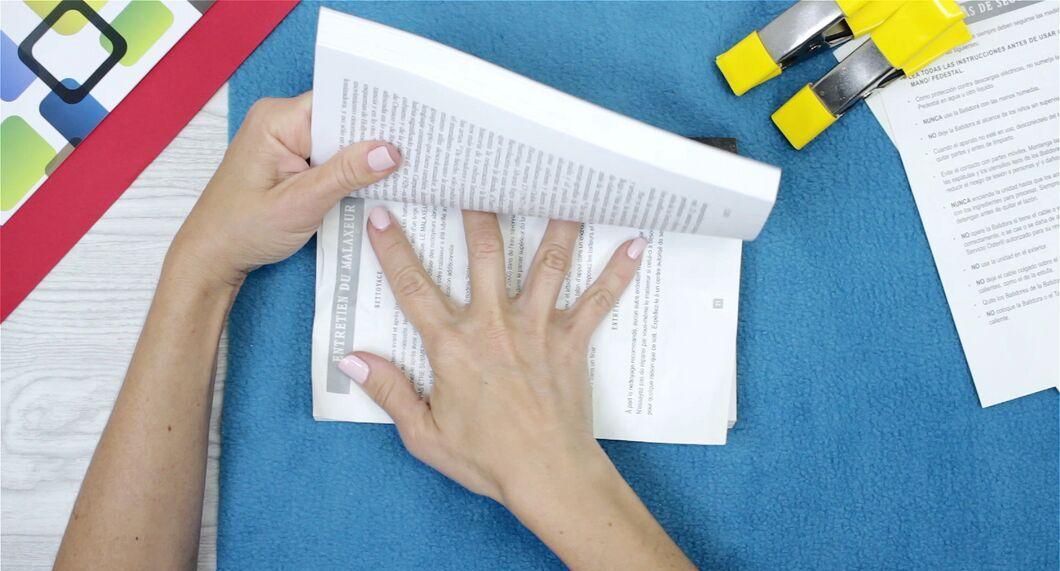
Holding the paper under a press using clips is more effective, especially when a stronger influence is required. You can also use special glue that releases when dry to adhere the paper to another surface, preventing deformation during drying.
- Even professional archivists struggle with controlling changes in paper size after moistening. Changes in the size of individual sheets may be subtle, but when many pages are gathered together, it becomes apparent.
Step 4. Store Documents in Specialized Envelopes.
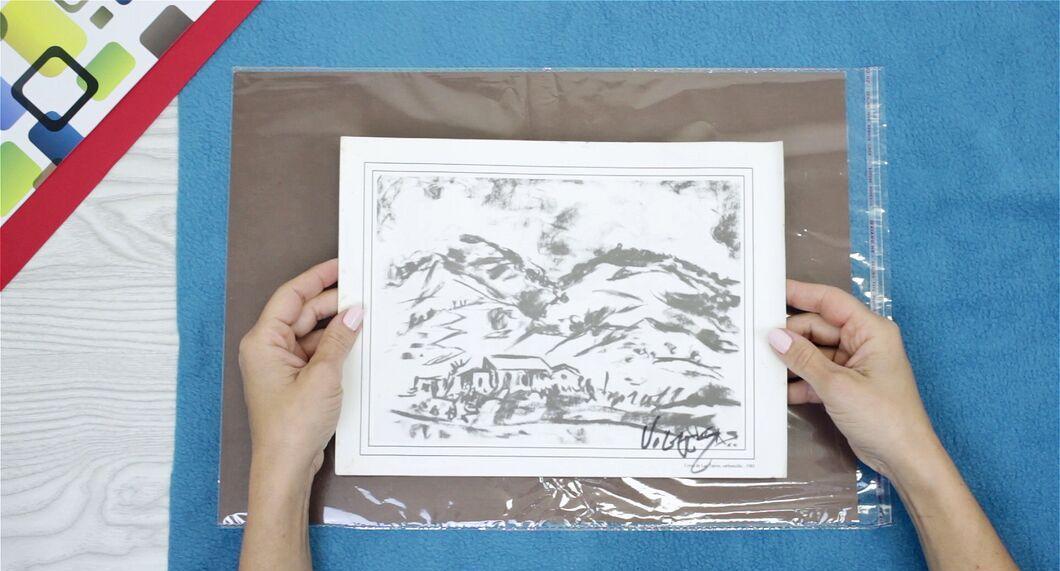
Use special envelopes for document storage. Archival protective materials can be purchased at stationery stores. Buy plastic folders to ensure the safe storage of important documents, family archives, and other significant papers for decades and even centuries, protecting them from moisture and UV radiation.


