Walnuts are a fantastic product that can be enjoyed on their own or added to various baked goods. Each nut is protected by several layers, including an outer husk and a hard shell.
How to Remove the Outer Husk
Step 1: Place the whole nut on a hard surface.
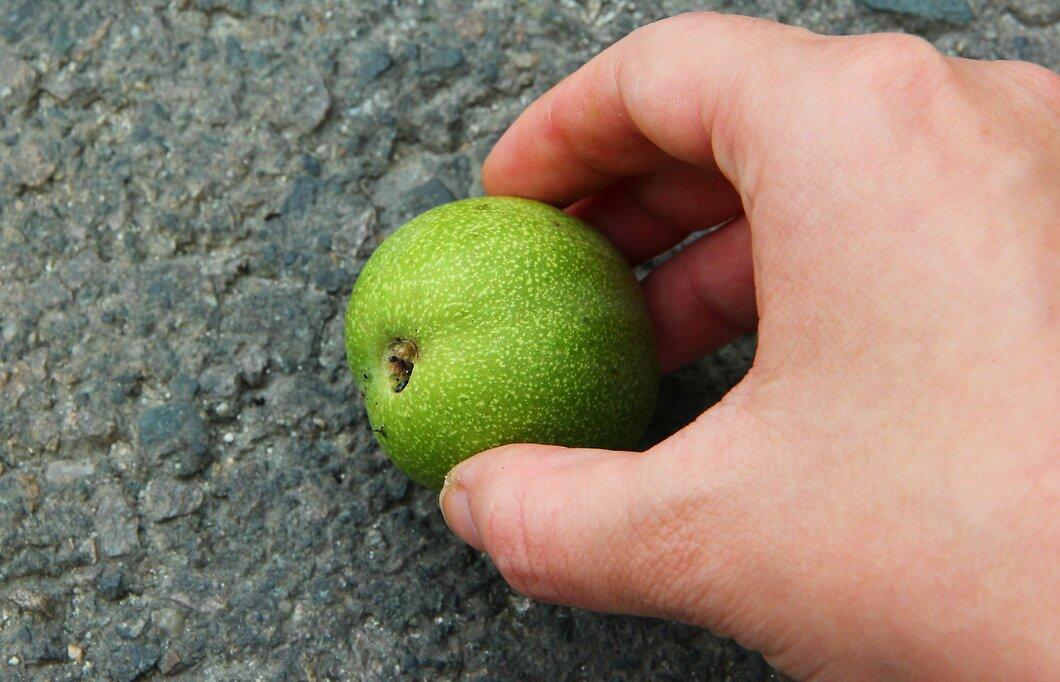
Set the walnut on a flat, hard surface. Be careful, as the nut's juice may stain the surface.
Step 2: Step on the nut and roll it under your foot.

Step 3: Pick up the nut and place it in a large container.
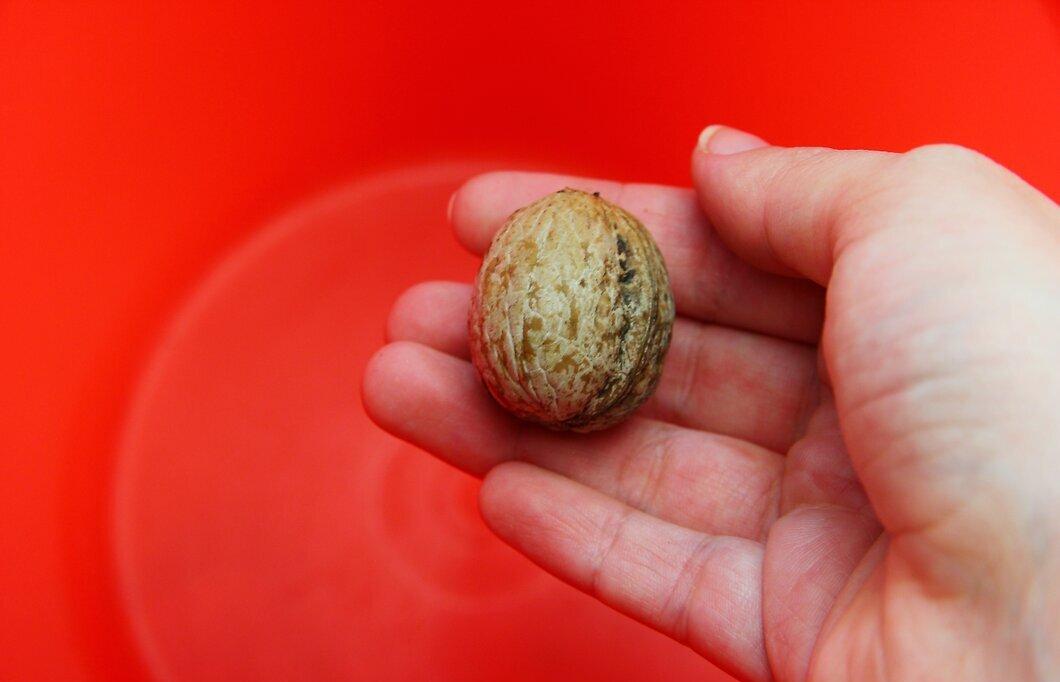
Step 4: Dispose of the husk in a trash bin or compost.
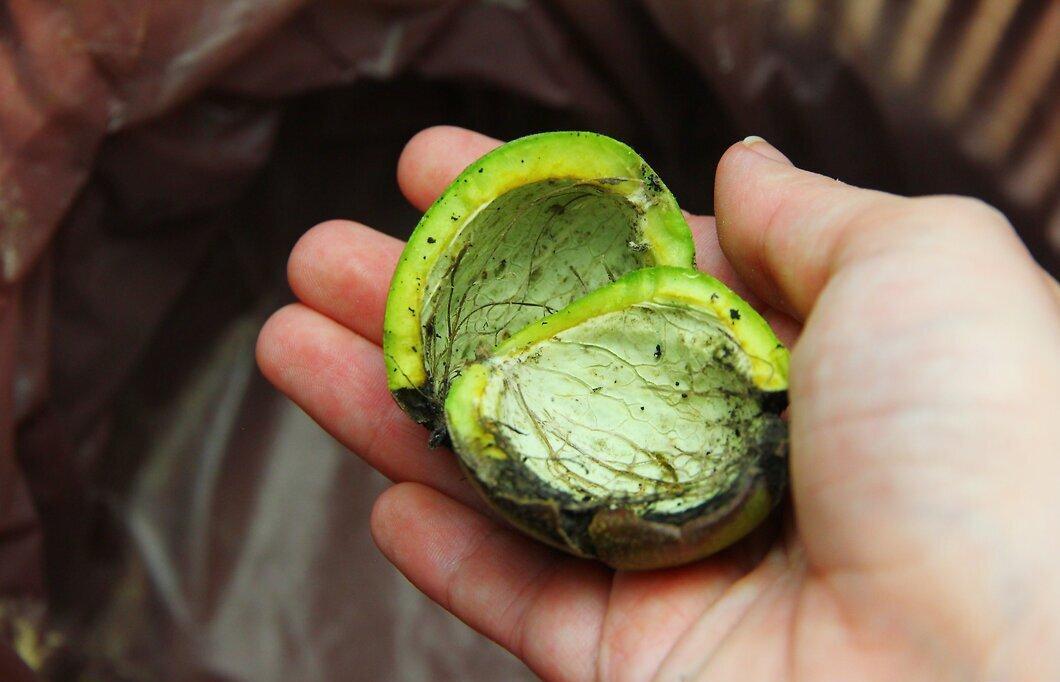
Step 5: Arrange the nuts on a large table or another flat surface.
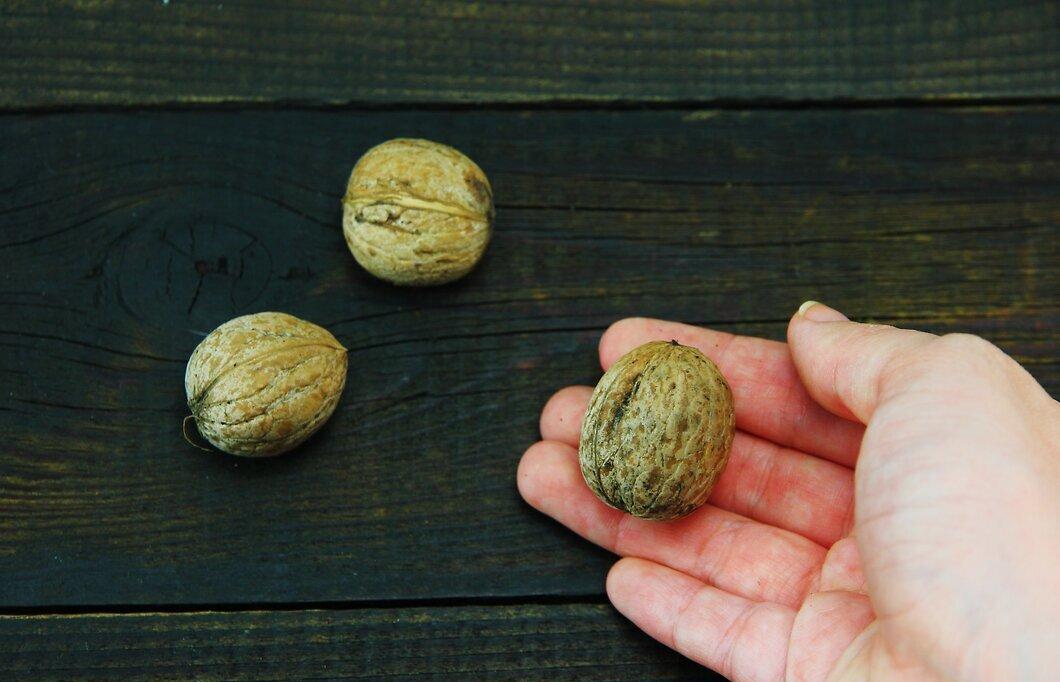
Spread the nuts on the table or another flat surface. Be sure to wear rubber gloves to protect your hands from the nut juice and choose a convenient workspace.
Step 6: Remove any remaining husk with a brush.
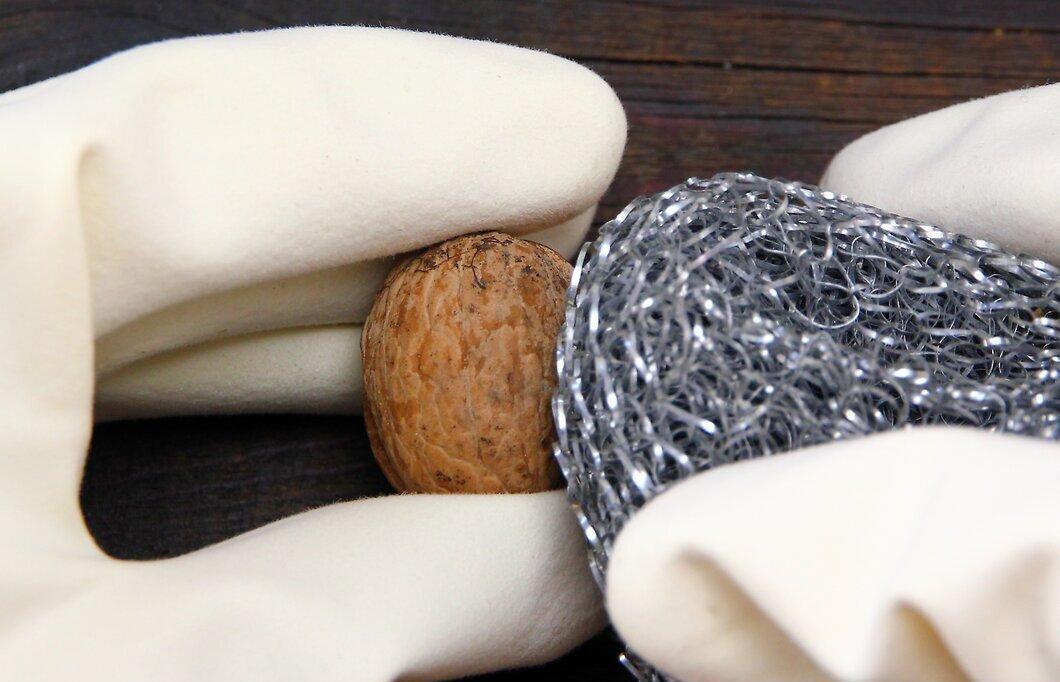
Step 7: Lay the shelled nuts in a single layer on a flat surface in a dark, cool, and well-ventilated area.
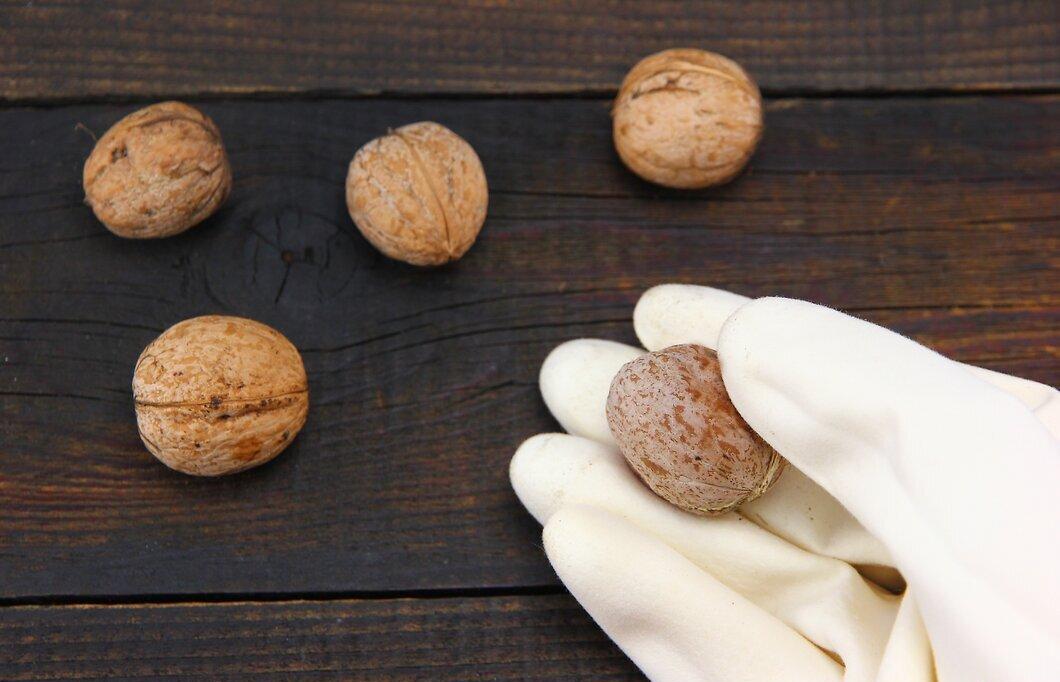
Ensure the nuts do not touch each other and leave them for 5-6 weeks to fully dry.
Step 8: Let the nuts sit.
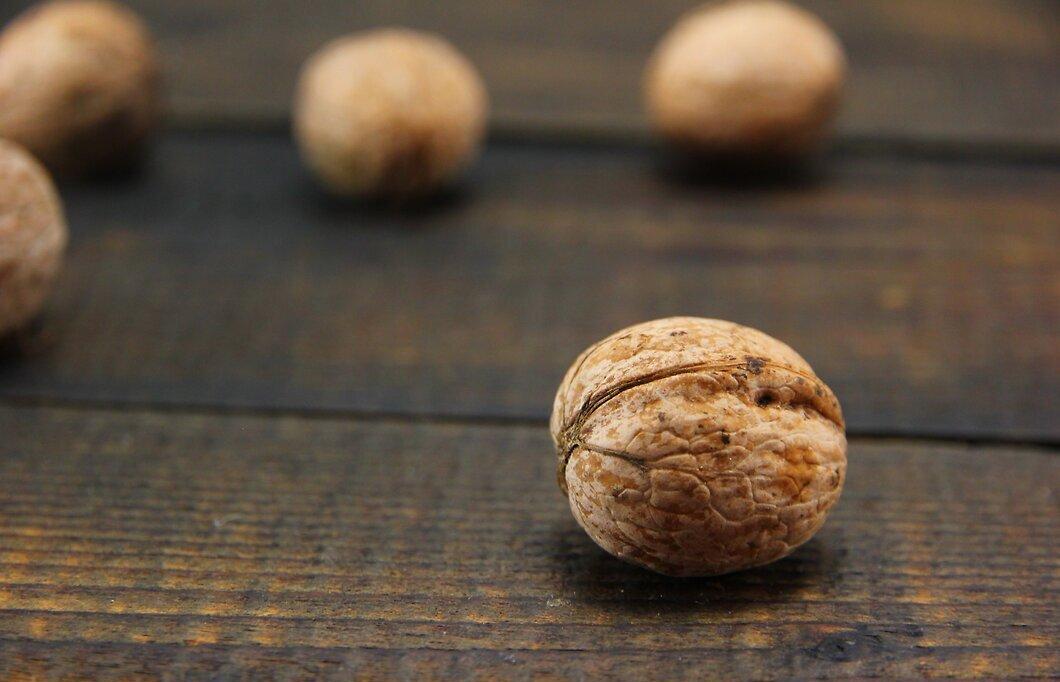
After this period, their kernels will become firmer and crunchier.
How to Remove the Shell
Step 1: Soak the nuts in hot water for 24 hours.
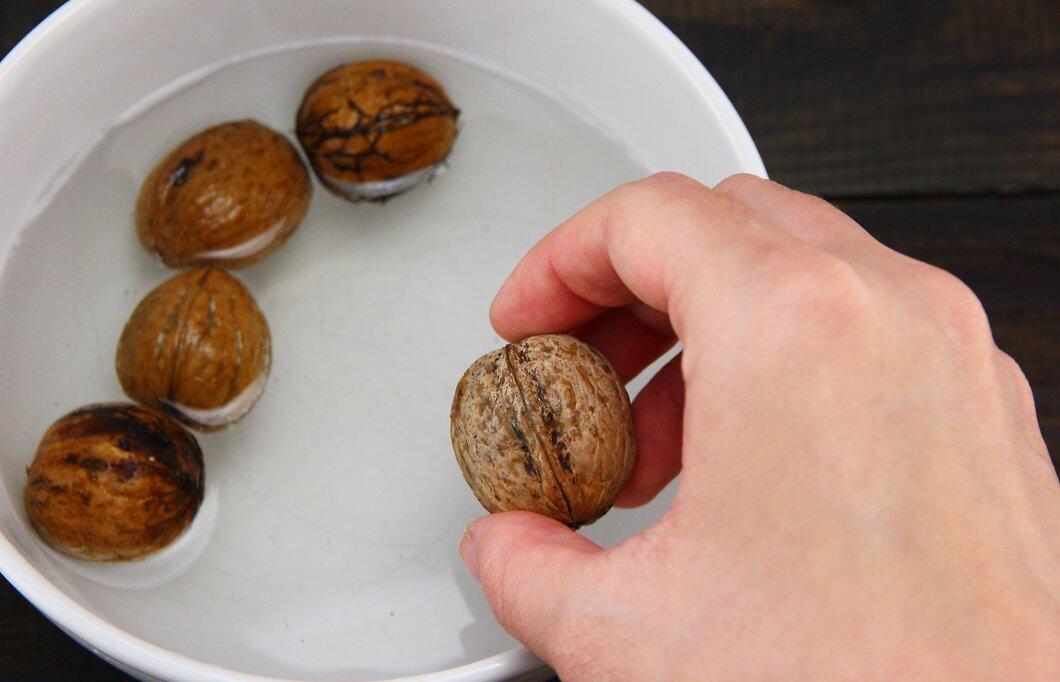
This will help soften the shell and make it easier to remove.
Step 2: Take the nuts out of the water.
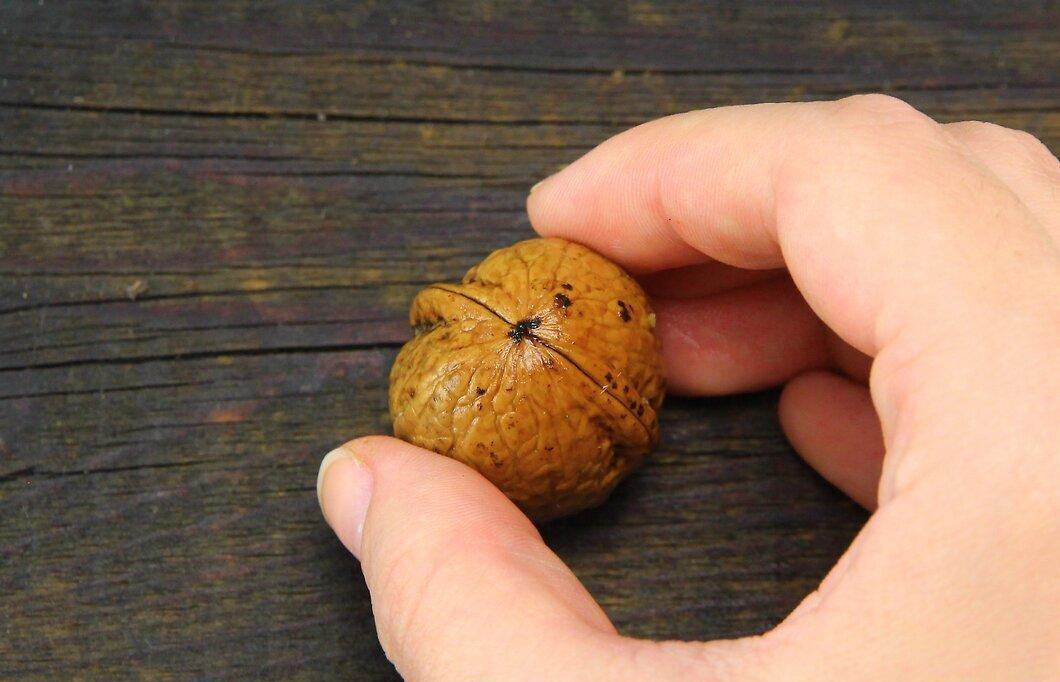
Place them on a flat surface, sharp ends up.
Step 3: Tap the sharp end with a hammer to crack the nut.
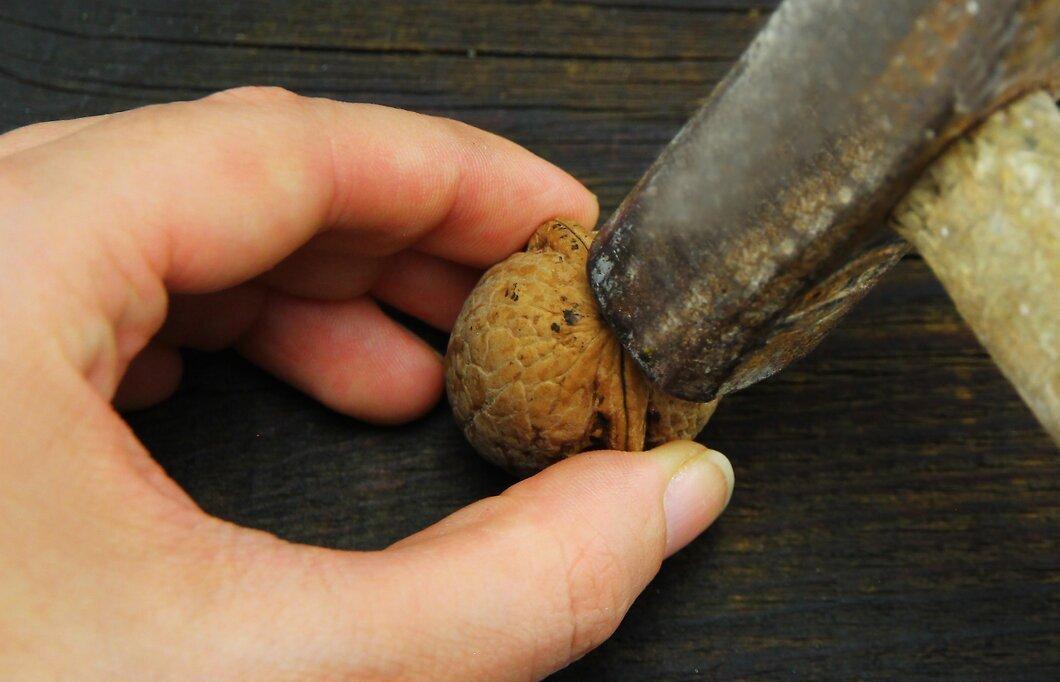
Step 4: Gently open the shell with your fingers.
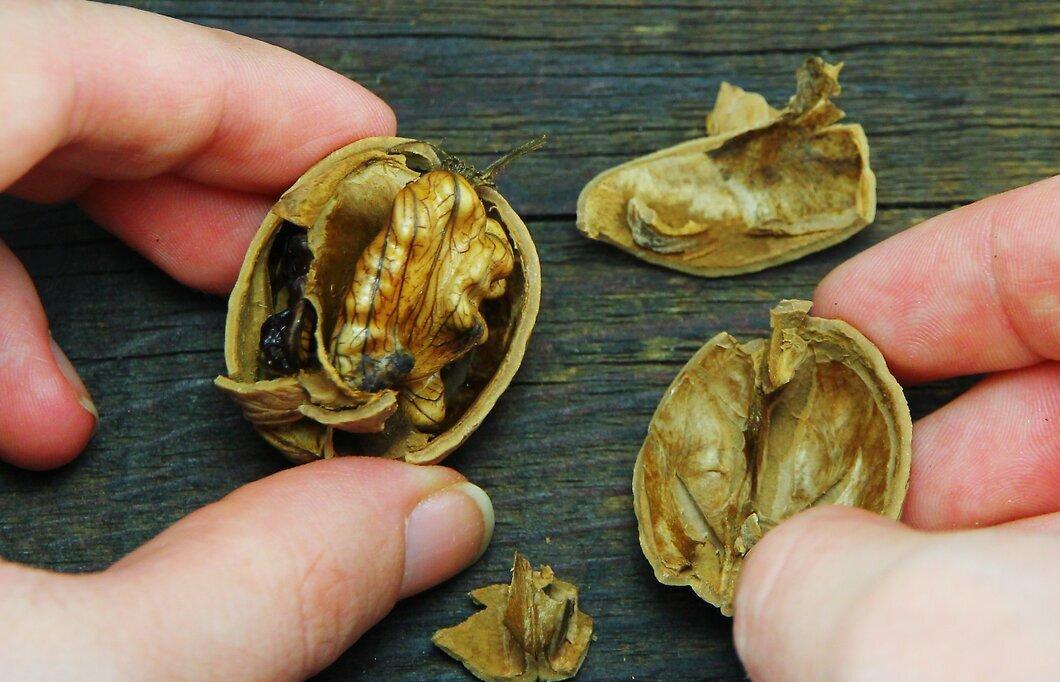
Step 5: Use a narrow stick to extract the kernel from the shell.
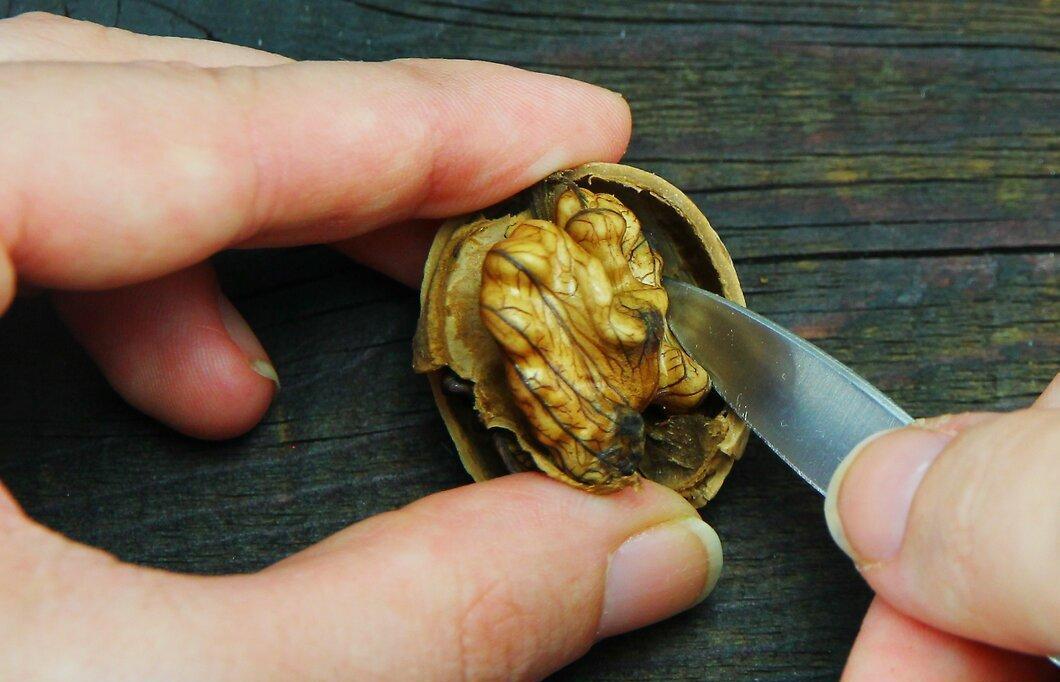
Run the stick along the edges of the kernel to gently free it.
Step 6: Place the shelled nut in a separate container.
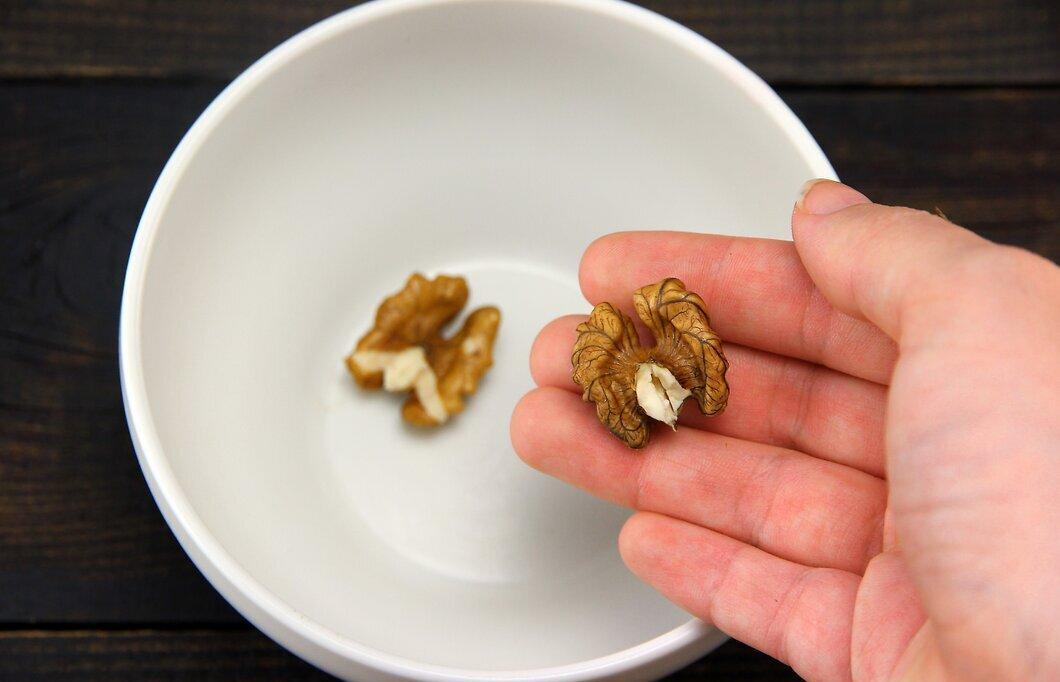
Repeat the process until all the nuts are shelled.