Fletching enhances the accuracy and distance of an arrow's flight. Traditional fletching is made from bird feathers, but nowadays, both natural and synthetic materials are commonly used. Besides stabilization, fletching serves decorative purposes and helps distinguish different sets of arrows. Straight fletching aligns parallel to the arrow shaft, while angled and spiral fletching causes the arrow to spin during flight, stabilizing it and increasing range. Regardless of your preferred fletching style, following this guide will make it easy to fletch your arrows.
Part 1
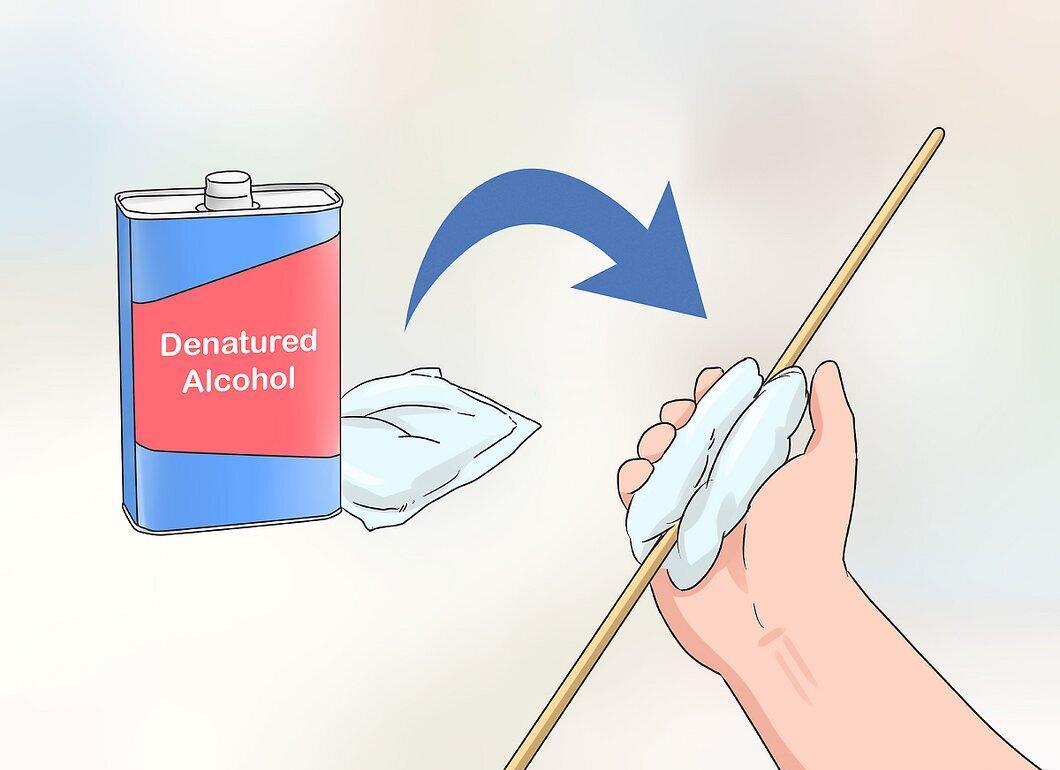
Step 1: Wipe the shaft with alcohol on a clean cloth.
Step 2: Choose your fletching type:
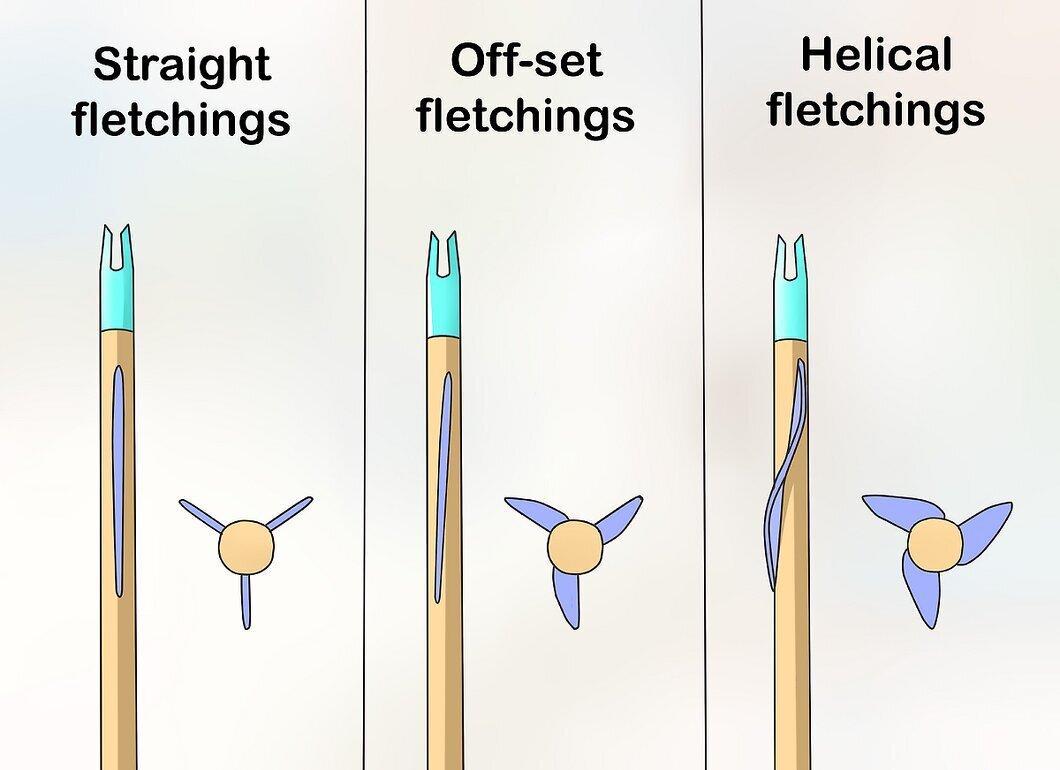
Choose your fletching type: straight, angled, or spiral, and adjust the fletching jig accordingly.
Step 3: Insert the feather into the fletching jig.
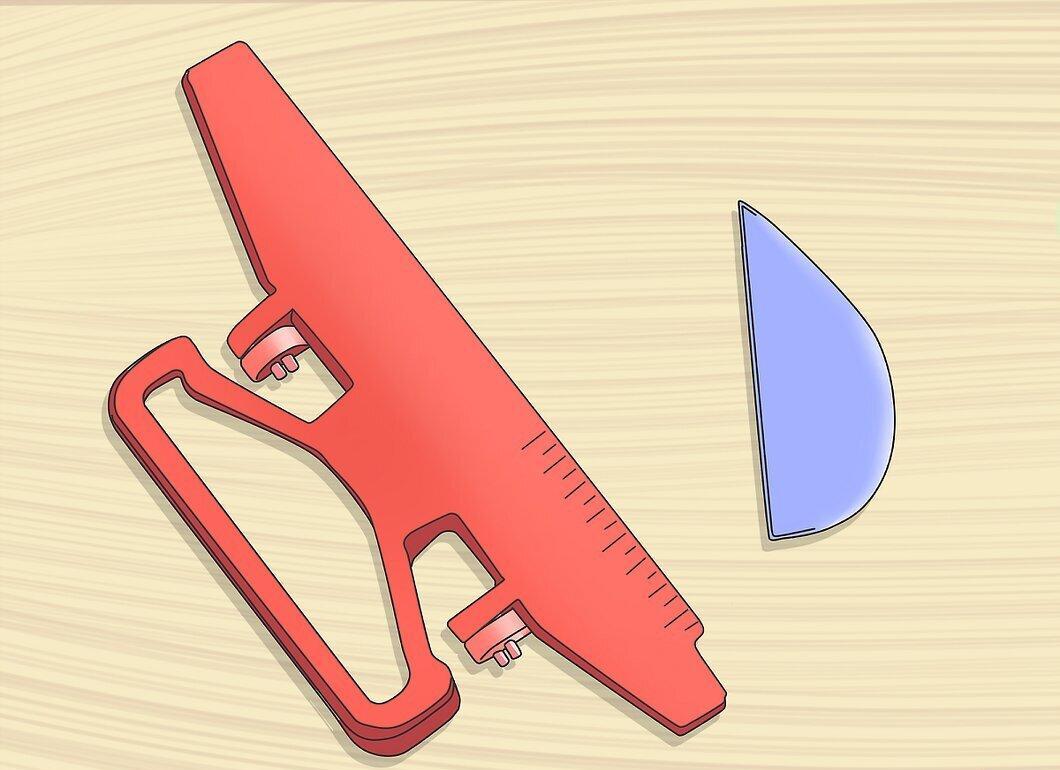
Insert the feather into the fletching jig. Adjust the clamp of the jig to match your chosen fletching type.
Step 4: Measure one and a half inches from the end of the nock.
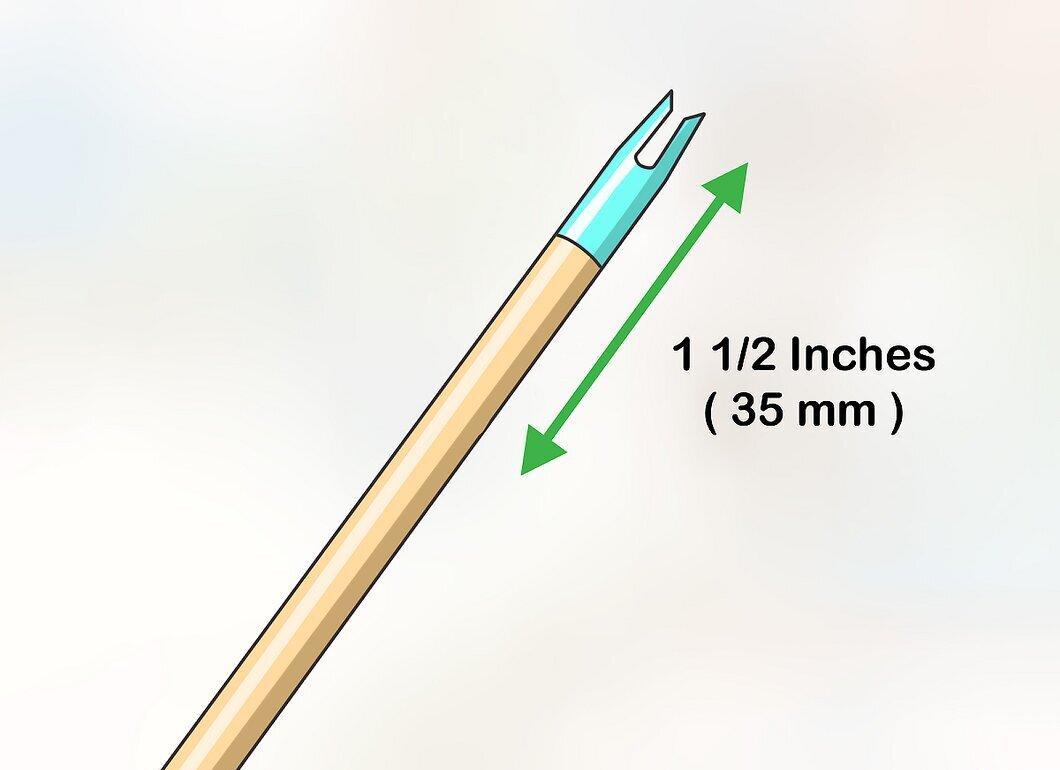
Step 5: Set the angle of the fletching (usually 120 degrees).
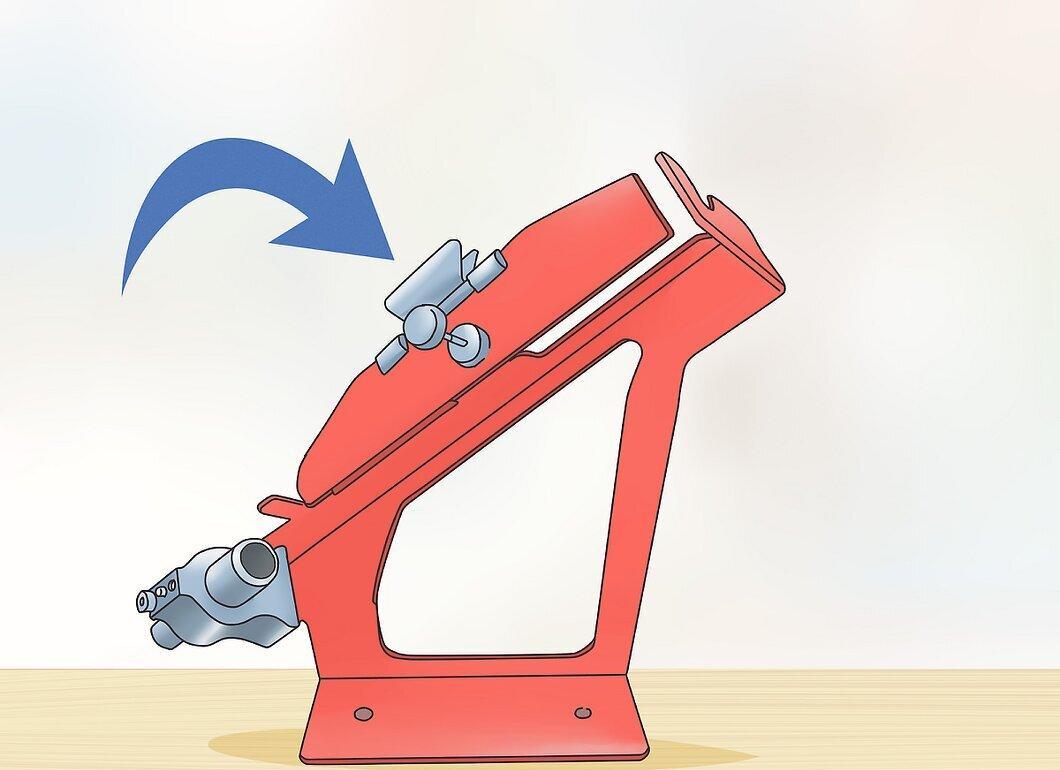
Step 6: Insert the shaft into the fletching jig.
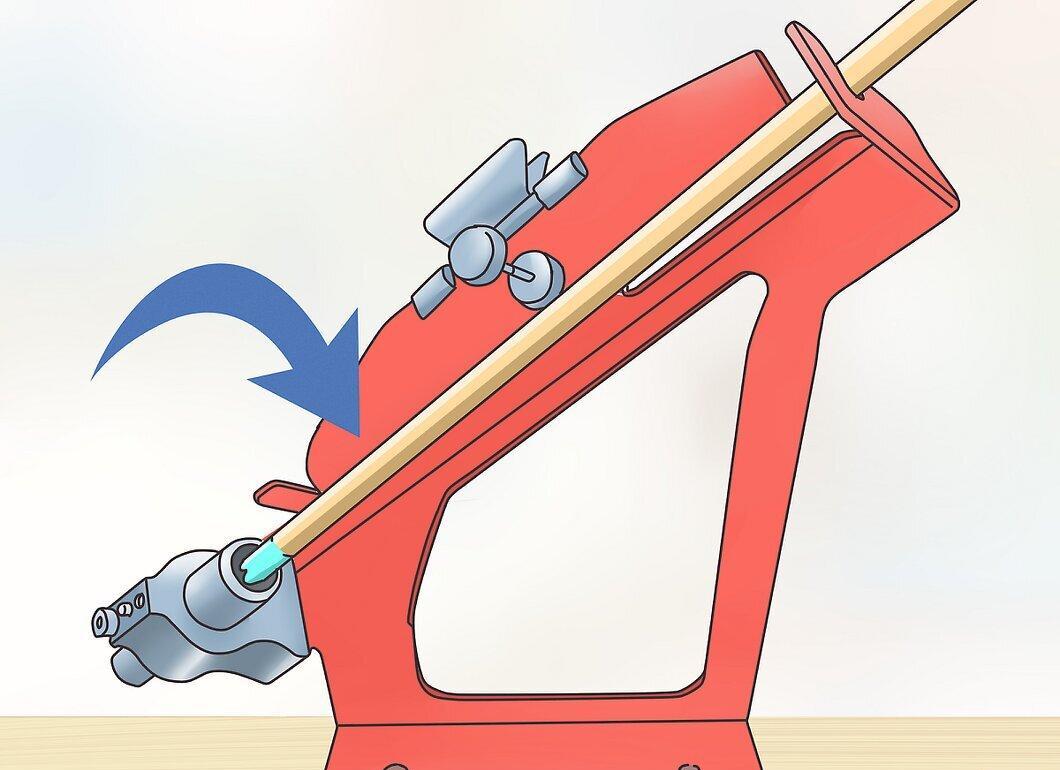
Insert the shaft into the fletching jig. Some fletching jigs feature built-in rulers (for step four). Ensure everything is straight and precise, as this affects the accuracy of your shots.
Step 7: Apply glue to the base of the feather, starting from the rear.
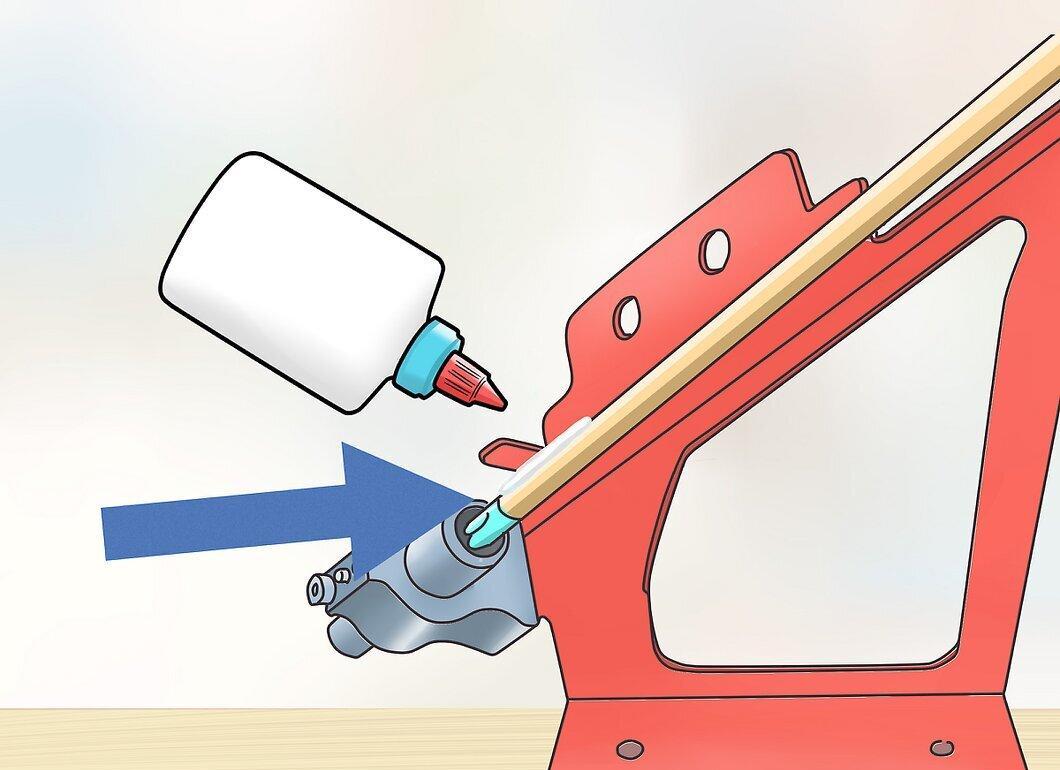
Apply glue to the base of the feather, starting from the rear. Be careful not to glue the clamps of the jig.
Step 8: Apply a little glue to the shaft.
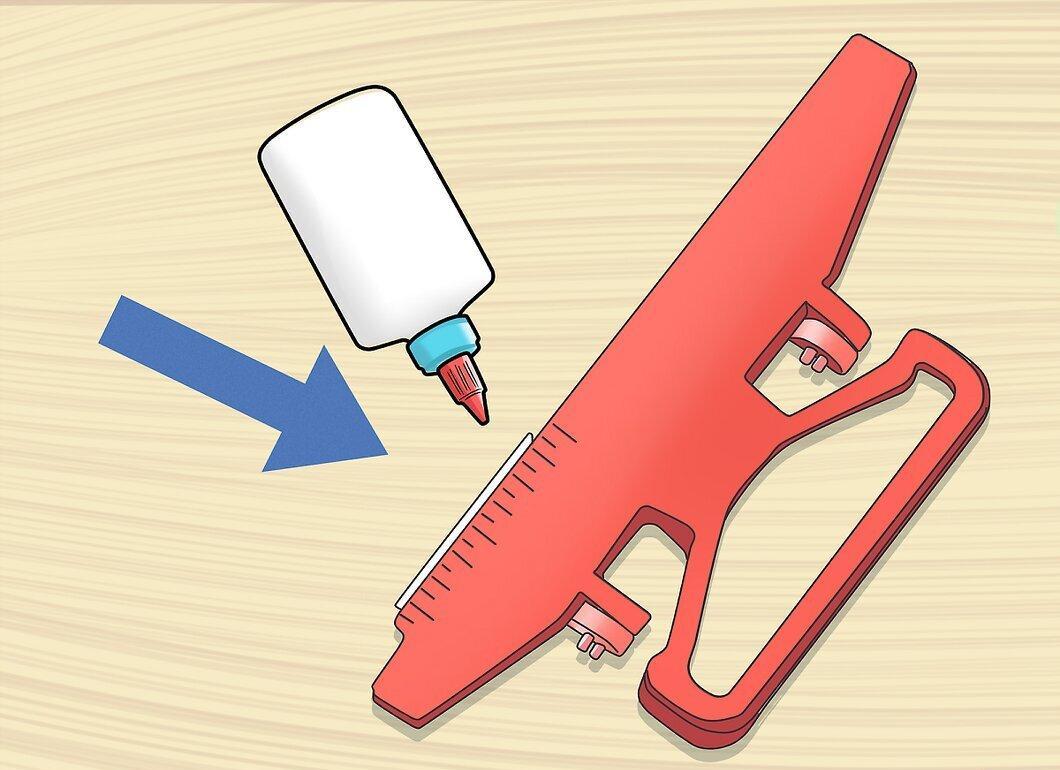
Apply a small amount of glue to the shaft. Avoid using too much glue, as excess can negatively impact the arrow's flight.
Step 9: Press the clamp onto the shaft.
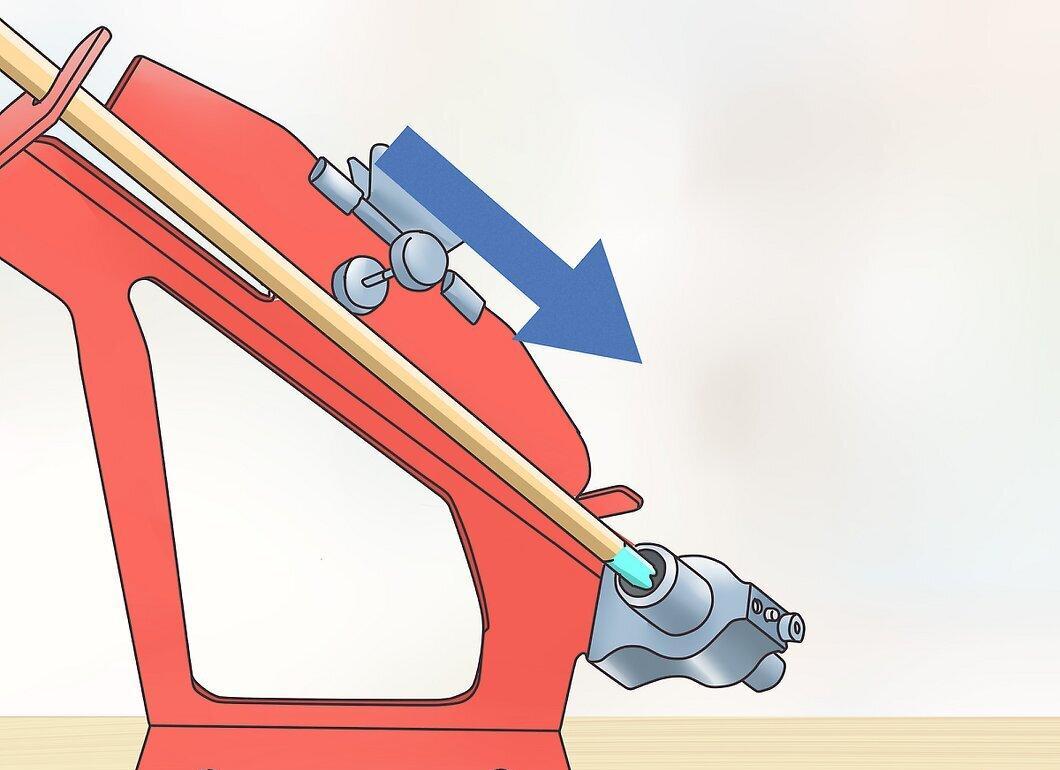
Press the clamp onto the shaft. The built-in magnets of the fletching jig will hold the feather in place against the shaft.
Step 10: Leave the clamp in place for five minutes to let the glue dry.
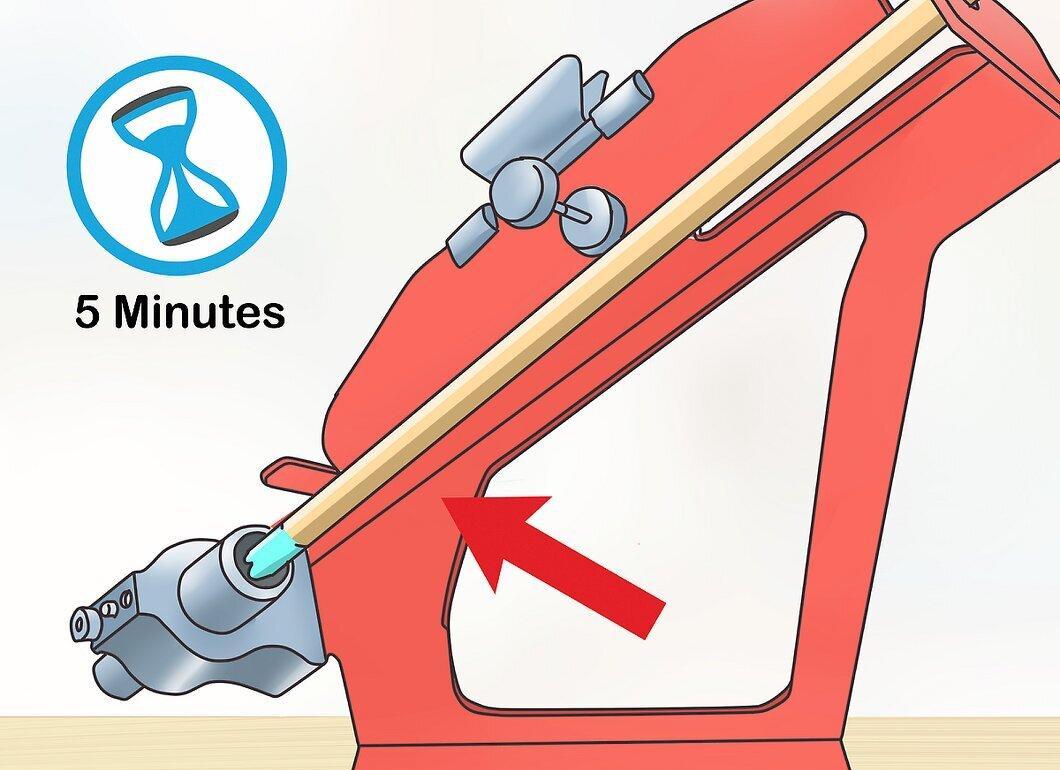
Step 11: Remove the arrow and check the bond strength by lightly pressing.
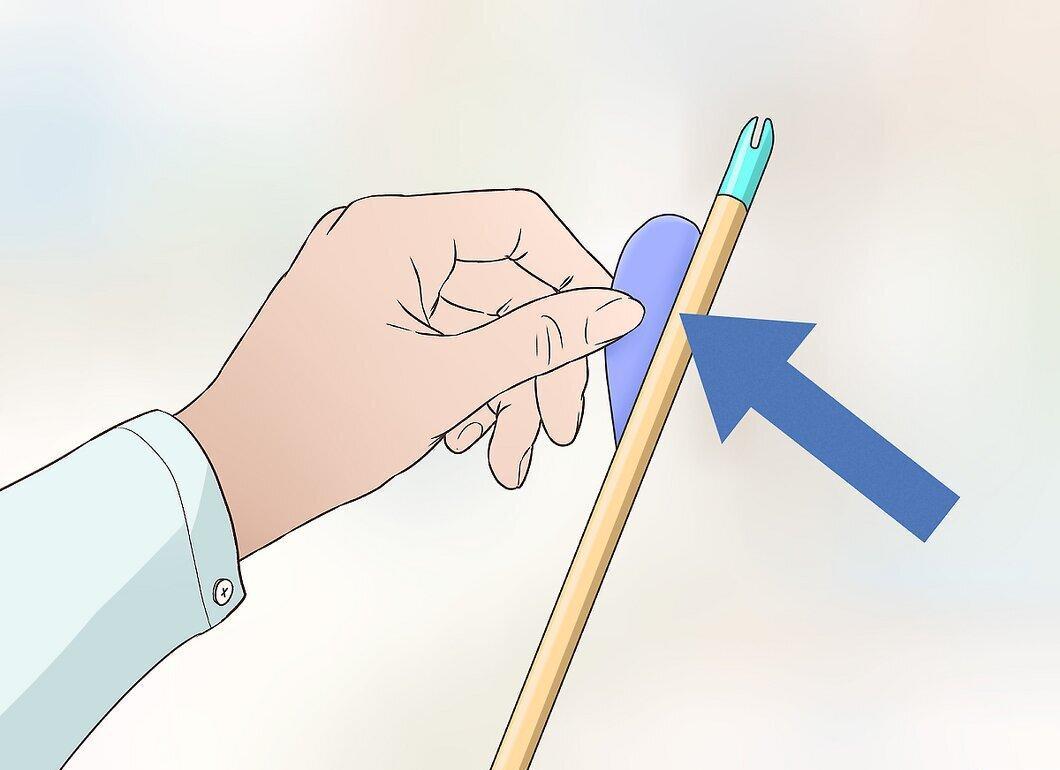
Step 12: Add a drop of glue to the front of each feather.
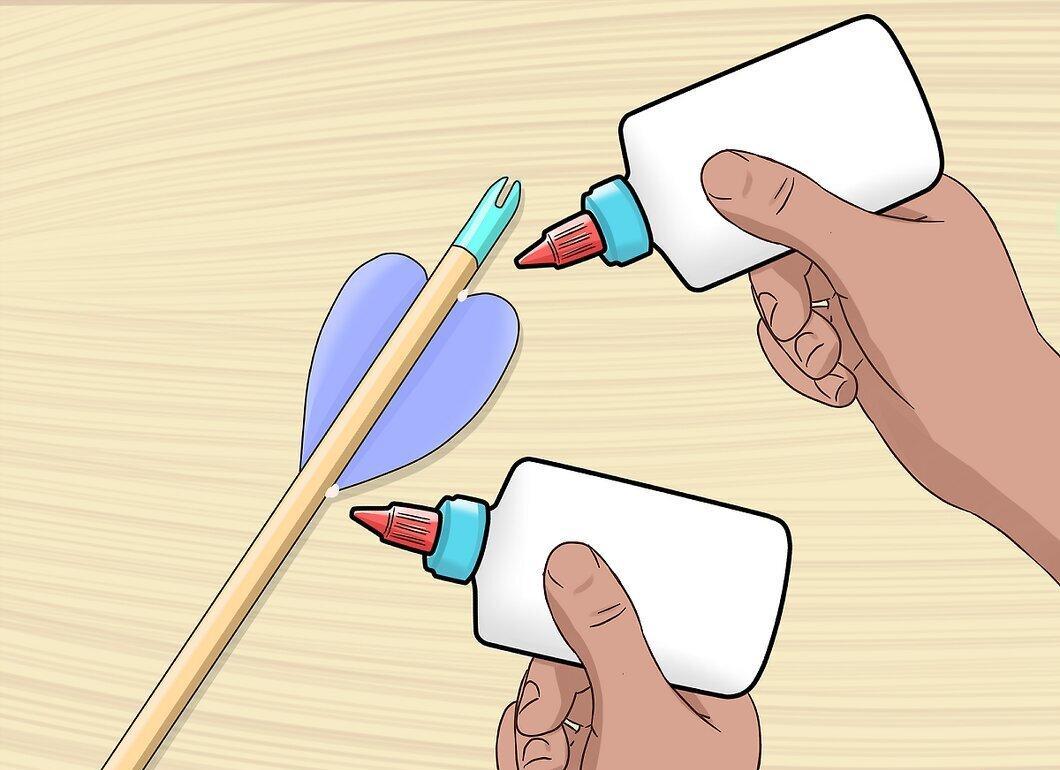
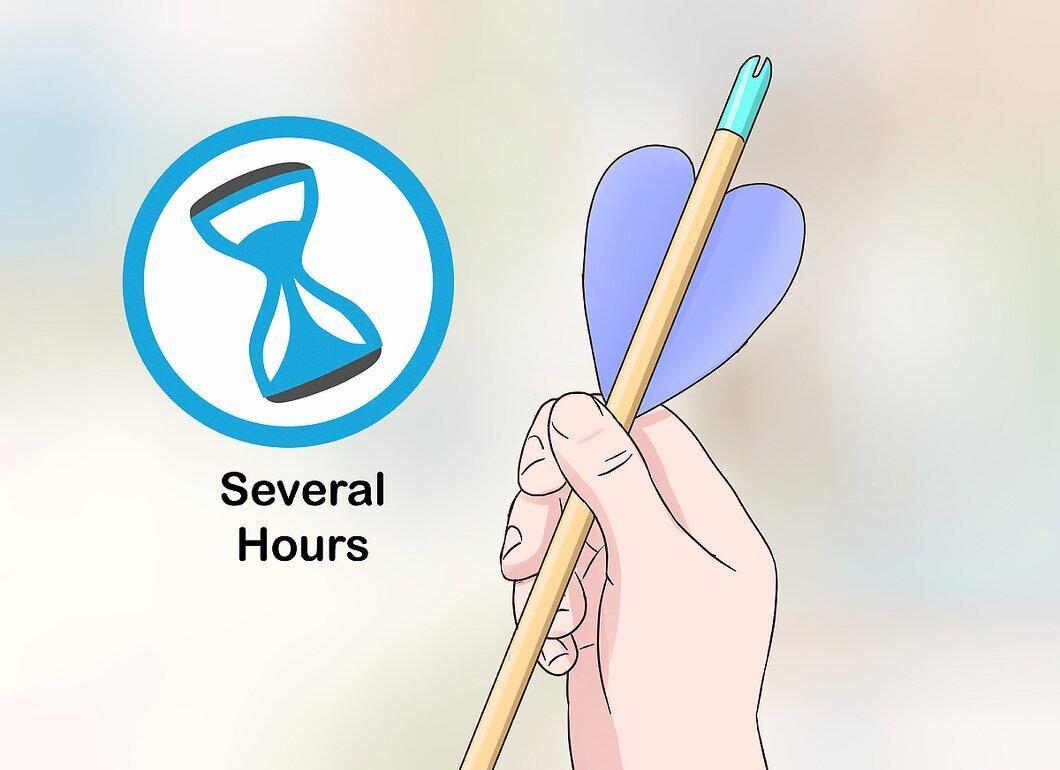
Step 13: Wait a few hours before shooting.