
Airbrushed t-shirts are trendy, but creating them can be more complicated than it seems. The toughest part is mastering the airbrush control. Once you can make confident, even strokes with the paint, it’s time to learn how to create various stencil designs and freehand drawings on almost any cotton t-shirt.
Preparing the Stencil
Step 1. Choose a Sketch.
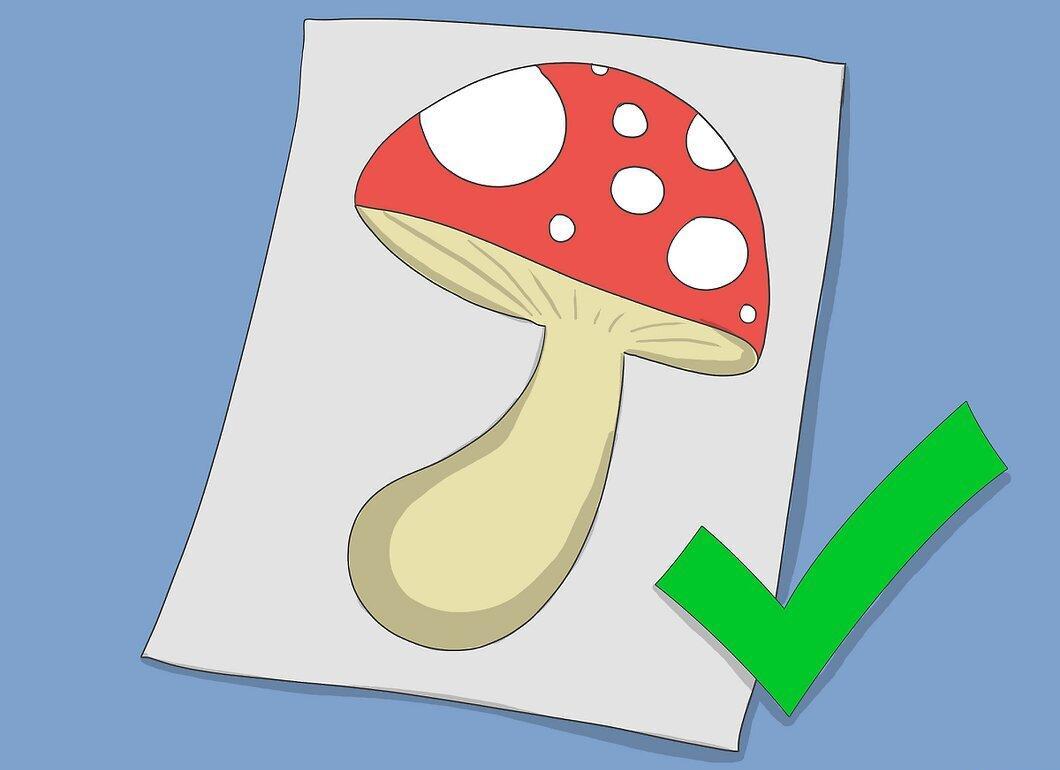
Choose a sketch. You can draw your own sketch, create a design using a digital image, or find a pre-made design.
- If you’re creating or using a digital design, you’ll need to print it out before use. Print it on thick paper for the best results.
- Similarly, if you’re drawing a sketch by hand, you should do it on thick paper first instead of applying it directly onto stencil material.
- The easiest option is to use ready-made stencils, but this will limit the variety of designs you can choose from.
Step 2. Transfer the Sketch to Felt.
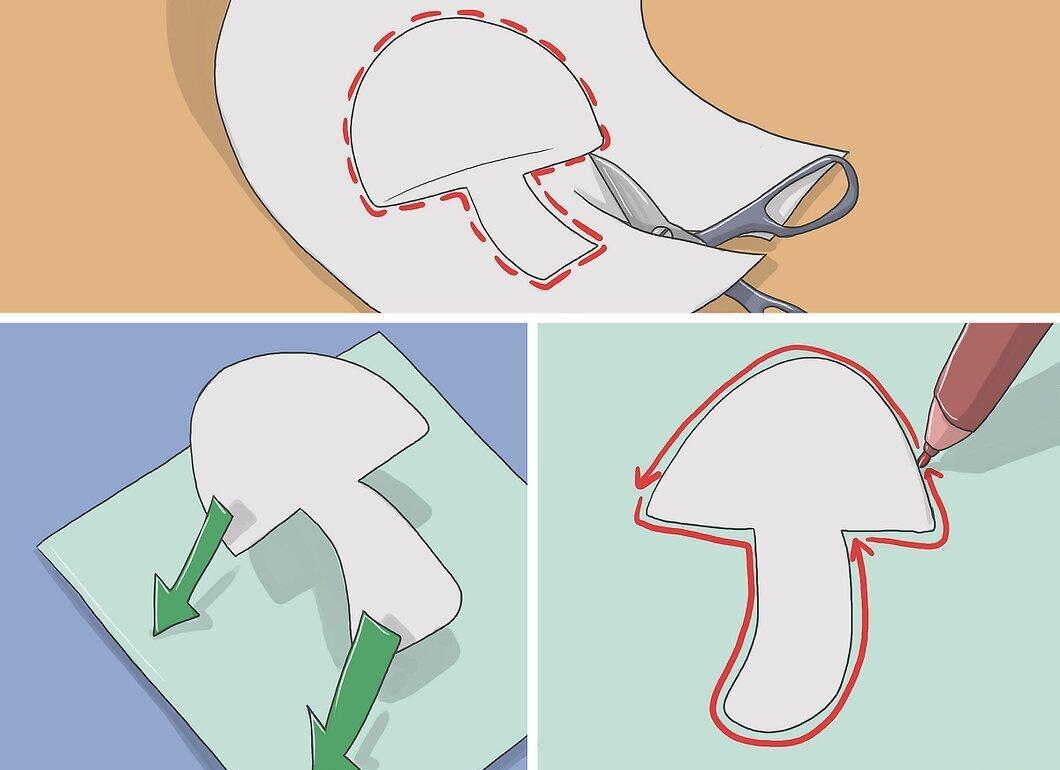
Transfer the sketch to felt. Place the sketch on a piece of felt and trace around the edges with a pencil to transfer it onto the felt.
- Felt is one of the best materials to use as it is durable and can absorb excess paint. You can also use brushed fiber, photo paper, and waxed paper, but achieving the desired results will be more challenging.
- When using pre-made stencils, you can transfer the sketch without any additional steps.
- If you're working with your own drawings, you'll need to cut them out along the edges to create a temporary template. After this, you can transfer the drawing onto the felt.
Step 3. Cut Out the Stencil.
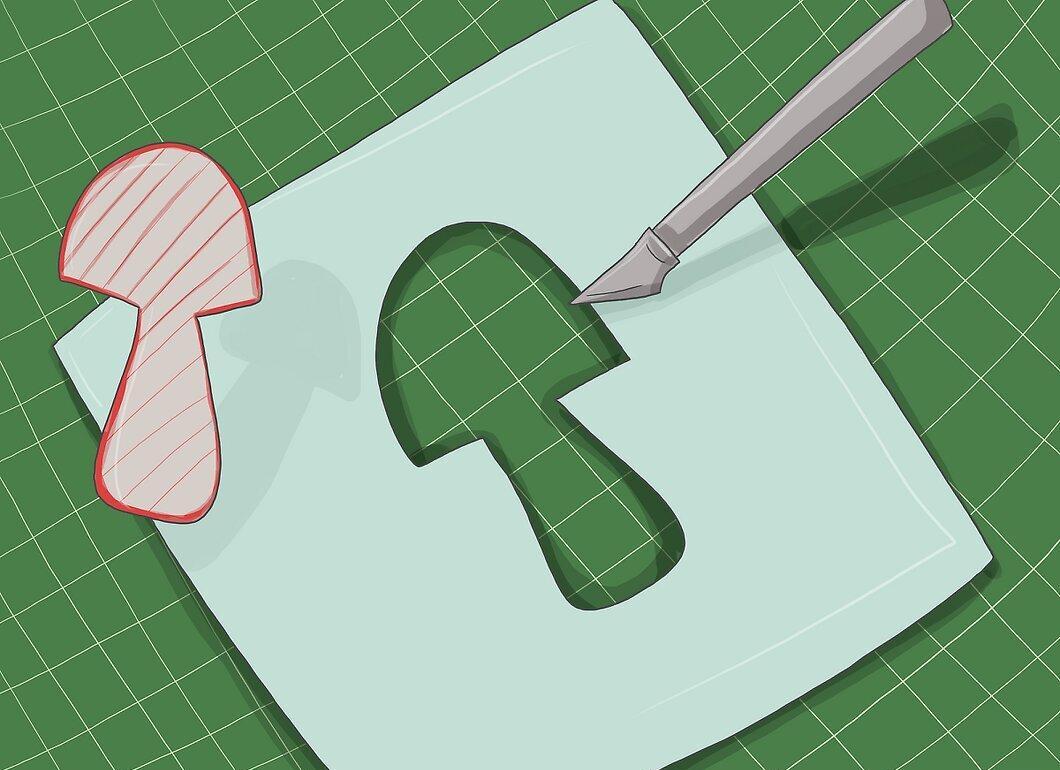
Cut out the stencil. Place a cutting mat under the felt and carefully cut along the connecting lines. Remove any excess material, leaving you with a finished stencil.
- A utility knife or craft knife works great for most sketches. Detailed designs will look better if you use a specialized cutting tool for creating stencils.
Step 4. Apply a Light Layer of Temporary Adhesive.
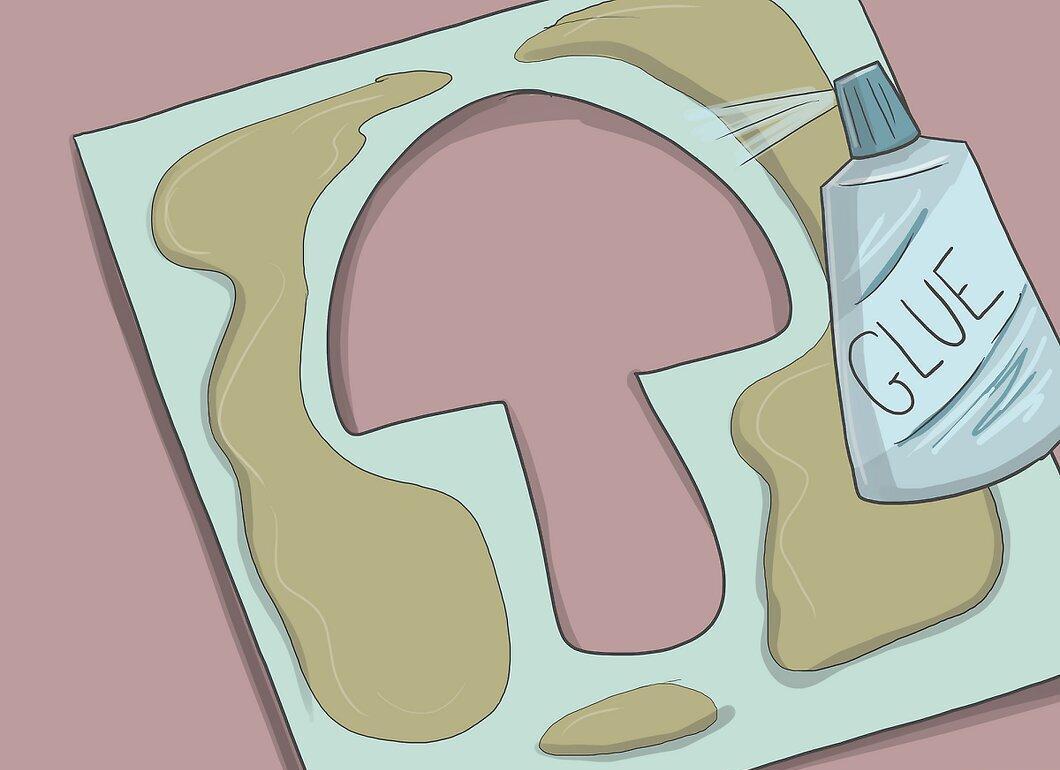
Apply a light layer of temporary adhesive. Flip the stencil upside down and apply a thin layer of temporary adhesive.
- The adhesive will help the stencil stick to the t-shirt. Make sure to choose a temporary adhesive; do not use permanent glue.
- For the best results, let the adhesive dry for a few minutes before moving to the next step. This way, the residue won't stick to the t-shirt after you remove the stencil.
Step 5. Position the Stencil.
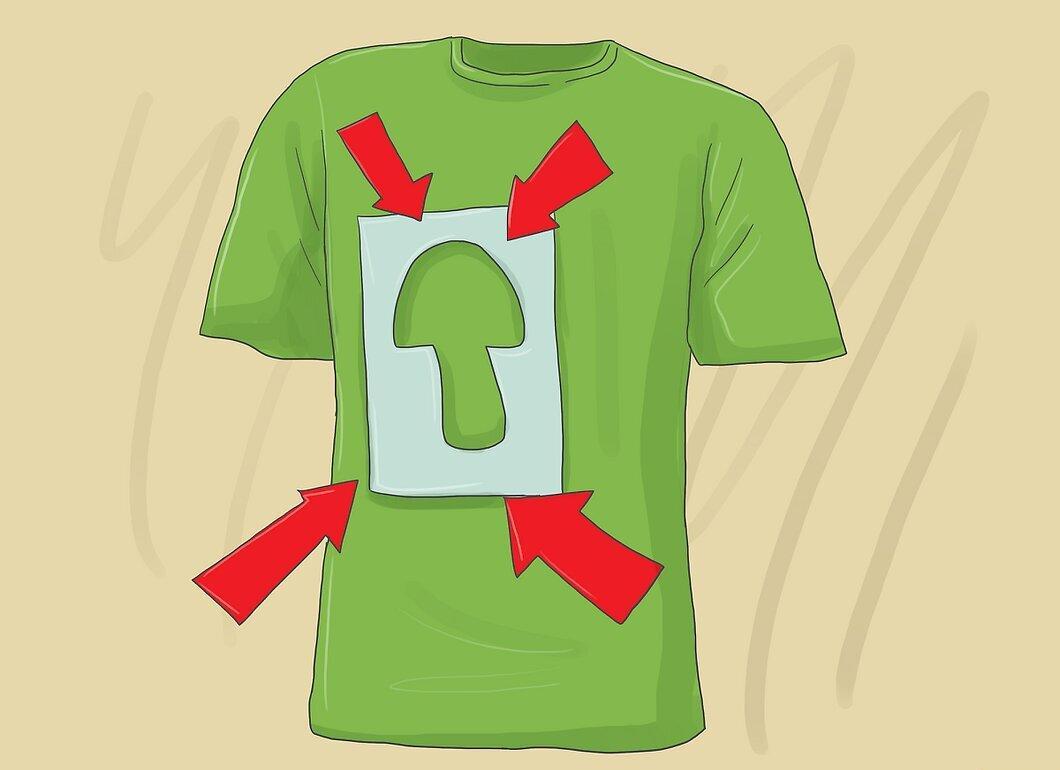
Position the stencil. Place the stencil with the adhesive side down on the desired area of the t-shirt. Press down firmly to ensure the stencil adheres to the fabric.
- After a few minutes, check that the stencil is securely in place.
- It’s also a great idea to secure the edges of the stencil with painter's tape. This will not only provide additional hold for the stencil but will also prevent the spray paint from reaching unwanted areas of the t-shirt.
Preparing the Airbrush
Step 1. Choose an Airbrush.
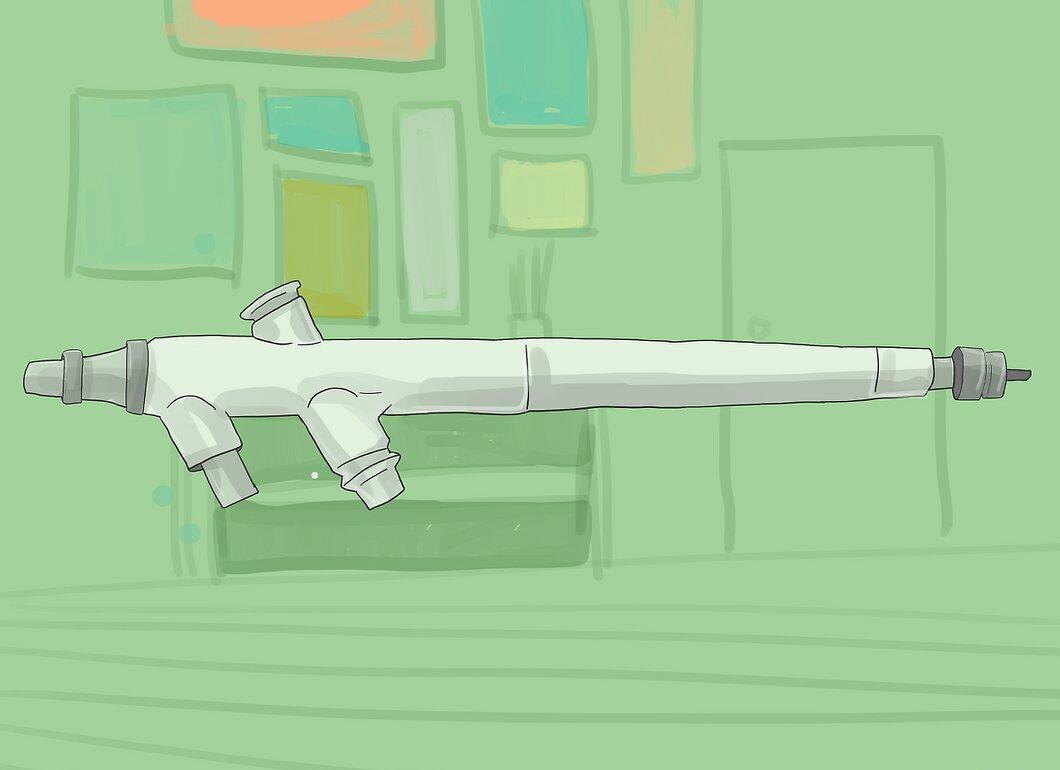
Choose an airbrush. The best airbrush, especially for beginners, is a dual-action internal mix airbrush with bottom feed.
- With a dual-action airbrush, you press the button to draw air and release it to spray the paint.
- Internal mix airbrushes spray paint directly at the center of the airflow, resulting in a smooth spray pattern.
- For a medium-sized cup, the airbrush should be positioned to the side or below the paint source. The airbrush will draw paint directly from this cup during operation.
Step 2. Use the Right Air Supply.
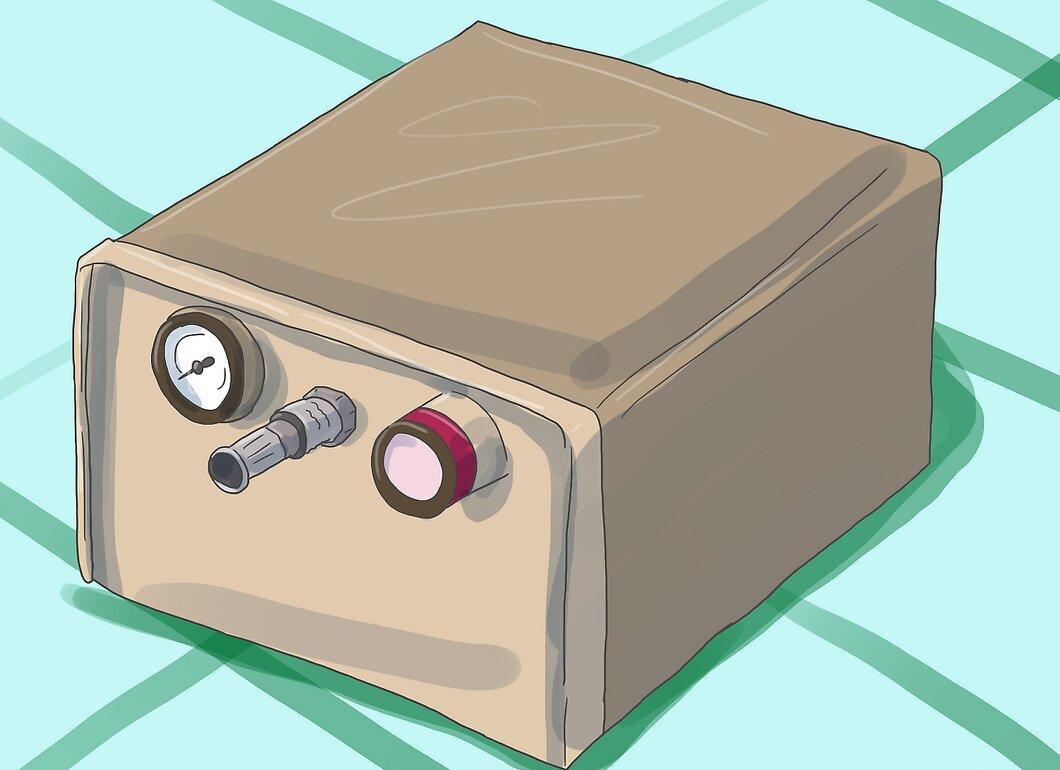
Use the right air supply. You need an air supply that provides a constant airflow at a pressure of 4.2 kg/cm².
- This is typically a CO2 tank or an industrial air compressor. Compressors specifically designed for airbrushing work well, but professional air compressors will yield even better results.
Step 3. Select the Right Paint.
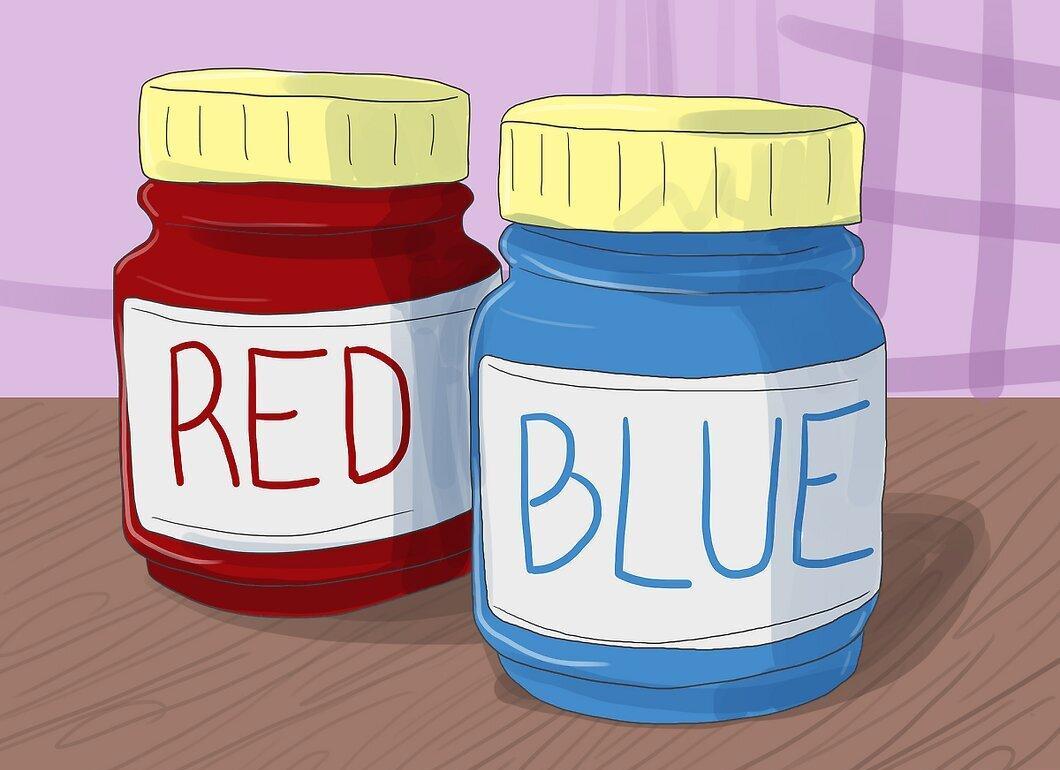
Select the right paint. Choose a fabric paint that is diluted for your project. This water-based paint needs to be heat-set if you want the design to last on the t-shirt after washing.
- Use a limited number of colors, especially at the start.
- Remember that you will need separate cups for each color of paint.
Step 4. Pour the Paint.
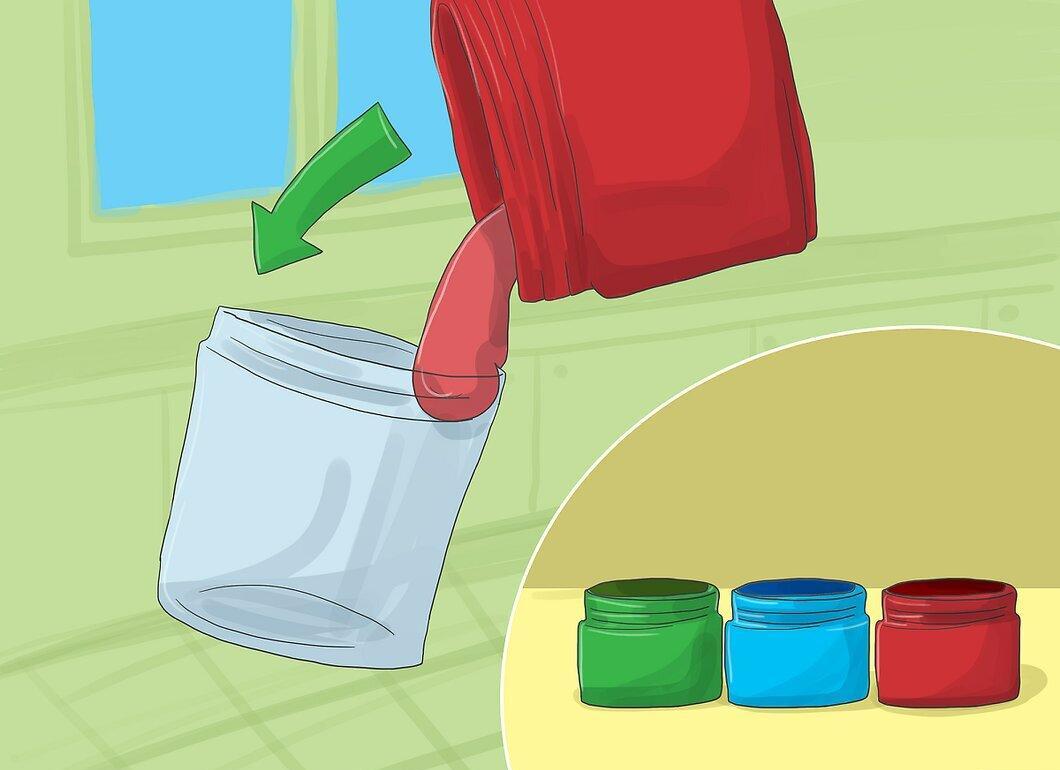
Pour the paint. Pour enough paint into a clean, empty cup, then attach the cup to the airbrush.
- Start with the first color. If you plan to use more than one color, prepare the paint cups in advance and use them during the design process.
- If you intend to mix colors, make sure you have enough paint mixed for your design. Creating additional mixtures later may result in color discrepancies.
Step 5. Connect the Airbrush to the Air Supply.
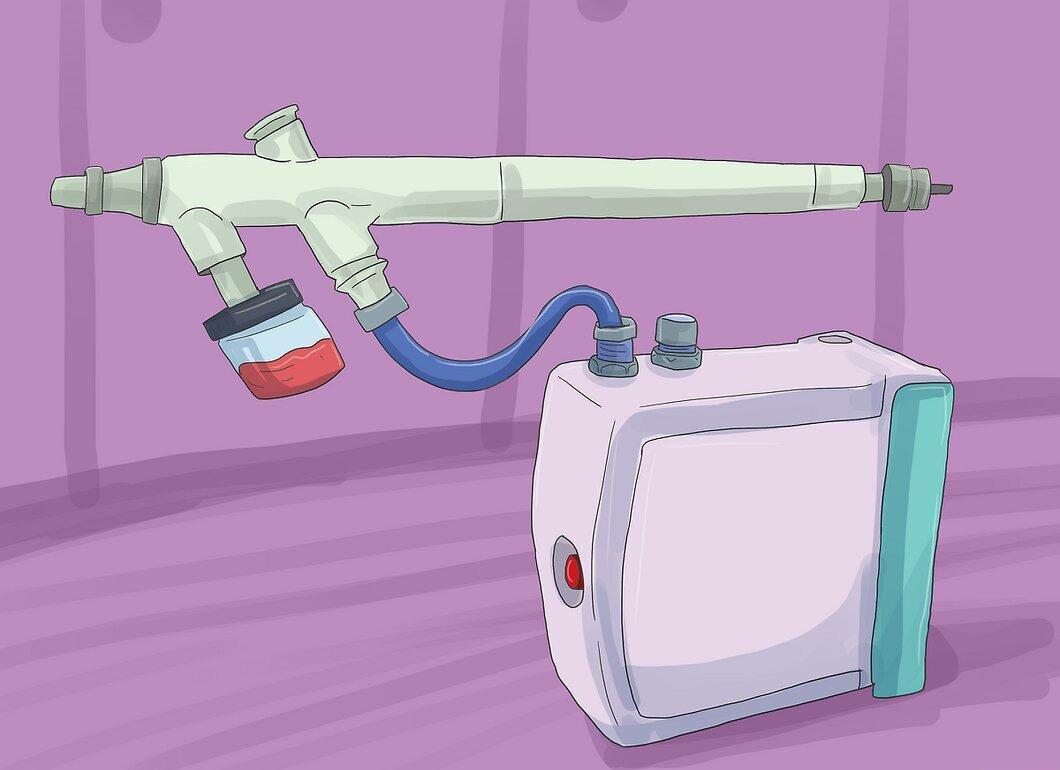
Connect the airbrush to the air supply. Turn on the compressor and connect the airbrush using the appropriate hose.
- After starting the device, it will need to build up the required pressure. Once this is done, adjust the pressure to 4.2 kg/cm².
- Connect the necessary compressor hose to the airbrush using the provided fittings. If necessary, wrap the fittings with Teflon tape for a airtight seal.
- Pressurize the airbrush by pressing the button or opening the valve.
Painting the T-Shirt with an Airbrush
Step 1. Position the T-Shirt.
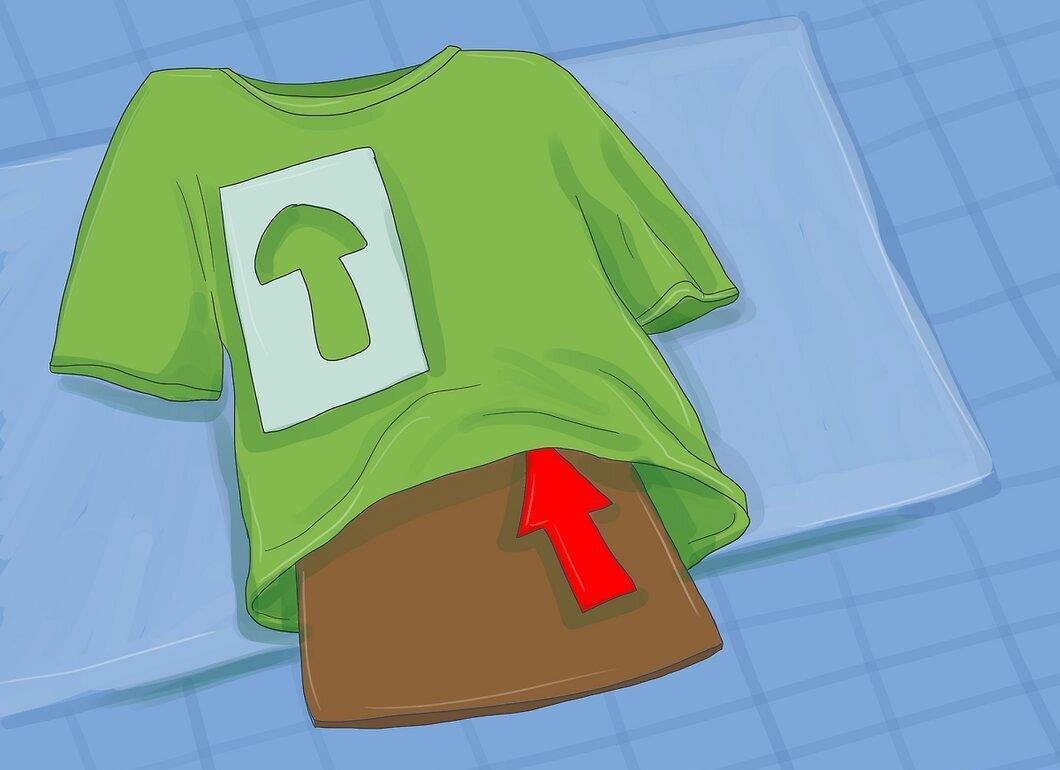
Position the t-shirt. Place a board under the t-shirt and then position the t-shirt on the stand.
- The t-shirt board will flatten the fabric and help avoid wrinkles, creases, and indentations that could ruin your design. It will also prevent paint from bleeding through to the back of the shirt.
- Most t-shirt boards are made of thick cardboard, masonite, or foam board.
- The stand should hold the t-shirt at least 81 cm off the ground. It should be positioned so that your arm can move naturally while painting.
Step 2. Hold the Airbrush Over the T-Shirt.
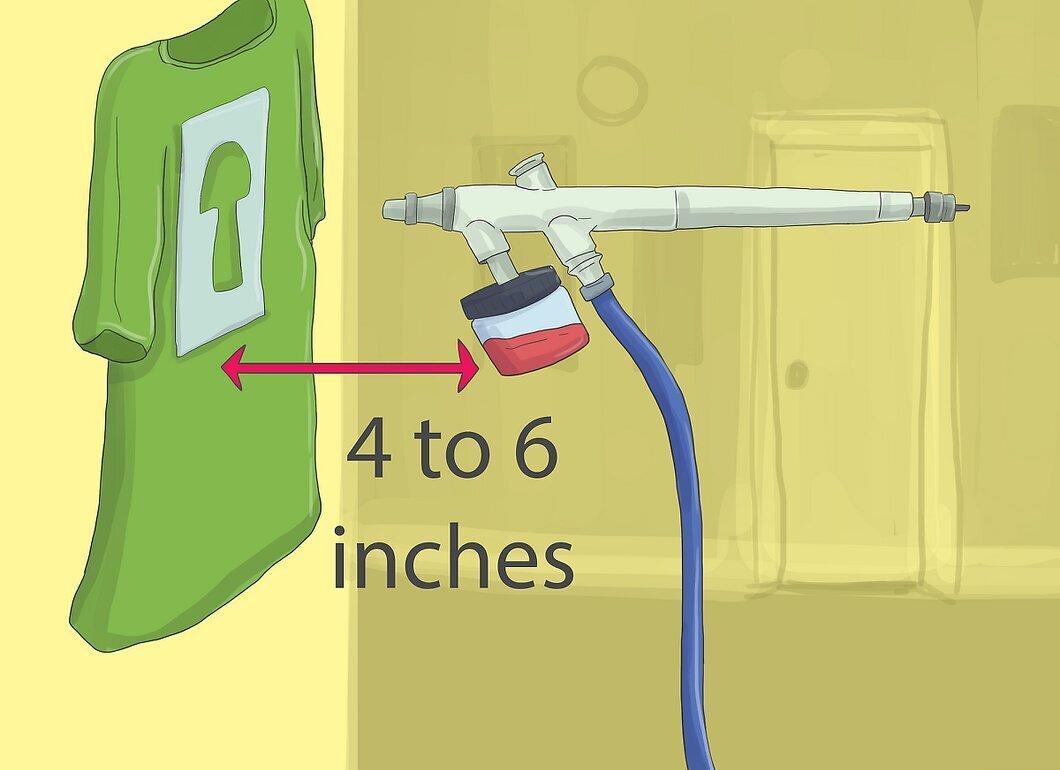
Hold the airbrush over the t-shirt. Position the airbrush above the stencil attached to the t-shirt. It’s best to start from the edges of the design rather than the center.
- Changing the distance between the airbrush and the t-shirt will help create different effects. For a softer application, hold the airbrush about 15 cm from the t-shirt. For a more intense color, keep it about 10 cm from the fabric.
Step 3. Spray the Paint Evenly and Overlap.
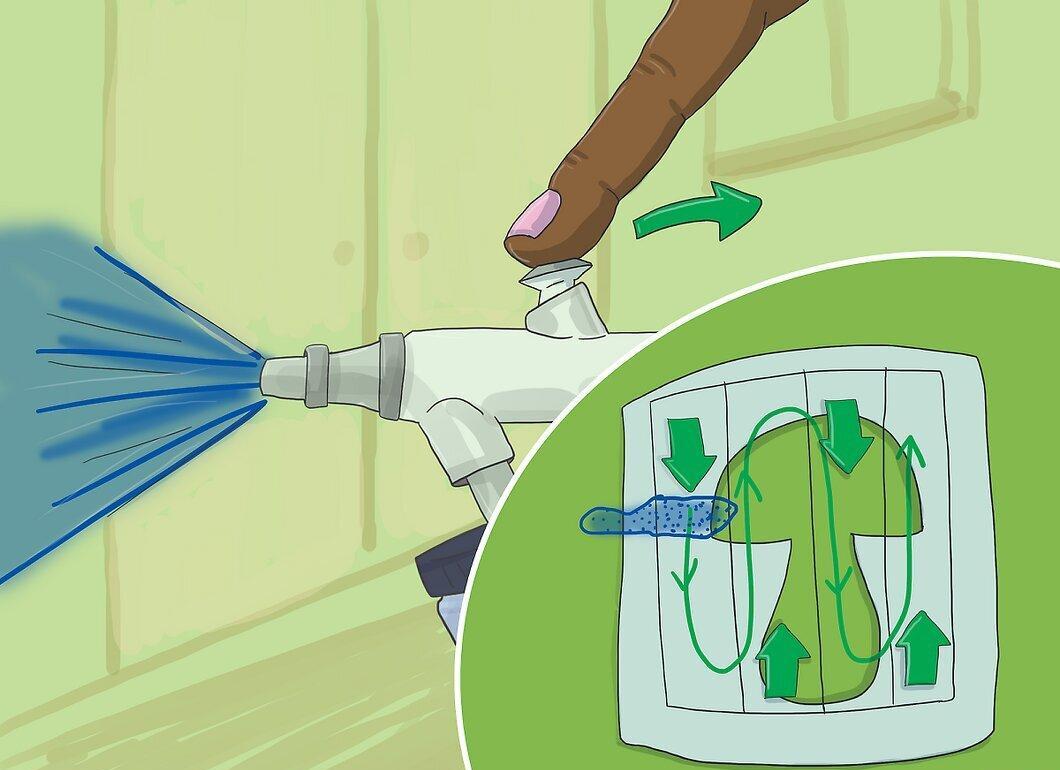
Spray the paint evenly and overlap. Gently release the trigger to release a stream of paint. Move your hand across the stencil to fill in the desired areas with paint.
- As you bring the airbrush closer to the surface, ease off the trigger a bit to use less paint.
- You need to keep your hand moving across the surface while spraying paint onto the fabric. If you stop moving your hand, it will cause splatters of paint at the beginning and end of each stroke.
- Overlapping each stroke will help prevent unpainted spots, creating a more uniformly painted surface.
Step 4. Change Colors if Needed.
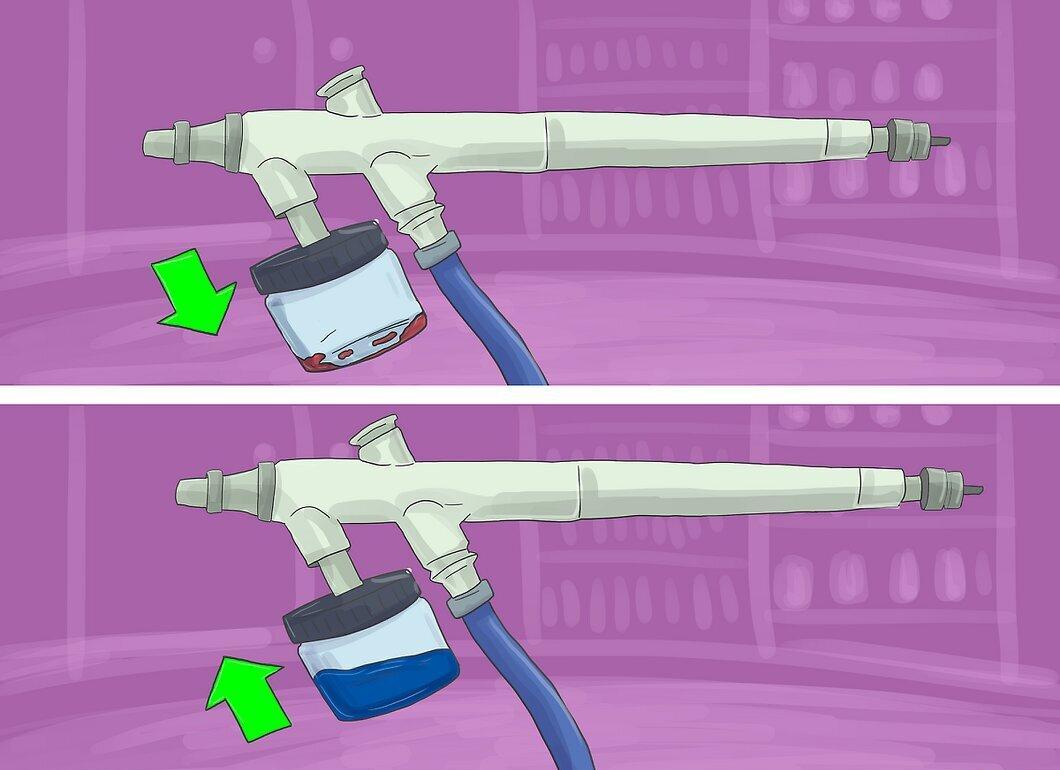
Change colors if needed. To change colors, simply release the trigger to stop spraying, unscrew the old cup, and attach a new paint cup.
- Some artists prefer to use a new airbrush for each subsequent color, but by using a bottom feed airbrush, you can use the same tool for different colors.
Step 5. Carefully Remove the Stencil.
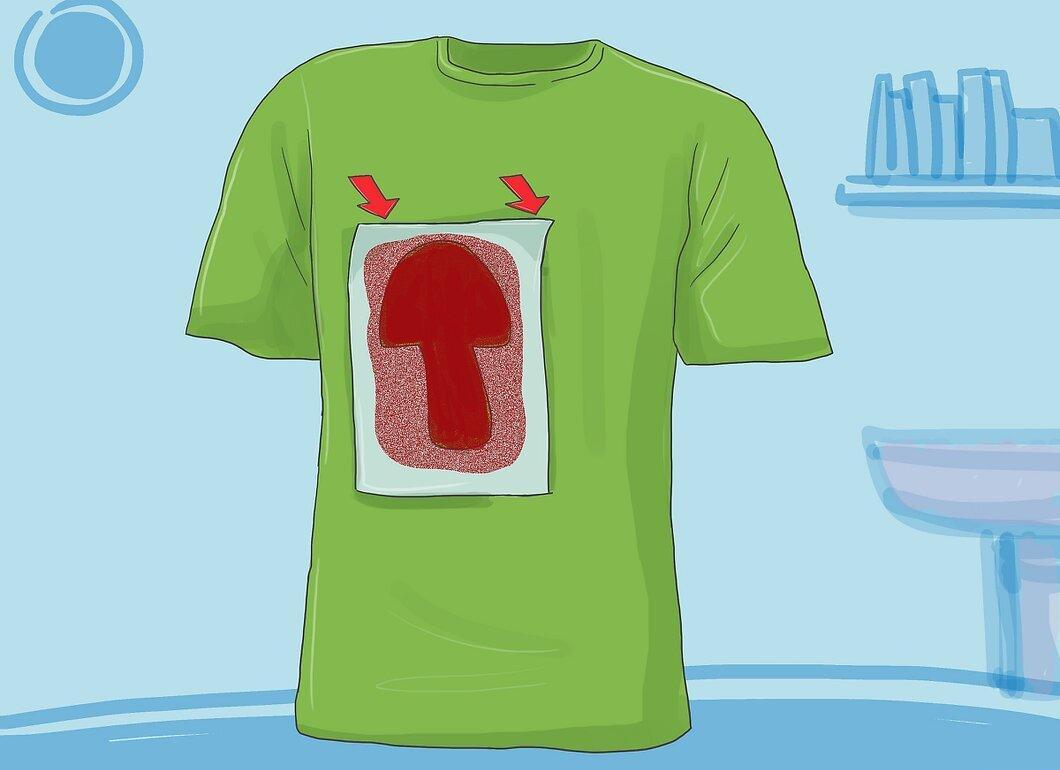
Carefully remove the stencil. After filling in the stenciled part of the design, gently peel the stencil away from the t-shirt.
- Remove any tape holding the edges before taking off the stencil.
- If the stencil is too firmly attached, wait until the paint dries before removing it later. This will reduce the risk of smudging the paint and ruining the design.
Step 6. Add Freehand Elements if Desired.
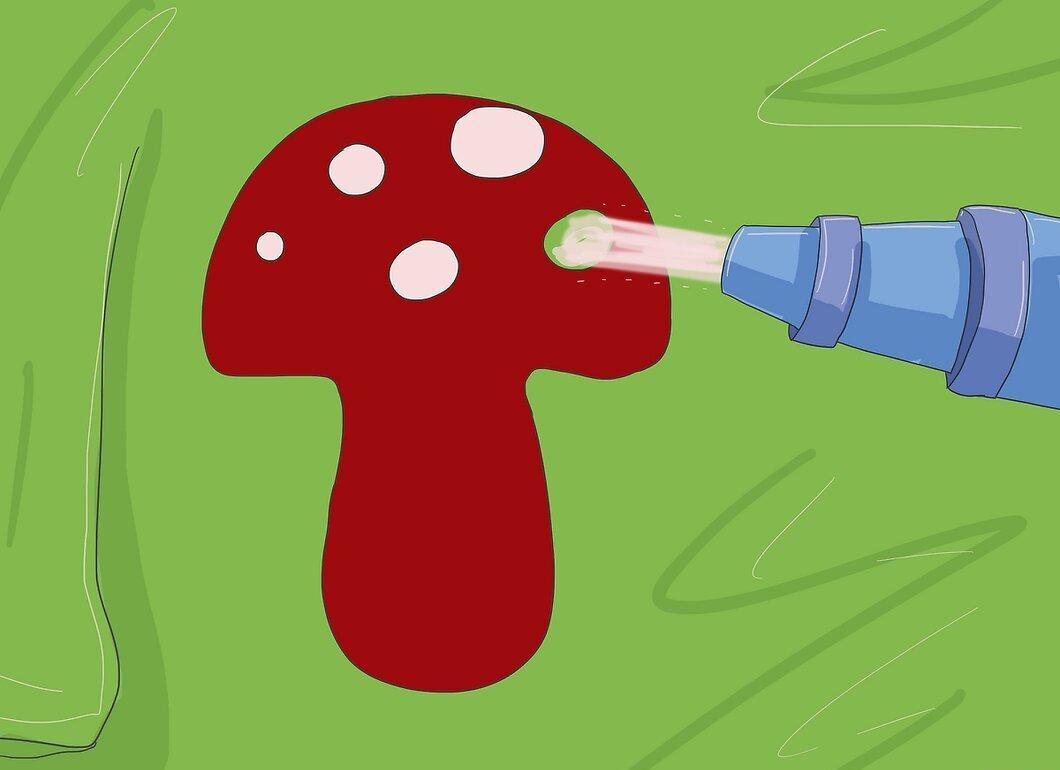
Add freehand elements if desired. If you want to add elements by hand, now is the time to do so. Think it through carefully, as there’s no going back once it’s done.
- Letters and numbers are the most common elements added freehand. Practice drawing different sizes and styles beforehand, and then apply them to the t-shirt.
Setting the Paint
Step 1. Let the Paint Dry.
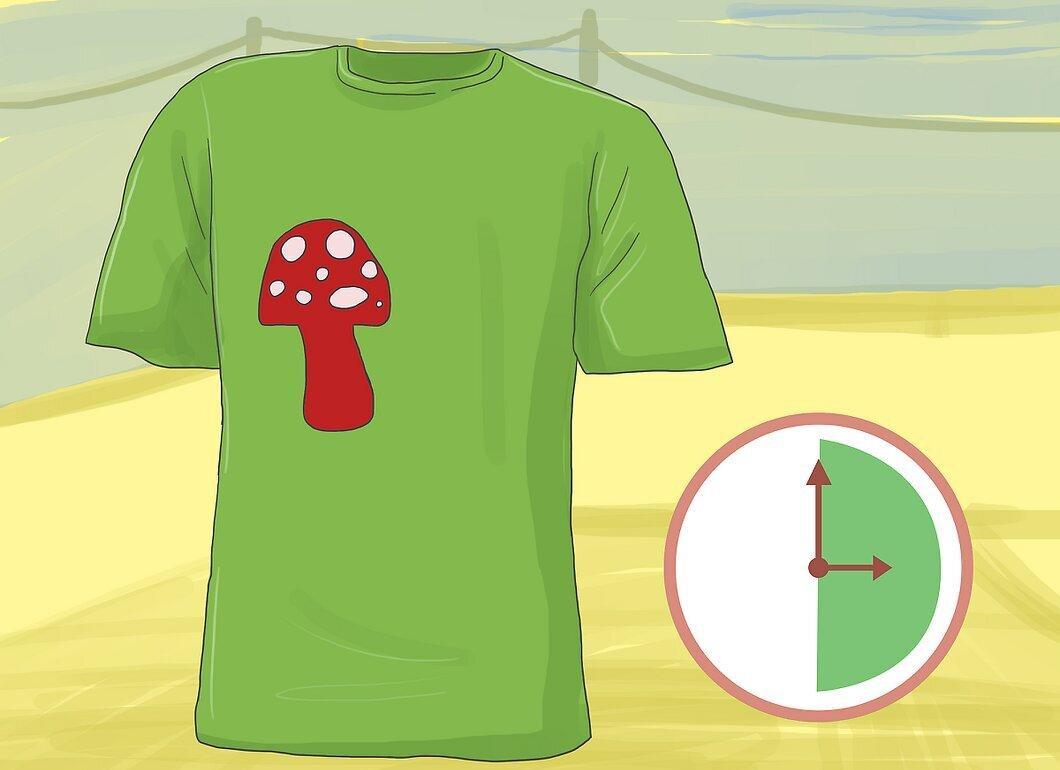
Let the paint dry. Allow the paint the necessary time to dry before using a heat press.
- The required time varies by manufacturer, but usually, you should wait at least 30 minutes. When you touch the surface of the t-shirt, no paint should come off on your fingers, and there should be no sticky feeling.
Step 2. Protect the T-Shirt with Parchment Paper.
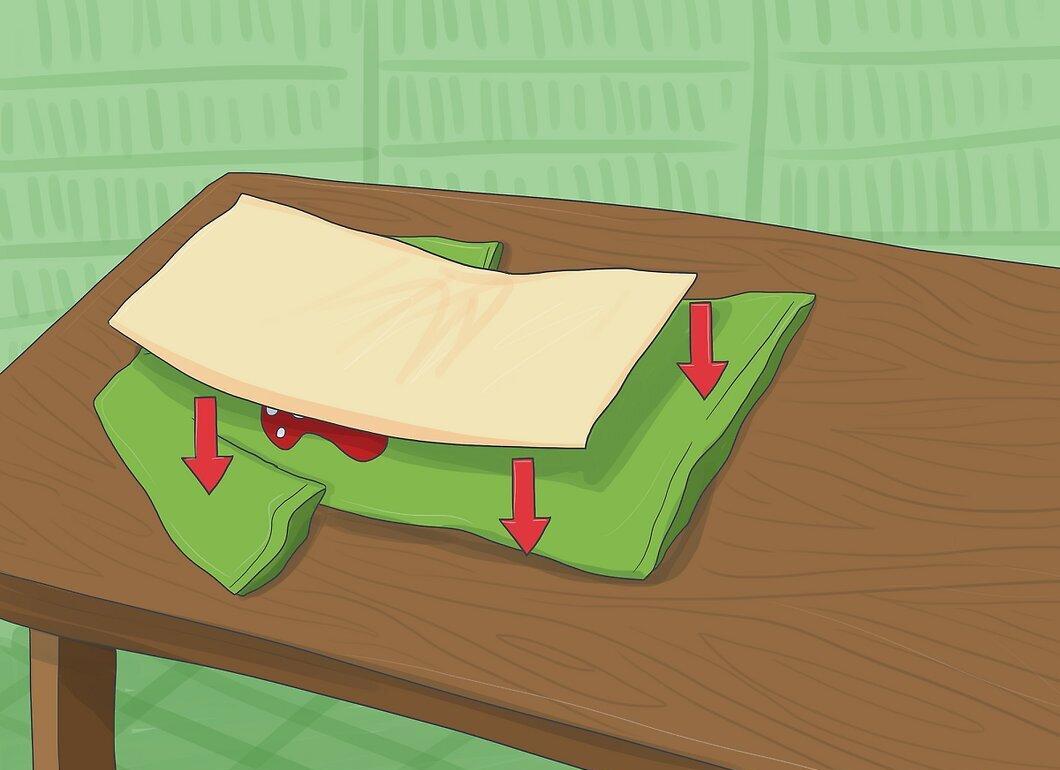
Protect the t-shirt with parchment paper. Place the t-shirt on a flat, hard surface and cover the design with a sheet of parchment or craft paper.
- Never apply heat directly to the design, as this can cause the paint to peel or stick to the iron.
- If you don’t have parchment paper, flip the t-shirt over and iron it from the back.
- Make sure the material is smooth and flat before proceeding to the next step.
Step 3. Do Not Iron the Design Directly.
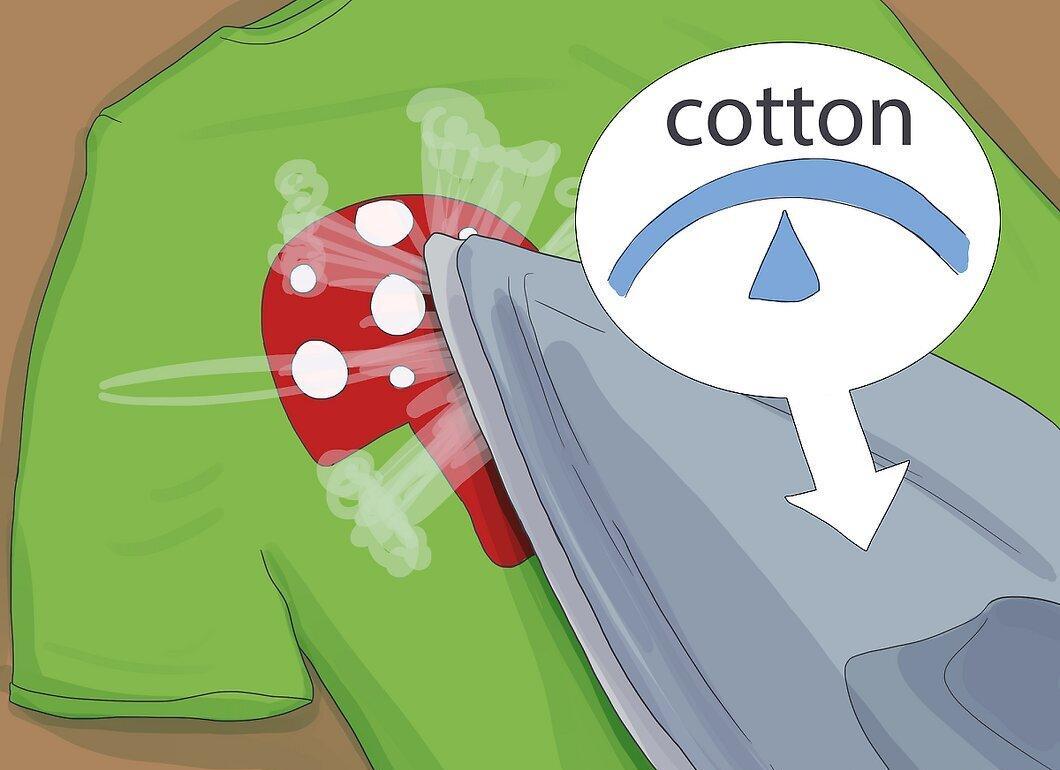
Do not iron the design directly. Let the iron heat up to the cotton setting, then gently press the entire design with a hot iron for about two minutes.
- The heat applied to the airbrushed design will set the paint and prevent it from washing away.
- Remember that the iron temperature should reach at least 150 degrees Celsius.
- Other heat-setting options include: [6] X Source Using a professional conveyor for 20 minutes at 50 degrees Celsius.
- Using a heat press for 30 seconds at 190 degrees Celsius.
- Using a hot air drying device for 30 seconds.
Step 4. Wash as Usual.
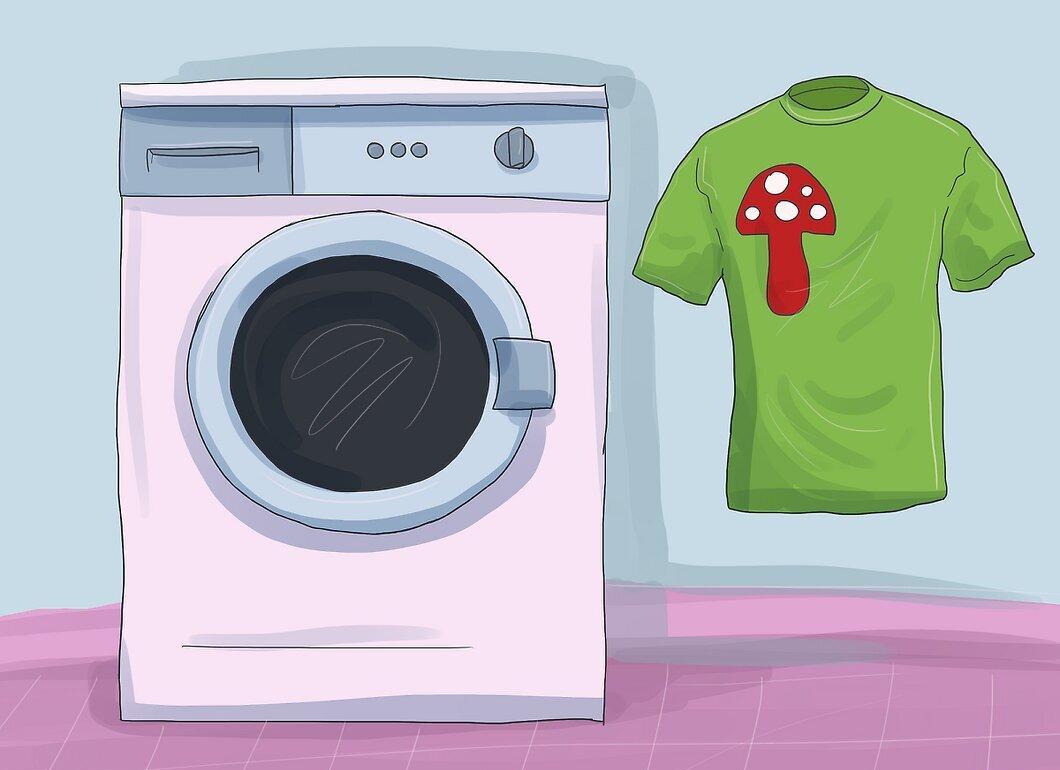
Wash as usual. Once the t-shirt is cool, you can wash it in cold water using a mild detergent. Tumble dry on low or let the fabric air dry.
- After the first wash and dry, your t-shirt will be ready to wear.


