Fingerprints have been studied throughout history for many reasons. They are unique to each individual and remain unchanged throughout a person's life, barring serious injuries. They also serve as a precise method for distinguishing people, with the chance of two individuals having the same fingerprint being roughly one in sixty-four billion. Research in this field encompasses both forensic science (for locating and lifting fingerprints at crime scenes) and palmistry, which reads and analyzes fingerprint patterns to derive meaning. In forensic science, you need to locate the fingerprints, determine the surface they're on, apply powder, take photographs, and lift the prints. In basic palmistry, you choose a hand for reading, then select a finger, examine the patterns, and uncover their significance.
Locating and Lifting Fingerprints
Step 1. Search for fingerprints.
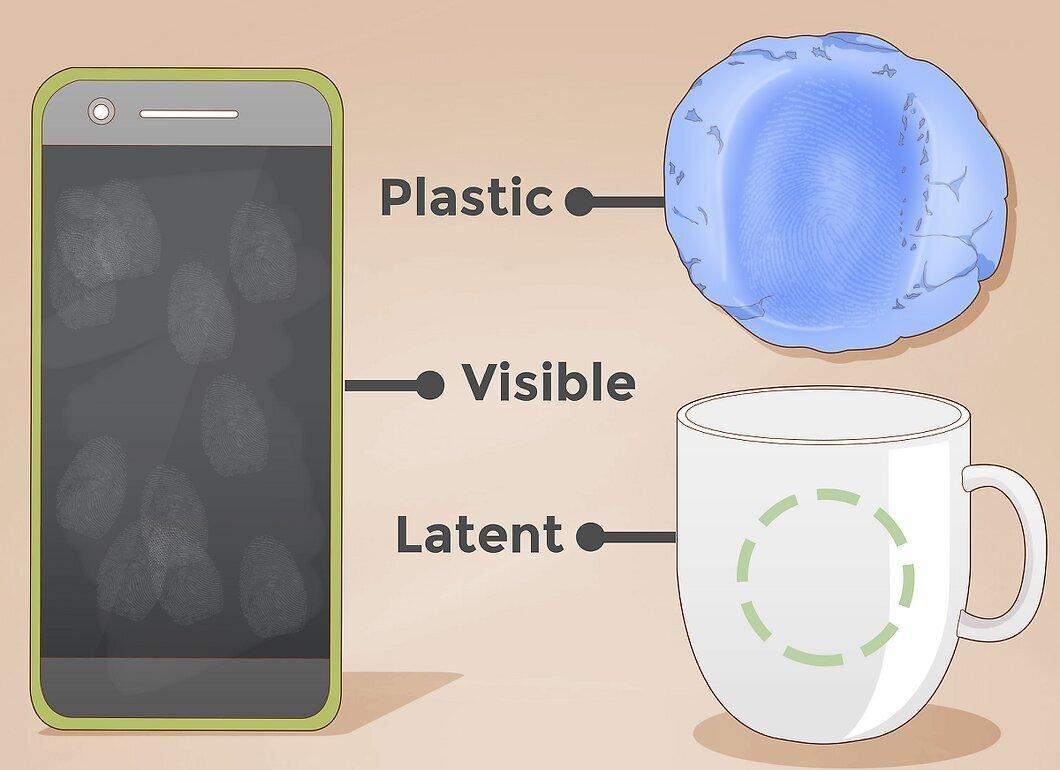
Begin by searching for fingerprints. In forensic fingerprinting, there are several types of prints and various methods for locating them. When you start searching, some prints will be visible (visible prints), while others will be hidden (latent prints). Start by locating the obvious prints and marking them for later reference. To find hidden prints, using an alternative light source like a UV lamp with an orange filter can be helpful in revealing latent prints.
- There are also three-dimensional fingerprints that can form on soft surfaces, such as soap.
Step 2. Apply powder to the hidden prints.
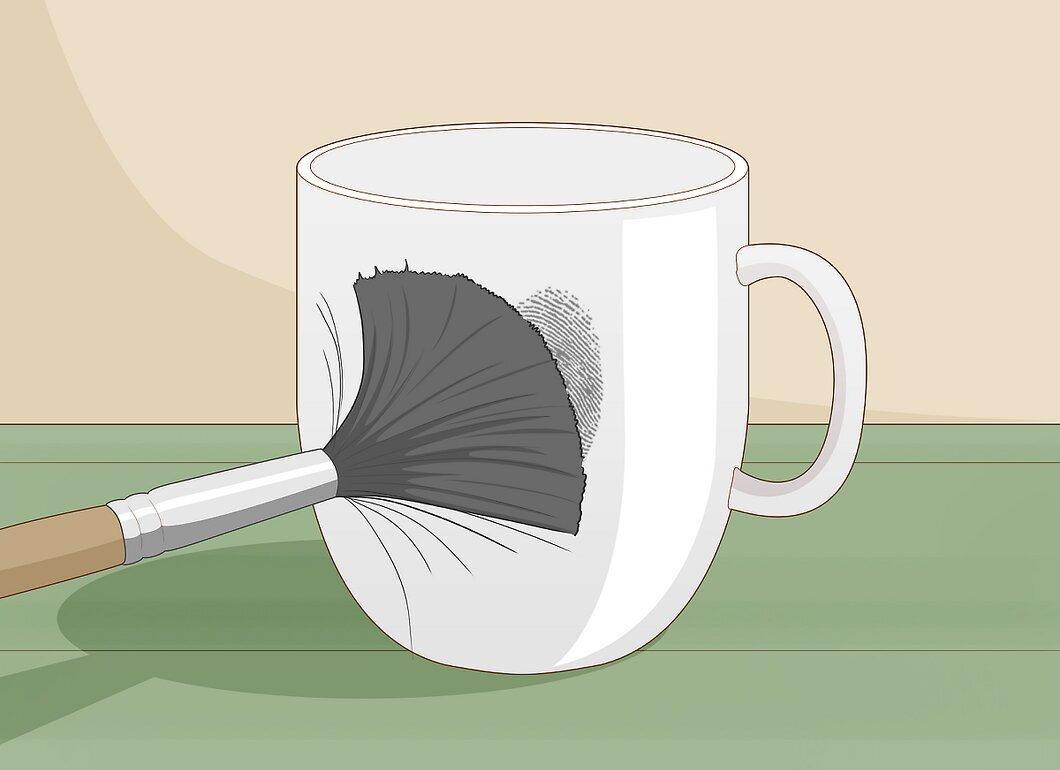
Once you find hidden fingerprints using the alternative light source, you need to cover them with powder to make them more visible. Professionals use specialized powder, but talcum powder or cornstarch works well for amateur, home use. You will also need a brush with soft bristles. Direct the light source onto the print and lightly dust it with powder until it becomes clear enough.
- For the best results with an alternative light source, turn off other lights in the room to enhance visibility.
Step 3. Photograph the fingerprints.
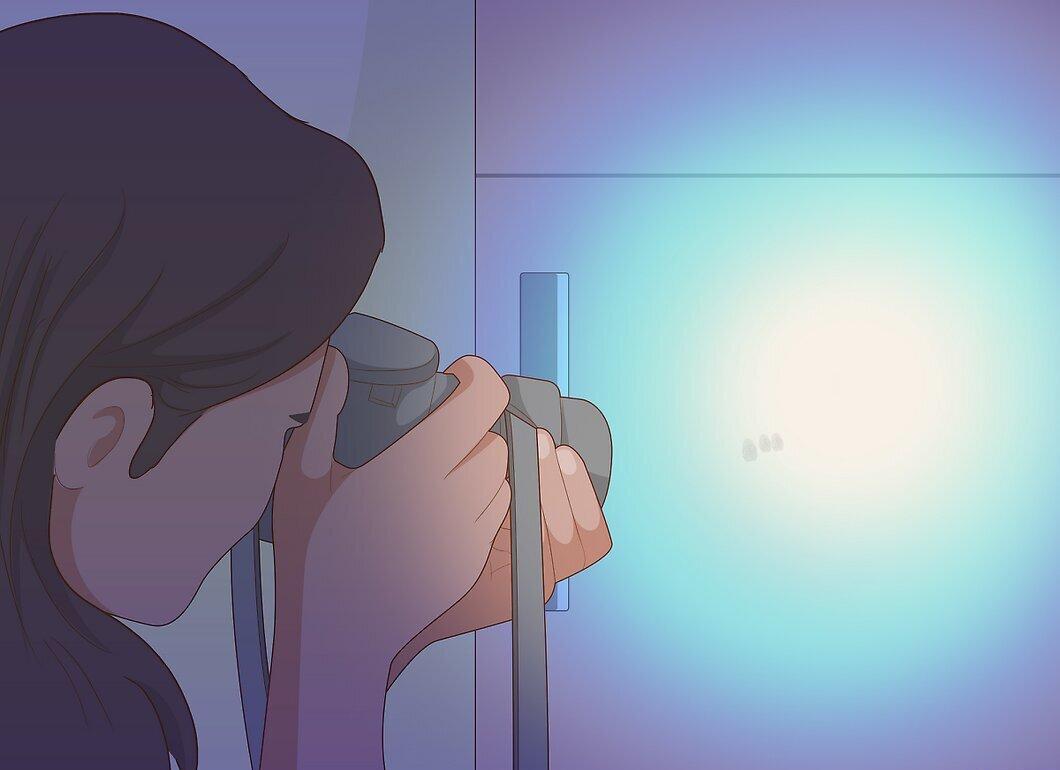
The best method for collecting both visible prints and those you’ve discovered using light and powder is to photograph them with a high-resolution camera. It's easier to study prints in photographs. Make sure to take the photo close enough to capture the details of the print. Always place a ruler or similar object next to the print for size reference.
- Photographing is also beneficial because it allows you to upload the prints to a computer for analysis and file storage.
Step 4. Determine the type of surface the prints are on.
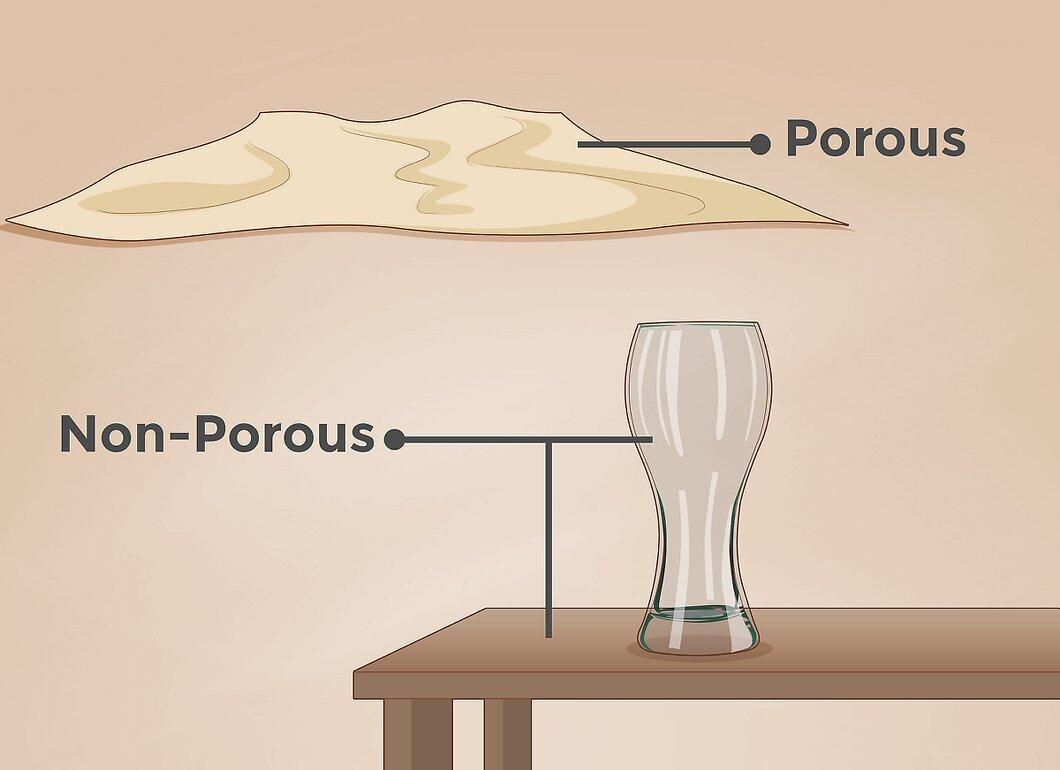
Identify the type of surface where the fingerprints are located. Fingerprints can be found on any surface, and these surfaces can be categorized as porous, non-porous smooth, and non-porous rough. Fabric or water-absorbent items are considered porous. Non-porous smooth items include glass or a polished table. Non-porous rough objects may be a leather sofa or a plastic container with a textured edge.
- Why is this classification important? Because the type of surface determines whether you can easily lift a good print or if it will be more challenging.
Step 5. Lift the prints.
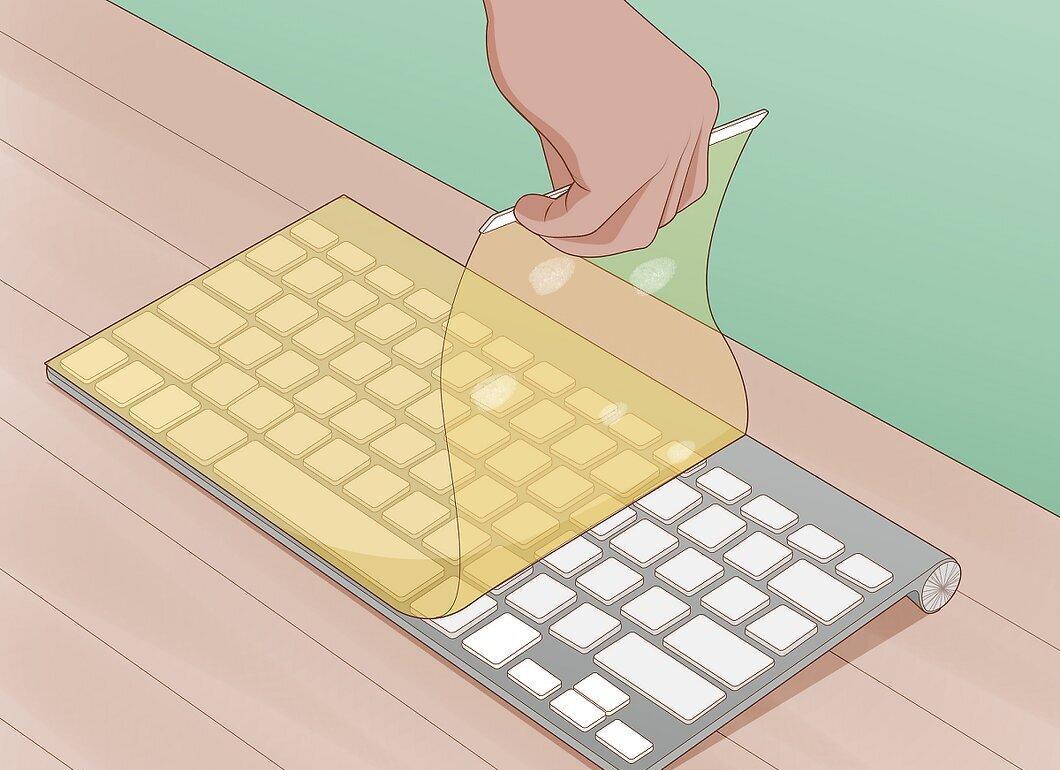
In addition to photographs, the second method for collecting prints is to lift them using tape or gel. For smooth surfaces, carefully place a piece of clear tape over the print, then peel it off and place it on a white square of thick paper. Be cautious when applying the tape directly to the print: never move it back and forth, as this can smudge the impression.
- For porous and non-porous rough surfaces, simple photography is the easiest method for collecting prints, but other options exist. You will need something that can reach into the grooves, such as a gel lifter or super glue. A gel lifter is specifically designed for lifting prints from rough surfaces, applying directly to the fingerprint and creating a small 3D mold. Additionally, you can apply super glue to the print, allow it to dry, and then...
- This will create a backup of the photographs taken and provide physical evidence.
Step 6. Look for matches in the fingerprints.
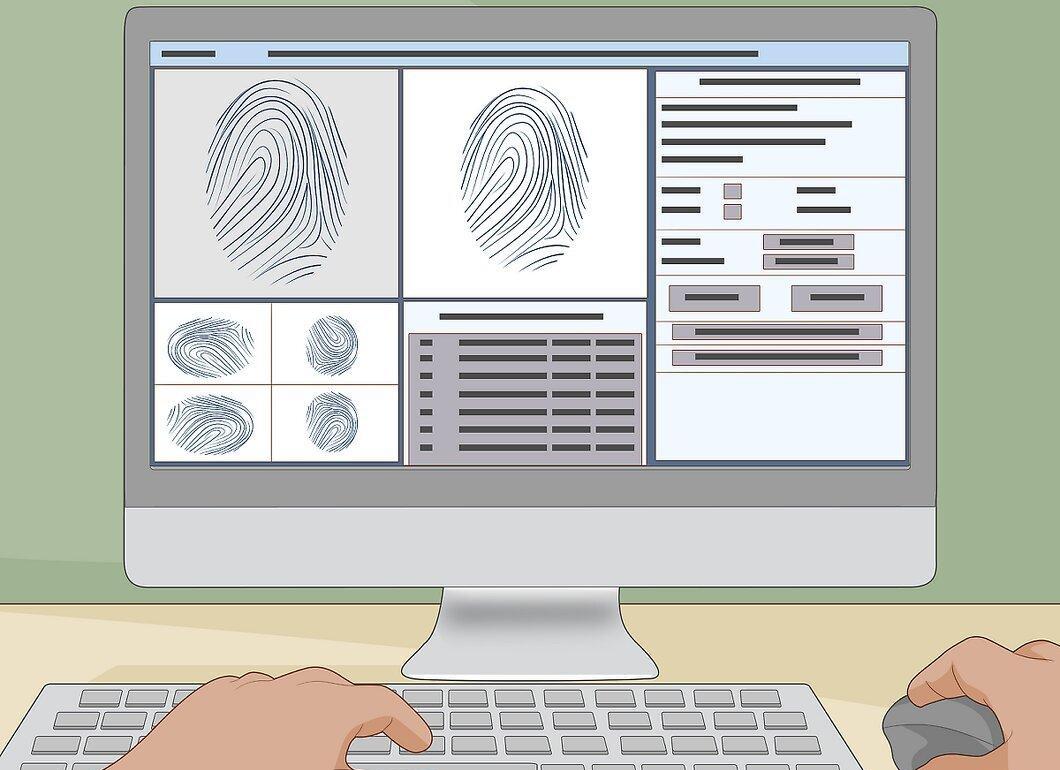
Searching for matches in fingerprints is not easy for someone without experience or proper technique. If you have a collection of known prints, you can compare them with the ones you've gathered. Look for similar patterns to eliminate some options. Advanced computer programs can read dozens of points on a fingerprint and match these points with other known prints, but such programs are primarily designed for professional use.
Reading Fingerprints
Step 1. Choose which hand to read.
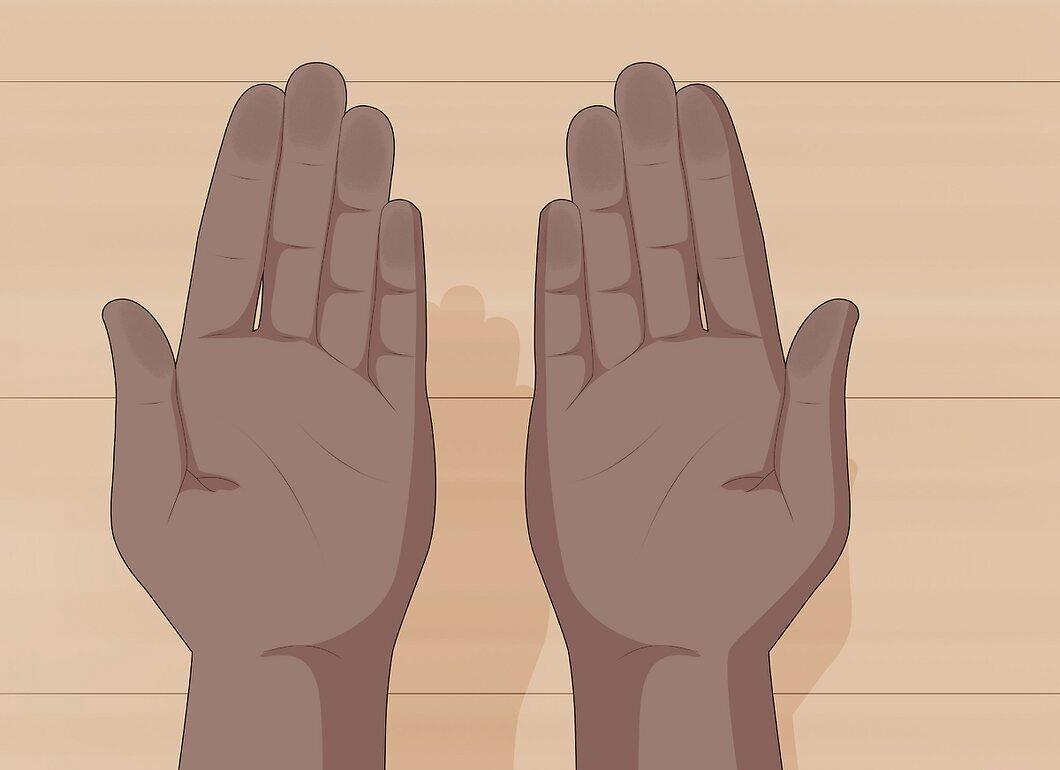
Choose which hand to read. You will hear different opinions about which hand should be read, but there is one main thing to remember. Almost everyone has a dominant hand: the one they write with and generally perform their most complex tasks. The dominant hand is best suited for revealing publicly accessible information. Reading the non-dominant hand will tell you about the personal self.
- Other methods suggest choosing a hand based on gender (male or female) or the desire to know about real life or the future.
- For work and career matters, the dominant hand is read. Emotions, relationship issues, and dreams are often revealed through the non-dominant hand.
Step 2. Focus on the thumb.
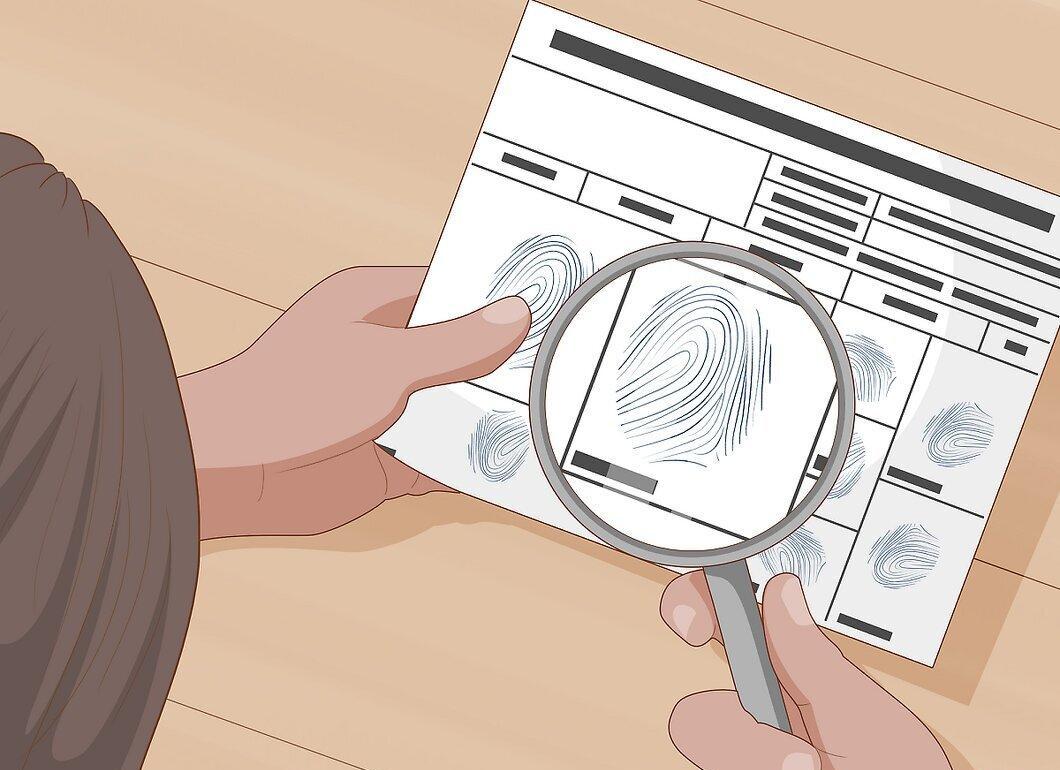
Focus on the thumb. The way fingerprints manifest on each finger generally reveals different things about a person, so the patterns on the middle finger do not necessarily mean the same as those on the pinky. As you become more skilled in studying fingerprints, you will learn more about each finger, but for now, start with the thumb. This choice is explained by the fact that the thumb is considered representative of the entire hand. It is said to embody the overall personality of the individual.
Step 3. Look at the primary pattern.
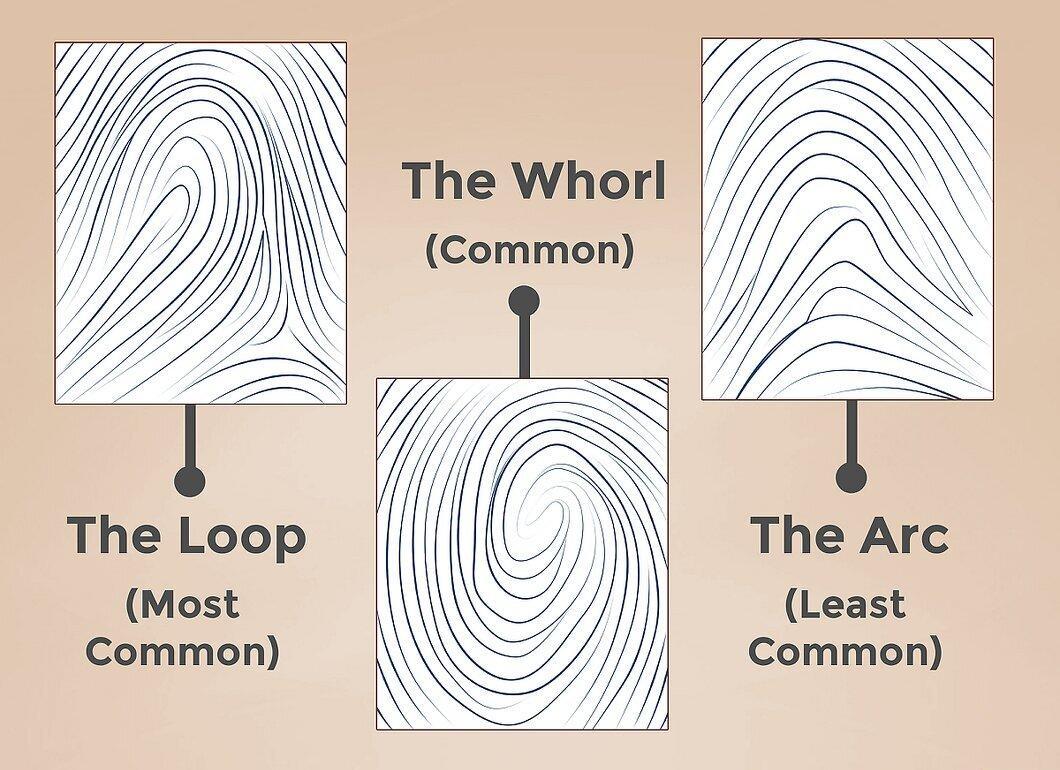
Examine the primary pattern. If you are a beginner, it might be a good idea to press the thumb into ink so the patterns become clearer and easier to read. There are three main types of fingerprints: loop (the most common), whorl (the second most common), and arch (the least common). There are also other rarer types, but you will mostly find the first three.
- A loop looks like a lasso. An arch resembles a wave or a bridge. A whorl resembles a target.
- There are also variations, such as a tented arch with a sharper peak and a composite whorl resembling a whirlpool or the Yin-Yang symbol.
Step 4. Look for loops.
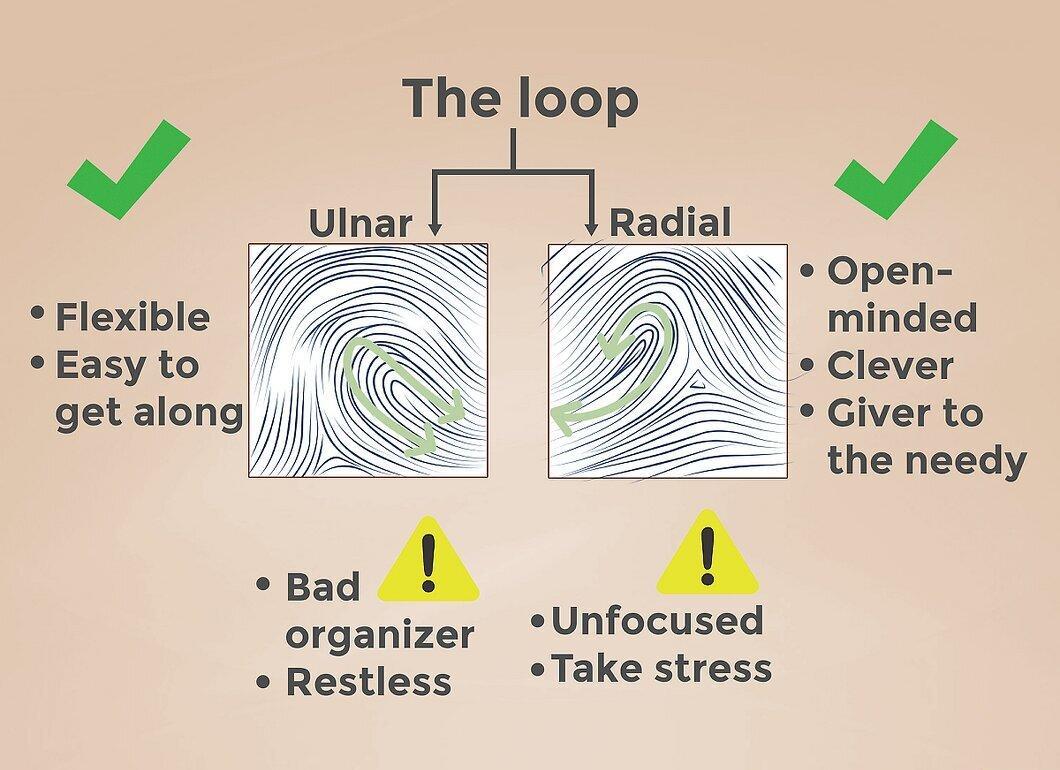
Identify the loops. There are two types of loops: ulnar and radial, where the ulnar loop opens towards the fingers and the radial loop opens away from them. Ulnar loops are the most common fingerprints and are generally found on affable individuals. A person with such prints can be characterized as flexible and adaptable. They are also sociable and easy to connect with. Common negative traits of ulnar loop individuals include being scattered and having difficulty organizing themselves. They may also be restless and find it challenging to feel at ease.
- The less common radial loop represents someone open and intelligent. These individuals often live altruistically, helping those in need. A drawback for radial loop individuals is that if they lose focus and concentration, they begin to absorb too much stress.
Step 5. Look for whorls.
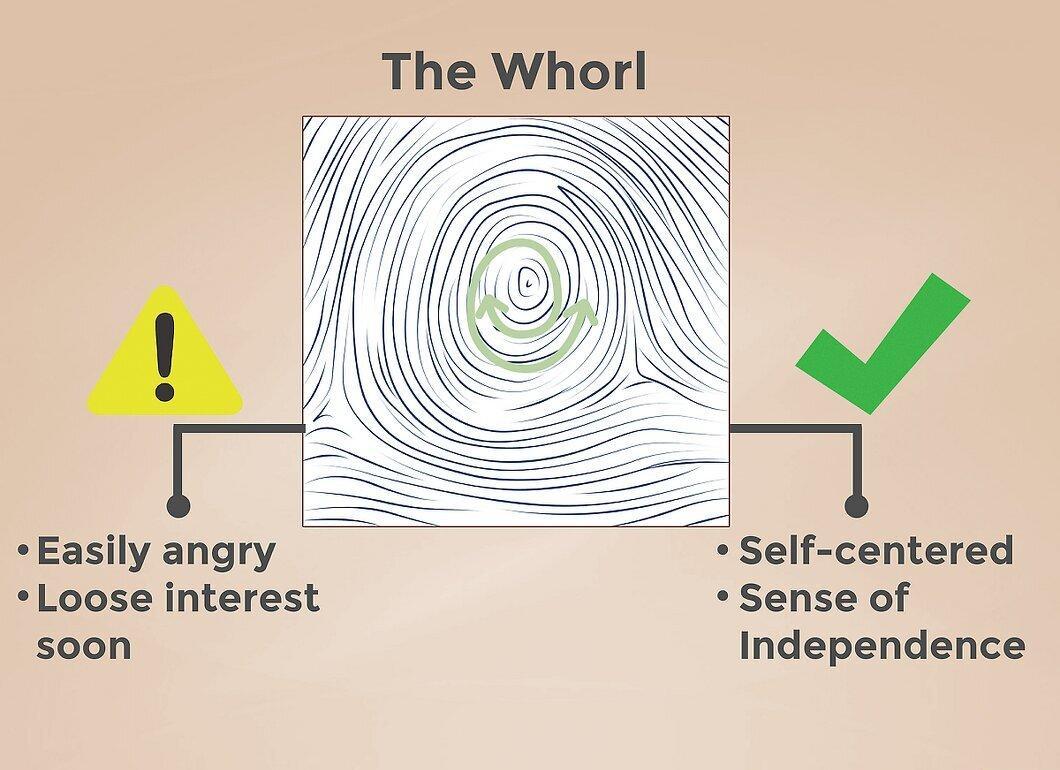
Identify the whorls. This print looks like a series of closed circles or spirals. It is typically found in people who may be somewhat self-centered and possess a strong sense of independence and individuality. They often have strong convictions and may obsess over certain things. Drawbacks of individuals with this type of fingerprint include being short-tempered and quick to anger. Additionally, they typically lose interest in projects once they begin.
- Variations of the whorl include the peacock eye, which resembles peacock feathers, and the composite whorl, which consists of a series of circles smudged on one side.
Step 6. Look for arches.
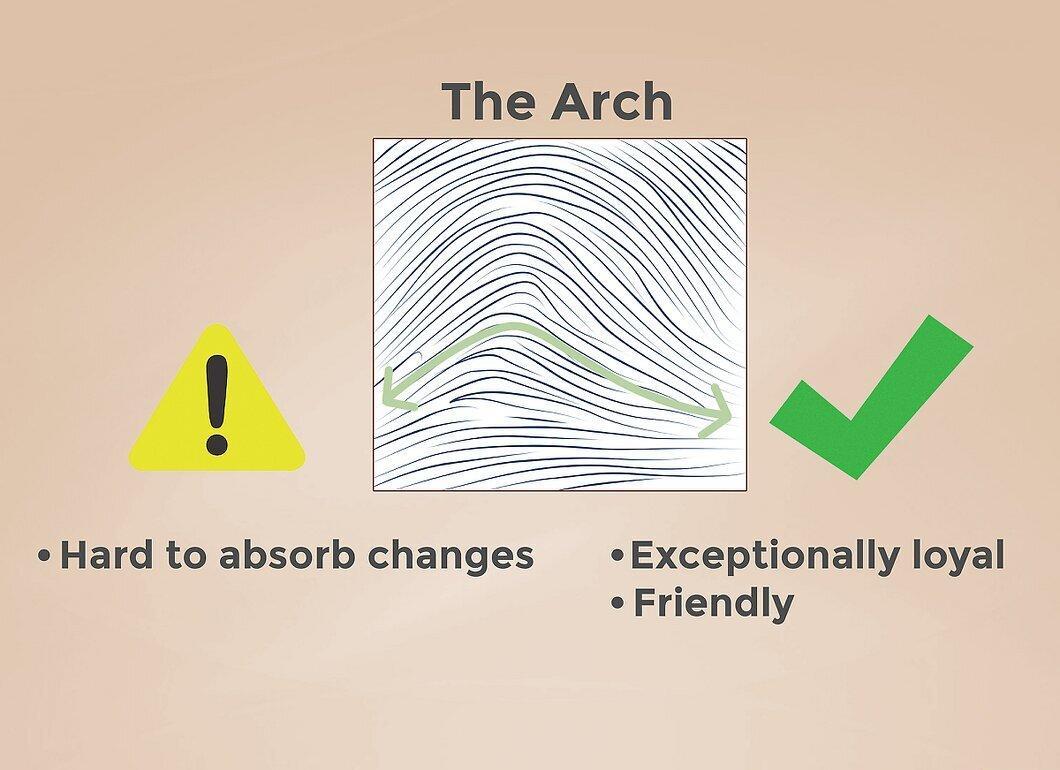
Identify the arches. This print is often found in practical people with an analytical mind, who always seek the best approach to a situation. They are often not keen on change and may find it difficult to connect with others, especially if they hold particularly firm beliefs. However, people with arches are often exceptionally loyal to those they care about.
- This print has variations such as the tented arch (essentially an arch with a sharply pointed end). These individuals can be very open and friendly one day and withdrawn the next.