Artificial insemination is the second most popular method of livestock breeding. In fact, it is the only viable alternative to natural mating between male and female animals. However, in dairy production, artificial insemination is much more common compared to beef production. Nevertheless, artificial insemination in beef production is gaining popularity due to the ease of obtaining excellent offspring from well-established breeding animals. Understanding the process of artificial insemination in cows is important for achieving high productivity in herd breeding when maintaining a dedicated bull for this purpose is not profitable and is generally not recommended.
Examine the Cows and Catch Them
Step 1: Check the Cows for Estrus.
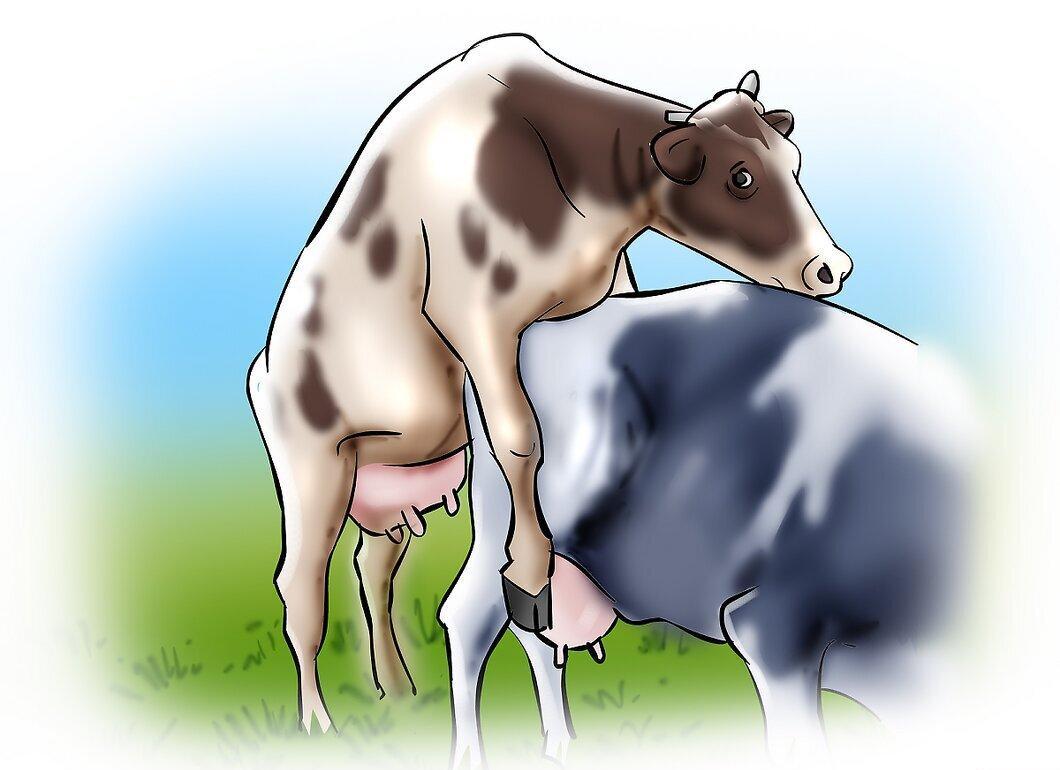
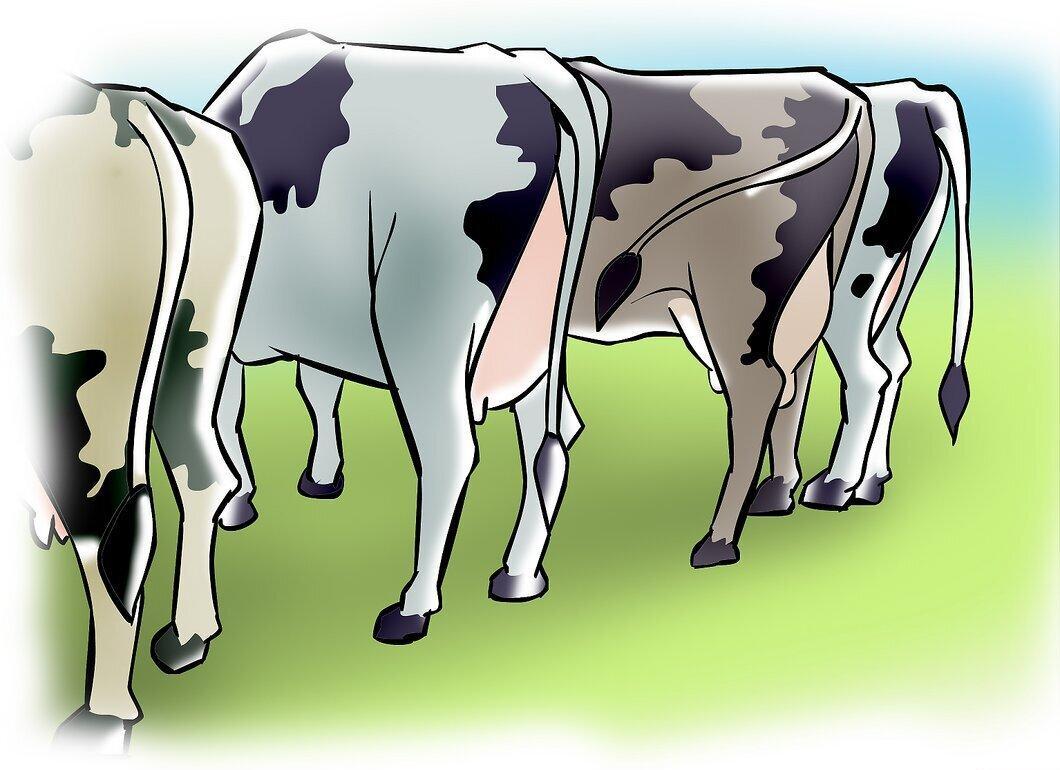
Check the cows for signs of estrus. Cows typically experience estrus about every 21 days, lasting for 24 hours.
- Read more about how to identify the onset of estrus in a cow or heifer through physiological, behavioral, and physical signs. In most cases, estrus begins at dusk or dawn.
Step 2: Perform Artificial Insemination 12 Hours After Estrus Starts.
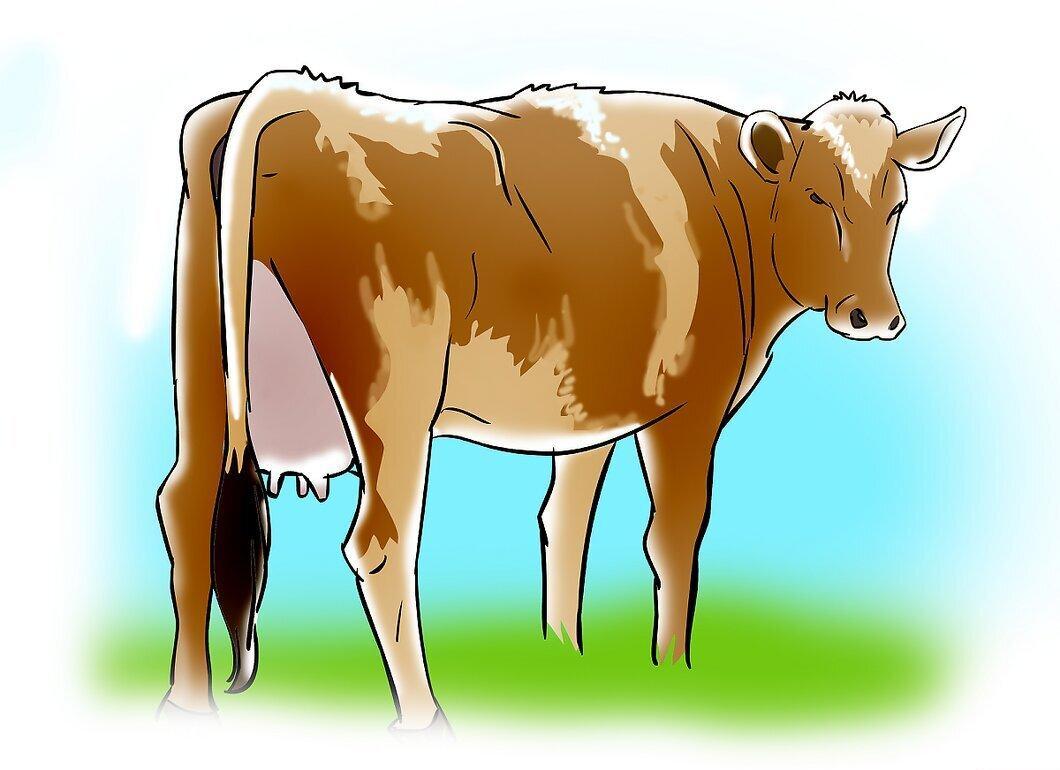
Artificial insemination should be performed 12 hours after the onset of estrus. This is when ovulation occurs, and the egg is released from the fallopian tube, awaiting fertilization by the bull's sperm.
Step 3: Calmly Guide the Cow to the Breeding Chute.
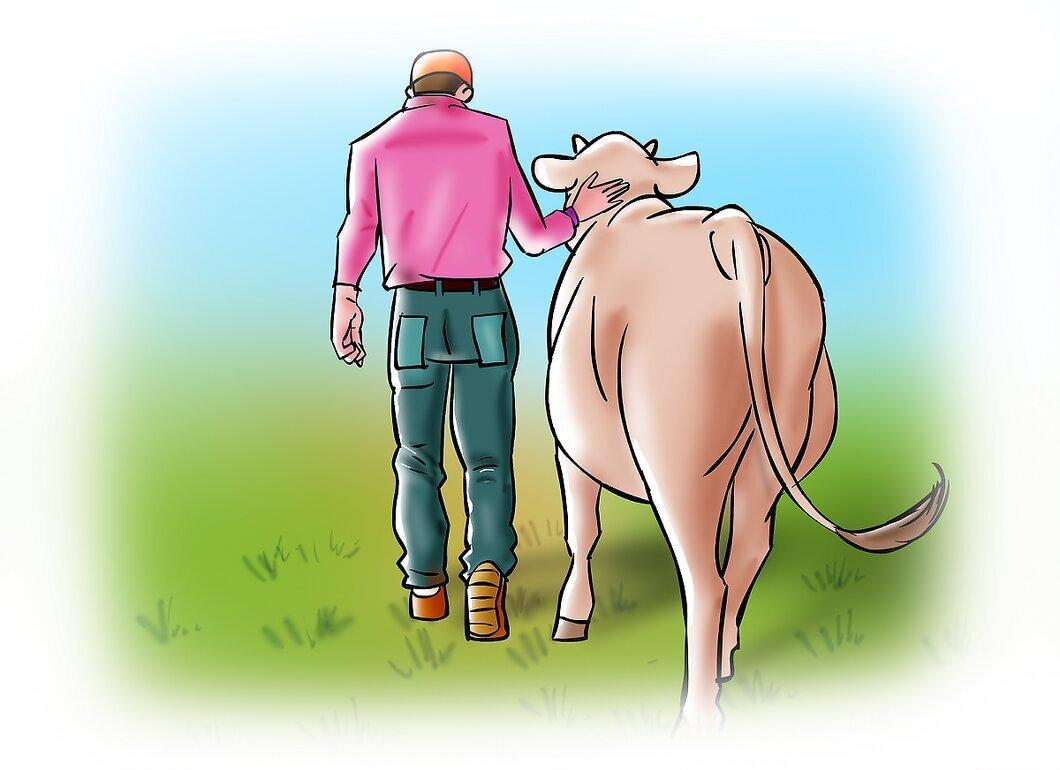
Gently guide the cow into the breeding chute (or simply into an area with a headgate at the end), and secure her head in the headgate. If there are other cows behind her, they should be held back behind a separate gate to prevent them from trampling you as they try to move forward. If your breeding chute is equipped with a palpation cage, make use of it during the artificial insemination procedure. Some barns are designed so that each cow is brought into the breeding chute parallel to other cows (side by side). This is convenient when the insemination technician needs to breed more than 50 cows in a day.
- When performing artificial insemination outdoors, it is best to do it on a warm sunny day rather than during rainy, windy weather. Using an indoor breeding chute is much more preferable.
Preparation for Insemination
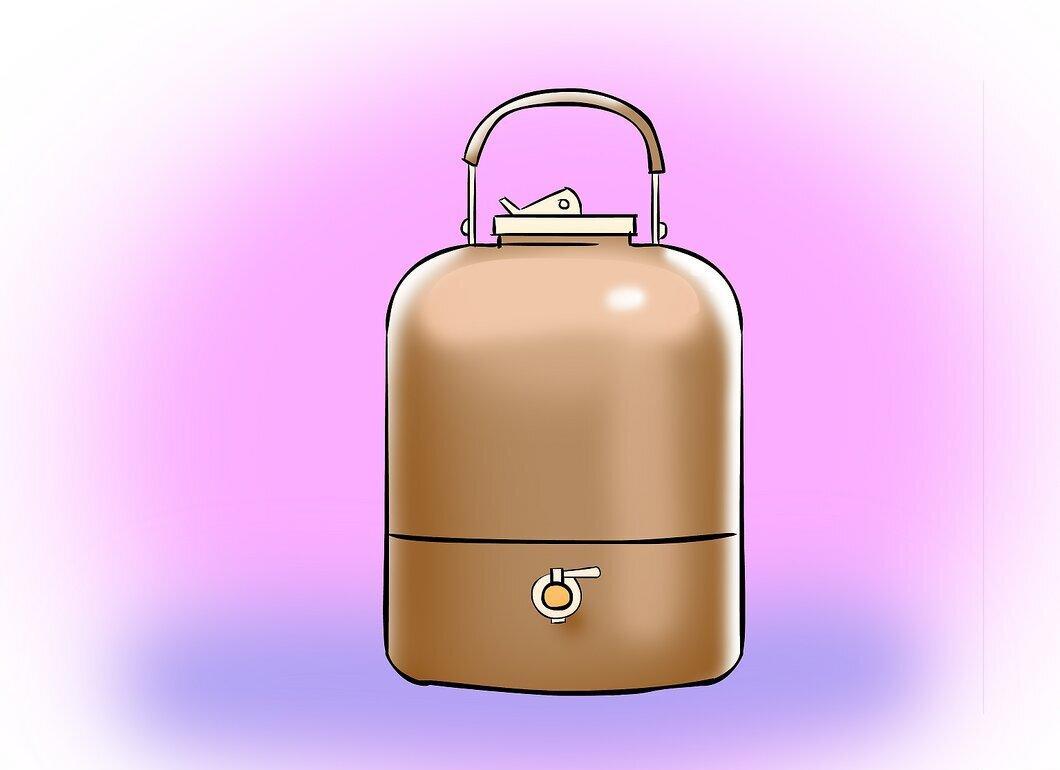
Step 1: Prepare Water at 34-35 Degrees Celsius in a Thermos.
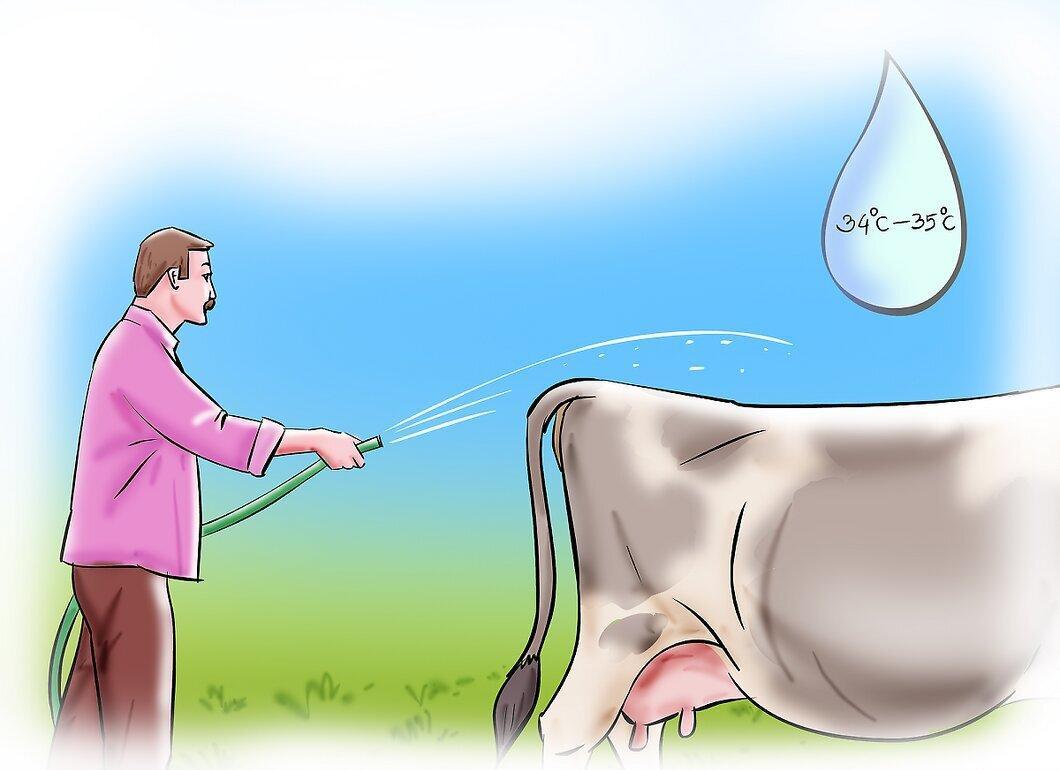
Prepare water at a temperature of 34-35 degrees Celsius in a thermos. Use a thermometer for precise temperature measurement.
Step 2: Identify the Vial Containing the Required Semen.
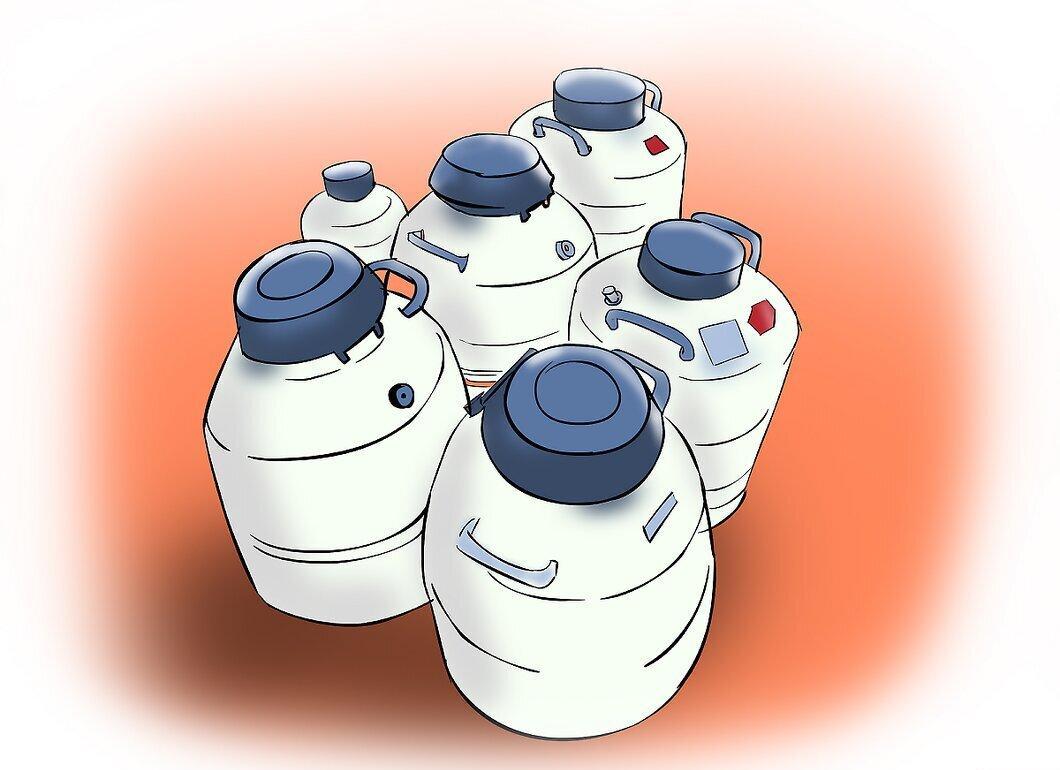
Identify which vial contains the semen you need. A record file outlining the location of each bull's semen in the storage tank helps avoid unnecessary searches.
Step 3: Remove the Vial from Storage, Moving to the Center of the Nitrogen Storage Tank.
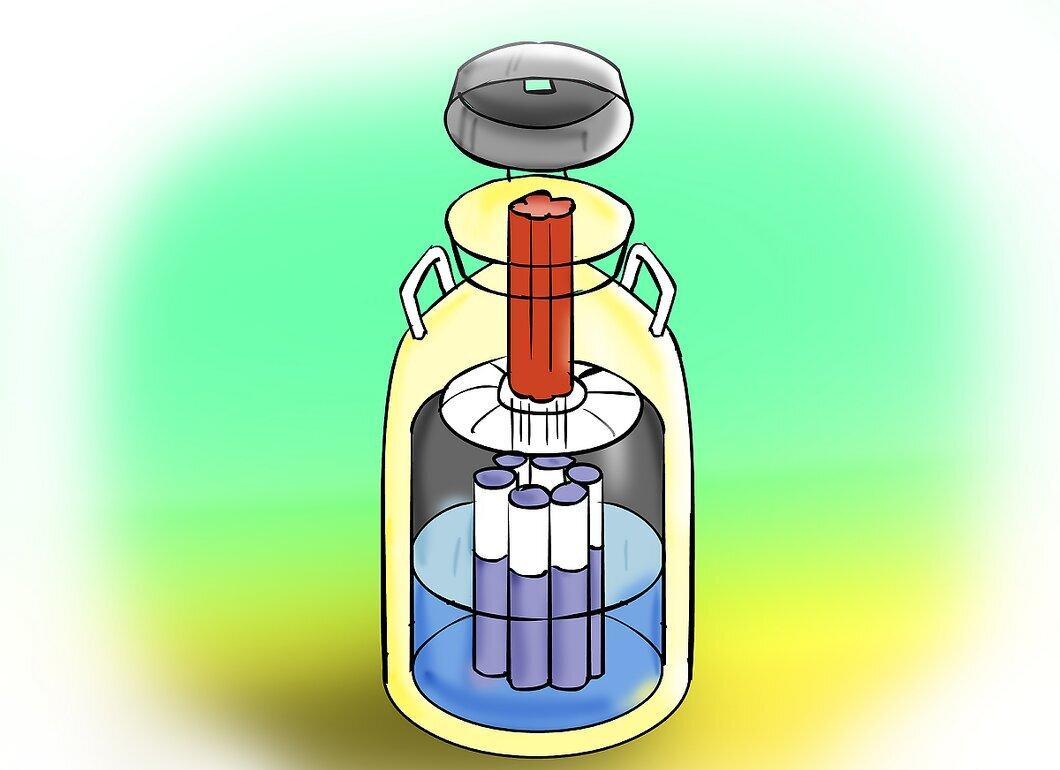
Remove the vial from storage, moving it to the center of the nitrogen storage tank. Raise the vial just enough to take out the straw with the sperm. The top of the vial should not rise above the freezing line or 5-7.5 cm from the top of the tank.
Step 4: Take the Required Vial, Then Immediately Return It to the Bottom of the Storage Tank.
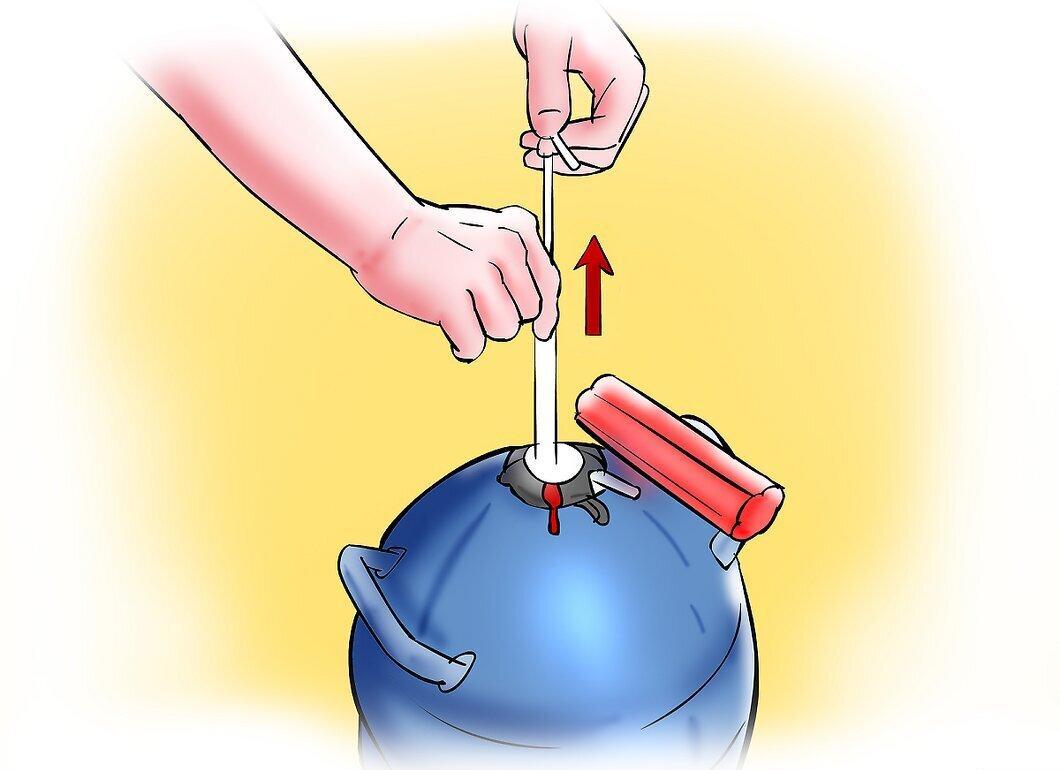
Take the required vial, then immediately return it to the bottom of the storage tank. Keep the vial as low as possible in the tank while extracting the straw with the sperm using forceps.
- You only have 10 seconds to extract the straws with the sperm!!!
Step 5: Shake the Straw to Remove Residual Liquid Nitrogen.
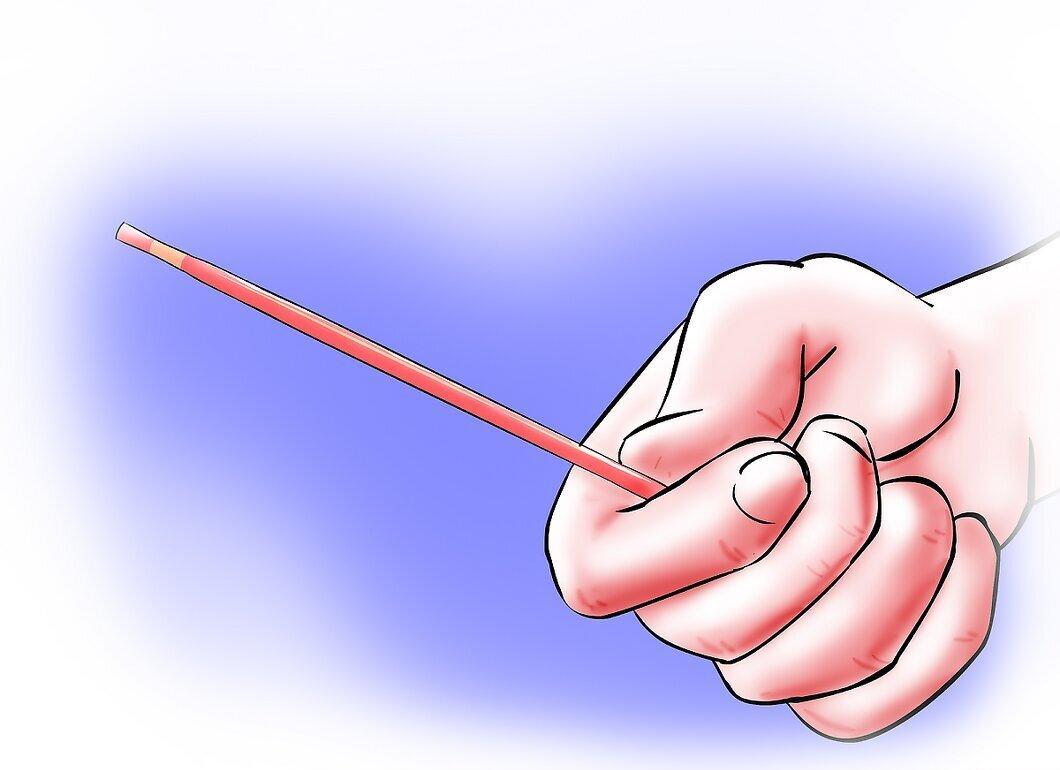
Step 6: Immediately Place It in the Prepared Thermos with Warm Water for 40-45 Seconds.
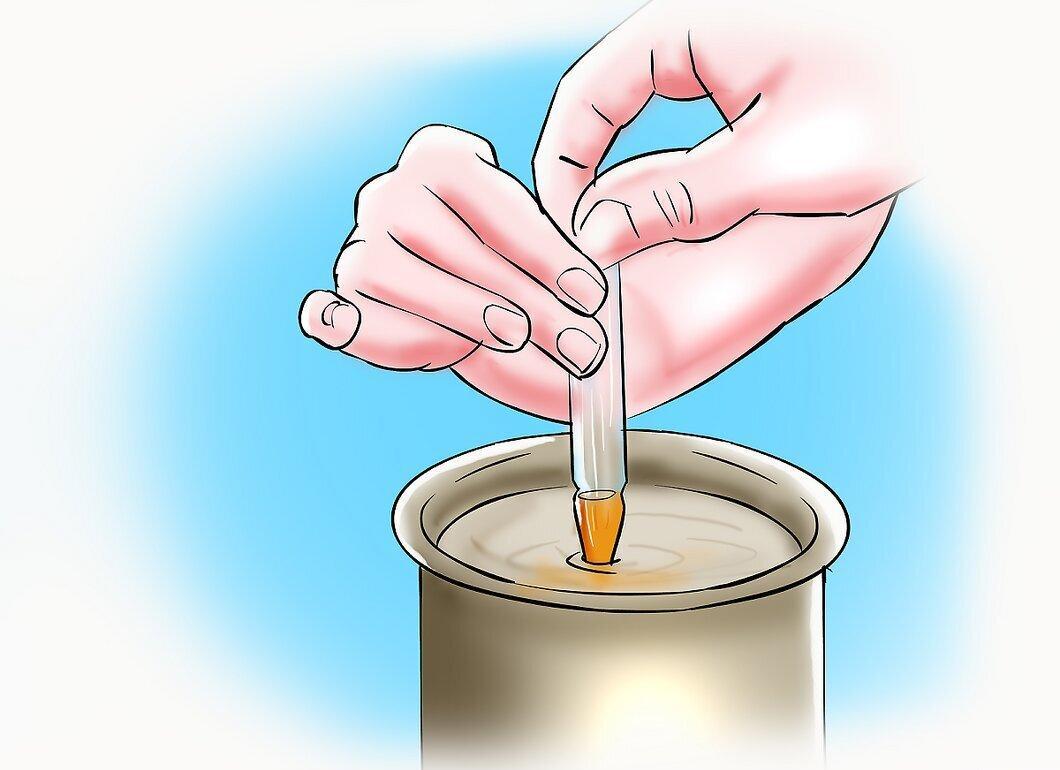
Step 7: After Placing the Straw in Warm Water, Return the Vial to Its Storage Position in the Tank.
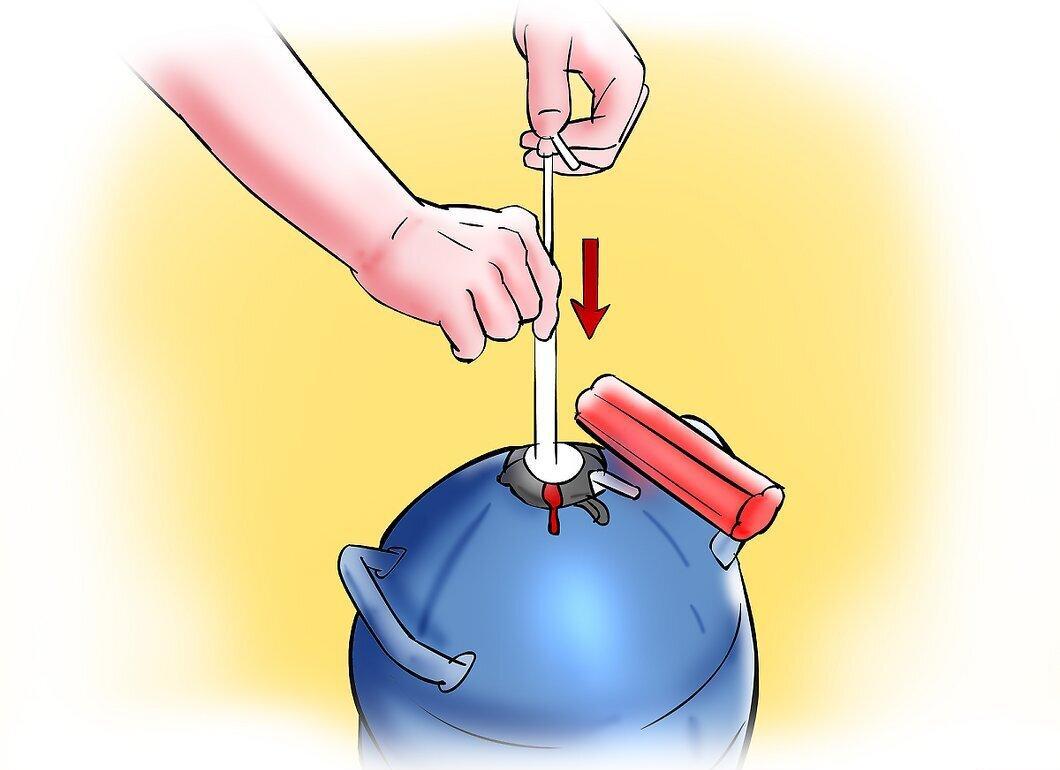
- If more than 10 seconds have passed, and you haven't returned the vial to storage, it must be returned to the liquid nitrogen storage for full cooling. Never return a straw with sperm to storage after it has been removed from the vial.
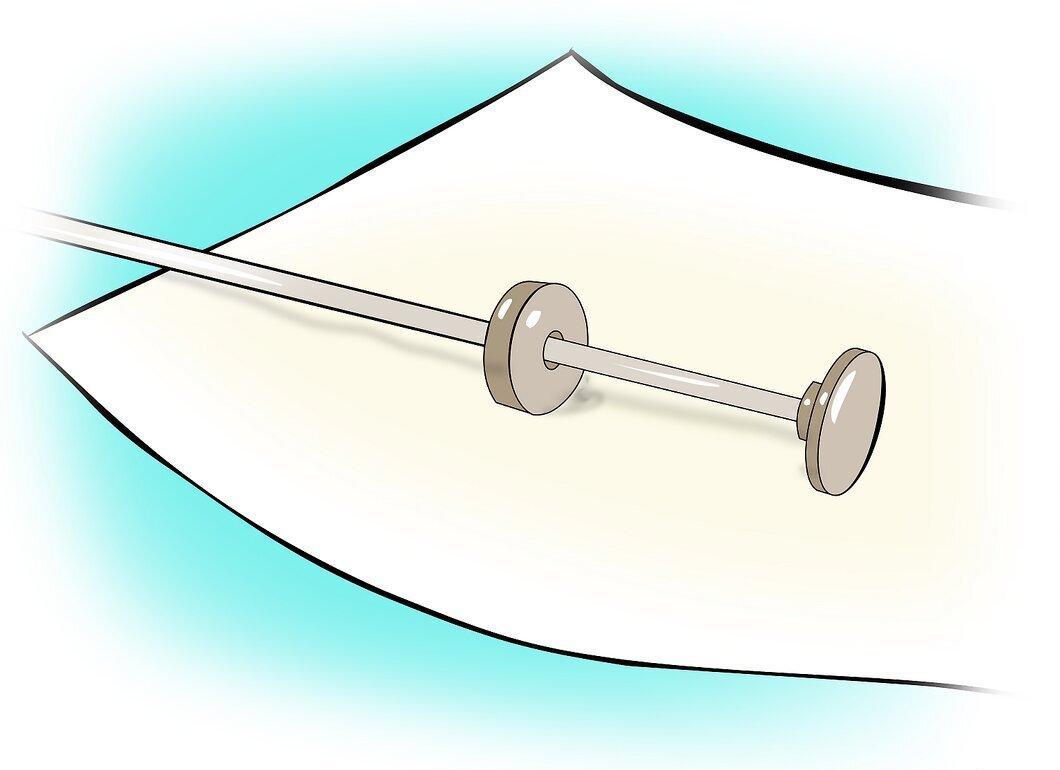
Step 8: Your Insemination Tool Should Be Ready and Assembled (Prepare It Before or After Preparing the Thermos with Warm Water).
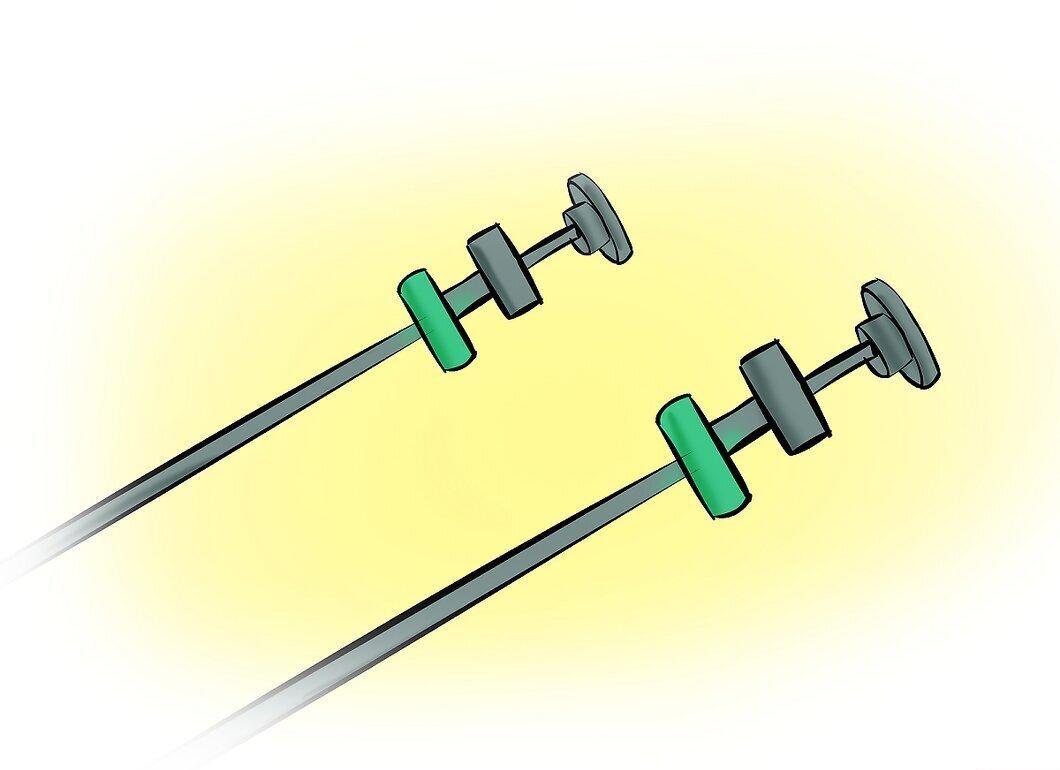
Your insemination tool should be ready and assembled (prepare it before or after preparing the thermos with warm water). If the ambient air temperature is cold, warm the working end of the tool close to your body. Wiping the working end of the tool with a paper towel also helps warm it up. If the air temperature is high, keep the tool in a cool place. The insemination tool should not feel too cold or too hot to the touch.
Step 9: Remove the Straw from the Thermos and Dry It with a Paper Towel.
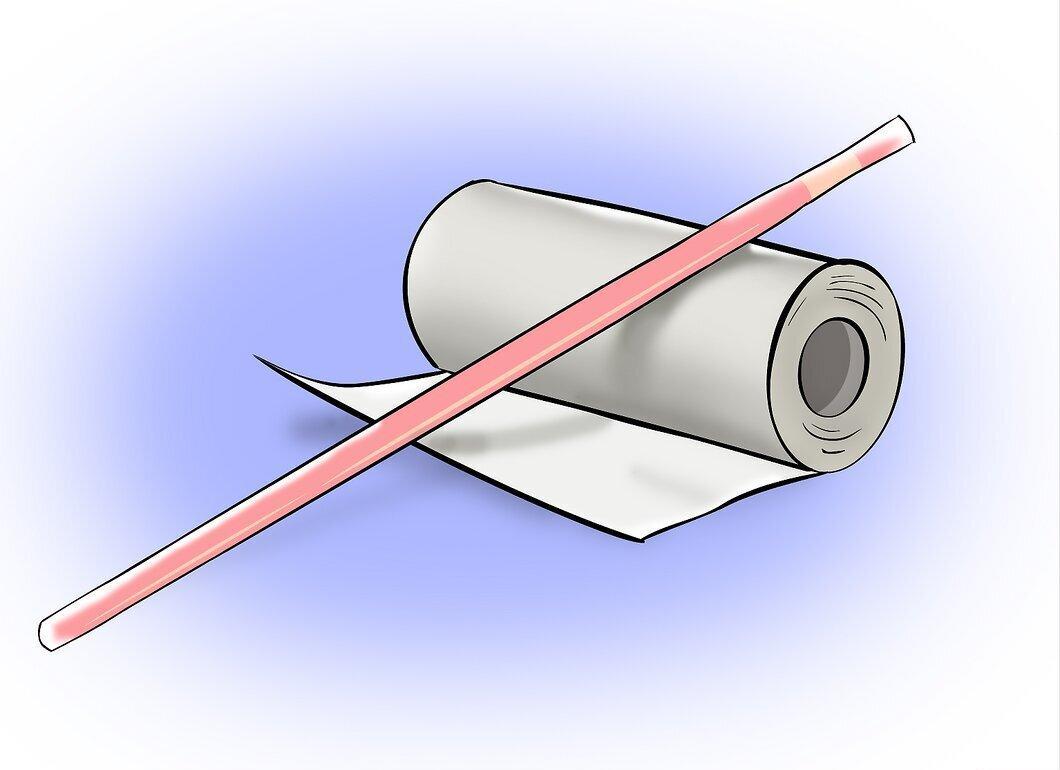
Remove the straw from the thermos and dry it with a paper towel. It should be completely dry before use. Lightly shake your wrist while holding the straw to adjust the air bubble in the straw. The air bubble should rise to the end of the straw that you are holding.
Step 10: Insert the Straw into the Insemination Tool.
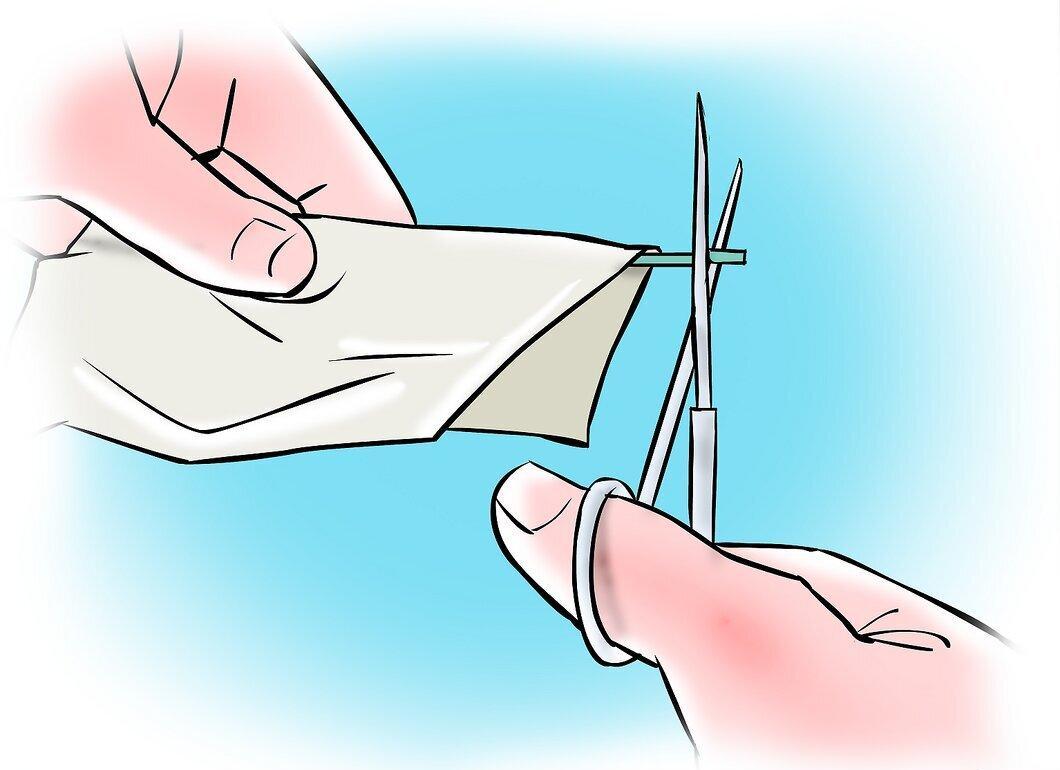
Insert the straw into the insemination tool. Cut 1 cm from the top of the straw. Use sharp scissors or a specially designed knife to cut the section of the straw with the air bubble.
Step 11: Wrap the Insemination Tool in a Clean Paper Towel or Protective Cover and Keep It Close to Your Body for Transport.
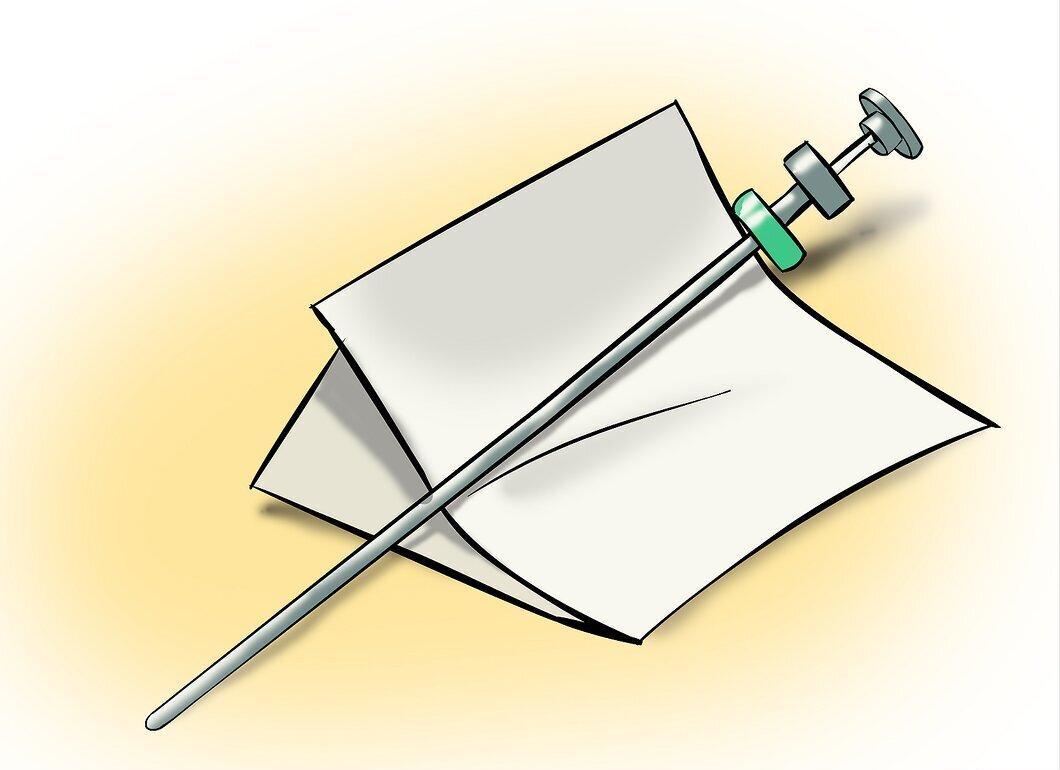
Artificial Insemination of Cows
Step 1: Lift the Cow's Tail Upwards to Rest on Your Left Forearm or Tie It Up to Prevent Interference During Insemination.
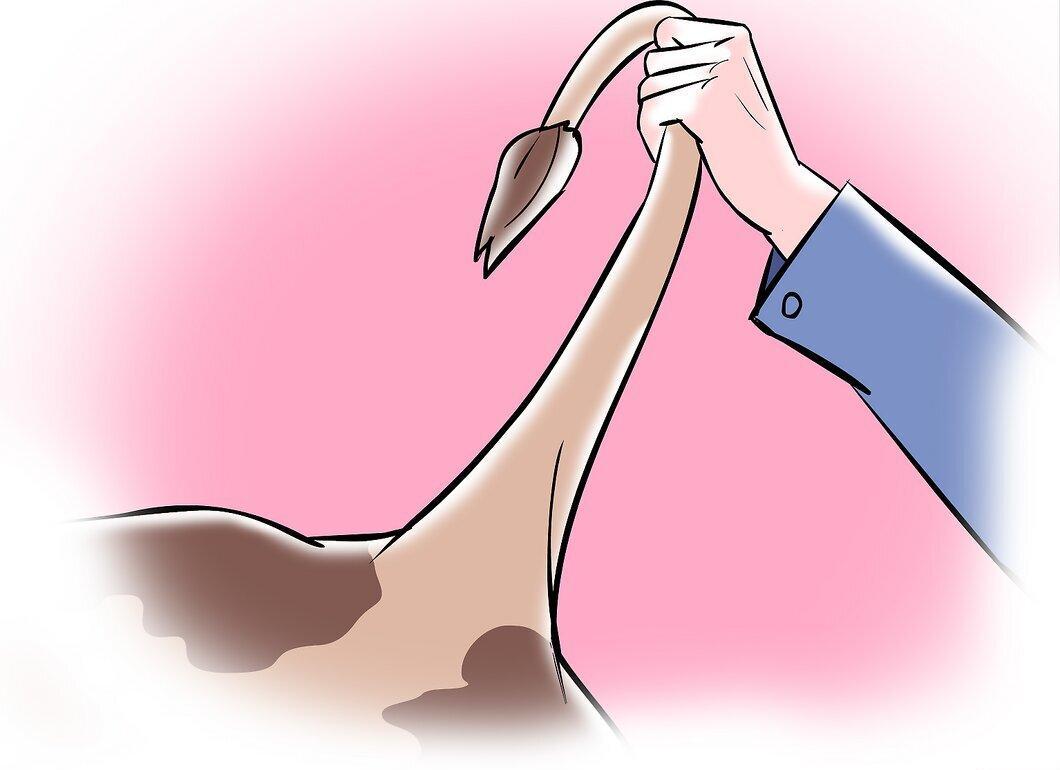
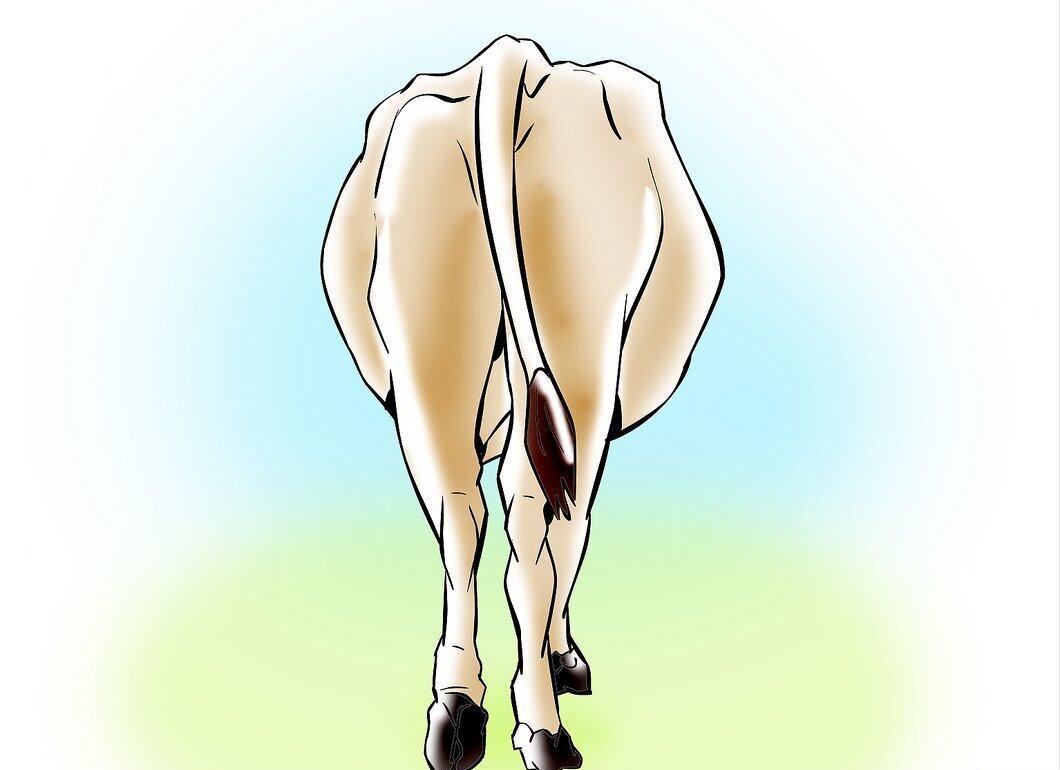
Lift the cow's tail upwards so that it rests on your left forearm or tie it up to prevent it from interfering during the insemination process. Use one hand (preferably your right) to lift the tail, while the other hand (which should be gloved and lubricated) clears the path for the insemination tool from feces in the rectum that could obstruct palpation of the reproductive organs and insertion of the tool into the vagina.
Step 2: Clean the Vulva with a Clean Paper Towel or Cloth to Remove Manure and Dirt.
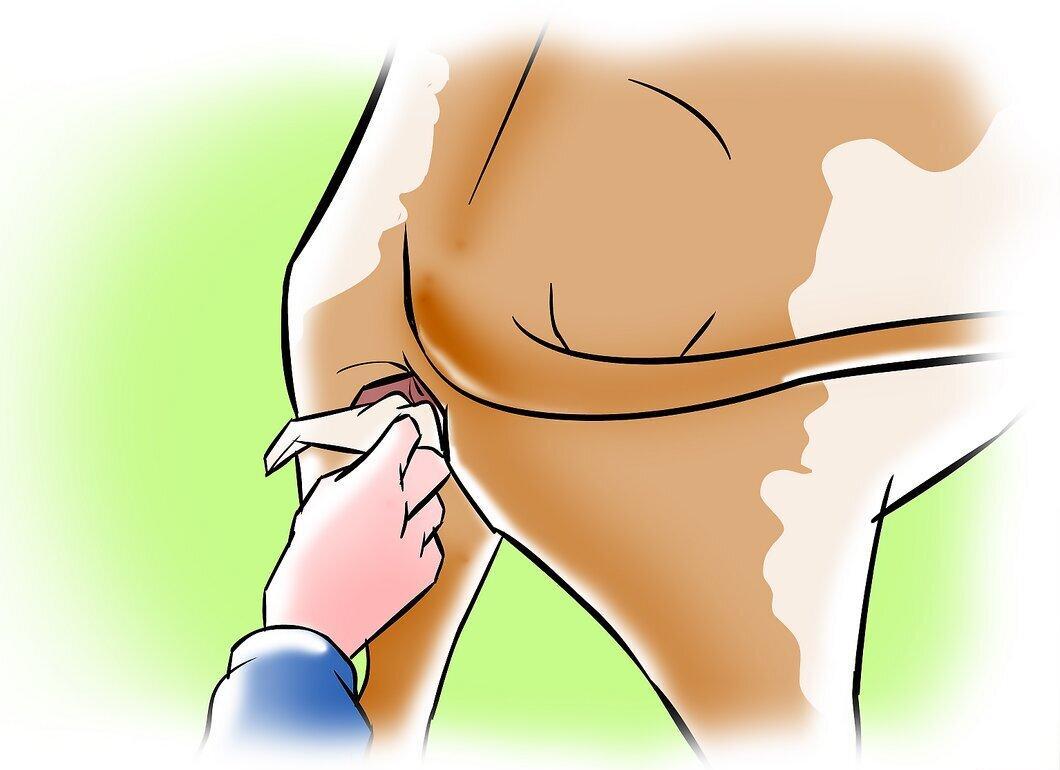
Step 3: Remove the Tool from Your Clothing, Unwrap It, and Insert It at a 30-Degree Angle to the Cow's Vulva.
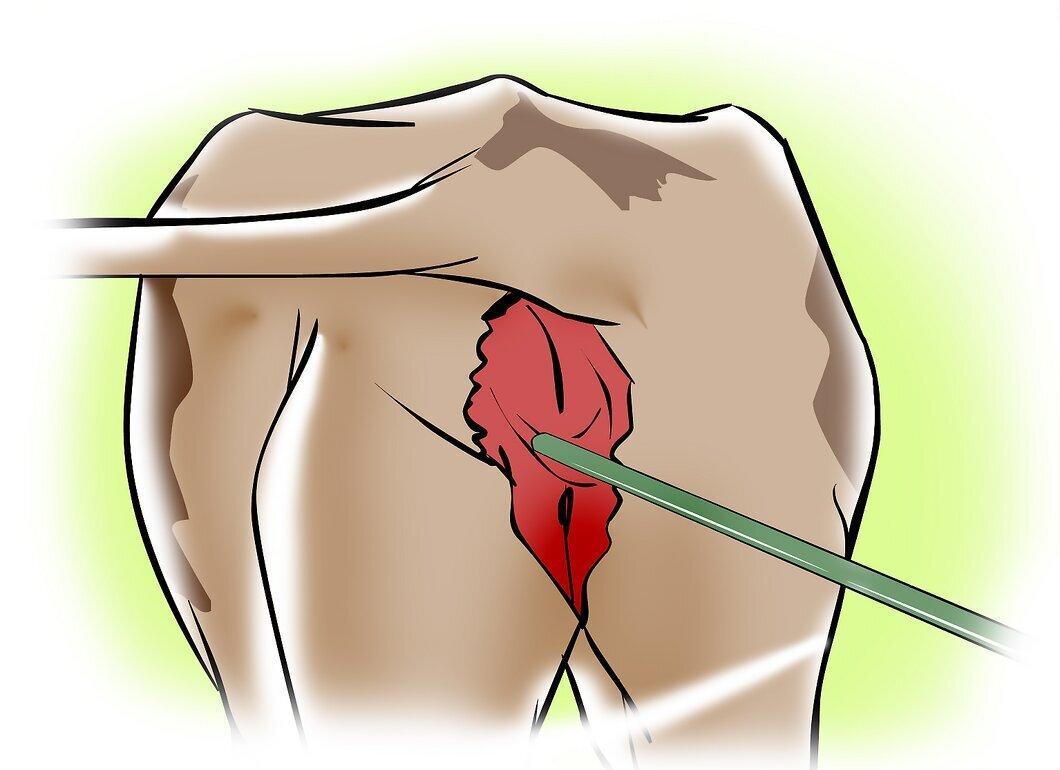
Remove the tool from your clothing, unwrap it, and insert it at a 30-degree angle to the cow's vulva. This is done to avoid accidentally inserting the tool down into the bladder.
Step 4: While Keeping Your Left Hand Inside the Cow's Rectum, Palpate Through the Rectal Wall and Vagina to Locate the Tip of the Insemination Tool Until It Reaches the Cervix.
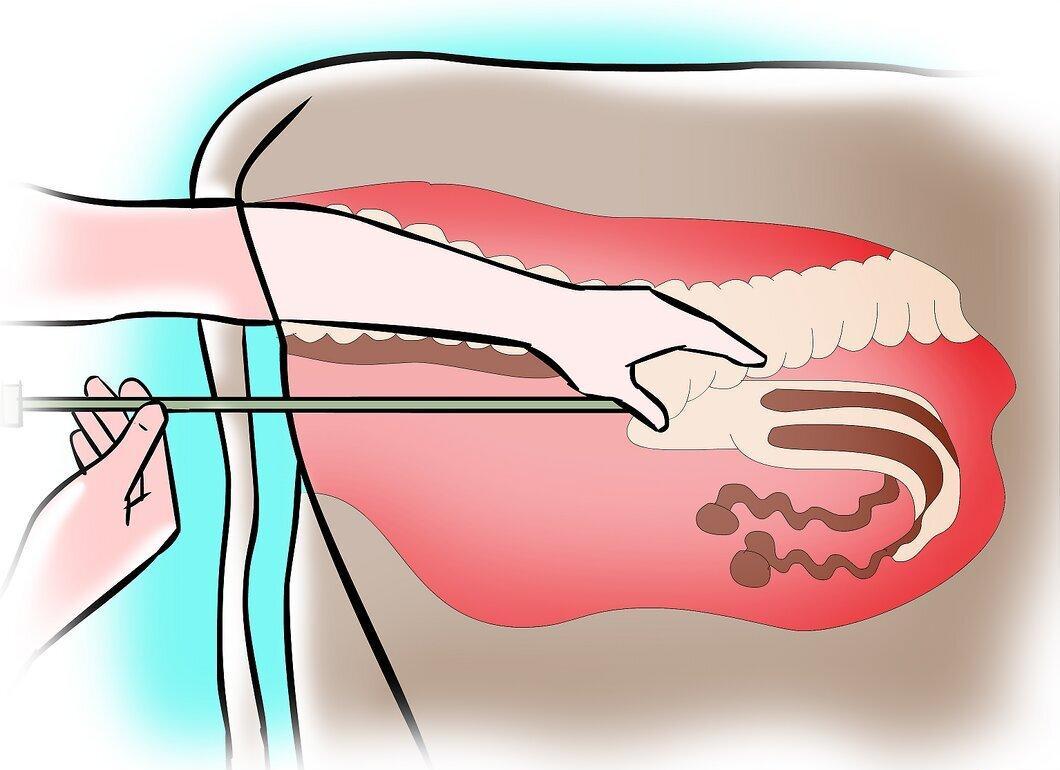
Step 5: Grasp the Cervix with the Hand Inside the Cow's Rectum (As if Grabbing a Handrail Nearby), Hold It Steady While Inserting the Tip of the Insemination Tool.
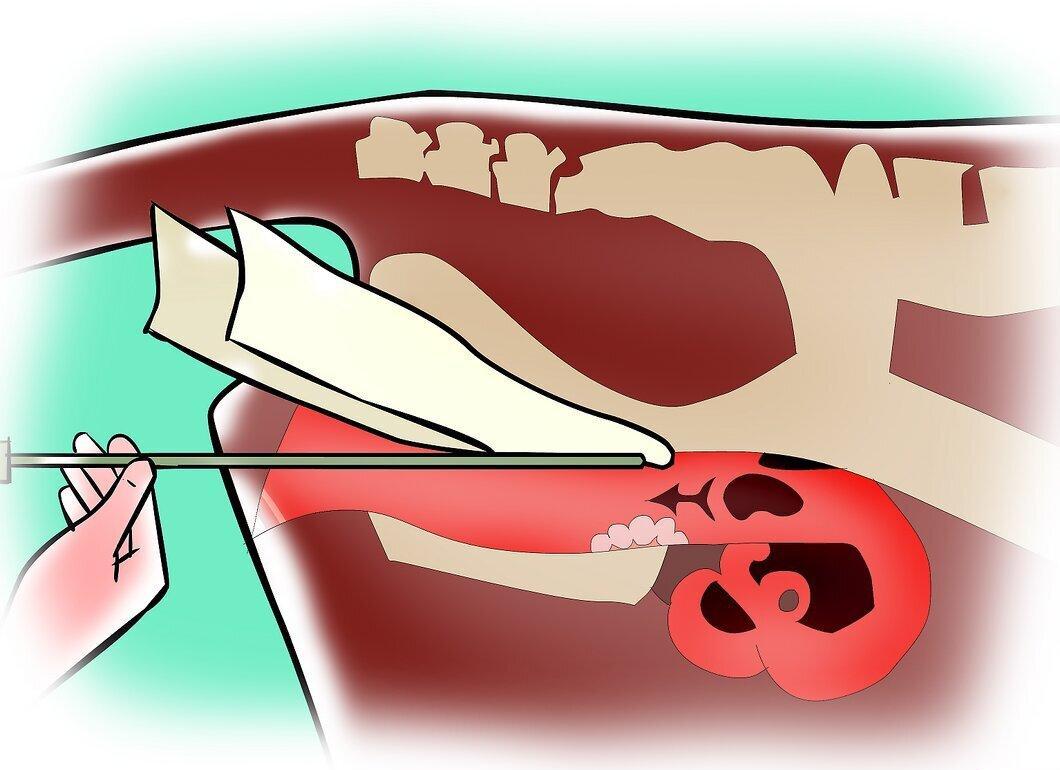
Step 6: Once the Tool is Inserted into the Cervix, Check Its Position with Your Index Finger.
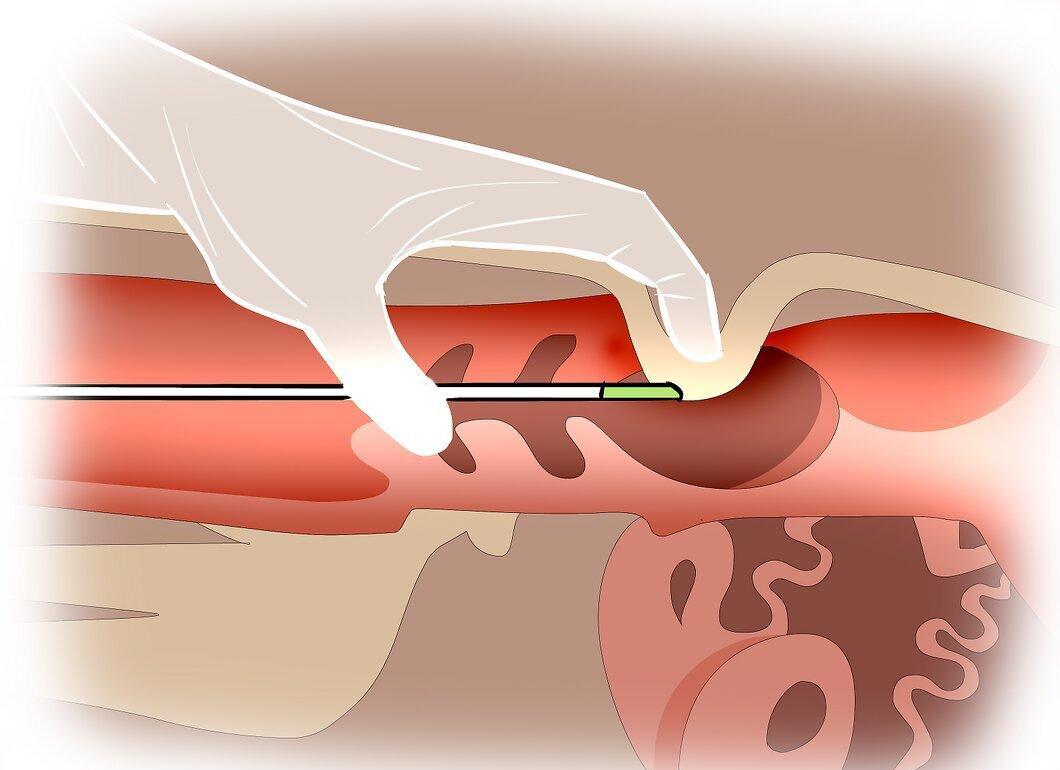
Once the tool is inserted into the cervix, check its position with your index finger. The tip should only enter the uterus by 0.5-1 cm.
Step 7: Slowly Push the Plunger with Your Right Hand, Releasing Half of the Semen Dose.
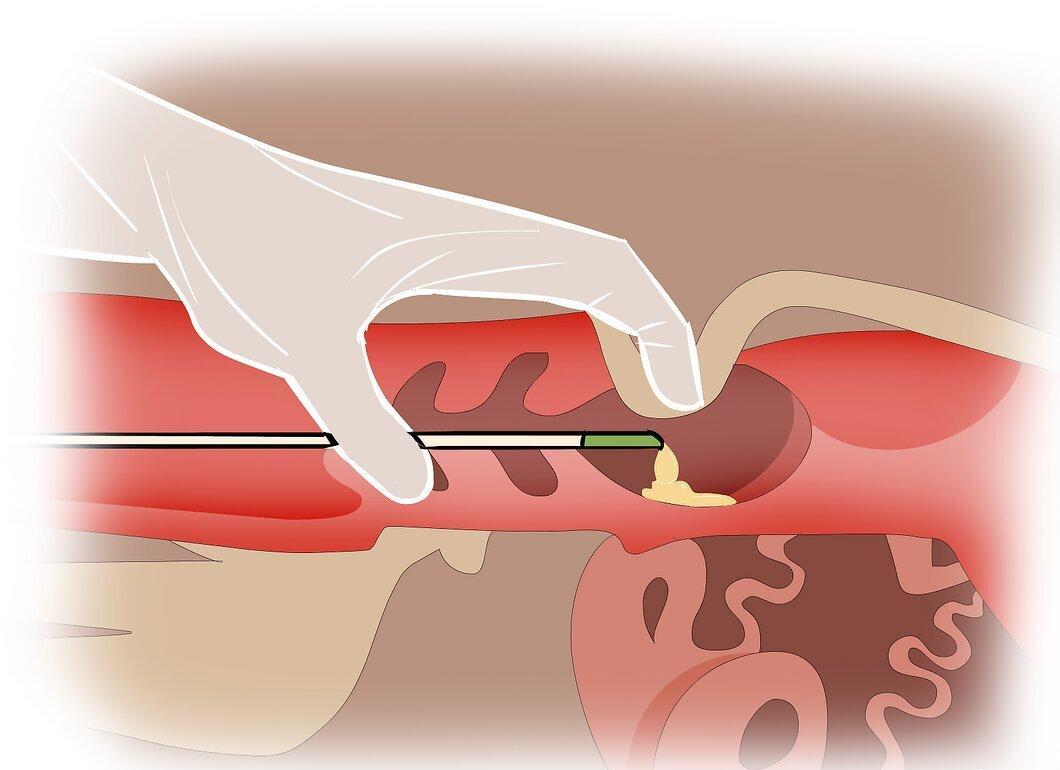
Step 8: Double-Check the Location of the Semen, Ensuring It is Going into the Uterus and Not into Any Blind Spots.
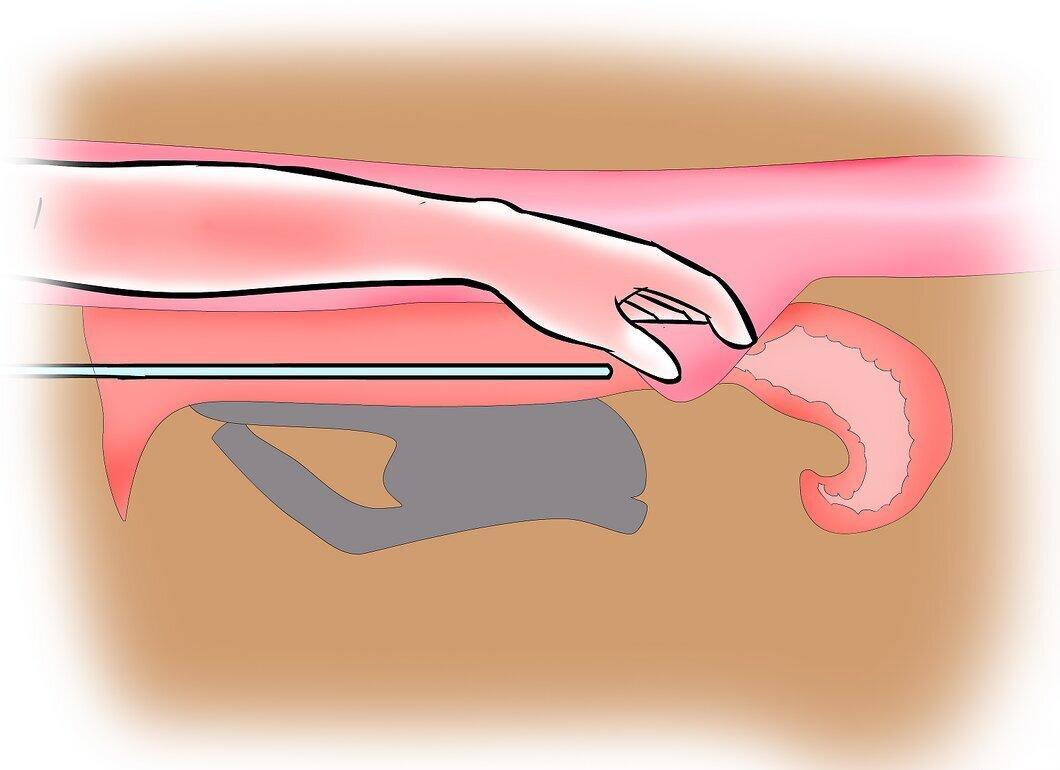
Double-check the location of the semen, ensuring it is going into the uterus and not into any blind spots (see tips), and release the remaining half of the semen dose from the straw.
Step 9: Slowly Withdraw the Insemination Tool and Your Hand from the Cow.
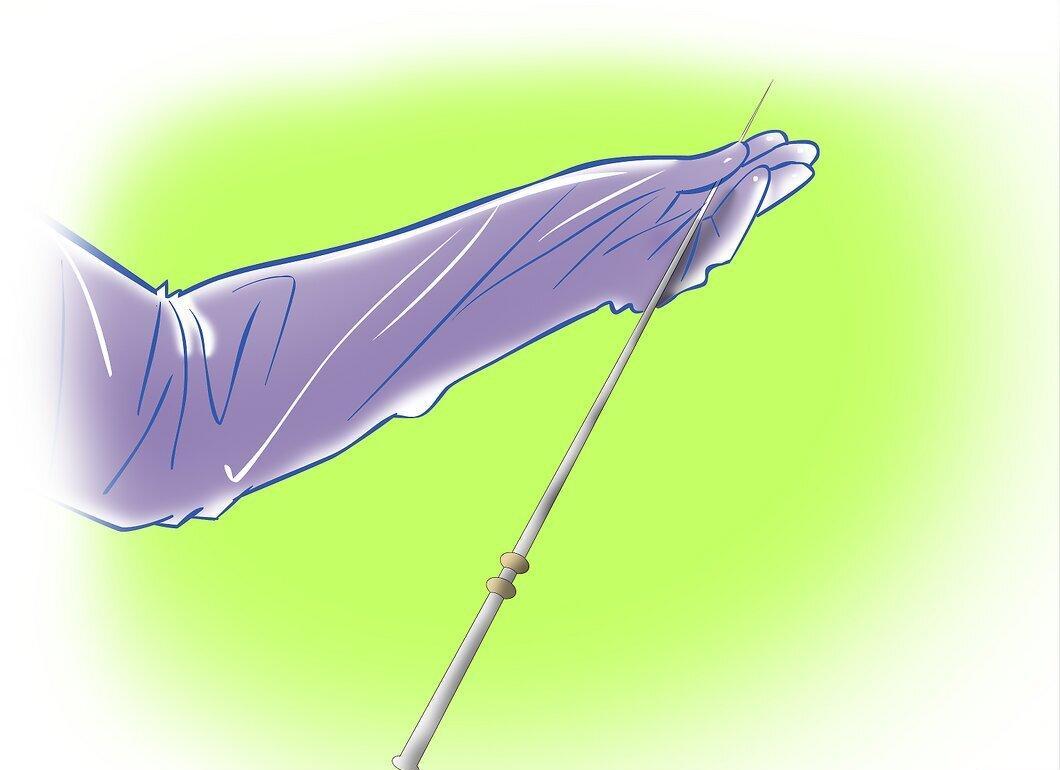
Slowly withdraw the insemination tool and your hand from the cow. Check the cow for any signs of blood, infection, or return of semen by inspecting the tool.
Step 10: Check the Straw to Ensure the Correct Bull's Semen Was Used for the Cow.
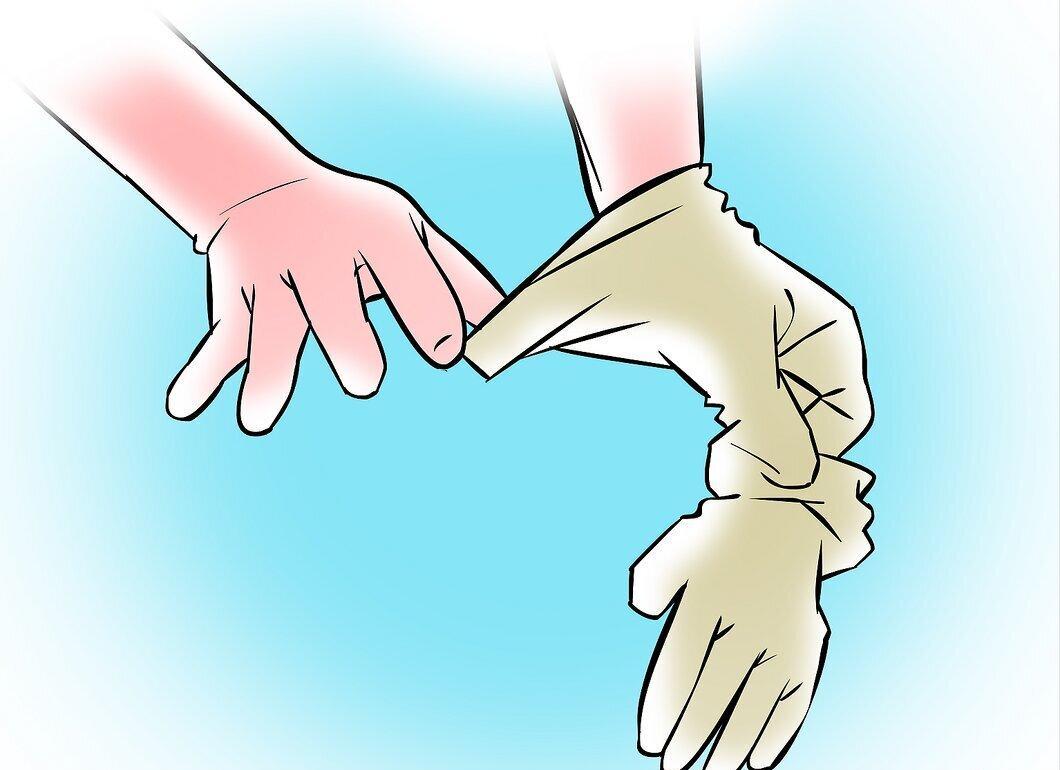
Step 11: Discard the Straw, Glove, and Towels.
Step 12: Clean the Insemination Tool if Necessary.
Step 13: Record Breeding Information in Your File.

Step 14: Release the Cow (if needed, depending on how your insemination area is set up) and Secure the Next Cow for Insemination.
Step 15: Check the Temperature of the Water in the Thermos Before Repeating the Steps for Another Cow.
Step 16: Repeat the Insemination Procedure for the Next Cow.