Being a tutor is a significant responsibility, but the joy and pride in your students' successes will be a tremendous reward. However, to be a good tutor, having knowledge of the subject alone isn't enough. To help people unlock their potential, you need to have an individualized approach to their needs and goals. With this approach, each student can better grasp the material that challenges them.
Assess the Student's Needs
Step 1. Pay attention to what the student already knows.

Pay attention to what the student already knows. During your first meeting with the student, you need to determine their knowledge level to avoid wasting time in your sessions. Ask them what they understand and what they enjoy most about the subject. Let the student express their thoughts about the subject openly and demonstrate their successes. This way, they will feel intelligent and capable, while you will understand what material they have already mastered.
Step 2. Ask about their challenges.

Ask about their challenges. Students are often aware of their weak points and gaps in knowledge. They know which questions they consistently miss on tests and which topics they struggle to understand. Allow the student to explain where they get lost and make a list of these areas for yourself.
Step 3. Set goals together.

Set goals together. Create a list of both major and minor goals that can realistically be achieved in a reasonable timeframe. For example, a student may not improve their math grade within a month, but three months would be enough for significant improvement. Smaller goals can be short-term: for instance, by the end of the session, the student will be able to summarize the main source of their upcoming research paper in 150 words.
- Write the goals down on a piece of paper, and let the student track them themselves. This empowers them with greater responsibility for what they achieve.
Step 4. Track the student's progress.

Track the student's progress. Create a chart that allows you and the student to evaluate how well they are doing during your sessions and in class. The chart can include the following elements:
- grades from tests and quizzes;
- class participation grades;
- achievement of jointly set goals;
- your assessment of the student's efforts;
- your assessment of the student's understanding of the material.
- Don’t hold back on praise if the student's grades improve! If there are no improvements, but you see the student is trying, your chart will help them not to give up.
Structure Your Sessions
Step 1. Start each session with questions about previously covered material.

Start each session with questions about previously covered material. Before moving on to new content, you must ensure that the student has mastered the old material. Ask one or two open-ended questions to allow the student to show how well they grasp the key points. If they struggle, you may need to refresh their memory before proceeding. Also, give the student the opportunity to ask any questions about the material covered.
Step 2. Help students meet subject requirements.

Help students meet subject requirements. Ask the student to inform you about projects or essays as soon as they are assigned. Break each project into smaller parts and work on them together, slowly and in advance. This way, the assignment will be better completed, and the student will gain insight on how to plan their time effectively.
- If the teacher provides questions and guidelines for exams, focus your lessons on topics that will be on the exam.
Step 3. Dedicate each session to a specific goal.
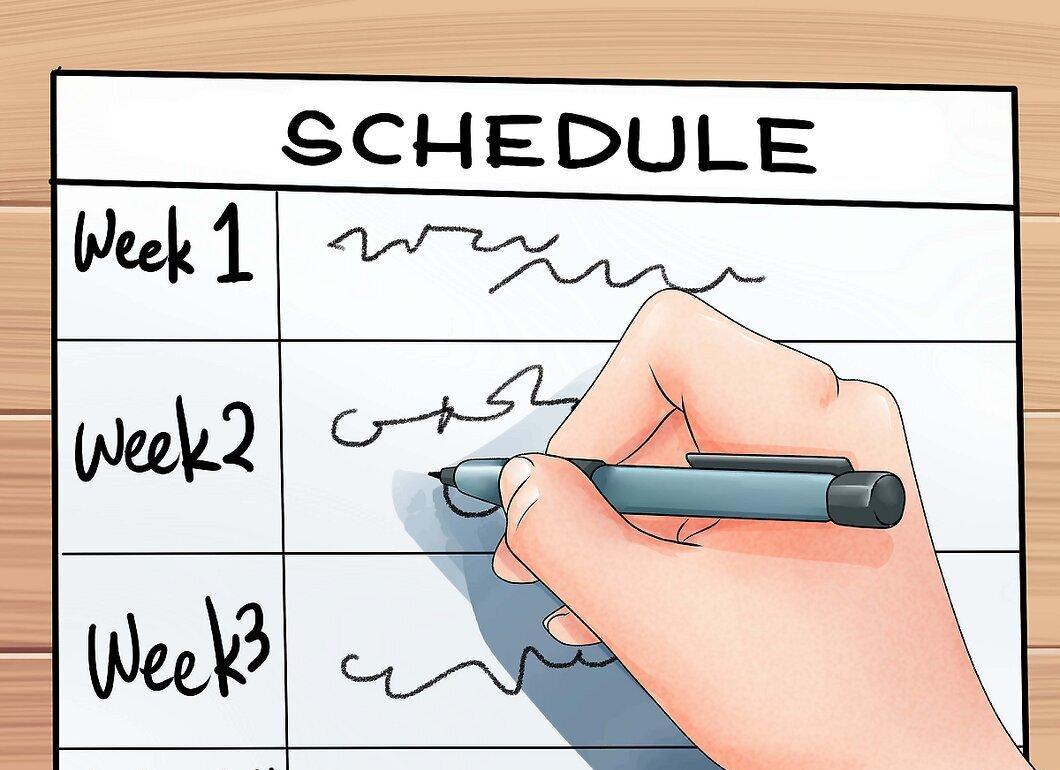
Dedicate each session to a specific goal. Depending on what the student needs in your subject, you may work on a writing assignment or project, or review the material studied in class. After reviewing old material, verbally outline the plan for the session. Ensure that the goals are achievable:
- "Today we will work on organizing your essay. We will just take the ideas you already have and arrange them in the best order to create a detailed outline."
- "Today we will talk about the Allies' interactions during World War II. In the next session, we will look at the Hitler coalition."
- "Today we will go over all your mistakes from the previous math test and try to find the correct answers. Then we will work on similar problems."
Step 4. Give students a chance to feel their successes.

Give students a chance to feel their successes. While you need to work towards achieving goals, you shouldn’t set the bar too high, so the student doesn’t become discouraged. Each session should include tasks that the student can already successfully complete. From this starting point, you can progress towards more challenging tasks requiring greater effort.
- If the student is struggling at the level you expected, don’t give up! Repeat the exercise until they can do it perfectly. When they achieve this, praise them for overcoming the obstacle.
Step 5. Incorporate breaks.

Incorporate breaks. A break should last no more than 5 minutes. Working for extended periods can be tiring and lead to a loss of focus. A five-minute break is enough to ensure the student doesn't become too distracted from their studies and returns with renewed energy.
Step 6. Adapt to the student’s needs.

Adapt to the student’s needs. You’ve set goals, but sometimes kids and teens get tired of working, just like adults do. If you sense that the student is fatigued or in a bad mood, don’t be afraid to deviate a bit from the plan to relieve the tension. For example, if you’re teaching a foreign language, you could listen to and translate a song instead of doing verb conjugation exercises. Or you might watch a cartoon in that language and check how much the student understands the plot.
Step 7. Tailor your teaching style to the student's learning style.

Tailor your teaching style to the student's learning style. Not all children approach learning in the same way. Some may find it easier to work alone, so give them time to complete tasks independently. Others may be more interactive and better understand the material if you work through all the problems together.
- Auditory learners understand verbal explanations better, so discuss all concepts and ideas with them. They need to articulate the essence of the material themselves, so be prepared to sit and listen.
- Kinesthetic learners need hands-on activities. If you’re studying anatomy, bring in 3D models or clay so the student can sculpt different body parts.
- Visual learners benefit from visual aids, such as pictures, charts, or educational videos.
Step 8. End each session in a way that leaves the student looking forward to the next.

End each session in a way that leaves the student looking forward to the next. The end of a session doesn’t mean the subject can be forgotten until next week. Clearly tell the student what they need to prepare for the next lesson. If you didn’t cover everything in the session, let the student finish the remaining tasks as homework. If you have something exciting planned for the next lesson, make sure the student is eagerly anticipating it.
Build Relationships with the Student
Step 1. Build trust with your students.

Build trust with your students. Your goal is to help students develop their potential. Therefore, you are not only a tutor but also a friend and a support group. With trusting relationships, you can more effectively motivate them toward success.
- Talk about how the subject makes the student feel. Students who are falling behind in class may feel embarrassed about it. As they make progress, they will start to feel more empowered and proud. Encourage them on days of failure and rejoice in their successes.
- Share your own experiences of failure and overcoming it.
- Get to know their interests to make the lessons more engaging. A simple equation may seem boring, but a problem about a battle between dinosaurs may captivate a passionate student.
Step 2. Learn the student’s communication style.

Learn the student’s communication style. Communicate with the student in the way they prefer to communicate. If they are very shy, this should not be ignored! The student may feel most comfortable asking questions via email on days between sessions. Sometimes students are reluctant to ask questions in person, even if they don’t understand something.
Step 3. Come to each session in a good mood.

Come to each session in a good mood. Your student will instantly catch your vibe. If you appear tired and sluggish, this will transfer to the student. Conversely, if you smile and radiate optimism in every lesson, the student will follow your example and start putting in more effort.
Step 4. Act more as a mentor than a teacher.

Act more as a mentor than a teacher. Tutors and teachers have entirely different roles. A teacher deals with many students at once and must act as a knowledge bearer with a certain authority. A tutor works one-on-one, acting more as a knowledgeable friend than an authoritative figure. You have only one student during the session, so there’s no need to lecture. Allow students to take control of their learning process and help them move toward their goals.
- Ask plenty of questions. Don’t lecture the student. Instead, ask open-ended questions that will prompt them to think and arrive at the answer independently.
Step 5. Give the student a chance to love the material.

Give the student a chance to love the material. While you should guide the student toward achieving goals, you shouldn’t be afraid to loosen the reins a bit. If while studying the Civil War they want to spend more time on a less crucial but very dramatic episode, don’t deny them this, even if it takes the whole session. A tutor should encourage natural curiosity, not suppress it. Growing enthusiasm will help in future learning.
Step 6. Communicate clearly and directly with parents and teachers.

Communicate clearly and directly with parents and teachers. Without their help, you won’t know where to focus your sessions to help the student succeed in school. This is especially important if you’re dealing with younger children. A high school student may explain the purpose of the subject to you, but a third grader may not.
- Reach out to parents and teachers and establish a regular communication schedule.
- You can talk to parents each time they bring the student to the session.
- You might agree to email the teacher every first Monday of the month to stay informed about the student’s performance in class.