
Dyeing Dried Roses: A Fun and Creative Process
Dyeing dried roses can be an exciting process, and with a little effort, the results will exceed your expectations. You’ll only need boiling water, dye, and already dried flowers. In this article, you’ll find a traditional method for dyeing dried roses along with a detailed guide. Keep reading!
Single-Color Dyeing of Roses
Step 1: Start by taking a dried rose and ensure it is completely dry.
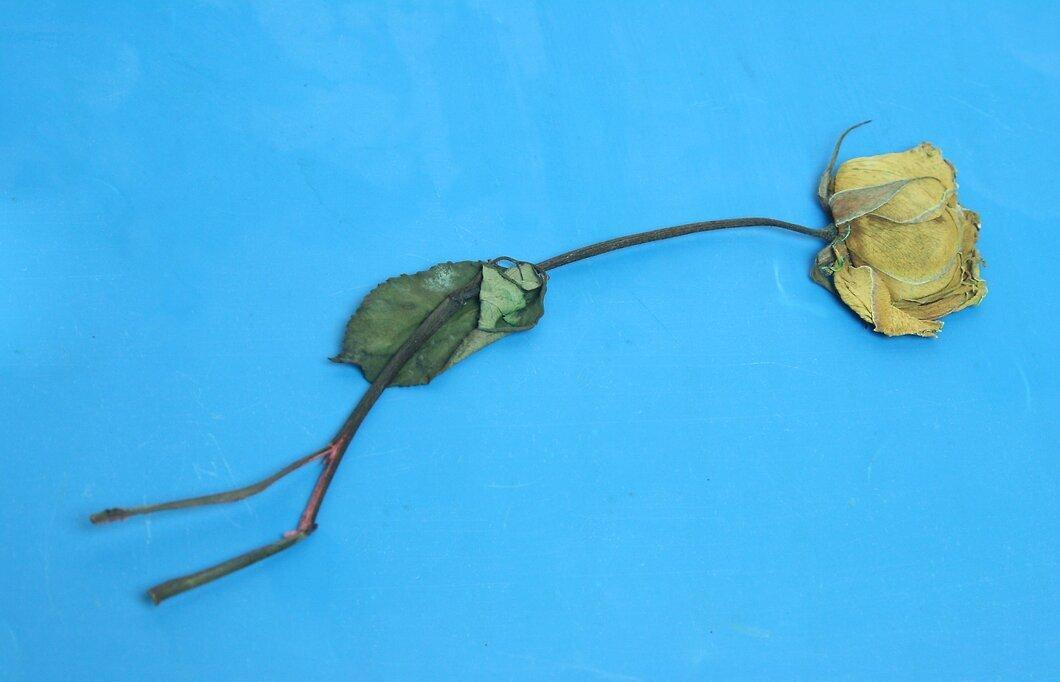
First, hold the dried rose in your hands and make sure it is absolutely dry. White roses are particularly well-suited for dyeing as the color adheres more easily, like a clean canvas.
Step 2: Fill a pot with water and bring it to a boil.
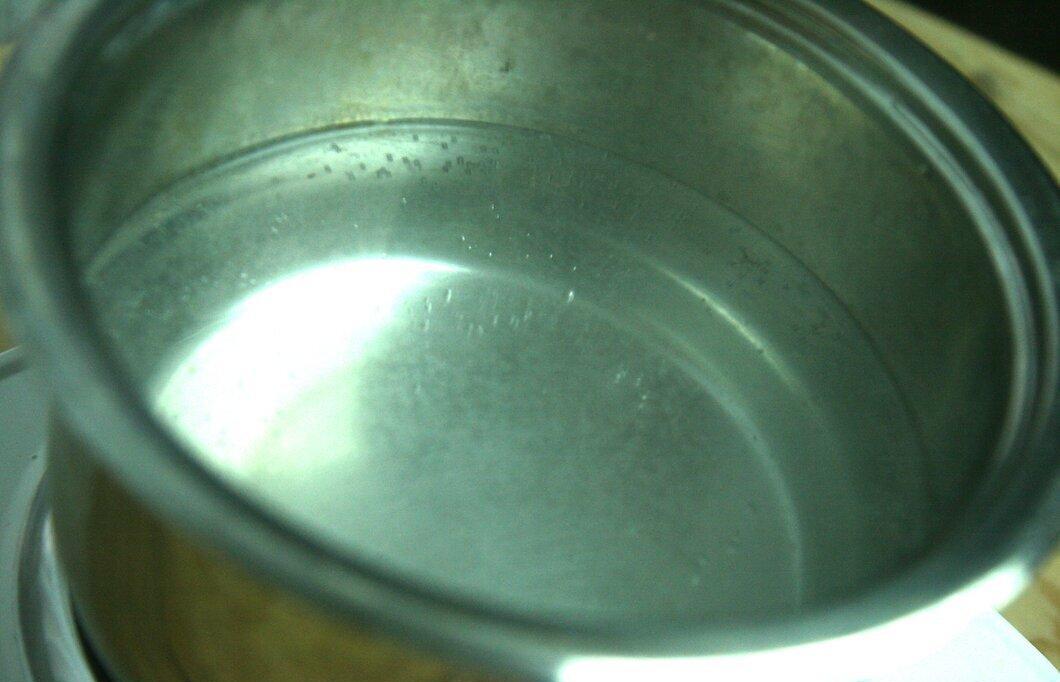
Fill a pot with enough water and bring it to a boil. Ensure that the water level allows for complete submersion of the rose petals.
Step 3: Add dye to the boiling water.
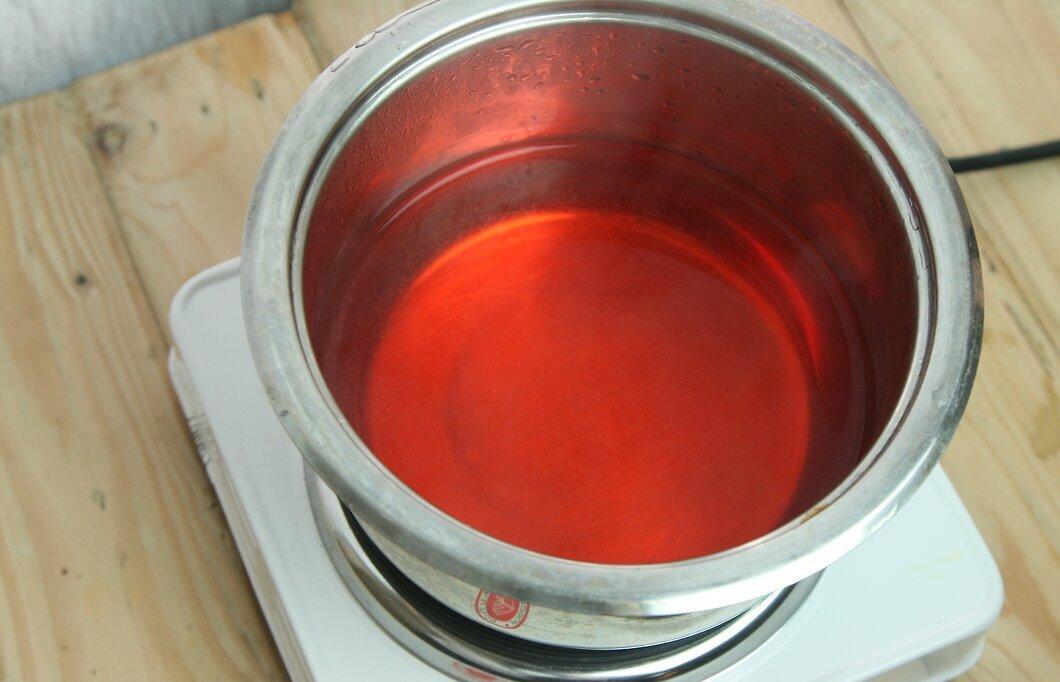
Now, add dye to the boiling water. Many choose Rit dye, but you can also use other types of dyes or food coloring. Typically, 8 to 15 drops are sufficient depending on the volume of water; using more dye will yield a richer color.
Step 4: Don’t forget to add some salt to the water.
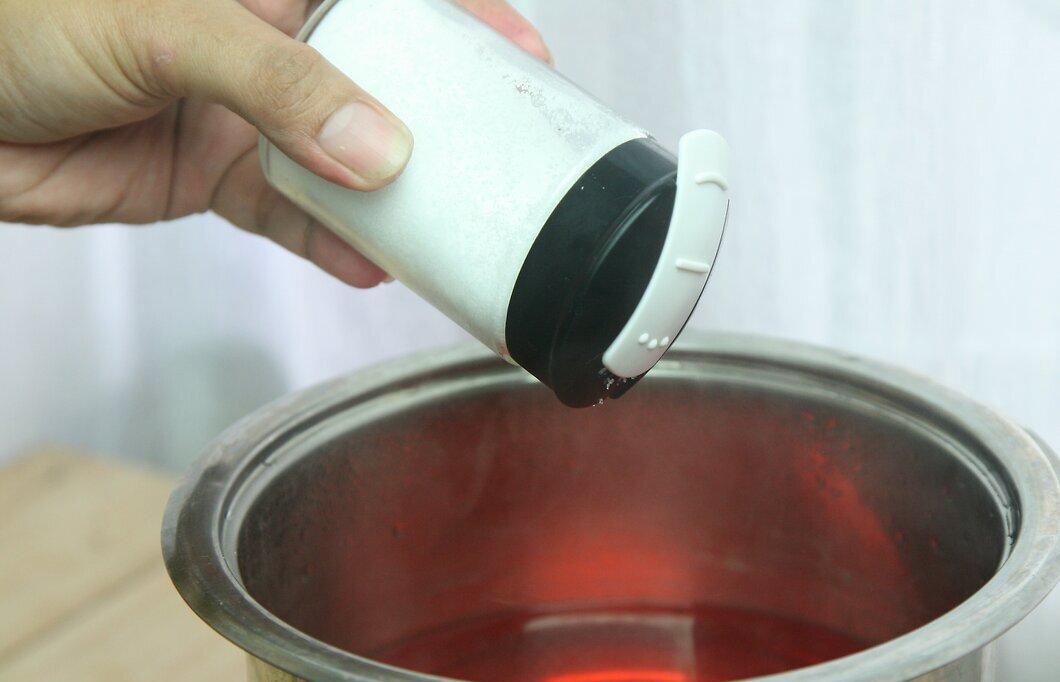
Add a bit of salt to the mixture. Be sure to stir well until the salt completely dissolves. This helps the dye adhere better to the flowers. For a medium-sized pot, one teaspoon of salt is enough.
Step 5: Submerge the rose petals in the dye mixture.
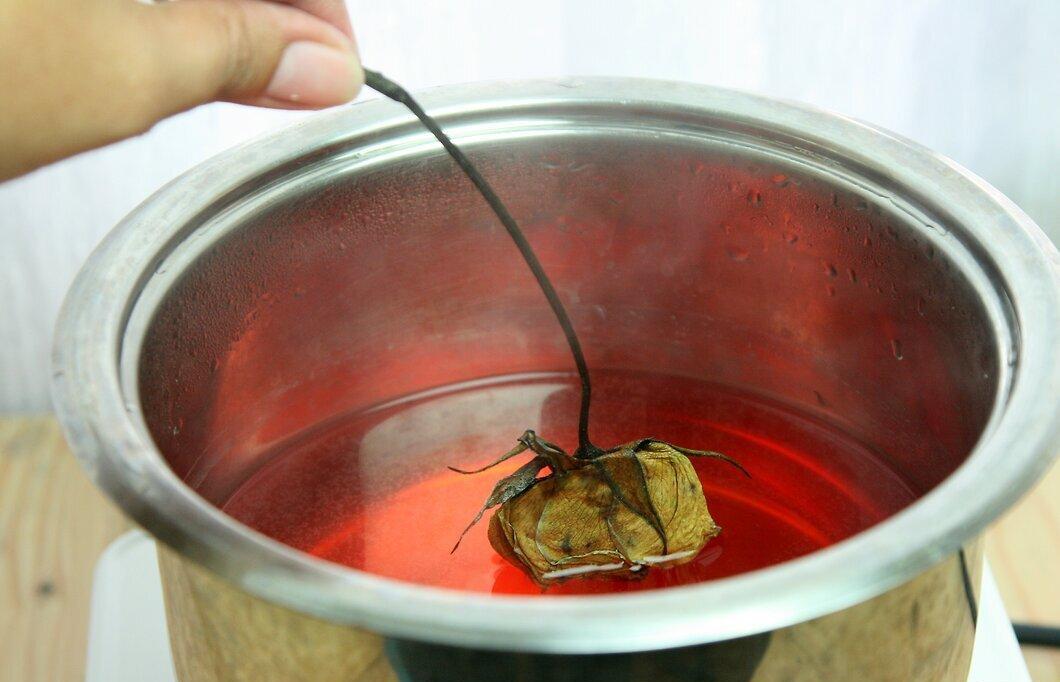
Now, place the petals into the prepared mixture. The hotter the water, the more intense the color will be. If you use cooler water and soak the flowers for less time, it will create a light, airy effect that many also enjoy.
Step 6: Hang the flowers to dry in a safe place, like on a rack.
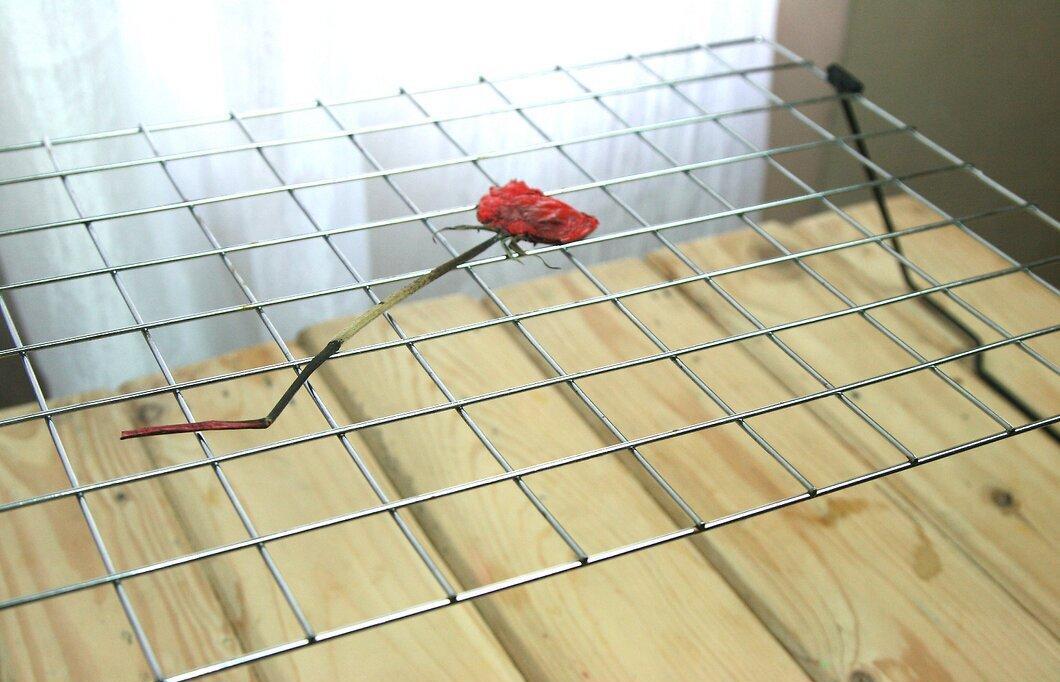
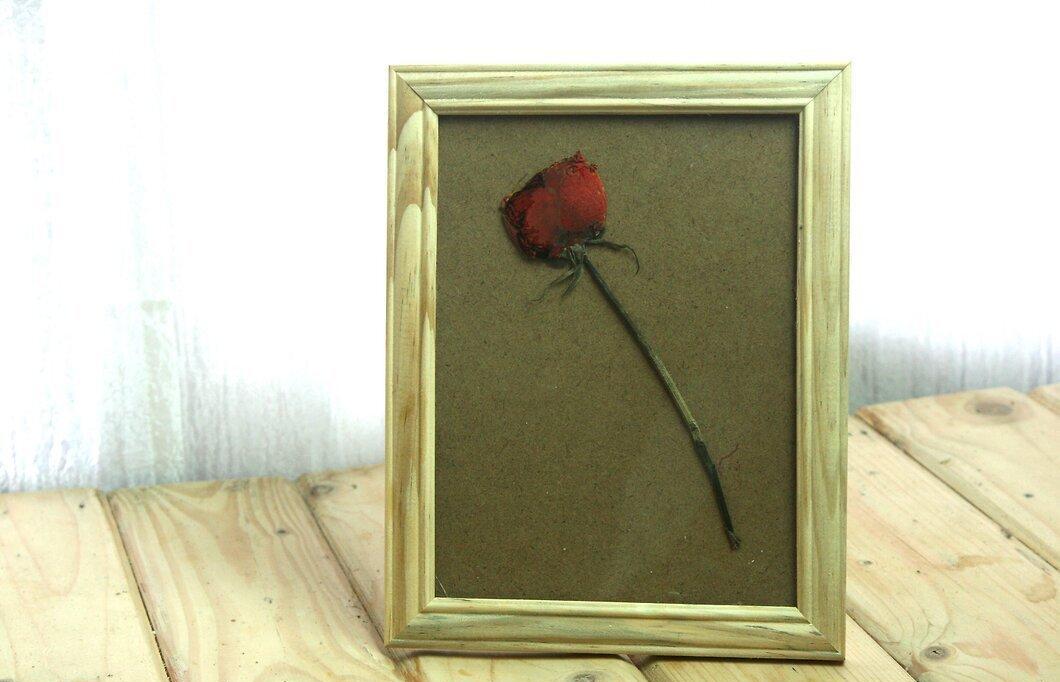
Step 7: All done!
Multi-Color Dyeing of Roses
Step 1: Trim all the roses to the same length.
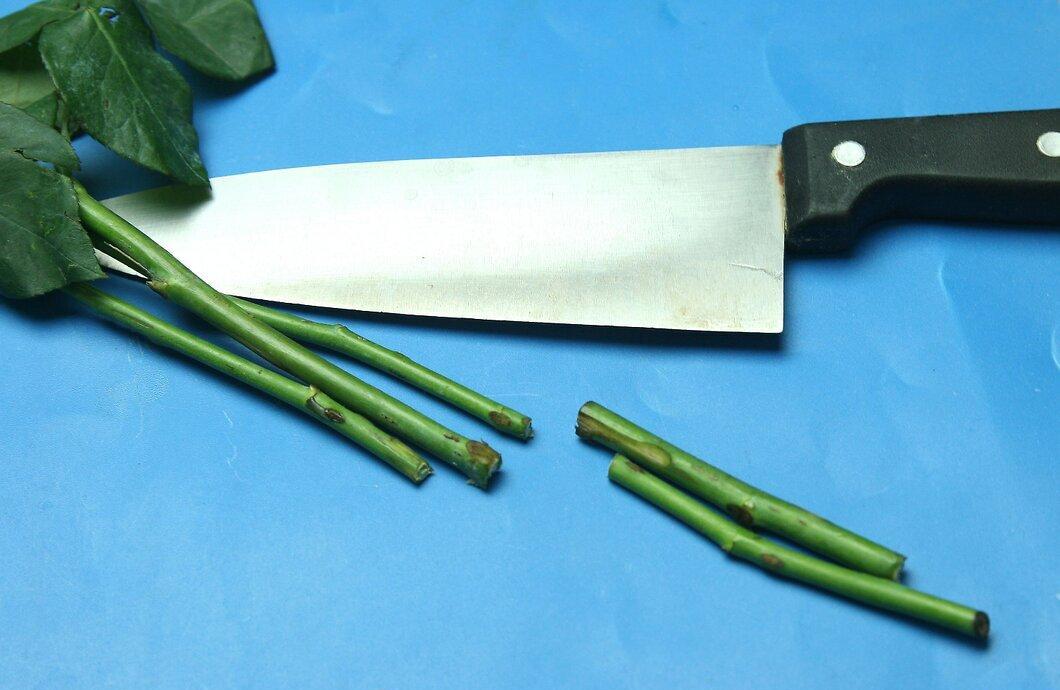
First, trim all the roses to the same size. You will need to cut the stems into two or four parts and place each part in a separate container with dye. Short stems work well for this, but it’s not necessary, especially if you have tall glasses for dyeing.
Step 2: Divide the stems of each rose into two or four parts.
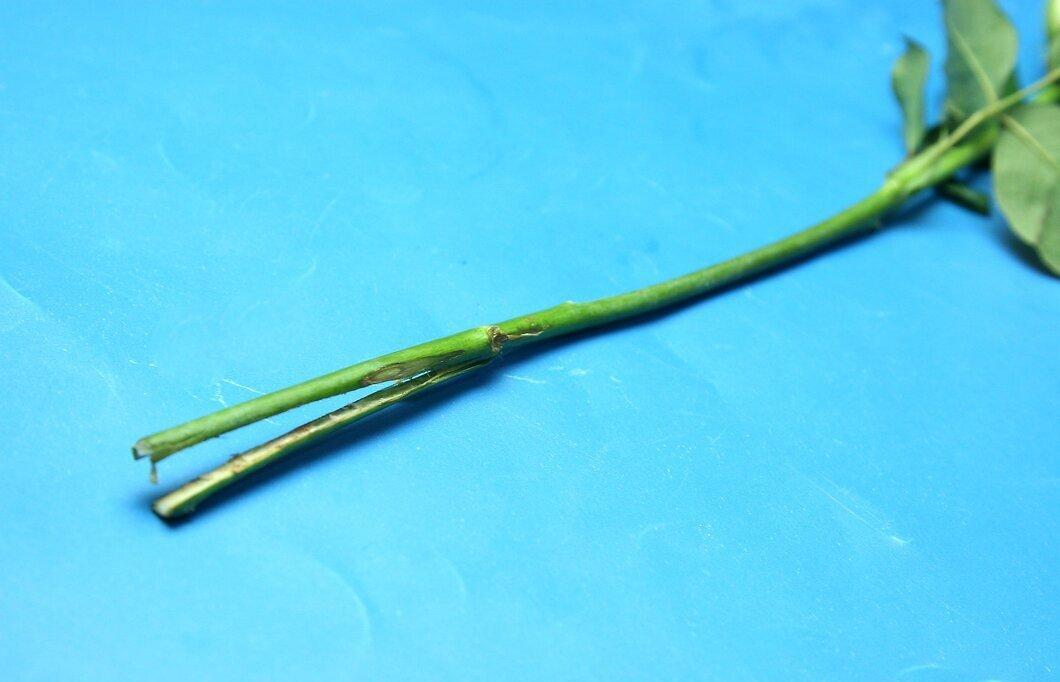
Cut the stems into two or four parts. For an impressive result, cut them into four parts, but even two parts can create a great effect.
- There's no need to cut the stem all the way through; cutting it about halfway is enough.
Step 3: Find suitable containers for dyeing.
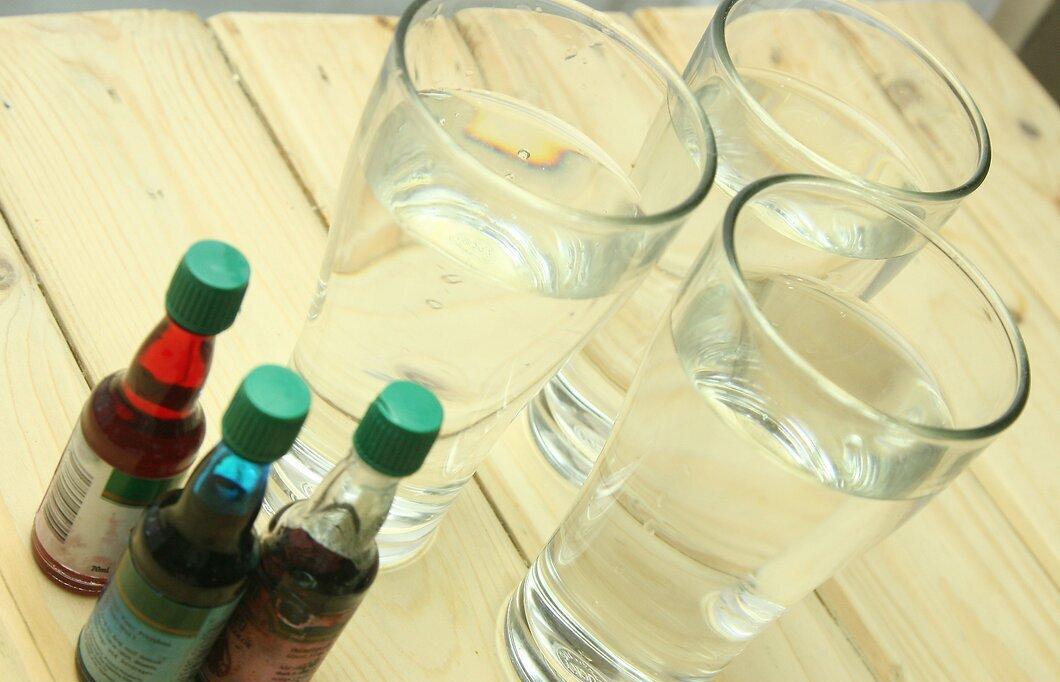
Choose convenient containers for dyeing. Lollipop molds work great, and you can also use two cups or vases for each flower.
Step 4: Fill different containers with various dyes.
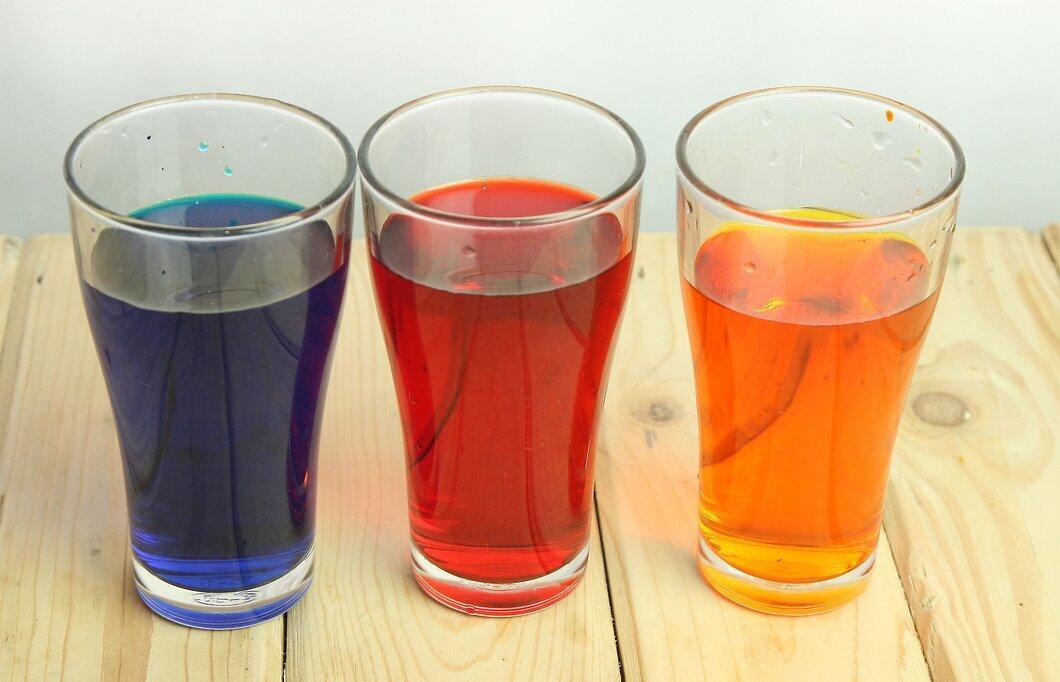
Fill each container with its respective dye. The key is to ensure that the dye only covers the tips of the stems.
- Choose colors that complement each other, such as red and pink; yellow and green; blue and purple; yellow and orange; blue and green.
Step 5: Place the tips of the stems in the dye and leave them until fully absorbed.
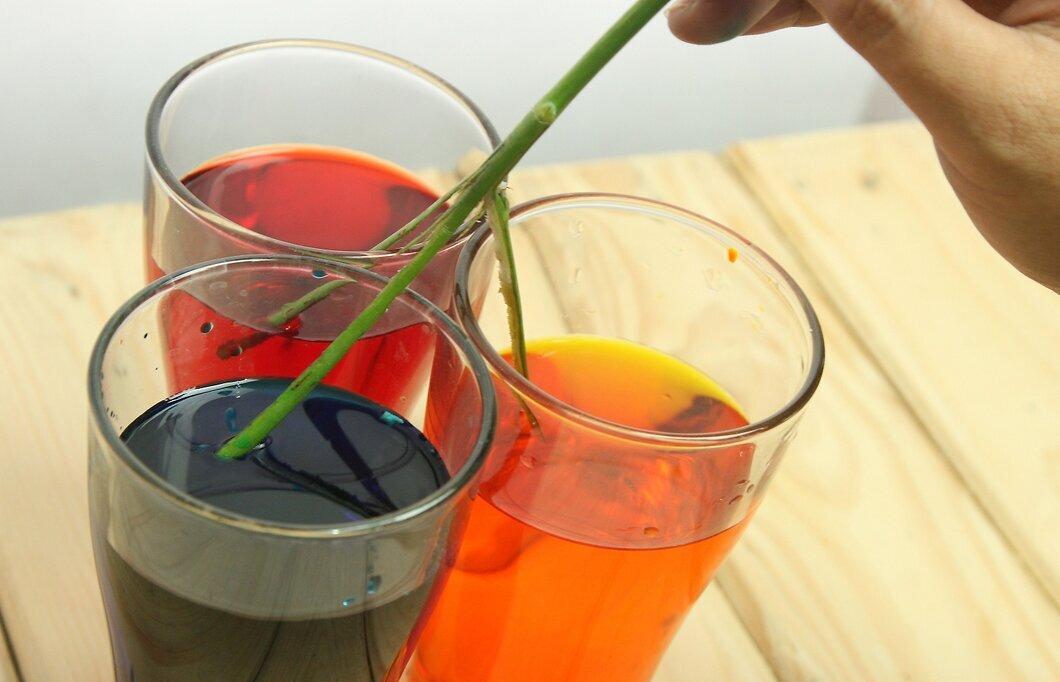
Place the tips of the stems in the dye and leave them there until they fully absorb the color. You will see an effect after about 8 hours, and after 24 hours, the petals will change to a completely new color.
Step 6: Remove the roses from the containers.
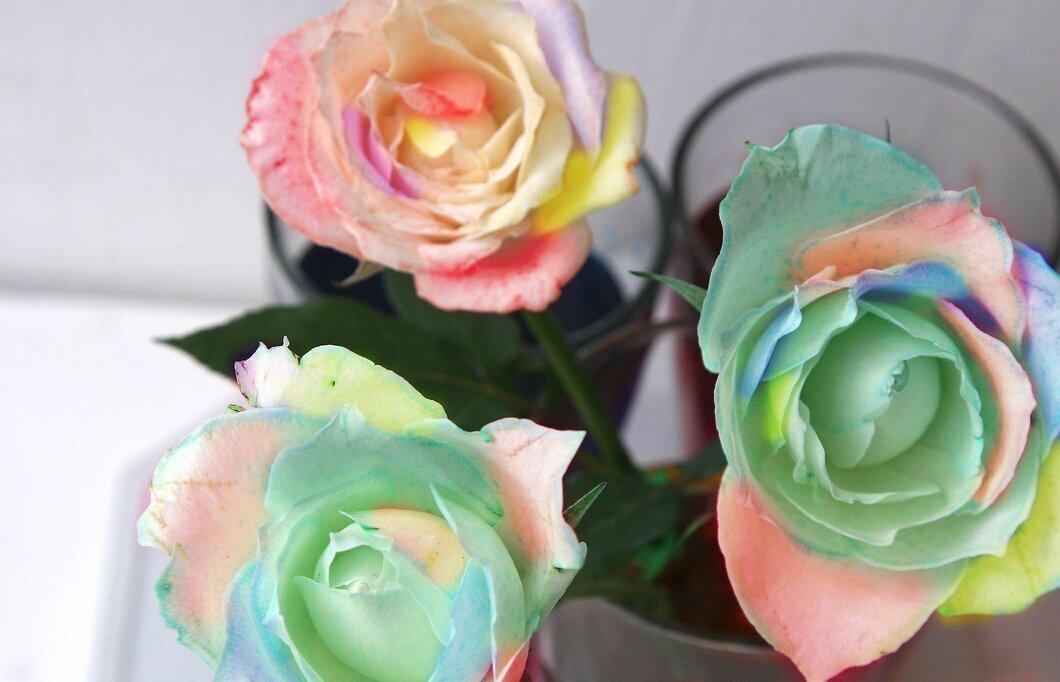
Now, take the roses out of the containers. They can be given as gifts or kept as mementos for future generations.


