
Creating a cozy house from popsicle sticks is an enjoyable and straightforward activity. The possibilities for creativity are endless, but we recommend starting with the walls by assembling four squares covered with sticks. Then, move on to the roof by creating two triangles and reinforcing them with additional sticks. Finish your masterpiece with personal decorations!
Building the Walls
Step 1. Gather All Materials.
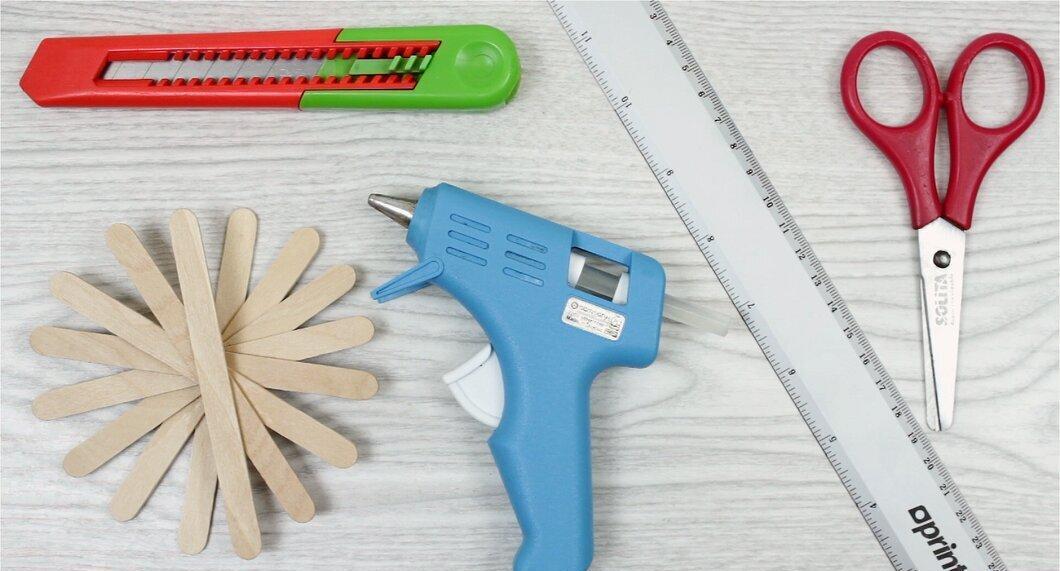
Collect everything you need. You'll require about a hundred popsicle sticks. You can also purchase craft sticks from a store or supermarket. Don't forget the glue: a hot glue gun works best, but remember that children should use it under adult supervision. Additionally, you will need paper, scissors, and a utility knife.
- If hot glue isn't your option, you can use PVA glue.
- Be cautious when using the glue gun to avoid burns.
Step 2. Protect Your Workspace.
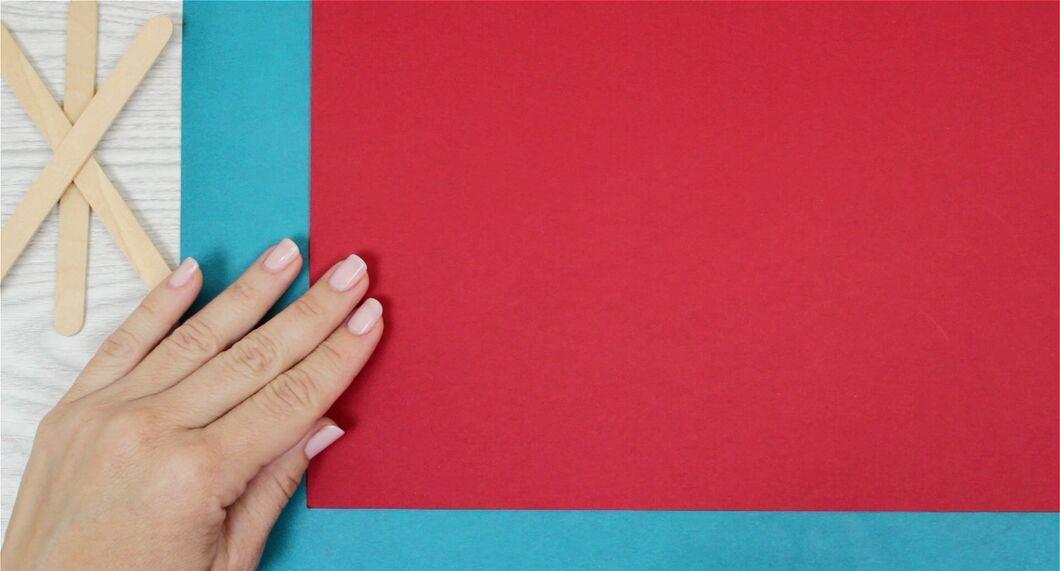
Cover your workspace with newspapers or packing paper. Since you'll be using glue, it's best to protect the surface from stains. A disposable tablecloth or newspapers will work great for this purpose.
- Hot glue can be difficult to remove from surfaces, so it's advisable to be careful. It may drip from the gun, so keep it on a protected surface.
Step 3. Create Four Squares from Sticks.
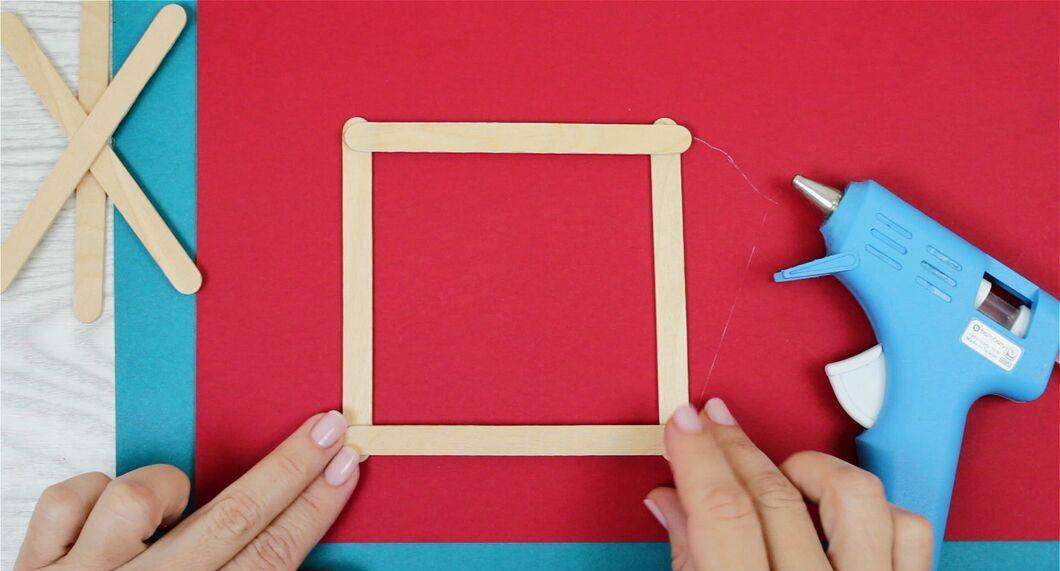
Assemble four squares from popsicle sticks. Lay two sticks parallel to each other at a distance equal to their length. Then, place two more sticks on top, forming a square, and glue the corners. Repeat this process to make three more squares.
- These squares will serve as the foundation for your house walls.
Step 4. Cover the Wall Frames with Sticks.
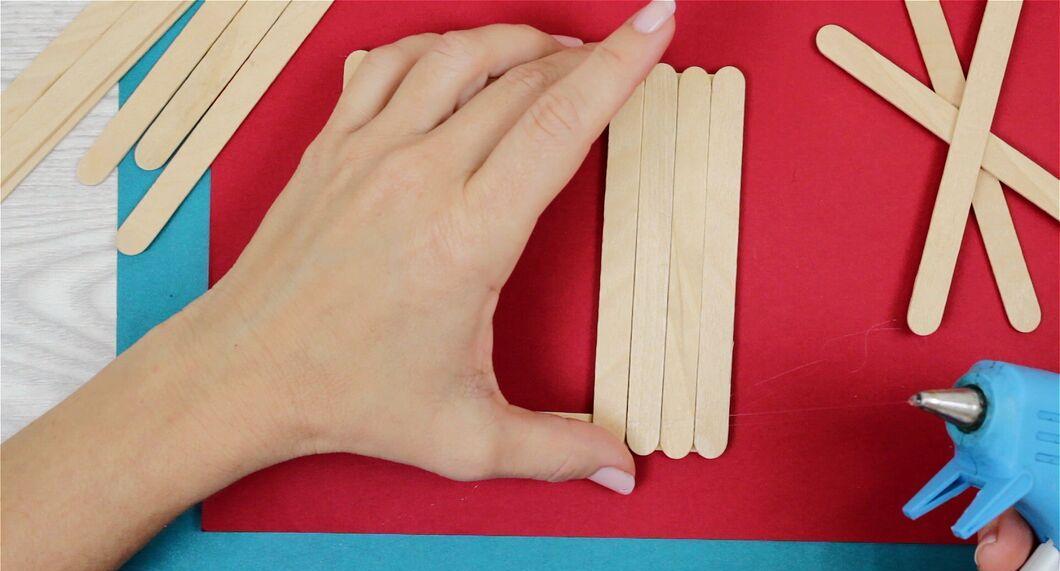
Cover the wall frames with sticks. Take one square and glue sticks onto it to completely cover it. Apply glue to two opposite sticks and then add the remaining sticks on top. Repeat this with the remaining squares to obtain four covered walls.
- Make sure the sticks are tightly fitted together to avoid gaps.
- If the last stick doesn't fit, use a utility knife to trim it to the right size.
Building the Roof
Step 1. Prepare the Roof Frame.
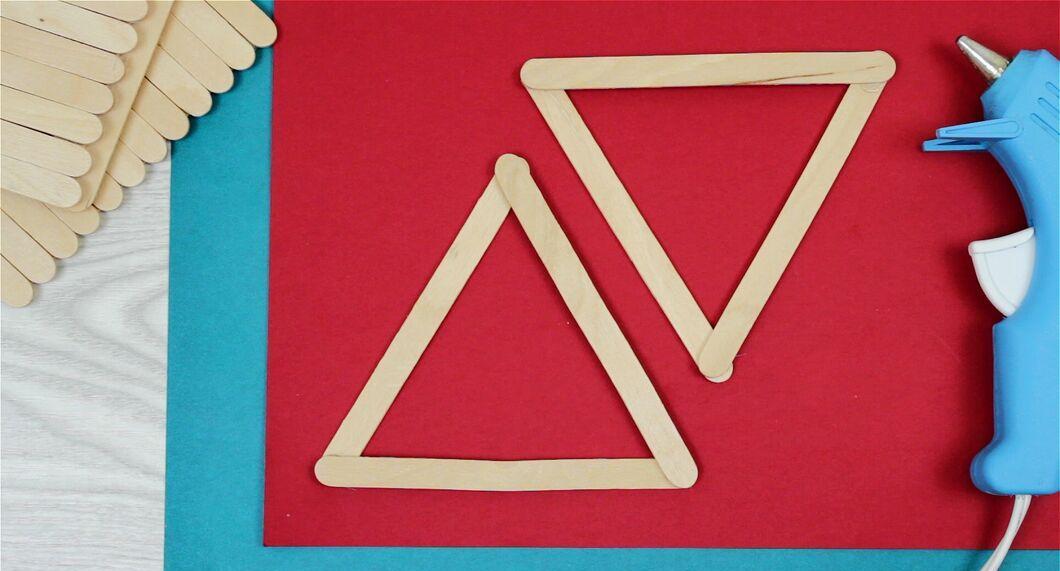
Assemble the roof frame. Take three sticks and arrange them in a triangle shape, placing one stick over the other two at the corners. It doesn't matter which stick is on top. Secure them with glue drops at all corners. Create another triangle in the same way.
- For a sturdy roof, you can add a third triangle between the two main ones.
Step 2. Cover One Side of the Roof with Sticks.
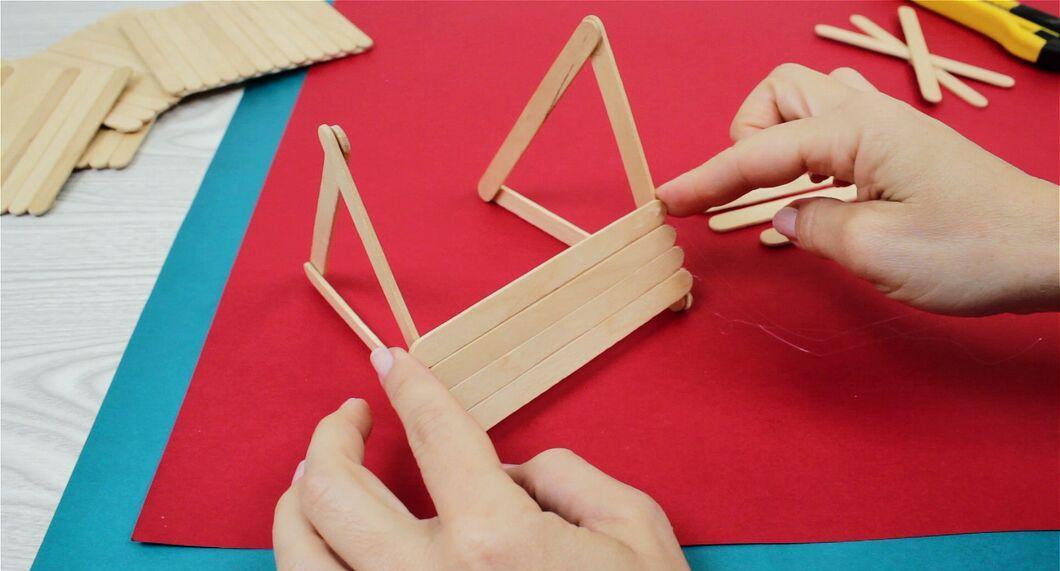
Start covering one side of the roof with sticks. Apply a drop of glue to the flat ends of a stick and attach it to the two triangles, perpendicular to their plane. Continue gluing sticks until one side is completely covered. Ensure the sticks are placed close together. Hold each stick in place for at least 5 seconds for a secure bond.
- Be careful not to pull off previously glued sticks.
Step 3. Cover the Second Side of the Roof.
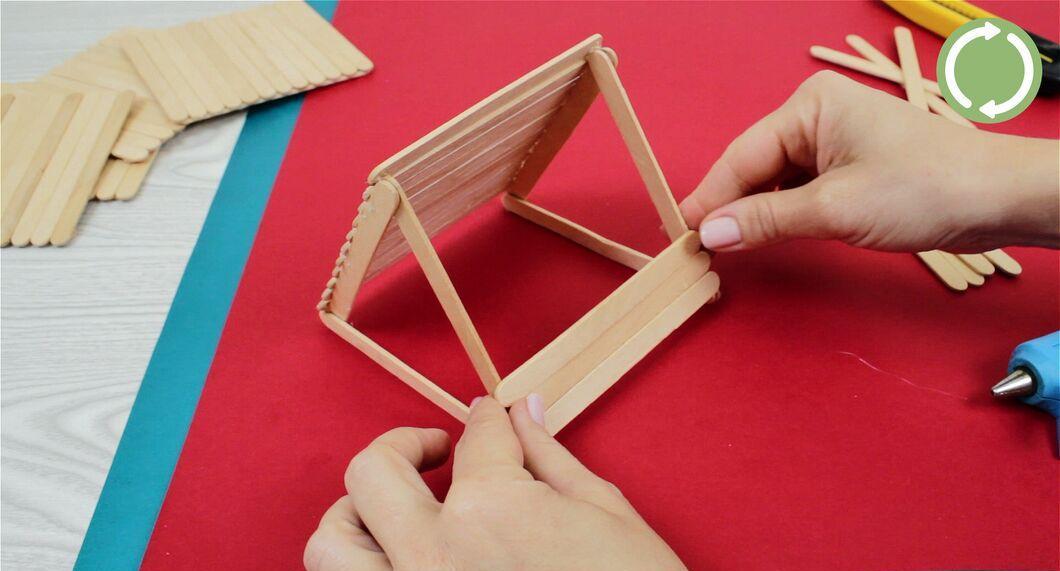
Cover the second side of the roof using the same method as the first. Handle the roof carefully to avoid damaging the already glued sticks.
Step 4. Close the Gables of the Roof.
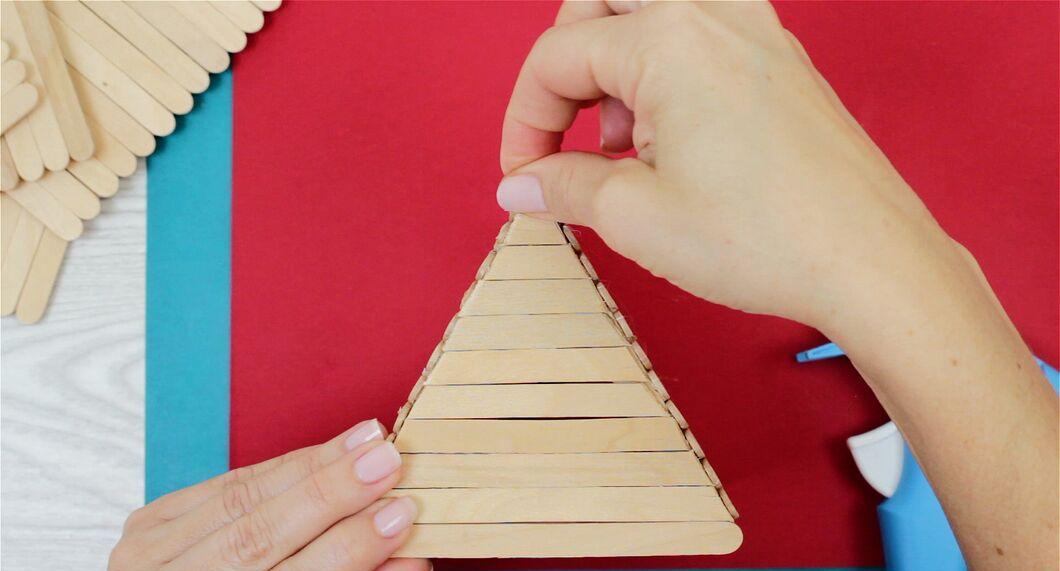
Close the gables of the roof. At this point, the roof will be open on both sides. To close the interior, start from the bottom of the gables and cover them with sticks. Each stick will need to be cut, as the gables narrow towards the top.
- Covered gables will give the house a realistic look, just like real homes.
Assembling the House
Step 1. Cut Out Windows.
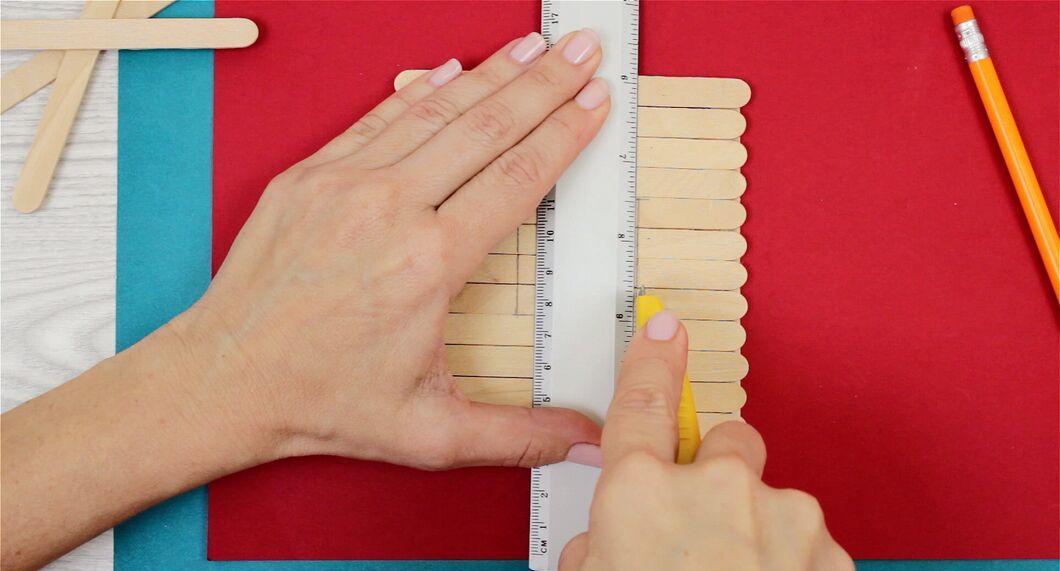
Create windows. To make the house more interesting, you can cut out one or two windows in the walls. It's easiest to do this before gluing the walls together. Using a utility knife, carefully cut a square measuring 2.5 cm by 2.5 cm.
- The window can be centered or slightly off to the side.
- The cut-out pieces can be used to create shutters or window frames.
Step 2. Cut Out a Door.
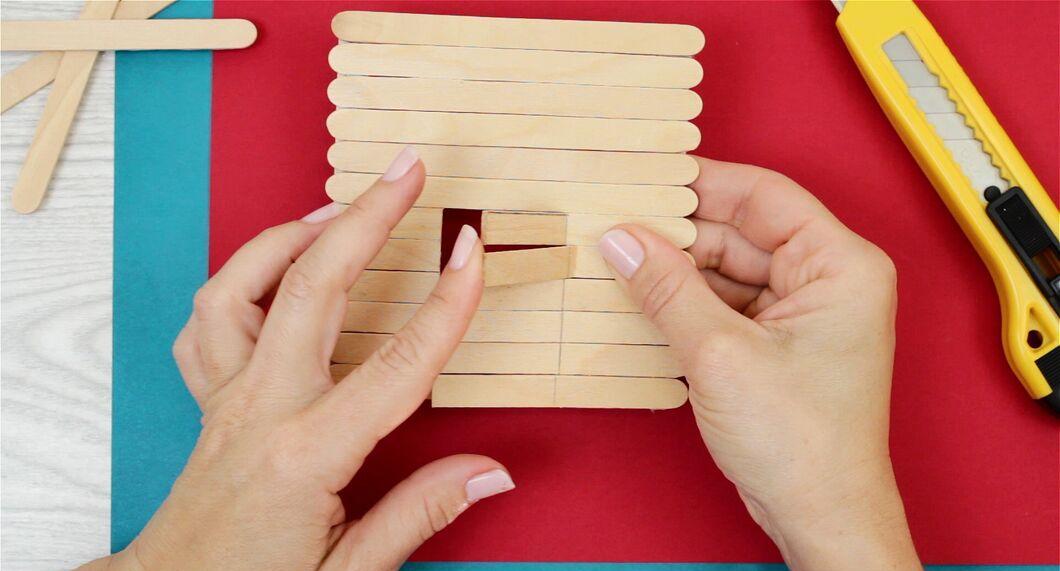
Create a door. A door will add even more realism to your house. The size of the door will depend on the size of the sticks, but it should be nearly the same height as the house and about one-third of its width. Cut the door out using a utility knife.
- You can glue a piece of paper to the edges of the door frame to simulate a door. Fold the paper so it can open and close.
Step 3. Glue the Walls Together.
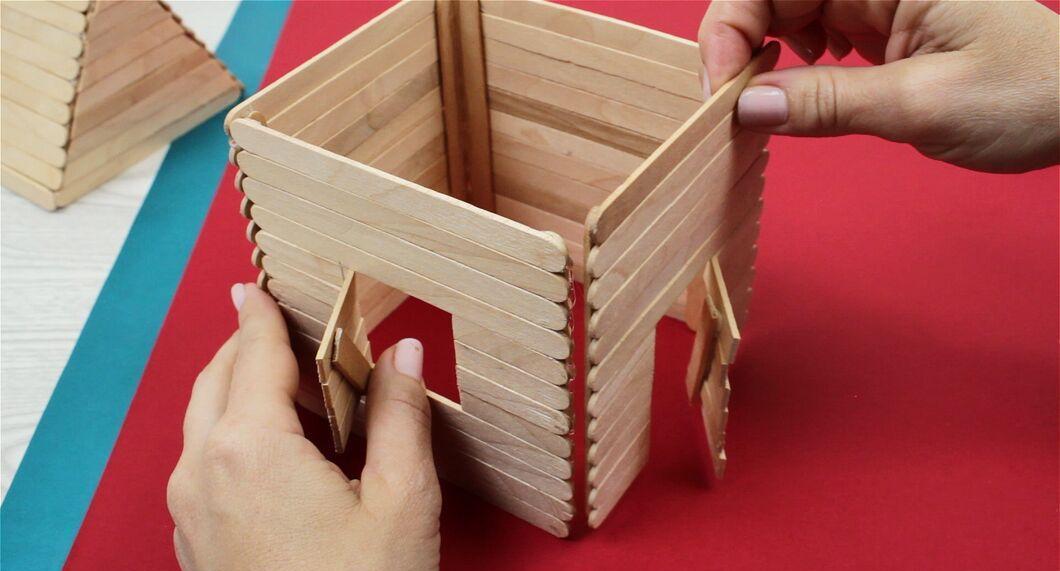
Glue the walls at the corners. Position two walls so that the covering is vertical. Apply a strip of glue to the inner sides of the joints and carefully connect the walls at a right angle. Hold them in place for about 30 seconds.
- Glue the remaining walls to complete the main structure of the house.
Step 4. Attach the Roof.
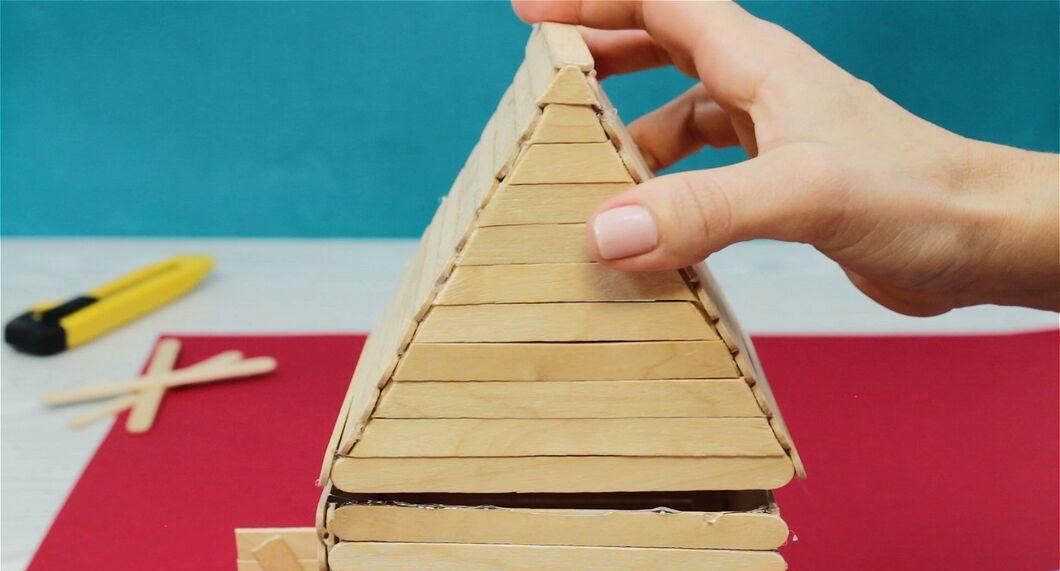
Secure the roof. Apply a strip of glue along the top edge of the house and carefully place the roof in position, holding it until the glue sets. You can also leave the roof removable for easy access inside the house.
Step 5. Decorate the House.
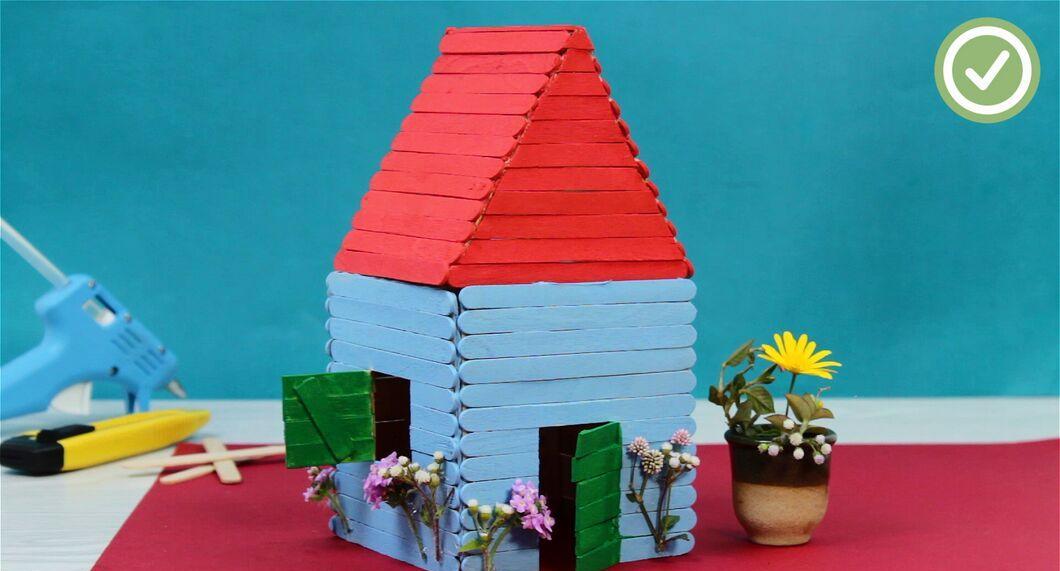
It's time to decorate! The decoration possibilities for the house are limitless. Use spray paint to color the house in one shade. Brushes and acrylic paints can help create interesting combinations for the walls and roof. You can also cover the walls with fabric or wrapping paper, add moss, flowers, or twigs to create a woodland style.


