
How to Build a Spaghetti Bridge: A Step-by-Step Guide
Dry spaghetti, while seemingly fragile, can serve as the foundation for an incredible bridge if connected and shaped correctly. Every year, students and schoolchildren around the world participate in competitions to build these bridges. The main allure of these contests is adding weights until the structure crumbles to pieces.
Building the Bridge
Step 1. Determine the Bridge's Base.
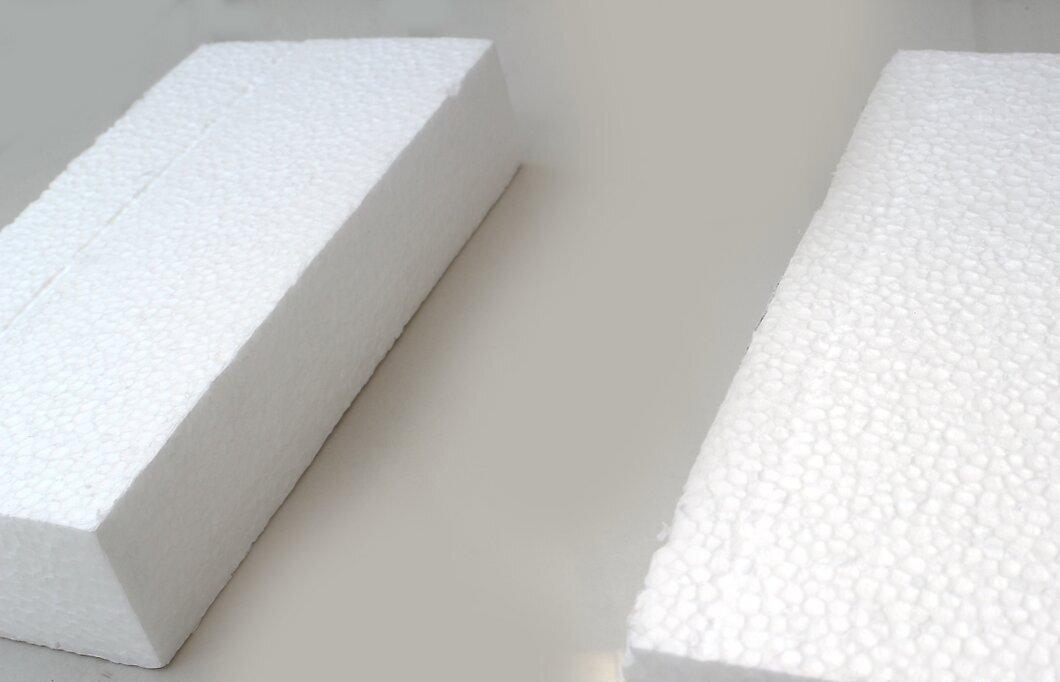
Start by selecting a suitable base for your bridge. You need to create or find something that represents the ground on both sides of the bridge. For example, you can set the bridge between two tables of equal height or create a wooden stand. It’s best if your support allows for easy weight suspension.
Step 2. Measure the Length of the Bridge.
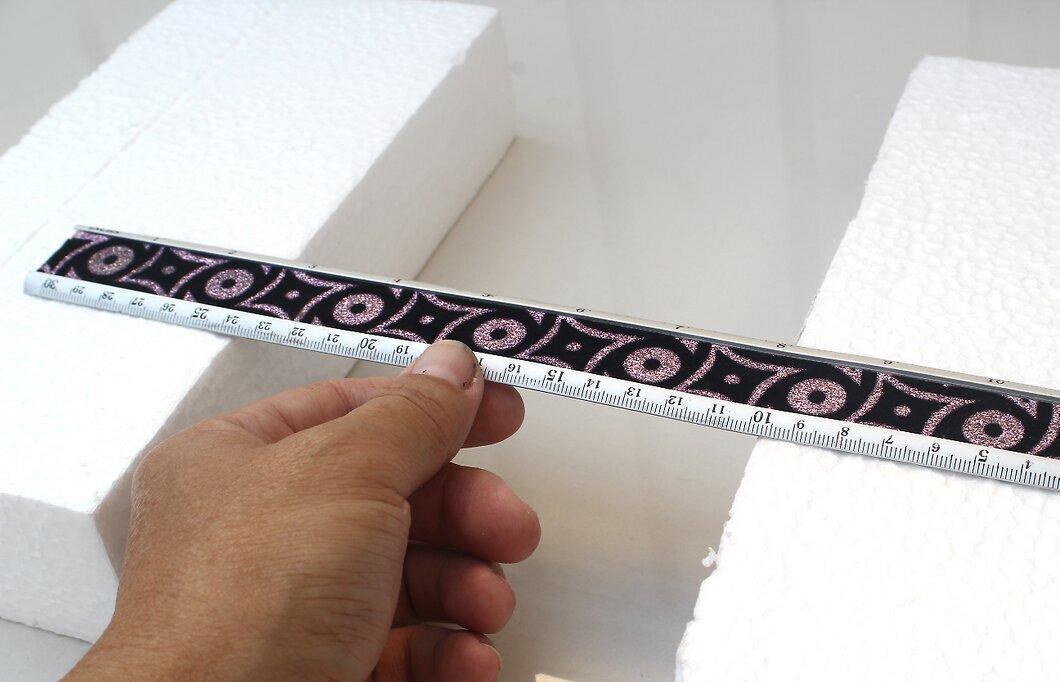
Determine the necessary length of the bridge by measuring the distance between the bases. If this is your first time building a spaghetti bridge, it's wise to start with a shorter distance and gradually increase the length as you gain experience.
Step 3. Create a Bridge Template.
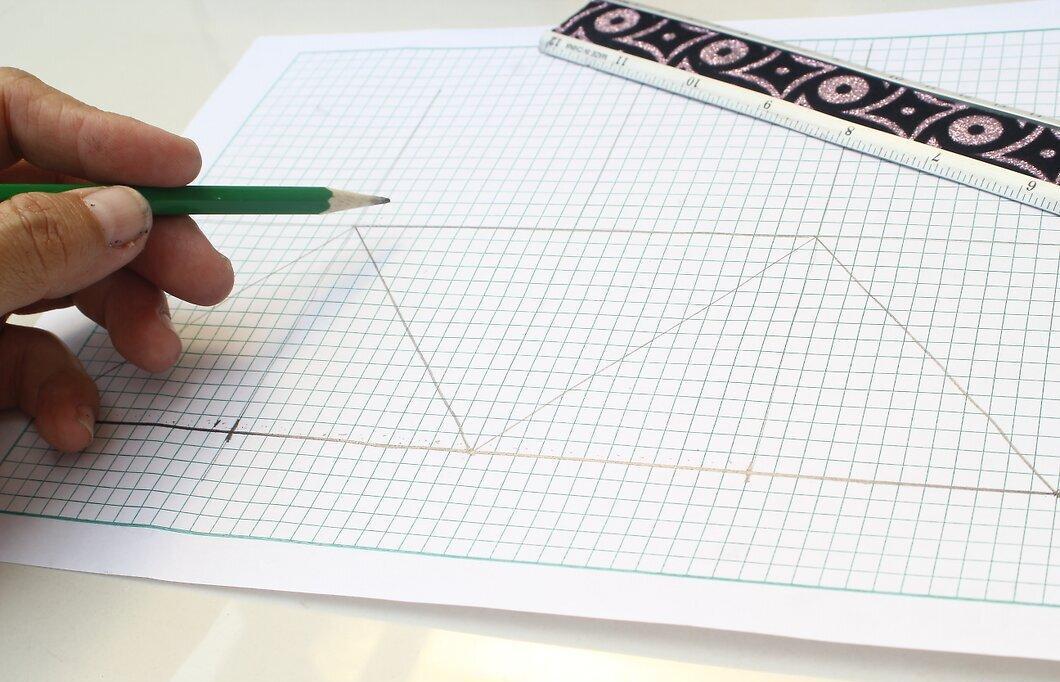
In the initial stage, draw a sketch of the bridge on graph paper. Then, lay a clear film, such as packing plastic, over it to use as a template. Attach the spaghetti to the drawn lines, cut them to the required lengths, and glue them together.
- Don’t forget to draw the bridge on graph paper first and then cover it with clear film.
- After cutting the spaghetti, carefully glue them together.
Step 4. Choose Quality Glue.
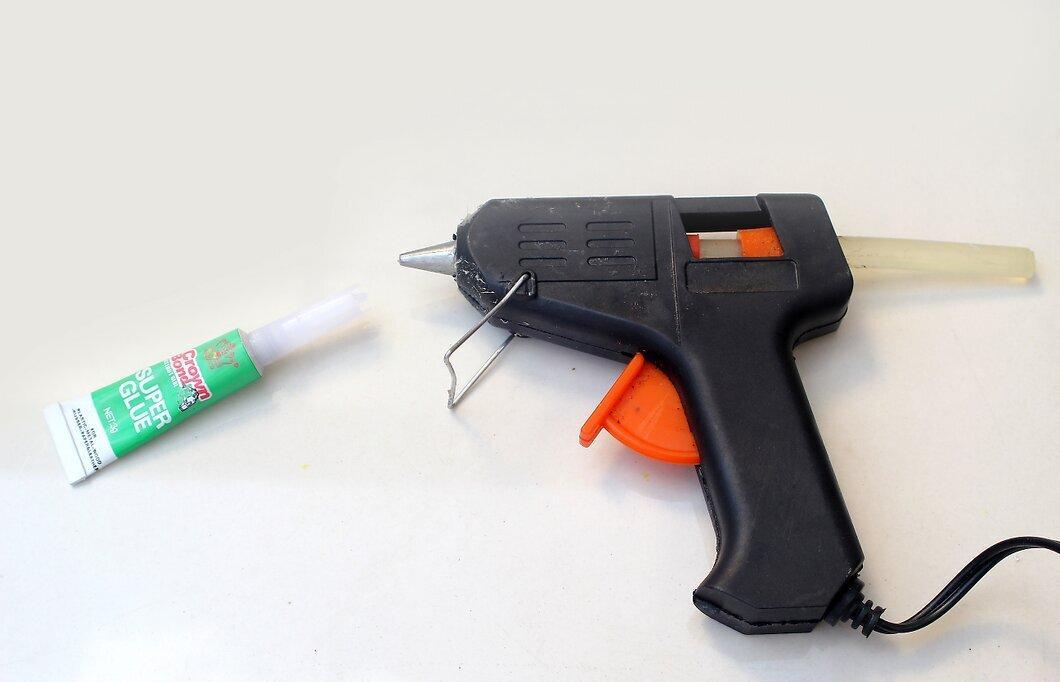
The choice of glue is crucial for the strength of your bridge. Avoid water-based school glue, as it softens the spaghetti and takes a long time to dry. It’s better to use model glue or hot glue, although they may also retain some flexibility. The optimal choice is epoxy glue, which provides a strong bond and dries quickly, with many types drying in just five minutes.
- Epoxy glue can be found in craft stores or ordered online.
- If you’re working with children, you can use candy or popcorn instead of glue, as it is safe and fun. Of course, such a bridge will be less sturdy, but it's a great way to demonstrate basic principles.
Step 5. Create the Bridge Trusses.
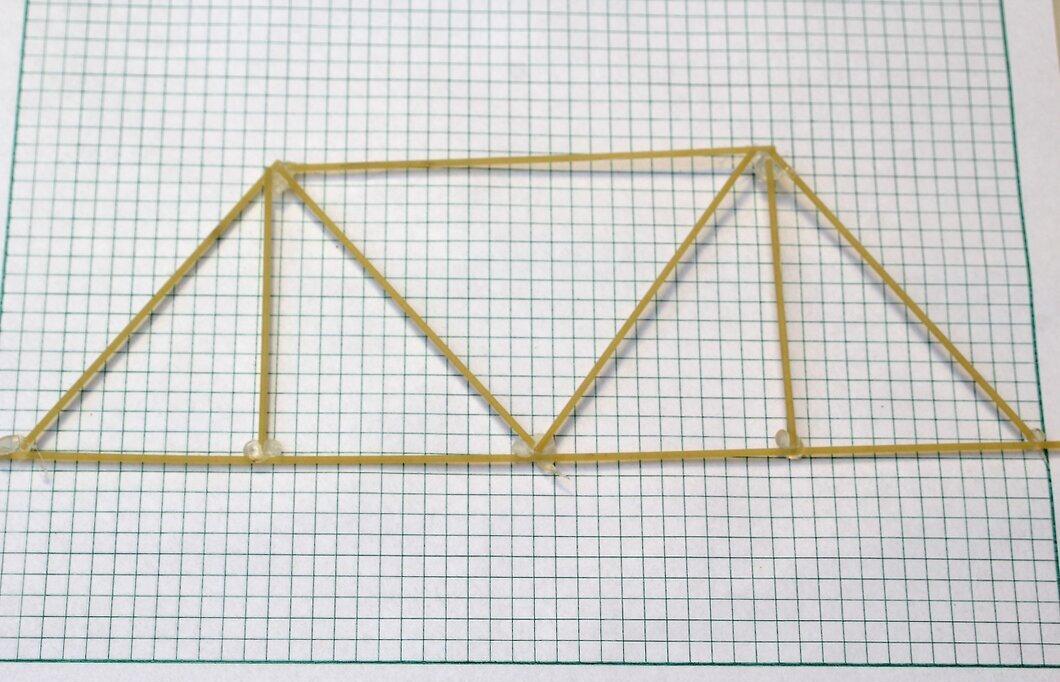
Trusses are triangular beams that connect their tops to the roadbed on both sides. Use glue to attach them. Trusses play a key role in weight distribution, allowing for the bridge to be loaded.
- While rectangular trusses can be made, they significantly reduce the allowable load. Triangular trusses are preferred for spaghetti bridges.
Step 6. Create the Roadbed.
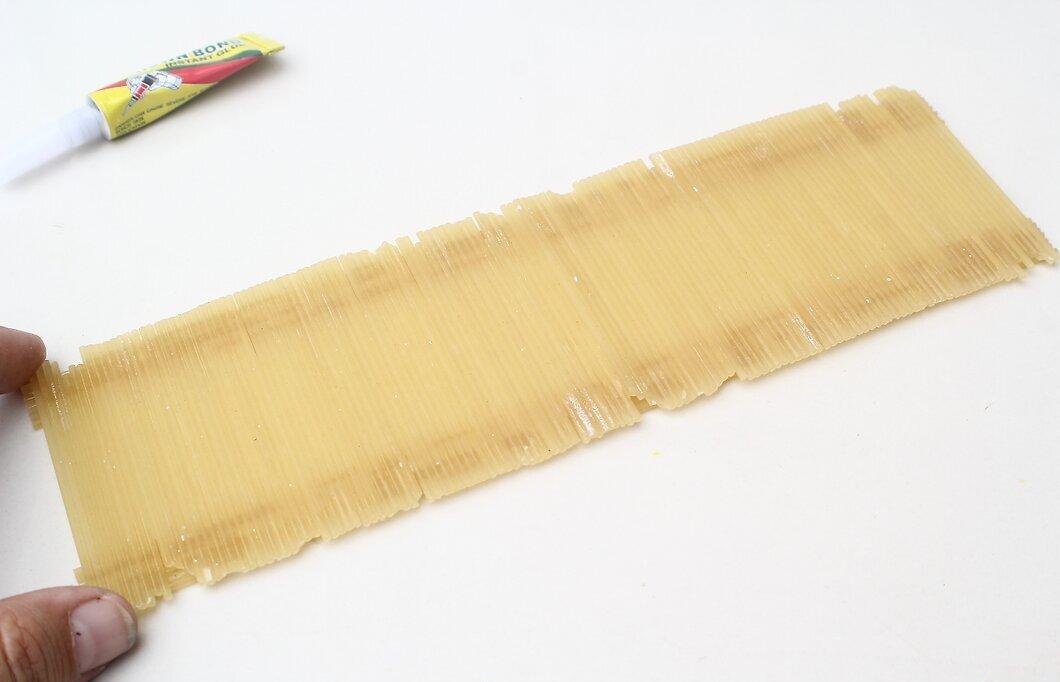
For a strong roadbed, glue the spaghetti in several layers. Some layers can remain unglued to allow for flexibility, helping to redistribute weight.
Step 7. Attach the Trusses to the Roadbed.
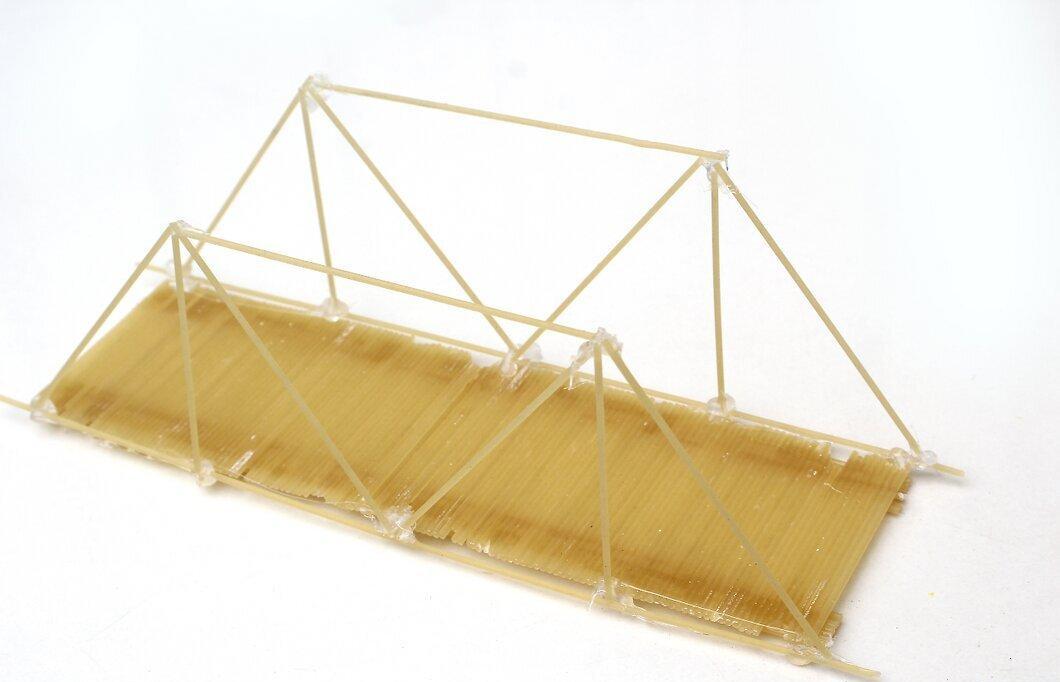
Securely connect the trusses to each other and to the roadbed. This way, the roadbed will be at the bottom, while the trusses rise on the sides.
Step 8. Weigh the Bridge.
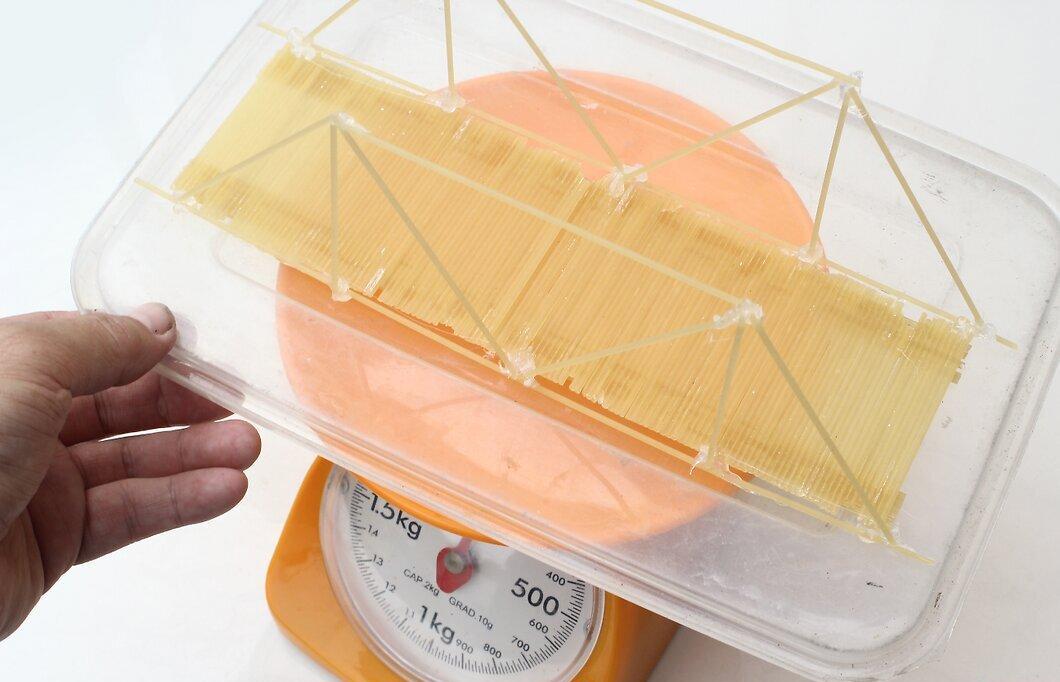
For weighing the bridge, it's best to use a flat surface, like a cardboard box, and weigh everything together. Afterward, subtract the weight of the box. You can also use two scales to weigh each side of the bridge and add the readings.
- Weighing the bridge is usually done for educational purposes to show the relationship between its own weight and what it can support.
Destroying the Bridge
Step 1. Set Up the Bridge.
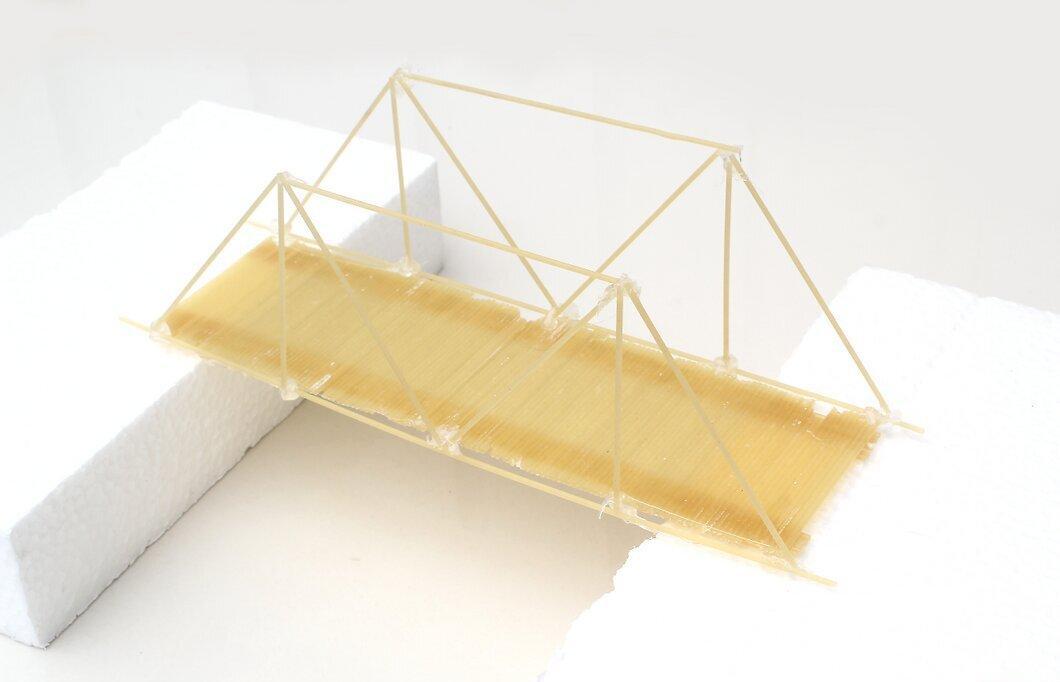
Carefully place the bridge on the support designated for it. Ensure that bridge segments of equal length rest on the support — this will provide stability to the structure.
Step 2. Suspend a Light Load at the Center of the Bridge.
Attach a lightweight container, such as an envelope or a paper box, to the center of the bridge. The size of the container should correspond to the size of the bridge. Secure it with string or a paperclip.
- A thin bridge may collapse immediately, but a sturdier spaghetti bridge should be able to hold the extra weight.
- You can distribute the load in several places to ensure an even weight distribution.
Step 3. Prepare Items with Known Weight.

Gather items with known weights to accurately assess the maximum load the bridge can handle. For smaller bridges, coins will suffice, and for larger ones, use sandbags or weights.
Step 4. Load the Bridge.
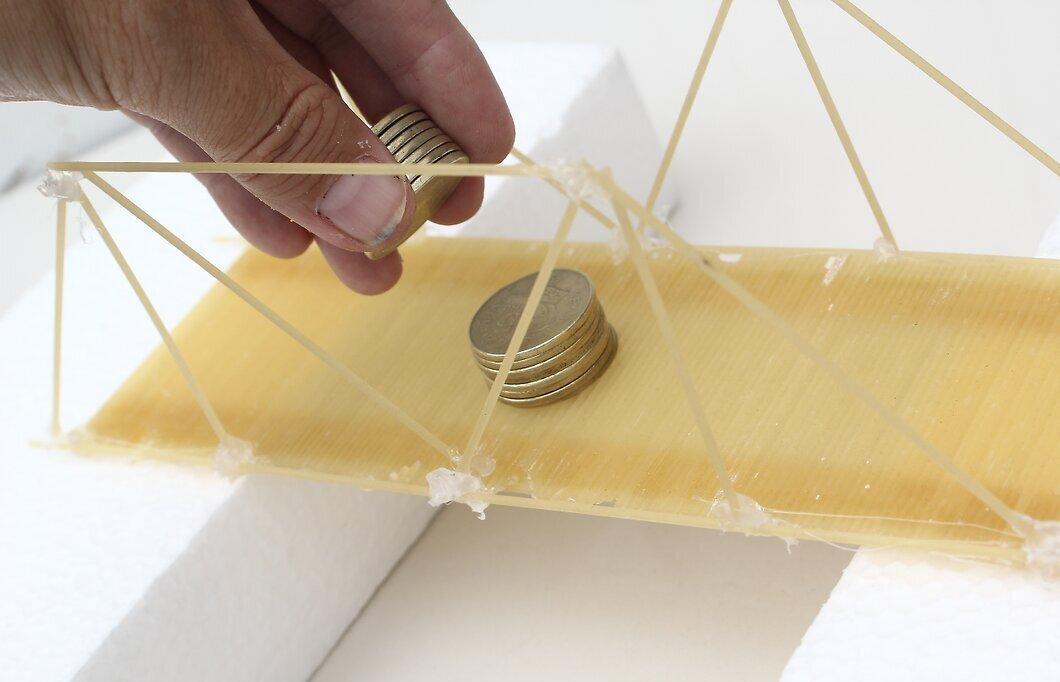
Gradually add items to the suspended container, doing so very carefully to avoid shaking the bridge.
Step 5. Observe the Bridge's Collapse.
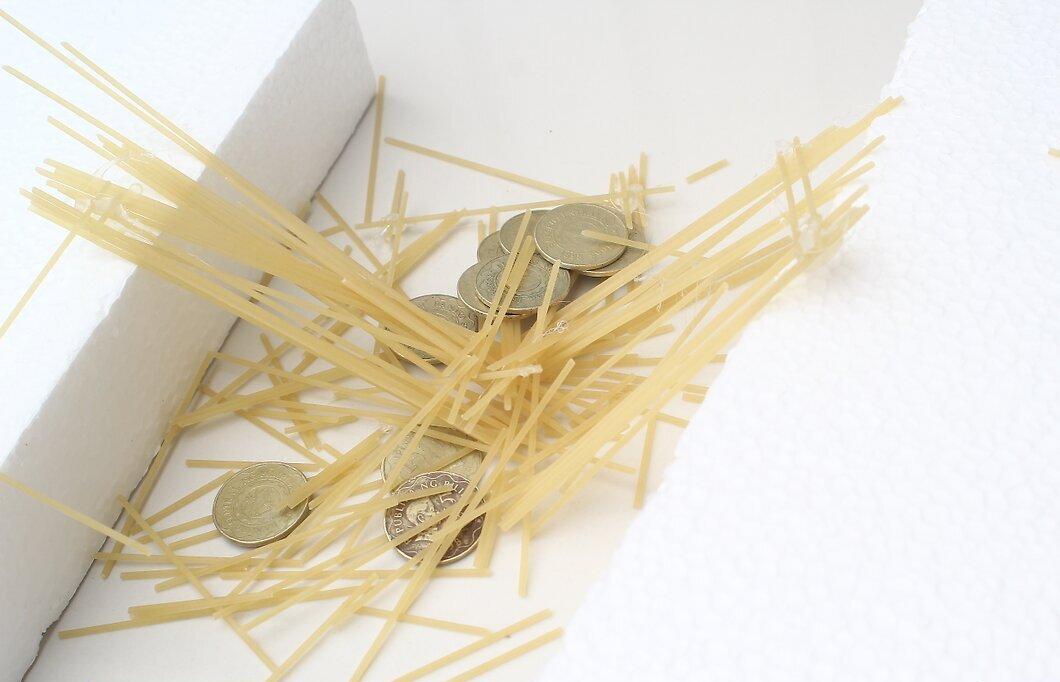
Eventually, when the weight becomes too great, the bridge will fail and collapse. Watch the process and determine the total weight that led to the collapse.
Step 6. Go Back to the Drawing Board.
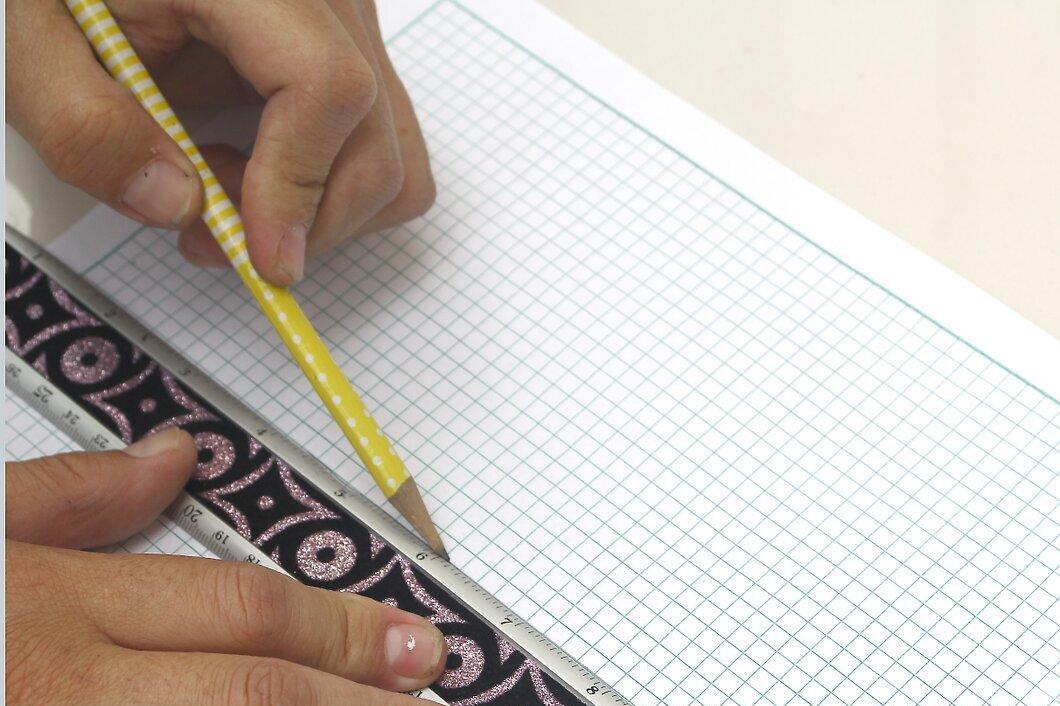
Now it's time to make changes to the bridge’s design and use different materials. Your goal is to create a stronger bridge that can hold more weight. Apply the trial and error method, just like in any scientific experiment.
Strengthening the Bridge
Step 1. Choose Quality Materials.
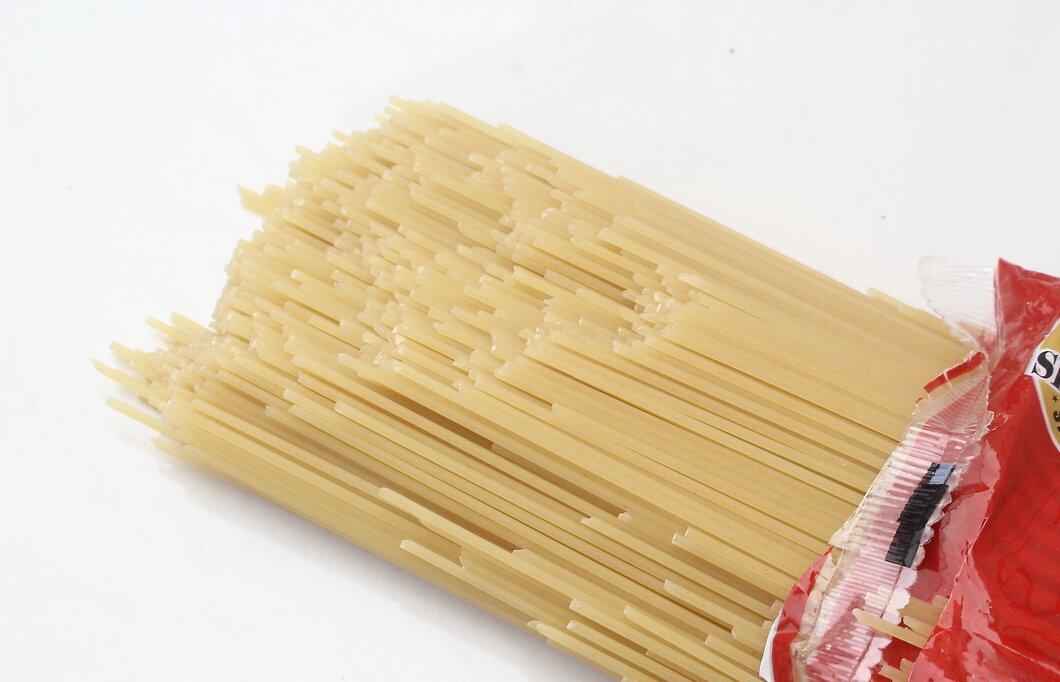
If you want to make the bridge stronger, use appropriate materials. Epoxy glue is an excellent choice, but you also need to have enough spaghetti for reinforcement.
- Assess which types of spaghetti are best suited for different parts of the bridge.
Step 2. Design a Stronger Bridge.
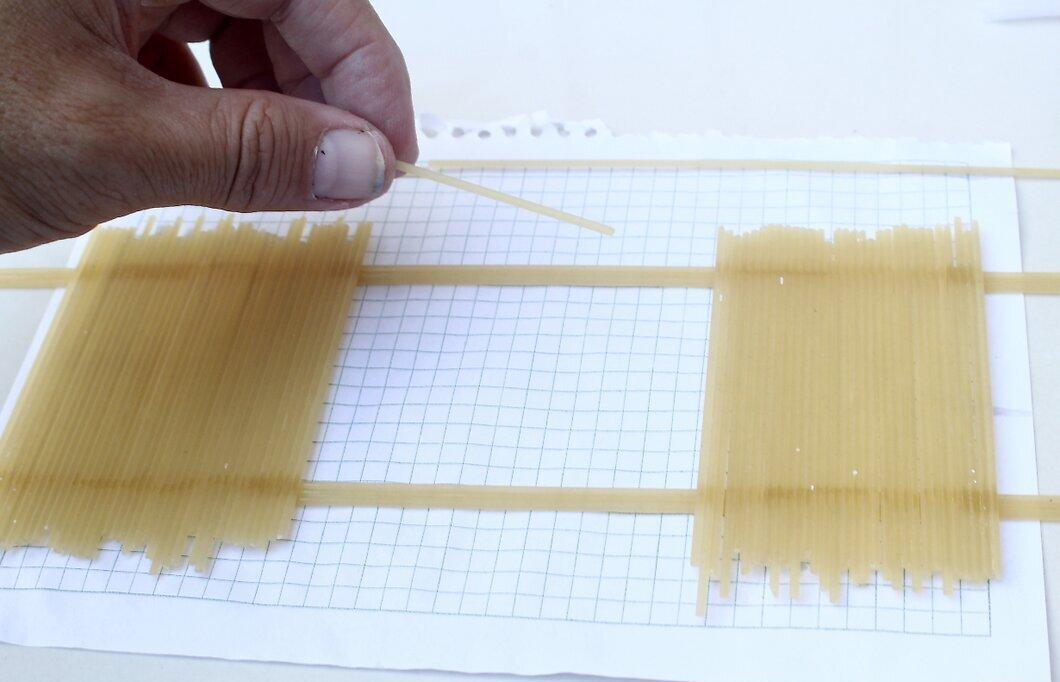
It’s important to test theoretical engineering principles in practice. The bridge's design affects its strength. It’s recommended to use:
- triangular trusses instead of rectangular ones;
- multilayered roadbed;
- leave the middle layer unglued for flexibility and load redistribution.
Step 3. Reduce the Length of the Bridge.
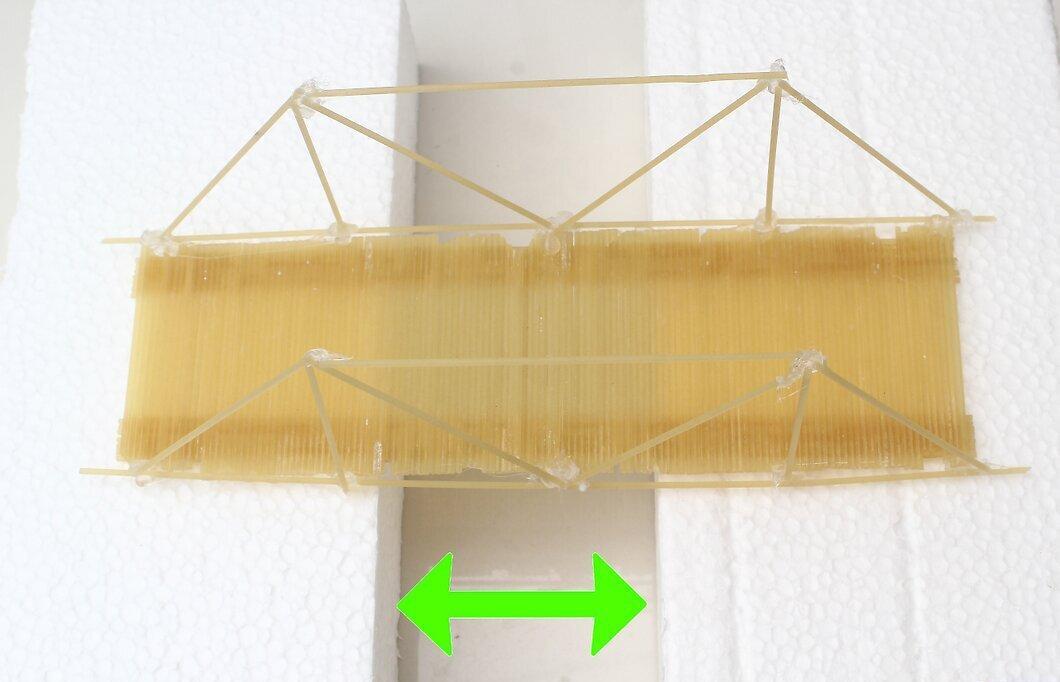
The longer the bridge, the harder it is to distribute the load. By shortening the bridge, you can increase its strength.
Step 4. Ensure Balance.
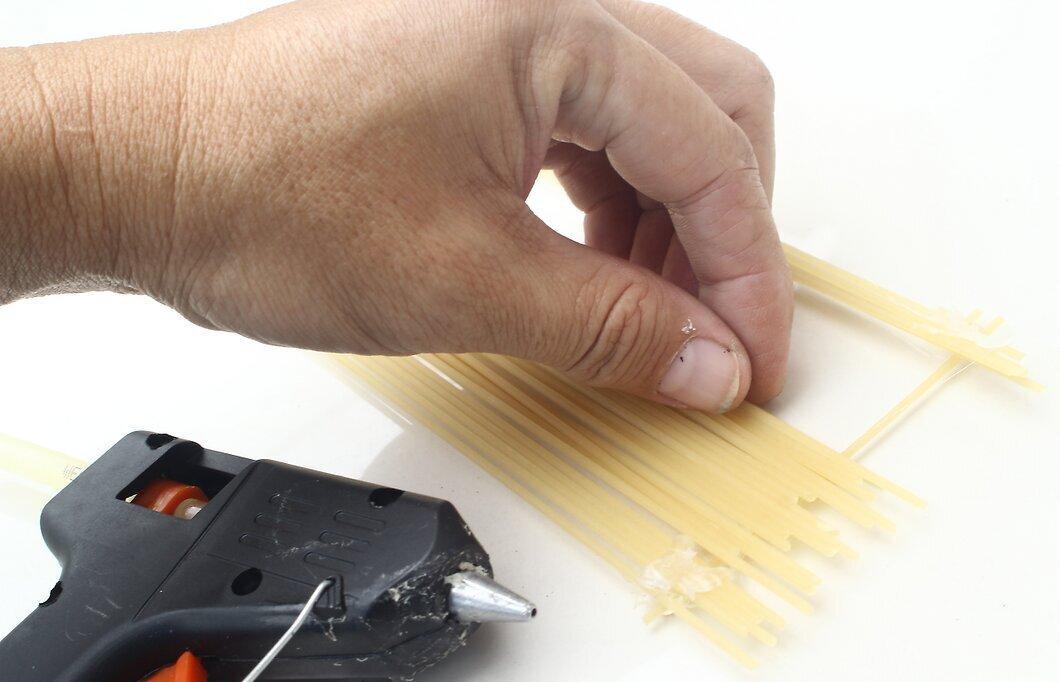
There is an important relationship between the weight and strength of the bridge. Proper design can enhance strength, but it may also increase weight. Therefore, consider the bridge's weight during its construction.
Participate in Competitions
Step 1. Find Suitable Competitions.

Spaghetti bridge building competitions are held in schools, universities, and engineering museums. Look for nearby events and register.
- Familiarize yourself with the bridge categories to ensure your project meets the requirements.
Step 2. Learn the Rules.
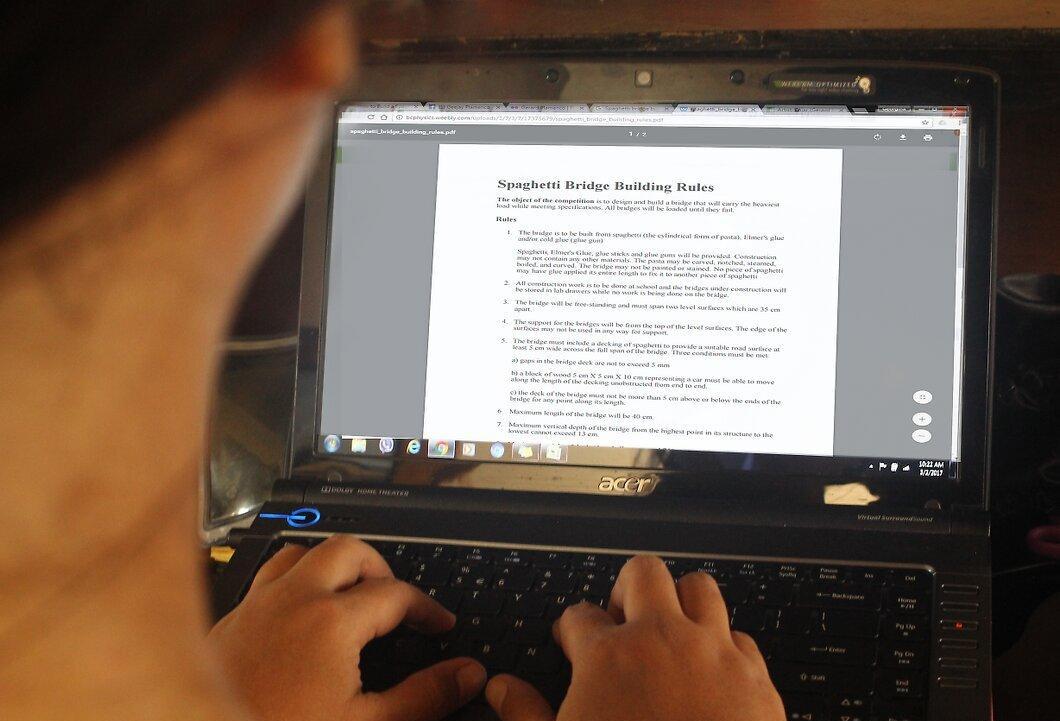
Competition rules can be strict, including material, size, and weight restrictions. Be sure to review them to avoid disqualification.
Step 3. Find Inspiration.

Study real bridges to see their unique designs and features. This inspiration will help you build a strong spaghetti bridge.
Step 4. Practice.
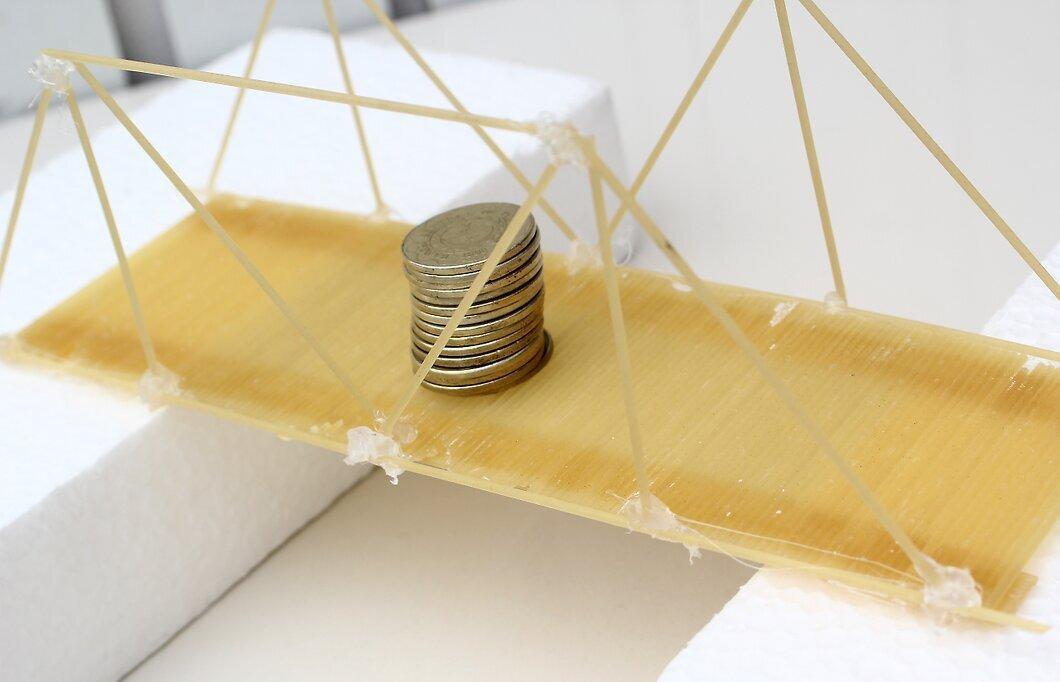
Competitions can be challenging, so start your preparation early, using the same loading scheme.
Step 5. Be Careful During Transportation.
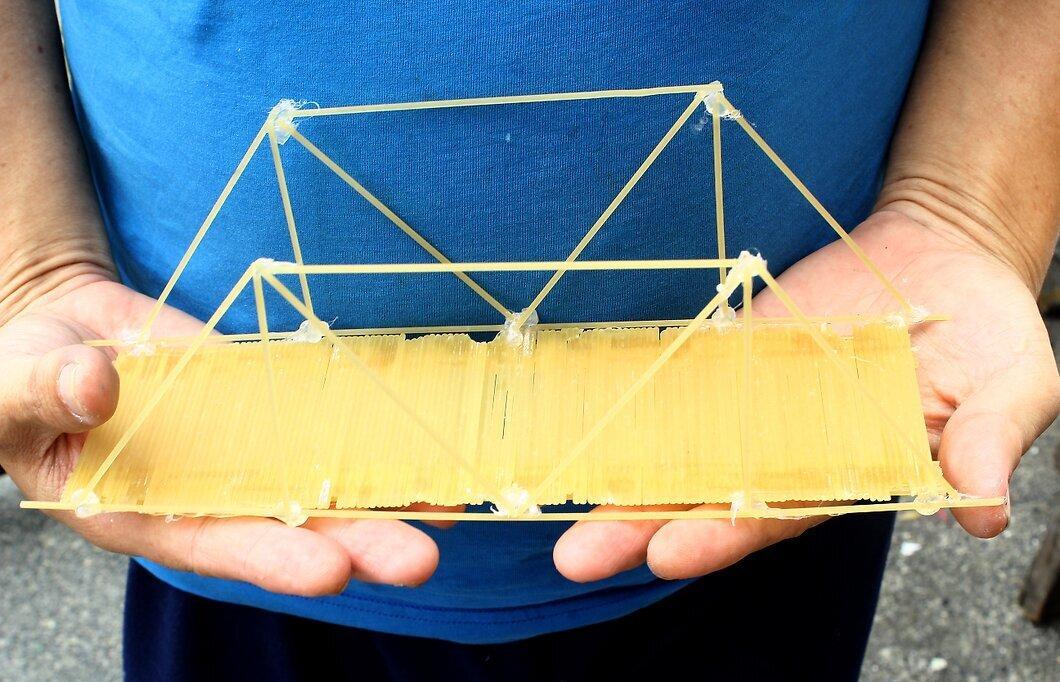
Some competitions allow you to build the bridge on-site, while others require you to submit a completed structure. Take care of safe transportation to ensure your bridge remains intact and sturdy.


