
Electromagnetic pulse generators are intriguing devices that frequently appear in science fiction and action films. Powerful electromagnetic pulses can damage electronics in the vicinity. Remember to prioritize safety, as working with this device can be risky. Children should only attempt to create the generator under adult supervision.
Gather Your Materials
Step 1. Research EMI Generators.
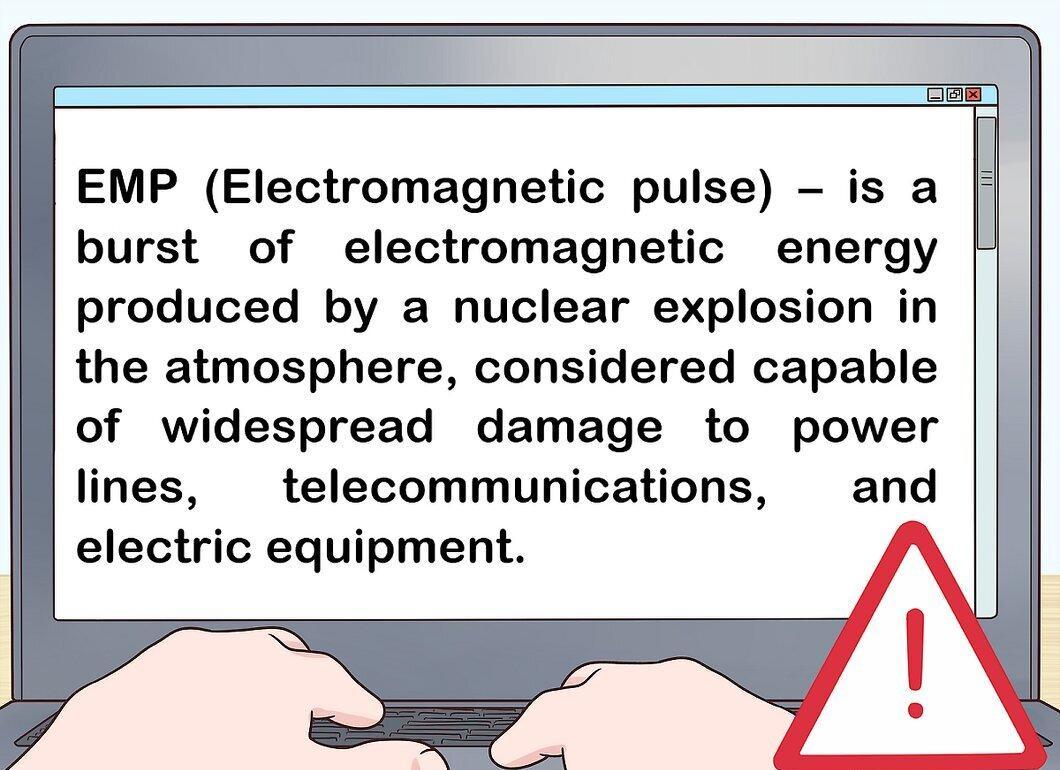
Make sure to familiarize yourself with how EMI generators work. Don’t expect your version to resemble those in movies like "The Matrix" or "Ocean's Eleven." Your generator is meant to affect small electronic devices.
Step 2. Collect the Required Components.
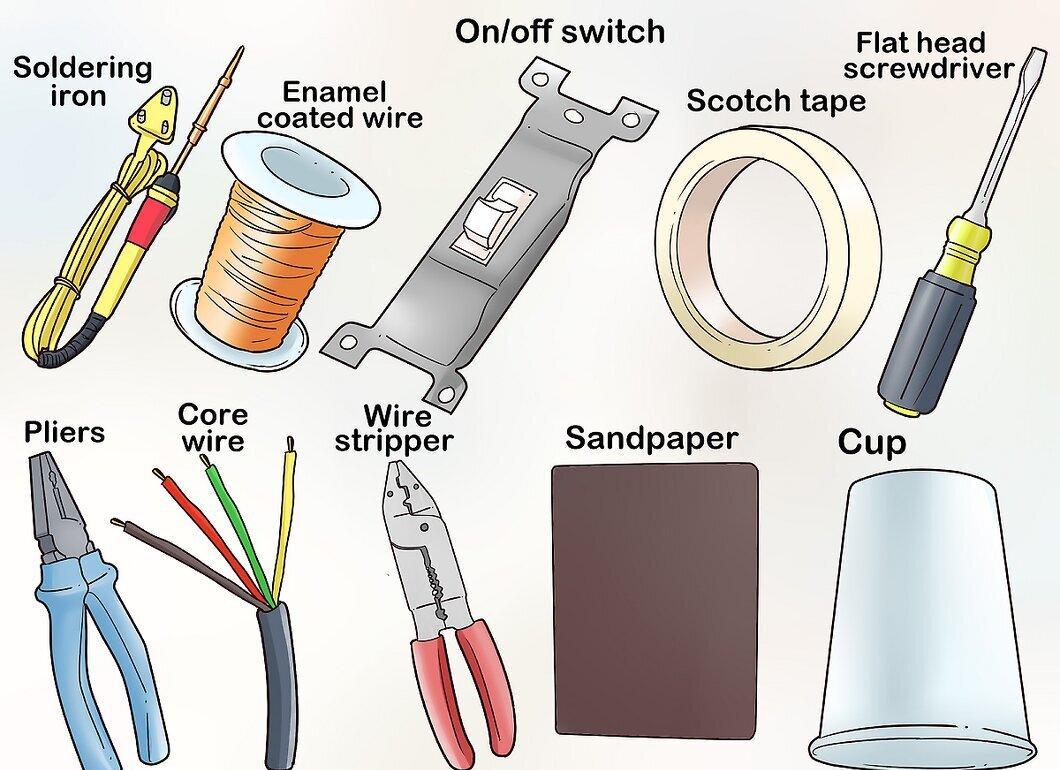
Prepare all necessary parts. You will need a circuit board and capacitor from a disposable camera, as well as:
- a soldering iron;
- insulated wire;
- a switch;
- tape;
- a flat screwdriver;
- pliers;
- electrode wire;
- wire stripping tools;
- sandpaper;
- a cylindrical object about five centimeters in diameter.[1] X Source
Step 3. Exercise Caution.
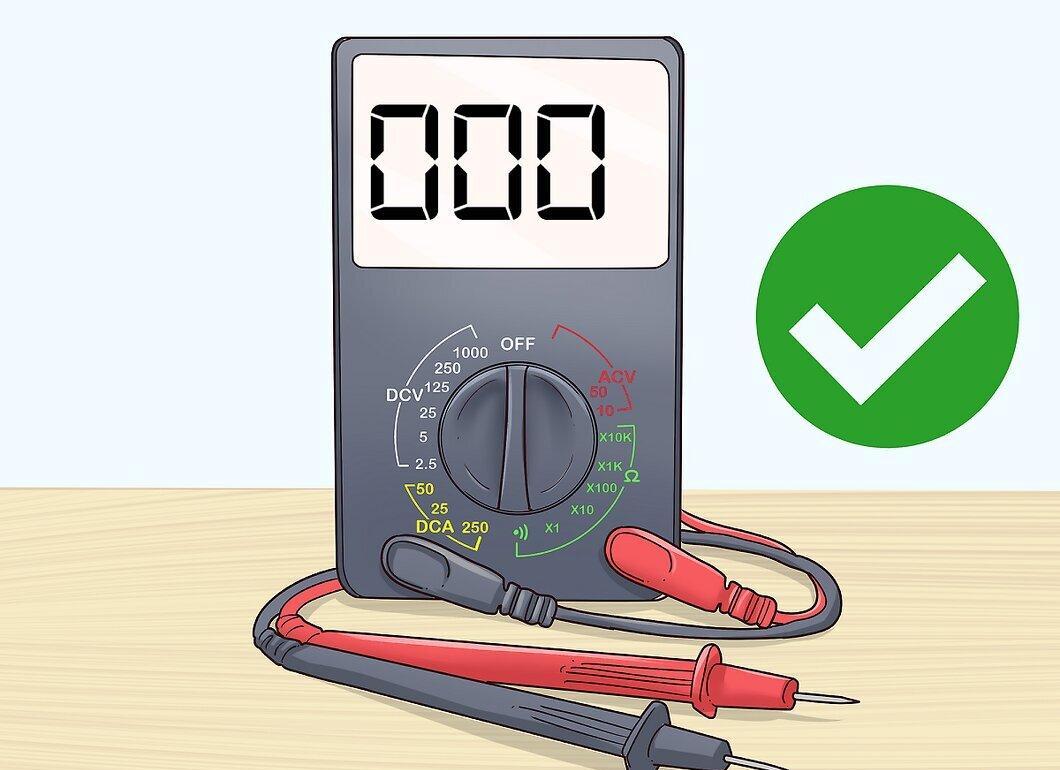
When working with high-voltage equipment, proceed carefully to avoid electric shock. Be especially cautious when handling the capacitor. It is advisable to use a multimeter to measure voltage and a battery holder.
- A multimeter is a device used to measure voltage in an electrical circuit. While its use isn’t mandatory, it can help you check the voltage on the capacitor.
Extracting the Camera Board
Step 1. Obtain a Disposable Camera.
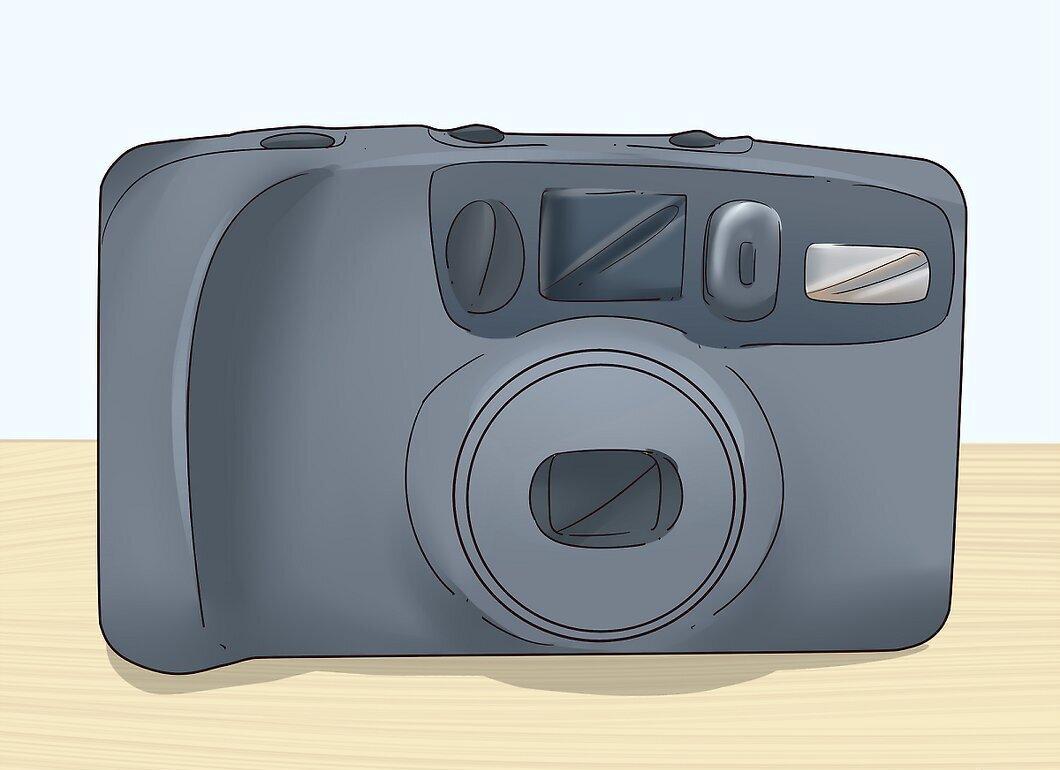
Find a disposable camera. Choose an inexpensive model. Before disassembling, ensure that the film is fully used.
Step 2. Open the Casing.
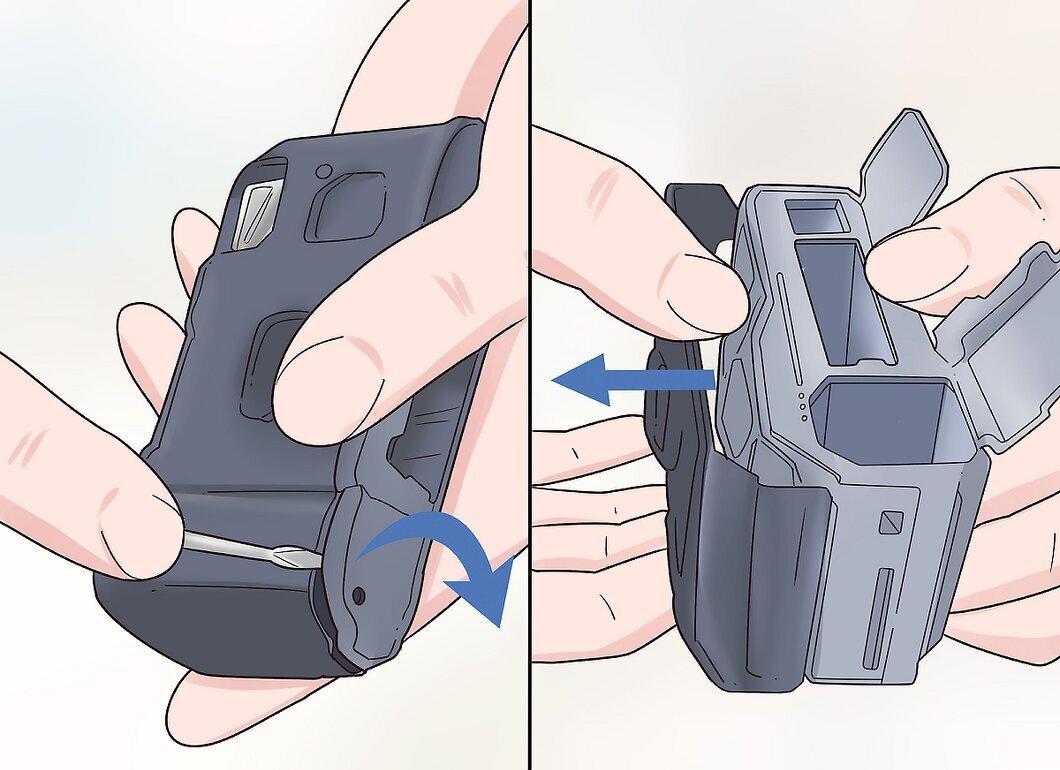
Carefully open the casing using a flat screwdriver. Take care not to damage the circuit board and metal components inside.
Step 3. Wear Protective Gloves.
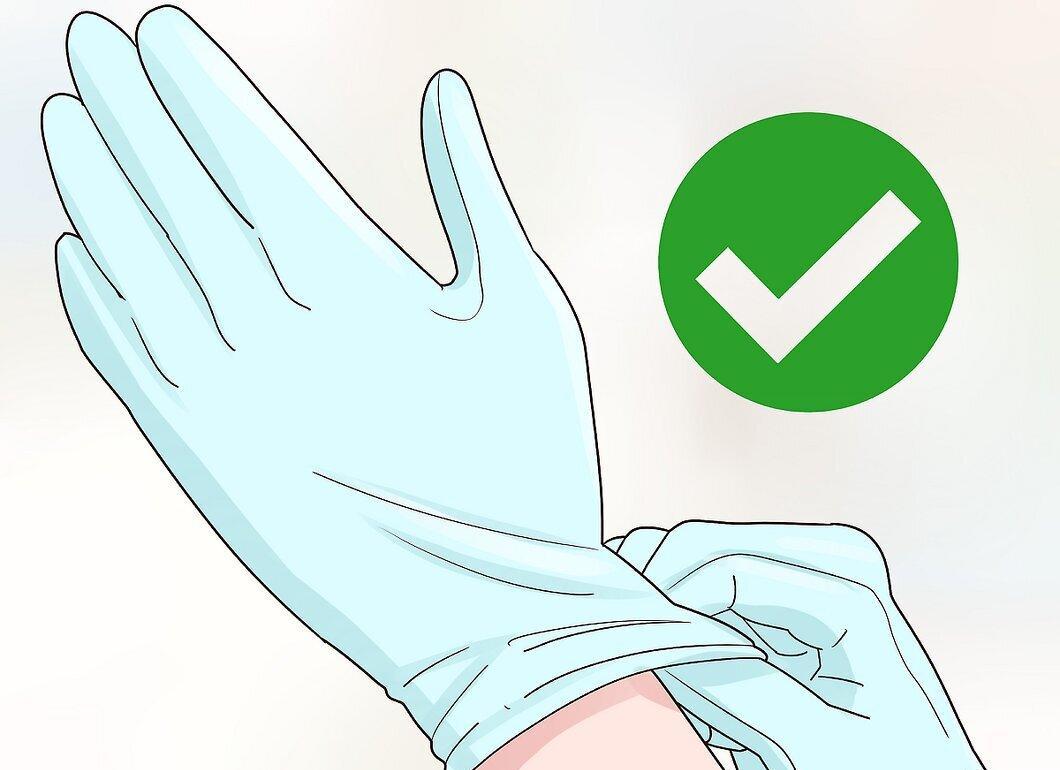
Make sure to wear rubber gloves. Accidental contact with the flash capacitor (which can reach up to 300 volts) can result in a serious electric shock.
Step 4. Locate the Capacitor.
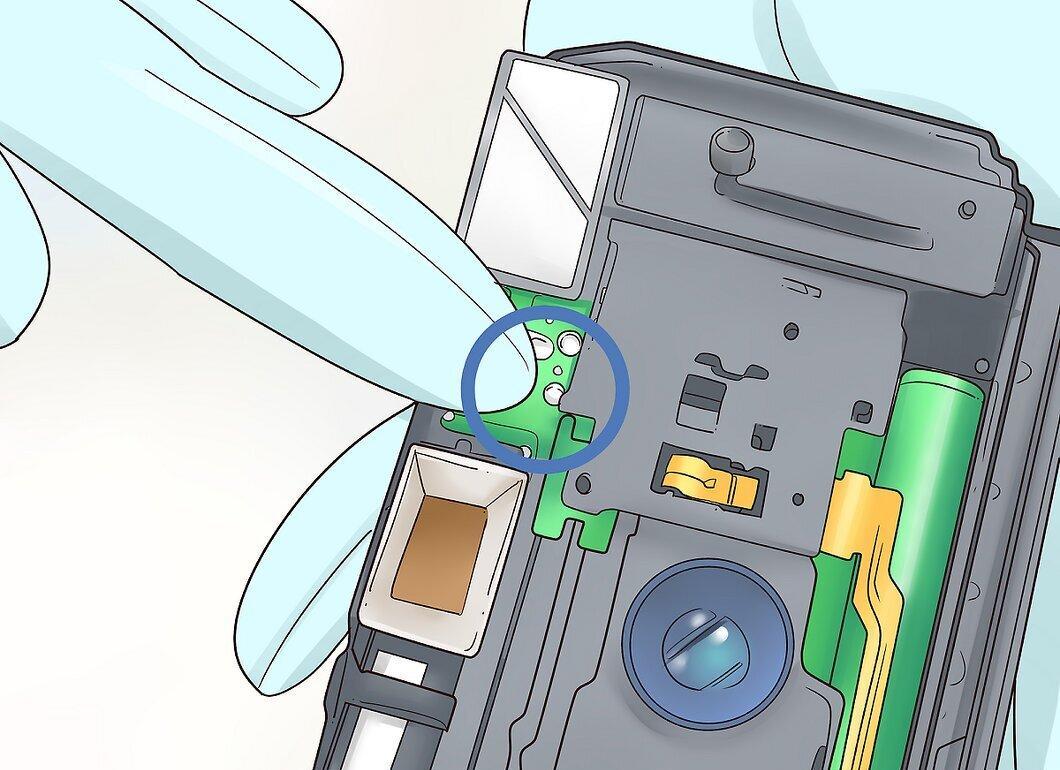
Look for the capacitor, which usually appears as a black cylinder with two leads at the bottom.
Step 5. Discharge the Capacitor.
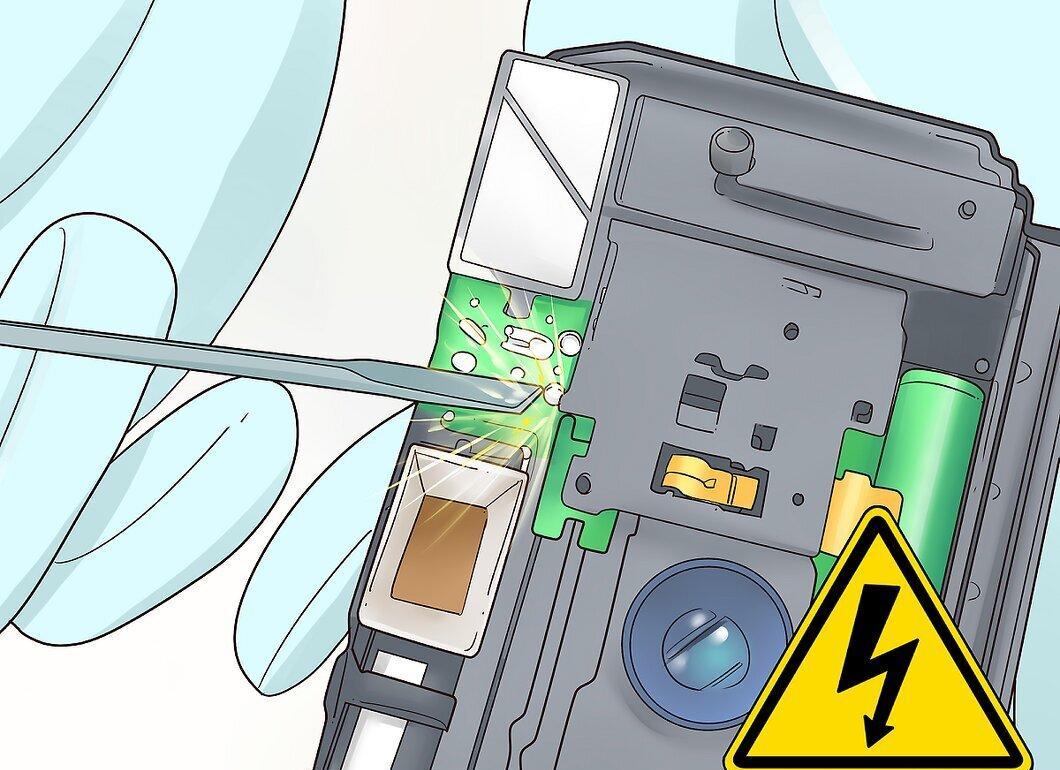
Use a tool with an insulated handle to discharge it safely and avoid electric shock. Gently touch the tip of the screwdriver to the insulating layer around the flash. You will hear a click and see sparks.
- Do not continue after the first spark. Check the solder joints of the capacitor to the board.
- Avoid pressing too hard on the screwdriver to prevent damaging the circuit board.[4] X Source
Step 6. Remove the Board and Capacitor.
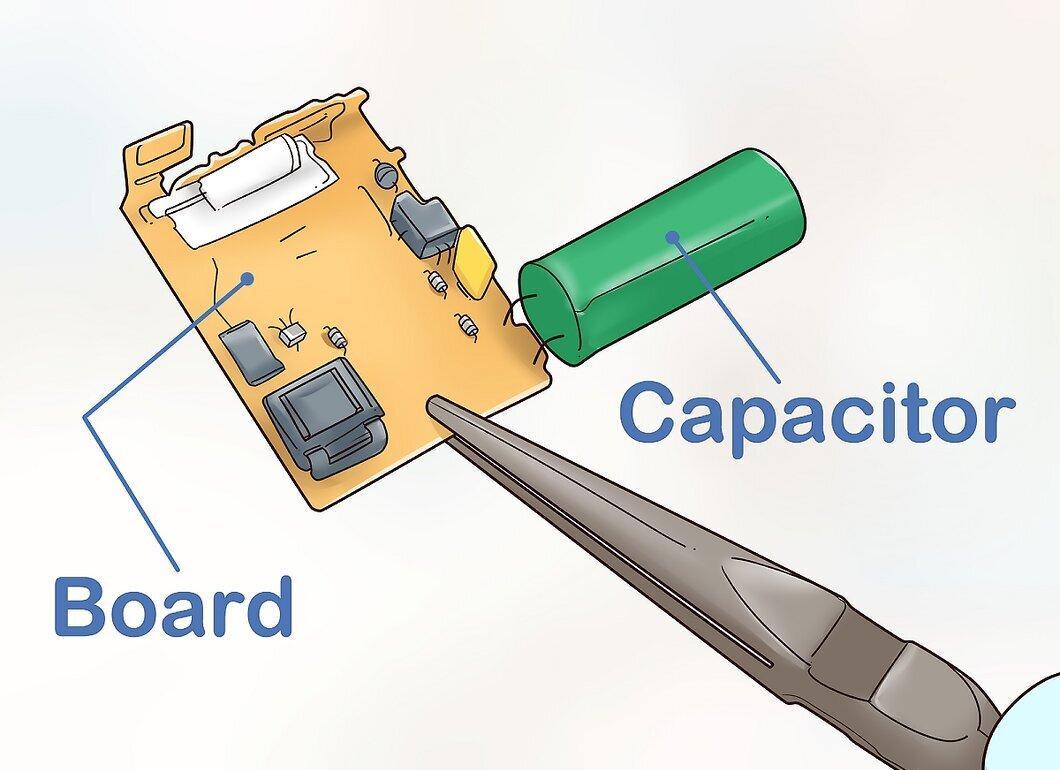
Carefully extract the board and capacitor from the camera casing. You will also find a battery. Be sure to note the positive and negative contacts on the battery holder.
- Make sure to remove the battery before continuing.[5] X Source
Building the EMI Generator
Step 1. Prepare the Wire.
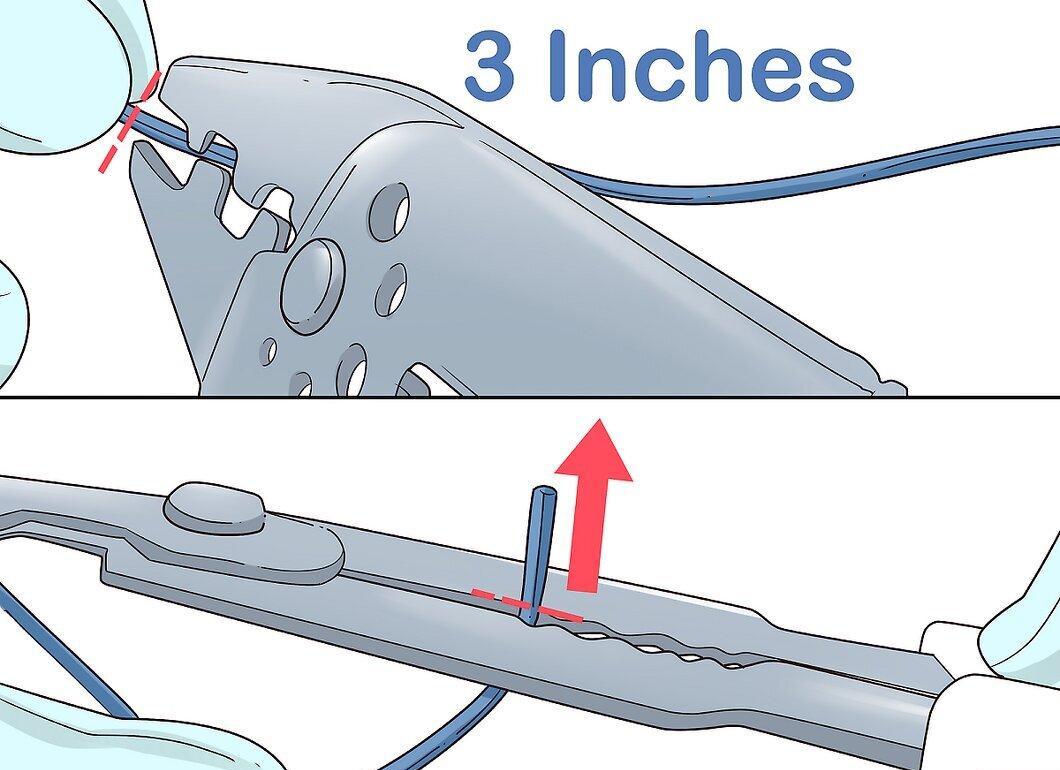
Cut a length of wire as needed. A wire length of 10 to 30 centimeters is sufficient to connect the capacitor to the switch. Strip the insulation from the wire.
Step 2. Solder the Wire.
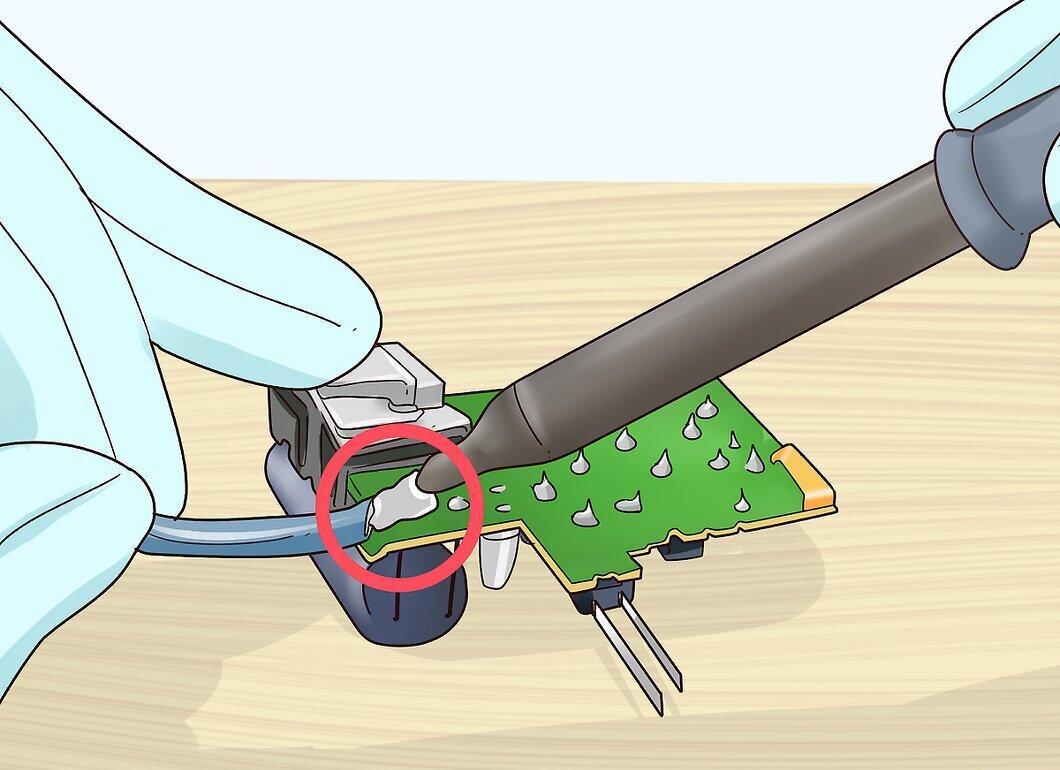
Solder the wire to one of the capacitor terminals. Use a quality soldering iron to avoid contaminating the board. Apply a drop of lead-free solder with flux to the connection point—the solder will set quickly, creating a reliable contact.
Step 3. Connect the Switch.
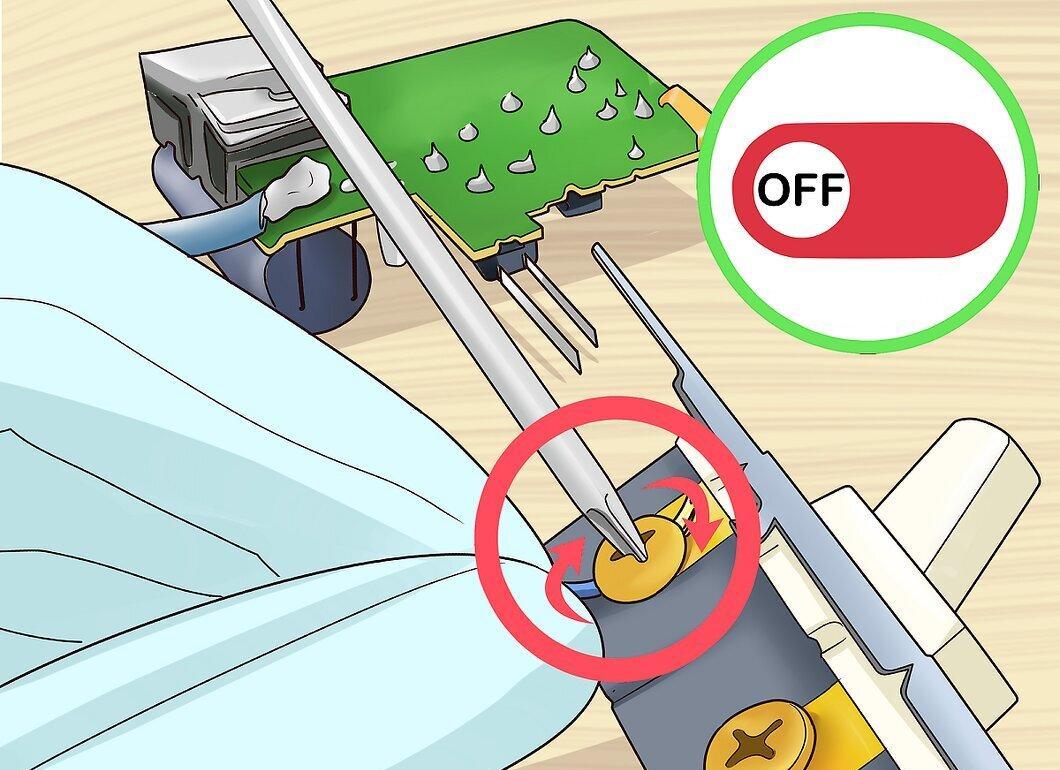
Connect the other end of the wire to the "off" terminal of the switch. You may need to solder the wire, but many switches have wire clamps.
Step 4. Prepare the Inductor Coil.
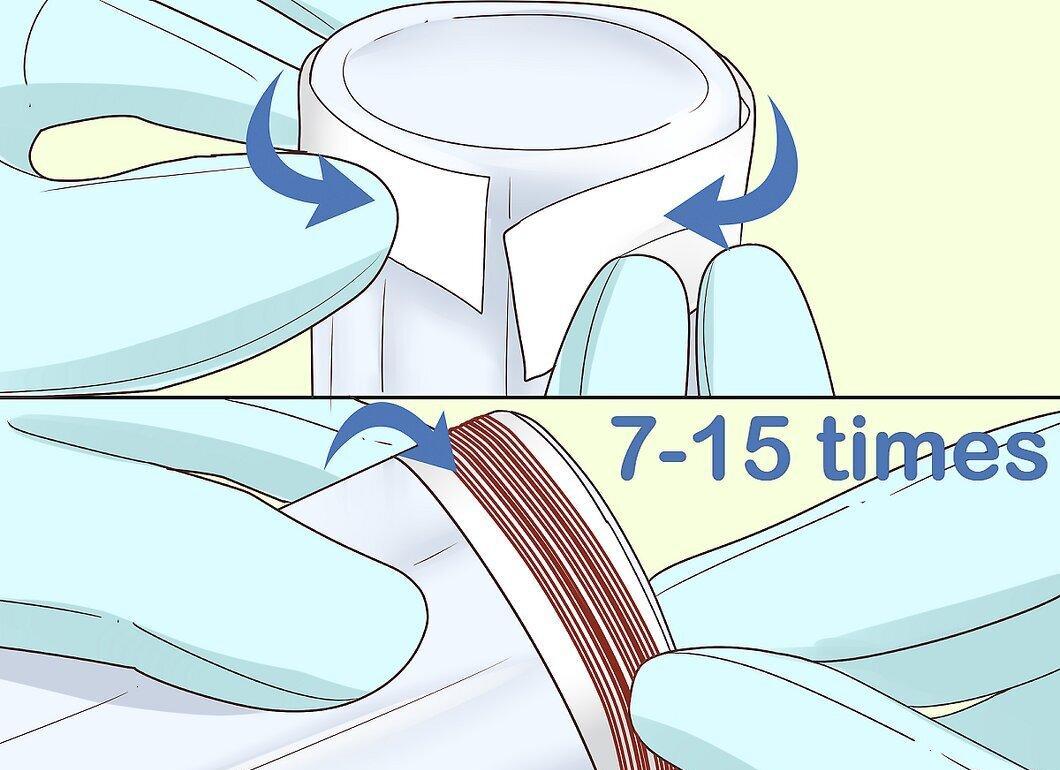
Wrap the cylindrical object with tape, ensuring the sticky side is facing outward. Then, wrap 7–15 turns of insulated wire around it, leaving some wire at the ends for connections. Ensure that the turns are tightly packed together without gaps.
- Secure the wrapped wire with tape.
- Remove the coil from the cylinder.
- Trim the ends of the wire on the coil to the needed length (not too short for ease of connection).[7] X Source
Step 5. Remove Insulation.
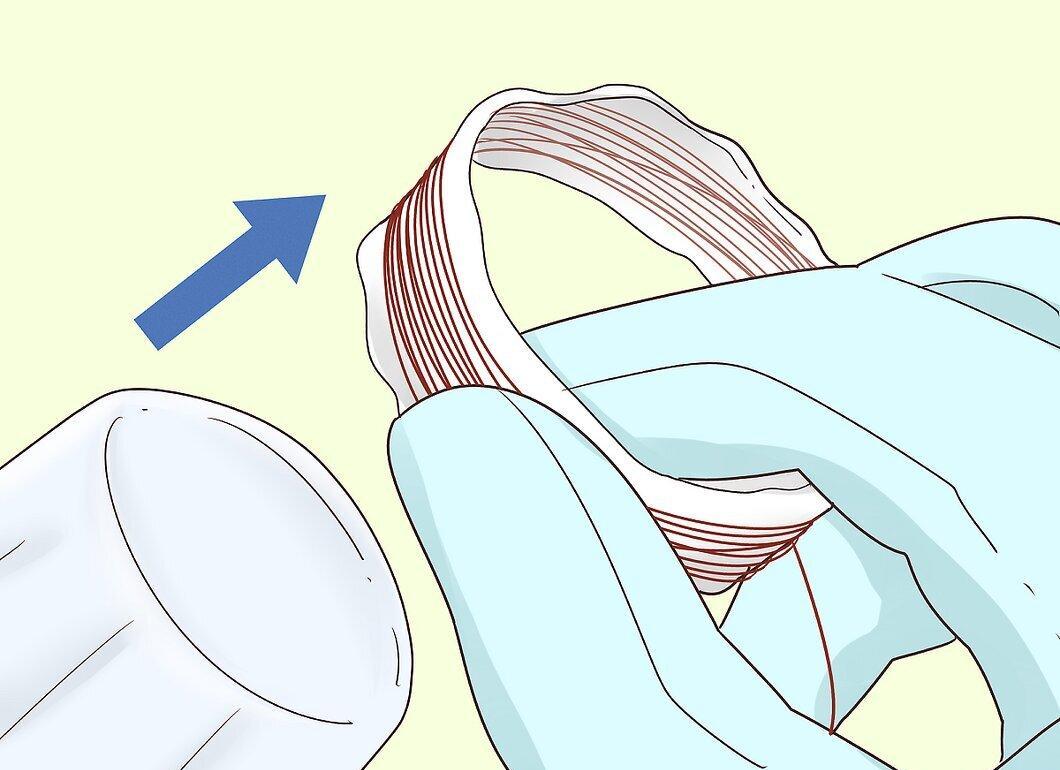
Use sandpaper to carefully remove the insulation from the ends of the wire for better contact.
Step 6. Solder the Coil to the Capacitor.
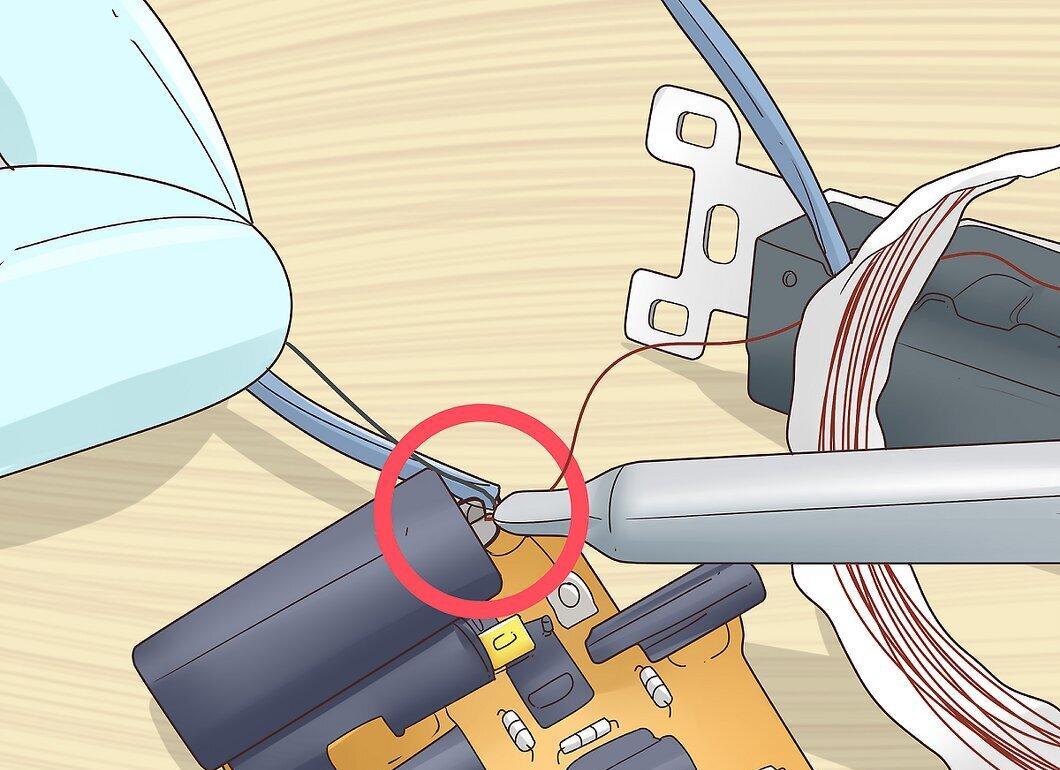
Connect one end of the coil to the second terminal of the capacitor. Exercise extreme caution.
- Connect the end of the wire to the second terminal of the switch.
Step 7. Connect the Coil to the Switch.
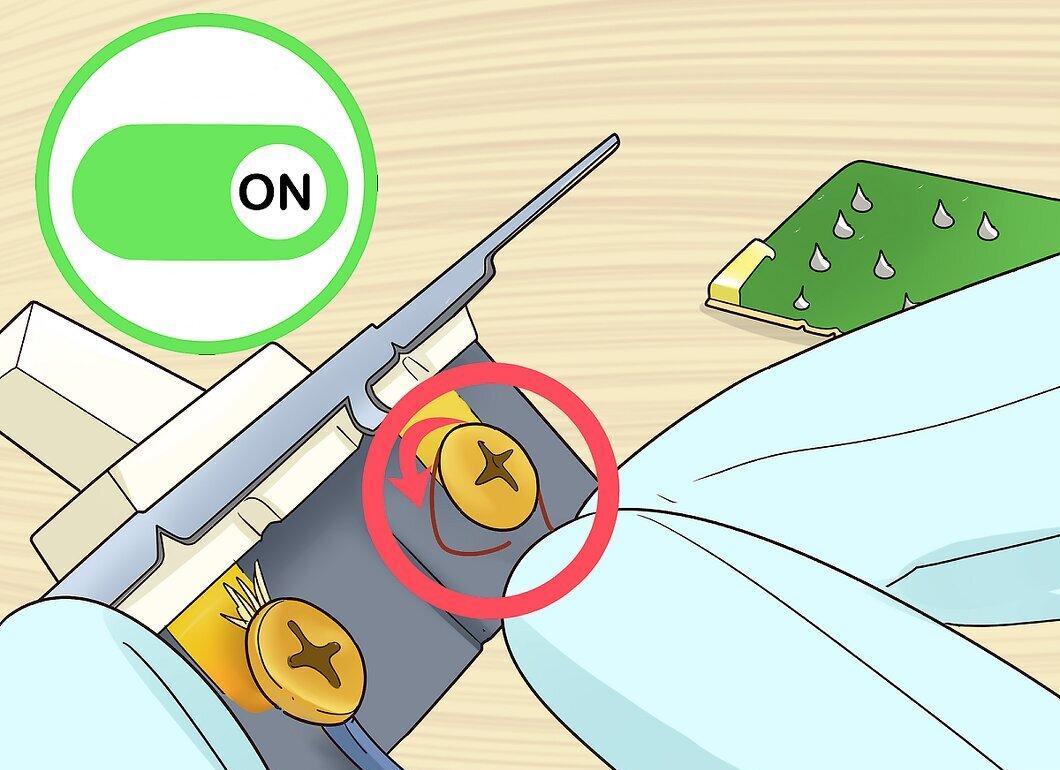
Connect one end of the coil to the "on" terminal of the switch.
Step 8. Power Up the Generator.
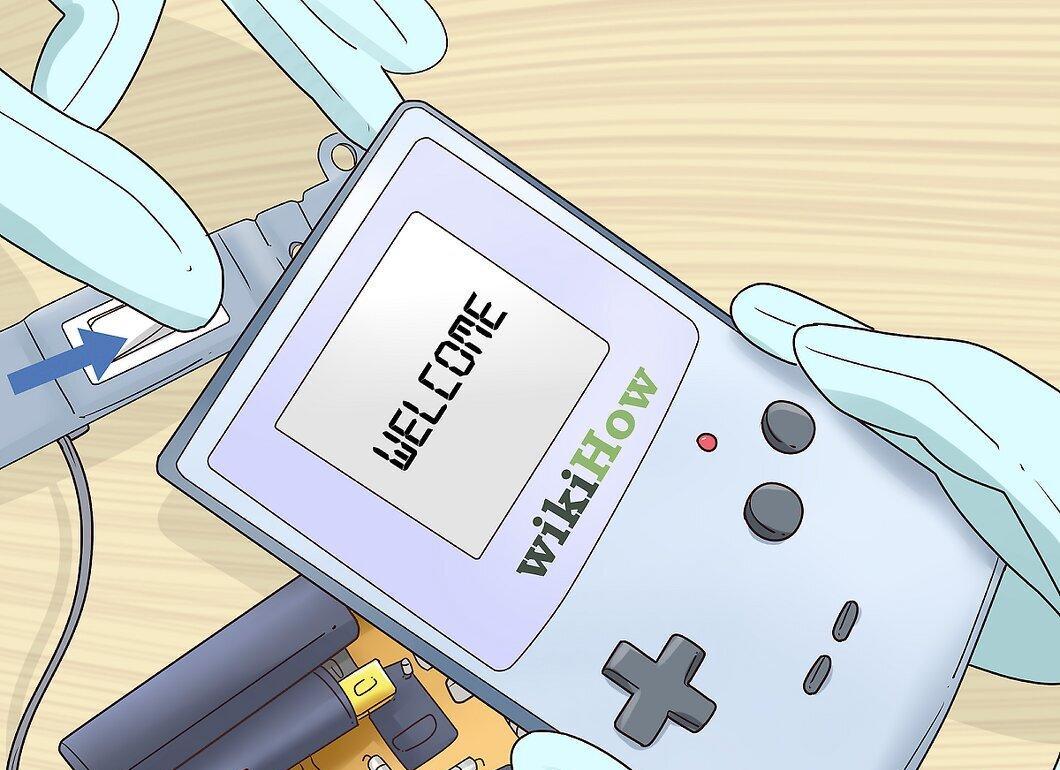
Ensure the battery is charged and connect it. Test the generator by applying it to a gaming console. Note that it may not work on newer models. Place the gaming console or another electronic device inside the generator coil and activate the switch.


