
Over time, coins accumulate dirt, microbes, and residues that dull their metal shine and reduce their appeal. This is why you might feel the urge to clean your coins and restore their original look. We must warn you that cleaning collectible, trial, or uncirculated coins, as well as samples made from precious metals, can impact their value. If damaged, their worth may drop to the value of the material they are made of.
Rinsing Coins
Step 1: Hold the coin under warm water.
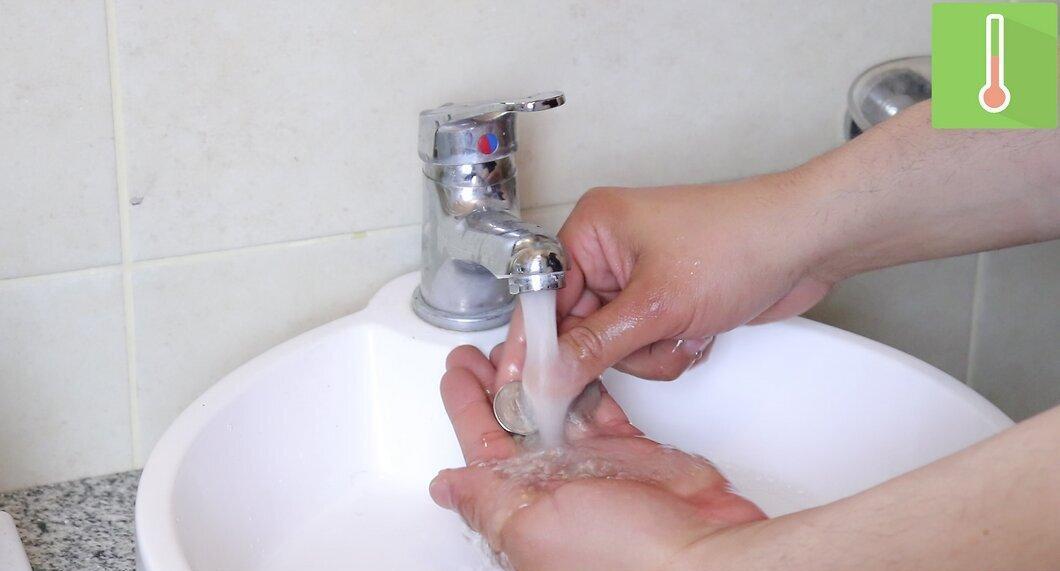
Hold the coin under warm water. A stream of warm water from the tap can remove the top layer of dirt. No additional tools are necessary; the water pressure from the tap is sufficient. Hold the coin under the water for a couple of minutes, then place the coins on a paper towel or cloth.
- All coins can be cleaned with water, but copper coins react with more substances compared to nickel or silver coins, leading to more dirt accumulation. This complicates the cleaning process for such coins.
- Before cleaning coins, remember to plug the sink to prevent them from falling down the drain if they accidentally slip from your hands.
- Clean the coins one at a time to ensure the water stream reaches each coin.
Step 2: Soak the coins in a mixture of water and dish soap.
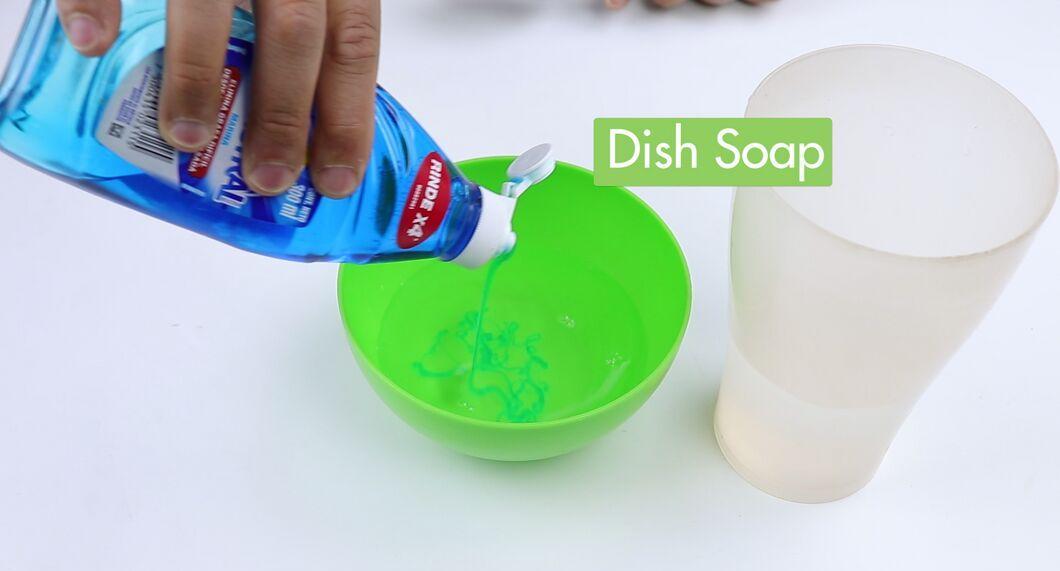
Soak the coins in a mixture of water and dish soap. Prepare the solution in a small bowl using warm water and dish soap, then dip the coins into the solution one by one. Hold the coin between your thumb and index finger, and gently scrub both sides of the coin. You'll see it getting cleaner right before your eyes.
- Heavily soiled coins can be left in the solution for a while.
- Liquid cleaners without abrasives, made from distilled water and mild cleaning agents, have sufficient cleaning power to remove dirt from coins and do not contain acids that could damage the metal.
Step 3: Brush the coins with a soft toothbrush or paper towel.
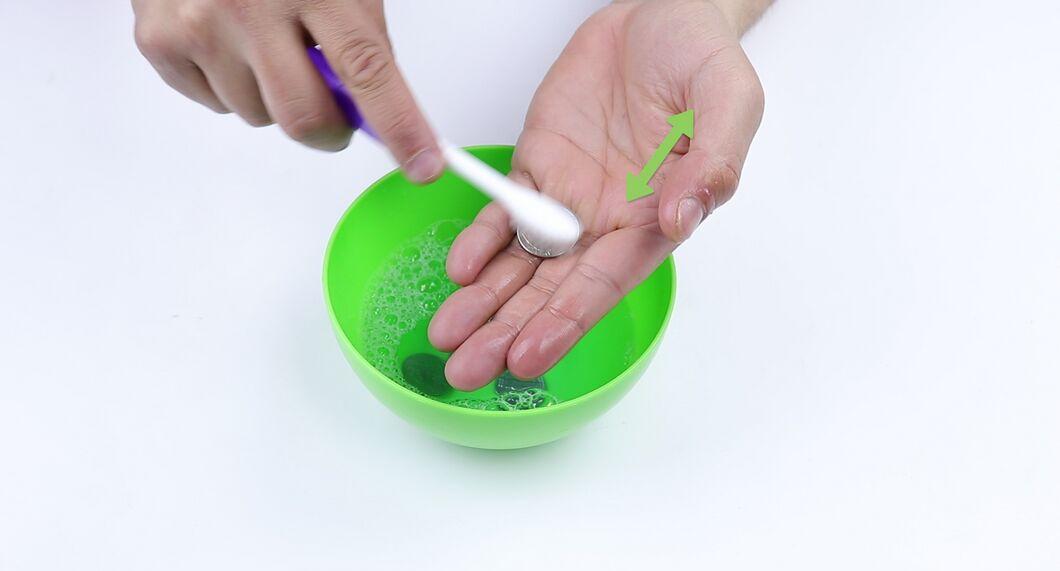
Brush the coins with a soft toothbrush or paper towel. Clean the coins while they are in the soapy solution. Continue cleaning until the sides of the coin become shiny again. Frequently rinse the coin in water to avoid visible scratches. This method may damage valuable or antique coins and decrease their worth.
- After brushing, coins need to be thoroughly rinsed.
- Do not scrub the coin too hard. Focus on a small area and apply gentle motions.
Step 4: Dry the coins with a towel.
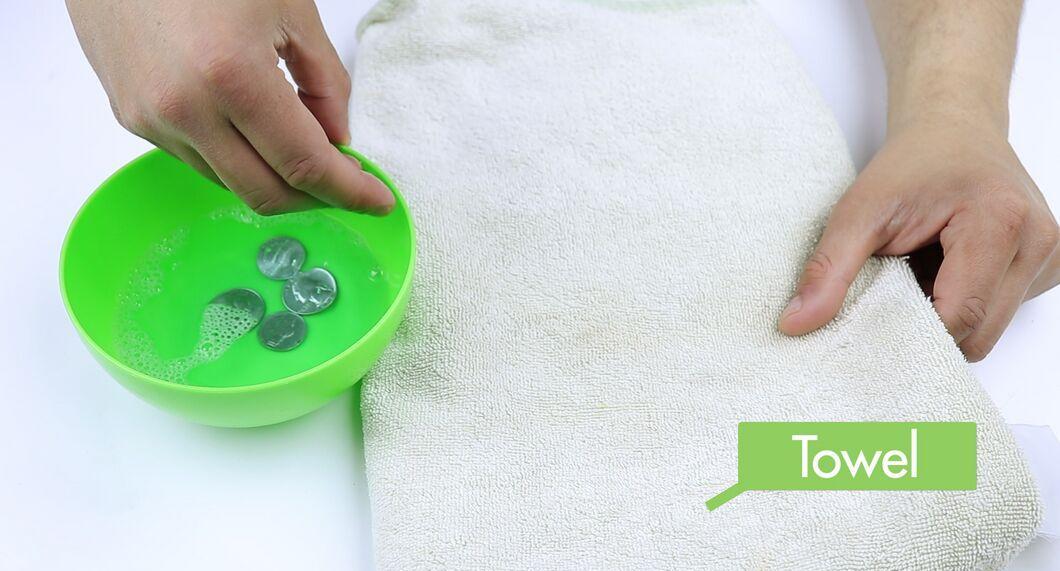
Dry the coins with a towel. Wipe each coin with a towel and place them in a dry spot. No moisture should remain on the coins, or they will start to deteriorate over time. Now your coins look like new again.
- For drying, it’s better to use a non-cotton cloth.
- Simply blotting the coins with a cloth or towel will help prevent micro-scratches.
Soaking Coins
Step 1: Create a cleansing solution using isopropyl alcohol and salt.
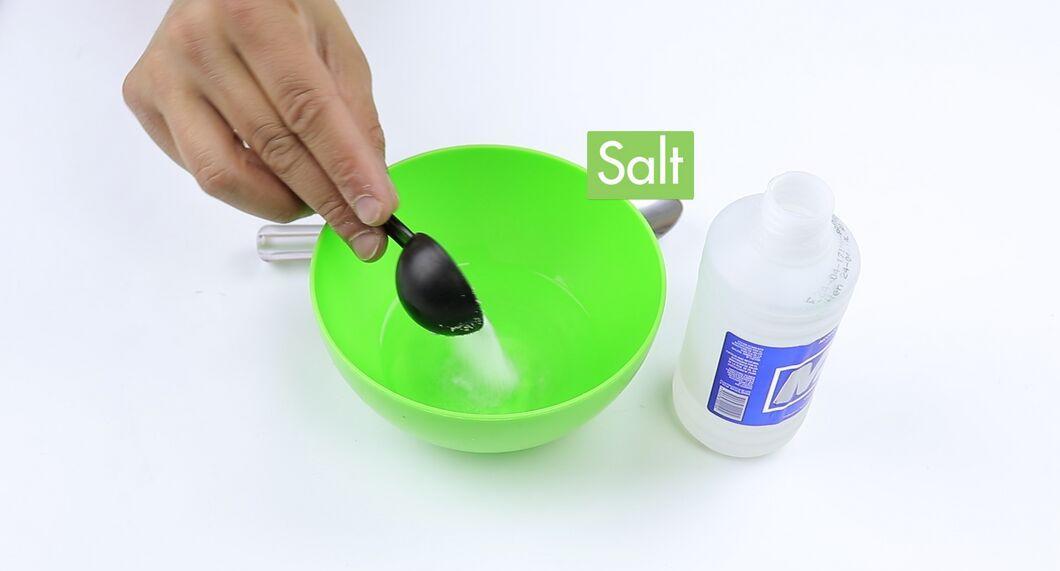
Create a cleansing solution using isopropyl alcohol and salt. These chemicals have abrasive and acidic properties that help remove any dirt. To prepare the solution, add two tablespoons of table salt to one cup of over-the-counter isopropyl alcohol. Stir the solution and place the coins in it. Leave the coins in the solution for anywhere from two hours to a week, depending on the level of dirtiness.
- Isopropyl alcohol is a universal solvent that can handle compounds that regular water cannot (such as nonpolar compounds).
- Isopropyl alcohol has a strong smell and is highly flammable. Be sure to open windows before mixing the solution and soaking the coins.
Step 2: Rinse the coins with distilled water.
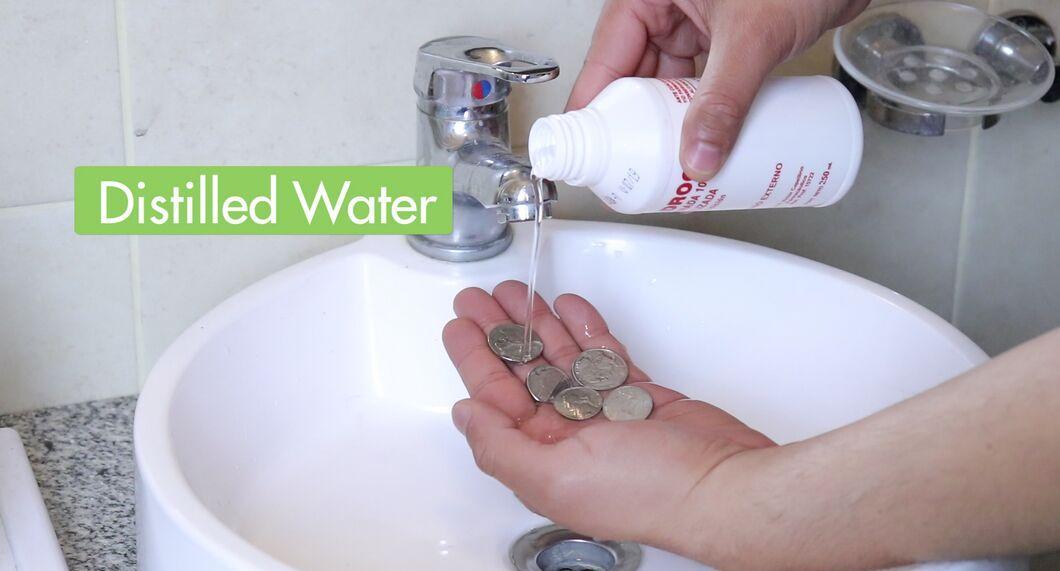
Rinse the coins with distilled water. Tap water contains chlorine, which can gradually corrode coins. It’s better to use distilled water for rinsing to completely remove all chemicals.
- Distilled water is water that has been purified of all contaminants.
- You can purchase distilled water at any supermarket.
Step 3: Blot the coins with a cloth and let them air dry.
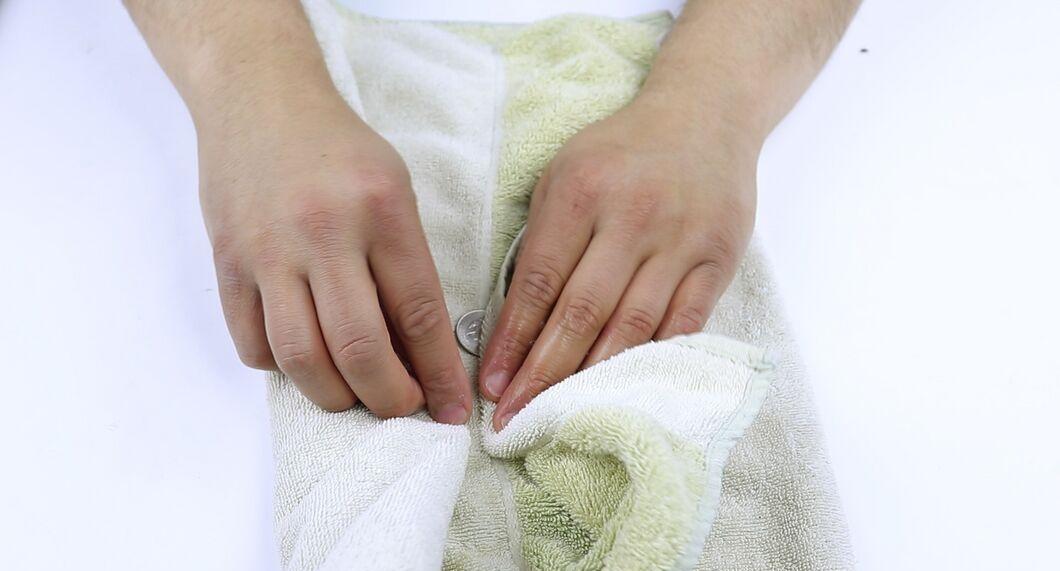
Blot the coins with a cloth and let them air dry. Flip the coins over and repeat the process. Do not stack the coins immediately after drying to avoid retaining moisture. Any remaining moisture negatively affects the coin.
- Exposure to extreme temperatures can damage the patina on coins. Do not use heated air for drying.
- If there are traces of cotton or dust left on the coin after blotting, blow them off without using compressed air.
Step 4: Store coins at room temperature in acid-free polyethylene holders.
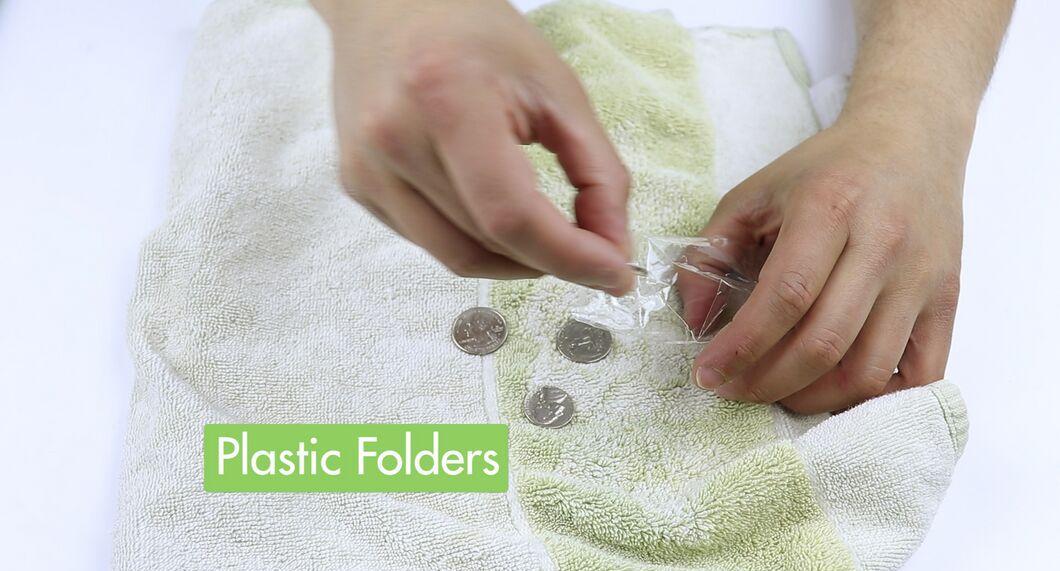
Store coins at room temperature in acid-free polyethylene holders. Common storage materials like paper, cardboard, and certain plastics can damage the coin's surface. Do not use containers made of polyvinyl chloride (PVC), as they are harmful to coins. Extreme temperatures also have a negative impact, so it’s best to store coins at room temperature and low humidity.
- Do not store coins in a place where they might fall (like high unstable shelves).
- For displaying coins, you can use a two-pocket folder made of mylar (a special polyester for coin storage).
Cleaning Collectible Coins
Step 1: Consult a professional.
Consult a professional. Before cleaning collectible coins, always seek advice from a professional appraiser. Cleaning collectible coins can significantly reduce their value; sometimes "toning" or discoloration of the coin and the development of patina due to air exposure can actually increase overall value. Therefore, it's best not to attempt to clean valuable or antique coins.
- When handling antique coins, always hold them by the edge, not the flat sides. Oils and fingerprints can negatively affect the value of the specimen.
- There is a standard classification for the condition of coins, so even the slightest scratch from cleaning can greatly diminish the coin's worth.
Step 2: Apply a thin layer of petroleum jelly using a cotton applicator.
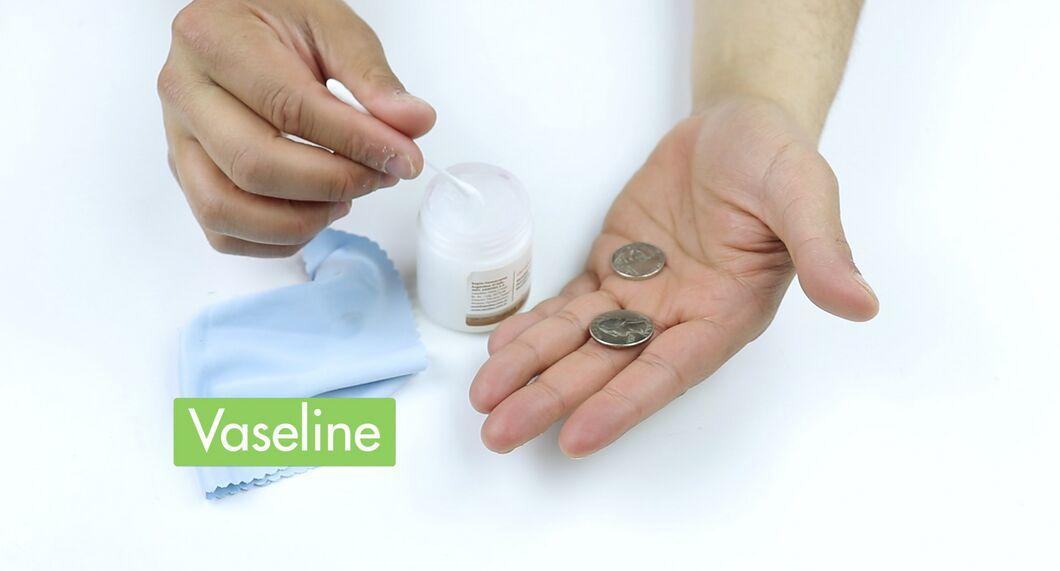
Apply a thin layer of petroleum jelly using a cotton applicator. Take a special lint-free cloth and lightly dab the coin to remove excess petroleum jelly. This will allow you to remove some dirt and dust without damaging the coin. Be careful, using a magnifying glass if necessary.
- You can use a cotton swab or a very soft non-synthetic brush to apply the petroleum jelly.
- Do not apply too much petroleum jelly; a very thin layer will suffice.
Step 3: Place the coin in acetone for 5 seconds.
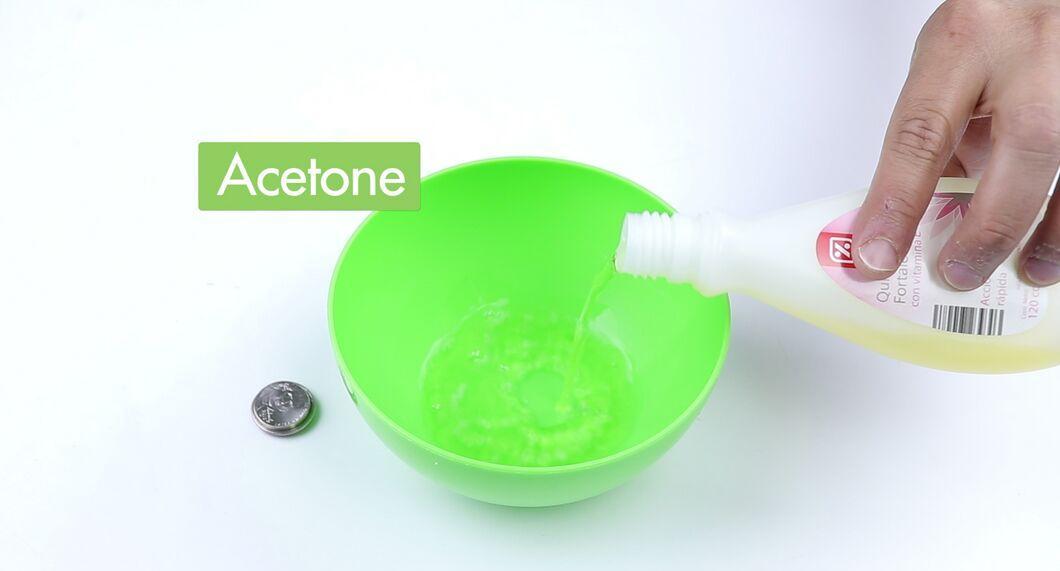
Place the coin in acetone for 5 seconds. If any acetone remains on the coin, it will give it a brownish haze, significantly reducing its value. It is crucial to rinse the coin in distilled water immediately and completely remove the acetone before drying. Do not wipe antique coins. Acetone, which is a solvent and not an acid, will not affect the coin's value if not allowed to act for a prolonged period.
- Acetone is highly flammable. Use powder-free rubber gloves while working.
- If using a container with distilled water, line it with a cloth to prevent the coin from scratching against the container's interior surfaces.
- Use 100% acetone. Other products containing acetone may also contain other substances that can damage the coin and lower its value.
Step 4: Store collectible coins in special 2x2 holders made of rigid plastic.
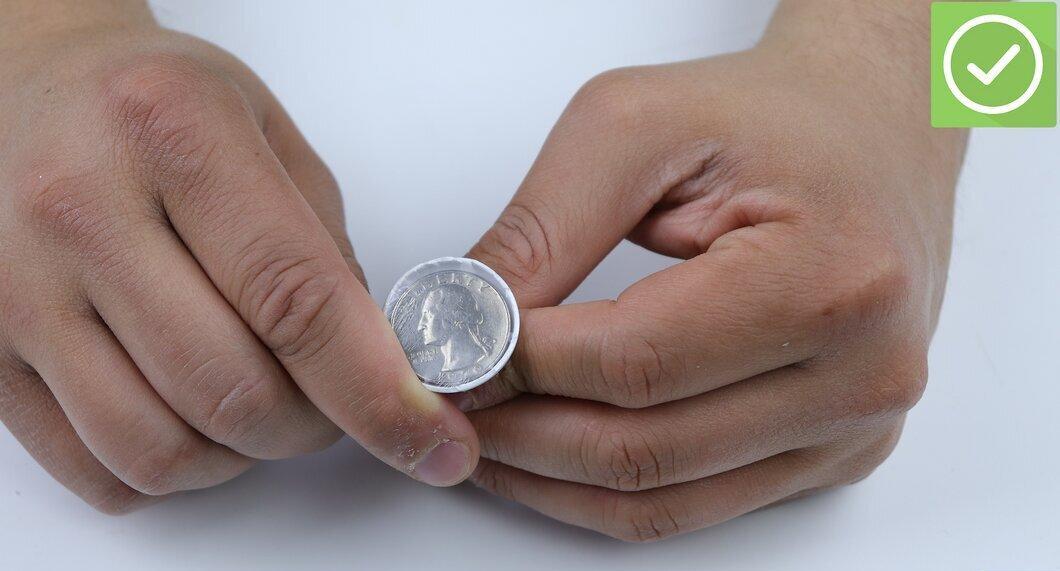
Store collectible coins in special 2x2 holders made of rigid plastic. These holders can be organized in a special binder for easy viewing of all the coins. Rigid plastic is more reliable and can protect the coins from damage. Ensure that your holders are airtight and that the coins are not exposed to the environment.
- Do not use plastic that contains PVC. Use holders made of mylar, as PVC is harmful to coins with prolonged contact.
- Keep antique coins away from staples and other metal elements.
- Avoid using paper. It contains sulfur, which can give coins a dark hue.


