
Colored sand is a wonderful material for your artistic endeavors. While you can buy it from a store, creating colored sand at home is a fun and easy process that allows you to mix any shades you desire. Let’s explore a few simple methods for coloring sand.
Using Powdered Tempera
Step 1. Choose a Tempera Color.
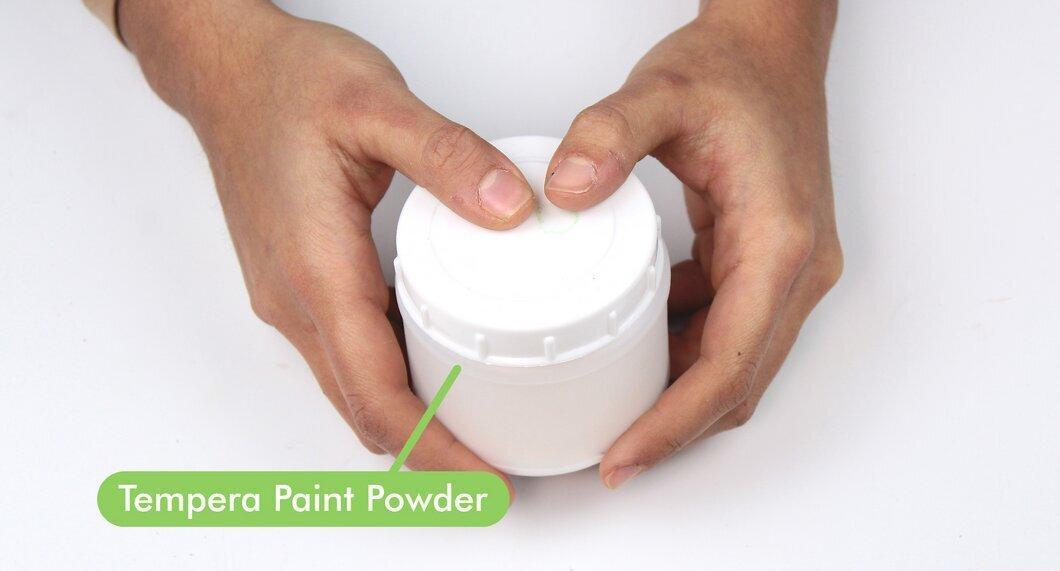
Decide on the color of tempera you want to use. It’s usually mixed with water to create paint, but in its dry form, it works great for coloring sand as well.
- You can find powdered tempera at art supply stores or order it online.
- It’s a safe and inexpensive material often used in preschools and schools because it washes out easily.
- Feel free to experiment by mixing different tempera colors to create unique shades.
Step 2. Place Sand in a Container.
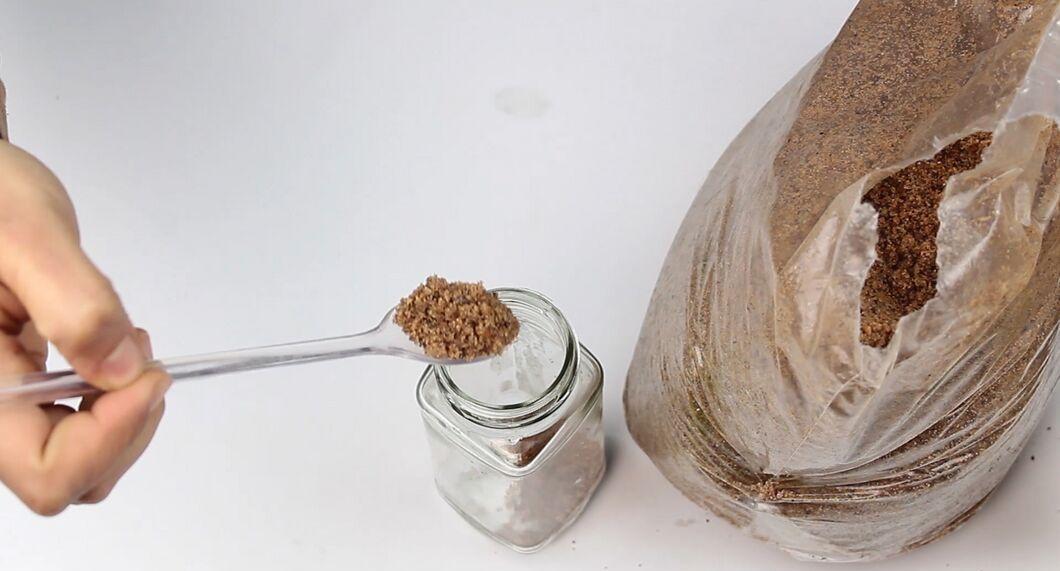
Transfer the sand you want to color into a suitable container—this could be a bowl, dish, or bag.
- Make sure the container is large enough to mix the sand with the paint comfortably and to avoid spills.
- You can color as much sand as you need.
- Alternatively, you can use table salt instead of sand, but avoid using sugar as it can clump together.
Step 3. Add Tempera to the Sand.
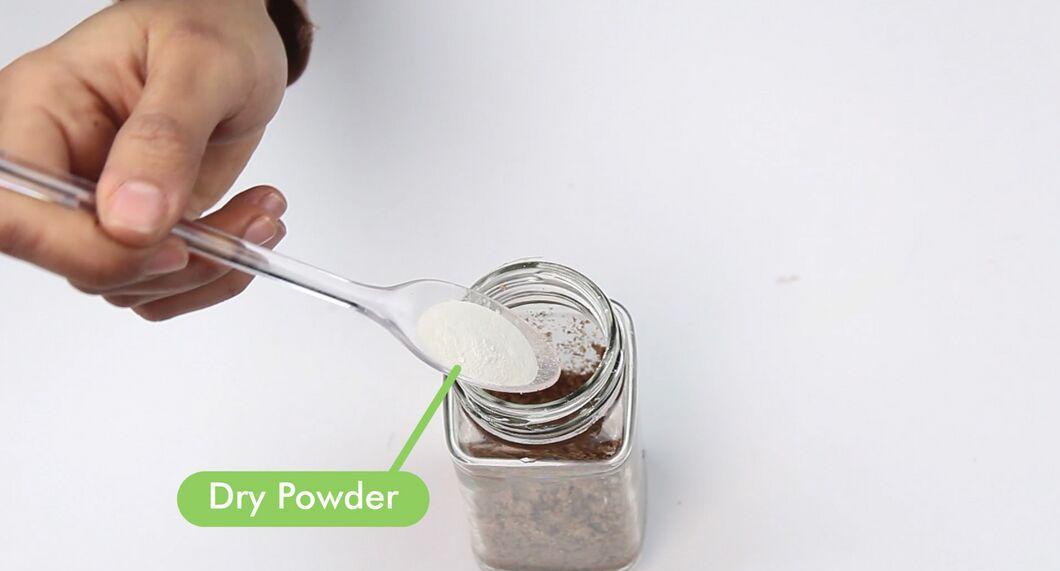
Add a small amount of dry tempera to the sand. Start with one teaspoon per cup of sand.
Step 4. Mix Sand and Paint.
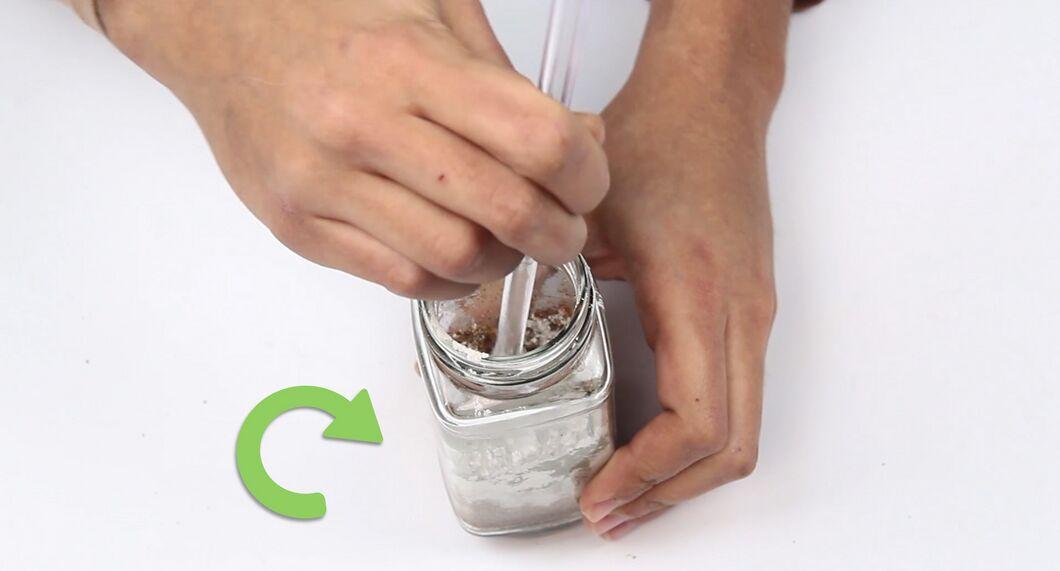
Thoroughly mix the sand with the paint. You can add more tempera until you achieve the desired shade.
- If using a bowl, mix with a spoon or stick.
- If the container can be sealed, shake it to help blend the sand with the paint better.
Step 5. Store the Colored Sand.
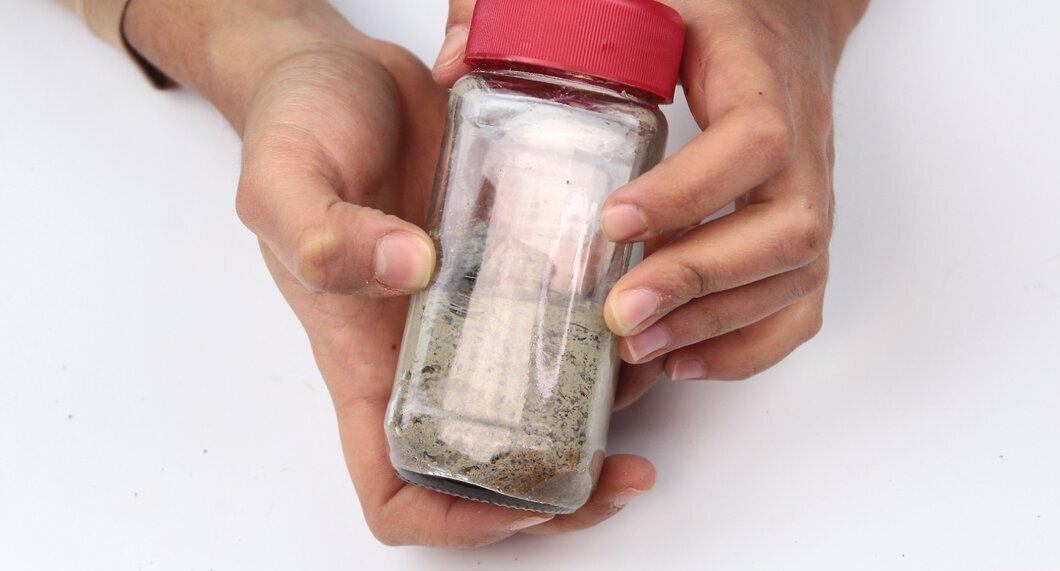
Now your colored sand is ready for storage. Make sure it doesn’t spill out of the container.
Using Food Coloring
Step 1. Place Sand in a Container.
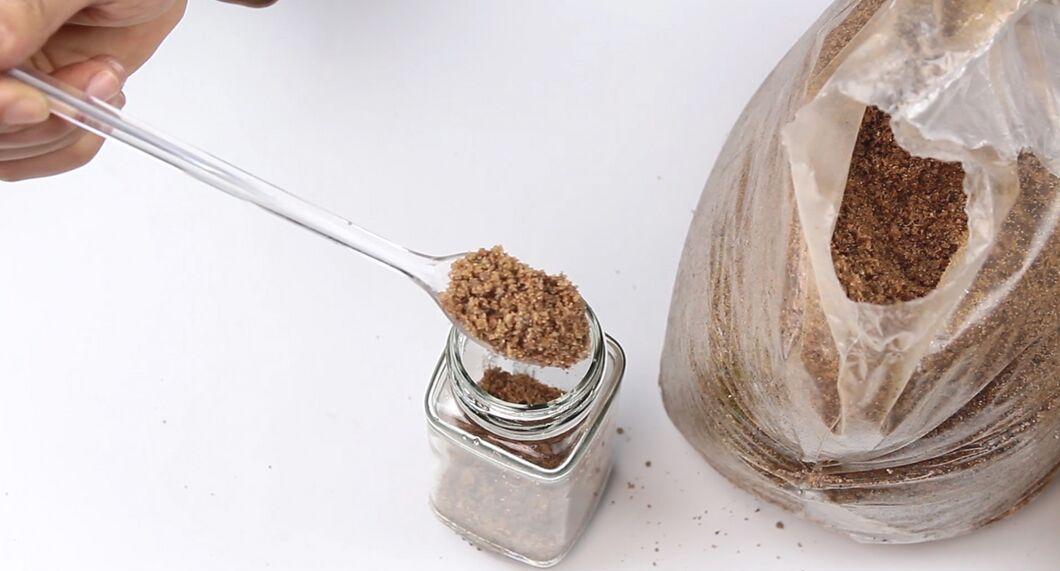
Transfer the sand into a suitable container—a bowl, dish, or any other.
- Ensure there’s enough room in the container for mixing so that the sand doesn’t spill out.
- Color as much sand as you need.
Step 2. Add a Bit of Water.
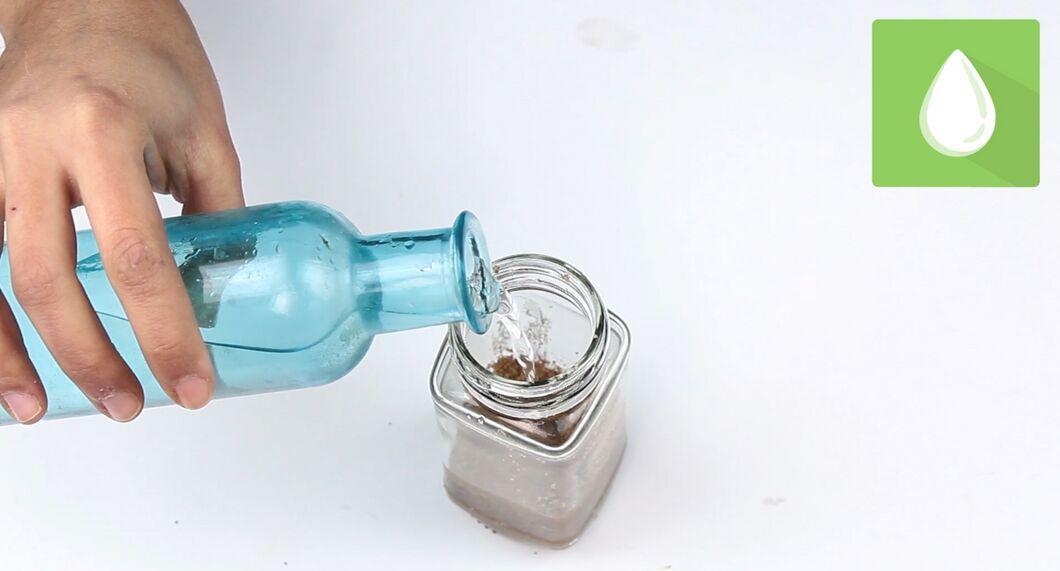
Pour in just enough water to barely cover the sand.
- Too much water will make it difficult to color, or you’ll need more dye.
- Use only sand, as salt will dissolve in the liquid.
Step 3. Add Food Coloring.
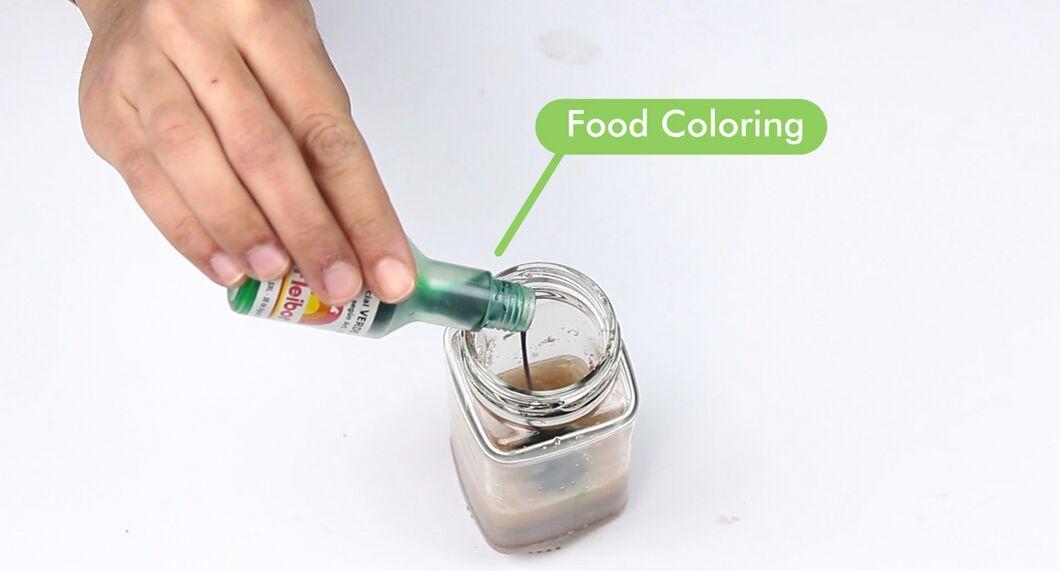
Drop 1-2 drops of coloring into the container and mix. If the color isn’t vibrant enough, add more dye drop by drop until you reach the desired shade.
- If the color is too intense, add a little water to dilute it.
- Experiment by mixing different food colorings for new shades.
Step 4. Remove the Water.
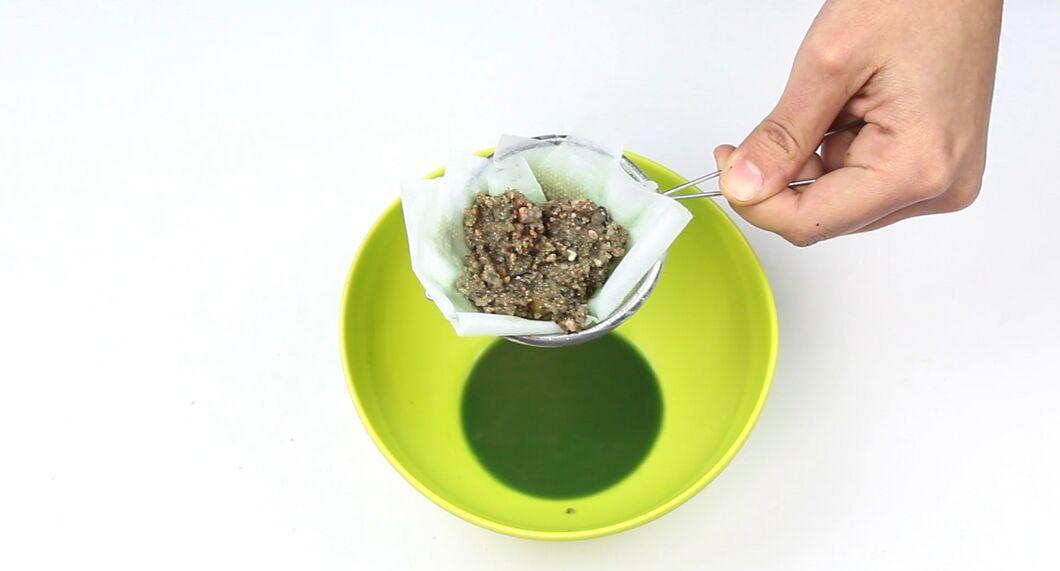
Drain off all the water using cheesecloth or a sieve.
Step 5. Let the Sand Dry.
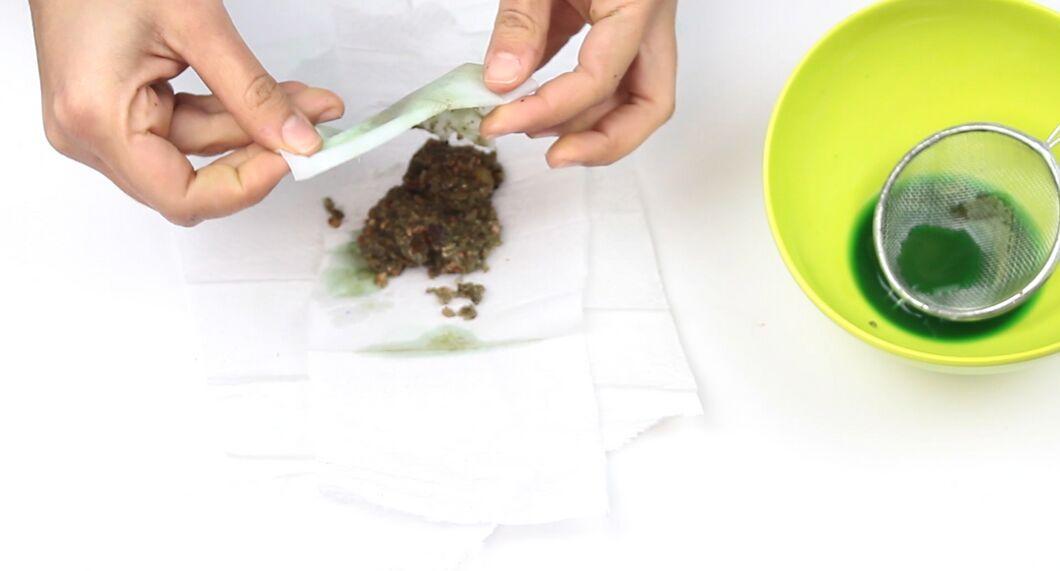
Spread the sand out on several layers of paper or towels to dry. Be careful not to stain surrounding items with the dye.
- For additional protection, you can place a plastic bag under the paper.
- The sand will dry faster if placed in a warm, dry area.
Step 6. All Done.
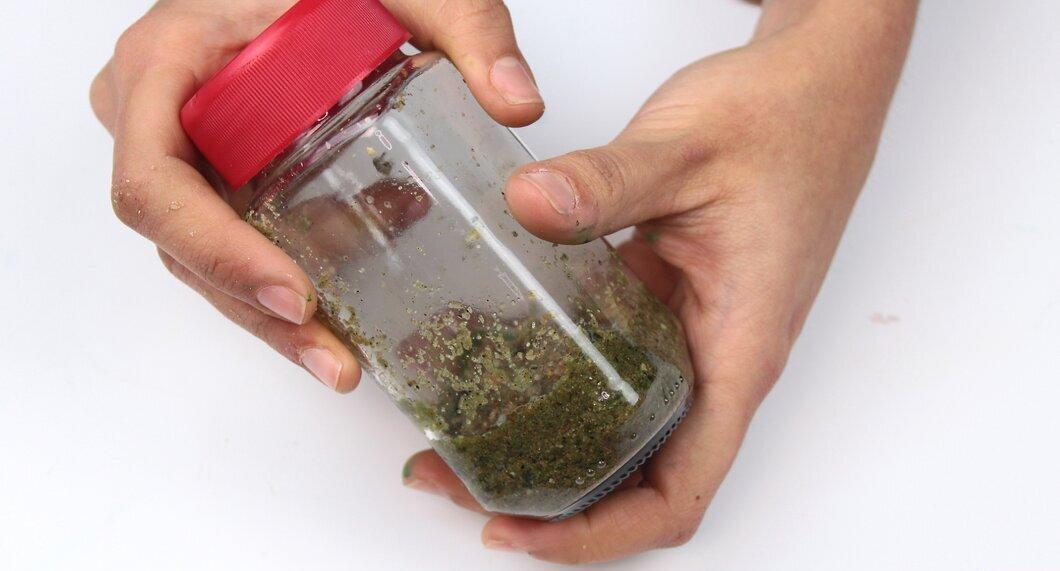
The sand is ready. Ensure it’s completely dry before storing it away.
Using Alcohol Inks
Step 1. Choose a Color.
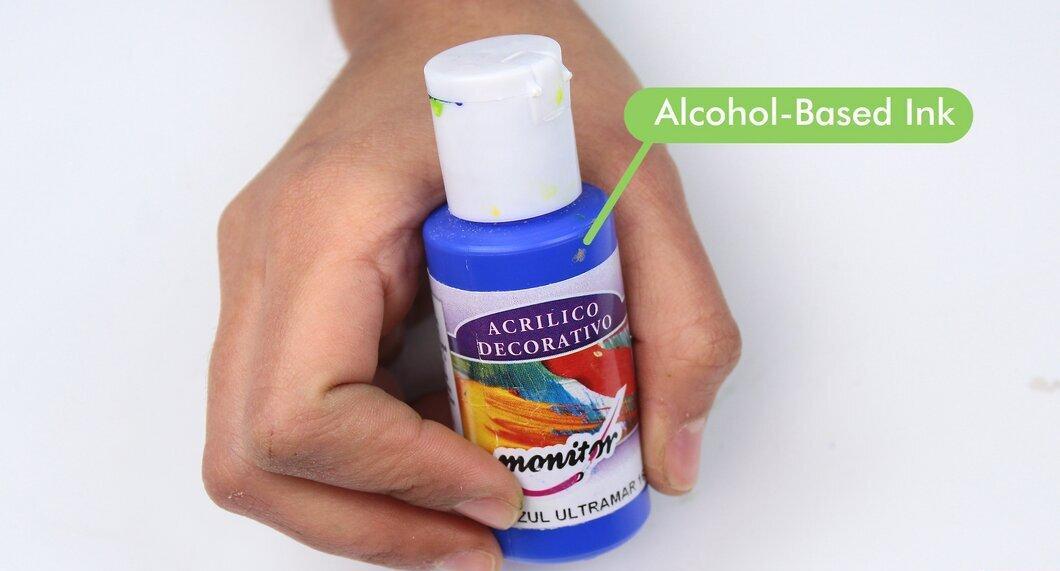
Select the color of alcohol-based ink, which is typically used for printing or drawing.
- These inks can be found at art supply stores.
- Don’t hesitate to mix different colors for unique shades.
- Food colorings can also work, but they are less durable over time.
Step 2. Pour Sand into an Airtight Container.
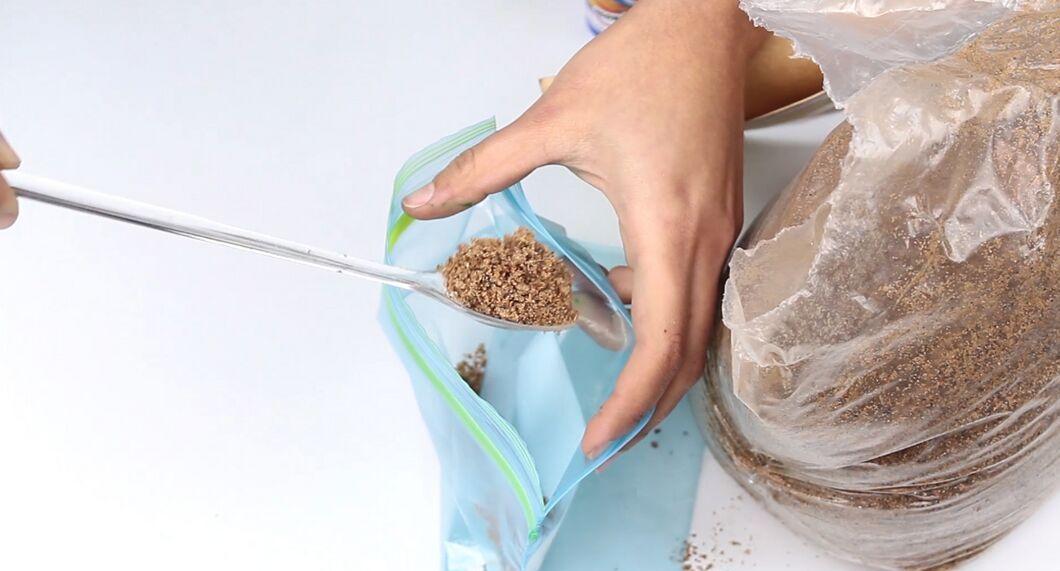
Transfer the sand into an airtight container that seals tightly, such as a bag.
- Make sure there’s enough space in the container for mixing.
- You can use both sand and table salt, but avoid sugar as it can clump.
Step 3. Add the Ink.
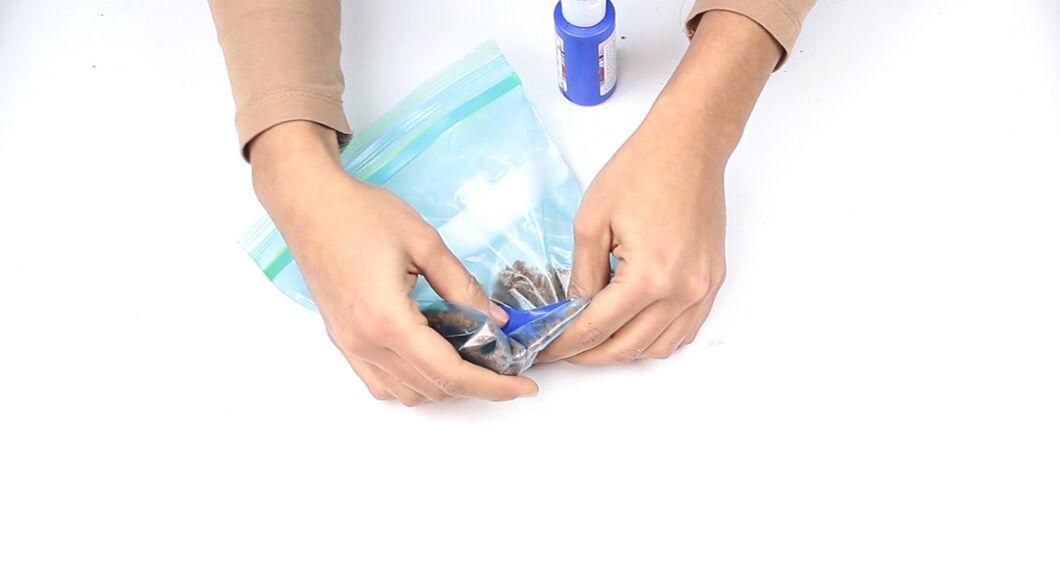
Add 1-2 drops of ink to the sand and shake the container thoroughly to mix. Continue until the sand reaches the desired color.
- If the color has reached the desired shade, remove excess ink.
- If the color is too light, add ink drop by drop until you achieve the desired result.
Step 4. Move the Sand to a Storage Container.
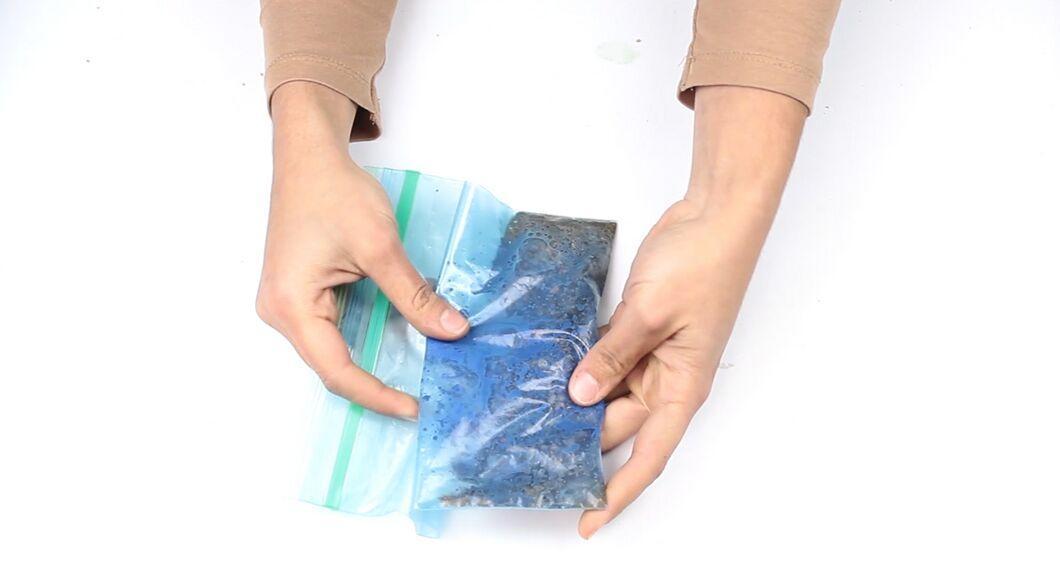
Your colored sand is ready for storage. Make sure the container seals tightly.
Using Colored Chalk
Step 1. Choose a Color.
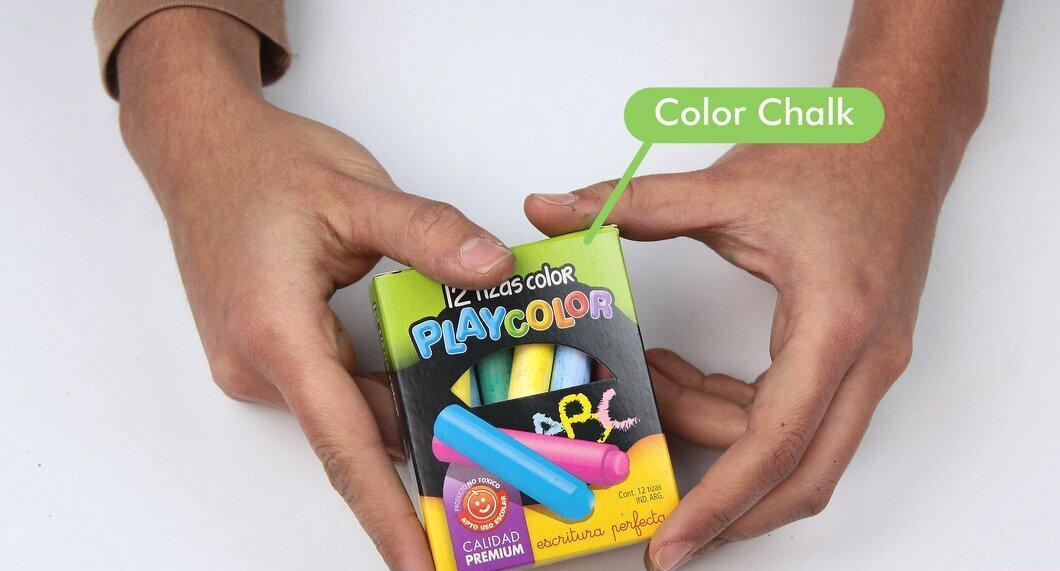
Select the color of chalk you want to use. For more vibrant shades, pastel chalk works best.
- Colored and pastel chalks can be purchased at art supply stores.
- Experiment by mixing different colors to create unique combinations.
Step 2. Prepare Your Workspace.
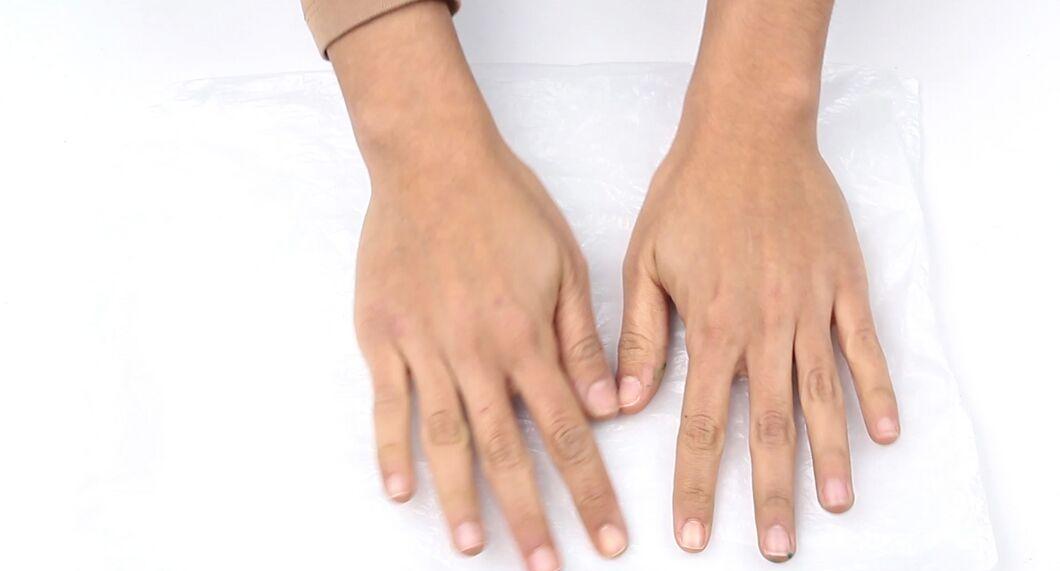
Set up a workspace. You’ll need to rub the chalk into the sand, so use a sturdy material that can be easily cleaned.
- A sturdy sheet of paper or a plastic bag works great and will also help transfer the finished sand into containers.
- Ensure the surface is clean to avoid unwanted mixing of colors.
Step 3. Pour Sand or Salt onto the Surface.
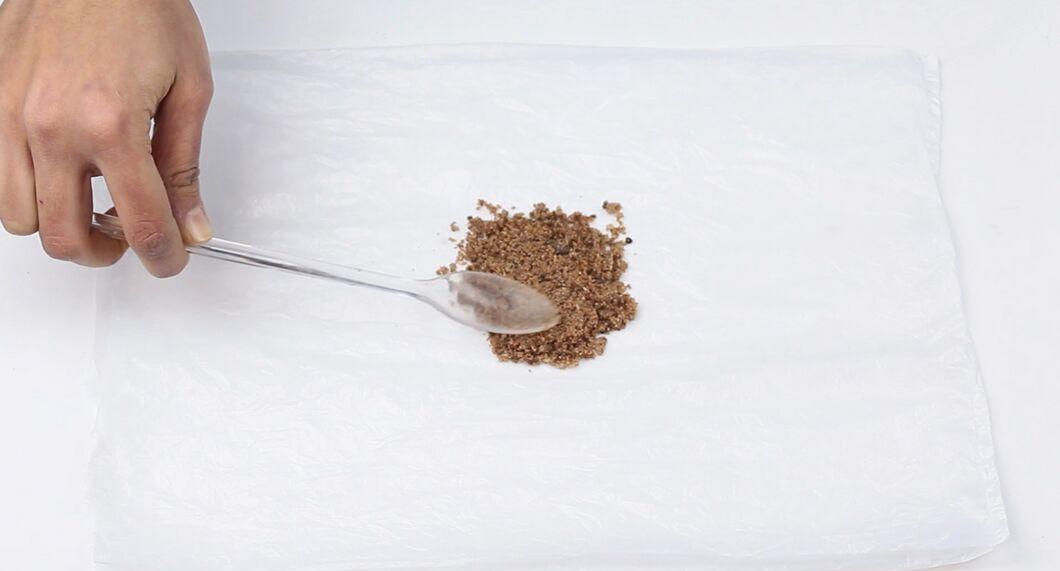
Pour some sand onto the prepared surface. This process may take some time, so color in small batches.
- It’s best to use white sand, which can be found at art supply stores.
- Avoid using sugar, as it can clump together.
Step 4. Rub the Chalk into the Sand.
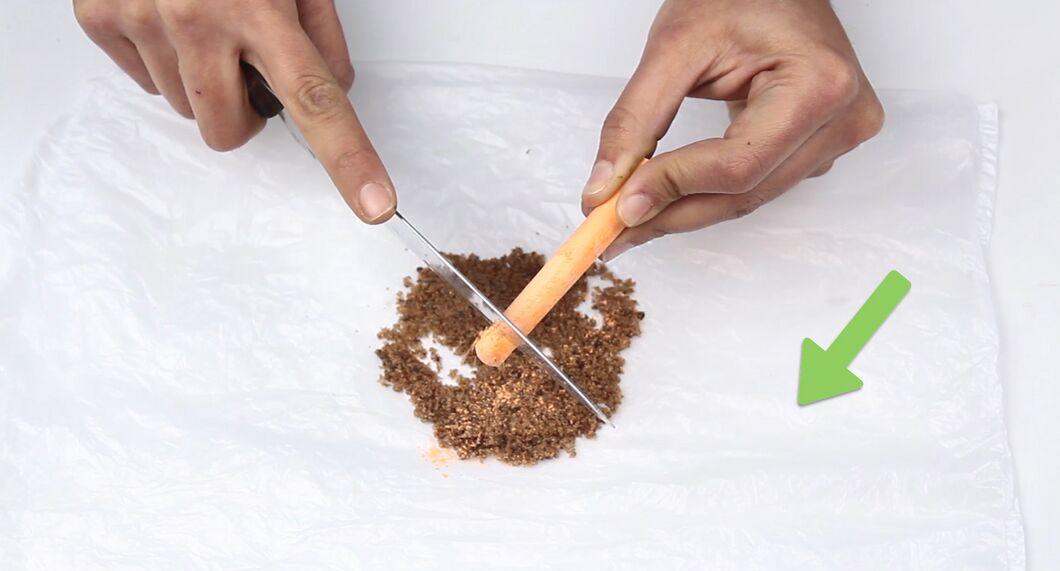
Take the chalk and start rubbing it into the sand. For the best results, do this evenly.
- The chalk gradually colors the sand or salt.
- To speed up the process, you can use a palette knife or another tool.
- For larger amounts of sand, you can grind the chalk in a mortar and pestle. Be sure to wash your tools thoroughly afterward, especially if they were used for food.
Step 5. Keep Rubbing the Chalk.
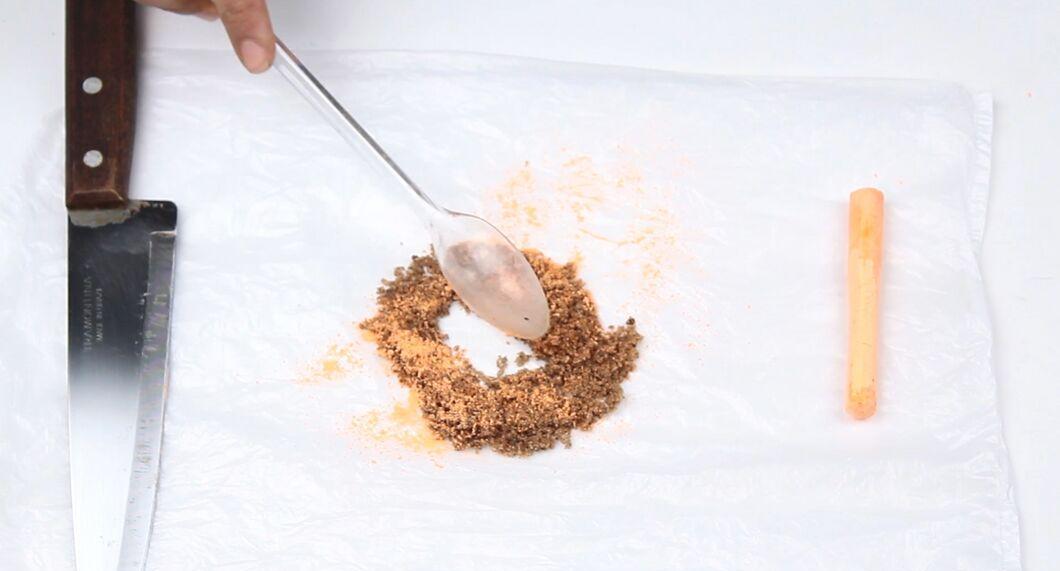
Continue rubbing the chalk until the sand reaches the desired color. Don’t hesitate to use different shades to create an original color.
Step 6. Ready for Storage.
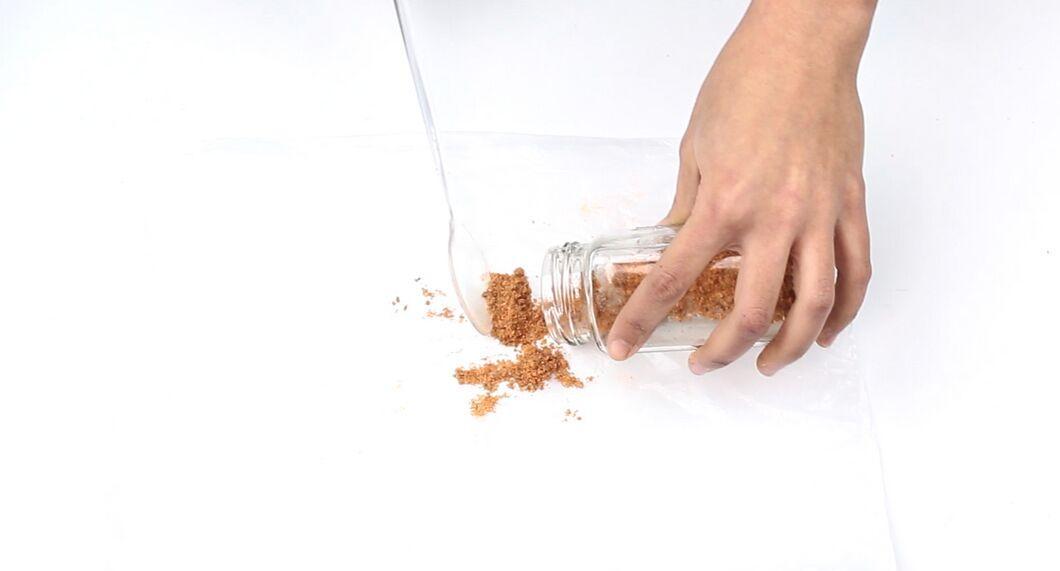
Your colored sand is ready for storage. Ensure that the container is securely closed and has no gaps.


