Creating an autobiography is a wonderful opportunity to showcase yourself and change how others perceive you. Whether you're writing a professional bio or a personal statement for college, this process won't consume a lot of your time.
Crafting a Professional Biography
Step 1. Define Your Goals and Audience.

First, clarify who your biography is for. This is crucial since your bio will be the first impression you make. You need to communicate clearly to your readers who you are and what you do.
- A biography for a personal website differs from one needed for college applications. Keep your goals in mind and approach writing with professionalism to make the content engaging and appropriate.
Step 2. Find Examples of Biographies for Different Audiences.

Look for examples of biographies that align with your target audience. Reading stories of others in your field will help you understand what readers expect. For instance, if you're writing for a personal site, check out the work of your peers and note what you like.
- Platforms like Twitter or LinkedIn are great for finding professional biographies.
Step 3. Focus on a Specific Aspect.
Identify a key element of your biography. Be cautious not to include irrelevant anecdotes. For example, a writer's bio on a book cover typically highlights literary achievements, whereas an athlete might list their physical stats. Remember, the details should be relevant.
- Objectivity is important. Even if you enjoy spending time with friends, such details are not suitable for a professional biography.
Step 4. Write in the Third Person.
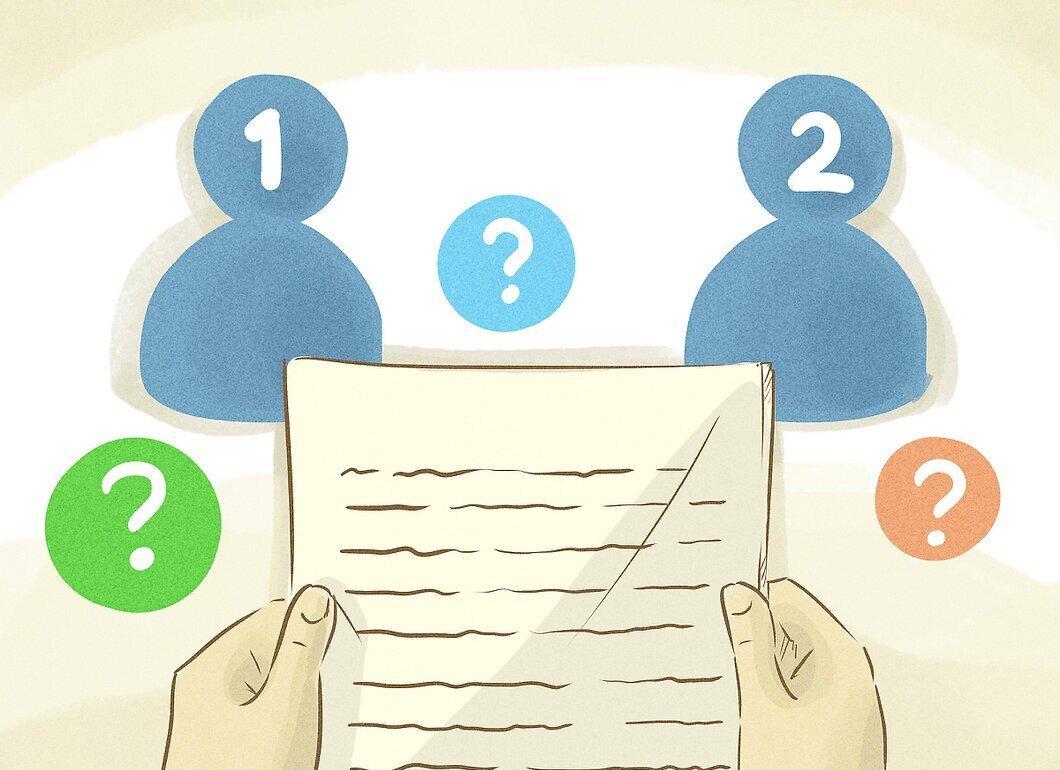
Using the third person in your writing adds objectivity. It helps readers perceive the information more neutrally. Experts recommend this format for professional biographies.
- For example, start with "Joanne Smith is a graphic designer in Boston," instead of "I am a graphic designer in Boston."
Step 5. State Your Full Name.
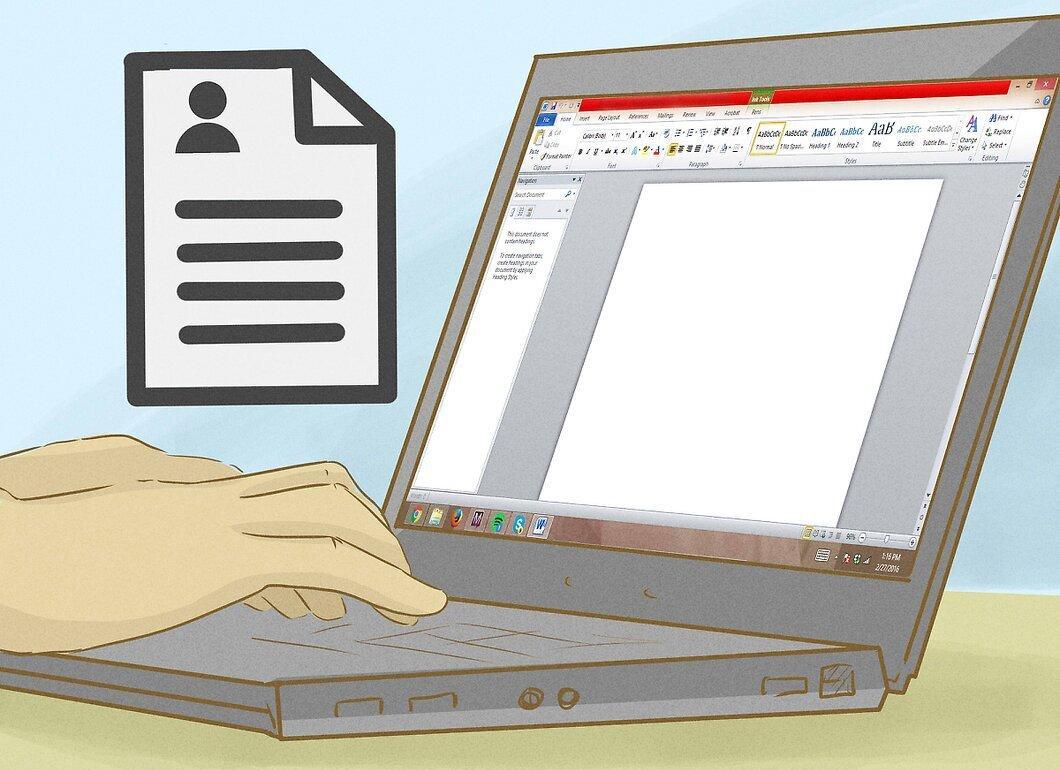
Begin by stating your full name. Assume your readers know nothing about you. Make sure to use your full name without any nicknames.
- For example: Dan Keller
Step 6. Describe Your Achievements.
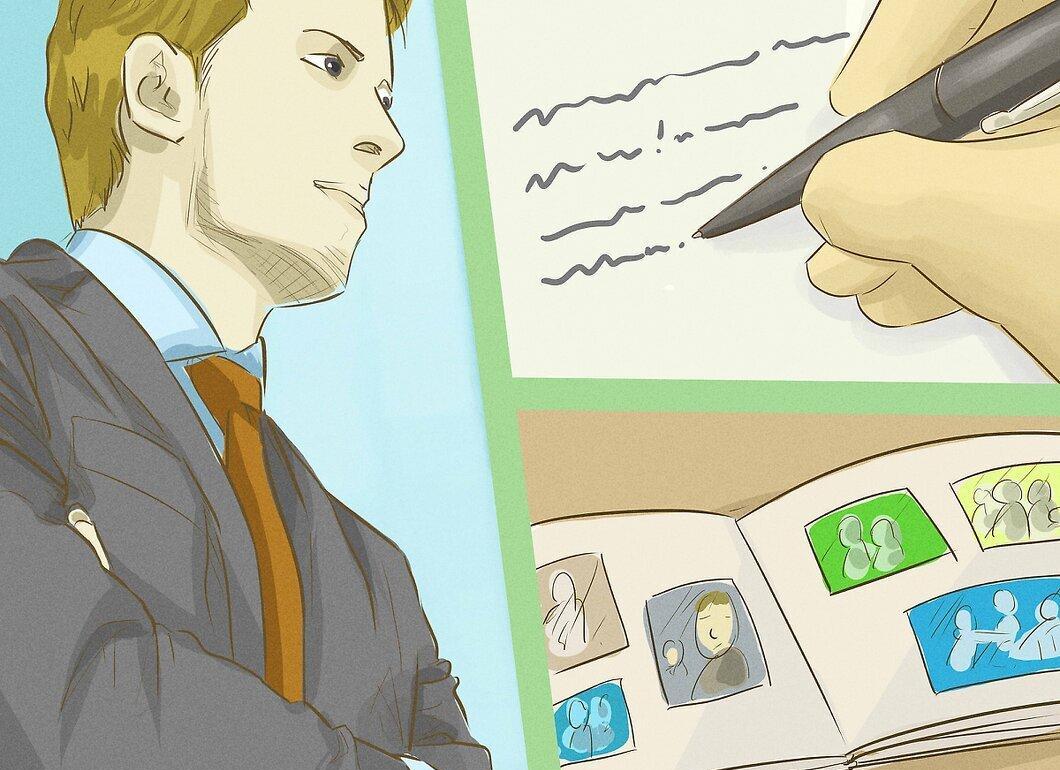
Share your accomplishments. What significant things have you done? What is your experience and qualification? Don't leave this information until later, or readers may lose interest. Mention your achievements early in the biography.
- Dan Keller is a journalist at Boulder Times.
Step 7. Mention Important Awards.
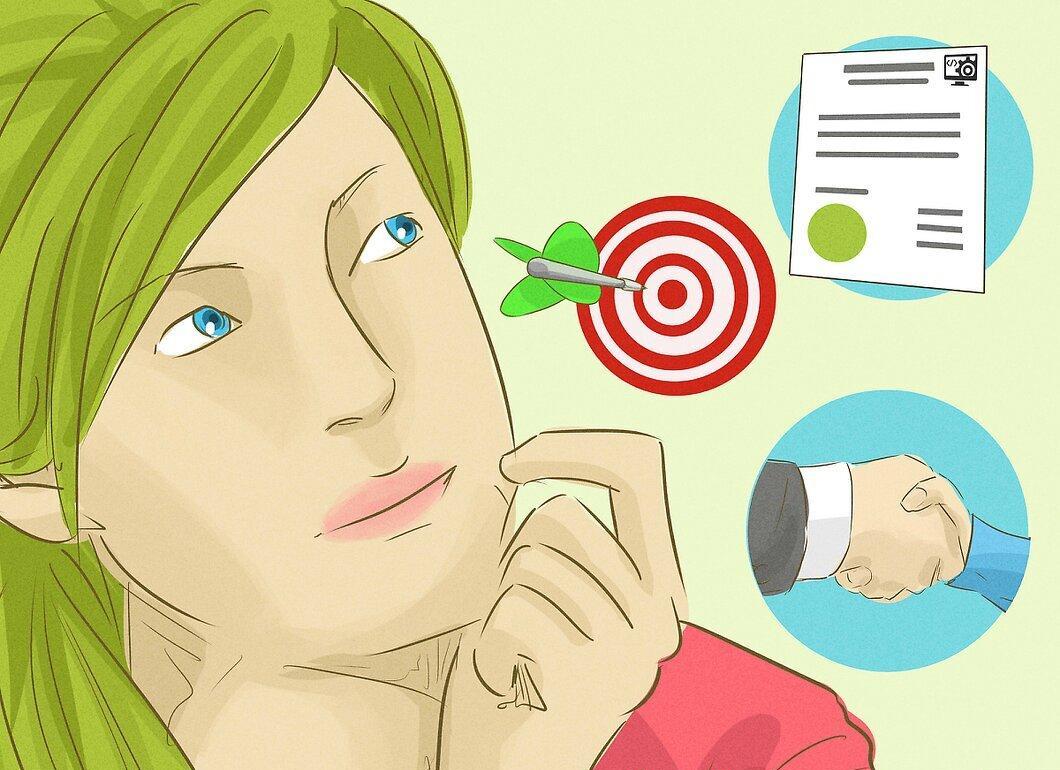
If you have significant awards, be sure to include them. However, remember that a biography differs from a resume—don't just list achievements, explain their significance.
- Dan Keller works as a journalist at Boulder Times. His 2011 series "All that and More" won the "Up-and-Comer" award for innovative content.
Step 8. Mention Personal Qualities.
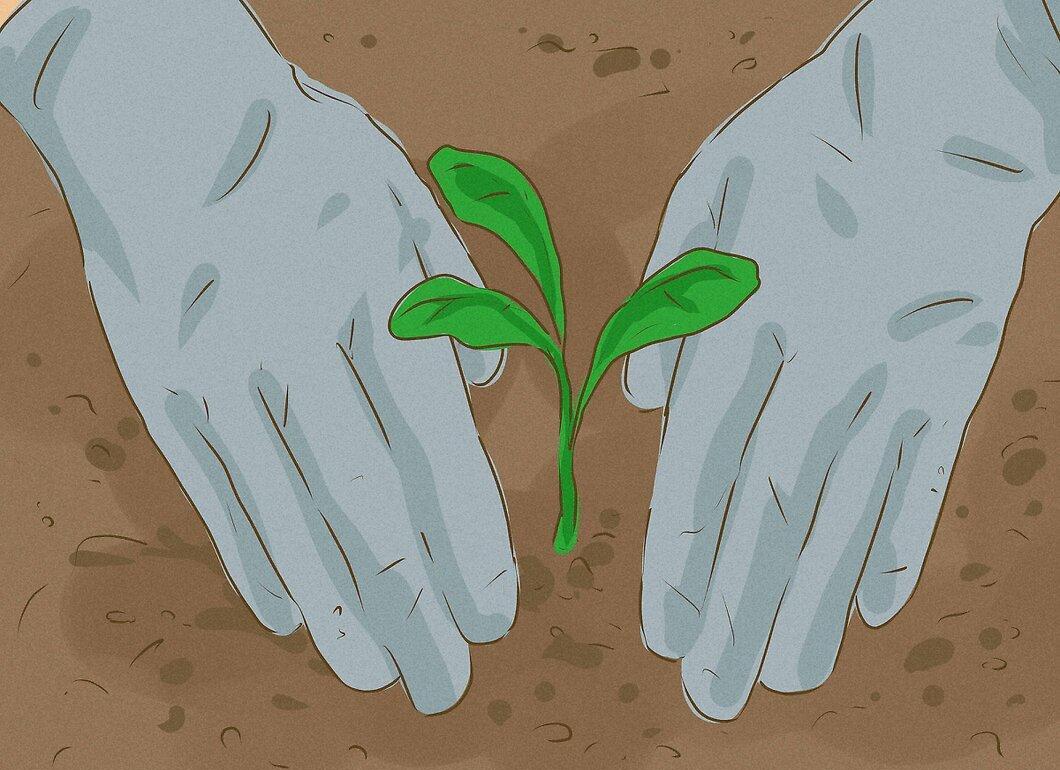
Talk about your personal qualities. This will add interest to your biography and help you showcase your individuality. But avoid overly intimate details. Your qualities should foster a connection with the reader.
- Dan Keller is a journalist at Boulder Times. His series "All that and More" earned him the "Up-and-Comer" award. In his free time, he enjoys gardening, studying French, and trying to become a better Rockies player.
Step 9. Conclude with Current Projects.
Mention what you're currently working on. For instance, if you are an author, write about your new book. One or two sentences will suffice.
- Dan Keller works as a journalist at Boulder Times, where his work won him the "Up-and-Comer" award. In his free time, he studies French and enjoys gardening. He is currently working on his memoirs.
Step 10. Provide Contact Information.
Add your contact information at the end. If you plan to post your biography online, be cautious about sharing your email to avoid spam. People often use formats like greg (at) fizzlemail (dot) com. If possible, include several ways to connect, such as a Twitter or LinkedIn profile.
- Dan Keller works as a journalist at Boulder Times, and his work earned him the "Up-and-Comer" award. He enjoys gardening and studying French, and he is working on his memoirs. You can contact him via e-mail: dkeller (at) email (dot) com or on Twitter: @TheFakeDKeller.
Step 11. Aim for 250 Words.
Try to limit your biography to 250 words. This is enough to give an overview of yourself without overwhelming information. The maximum length is 500 words.
Step 12. Review and Edit Your Text.
After writing, make sure to read and edit your work. Often the first draft requires refinement. Reading the text aloud can help you catch mistakes.
- Ask a friend to read your biography and share their thoughts. This will help you understand how effective it is.
Step 13. Regularly Update Your Biography.
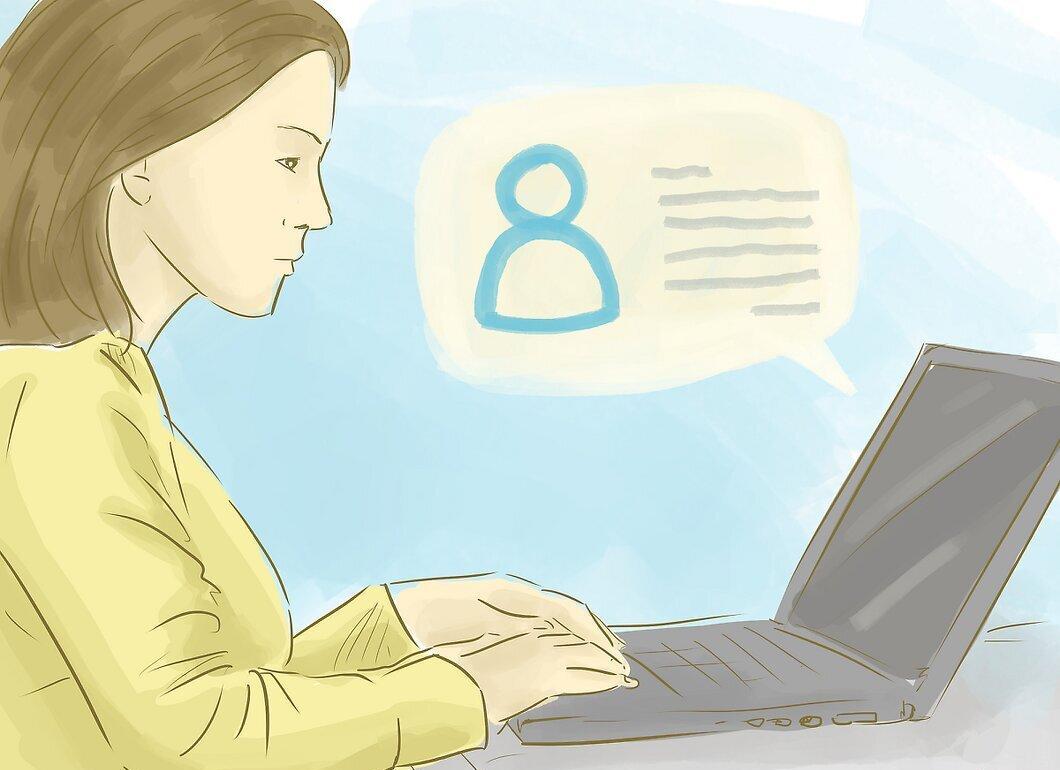
Remember to periodically update your biography. This will save you time and effort when you need to use it in the future.
Writing a Biography for College Applications
Step 1. Write a Narrative Biography.
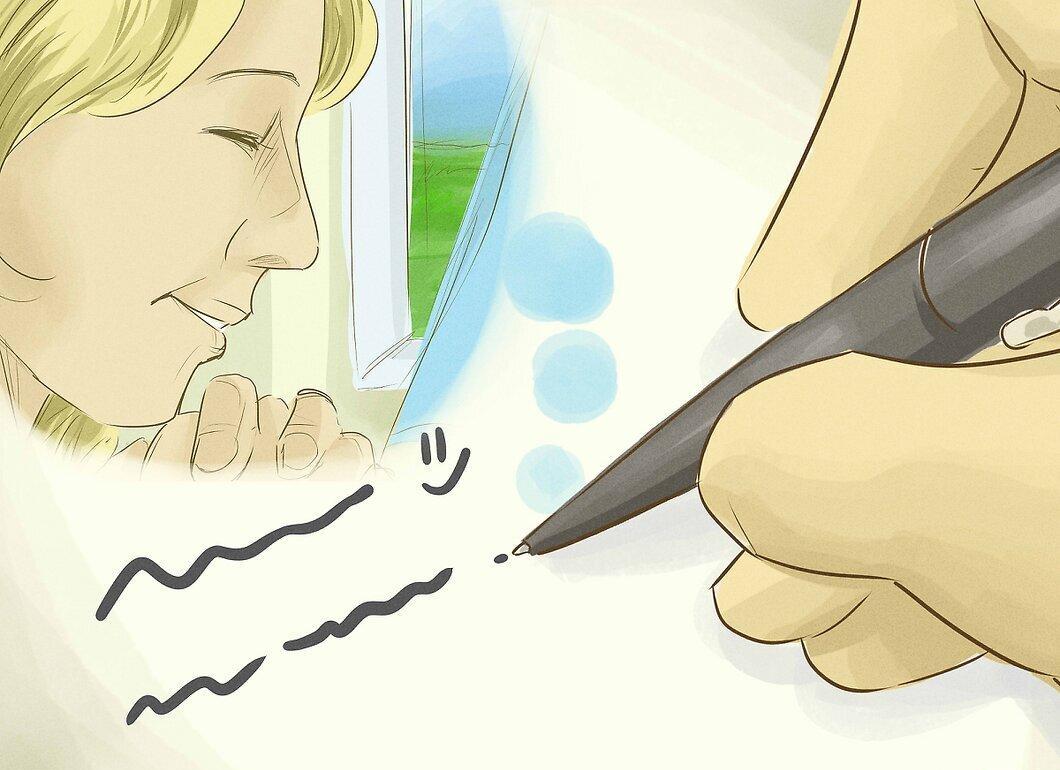
Use a narrative style for your biography when applying to college. A simple structure may not suffice for most entrance exams, as it’s essential to stand out among other candidates. Write about yourself in story form rather than just listing facts.
- Chronological biography: starts with early events and ends with more recent ones, allowing the reader to see your accomplishments.
- Circular biography: begins with a significant moment and then circles back to earlier events, creating an intriguing effect.
- Detailed biography: focuses on a single event, highlighting key moments.
Step 2. Focus on Yourself.

Your biography should focus on you. Colleges want to understand who you are, so it’s better to avoid descriptions of the institution and concentrate on your qualities.
- Wrong example: "The University of California, San Francisco is the best medical school in the world, and I want to become a doctor." The institution already knows its advantages, so don’t distract attention.
- Right example: "When I was five years old, I witnessed a doctor saving my brother's life. This inspired me to dedicate my life to medicine."
Step 3. Don’t Try to Please the Admissions Committee.
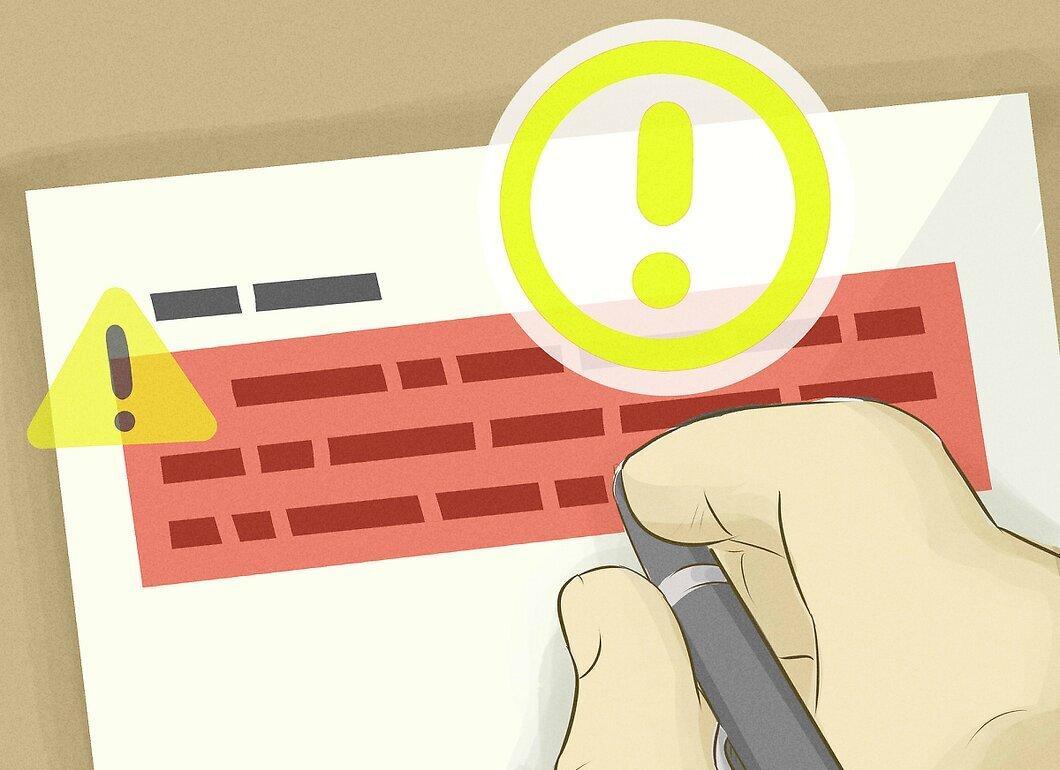
Don’t try to please the admissions committee by telling them what you think they want to hear. It’s better to speak about your real life, even if it’s not perfect. Honesty and sincerity in your story will create a stronger impression.
- Wrong version: "Reading 'The Great Gatsby' changed my life." It’s better to talk about the realities of your life and personal experiences.
Step 4. Don’t Try to Sound Smarter.
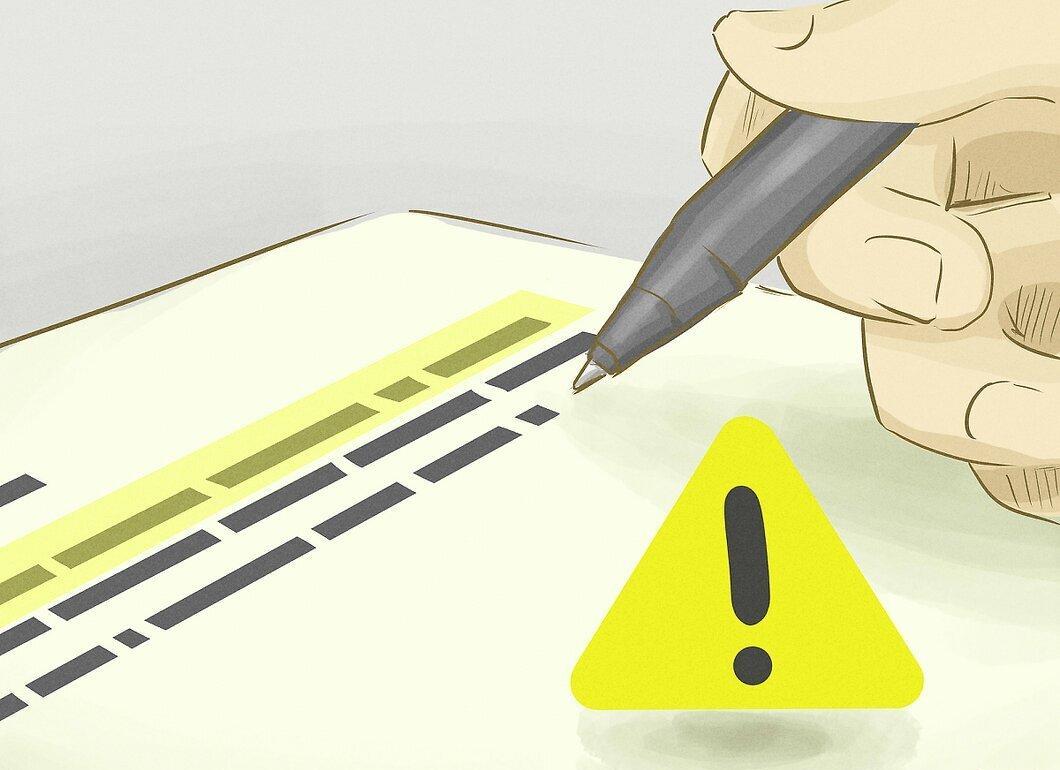
Don’t overcomplicate your language. Your content should speak for itself, so avoid making phrases unnecessarily complex. The admissions committee reads many essays and values clarity.
- Wrong example: "Even with minimal education, I value hard work and frugality." It’s better to speak simply and directly.
- Right example: "I grew up in a poor family, and that taught me to value hard work."
Step 5. Provide Specific Examples.
Use examples to make your story unique. Instead of vague phrases, provide specific instances from your life.
- Wrong version: "I learned a lot working as a psychologist at camp." This doesn’t give insight into your actual lessons.
- Right version: "Working as a psychologist at camp, I realized how important it is to show empathy. Now I better understand how to support my sister during tough times."
Step 6. Use Active Verbs.
Use verbs in the active voice. This will make your biography more dynamic and engaging.
- Compare: "The window was broken by a zombie" and "A zombie broke the window." The second phrase is clearer and more straightforward.
Writing a Personal Biography
Step 1. Define Your Purpose.

Decide who your audience is for your biography. It could be for a specific group or a broader audience. A biography for Facebook will differ from one posted on a website.
Step 2. Set Limits on Length.
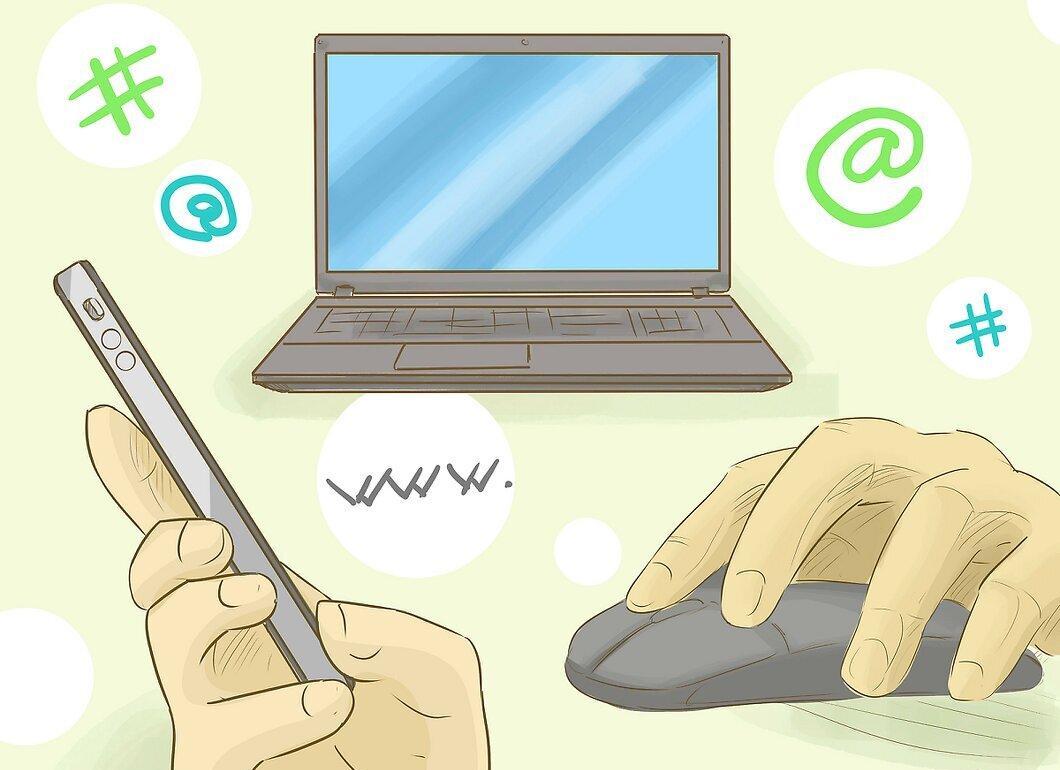
Consider character limits in different social networks, such as Twitter. Use the available space effectively to make an impression.
Step 3. Choose Events to Describe.
Think about which events from your life you would like to highlight in your biography. If it’s personal, you can include hobbies or interesting facts. If it’s a mixed biography, choose moments that reflect your personality without alienating the reader.
Step 4. State Your Name, Profession, and Achievements.
In both professional and personal biographies, it’s important to give the reader a clear idea of who you are. You can use a less formal style.
- Joanne Smith is an avid knitter and the owner of a paper production company with over 25 years of experience and numerous awards.
Step 5. Avoid Modern Jargon.
Words that are overused lose their meaning. Instead, provide examples to give a sense of who you are.
Step 6. Use Humor.

Humor helps establish a connection with the reader. It makes your biography more relatable and interesting.
- For example, Hillary Clinton's Twitter biography is a great example of a short text with humor: "Wife, mother, lawyer, women's and children's rights advocate, First Lady, and so on..."