If you're not planning to publish your research paper, it may be part of an academic course or other educational program. Research papers have a defined format, making the task easier — you just need to master the proper writing approach.
Paper Format
Step 1. Identify your target audience.

Determine who your paper is intended for. If your topic spans multiple disciplines, the writing style will differ from that within a single field. The research should be understandable to all, so the text must be accessible.
- Technical papers require specialized terminology, but avoid excessive jargon. Abbreviations and acronyms should only be used in extreme cases.[1] Source
- Upon first mention, every abbreviation should be spelled out.
Step 2. Use the active voice.

Write in the active voice. Most research papers are written in this format. However, requirements may vary, so adhere to style guidelines. For example, use constructions like "We conducted this experiment..." instead of "An experiment was conducted...".
Step 3. Follow style guidelines.

Stick to the style guidelines. If your paper is intended for publication, you will be provided with an author guideline that outlines all requirements: length, margin sizes, font, citation format, and more. Strictly adhere to all recommendations if you want your work to be published.
- The guidelines will specify limits on the sizes of tables and figures, as well as formatting rules for legends.
Step 4. Maintain section structure.
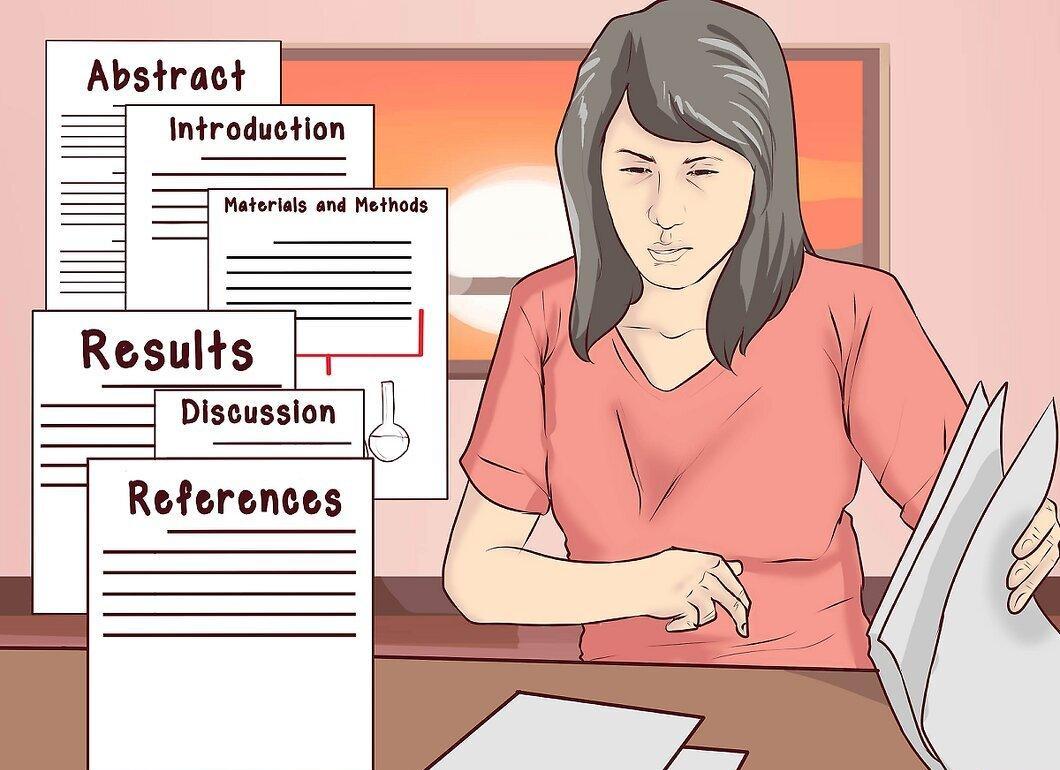
Follow the sequence of sections. All research papers have a similar structure: first an abstract, then an introduction, a materials and methods section, results, discussion, and a references list.
- Some journals may require a change in the order of sections, such as moving materials and methods to the end or combining results with discussion. Always follow specific requirements.
- While the order of publication is formal, this does not mean you should work on the text in that order. Refer to the recommendations in the “Working on Sections” section to approach writing effectively.[4] Source
Working on Sections
Step 1. Start with the “Materials and Methods” section.

It is recommended to begin by writing the “Materials and Methods” section. This is the simplest and quickest section, where you need to clearly describe the methods so that anyone can replicate your experiments.
- List all materials used with links to suppliers and catalog numbers.
- Be sure to outline all statistical methods applied in your work.
- Don’t forget to mention any ethical approvals needed for the research.
Step 2. Presenting results.

In the “Results” section, clearly present the data obtained during the research. Results should be presented in neutral language with references to figures and tables. Summarize briefly, but avoid discussing the data.
- Do not list every experiment — only report the information that is crucial for understanding your findings.[8] Reliable source Nature
- Avoid drawing conclusions in this section; that belongs in the next part.
Step 3. Discussing results.

In the “Discussion” section, you will analyze and explain the data obtained, comparing it with known facts. Draw conclusions and discuss potential directions for future research. Your goal is to convince the reader of the significance of your findings. Do not repeat information from the results section.
- Avoid making bold statements without backing them up with specific data.[10] Source
- Consider works that contradict your conclusions and provide arguments in defense of your data.
- Some journals may combine results and discussion, so check the requirements in advance.[11] Reliable source PubMed Central
Step 4. Literature review in the “Introduction.”

In the introduction, convince the reader of the significance of your research, providing justification. Review existing literature on the topic, discuss the problem and its relevance, as well as the gap your work aims to fill.
- At the end of the introduction, outline your hypotheses and research objectives.[13] Source
- Be concise: the introduction should be complete but not overly long.
Step 5. Conclusions in the “Abstract.”

Compose the abstract last. It usually consists of about 250 words. In the abstract, briefly summarize the essence of the research and the key findings. The last sentence should summarize or draw conclusions about the obtained data.
- Think of the abstract as an advertisement for your work; it should pique readers' interest.
Step 6. Create an engaging title.

Come up with a title for your paper. It should be clear and reflect the content. The title is a teaser that should grab attention, so strive for it to be concise and impactful.
- Avoid using professional jargon and abbreviations in the title.
Figures and Tables
Step 1. Use visual data representations.

Present data in the form of figures and tables. The choice of representation is up to you, but there are norms that will help you make the right choice. Tables are suitable for demonstrating data, while figures are better for visual comparisons. If data can be expressed in one or two sentences, a table or figure is unnecessary.
- Tables often include the composition of research groups and concentrations used in the process.
- Figures allow for visual comparisons of results from different groups.
Step 2. Properly format tables.

When formatting tables, align the decimal points. Avoid vertical lines between columns. Column and row headings should be clear, without the need for additional explanations.
- Do not include tables that are not referenced in the text. In urgent cases, format them as appendices.
Step 3. Ensure clarity of data blocks.

Data blocks on graphs should be easily distinguishable. Avoid cluttering graphs with too much data — it complicates comprehension. If necessary, divide data into multiple images. This will not affect analysis but will enhance visual perception.
- One graph should contain no more than 3–4 data blocks.
- Properly label axes and use appropriate scales.
Step 4. Indicate scale on photographs.

If you use microphotographs or images of samples, be sure to add a scale bar so the reader understands the size of the elements. The scale should be contrasting and clear.
- Use a white scale for dark images and a dark scale for light ones. The scale should be noticeable against the background of the image.
Step 5. Black and white images.
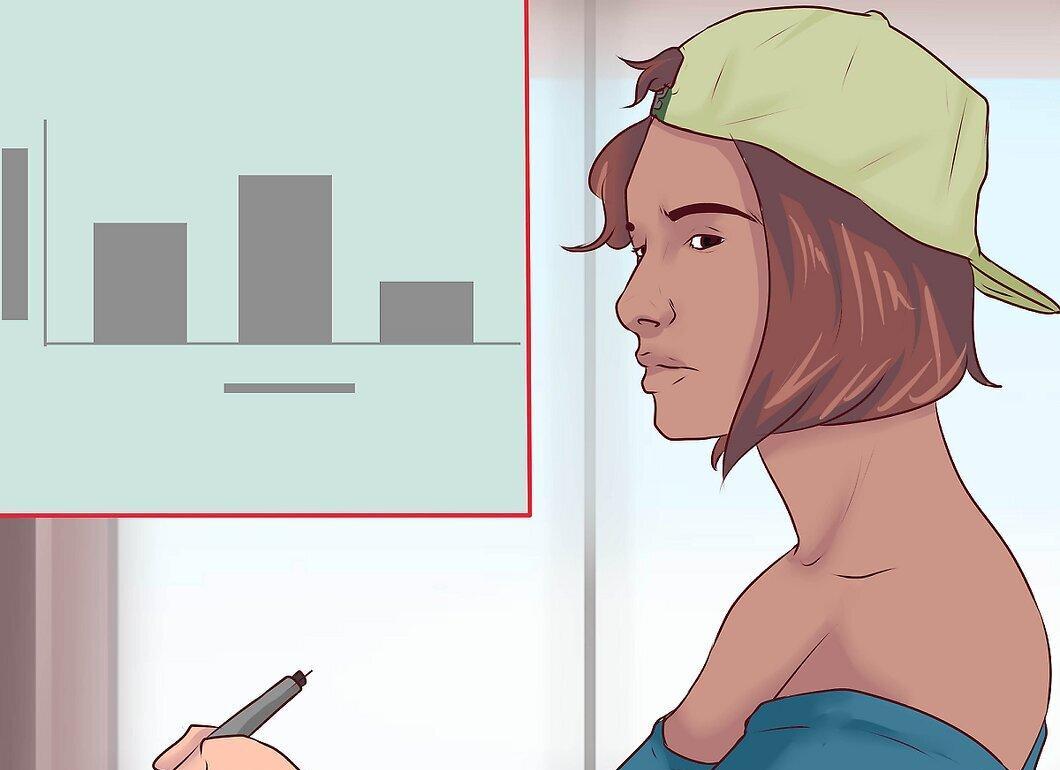
Use black and white images. This is particularly relevant for publications in journals where color images can be costly. Strive to use line or schematic graphs.
- If color figures are necessary, choose soft pastel shades to avoid overly bright visuals.
Step 6. Font size.

Use appropriately sized fonts. Ensure that the text on figures remains readable even when reduced in the final document. Check all graphic elements for legibility.
Step 7. Legend and symbols.

Add a legend with symbols. The legend should be compact but informative, allowing the reader to understand the data without referring back to the main text. Define all abbreviations.
- The legend is placed below the image.
References and Literature List
Step 1. Use in-text citations.
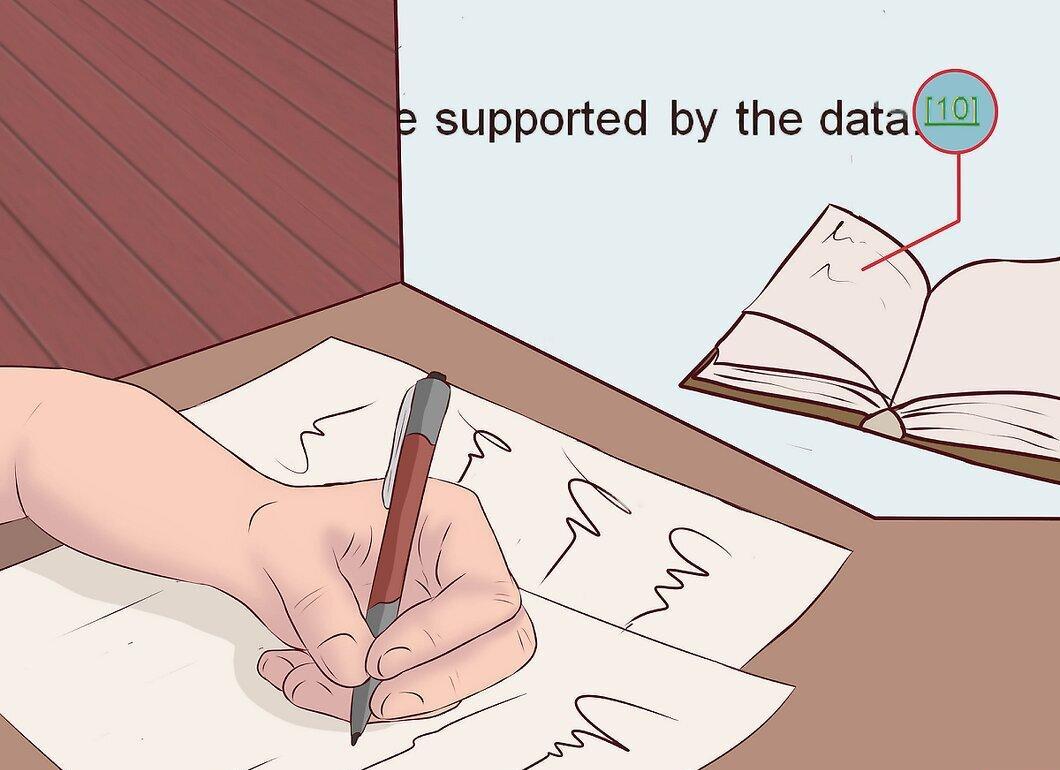
Citations for sources should be included directly in the text. If your statement is based on information from a book or article, be sure to add the citation immediately afterward. If a fact is supported by multiple sources, list all of them. The number of citations does not always indicate the quality of the work.
- Refer to authoritative sources, published data, and research papers.
- Do not include references to personal conversations or unpublished materials.[25] Source
Step 2. Follow citation formatting rules.

When submitting the paper, ensure that the formatting of citations and the literature list complies with the specific journal's requirements. Check the rules with your academic advisor for coursework.
- Some journals use in-text citations (author, year) and an alphabetical list at the end of the paper. Others only require numbered footnotes and a numbered list.[27] Source
Step 3. Match sources with statements.

Ensure that the source supports the statement. Make sure that the source confirms the fact presented. If not, it's better to avoid the citation or find an alternative source.
- Paraphrase information in your own words, avoiding direct quotes. If they are necessary, include the page number.[28] Source
Step 4. Avoid citing common knowledge.
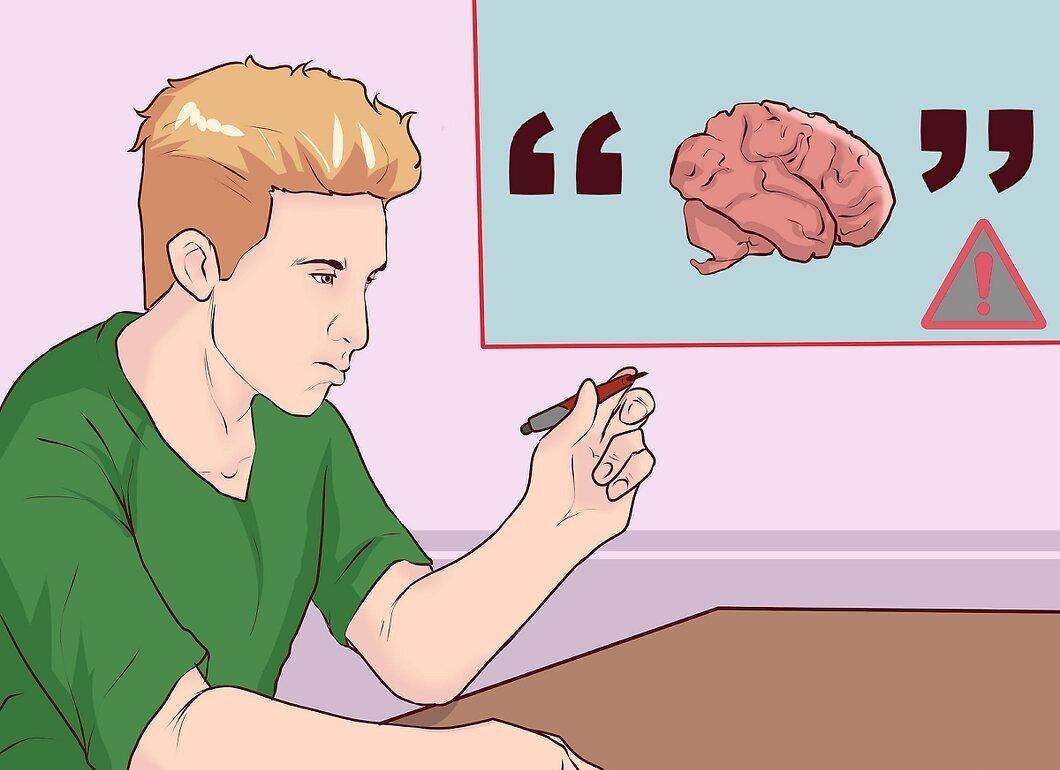
Do not use citations for common knowledge. Many journals limit the number of citations, so it's important to reserve references for significant information that supports your conclusions. If in doubt, it's better to err on the side of caution and provide a citation.
- Do not cite facts that are considered common knowledge, such as "DNA is the genetic material of an organism."
Step 5. Use bibliographic managers.

To organize citations, use programs like Endnote or Mendeley. These tools will help you organize references in the correct format. Often, you can download the required format from the journal's website and import it into the program for automation.
- Bibliographic managers help avoid errors and save time on manual adjustments to the list.