How to Create a Book About Your Life: A Step-by-Step Guide
A life book is more than just a notebook; it’s your own thick volume where you can jot down your thoughts and experiences. It's not a diary, and there's no need to include dates. This is a space for your feelings and events, written in any order you choose.
Part 1
Step 1. Choose a Suitable Notebook with a Sturdy Cover and Over 100 Pages.

Pick a thick notebook with a sturdy cover that inspires you. A solid color without illustrations is preferable so that you can add your own elements—photos or decorations.
Step 2. Start with a Few Introductory Lines, Such As:
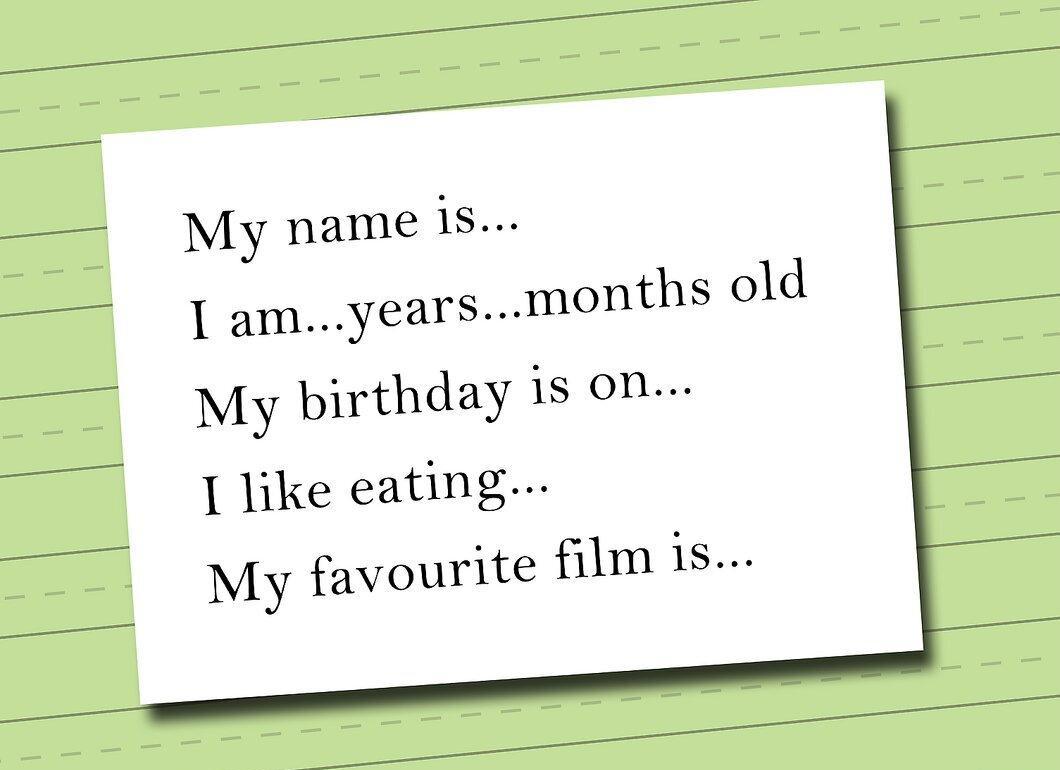
Begin with a couple of introductory phrases like: "My name is...", "I am ... years old", "I was born on ...", and so on. You can also mention your favorite things: "My favorite food is...", "My favorite movie is...", etc. Write at least 12 such phrases, add your photo, and some personal information for interest.
Step 3. On the Next Page, Write in Big Letters, "THE STORY OF MY LIFE".
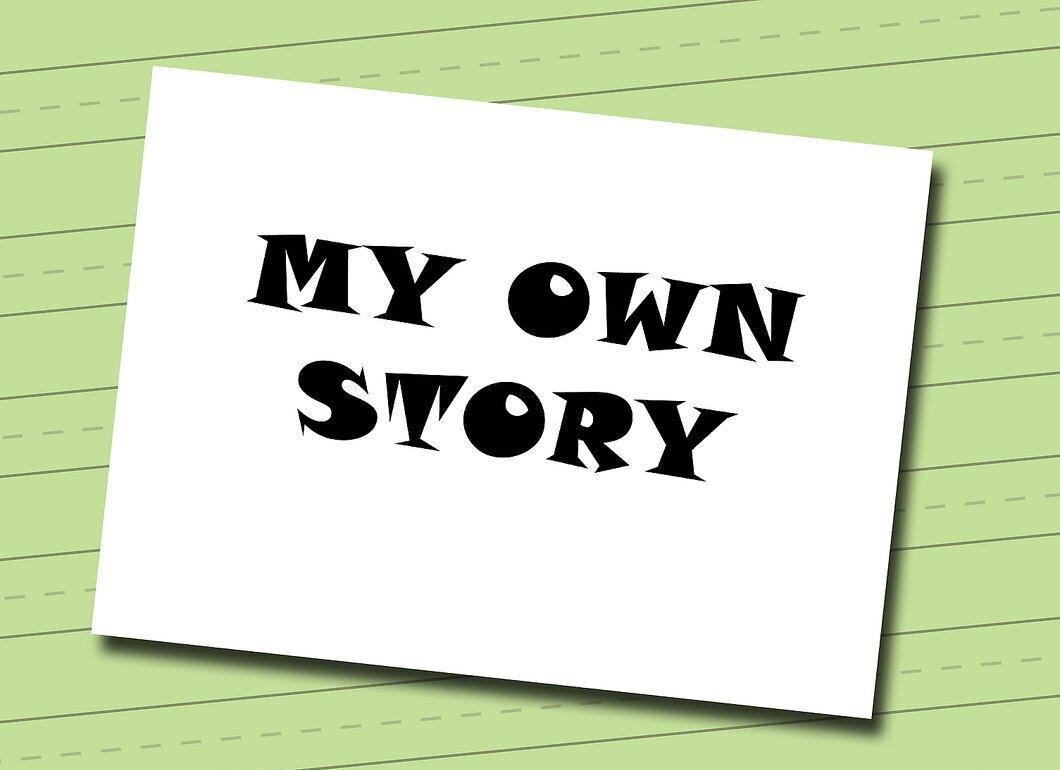
On a clean page, write boldly and prominently, "THE STORY OF MY LIFE". You can decorate the title with various drawings, colors, or patterns.
Step 4. Chronological Order Is Not Required—Start with What Matters to You!
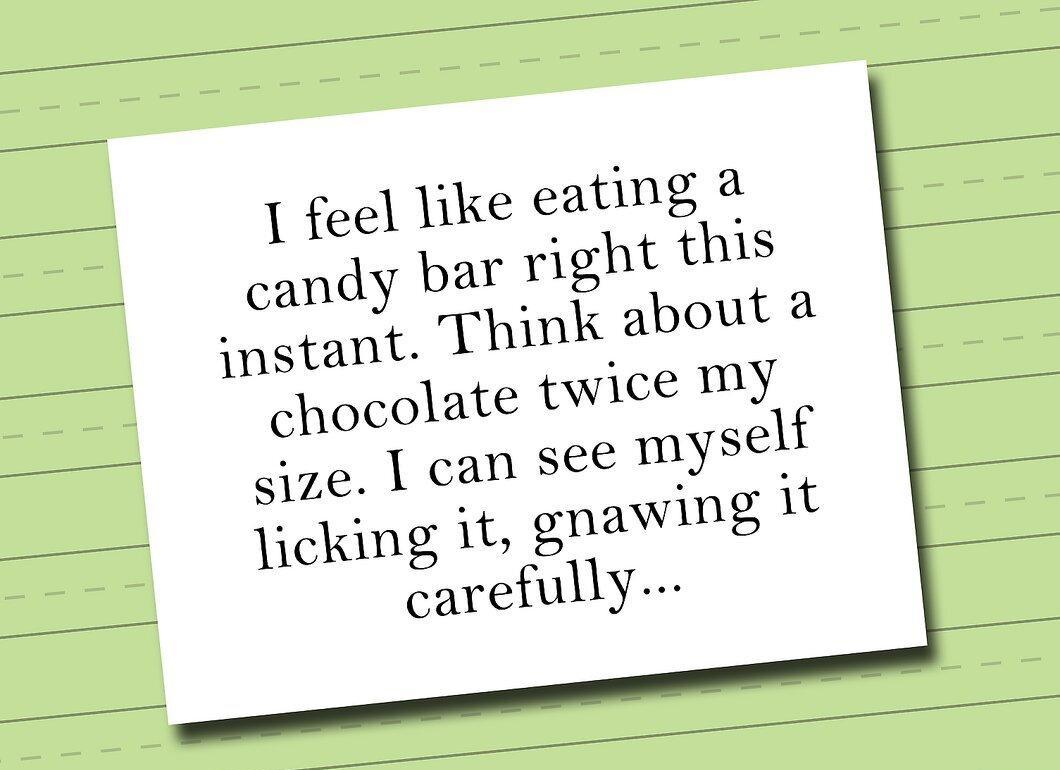
You don’t have to start from the moment you were born—you can write in whatever order feels right! Share what you find significant. For example, if you’re currently dreaming about chocolate, write: "I really want to eat chocolate! I can’t think of anything else. I can see myself taking a bite...". Start, and let your imagination flow!
Step 5. Once You Finish Your First Entry, Put the Notebook Away for a While.
When you finish your first entry, set your book aside to return to it later. If you want to keep your writings private, write on your computer and password-protect the document. Avoid notebooks with locks, as they can be easily broken.
Step 6. Leave a Margin Before Each New Entry.
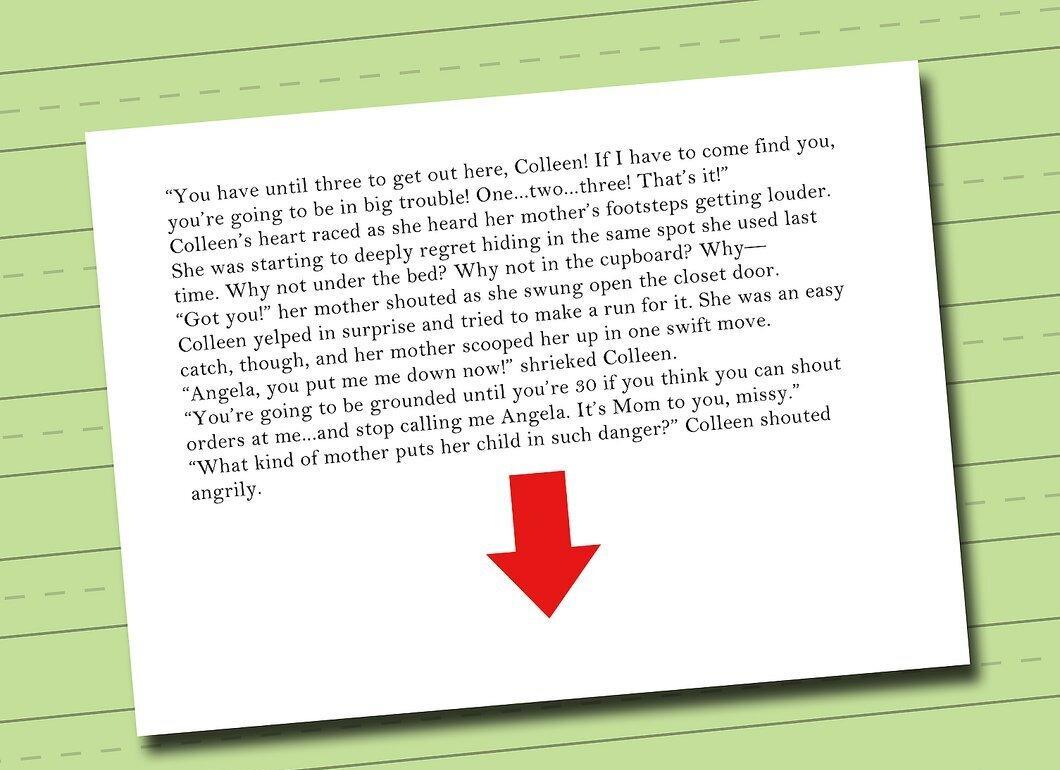
Before writing a new entry, leave a margin from the previous one—about 3-10 cm. If you feel inspired, stick to the same style you chose at the beginning.
Step 7. Allow Others to Read Certain Excerpts from Your Book.
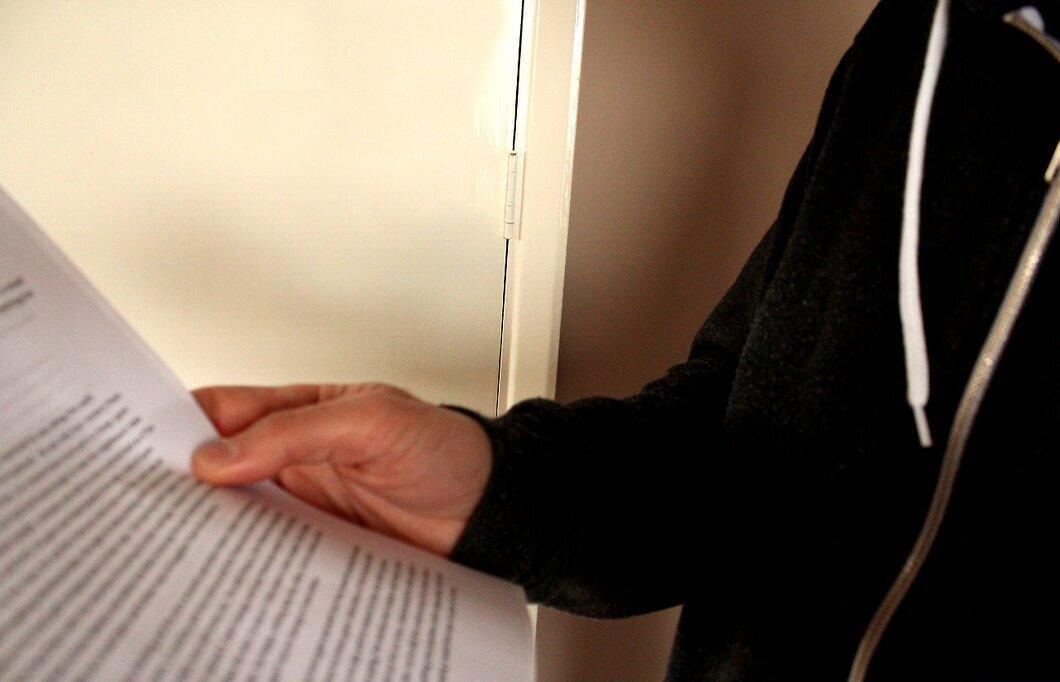
When your book is complete, let others read some excerpts. If you worked on your computer, it’s time to print and bind your story. Remember, aiming for 100 pages is optimal for telling your life story. Printing allows you to easily change fonts and add images, but a traditional notebook will always have its unique charm and appeal.